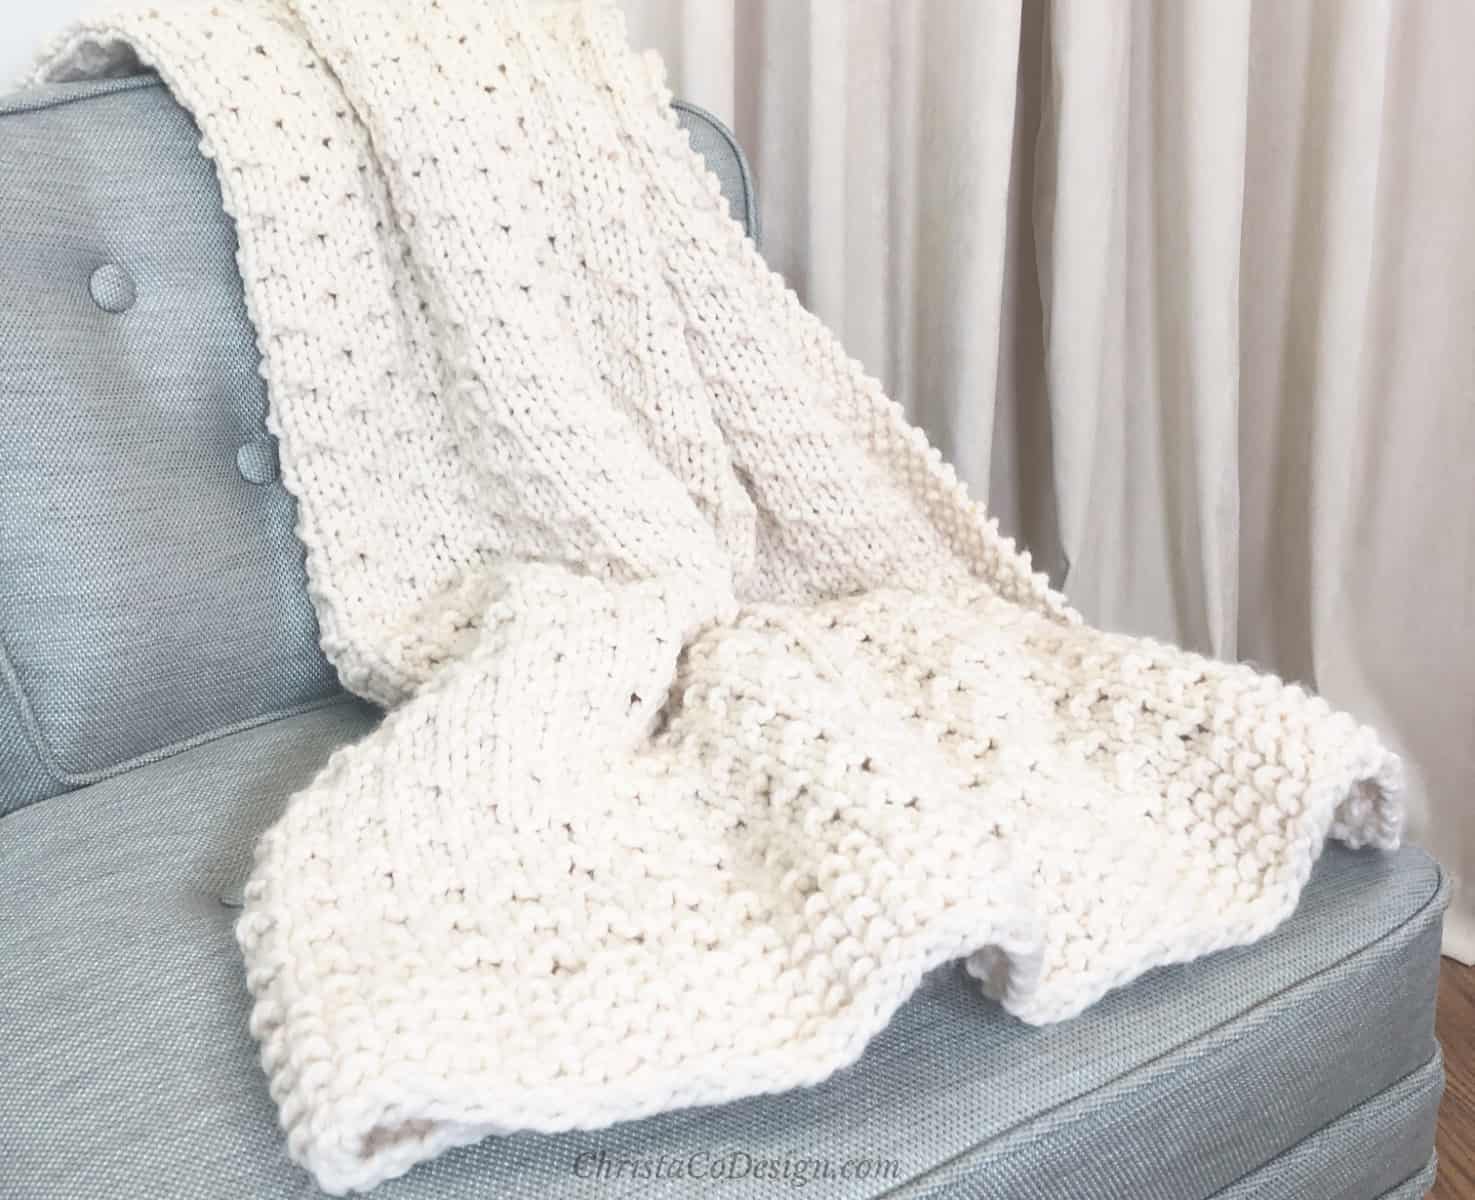
Free Double Moss Stitch Dishcloth Knitting Pattern
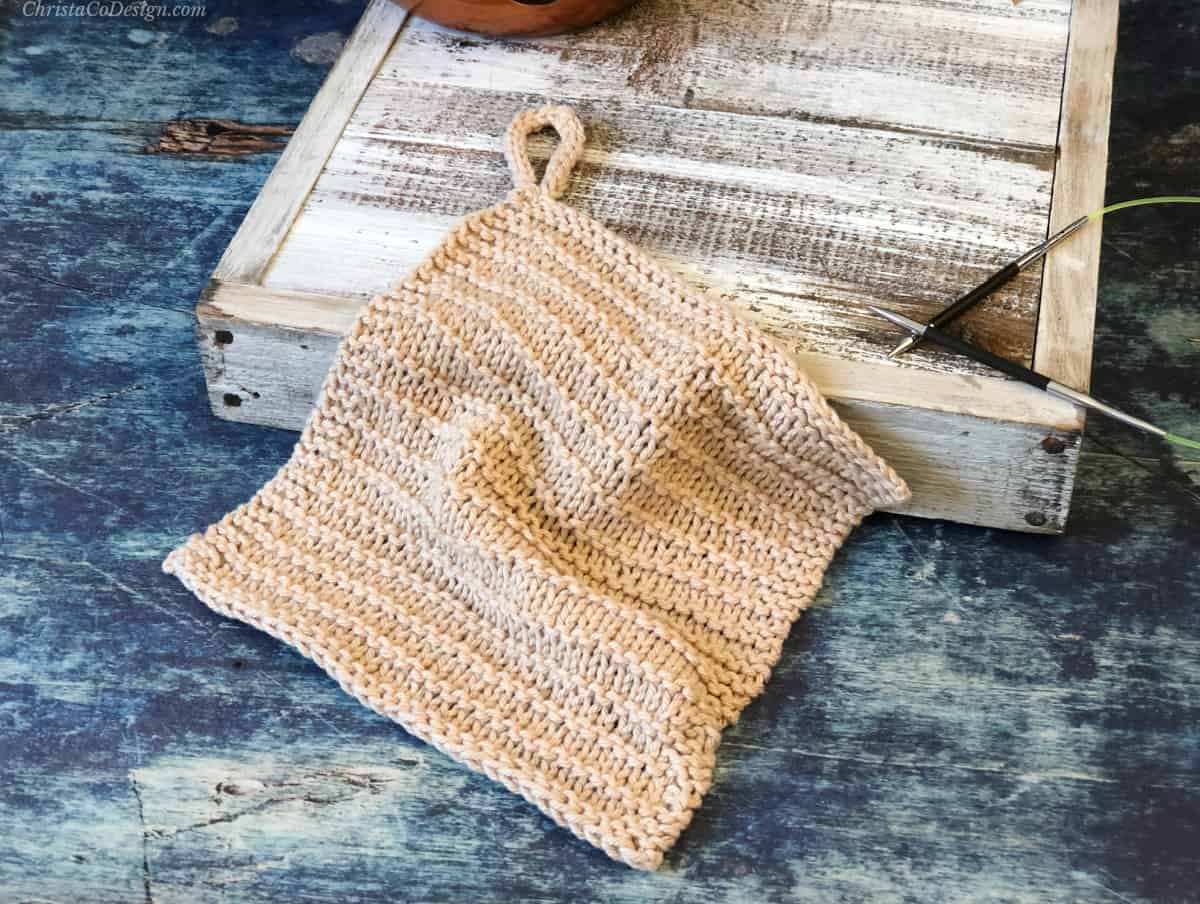
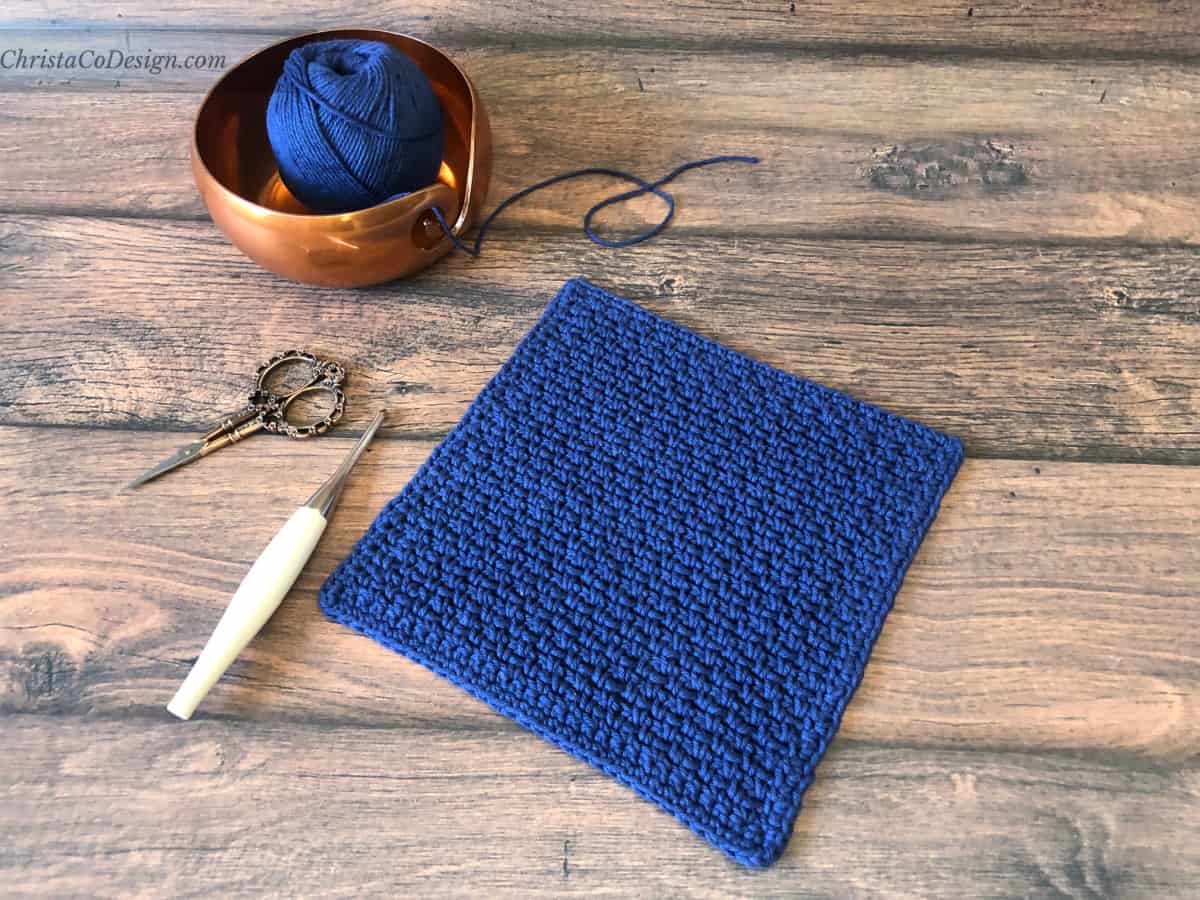
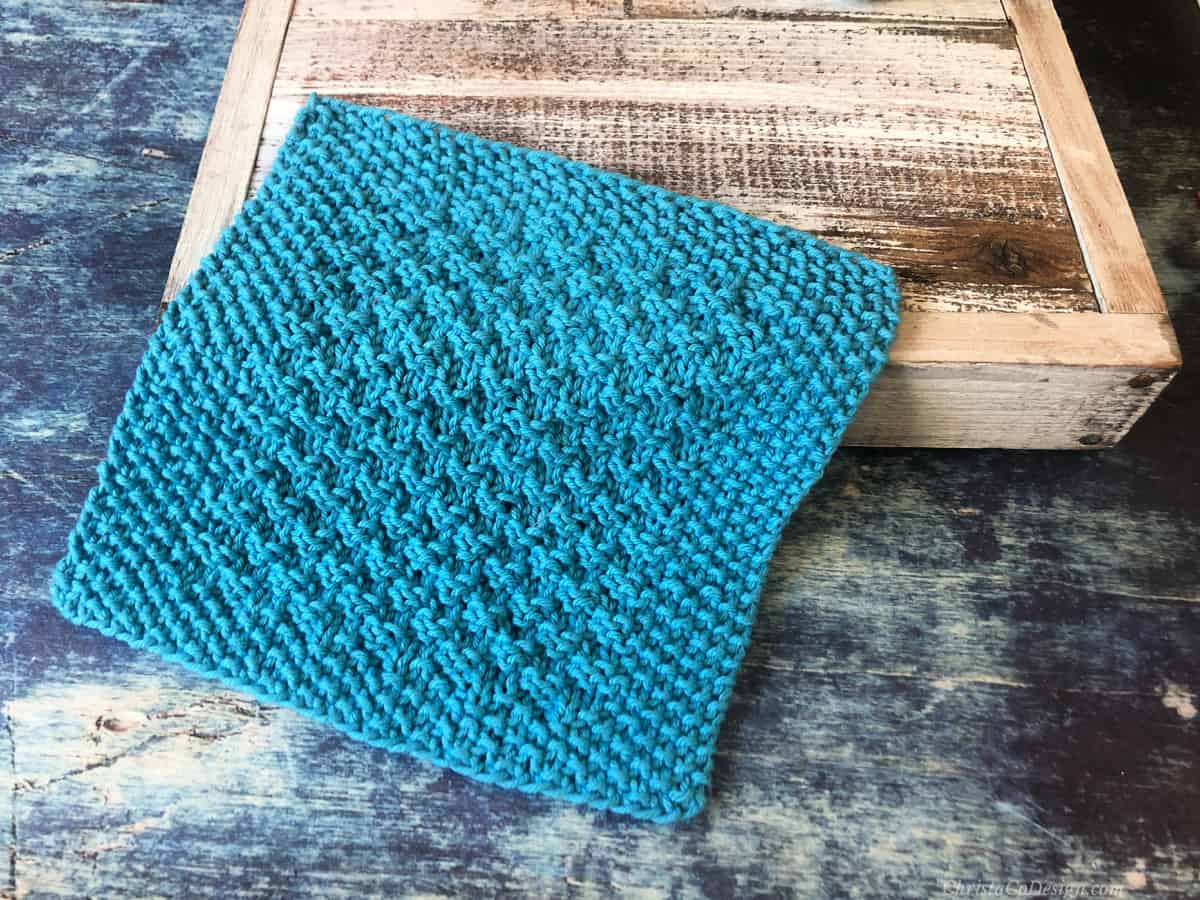
Knit this textured dishcloth for use at home or gift a few to friends and loved ones. Knit dishcloths are fun and functional so they make great gifts for everyone!
These quick projects like dish cloths and wash cloths are a great way to use up small amounts of yarn you have laying around.
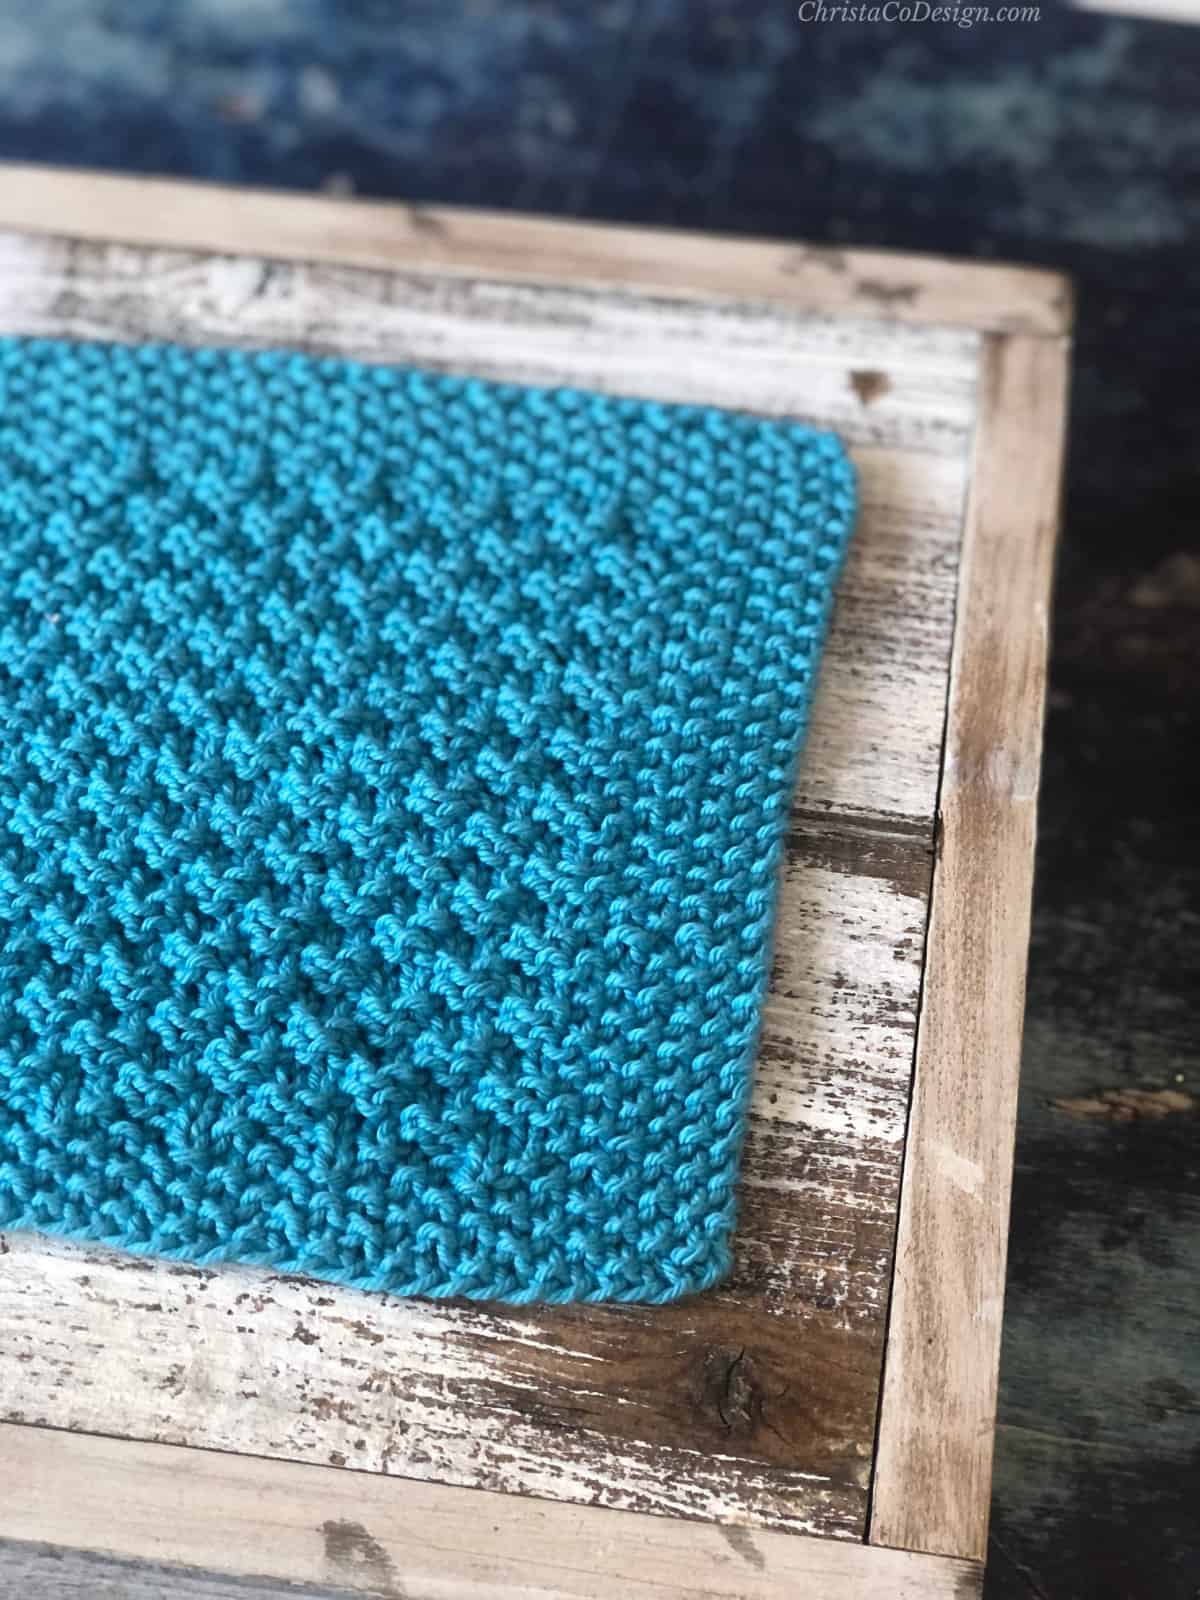
My favorite dishcloth patterns have textured stitches with an easy repeat. This simple pattern does all these. The texture is easy to knit and great for washing dishes.
This post contains affiliate links, I may earn a fee. Read more disclosure policy.
Purchase the ad-free, well formatted printable PDF Pattern from my shop. Scroll down for the free pattern!
You Can Purchase My Ad-Free PDF Patterns Here:
You asked for more free knit dishcloth patterns so when I created the tutorial for the double moss stitch pattern I designed a dishcloth that even a beginner knitter will love.
Materials
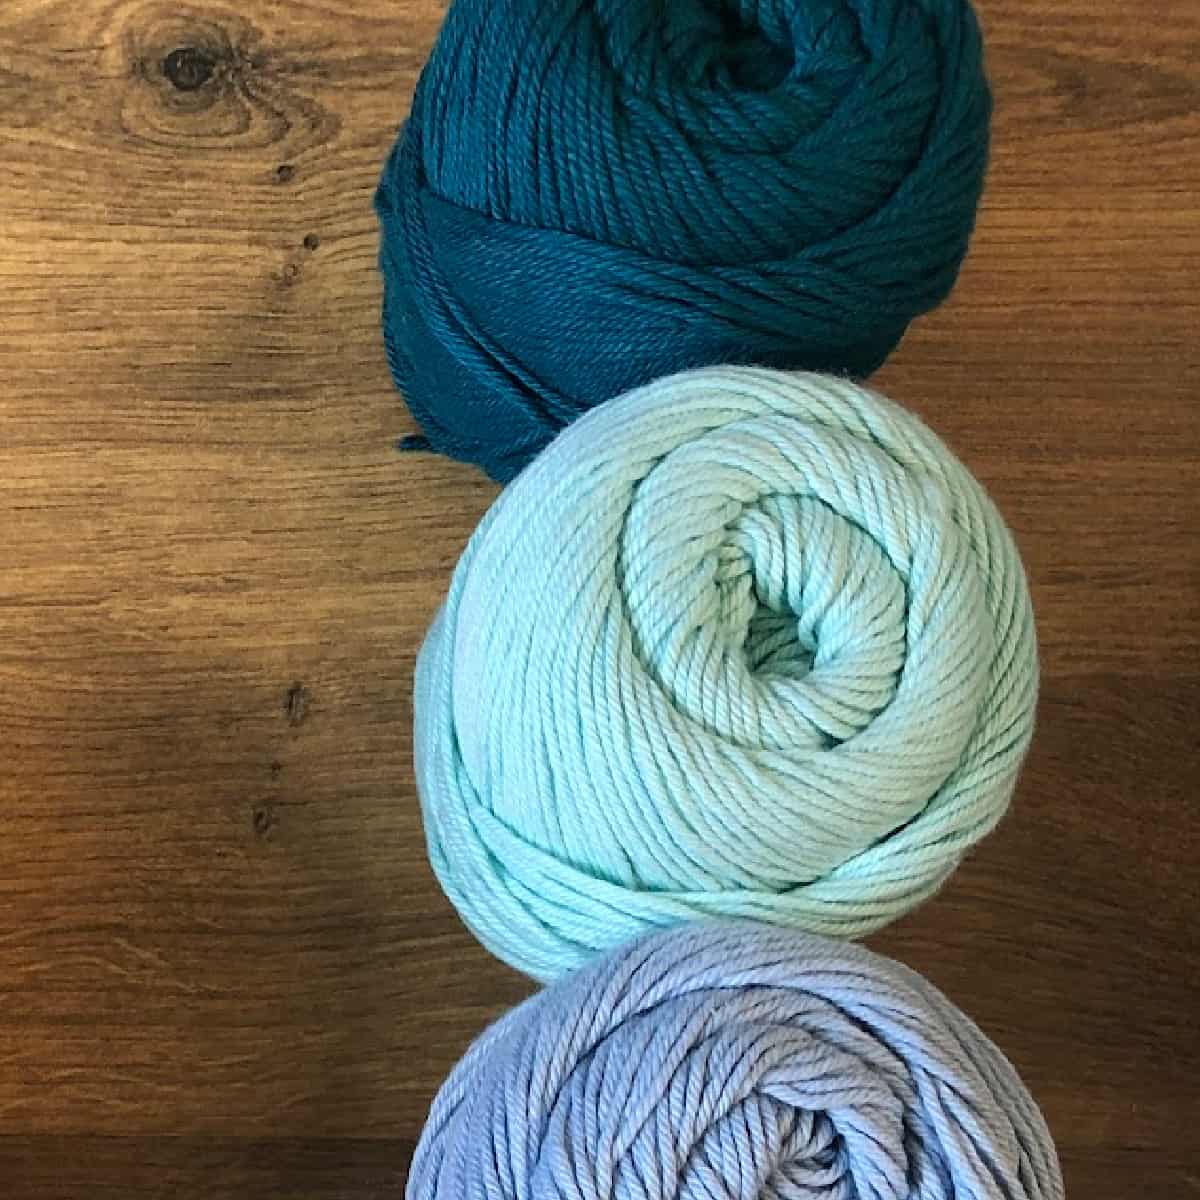
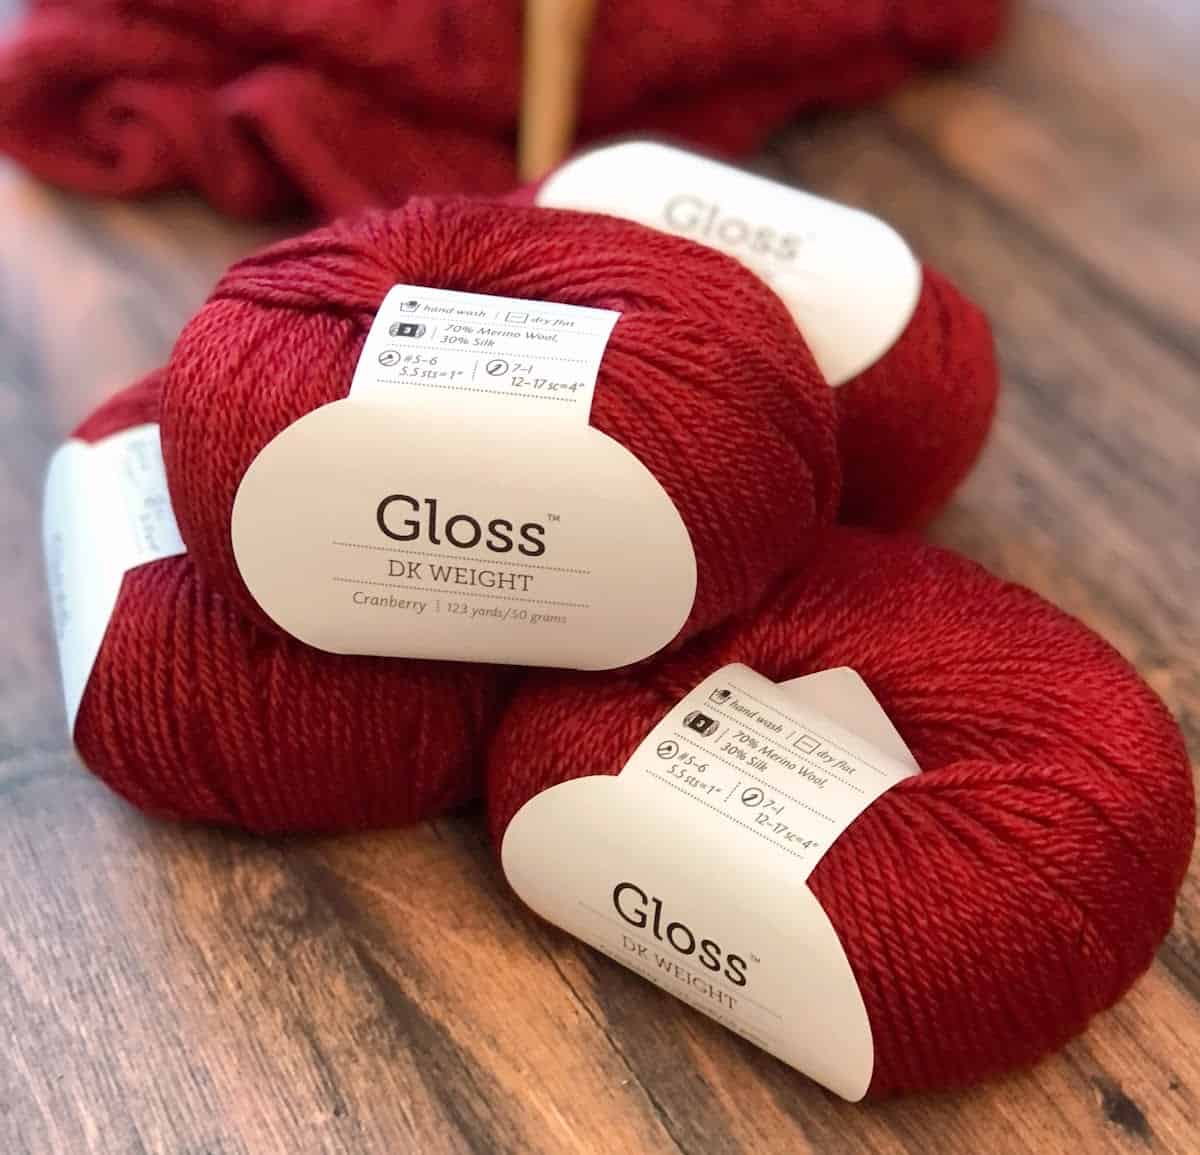
You’ll need about 30 yd to 60 yd of #4 medium worsted weight yarn. Here I use Dishie a 100% cotton yarn.
While 100% cotton works best for dishcloths. You can also use some cotton blends. Read more about why to use cotton yarn in your dishcloths here.
The knitting needles I use are US Size 7 / 4.5 mm needles for this pattern.
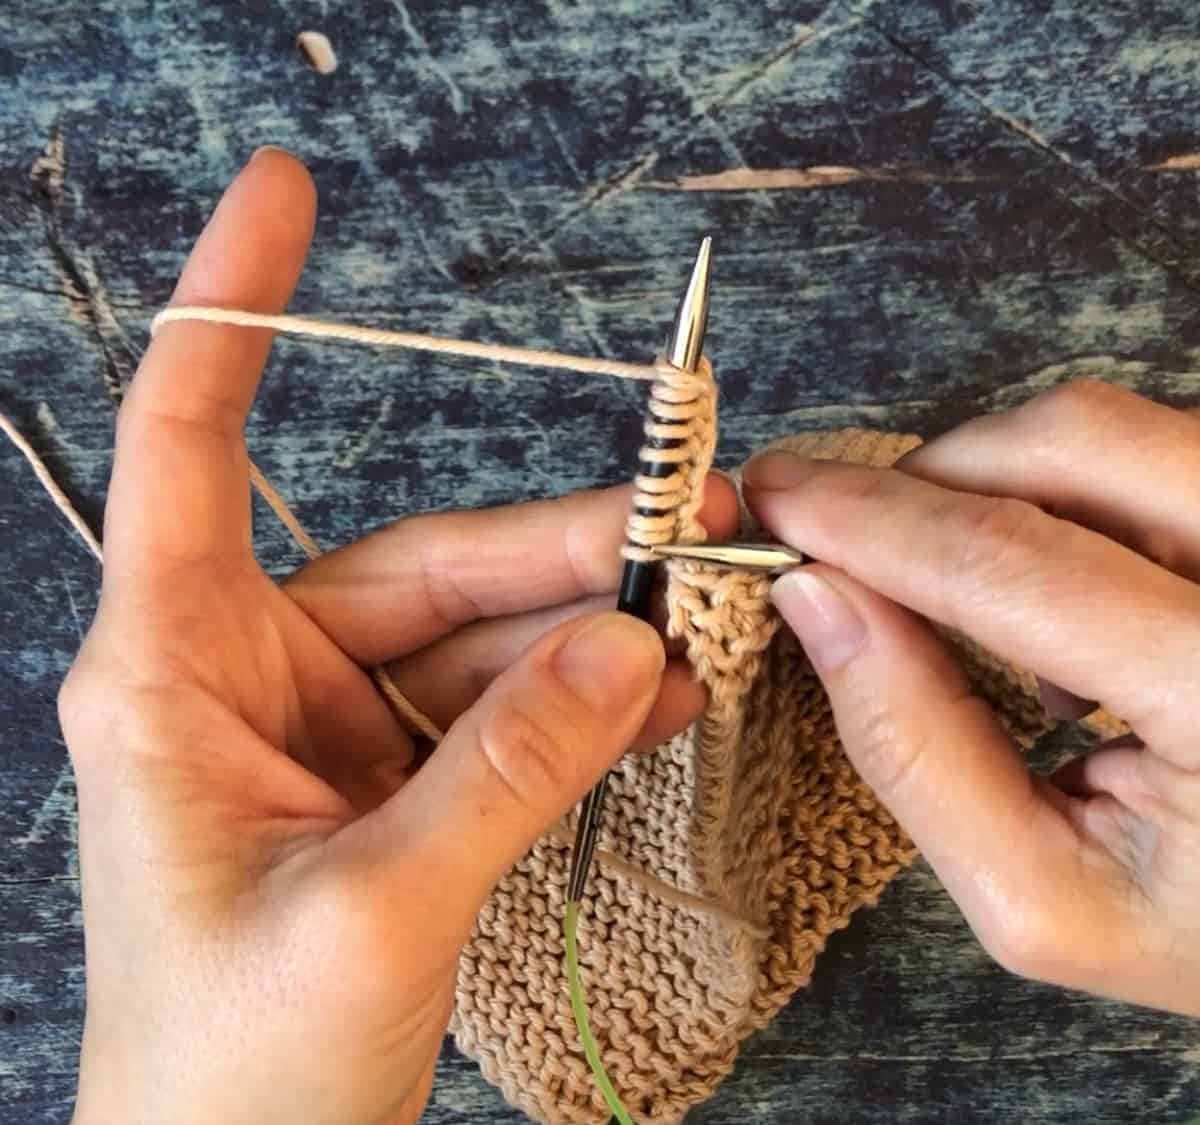
I use my circulars, but it’s knit flat so you can also use straight needles. I love my Knitter’s Pride Karbonz metal tips* for knitting with cotton.
Other notions you’ll need are your tapestry needle, measuring tape and scissors. While they’re not required using two stitch markers to mark the border from the main stitch pattern is helpful especially if you’re a beginner.
No cotton yarn?
While cotton is preferred for kitchen and bathroom use if you have acrylic scraps you can knit this pattern and call them blanket squares! Joining up squares is a fun way to create larger projects like baby blankets.
Notes
The stitch multiple for this pattern is 4 plus 2. See sizing for how to make adjustments.
Gauge
Gauge is not terribly important for a dishcloth as you don’t necessarily need a specific size. I recommend you use the yarn and size of needles that you knit most comfortably with for this dishcloth pattern.
4″ / 10 cm x 4″ 10 cm = 18 sts x 29 rows in seed stitch pattern (border)
4″ / 10 cm x 4″ 10 cm = 17 sts x 26 rows in double moss stitch pattern (center)
Skill Level
Easy
Total Beginner?
Start with this simple knit scrubby. It’s a great pattern for beginners because you’re only using knit stitches, also called garter stitch.
Stitches / Abbreviations
BO – bind off
CO – cast on
K – knit
P – purl
rep – repeat
RS – right side
Knitting tip: Stitch Markers!
If you’re a new knitter it’s helpful to place a stitch marker on the right side of your project to help you distinguish it from the wrong side.
Sizing
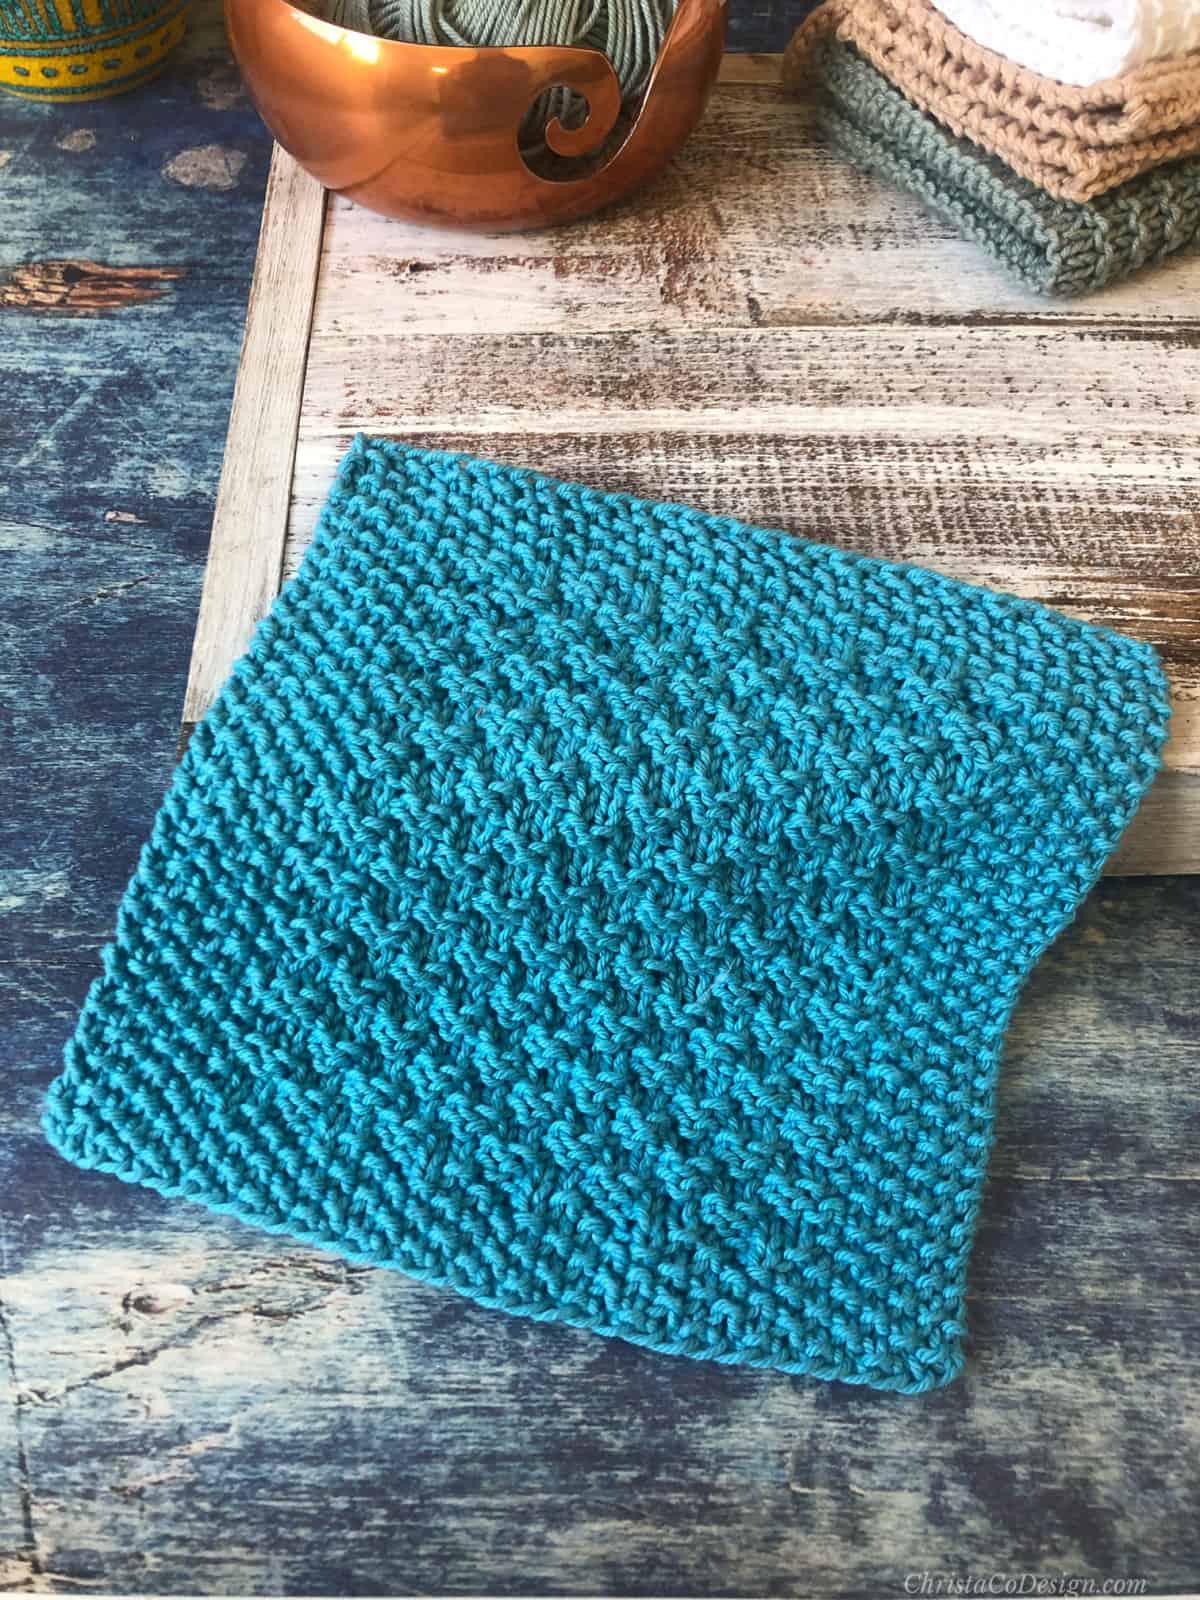
For the dishcloth I include 3 sizes: 6″, 8″ and 10″.
You can easily adjust the width of your dishcloth by casting on more or less stitches. 4 stitches equals about an inch.
If you want to adjust the number of border stitches keep an even number on both sides.
Remember to keep the stitch count to a multiple of 4 plus 2 more. It’s easiest to add or subtract 4 to my cast on.
For changes to the length of this pattern just add or subtract sets in the 4 row repeat.
Finishing Options
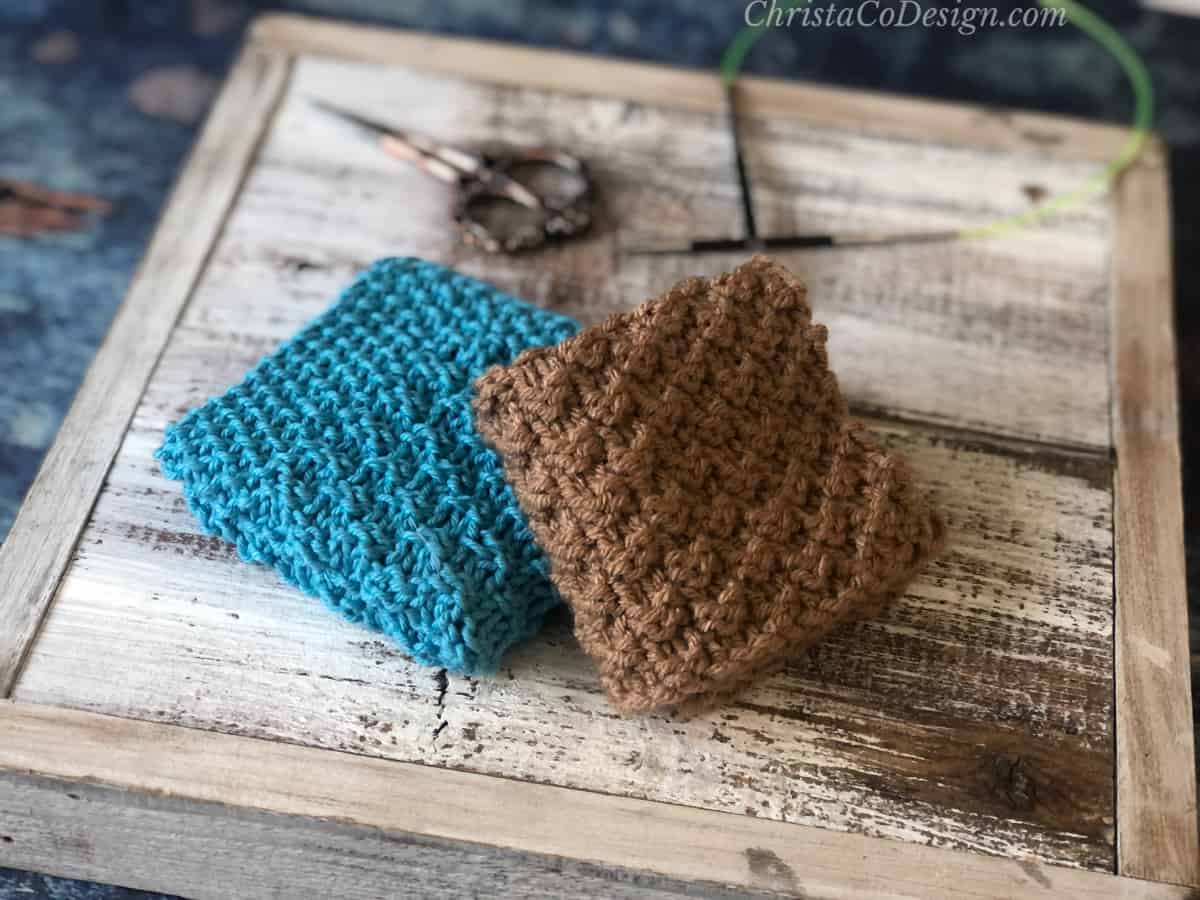
The free pattern includes 3 different edges.
- Since this pattern lays flat no edge treatment gives it that beaded edge look.
- A 1/2″ edge of 4 stitches on either end in seed stitch. The first and last rows will also be in seed stitch to frame the main stitch repeat rows.
- And a full 1″ border of 6 stitches for both ends and the beginning and ending rows to match.
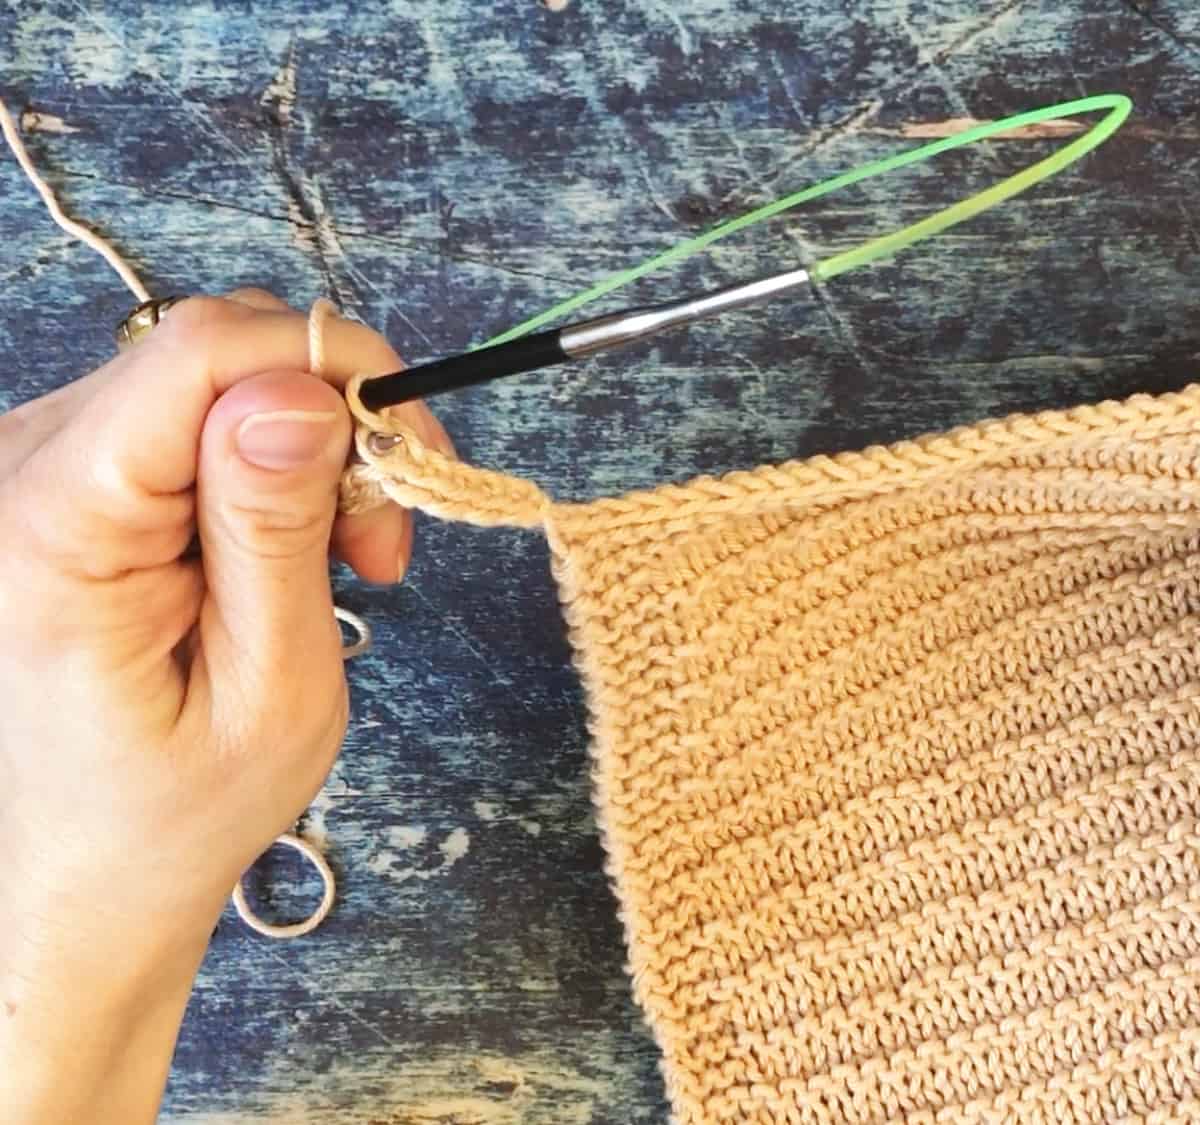
The hanging loop is optional as well. Be sure to check out the tutorial on how to add the hanging loop or my other easy dishcloth pattern.
Scroll down for the free knitting pattern!
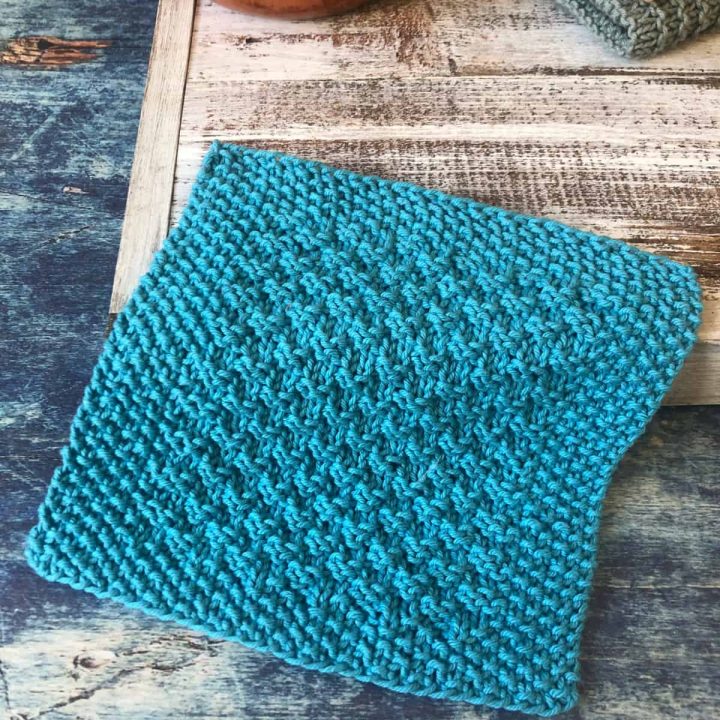
Double Moss Stitch Dishcloth
Knit a textured dishcloth in this easy pattern!
Materials
- #4 medium worsted weight cotton yarn
Tools
- US Size 7 / 4.5 mm knitting needles
- Yarn needle
- Scissors
- Measuring tape
- Optional 2 stitch markers
Instructions
Cast On By Size
- 6" CO 26
8" CO 34
10" CO 42
No Edge Treatment
- Row 1. K2, *P2, K2, rep from * to end of row.
- Row 2. P2, *K2, P2, rep from * to end of row.
- Row 3. P2, *K2, P2, rep from * to end of row.
- Row 4. K2, *P2, K2, rep from * to end of row.
- Rep Rows 1 - 4 for desired length.
- BO. Optional go to Add Hanging Loop below.
1/2" Bordered Dishcloth
- Row 1. *K1, P1, rep from * to end of row.
- Row 2. * P1, K1, rep from * to end of row.
- Rep Row 1 -2 for 1/2”.
Main Stitch Pattern
- Row 1. K1, P1, K1, P1, K2, *P2, k2 rep from * until last 4 sts, K1, P1, K1, P1.
- Row 2. P1, K1, P1, K1, P2, *k2, p2 rep from * until last 4 sts, P1, K1, P1, K1.
- Row 3. K1, P1, K1, P1, P2, *k2, p2 rep from * until last 4 sts, K1, P1, K1, P1.
- Row 4. P1, K1, P1, K1, K2, *P2, k2 rep from * until last 4 sts, P1, K1, P1, K1.
- Rep these 4 rows until 1/2” before final length.
Ending Border
- Row 1. *K1, P1, rep from * to end of row.
- Row 2. * P1, K1, rep from * to end of row.
- Rep Row 1 -2 for 1/2”.
- BO on RS. Optional go to Add Hanging Loop below.
1" Bordered Dishcloth
- Row 1. *K1, P1, rep from * to end of row.
- Row 2. * P1, K1, rep from * to end of row.
- Rep Row 1 -2 for 1”.
Main Stitch Pattern
- Row 1. K1, P1, K1, P1, K1, P1, K2, *P2, k2 rep from * until last 6 sts, K1, P1, K1, P1, K1, P1.
- Row 2. P1, K1, P1, K1, P1, K1, P2, *k2, p2 rep from * until last 6 sts, P1, K1, P1, K1, P1, K1.
- Row 3. K1, P1, K1, P1, K1, P1, P2, *k2, p2 rep from * until last 6 sts, K1, P1, K1, P1, K1, P1.
- Row 4. P1, K1, P1, K1, P1, K1, K2, *P2, k2 rep from * until last 6 sts, P1, K1, P1, K1, P1, K1.
- Rep these 4 rows until 1” before final length.
Ending Border
- Row 1. *K1, P1, rep from * to end of row.
- Row 2. * P1, K1, rep from * to end of row.
- Rep Row 1 -2 for 1”.
- BO on RS. Optional go to Add Hanging Loop below.
Add Hanging Loop
- After last stitch is bound off, turn your work.
- Use the knitted cast on to cast on stitches for your hanging loop.

- For about a 2" finished loop I cast on 20 sts. You can adjust this number to your needs.
K all. - Turn your work and BO.

- Once last st is bound off, cut the yarn and pull it through the last st.
- Use the tail to sew the loop down in the corner.
- Weave away ends.

Recommended Products
As an Amazon Associate and member of other affiliate programs, I earn from qualifying purchases.

