How to Purl Stitch a Beginner Knitting Tutorial
Learn how to purl stitch in knitting. This step by step tutorial includes pictures and a video of how to knit a purl stitch.

This post contains affiliate links, I may earn a fee. Read more disclosure policy.
Join the ChristaCoDesign Newsletter
Never miss a pattern!
A purl is one of the basic stitches in knitting. The purl is the opposite of a knit stitch.
One of the really neat things about knitting is that there are only two stitches: a knit and a purl. So all other stitch patterns are just combinations of knits and purls.
Another one of my favorite things about knitting is that the back of a knit stitch is a purl stitch and vice versa.
Differences Between a Knit and a Purl Stitch
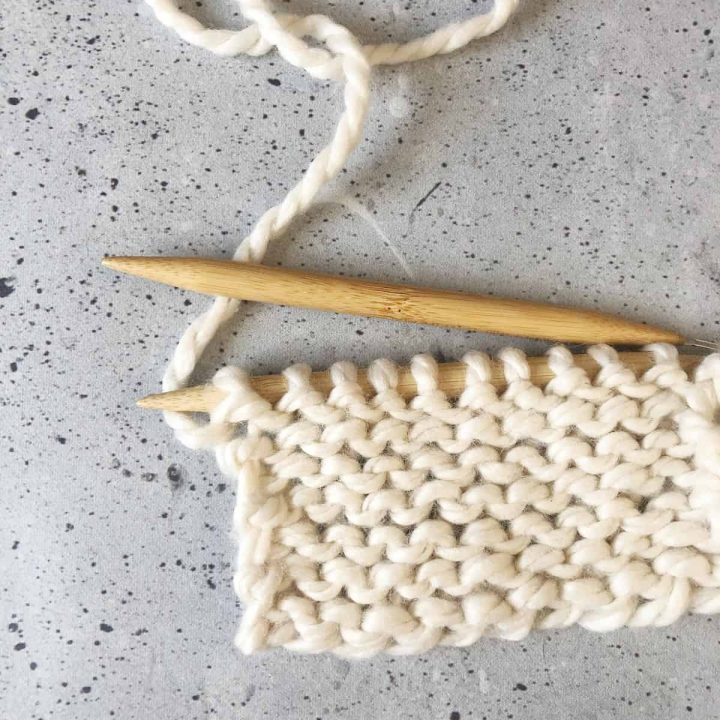
A purl stitch is characterized by the horizontal bar of yarn that is the front of the stitch. A knit stitch creates a v shape with two strands of yarn.
To make a purl stitch, you will bring the working yarn to the front of the work. With a knit stitch the working yarn stays in the back of your project.
Another difference between knits and purls is how you insert the needle tip. To purl you insert the right-hand needle with the tip pointing towards the left-hand needle tip. Tip to tip.
To make a knit stitch your needle tips will both be pointing to the right side.
Stockinette Stitch
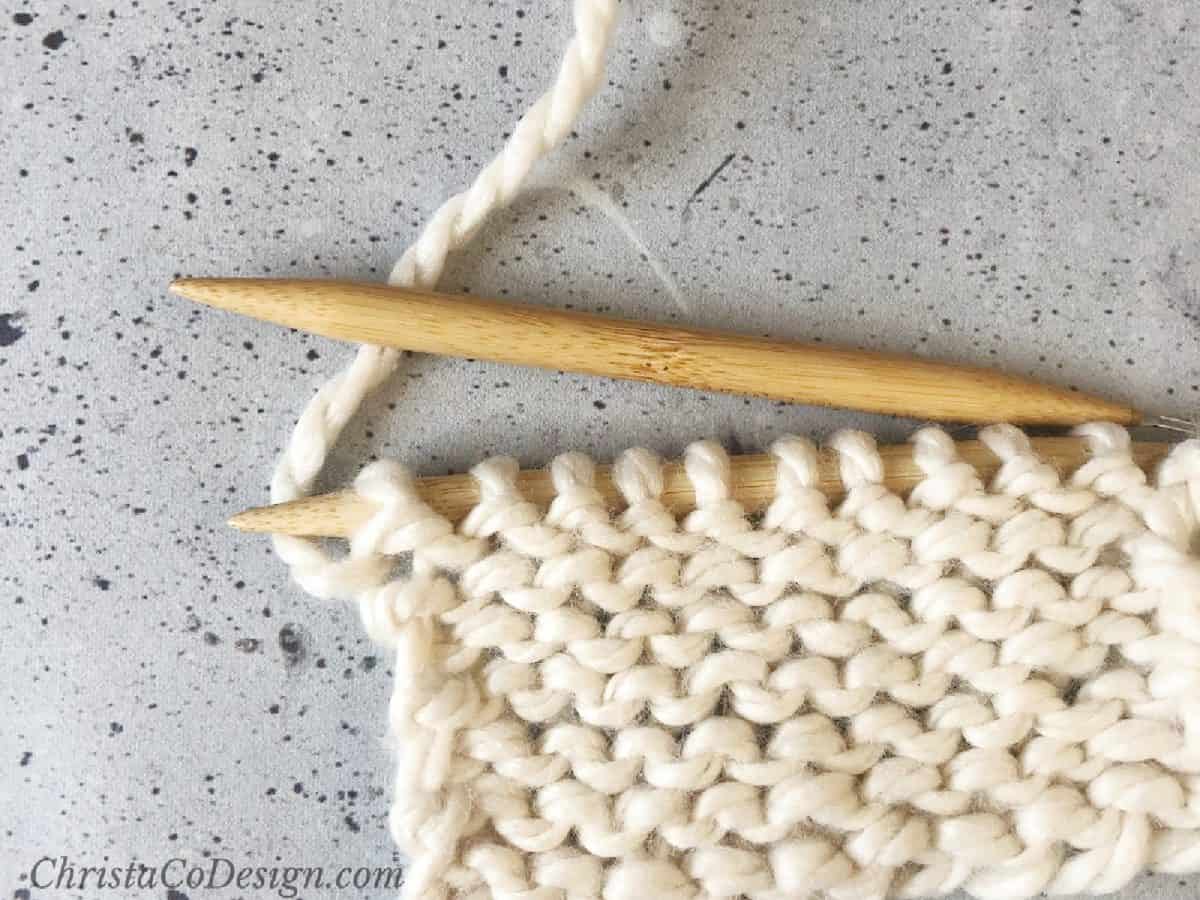
The classic, well loved stockinette stitch is made with knits on the right side and purls on the wrong side. This gives us a fabric that is flat on the front side with virtually no texture.
The purl is a bumpy stitch. So the backside of stockinette stitch is full of purl bumps.
Stockinette stitch can be worked flat or in the round. When it’s worked flat, you knit on the right side.
Then turn your work and on the next row you purl. This is the wrong side in stockinette. When you turn it, you will see the back of the stitch looks like a purl bump.
When you knit stockinette stitch in the round, you only knit around and around. Since you’re not turning your work you are always looking at the right side. This means you can just make knit stitches to get a stockinette fabric.
Types of Knitting
English style knitters hold the yarn with their right hand. Continental style knitters hold the yarn with their left hand.
These are the two most popular styles of knitting. There are many more different ways to knit.
I am a continental knitter, so you will see I hold the yarn with my left hand.
Stitches / Abbreviations (US Terms)
bo – bind off
co – cast on There are many cast on methods, here is the knitted cast on.
k – knit
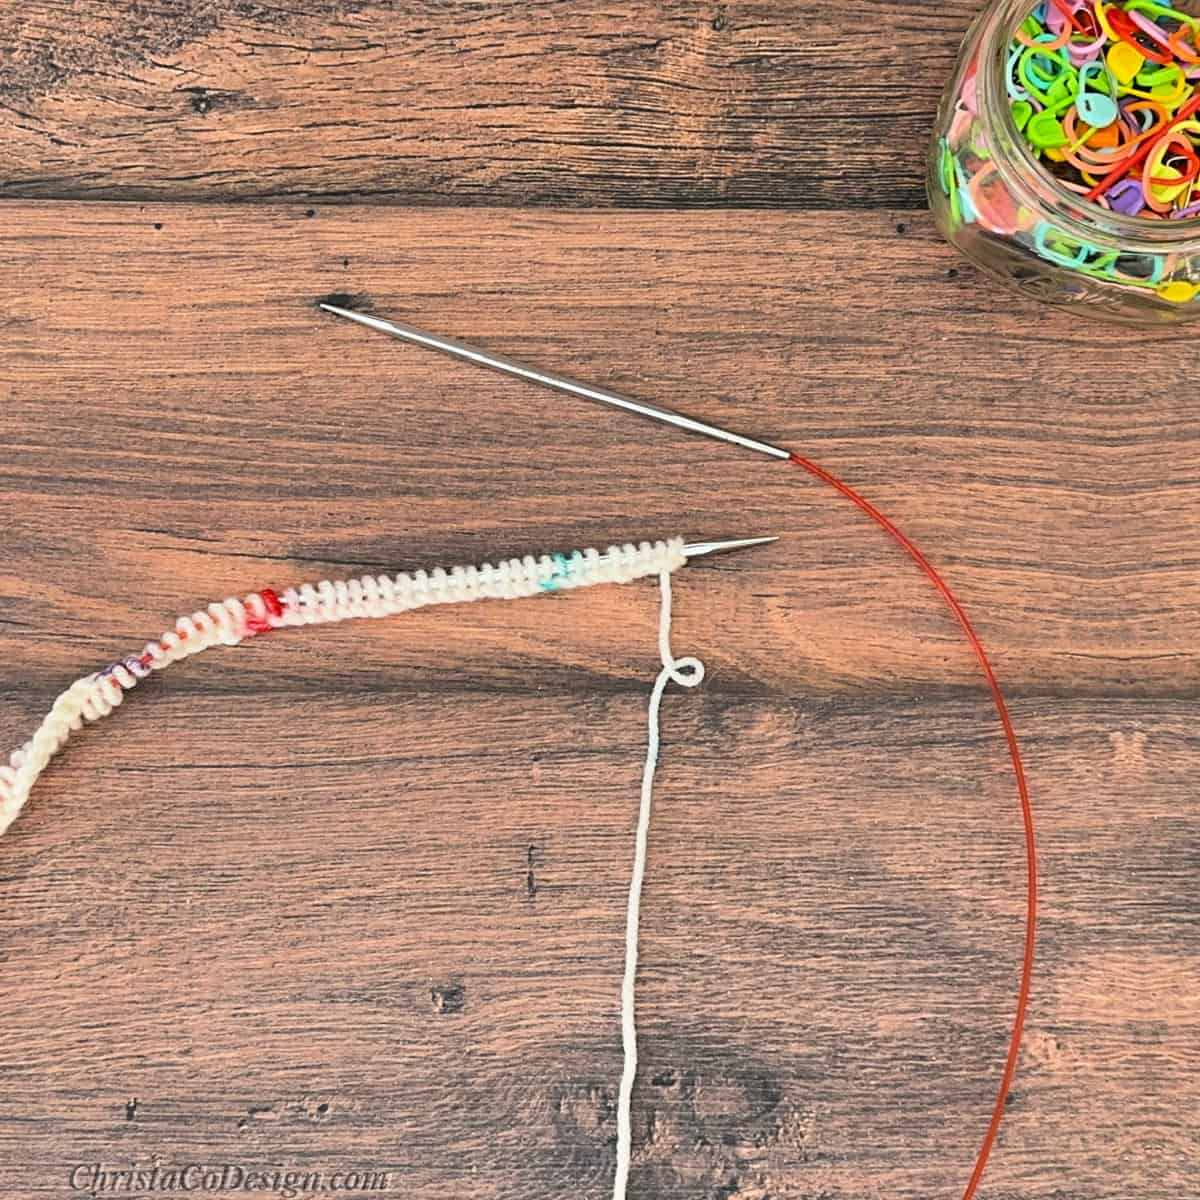
live stitch (es) – the stitches that are on your needle that haven’t been worked yet. When you work a stitch it sits right below the needle.
p – purl
St st – stockinette stitch: knits on the right side and purls on the wrong side
yo – yarn over
Easy Patterns that Use the Purl Stitch
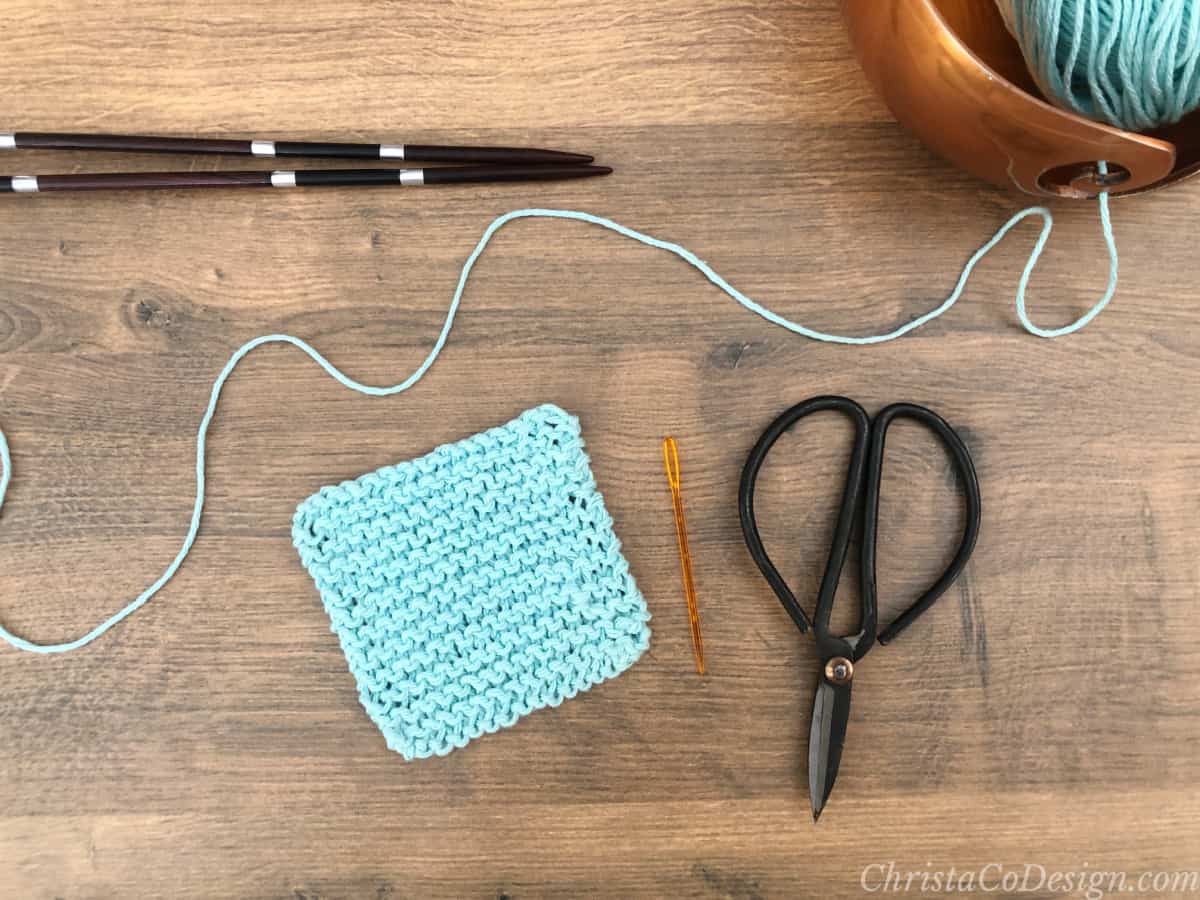
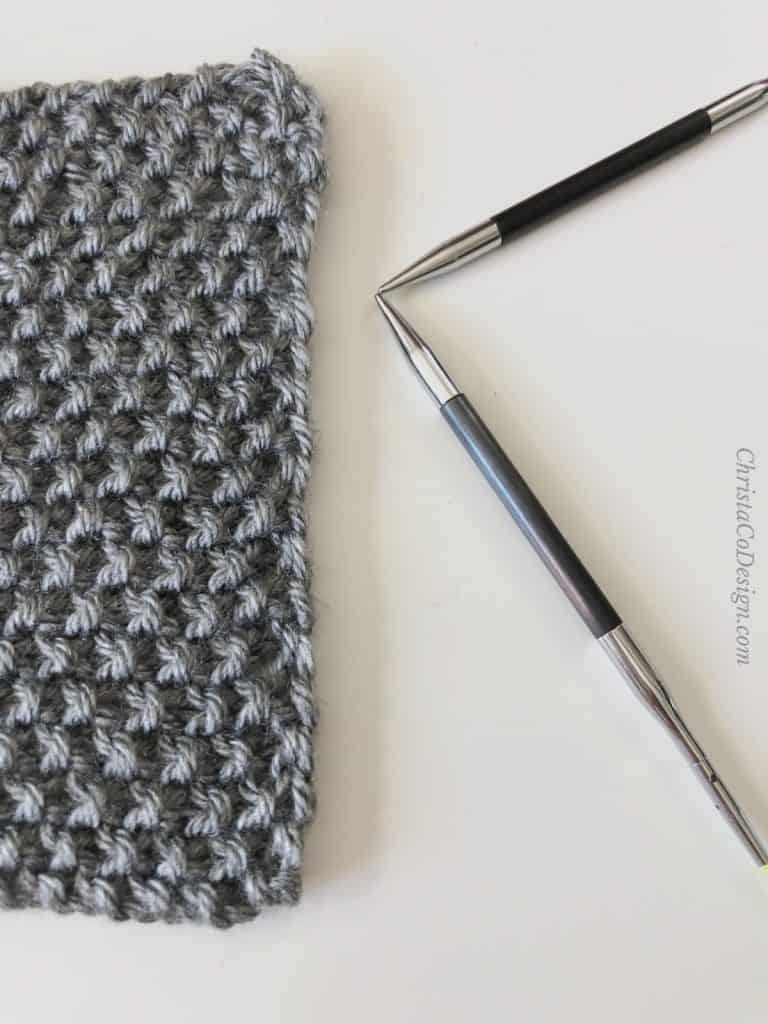
The seed stitch alternates knits and purls to create a textured fabric. This scarf is a free pattern and a great beginner knitting project.
Another simple variation on the seed stitch is the moss stitch. The seed stitch is a one row of alternating knits and purls then a row of purls and knits. The moss stitch is two rows of knits and purls with two rows of purls and knits.
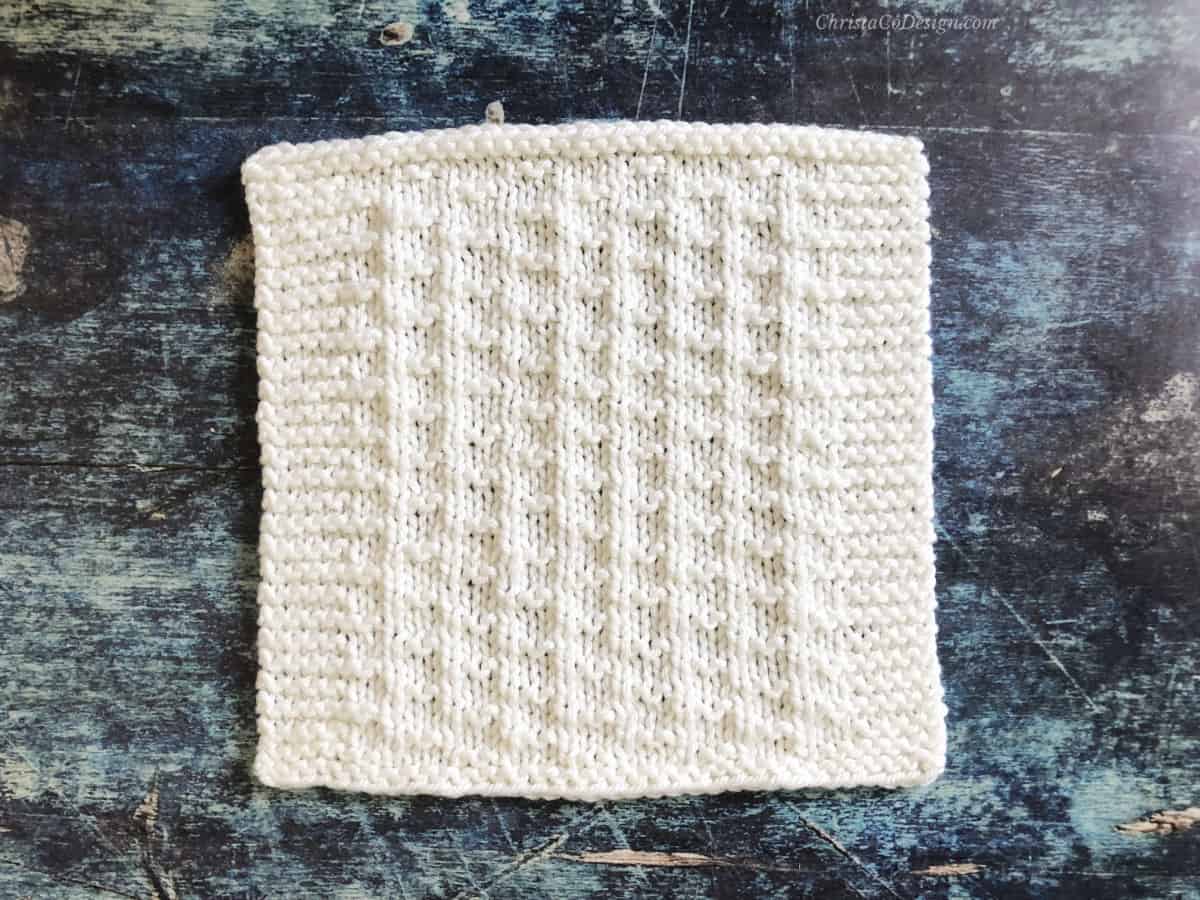
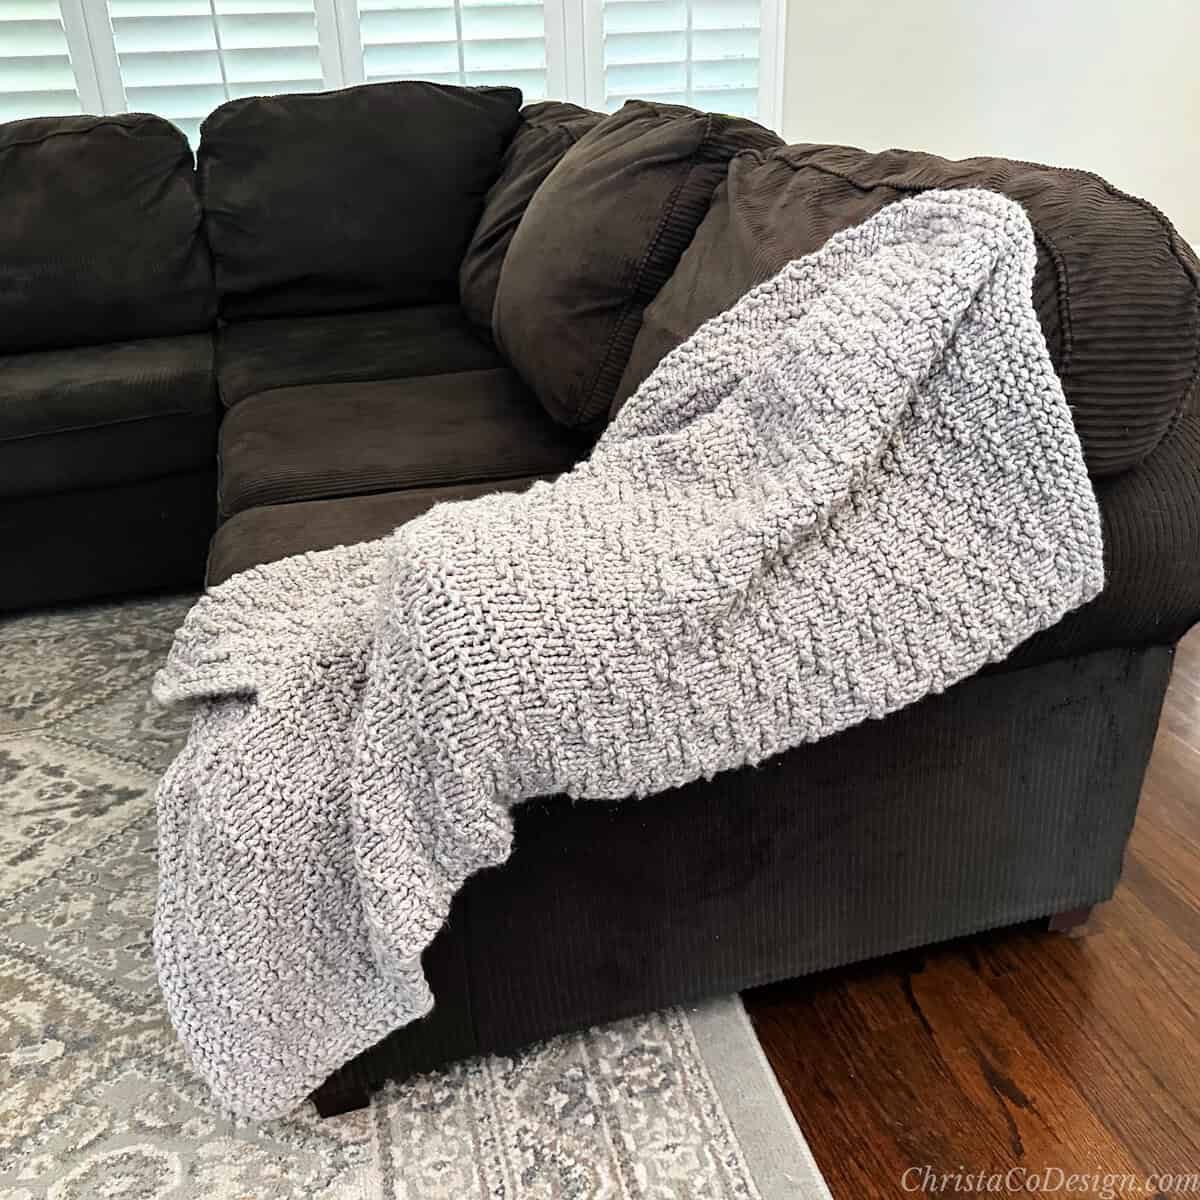
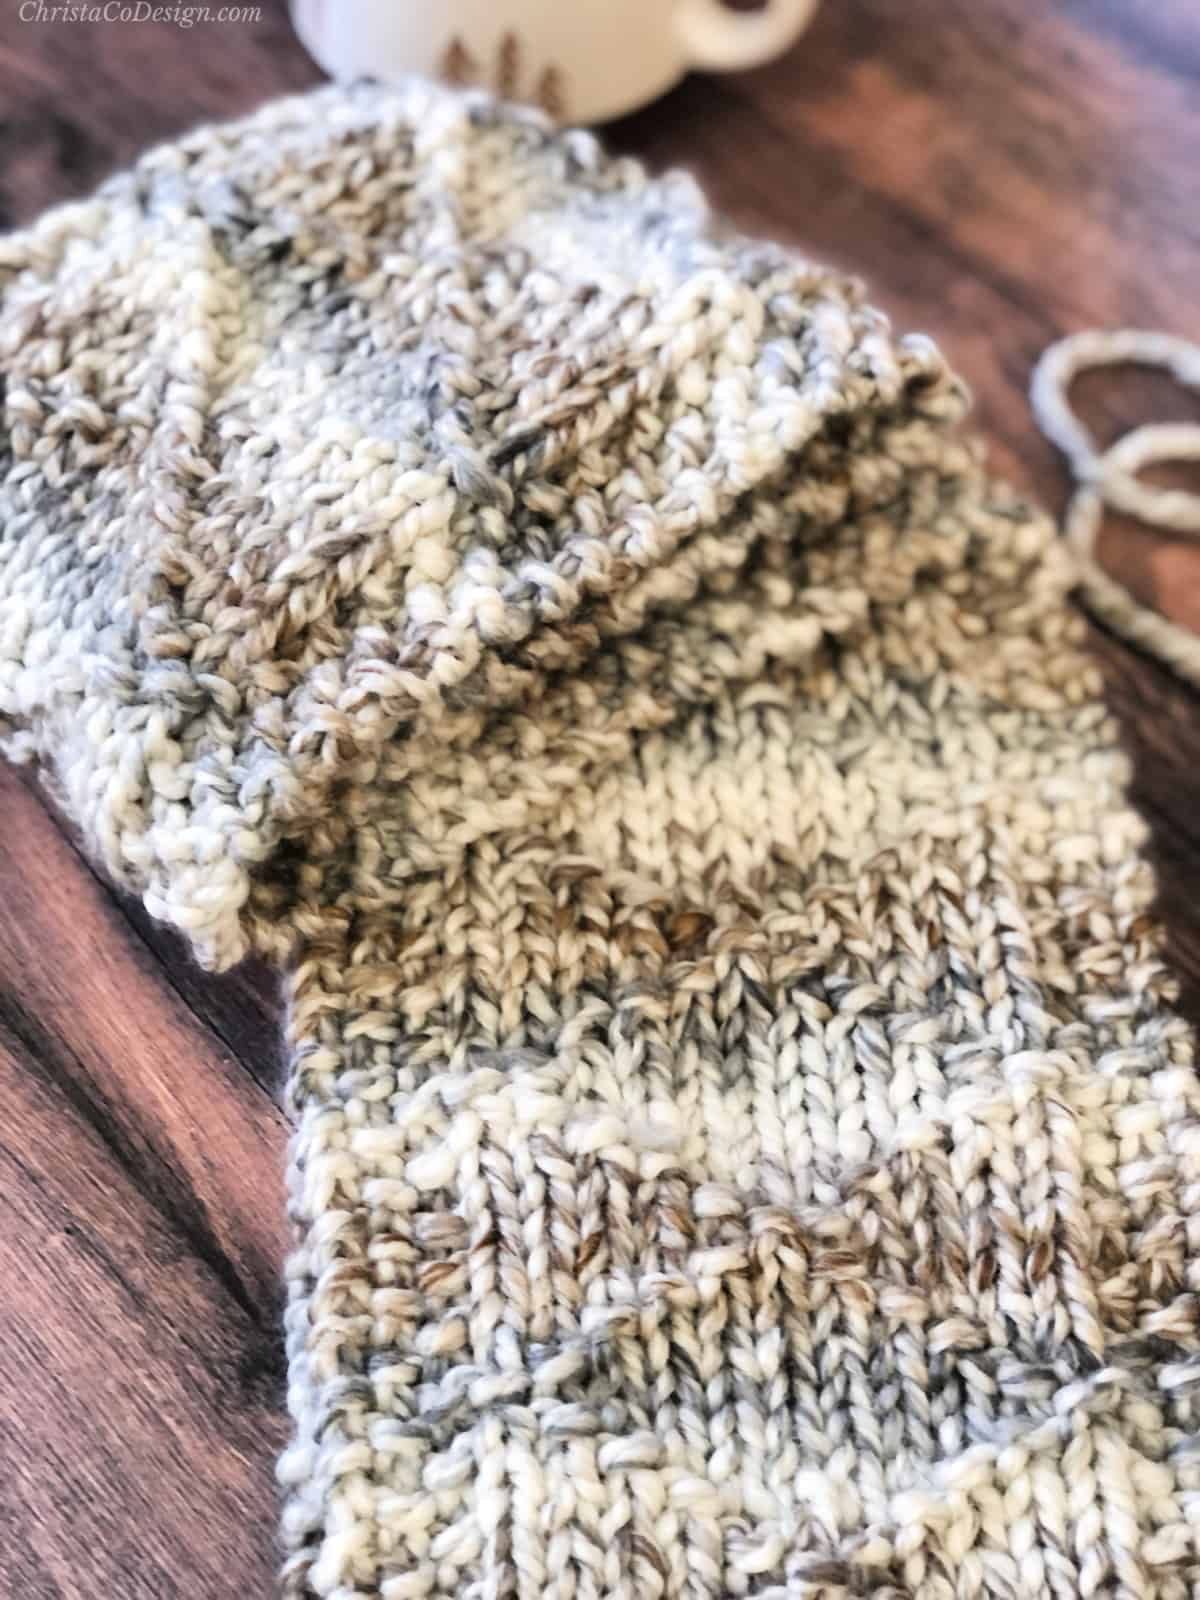
When you’re ready to try a stockinette stitch pattern, try the Miramonte Scarf. This chunky scarf features purl stitches. They make the diamond pattern on a stockinette fabric.
Video Tutorial
Watch the video tutorial on how to purl on my YouTube.
Scroll down for the step by step tutorial on how to purl stitch!
How to Purl Stitch Knitting Tutorial
Learn how to purl stitch with this step by step tutorial for beginning knitters.
Materials
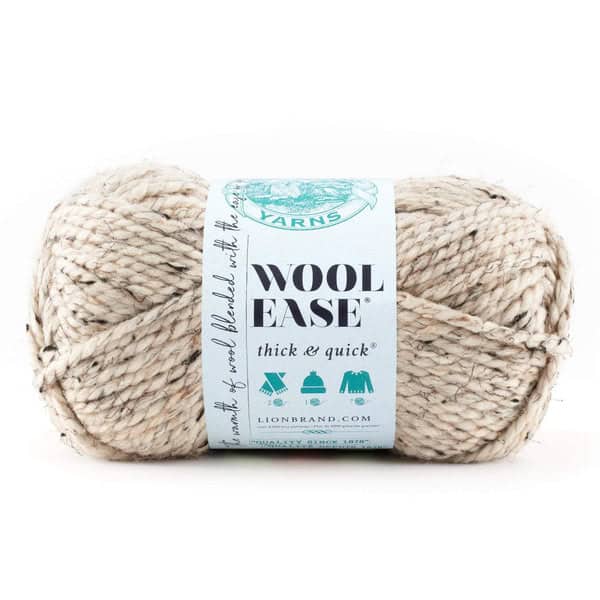
- You can purl with any weight yarn. For this tutorial I'm using a #6 superbulky yarn, Lion Brand Wool Ease Thick & Quick.
Tools
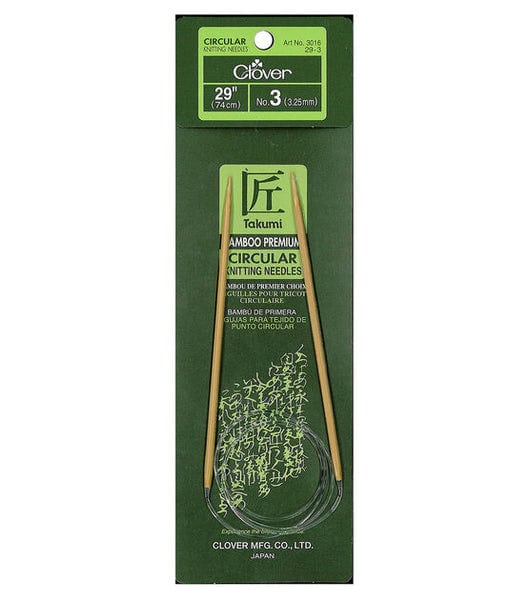
- A set of knitting needles that matches your yarn weight. For the #6 superbulky yarn I'm knitting with US Size 13 / 9mm needles.
Instructions
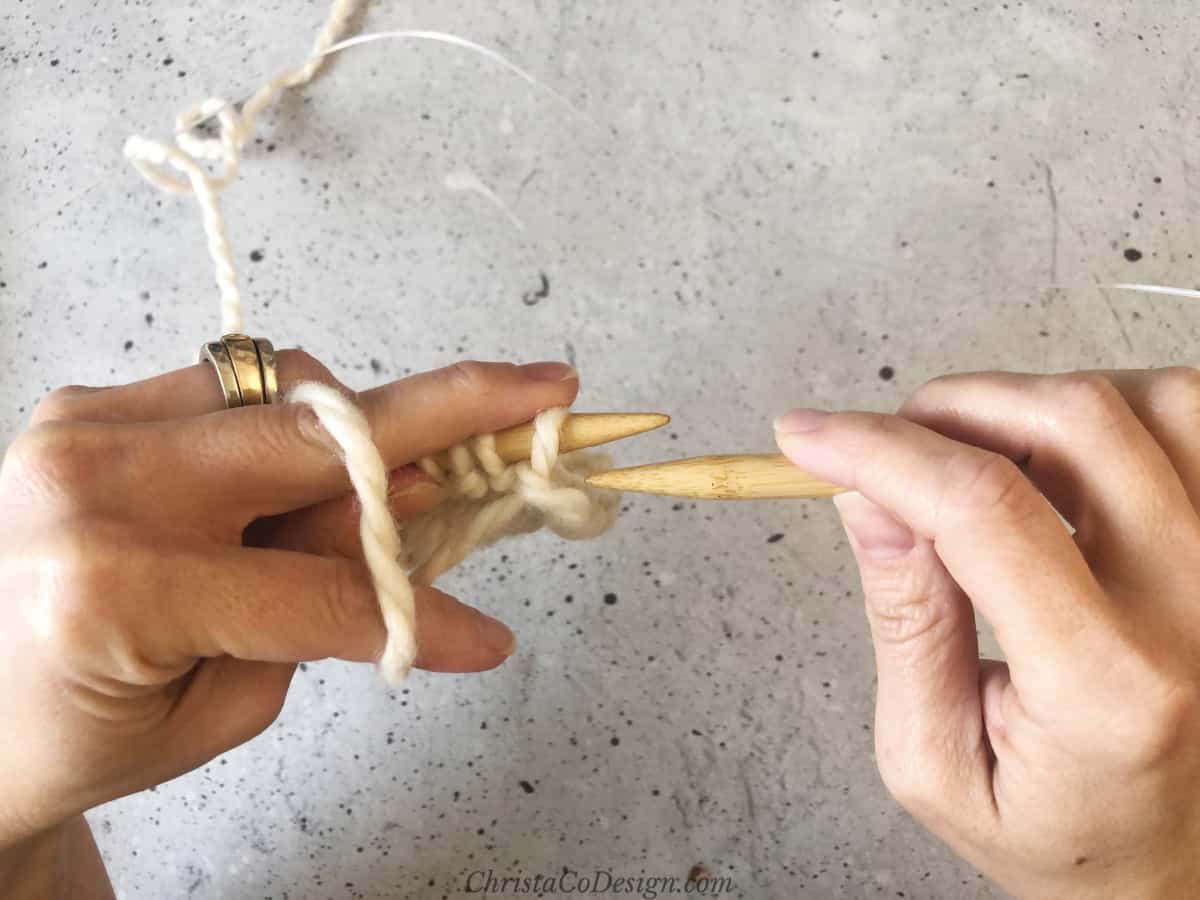
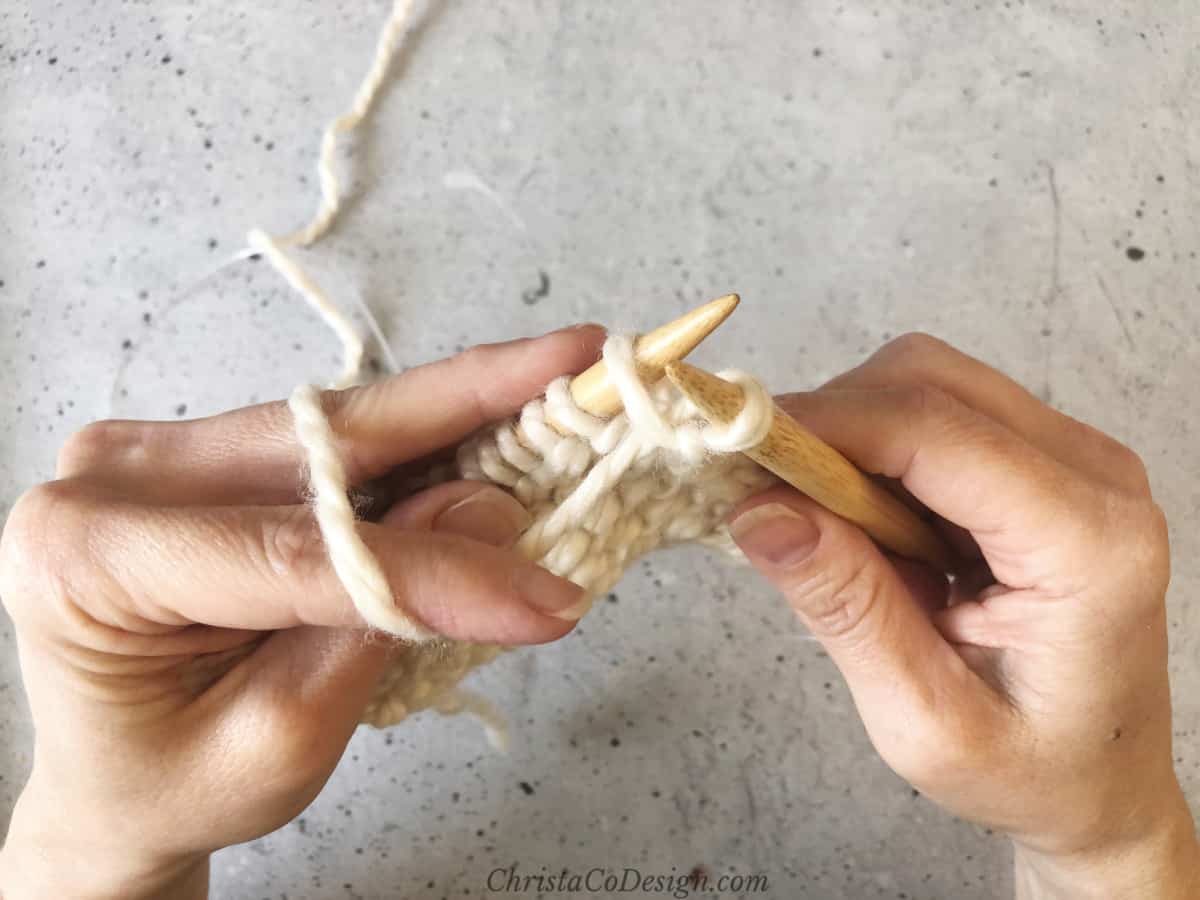
- I use my left index finger to bring the yarn to the front of your work.

- Bring your needle tips together.
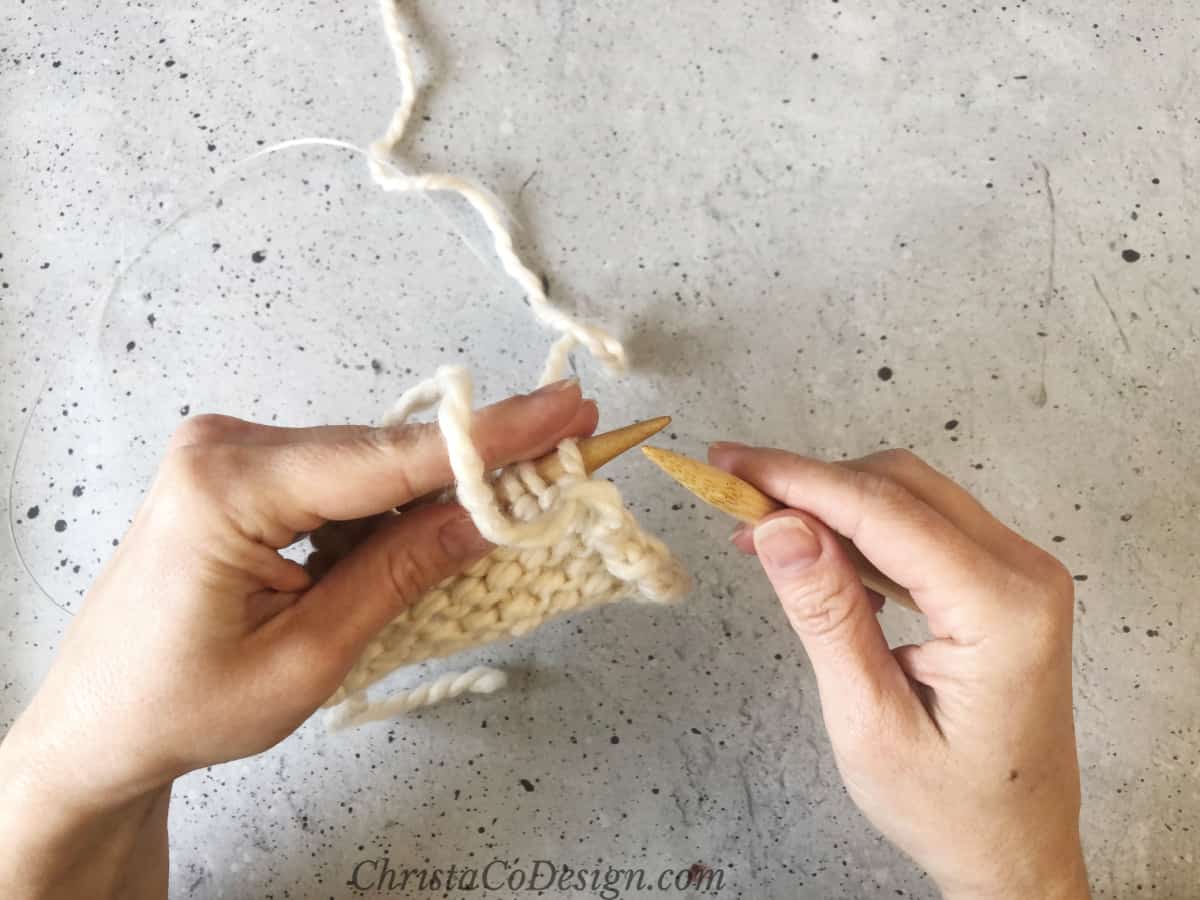 Your needles should be facing tip to tip.
 - Insert the tip of the right needle in the front leg of your first stitch, from right to left.
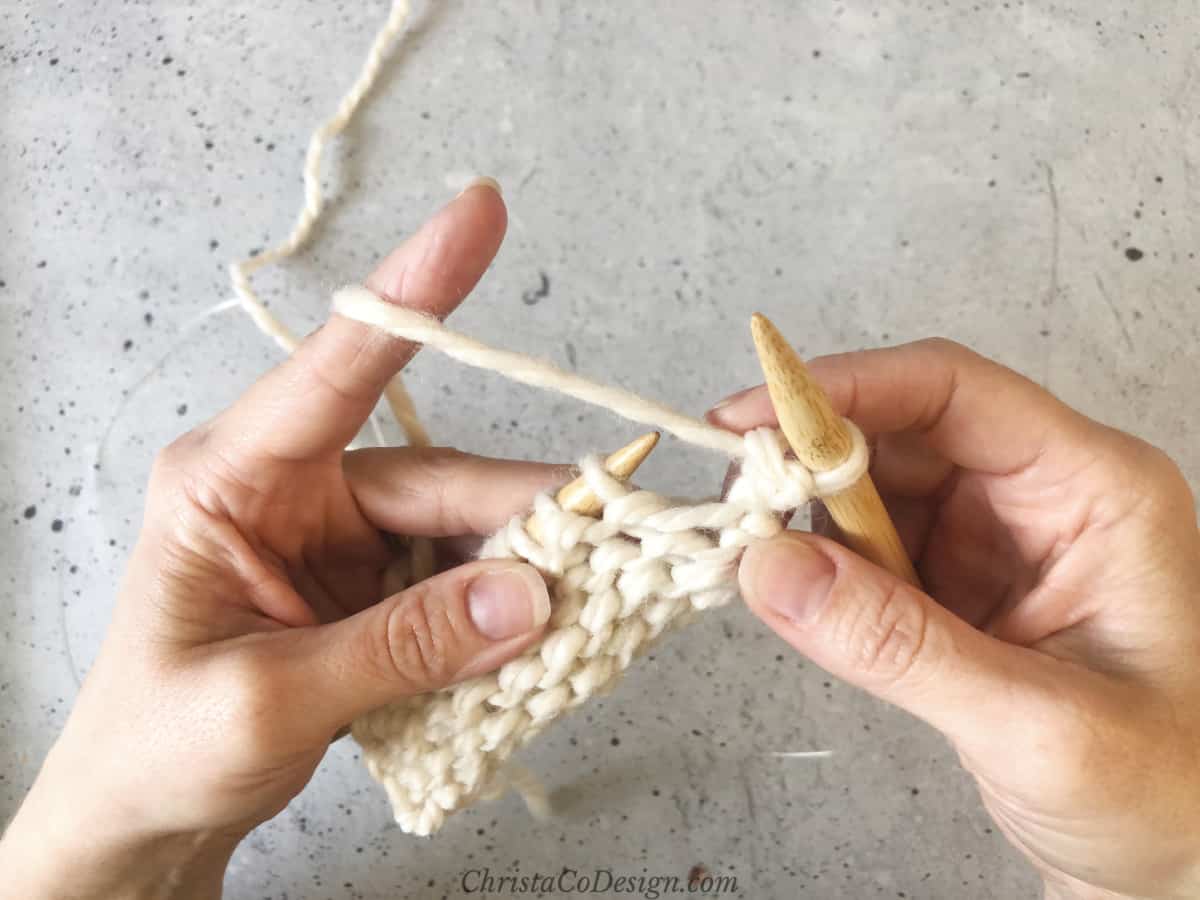
- Wrap the yarn over the right needle.
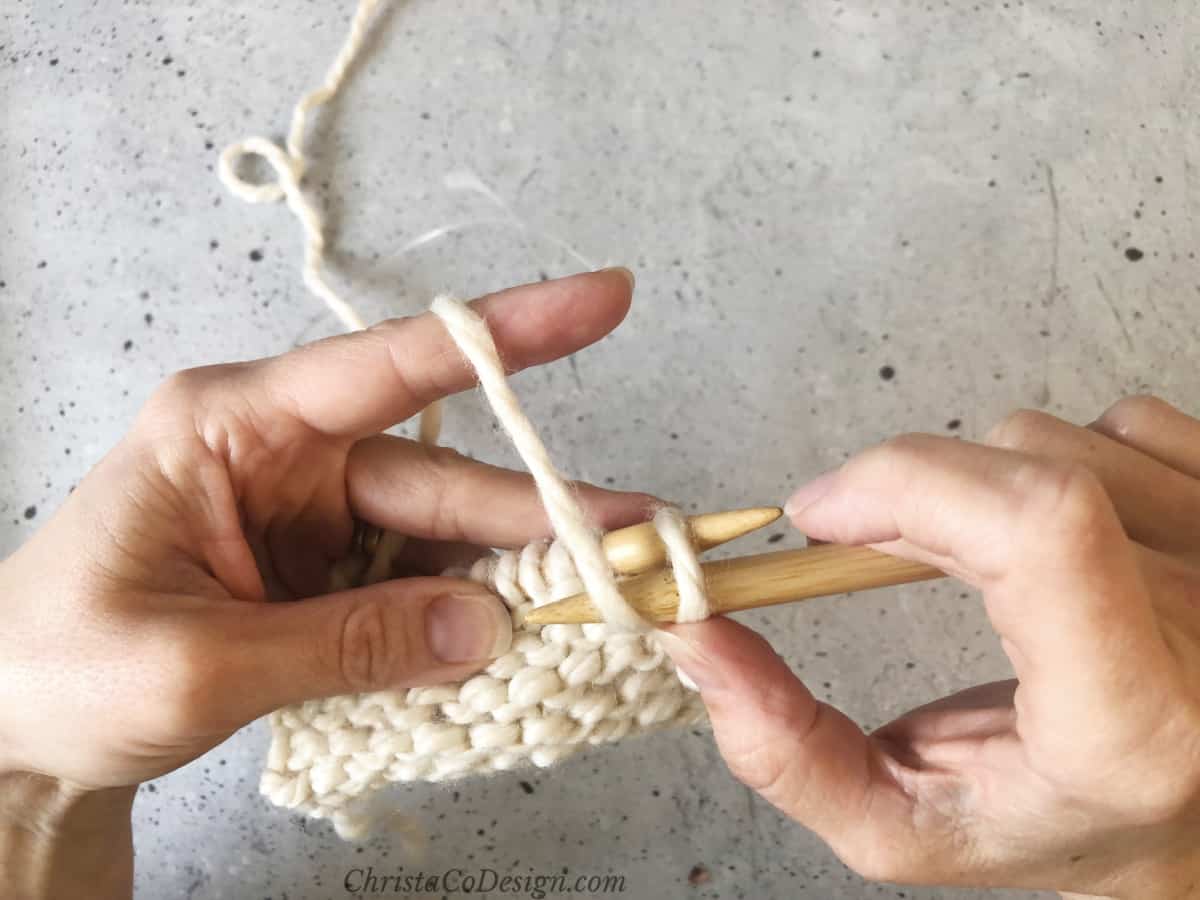
- Scoop the yarn with the right needle tip.
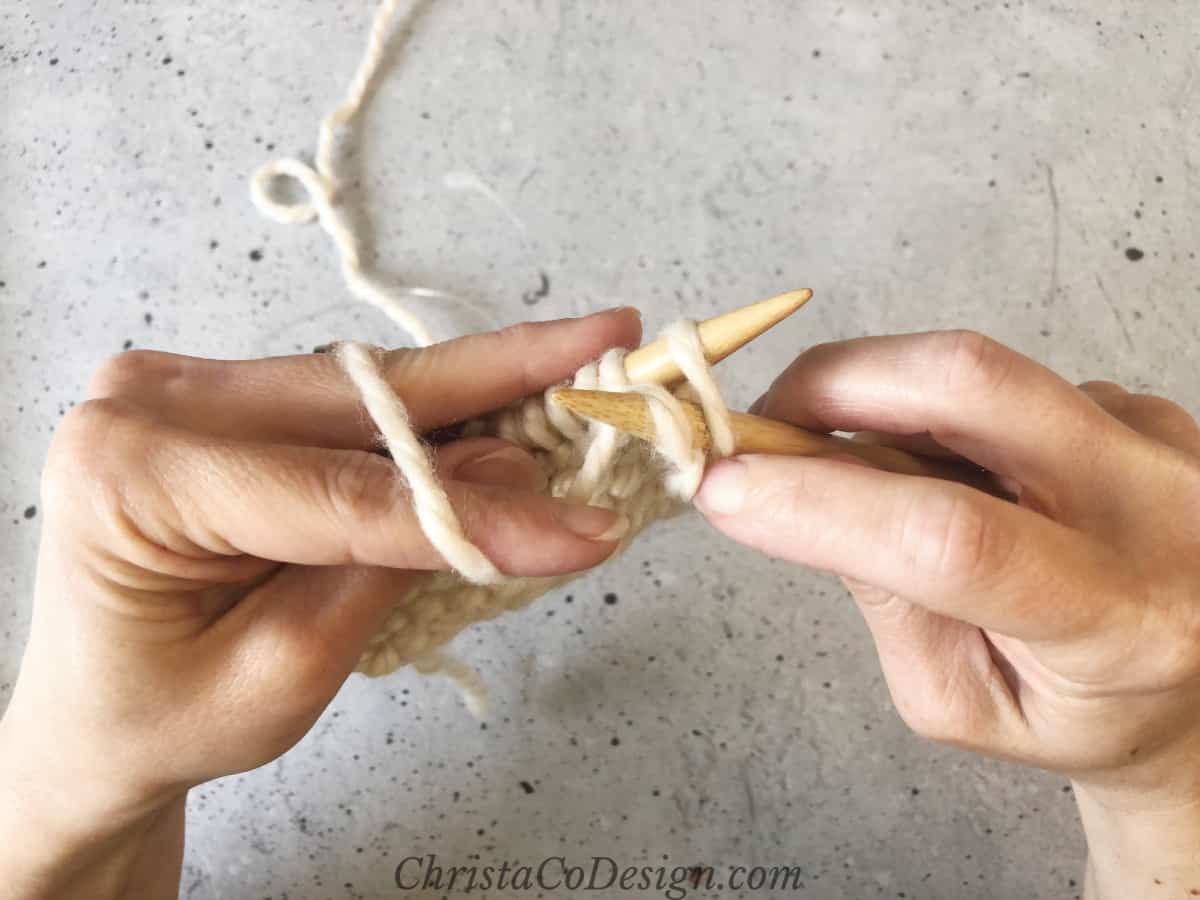
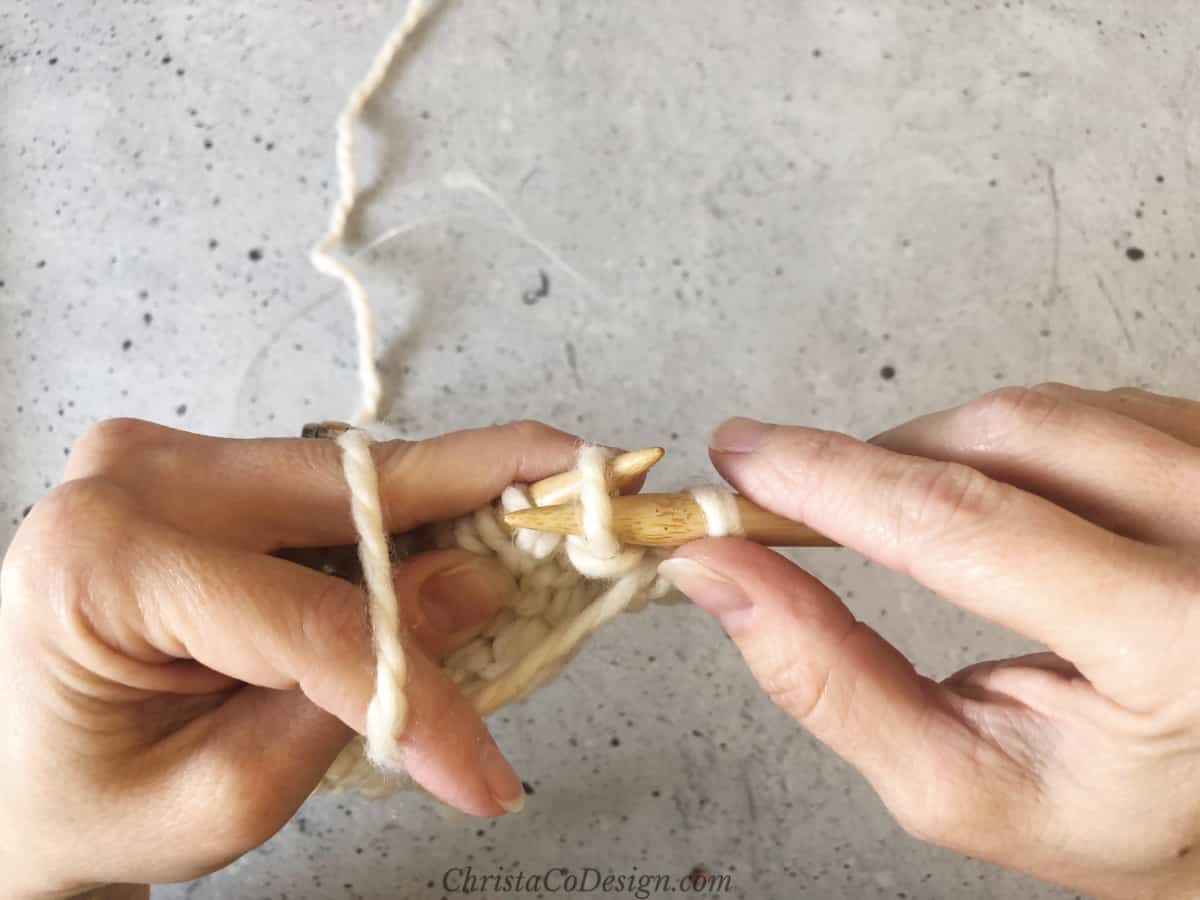
- Pull up a new loop of yarn, pulling it through the stitch.
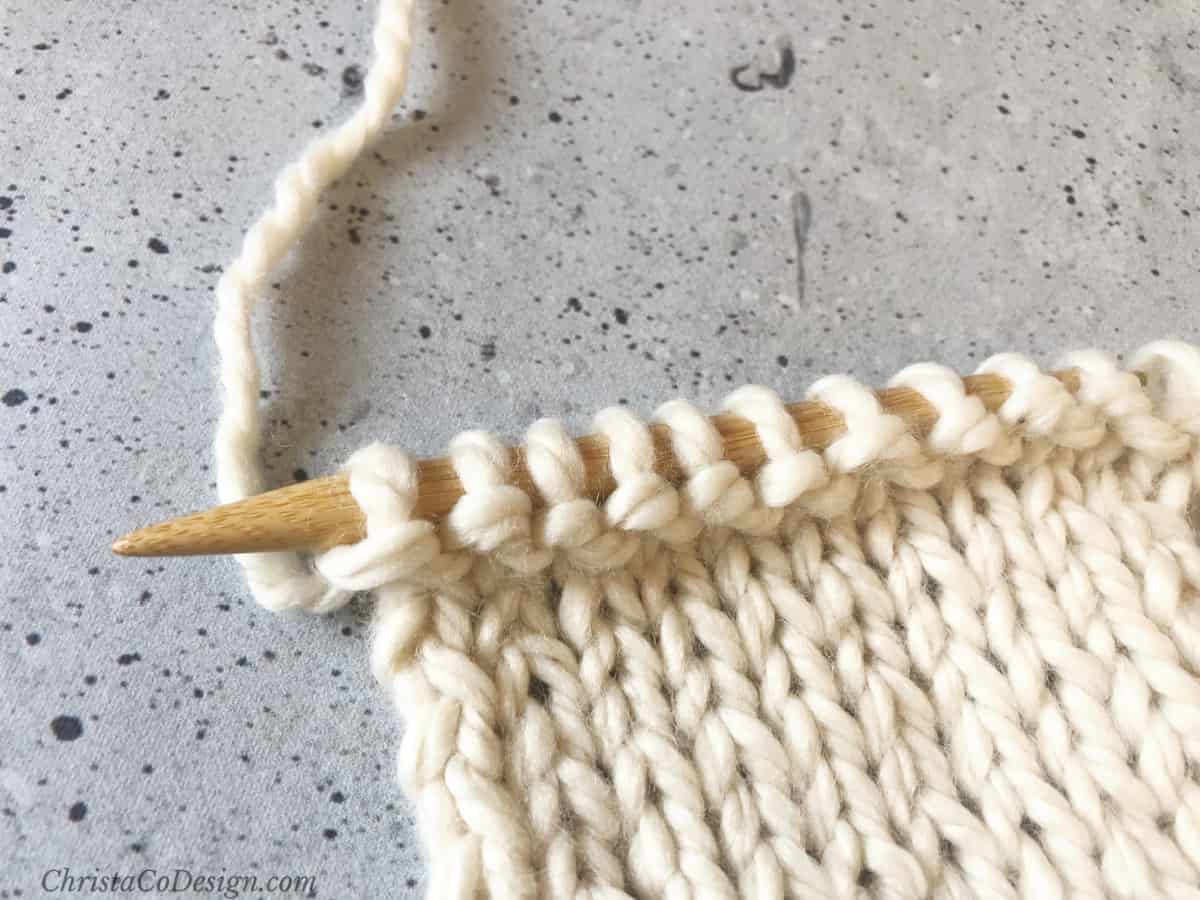
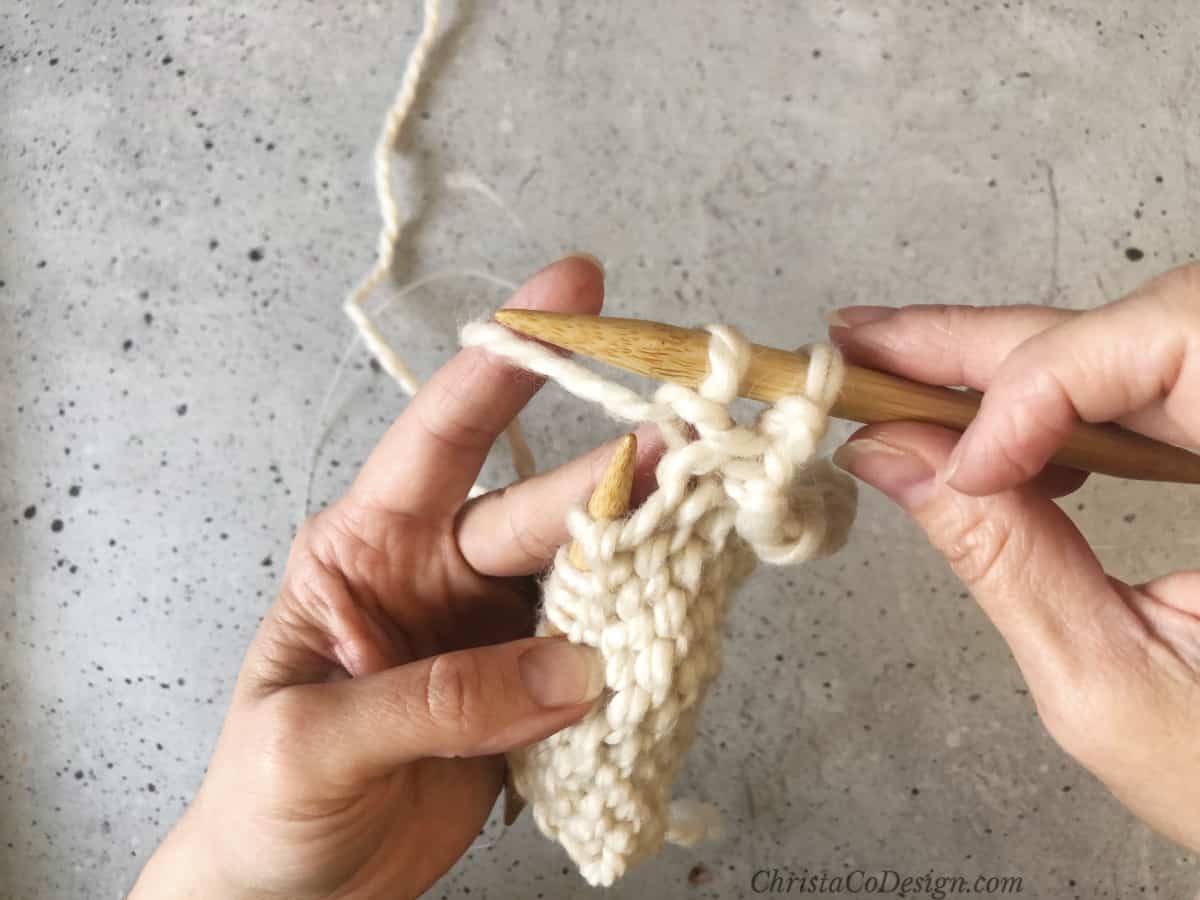
- Slide the old stitch off the left hand needle. The new stitch on your right hand needle is your first purl stitch. You can see the little bump just below the needle.
- Repeat in the next stitch.
- Continue to repeat steps 1 - 7
 across the row.
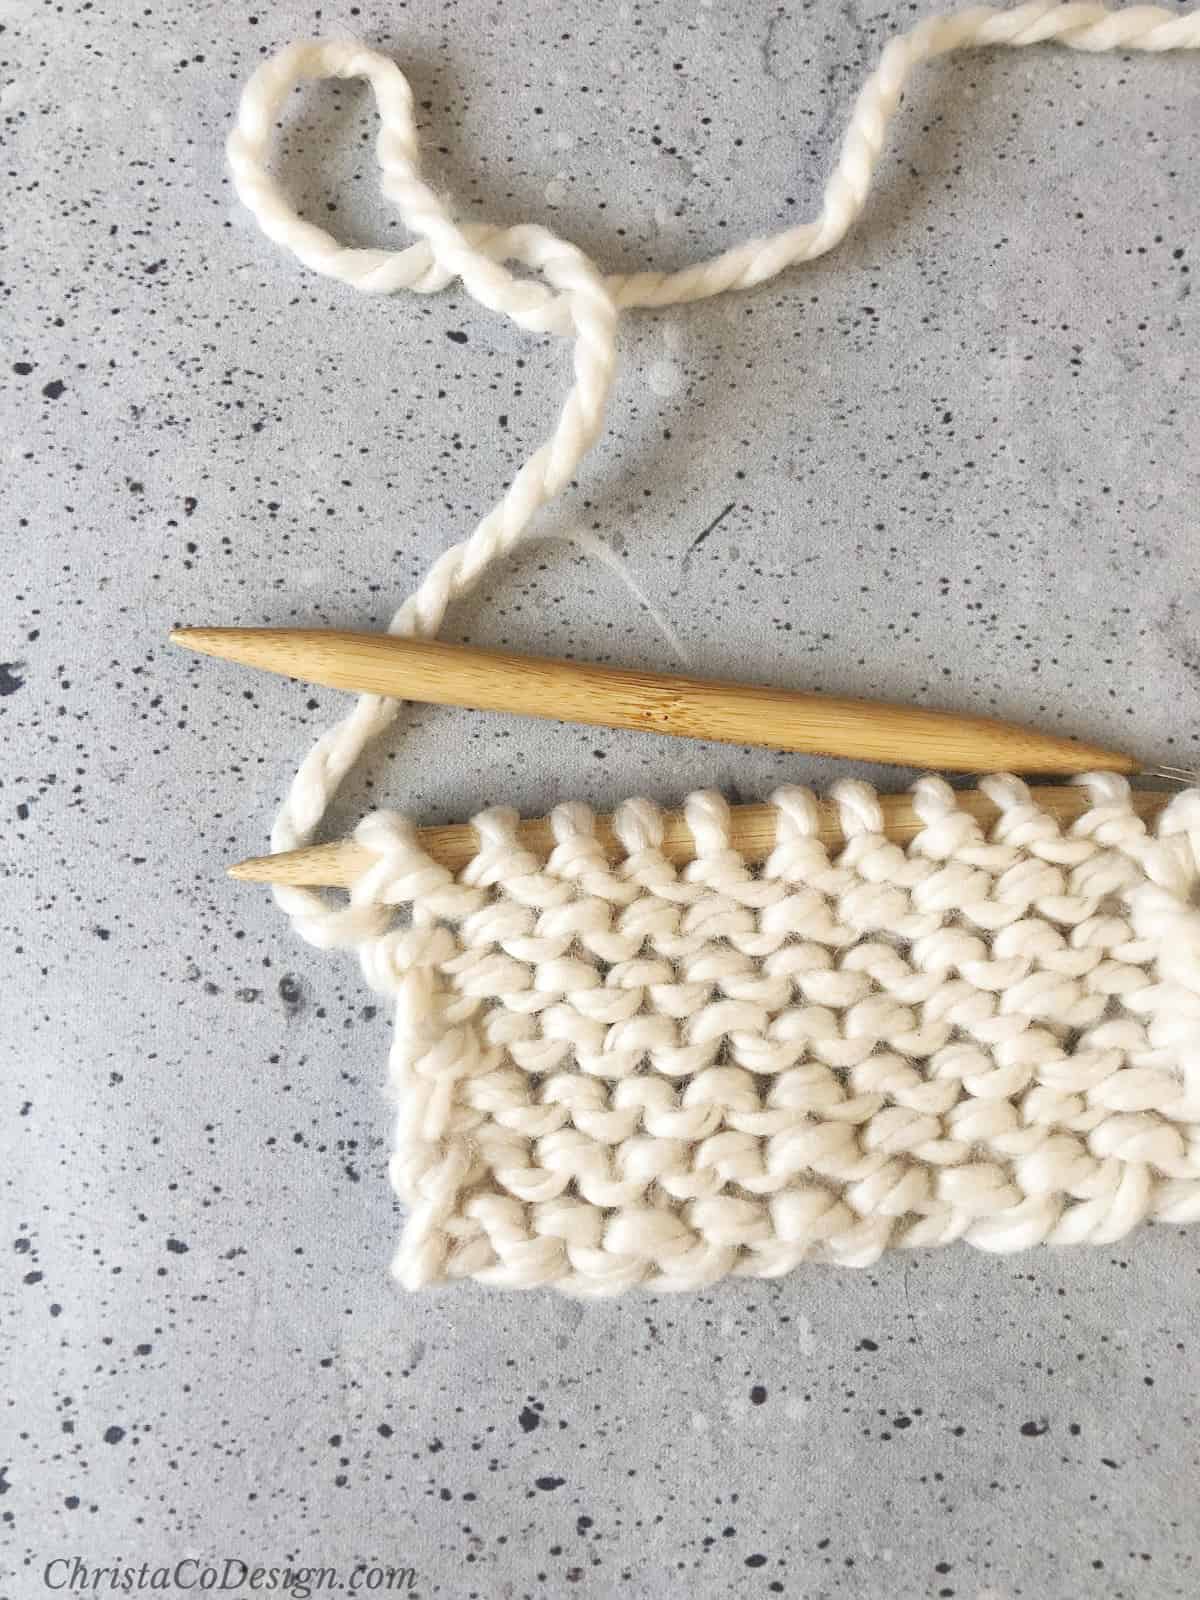 Use your thumb to move the stitches to the front of the left needle as you work.
Recommended Products
As an Amazon Associate and member of other affiliate programs, I earn from qualifying purchases.