
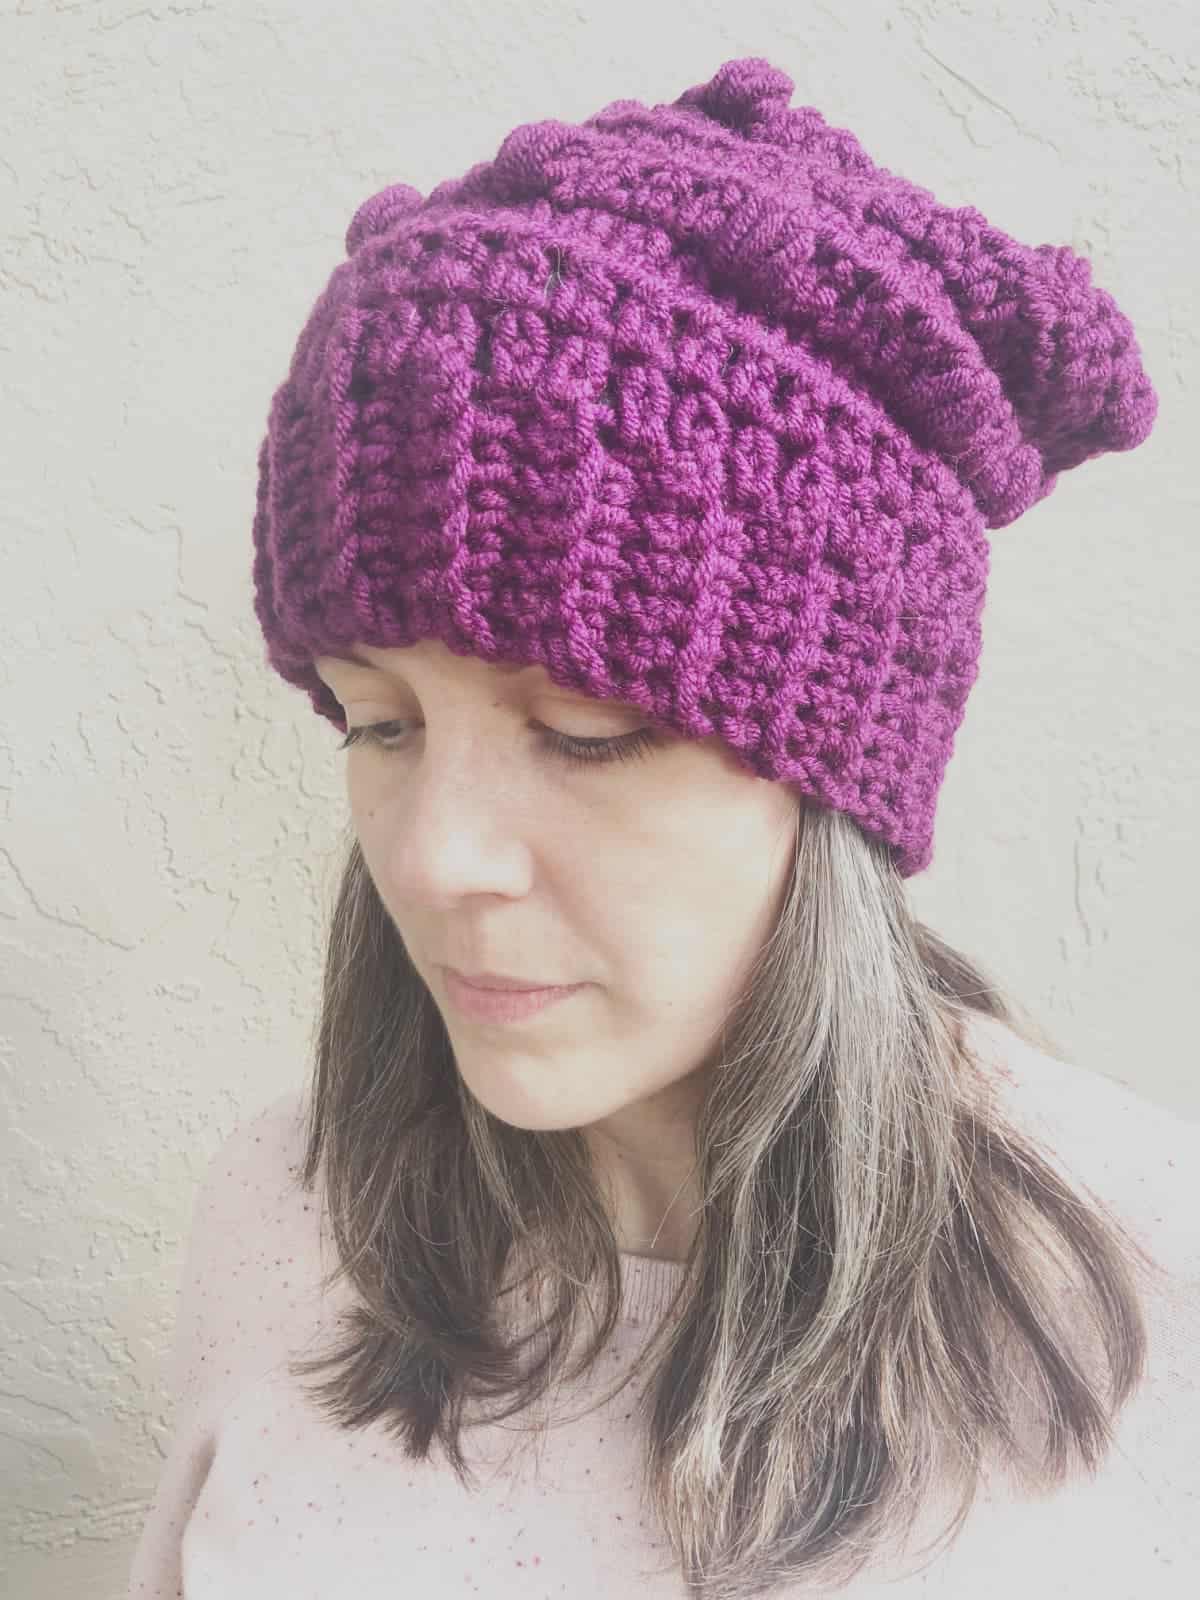
Chunky Crochet Hat a Free Easy Ribbed Beanie Pattern
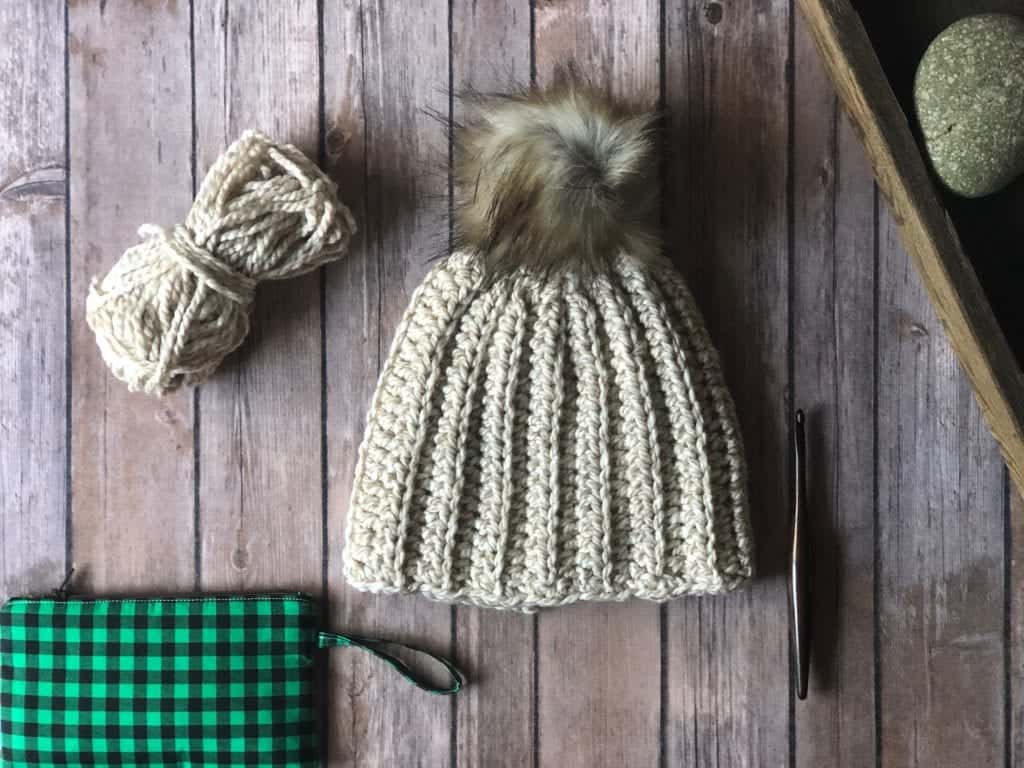
The Backcountry Beanie is the coziest ribbed hat you can crochet, and it’s so easy! This simple beanie design works up in super fast in chunky yarn for a quick gift.

This post contains affiliate links, I may earn a fee. Read more disclosure policy.
Join the ChristaCoDesign Newsletter
Never miss a pattern!
The squish on this chunky beanie will make you wish you could keep it for yourself (and you totally can). If you’re crocheting hats for gifts or yourself, this beanie will keep you warm all winter.
You only need one skein of bulky yarn, to work up this hat and even less for little sizes. The free hat pattern below includes sizes for babies, toddlers, children, teens and adults.
Purchase the ad-free, well formatted printable PDF Pattern from my shop. Scroll down for the free pattern!
Be sure to check out the matching chunky fingerless gloves here!
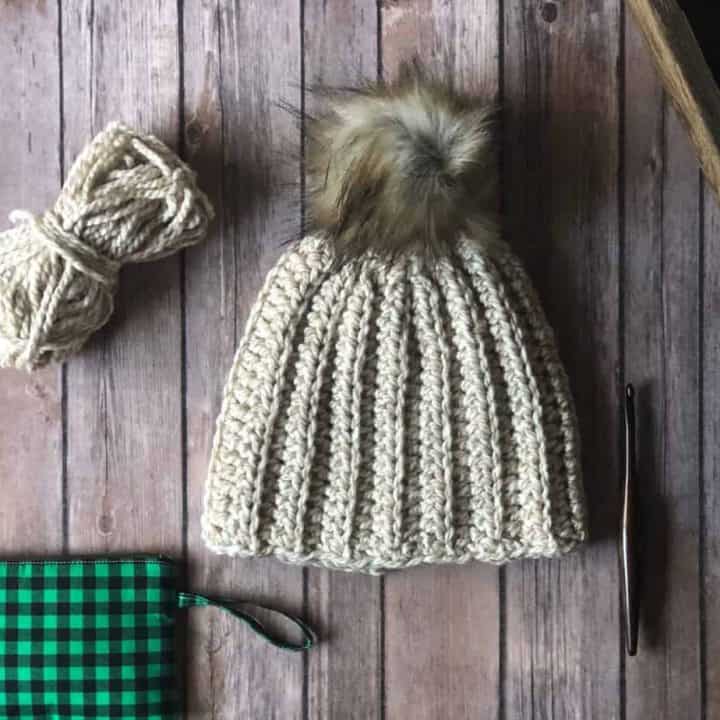
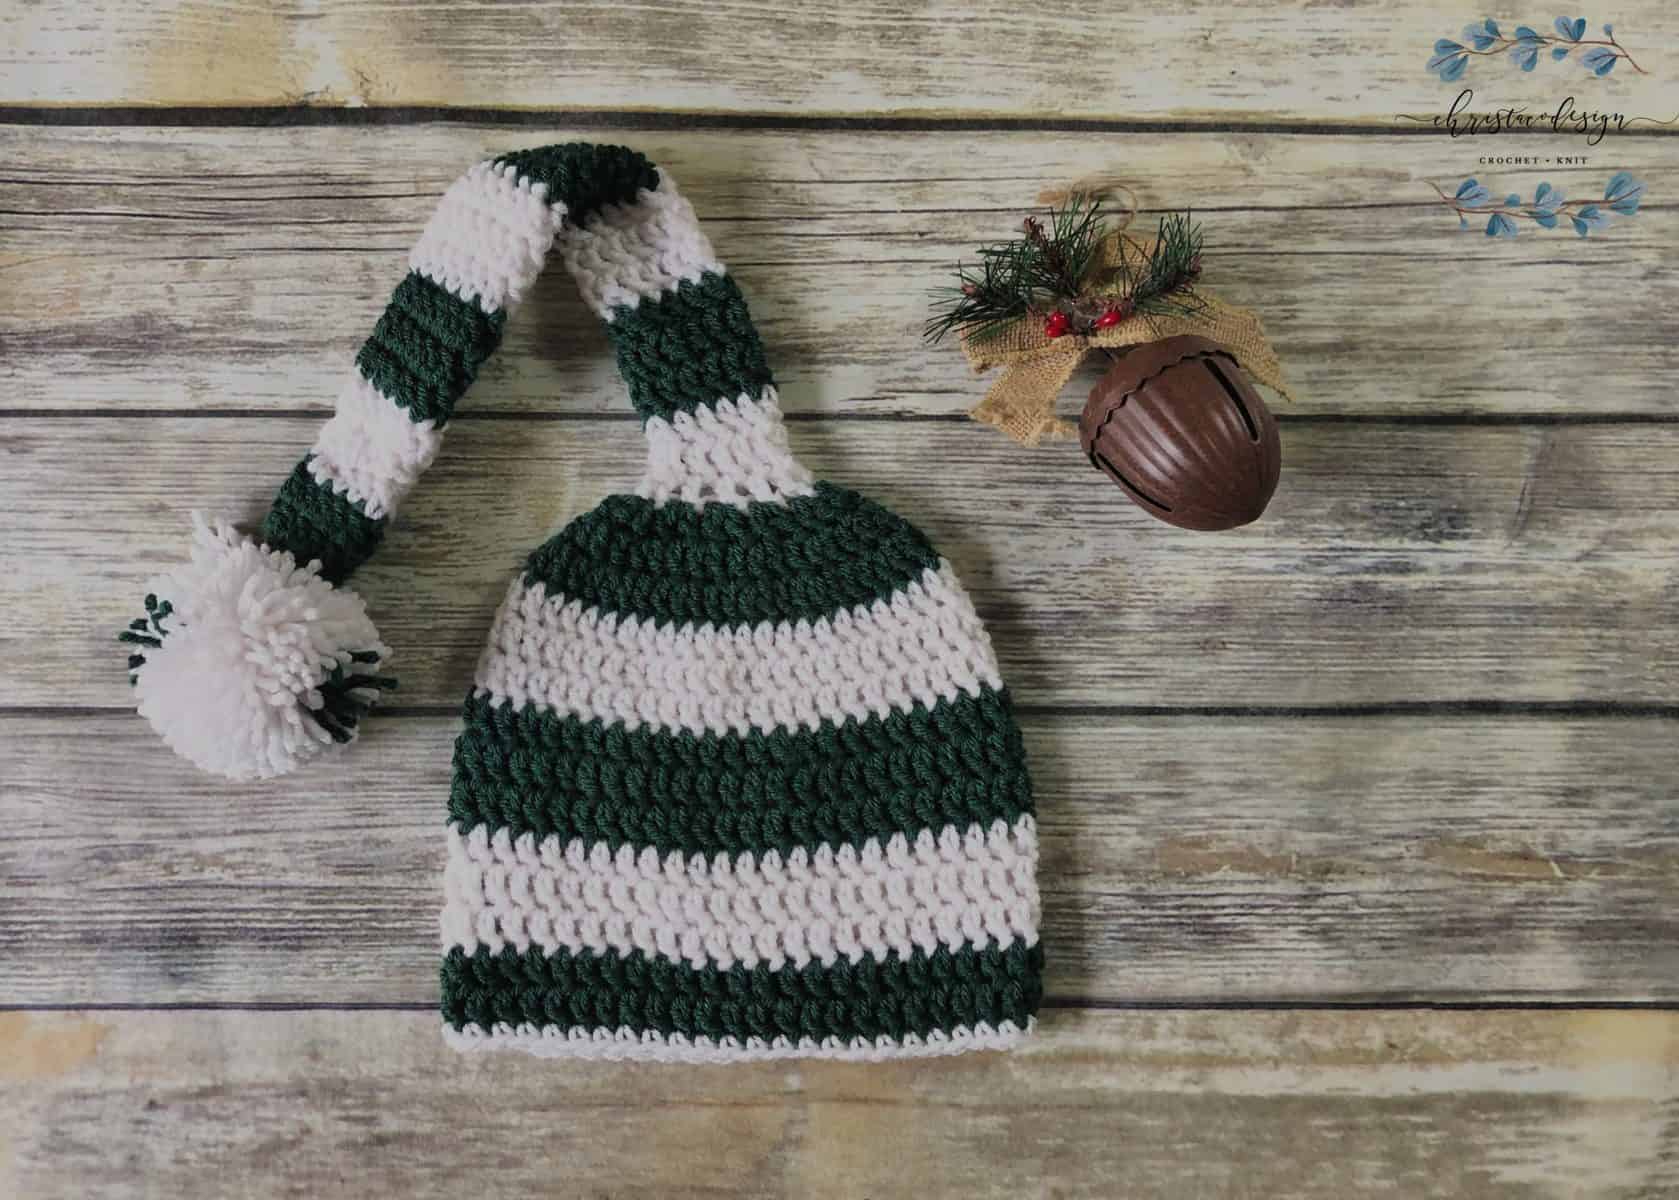
I love the addition of pom. You can use a pom pom maker to make your own, or add a faux fur pom to the top of your hat.
There’s something so relaxing about working on crochet hats that with simple stitches. Not only is this beanie relaxing to work on, but it also grows quickly thanks to the chunky yarn weight. Which has the added benefit of being warm and cozy.
Many a night I’ve wanted to crochet but I just don’t have the brain power {mom brain is real y’all} to keep track of a stitch count, or even pay much attention to where I put my hook.
That’s why I love these simple patterns-I can just pick up yarn and hook and go. And probably finish this quick project in one sitting too.
Another reason I love a quick simple pattern is that it’s a great way to use those single skeins of yarn. Having some one skein wonders can help you destash the random yarn for sure!
If you’re brand new to crocheting then you’re in luck cause I’ve worked up a video for this chunky hat, showing the steps from start to finish! I usually keep my videos short and simple and just show you the tricky bits. But the husband took the kiddos on just the right day, so I whipped up a newborn size beanie and filmed the steps.
More Free Crochet Patterns
The Franco is a men’s crochet beanie pattern that is chunky and textured.
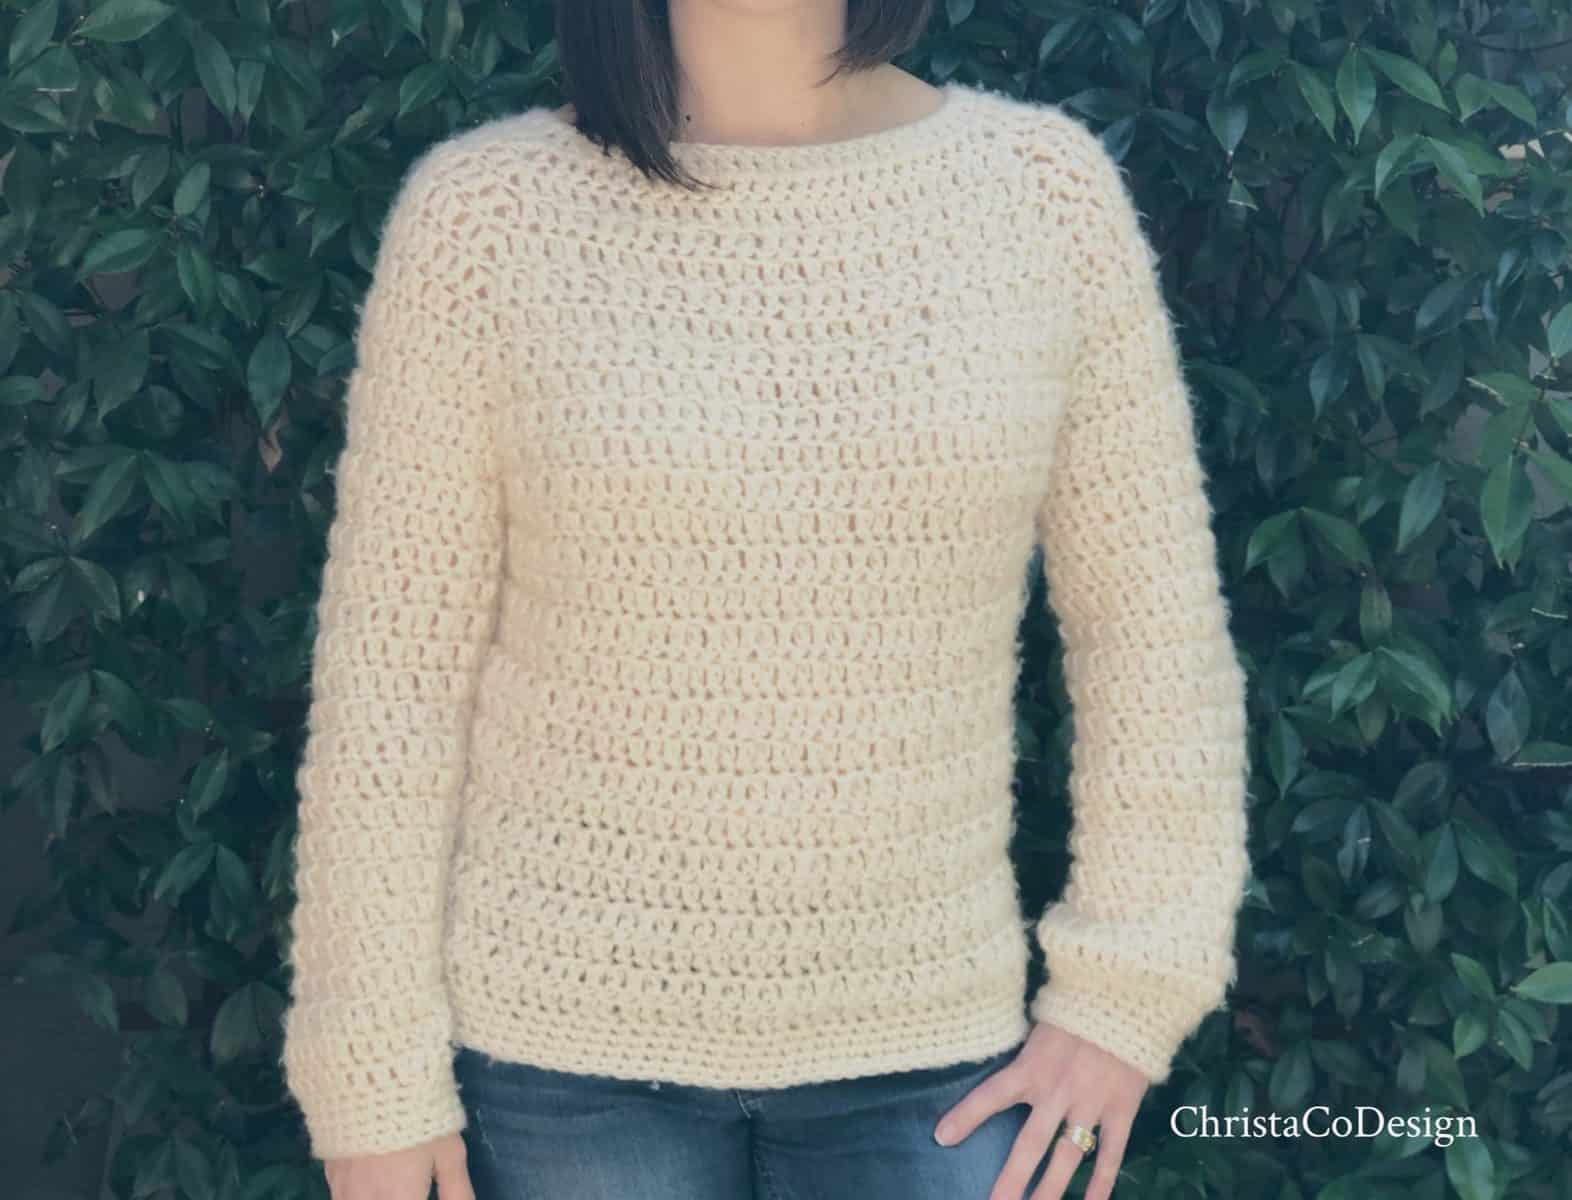
The Ana is a chunky slouch crochet pattern that brings the texture in a bulky weight yarn.
This simple half double crochet beanie in chunky yarn makes a great gift in all 10 sizes.
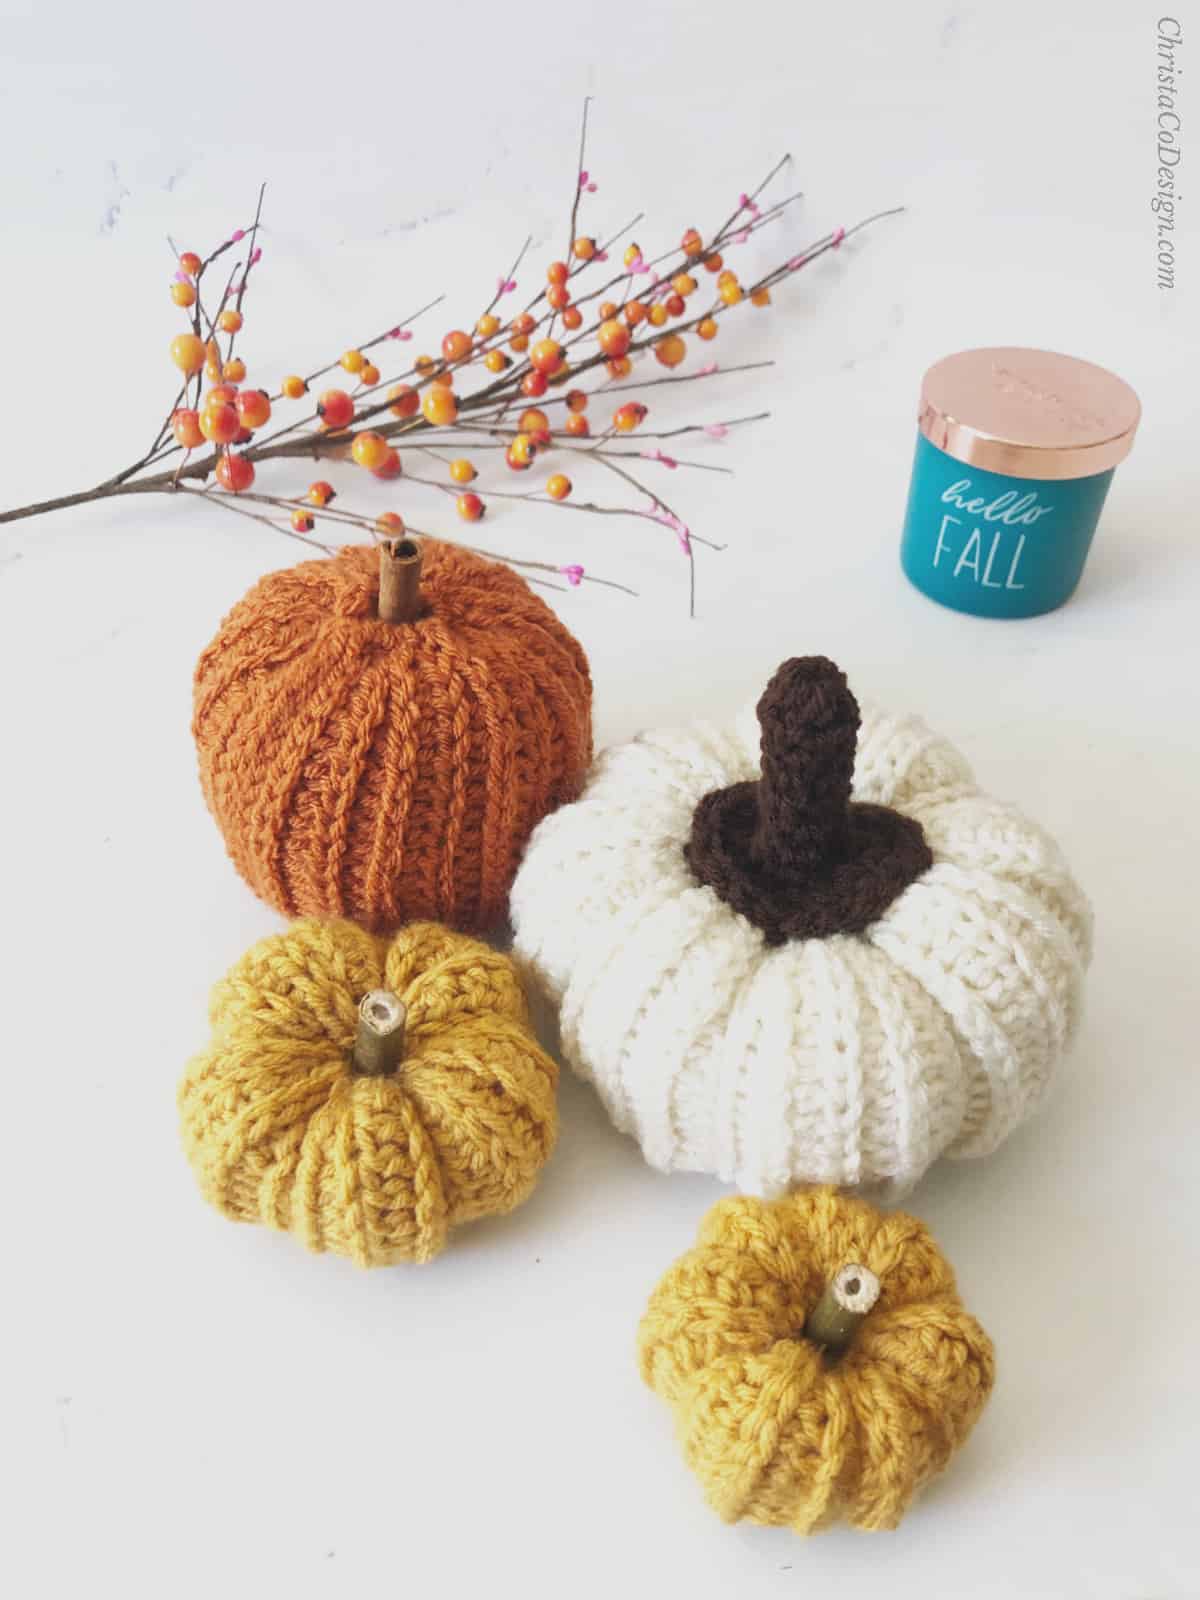
This pumpkin beanie is a similar ribbed hat in worsted weight yarn.
Check out my other free crochet hat patterns here, they’re all free patterns on the blog.
Material
#5 bulky weight yarn; Premier Serenity Chunky yarn (100% acrylic, 3.5 oz/100g, 109 yds/100m); color: oatmeal or comparable 75-109 yds #5 bulky yarn, for the sm adult size- I used less than 1 skein Premier Serenity Chunky* in Oatmeal Heather
Tapestry needle
Measuring tape
Scissors
Notes
- Hat is worked flat in rows and then seamed together.
- Ch 2 does not count as a st.
- Each size is written separately. All sizes go to “Finishing” to seam your hat.
Stitches
ch – chain
sl st – slip stitch
hdc – half double crochet stitches
blo – back loop only – insert hook into the back, or loop that is farthest away from you. Normally you would insert your hook under both top loops, for blo you crochet into only the back loop.
sc – single crochet
Inv Join – invisible join
Gauge
4”/10cm x 4”/10cm = 9 blo hdc x 6 rows
Fit / Size
To fit age (head circumference):
- baby size 0-3 mos (14” / 35.5 cm)
- baby 3-6 mos (15” / 38 cm)
- baby 6-12 mos (16” / 40.5 cm)
- toddler (18” / 45.5 cm)
- preschool (19” / 48.5 cm)
- child (20” / 51 cm)
- teen/sm adult (21” / 53.5 cm)
- med adult (22″ / 56 cm)
- lg adult (23” / 58.5 cm)
Download the Hat Sizing Chart
Get this handy dandy chart so you can crochet perfectly fitting hats!
Video Tutorial
You can watch the full video tutorial on my YouTube channel here:
Backcountry Beanie Video Tutorial
You can purchase the ad-free, well formatted PDF Pattern in one of my shops. Scroll down for the free pattern!
Scroll down for the easy ribbed bulky crochet hat pattern free!
Easy Ribbed Beanie Crochet Pattern
The Backcountry Beanie is the coziest hat you can crochet!
Materials
- #5 bulky weight yarn; Premier Serenity Chunky yarn (100% acrylic, 3.5 oz/100g, 109 yds/100m); color: oatmeal or comparable 75-109 yds #5 bulky yarn.
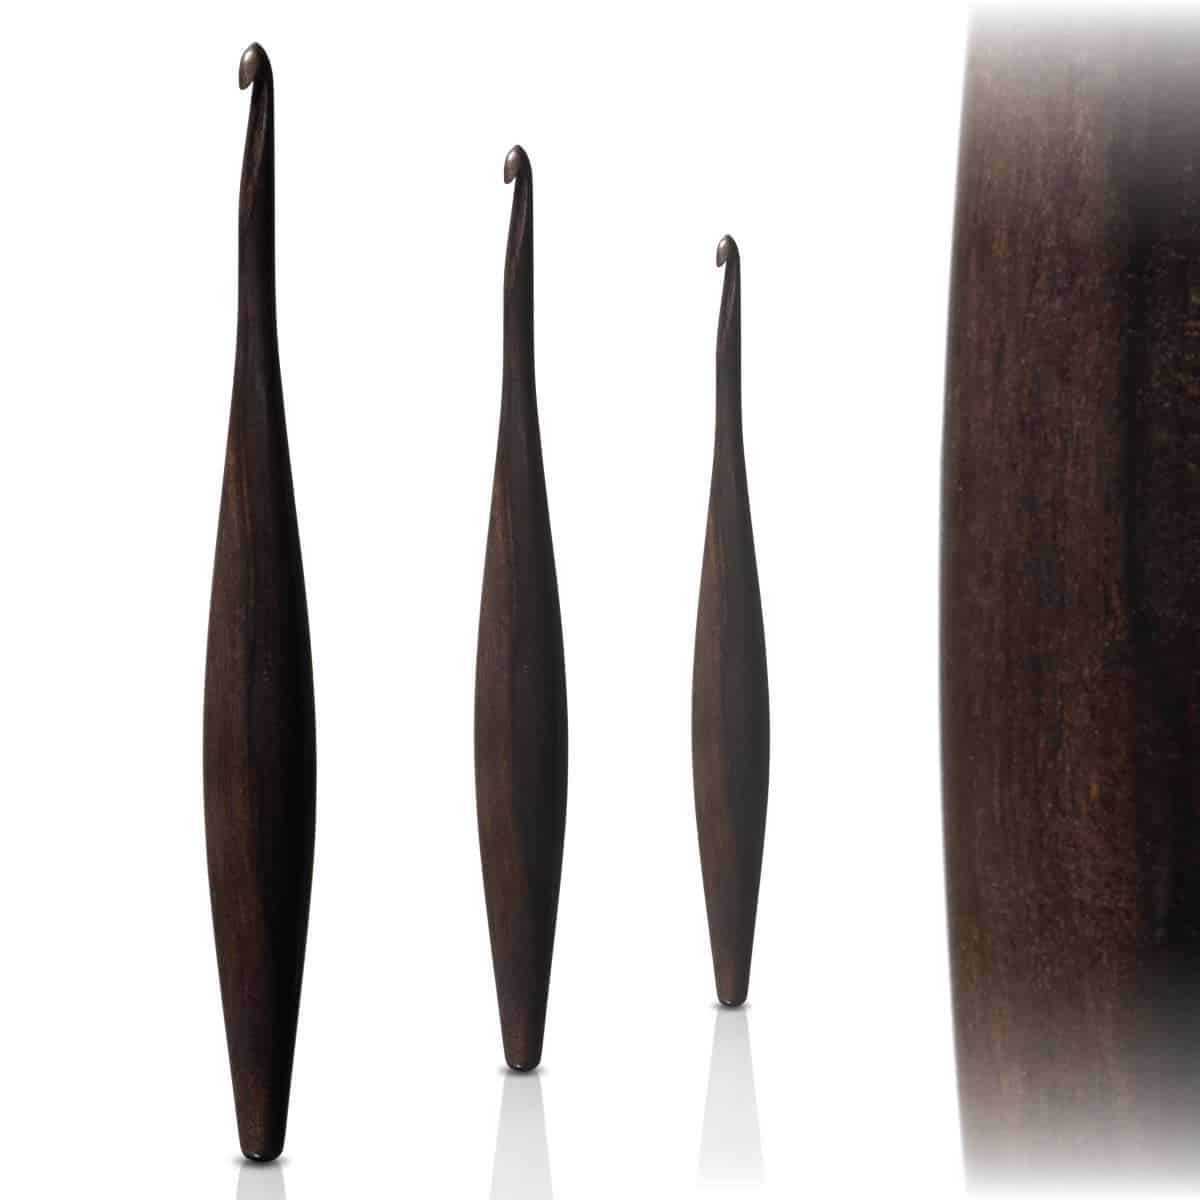
Tools
- 8 mm hook (US Size M)
- Yarn needle
- Measuring tape
- Scissors
Instructions
 0-3 mos
- 6”x 12”
- Ch 15
- Row 1. Hdc in 3rd ch from your hook and in each ch across, turn. (13)
- Row 2. Ch 2, starting in the same st hdc in the blo, continue to blo hdc across the row, turn. (13)
- Repeat row 2 for 18 rows total or until work measures 12” long.
- Don’t finish off. Go to Finishing.
- 3-6 mos
- 6.5”x 13.5”
- Ch 16
- Row 1. Hdc in 3rd ch from your hook and in each ch across, turn. (14)
- Row 2. Ch 2, starting in the same st hdc in the blo, continue to blo hdc across the row, turn. (14)
- Rep row 2 for 20 rows total or until work measures 13.5” long.
- Don’t finish off. Go to Finishing.
- 6-12 mos
- 7”x 15”
- Ch 18
- Row 1. Hdc in 3rd ch from your hook and in each ch across, turn. (16)
- Row 2. Ch 2, starting in the same st hdc in the blo, continue to blo hdc across the row, turn. (16)
- Rep row 2 for 23 rows total or until work measures 15” long.
- Don’t finish off. Go to Finishing.
- toddler
- 7”x 16”
- Ch 18
- Row 1. Hdc in 3rd ch from your hook and in each ch across, turn. (16)
- Row 2. Ch 2, starting in the same st hdc in the blo, continue to blo hdc across the row, turn. (16)
- Rep row 2 for 24 rows or until work measures 16” long.
- Don’t finish off. Go to Finishing.
- Preschool 2-4 yrs
- 7.5”x 17”
- Ch 19
- Row 1. Hdc in 3rd ch from your hook and in each ch across, turn. (17)
- Row 2. Ch 2, starting in the same st hdc in the blo, continue to blo hdc across the row, turn. (17)
- Rep row 2 for 26 rows or until work measures 17” long.
- Don’t finish off. Go to Finishing.
- Child 5+
- 8” x 18″
- Ch 20
- Row 1. Hdc in 3rd ch from your hook and in each ch across, turn. (18)
- Row 2. Ch 2, starting in the same st hdc in the blo, continue to blo hdc across the row, turn. (18)
- Rep row 2 for 27 rows or until work measures 18” long.
- Don’t finish off. Go to Finishing.
- Teen/Sm Adult
- 8” x 20”
- Ch 20
- Row 1. Hdc in 3rd ch from your hook and in each ch across, turn. (18)
- Row 2. Ch 2, starting in the same st hdc in the blo, continue to blo hdc across the row, turn. (18)
- Rep row 2 for 30 rows total or until work measures 20” long.
- Don’t finish off. Go to Finishing.
- Med Adult
- 8.5” x 21”
- Ch 21
- Row 1. Hdc in 3rd ch from your hook and in each ch across, turn. (19)
- Row 2. Ch 2, starting in the same st hdc in the blo, continue to blo hdc across the row, turn. (19)
- Rep row 2 for 32 rows total or until work measures 21” long.
- Don’t finish off. Go to Finishing.
- Lg Adult
- 9” x 22”
- Ch 22
- Row 1. Hdc in 3rd ch from your hook and in each ch across, turn. (20)
- Row 2. Ch 2, starting in the same st hdc in the blo, continue to blo hdc across the row, turn. (20)
- Rep row 2 for 33 rows total or until work measures 22” long.
- Don’t finish off. Go to Finishing.
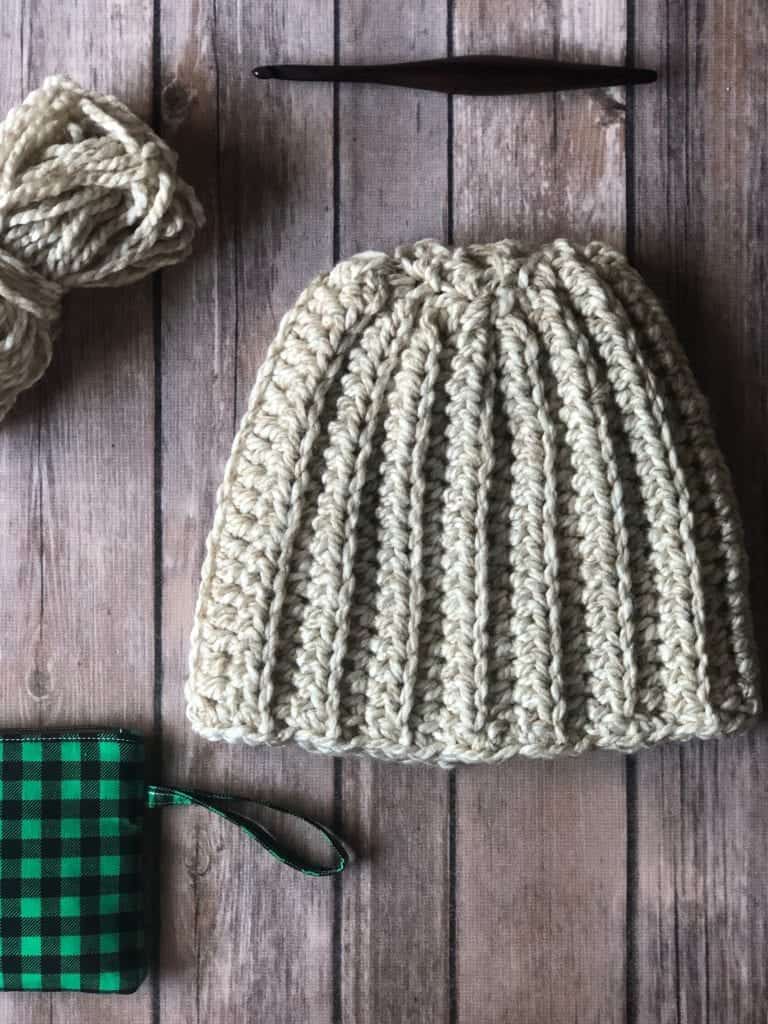
- Finishing
- Fold rectangle in half, matching row 1 to last row.
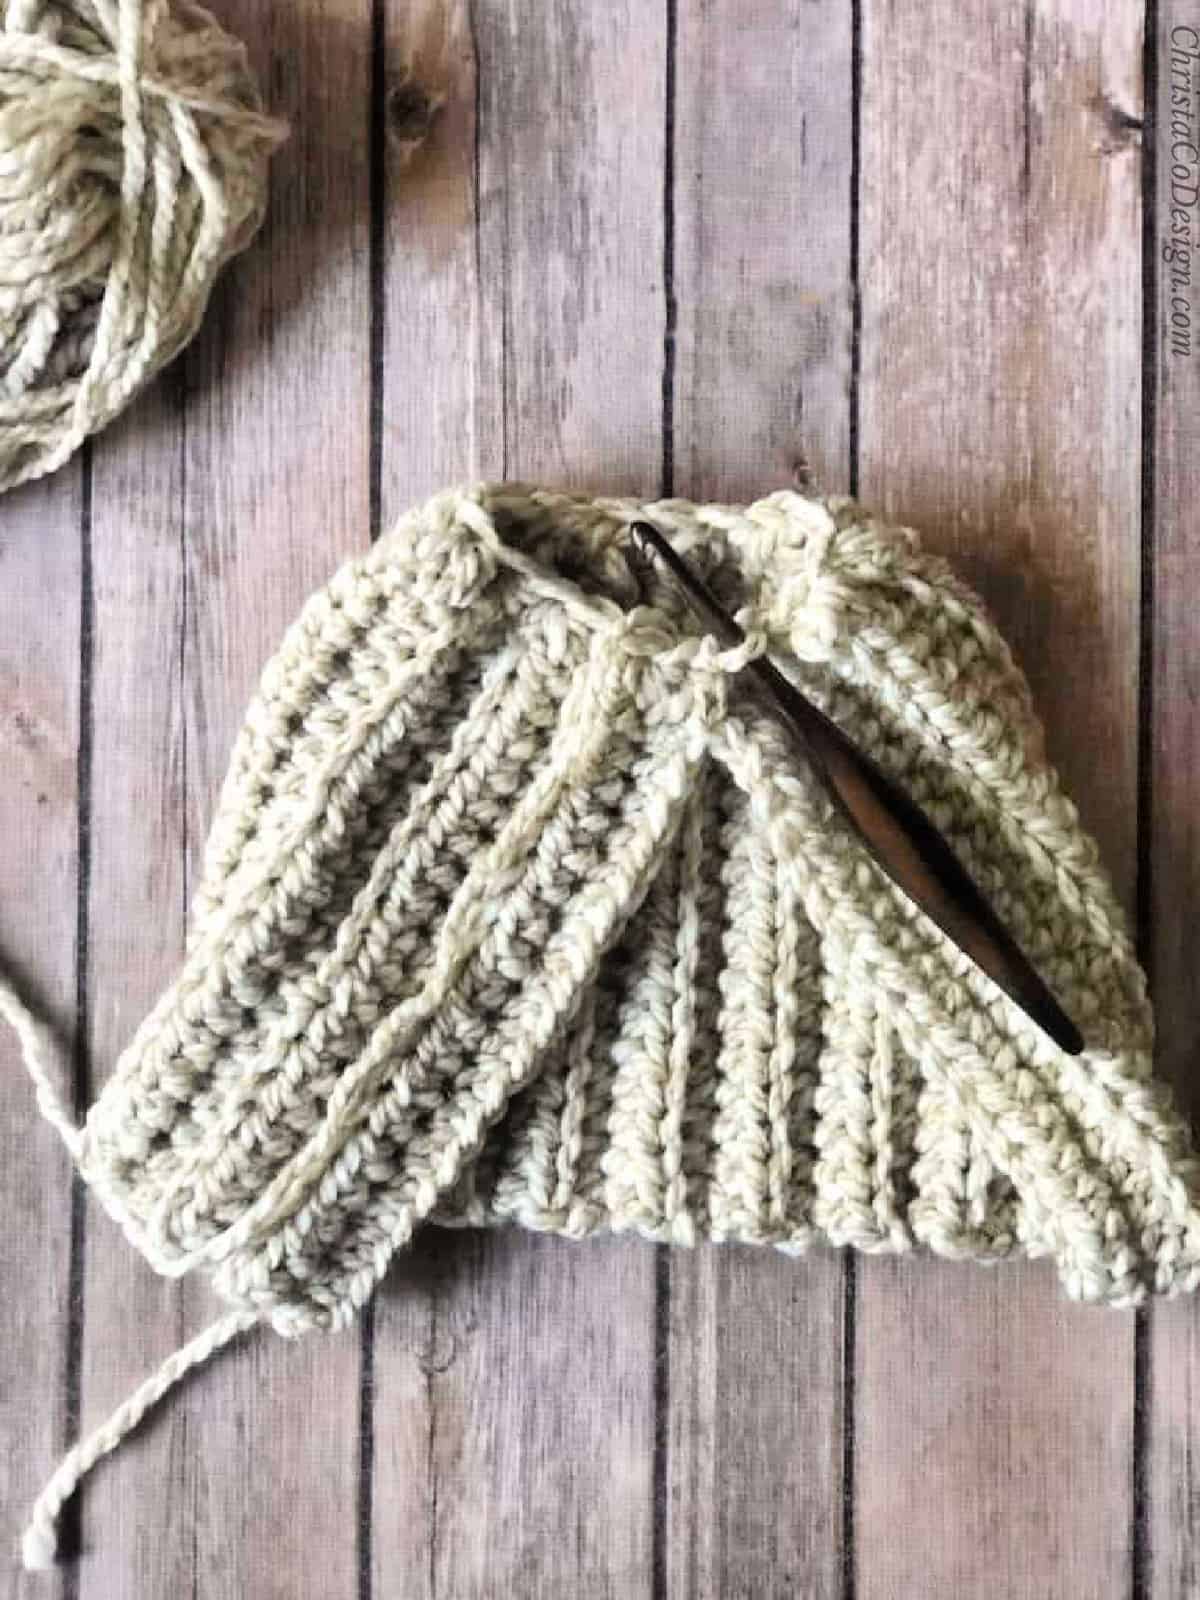
- Slip stitch together forming the tube of the hat.
- Cut yarn leaving a long tail to seam.
- To close the top of your tube, use a running stitch around to sew the hole closed.
- Using a hook size smaller, attach yarn with a ss to the open end of the hat, which is your brim side. Ch 1 and sc evenly around.
- Finish off with an invisible join and weave in ends.
Recommended Products
As an Amazon Associate and member of other affiliate programs, I earn from qualifying purchases.


I do really like it but my seams never turn out looking good
Thanks. I felt the same for a long time about seams. I think it helps to find a way of seaming that works for you. There are lots of different ways to sew pieces together, this is just one!
Do you have a mitten pattern that matches this Beanie?
Hi thanks for asking! Yes the matching fingerless gloves are here https://christacodesign.com/2021/12/15/backcountry-fingerless-gloves-crochet-pattern-quick-chunky/
Have a great day,
Crystal
Thanks so much for sharing this pattern. I had a spare ball of sumptuous wool/spend yarn and I was having an issue coming up with a use for it! This beanie-PERFECT! I personally liked the raw edge better than the finished sc edge-but my 14 yo loves her new hat!!!