Plaid Waffle Stitch Dishcloth Crochet Pattern
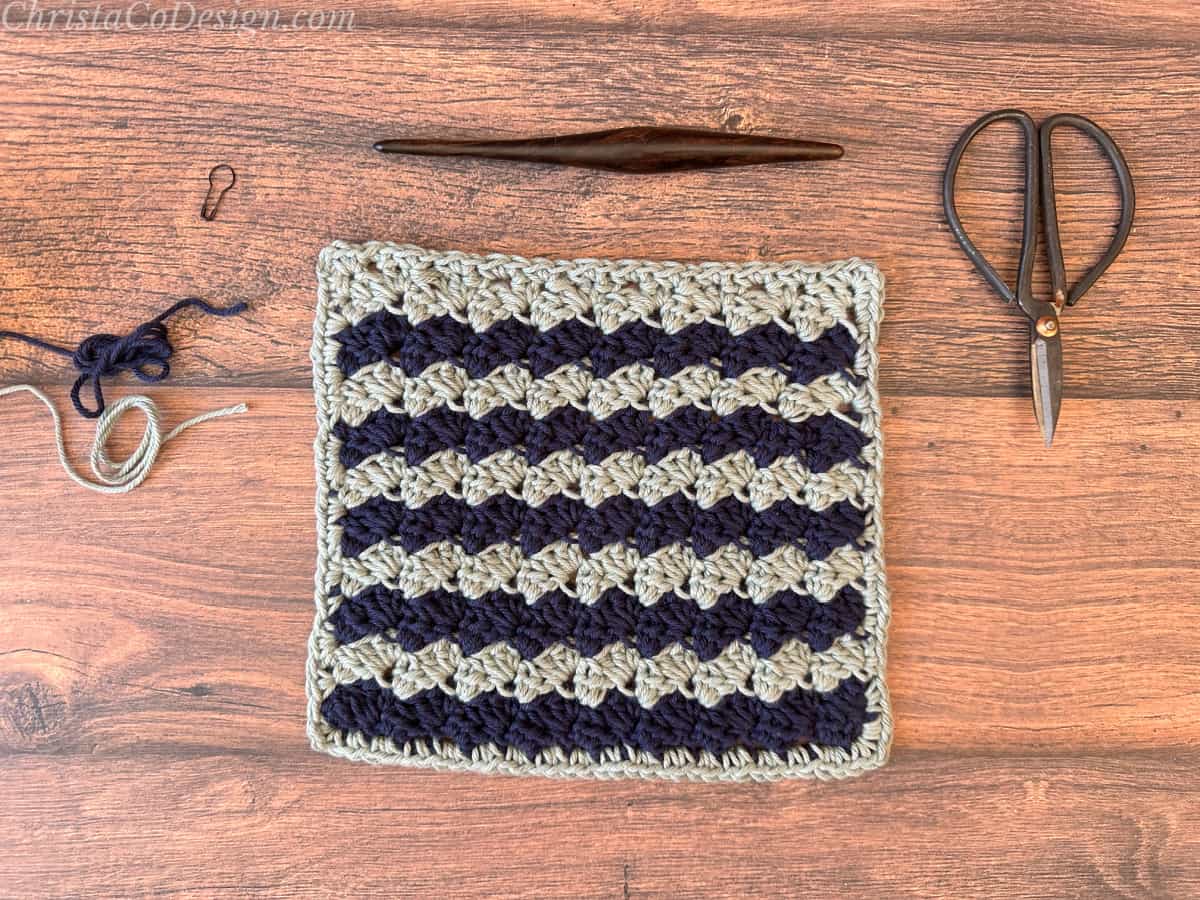
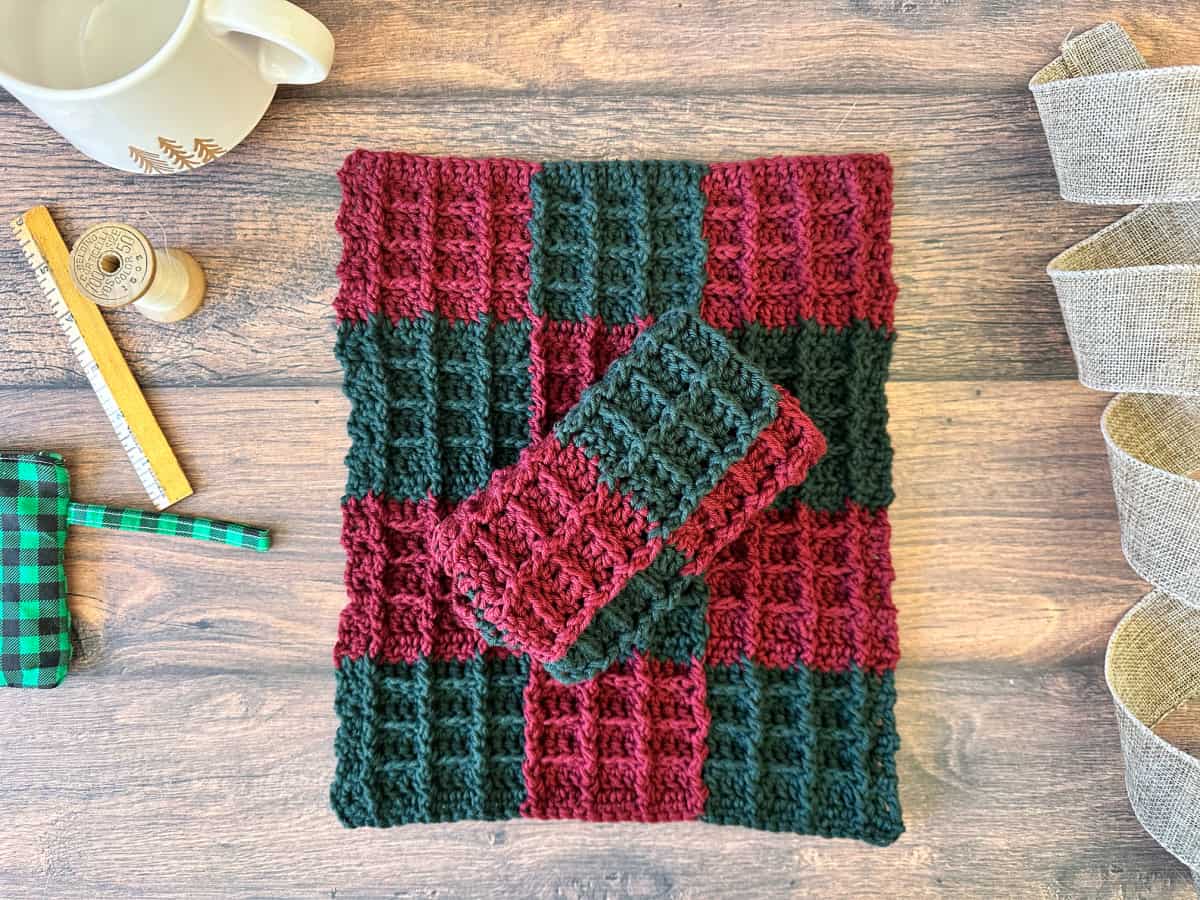
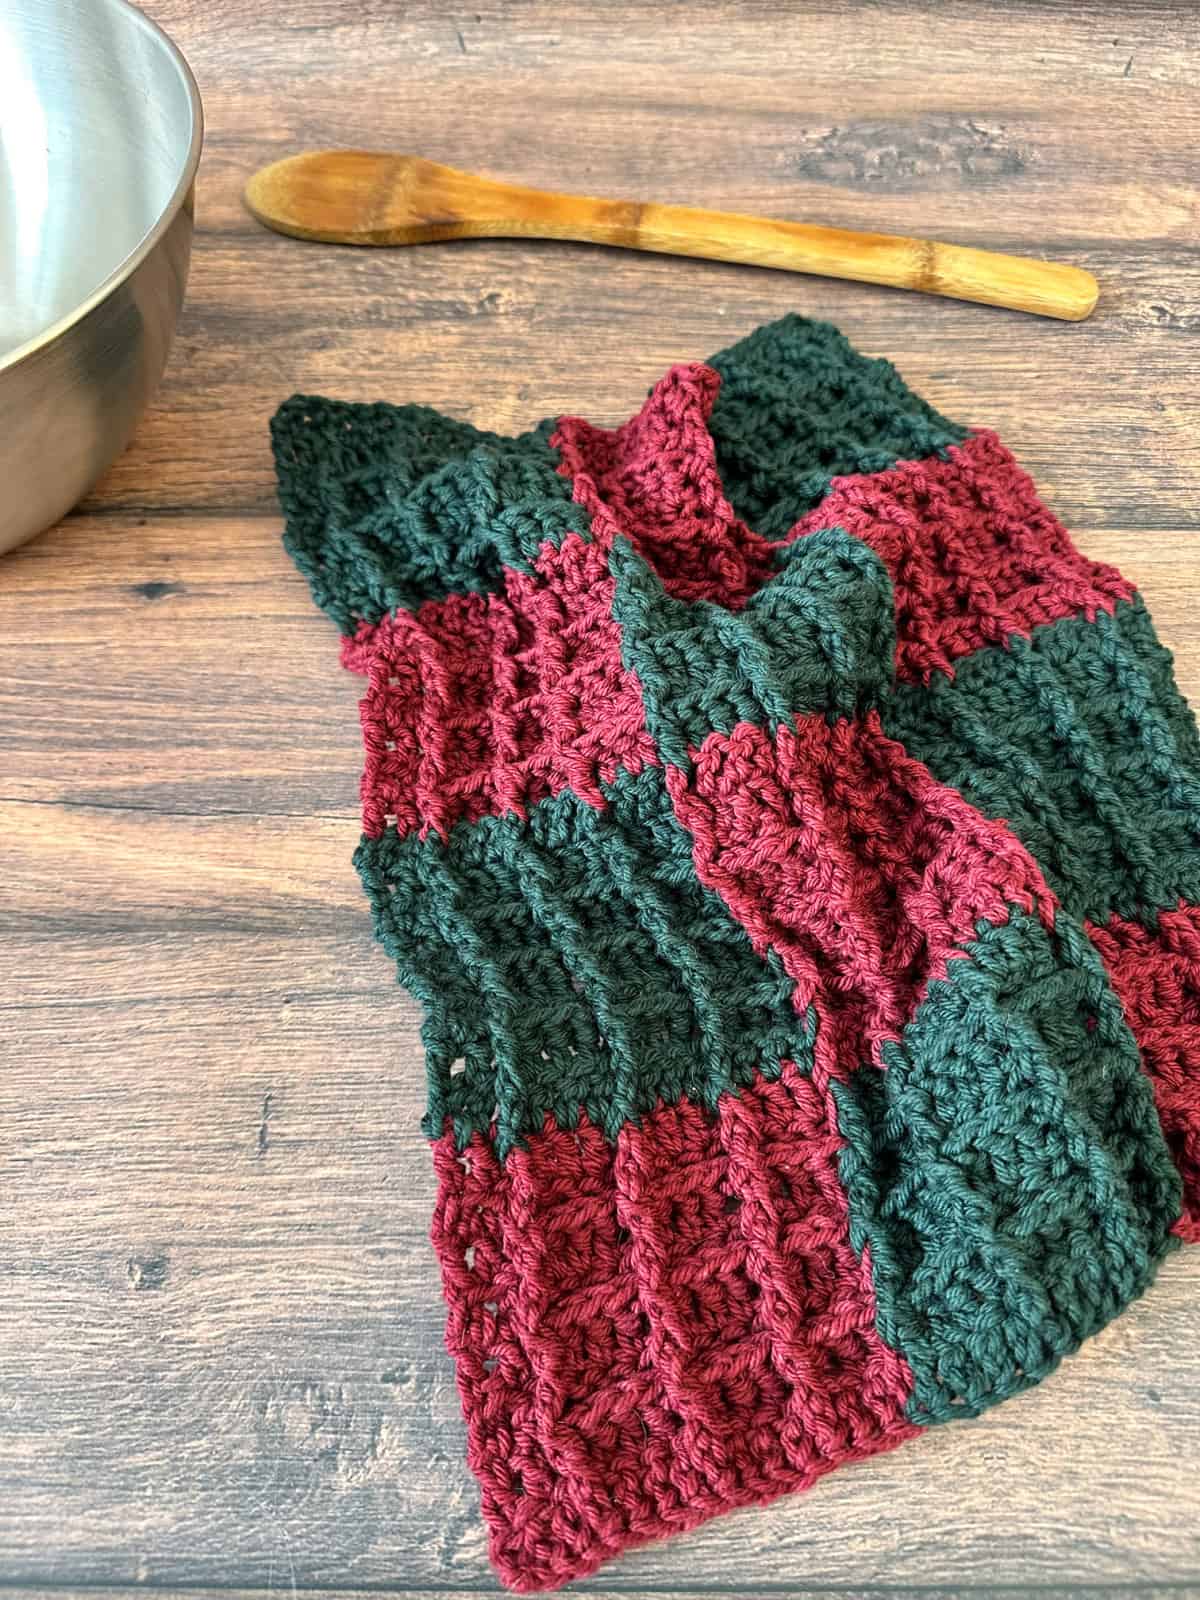
Learn how to crochet this Christmas plaid dishcloth in the ultra textured waffle stitch! Colorful dishcloths are a great way to jazz up your home decor with useful items.
Plus these make great gifts. The waffle stitch is beautiful and that amazing texture is great for a dishcloth, or washcloth.
The waffle stitch is one of my favorite crochet stitches. But it can be tricky so the written pattern includes pictures and a video tutorial too.
This post contains affiliate links, I may earn a fee. Read more disclosure policy.
Purchase the ad-free, well formatted printable PDF Pattern from my shop. Scroll down for the free pattern!
You Can Purchase My Ad-Free PDF Patterns Here:
If Christmas colors aren’t your thing then you can choose two complimentary colors or even just a single solid color.
The combination of double crochet and post stitches used in the waffle stitch do make this pattern an intermediate skill level. But once you get going it’s a 2 row repeat and those double crochet stitches do work up quickly!

I have listed the stitch tutorials below, color changing tips in the notes, and this free crochet pattern has its own video tutorial too.
The Yarn
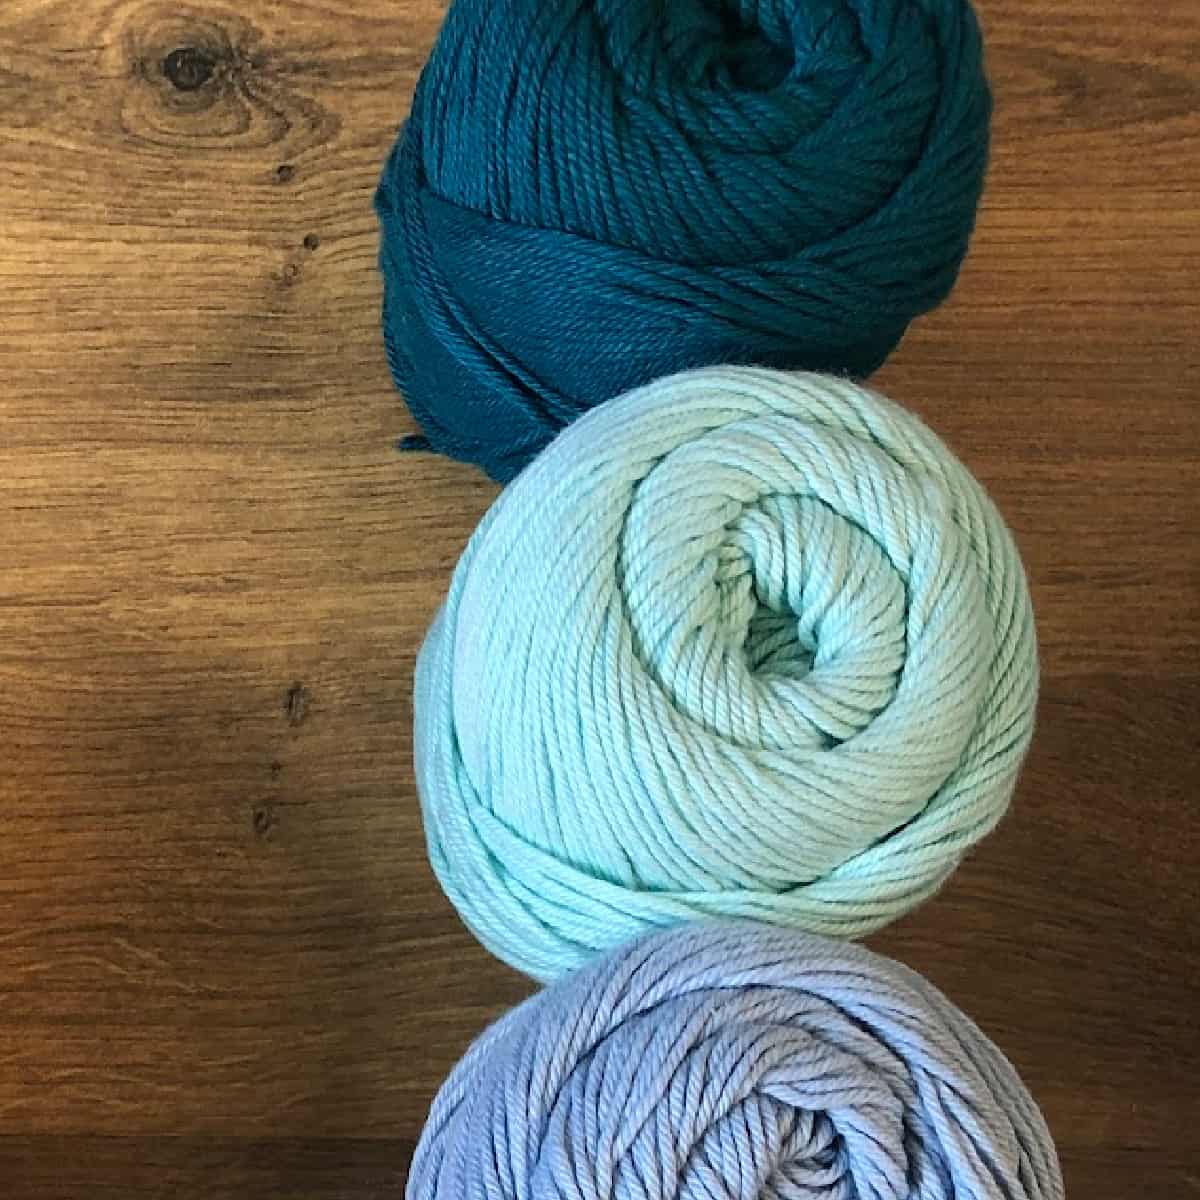
Since this is a dishcloth or washcloth pattern I recommend 100% cotton yarn. But if you’re making a baby blanket or something else then you can use acrylic yarn.
This waffle stitch does tend to use a lot of yarn, so plan accordingly. Each square in this pattern uses about 16 yds.

Save your favs!
Add this pattern to your Ravelry queue.
Materials
- 200 yd of Dishie yarn,* a #4 medium worsted weight yarn (100% cotton, 190 yd / 100 g) divided in shades pomegranate & Douglas fir. Bummer, it looks like Douglas fir has been discontinued, but the Jalapeño green works too!
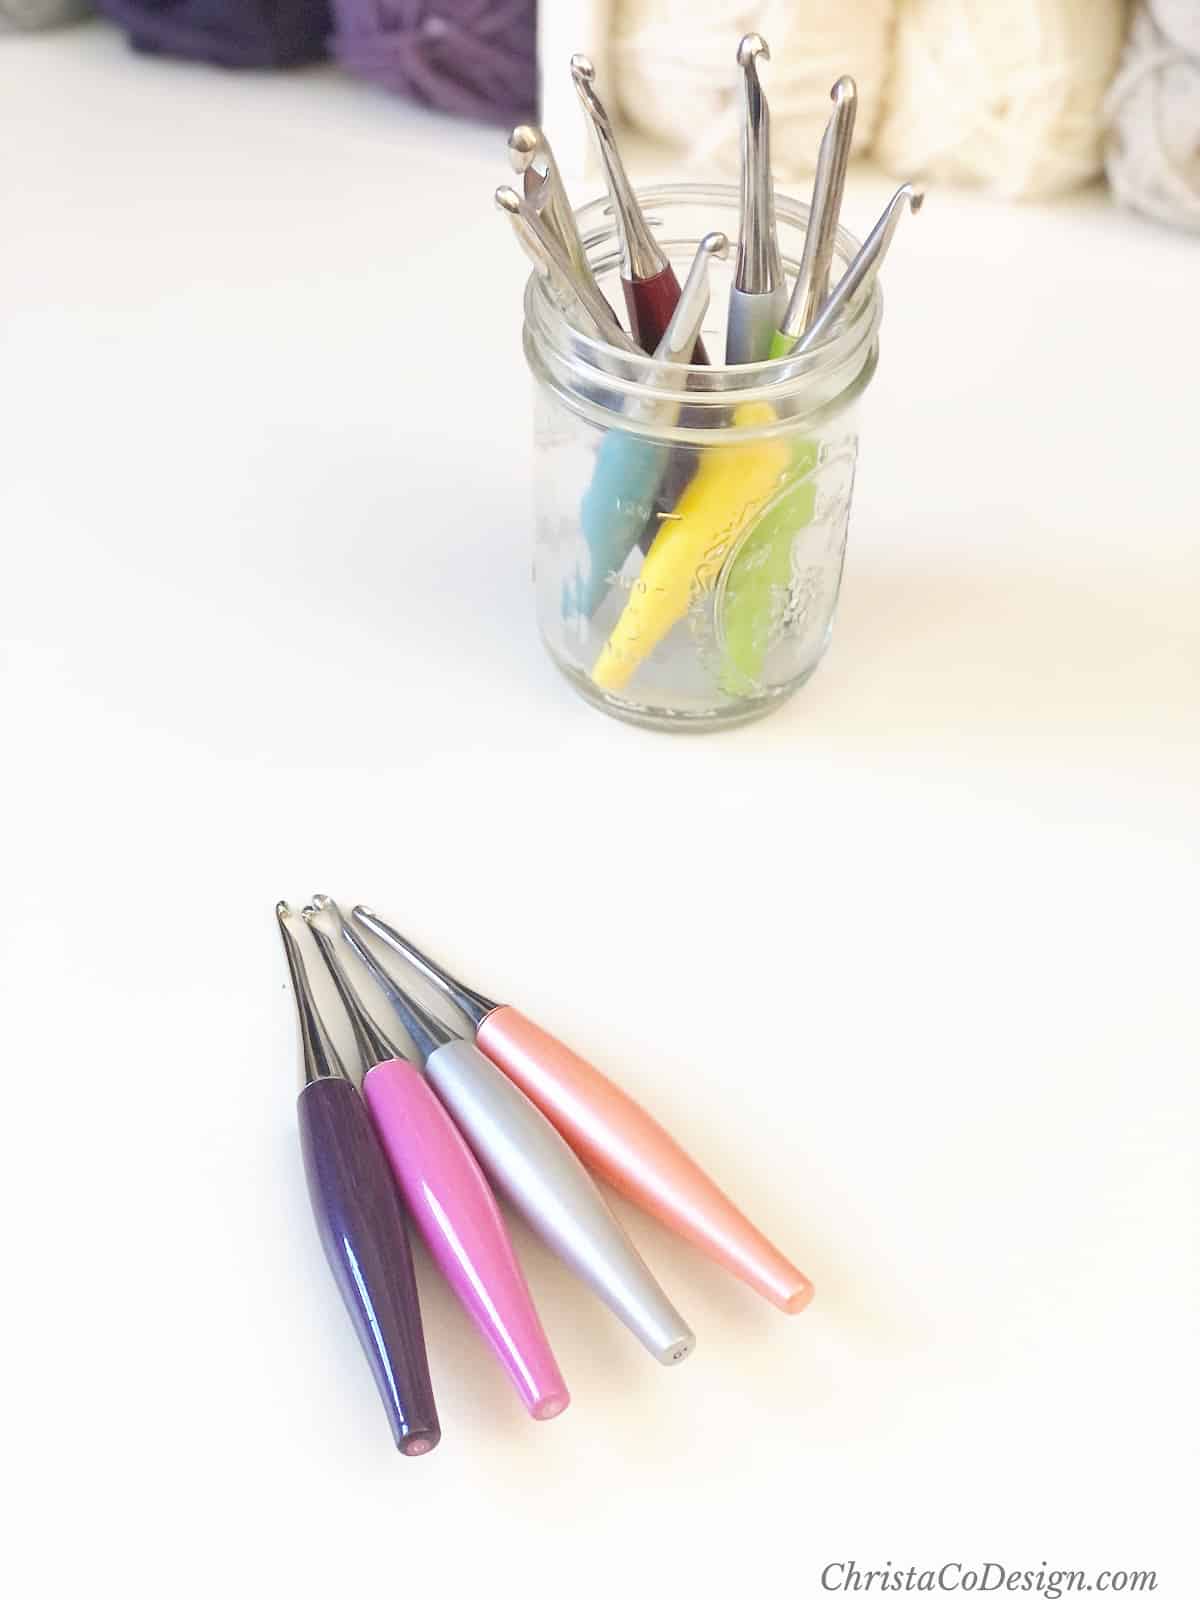
- 4.5 mm crochet hook* (US Size G+), or hook needed to meet gauge.
- stitch markers, yarn needle, measuring tape, scissors
Notes
- Please read through all notes and pattern before you begin.
- Work up a gauge swatch using the provided gauge information. If your gauge matches great, continue on. If not, change your hook size and swatch again. If your stitches are smaller, go up a hook size, if they’re larger, go down a hook size.
- Chain 3 counts as the first stitch, I recommend a chain 3 alternative.
- The stitch multiple is 4 plus 5, plus 2 more for a starting chain.
- Dividing the yarn into small balls or bobbins of yarn makes the color changes easier. Each square uses about 16 yds of yarn.
- Change colors on the last movement of the last stitch before the next color. Here is a color changing tutorial to help.
- Carry the yarn up each row.On the next row the yarn color will be there to pick up from the previous row.
Skill Level
Intermediate
Stitches/Abbreviations
BPdc – back post double crochet
ch (s) – chain (s)
dc – double crochet
fdc – foundation double crochet
FPdc – front post double crochet
rs – right side
sc – single crochet
st (s) – stitch (es)
rep – repeat
ws – wrong side
If this is a new stitch for you I have a full step by step photo tutorial here.
Gauge
4″ / 10 cm x 4″ / 10 cm = 16 sts x 9 rows in pattern
Finished Dimensions
10”by 12” dishcloth or 10” x 9” washcloth. If you want to make different sizes each block adds approximately 3″ x 3″.
Video Tutorial
Watch the full video tutorial on my YouTube channel.
Scroll down for the free pattern for the crochet waffle stitch dishcloth!
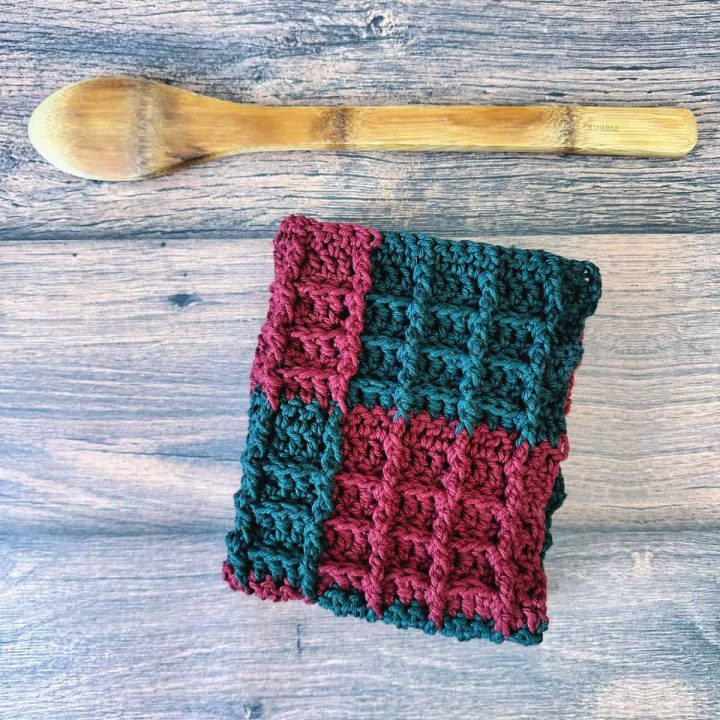
How To Crochet The Plaid Waffle Dishcloth
Learn how to crochet the plaid dishcloth in the ultra textured waffle stitch.
Materials
- 200 yd of Dishie yarn, a #4 medium worsted weight yarn (100% cotton, 190 yd / 100 g) divided in shades pomegranate (red = color A) & Douglas fir (green = color B).
Tools
- 4.5 mm US size G+ hook, or hook needed to meet gauge.
- stitch markers, yarn needle, measuring tape, scissors
Instructions
For a step by step waffle stitch tutorial start here.
Color A - red (pomegranate), Color B - green (Douglas fir).
Start with Color A.
Row 1. Fdc 14 Color A, fdc 13 Color B, fdc 14 Color A, turn. (41 sts) If you are unfamiliar with foundation stitches then you can ch 43 and dc in the 3rd ch from your hook (skipped chs do not count), dc in each ch to the end of the row (change colors as above), turn. (41 sts)
Continue working the same colors through Row 8: 14 Color A, 13 Color B & 14 Color A.
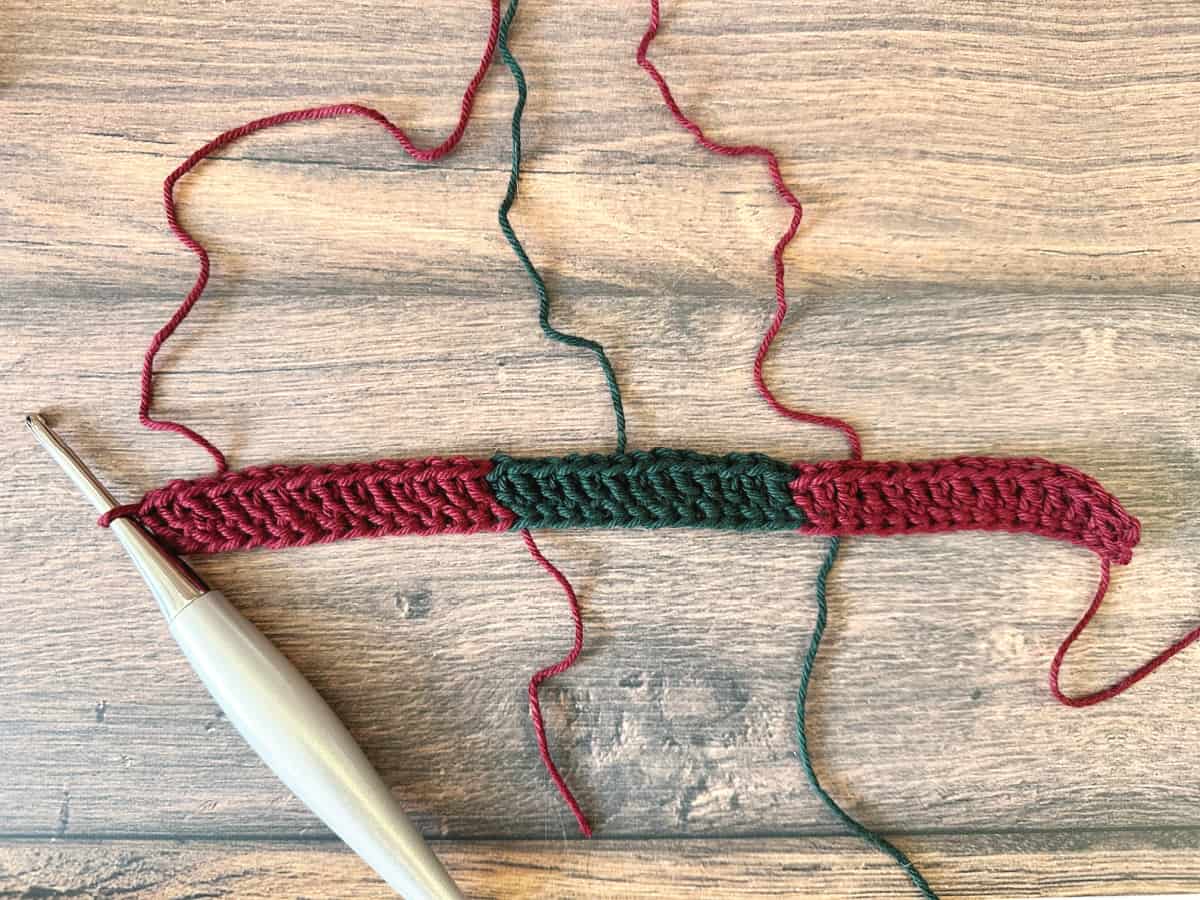
Row 2. (RS) Ch 3, dc in next stitch, FPdc in next st, *(dc in next 3 sts, FPdc in next) rep from * until 2 sts left, dc in last 2 sts, turn. (41 sts)
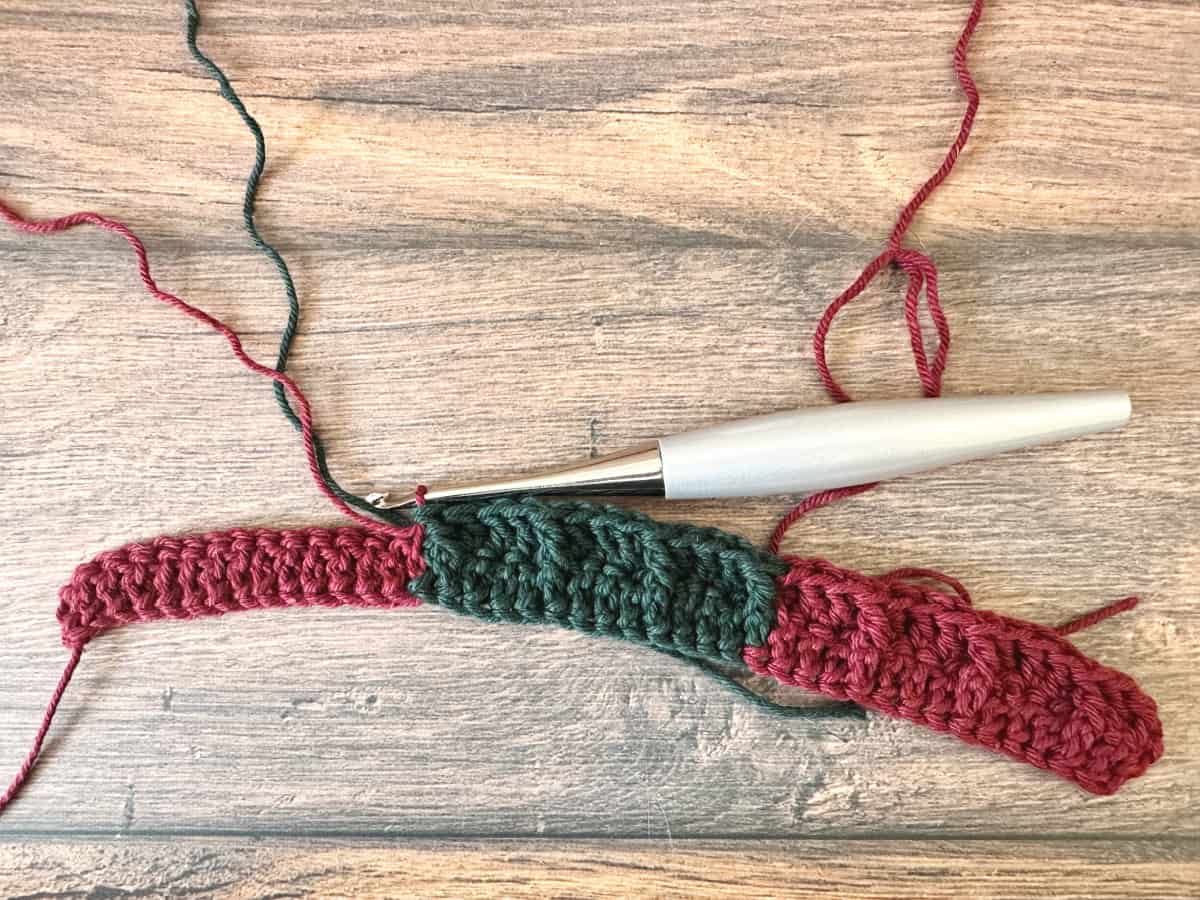
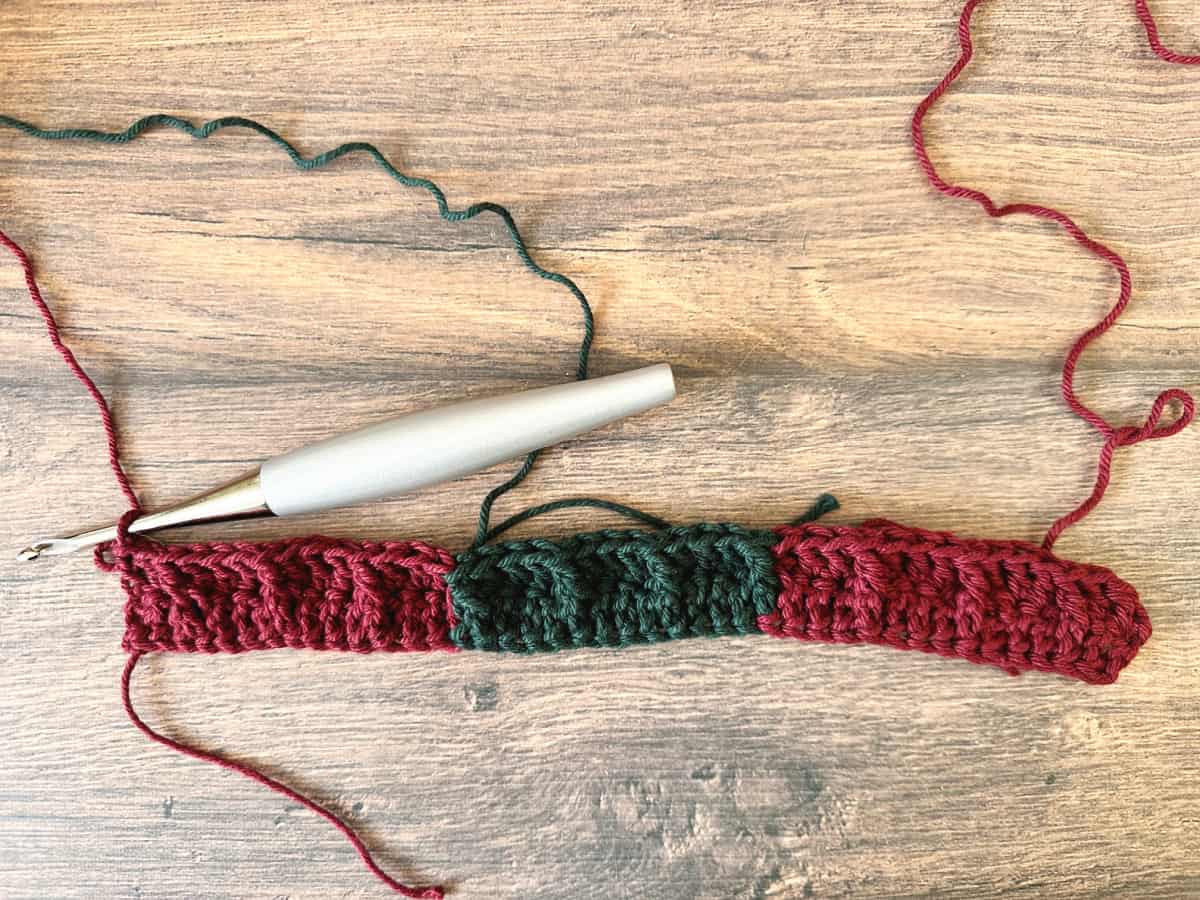
Row 3. Ch 3, dc in next st, BPdc in next st,
*(FPdc in next 3 sts, BPdc in next st) rep from * until 2 sts left, dc in last 2 sts, turn. (41 sts)
Rows 4 - 7. Rep rows 2 - 3.
Row 8. Repeat row 2.
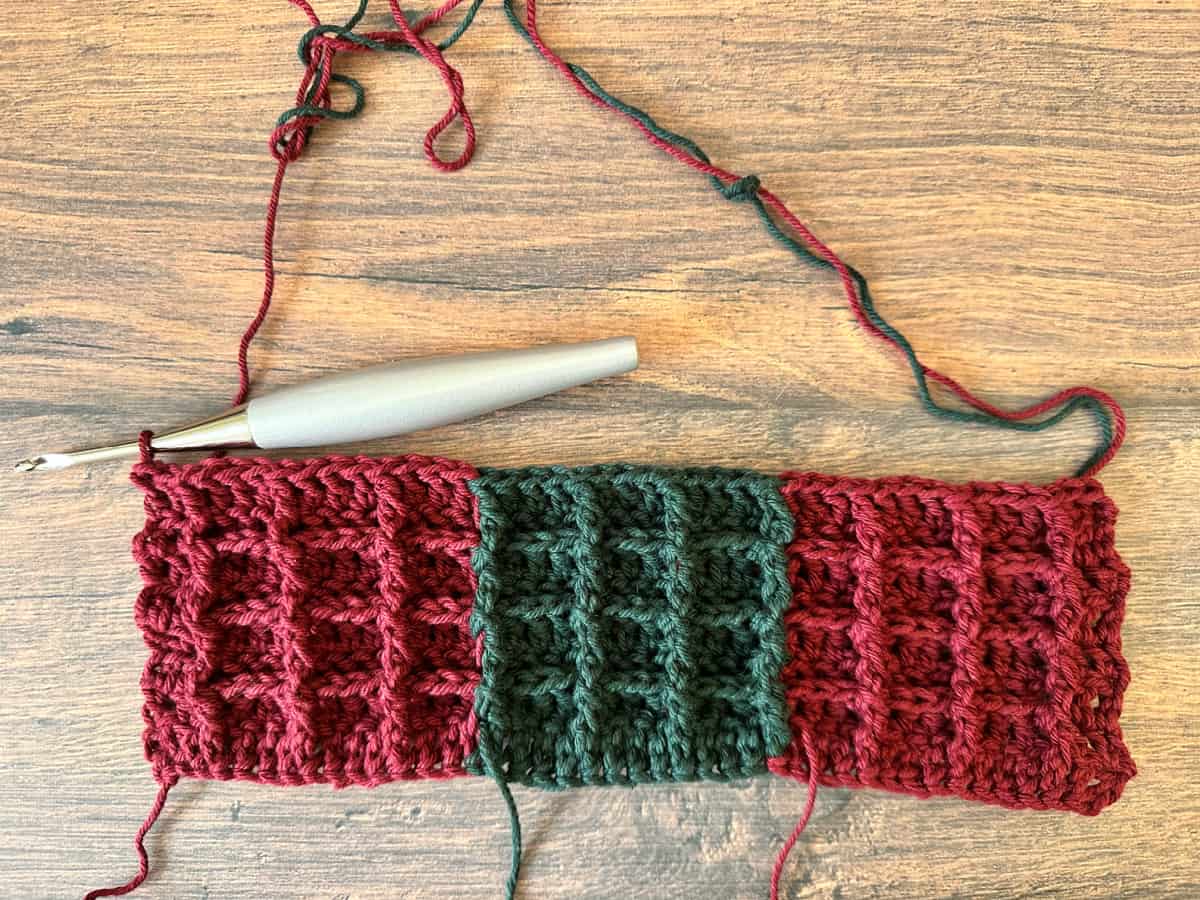
Change colors to: 14 Color B, 13 Color A, 14 Color B
Row count starts over.
Row 1. (WS) Ch 3, dc in next st, BPdc in next st, *(dc in next 3 sts, BPdc in next st), rep from * until 2 sts left, dc in last 2 sts, turn. (41 sts)
Rep Rows 2 - 8. Continue working same colors through row 8.

Change colors to: 14 Color A, 13 Color B, 14 Color A.
Rep Rows 1 - 8. Continue working same colors through row 8.

For a washcloth size 10” x 9” you can stop here.
Change colors to: 14 Color B, 13 Color A, 14 Color B.
Rep Rows 1 - 8. Continue working same colors through row 8.

There are some optional finishing techniques below. Or you can stop here, cut your yarn, and weave in your ends!
Optional:
Border
Ch 1, sc in each st across. At the corner st place (sc, ch 1 , sc). Continue to sc evenly around each side, placing (sc, ch 1 , sc) in each corner.
To Add a Hanging Loop
To add a loop for hanging, continue from last corner (or join yarn with a sl st to any corner). Ch 16, sc in 2nd ch from hook.
Fold over to make the loop and sl st back to corner st.
This gave me about an 1.5”/3.75 cm loop for hanging, you can adjust this to your needs.
Finishing
Pull up a long loop for seaming and cut yarn.
Using the yarn needle sew down loop end securely and weave in ends.
Recommended Products
As an Amazon Associate and member of other affiliate programs, I earn from qualifying purchases.

