Step by Step How to Single Crochet For Beginners
Learn how to crochet the single crochet stitch. This abbreviates as ‘SC’ in written crochet patterns.

This post contains affiliate links, I may earn a fee. Read more disclosure policy.
Join the ChristaCoDesign Newsletter
Never miss a pattern!
In this step-by-step tutorial you will learn how to make a single crochet stitch with photos and video.
The single crochet is one of the most basic stitch a beginner crocheter will learn. It’s an easy stitch and works up quickly.
Learning to crochet opens up a world of crochet projects for you to take on!
Absolute Beginners Will Need To Know
If you’re just learning to crochet you might want to check out my tutorial on how to hold your yarn.
To get your yarn on your hook start with a slip knot.
You will also need to know how to crochet a chain, so start here if you need more info on how to chain.
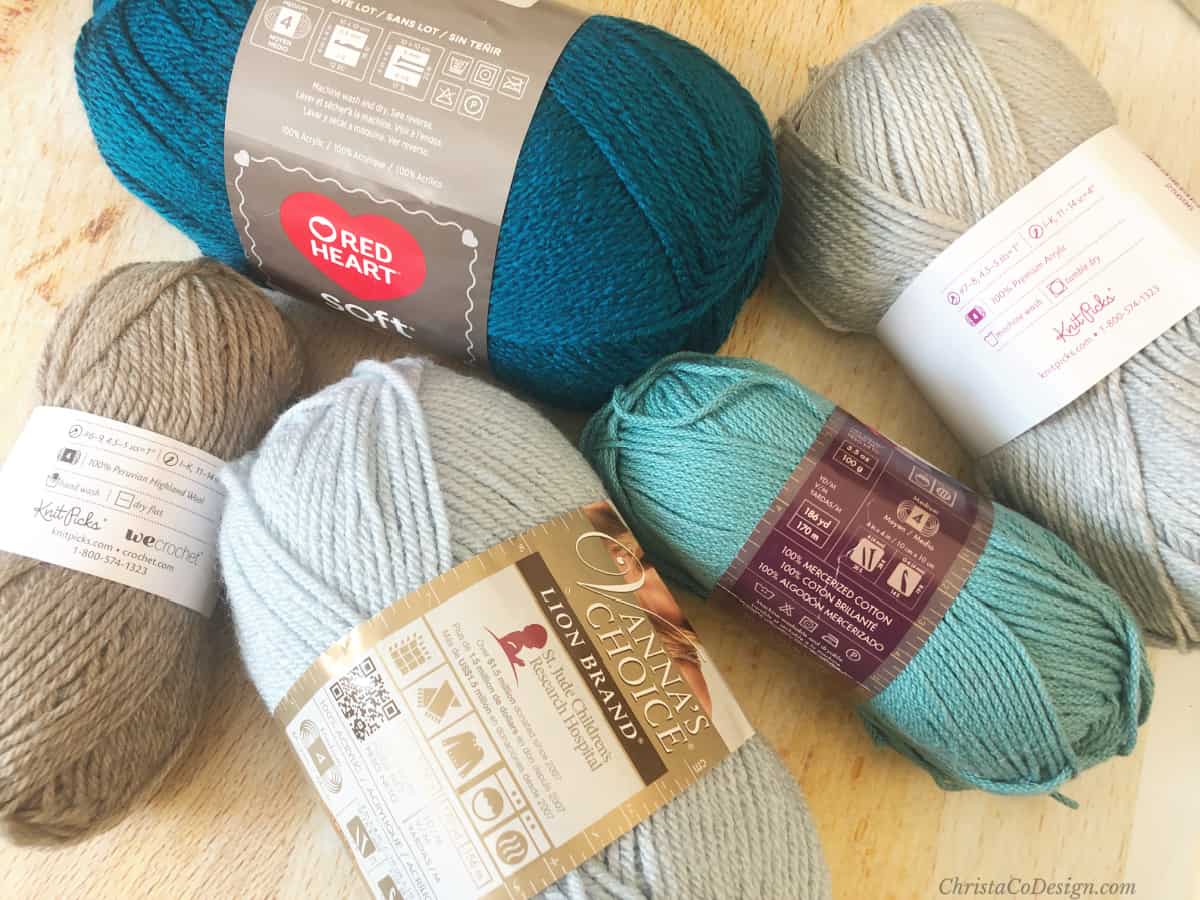
Yarn
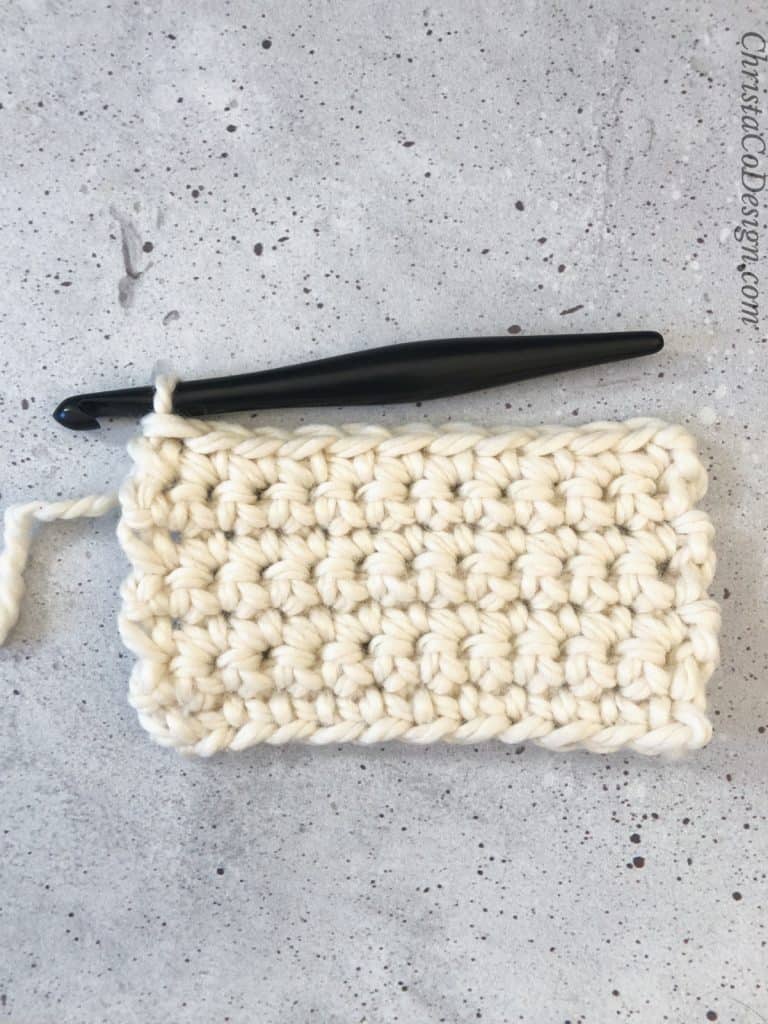
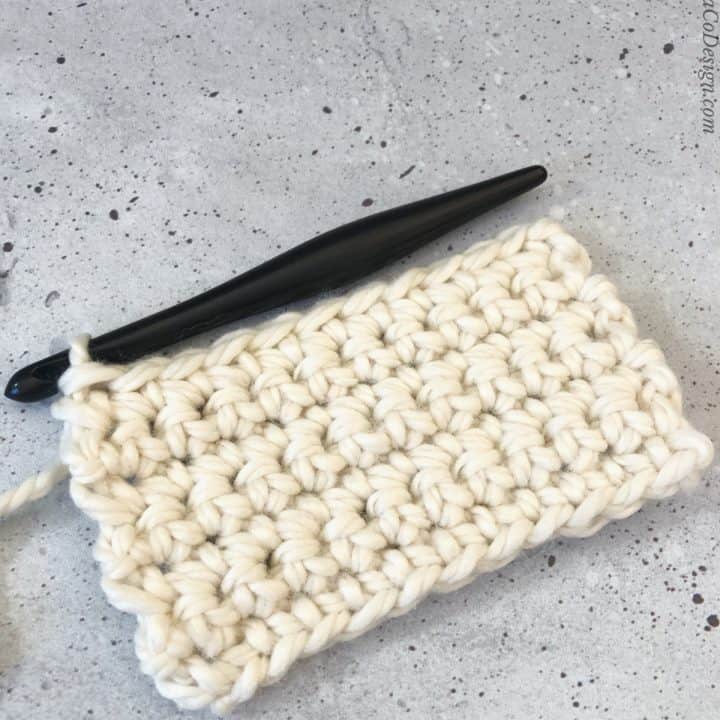
In this tutorial I’m using a #6 super bulky yarn. I like using this thick yarn for tutorials because it’s easier to see the stitches.
One of the hardest parts about learning to crochet is learning to “read” your stitches. At first, it can be challenging to understand what you’re looking at, or where to put your hook.
You may use any weight yarn and compatible hook for this tutorial. Likely you are using a #4 medium worsted weight yarn. That’s perfect.
The different sizes of yarn will crochet up different size stitches. Like I said, the thick yarn is easier to see your stitches so that’s why I chose it.
Stitch
The single crochet is the shortest ‘regular’ crochet stitch. It’s one of the three basic stitches in crochet.
It’s often the first one we learn, as it requires the least number of steps. This stitch is used in a variety of patterns including hats, scarves, blankets and many more.
Materials
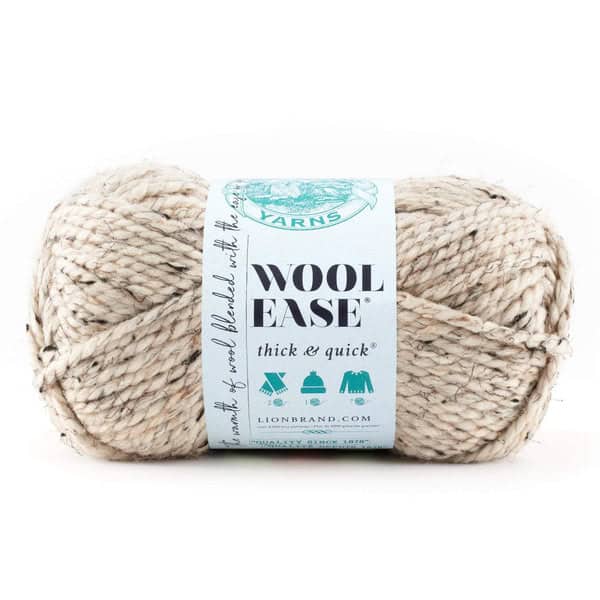
- any weight yarn, or yarn your pattern calls for. I’m using Lion Brand’s Wool Ease Thick and Quick*, in Fisherman, a #6 super bulky weight yarn.
- crochet hook compatible with your yarn, I’m using my Furls Streamline 10mm (P) in Ebony.
Notes
This is a tutorial so there aren’t too many notes. However, most crochet patterns will include a notes section about the specific pattern.
For a single crochet pattern my notes would include something like this:
- Chain 1 at the beginning of the row does not count as a stitch.
Stitches/Abbreviations
US Terms
I have tried not to use abbreviations in this tutorial. But crochet comes with it’s own language! Here are some of the common abbreviations associated with the single crochet stitch.
ch – chain
rep – repeat
sc – single crochet (this tutorial!)
sk – skip
st (s) – stitch (es)
yo – yarn over
I use US terms in my crochet patterns and tutorials. In UK terms the US sc – single crochet = dc – double crochet. So it’s important to know if you’re pattern is in US or UK terms, as the terms will have different results.
Level
Beginner
Construction
There are two main ways to crochet: flat and in the round. This stitch is made the same either way.
Crocheting flat means you will work in rows, and turn the row over to work back across the row. Then you will keep repeating, essentially crocheting a rectangle or square.
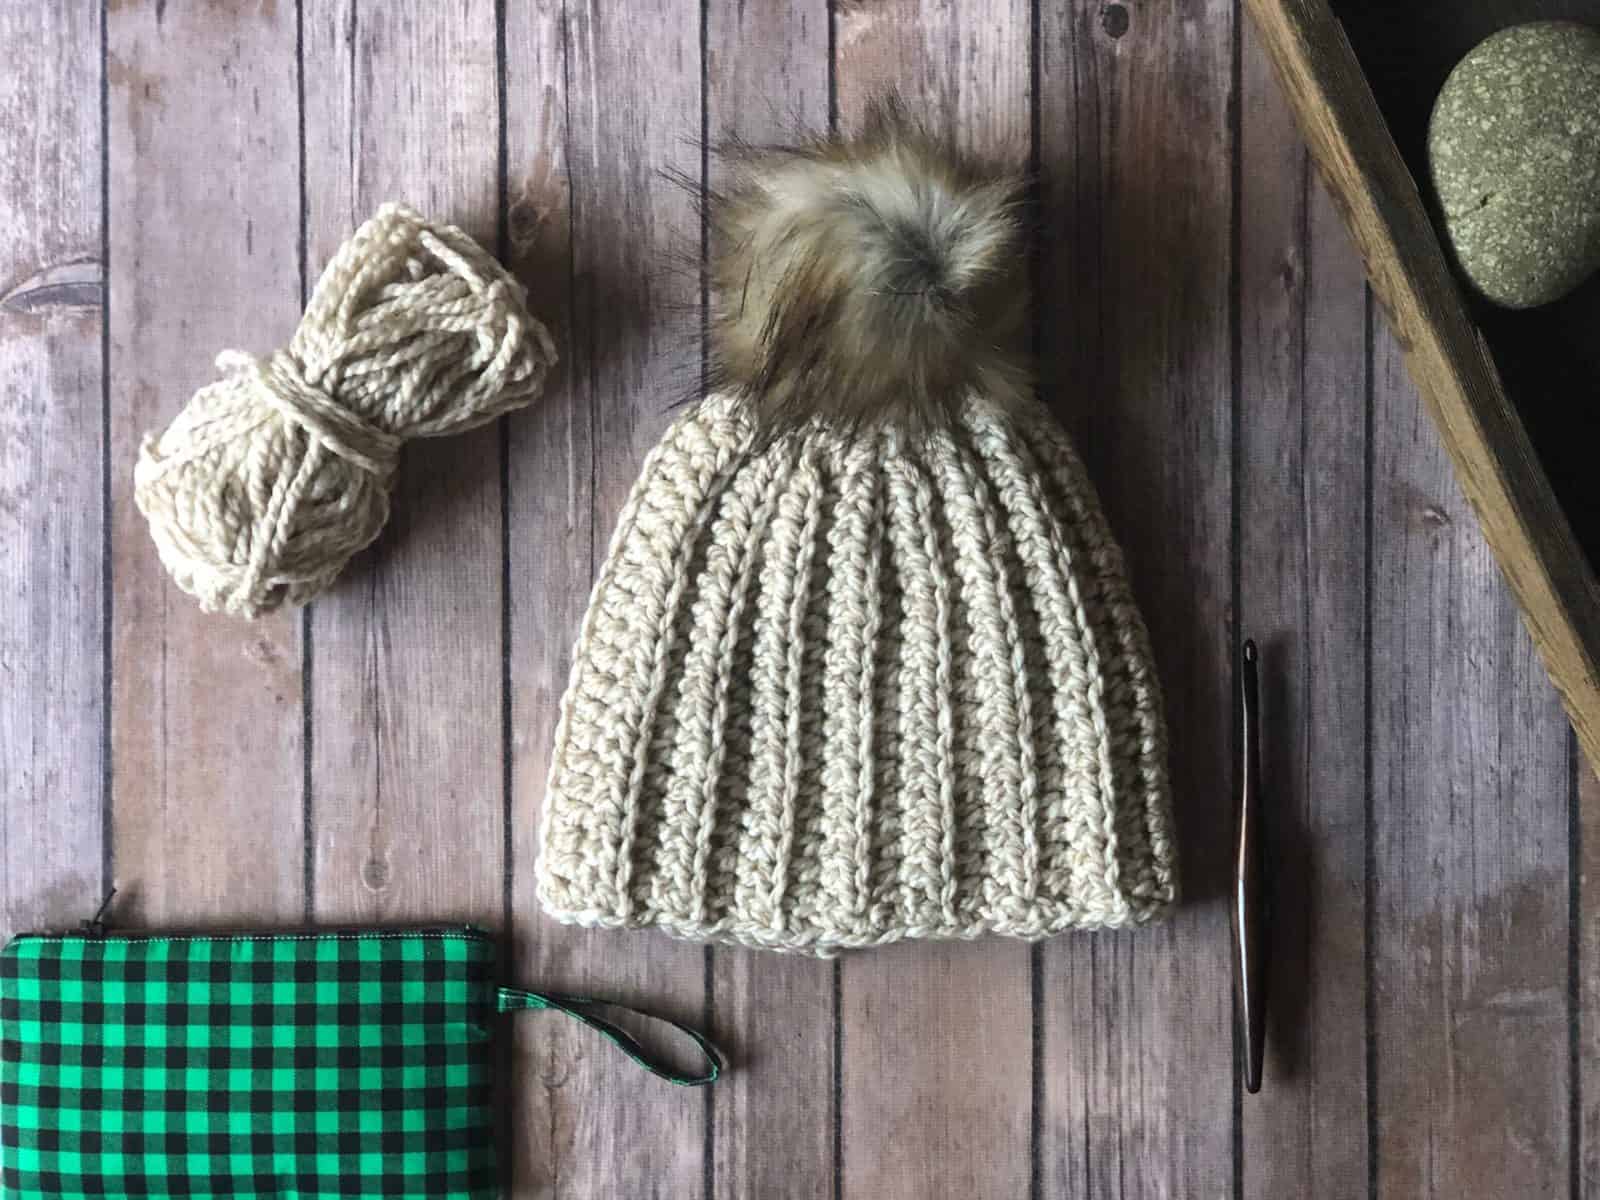
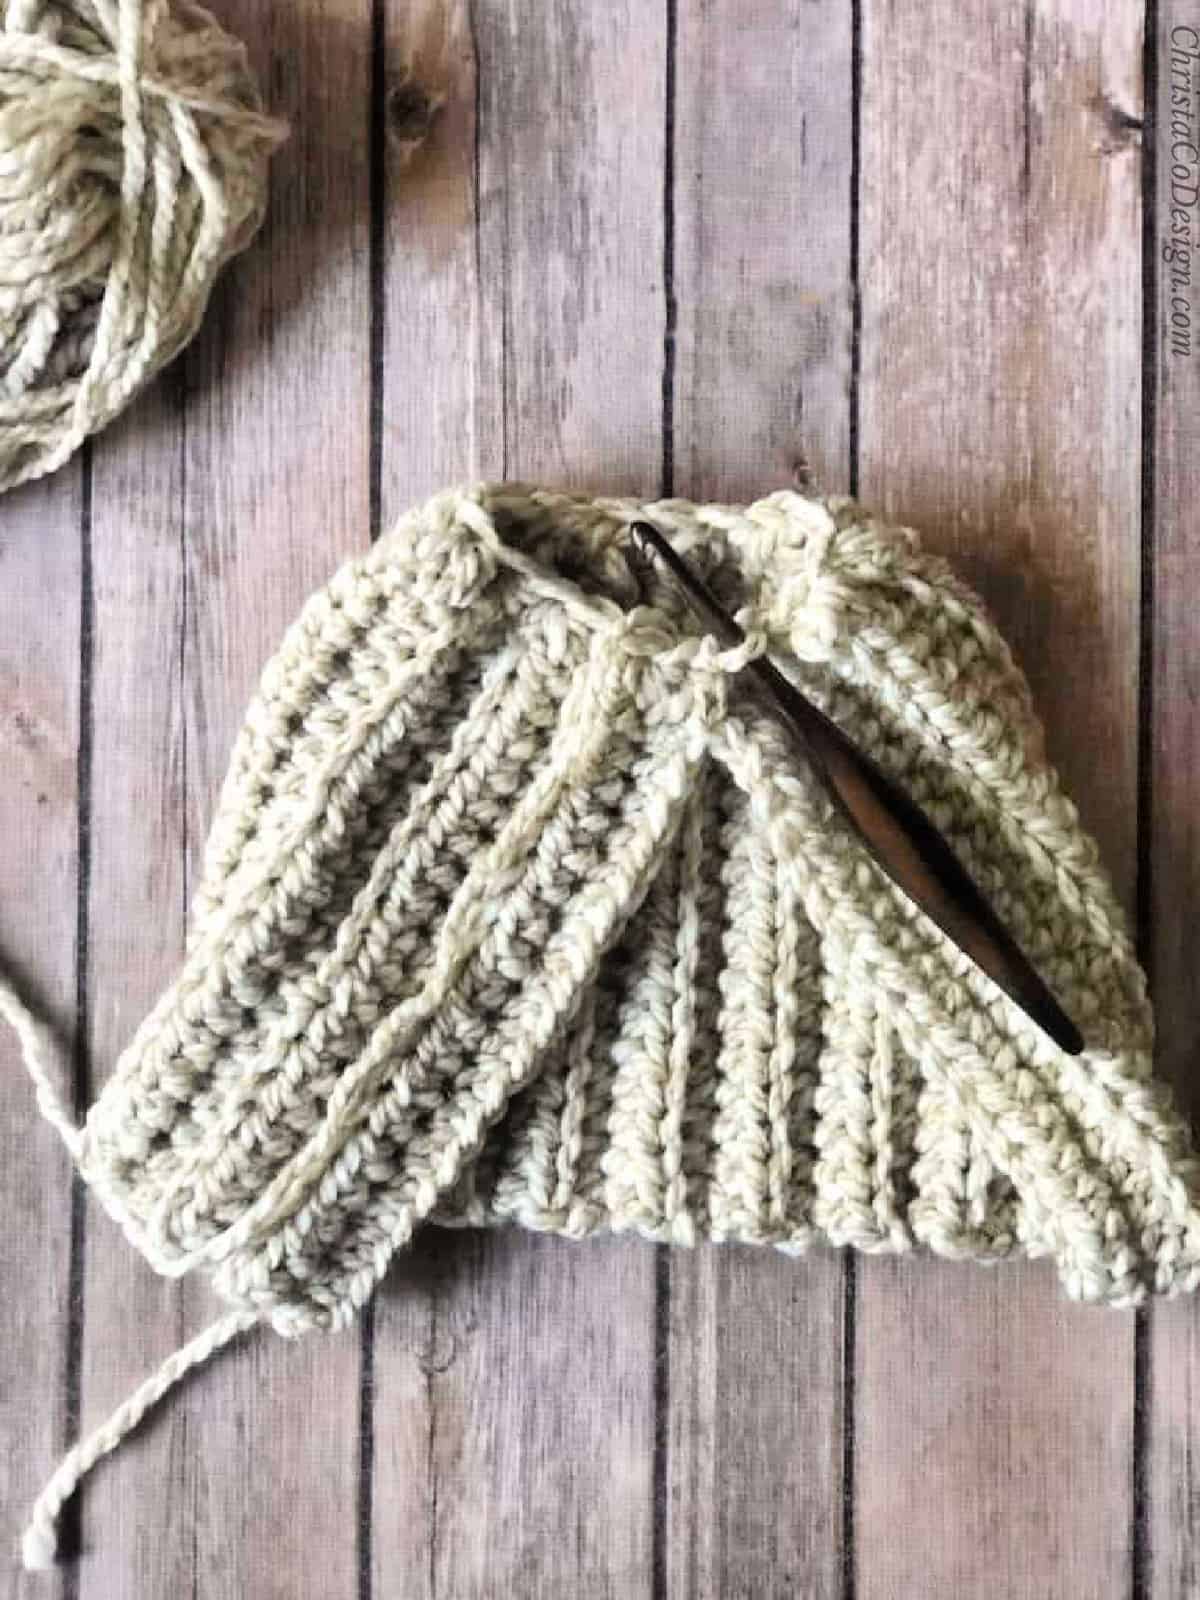
When you crochet in the round you join your stitches to make a circle. This is a common way to crochet for hat making. But hats can also be crocheted flat, like the Backcountry Beanie.
Fit/Adjustment
When crocheting you will start with a foundation chain. If you need more info on how to crochet a chain you can check out this tutorial.
The foundation chain can be any number of stitches when working in single crochet. You will need to chain 1 more than the number of stitches you want to end up with.
That chain 1 will be a turning chain and not count as a stitch. See the Notes section.
Our Favorite SINGLE CROCHET
Free Crochet Patterns
Single Crochet Video Tutorial
Watch how to crochet the single crochet video tutorial on my YouTube channel.
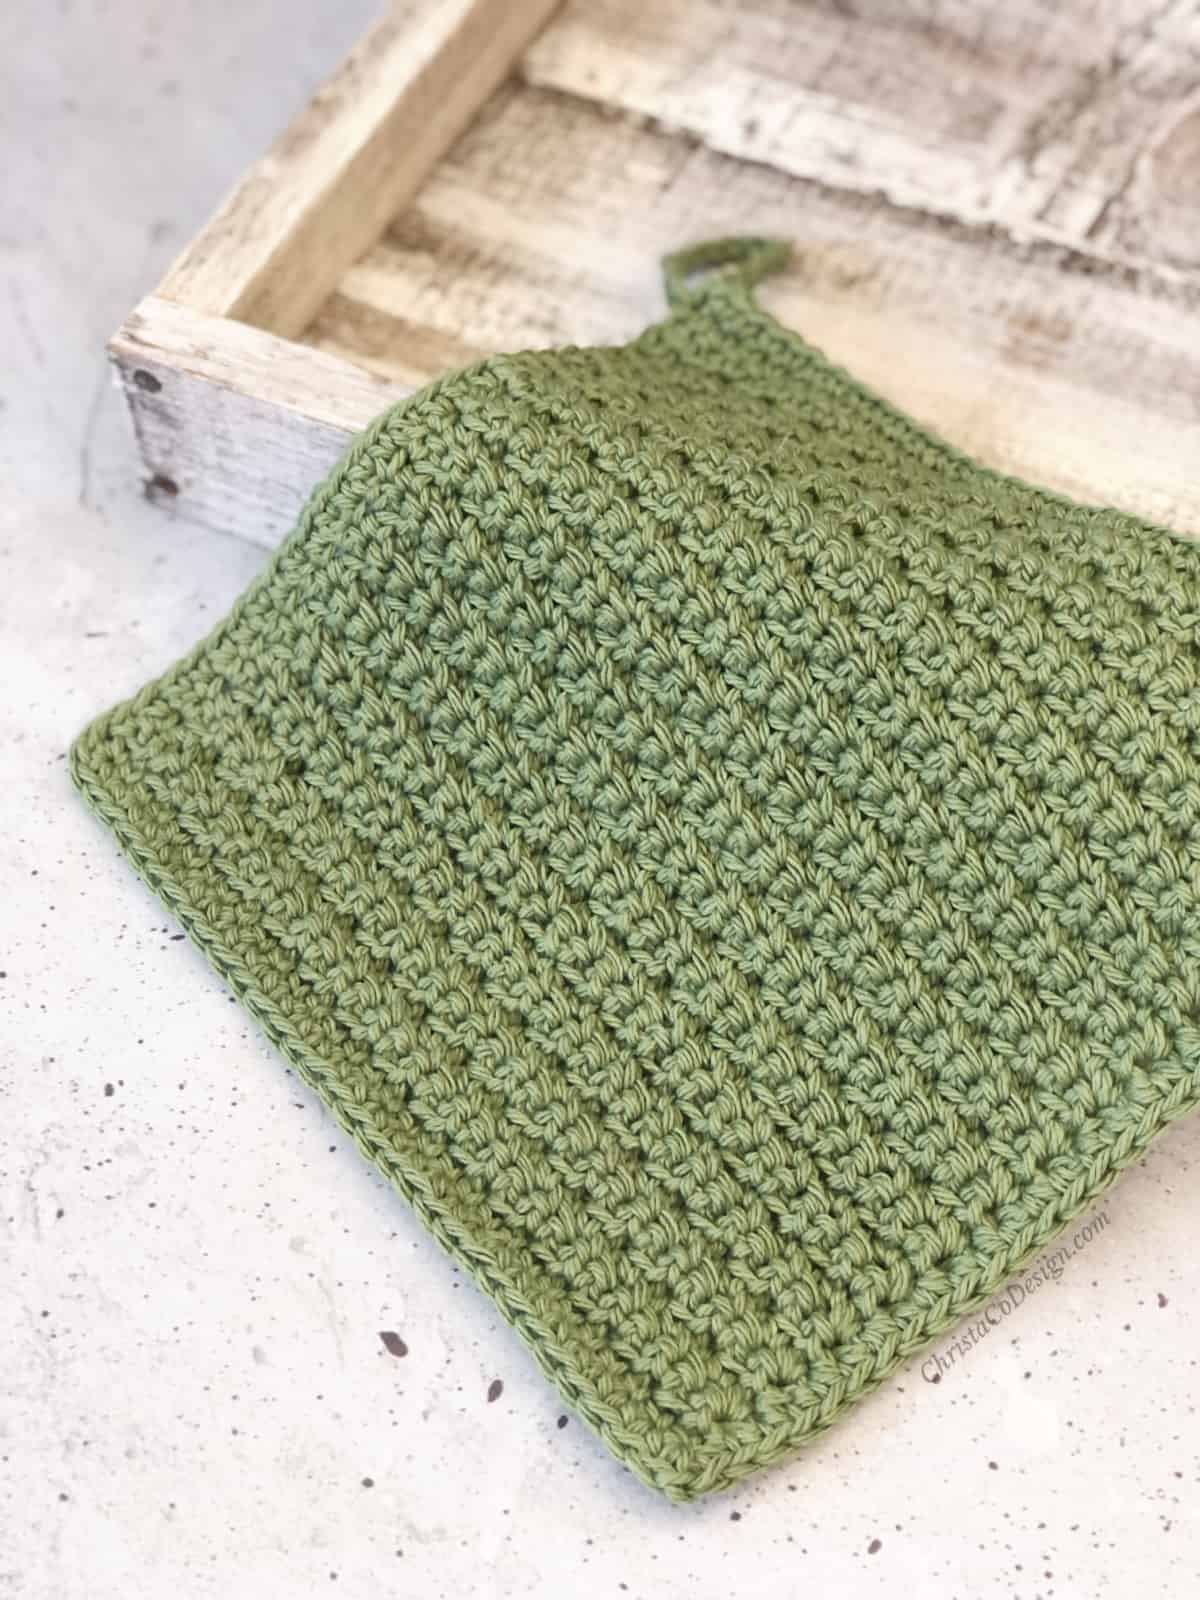
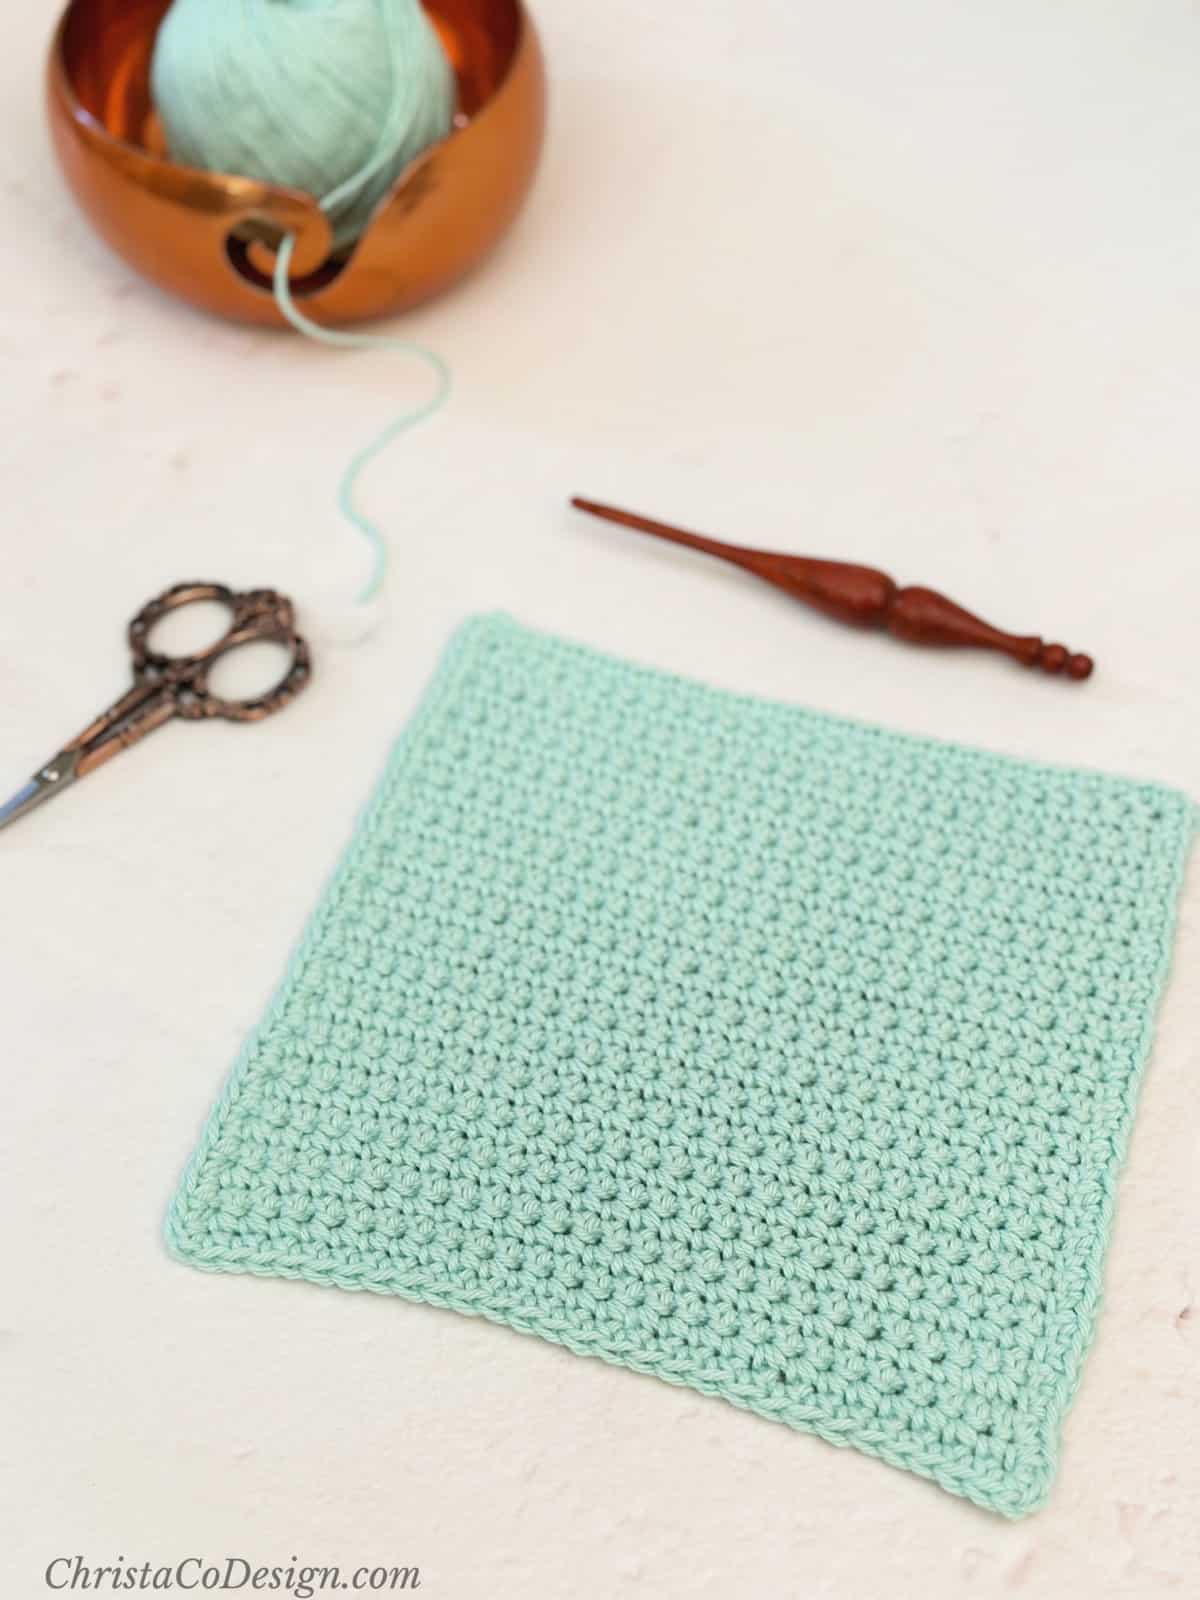
3 beginner dishcloths
Plus 2 Gift Tags!
Three crochet patterns for simple dishcloths using the basic stitches. These totally beginner friendly crochet dishcloths patterns are easy to make. The pattern includes 3 dishcloths patterns complete with photo tutorials and video tutorial links. Plus 2 printables: circle gift tags and a label wrapper that’s perfect for gifting or displaying at craft fairs.
Instructions
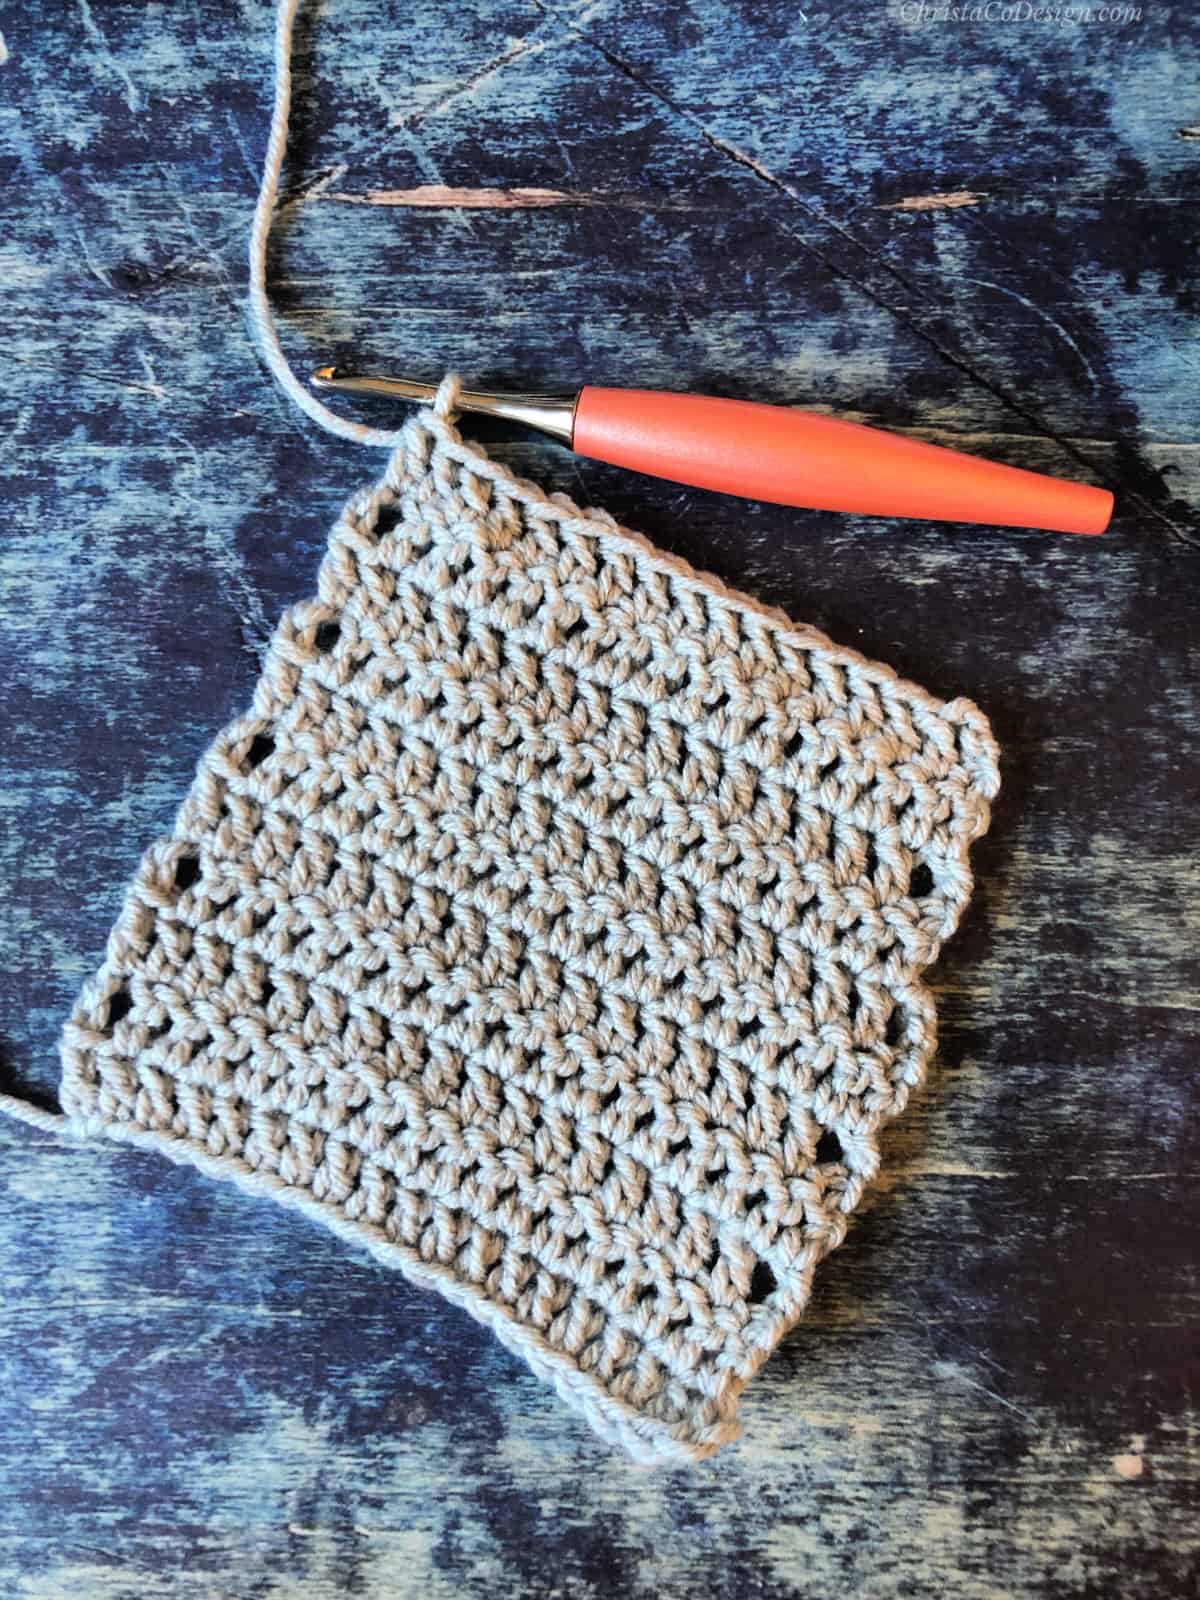
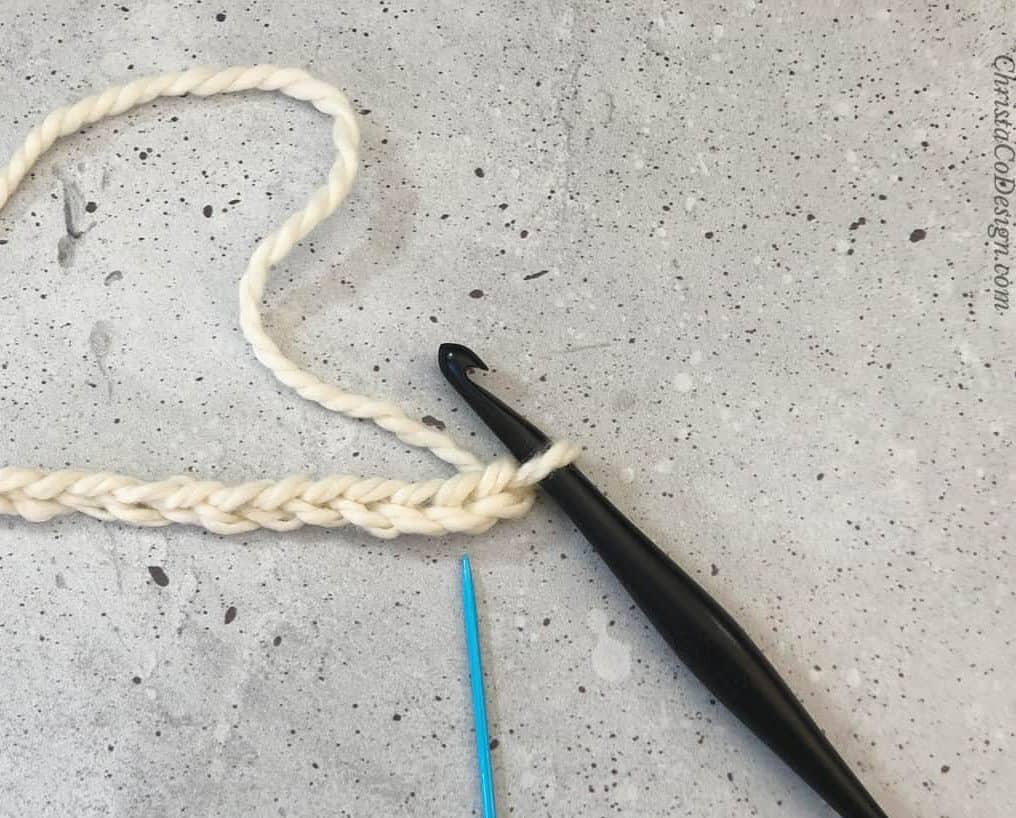
Chain to any number, plus one more for the turning chain. Here I chain 12, so I will end with 11 single crochet stitches.
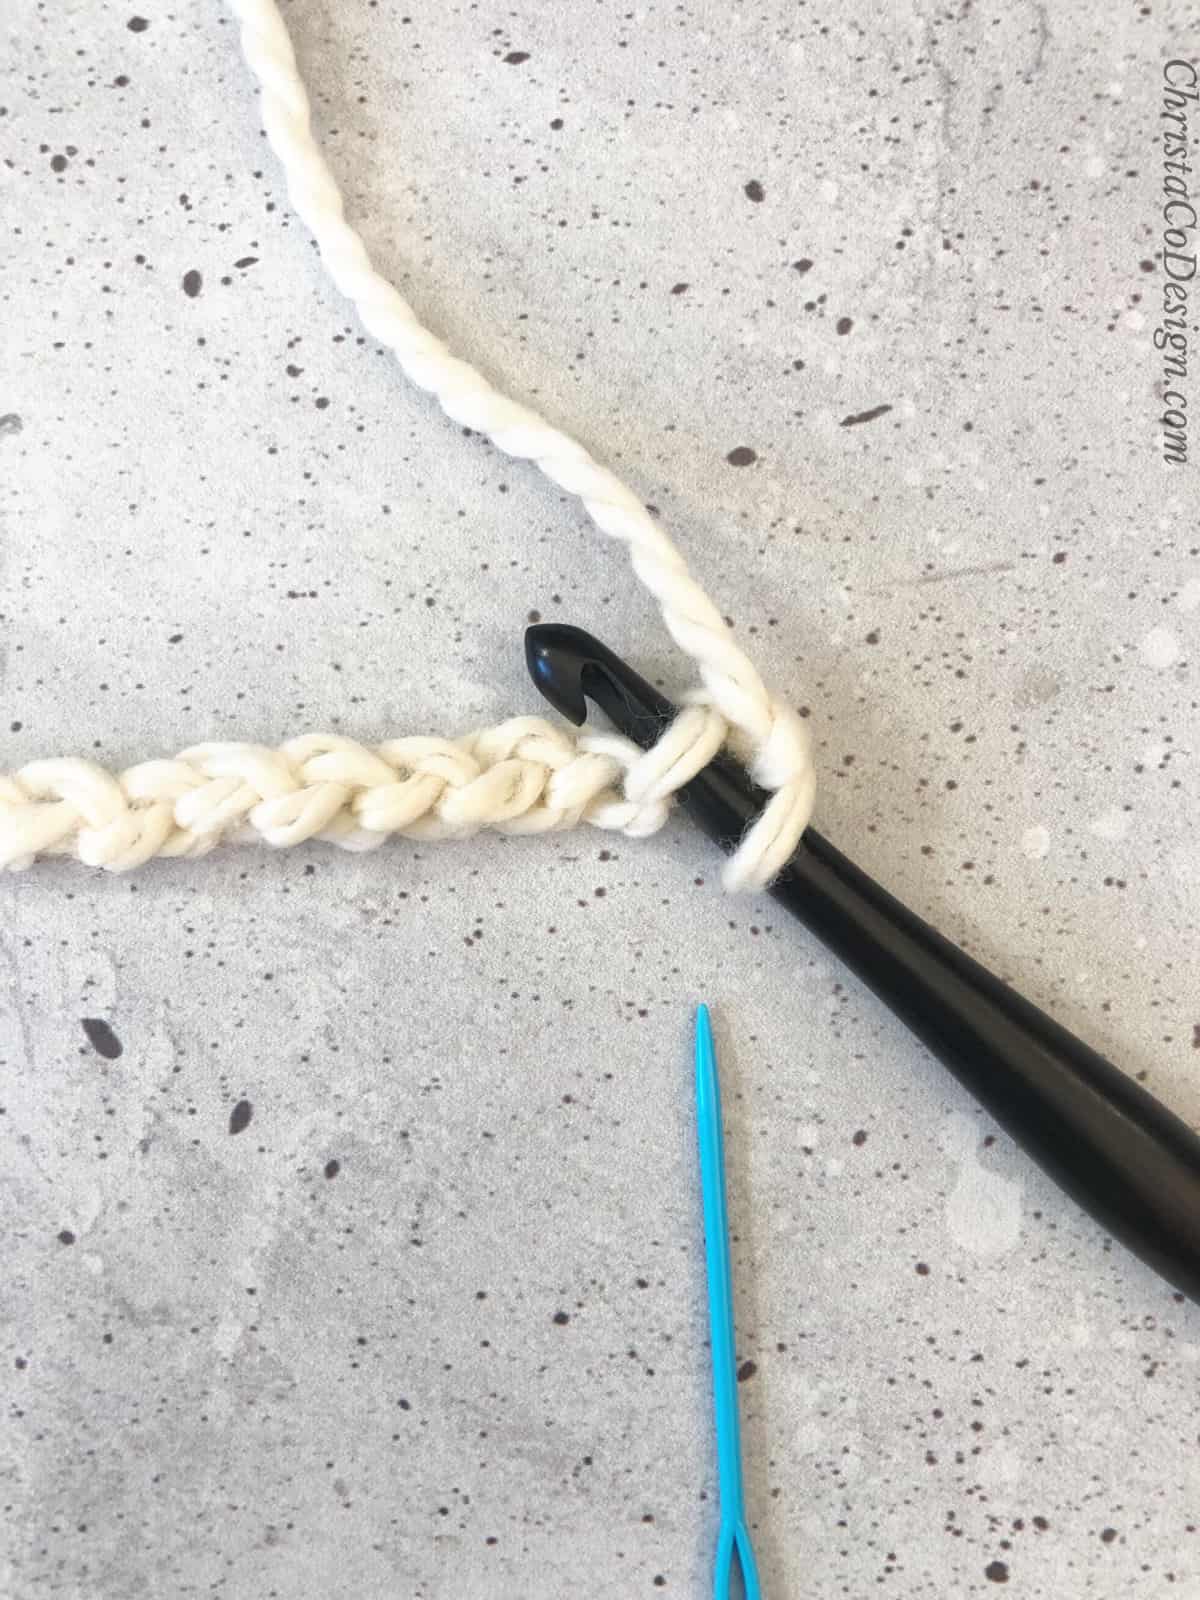
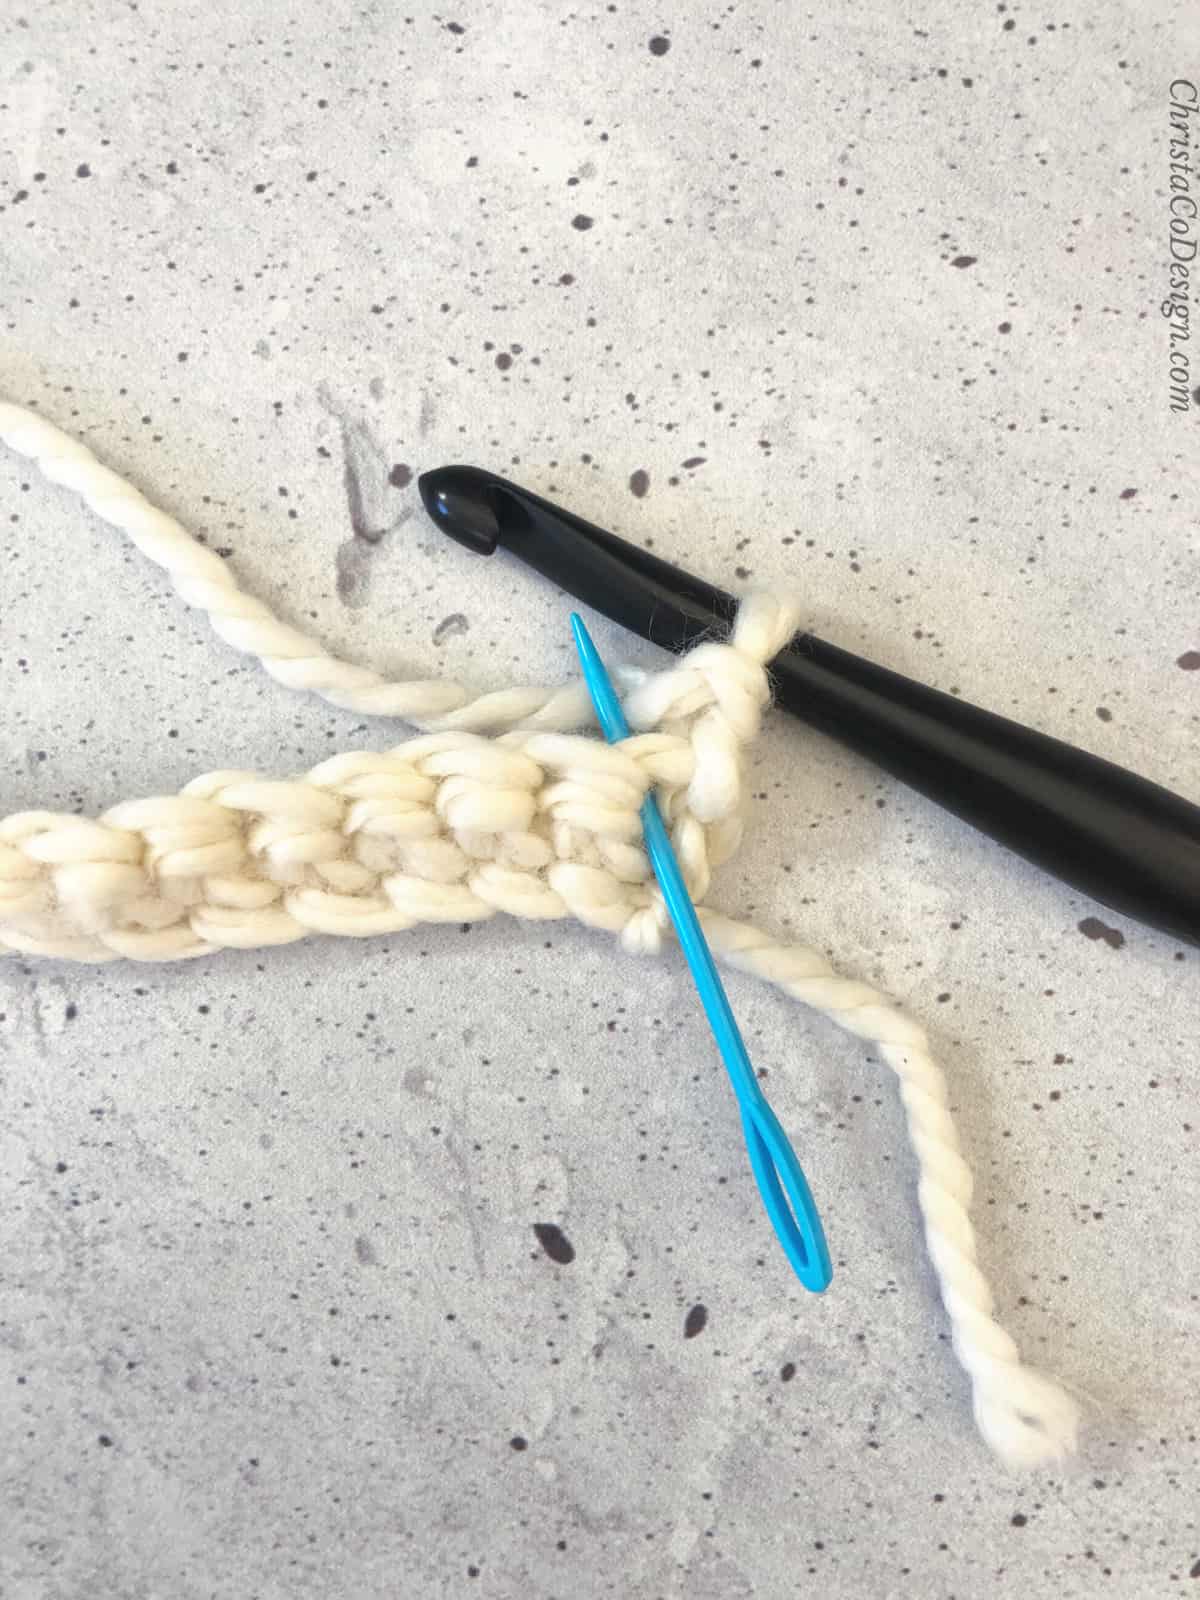
(Row 1) Skip the first chain stitch and insert hook into the second chain from your hook. The blue yarn needle marks the chain in the above photo.
There are different ways to work into chain stitches. Here I work in the back loop of the chain, which is easier, and neater.
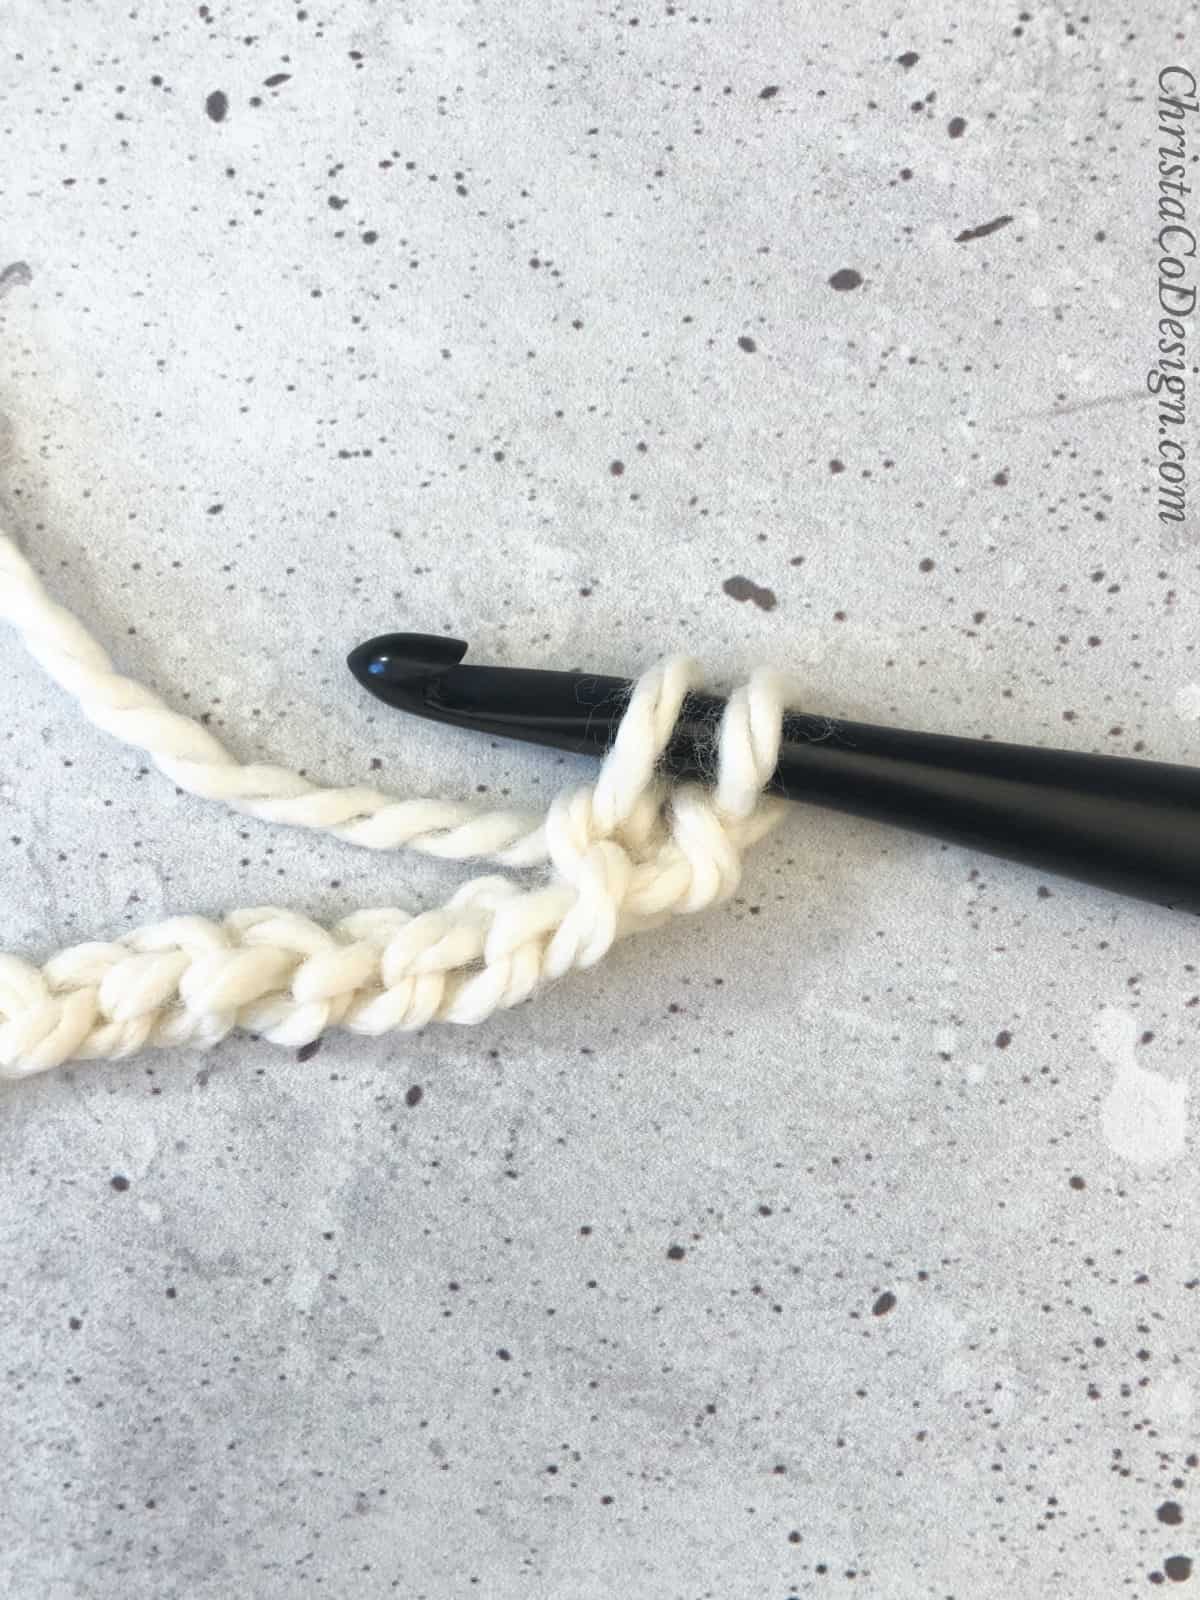
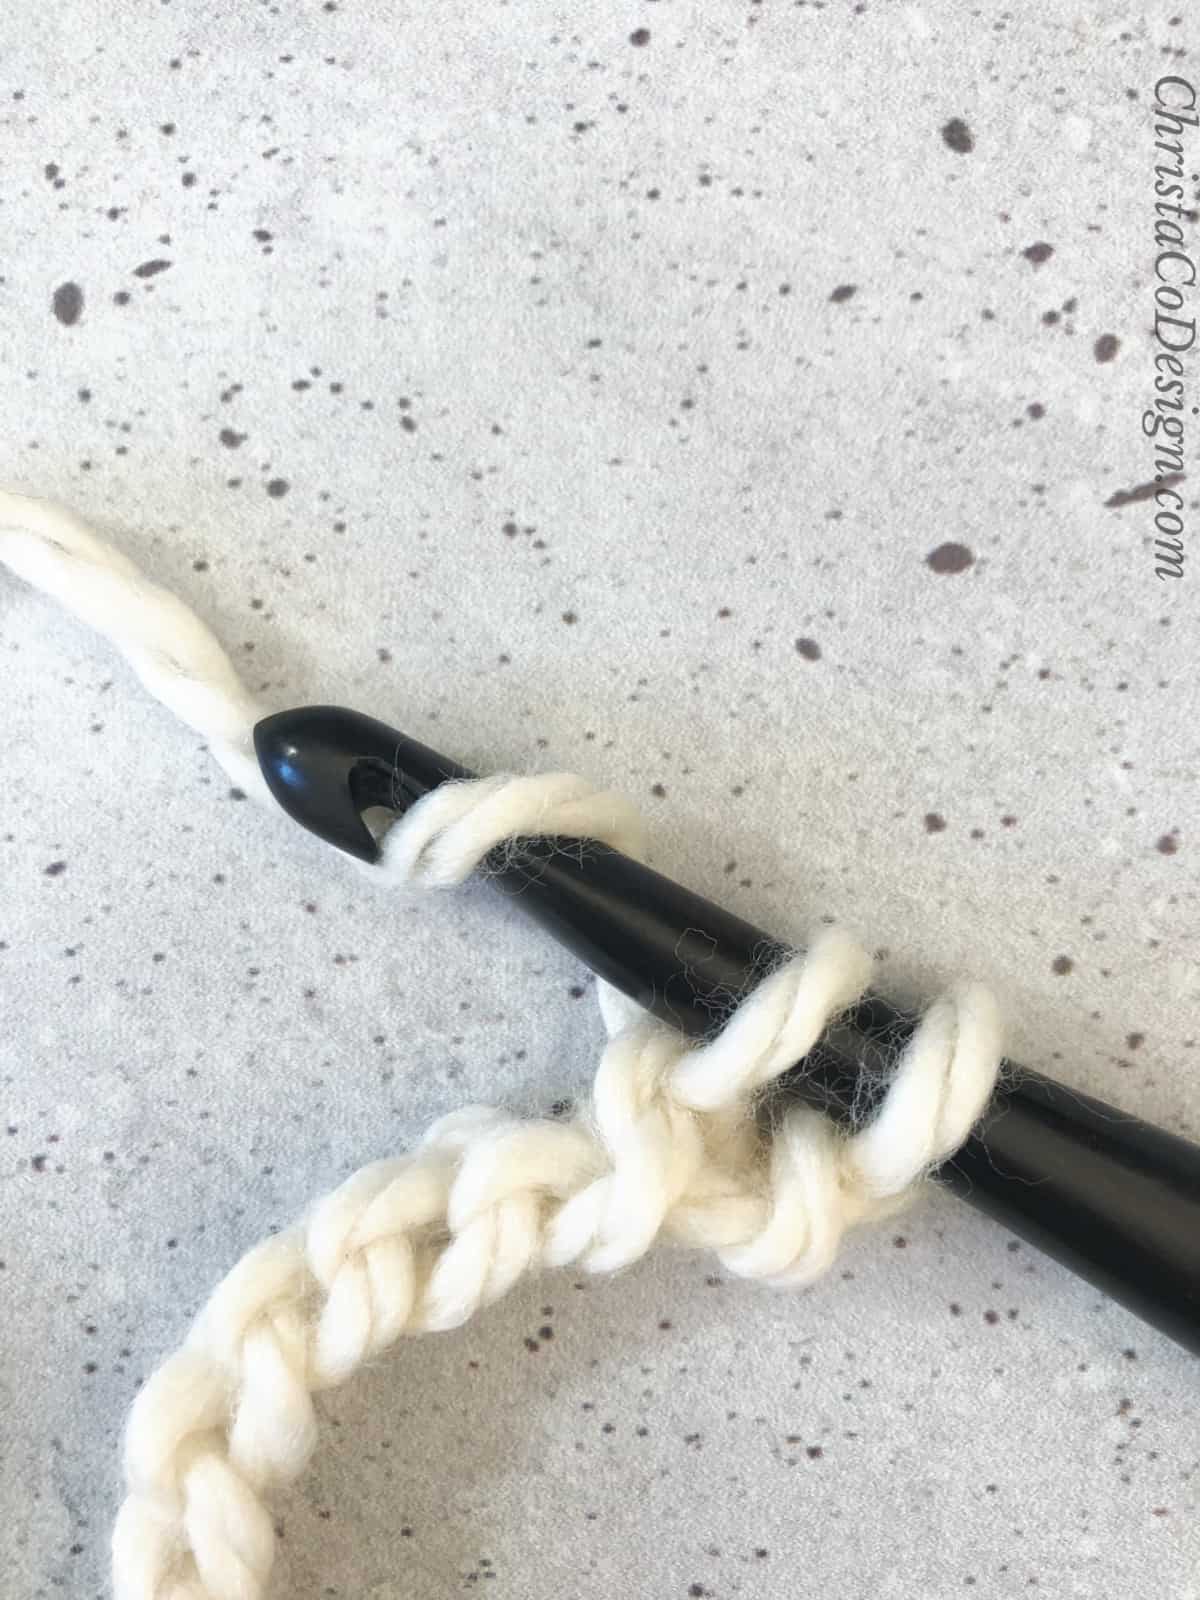
Wrap the yarn around the hook, known as “yarn over” and abbreviated “yo.”
‘Pull up a loop’ is common terminology which means to pull the yarn through and leave it on the hook for now. You have 2 loops on your hook.
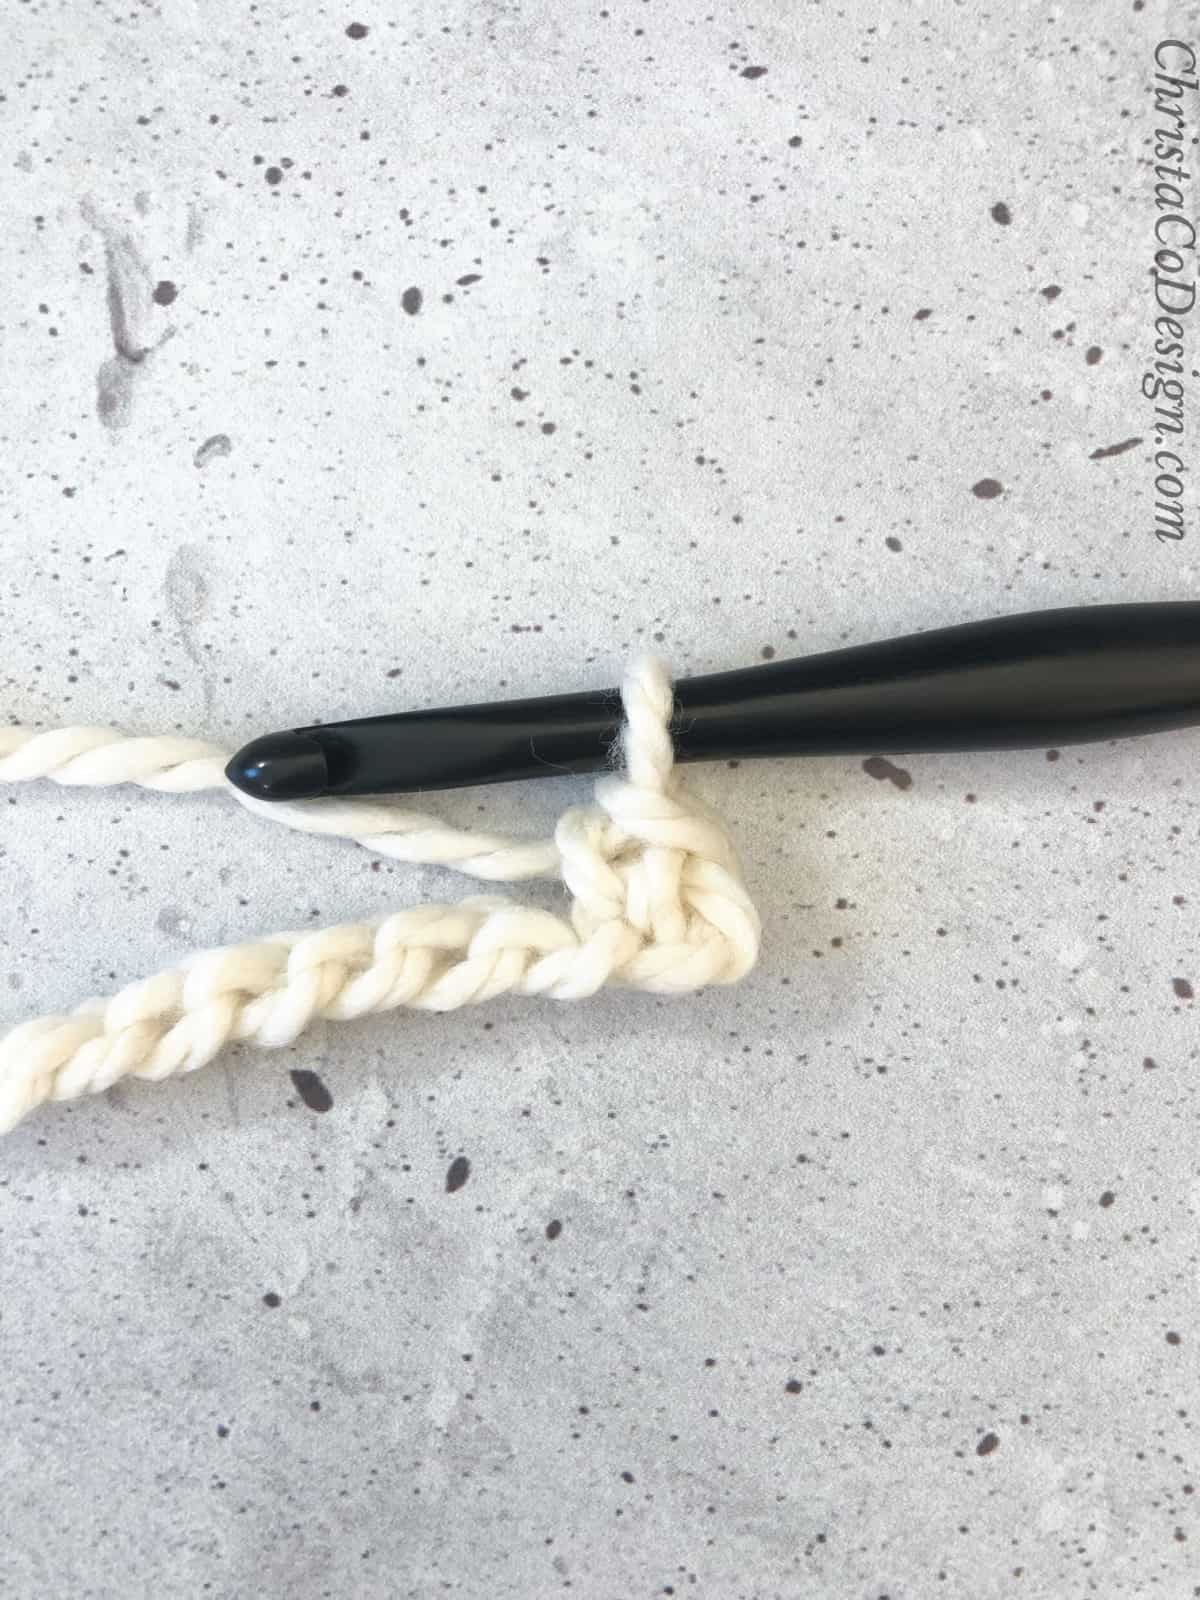
Yarn over
Pull this through the 2 loops on your hook. First single crochet made.
If you have stitch markers they can be very helpful as a beginner. You can mark this first stitch and then it’s easy to find your starting point on the next row.
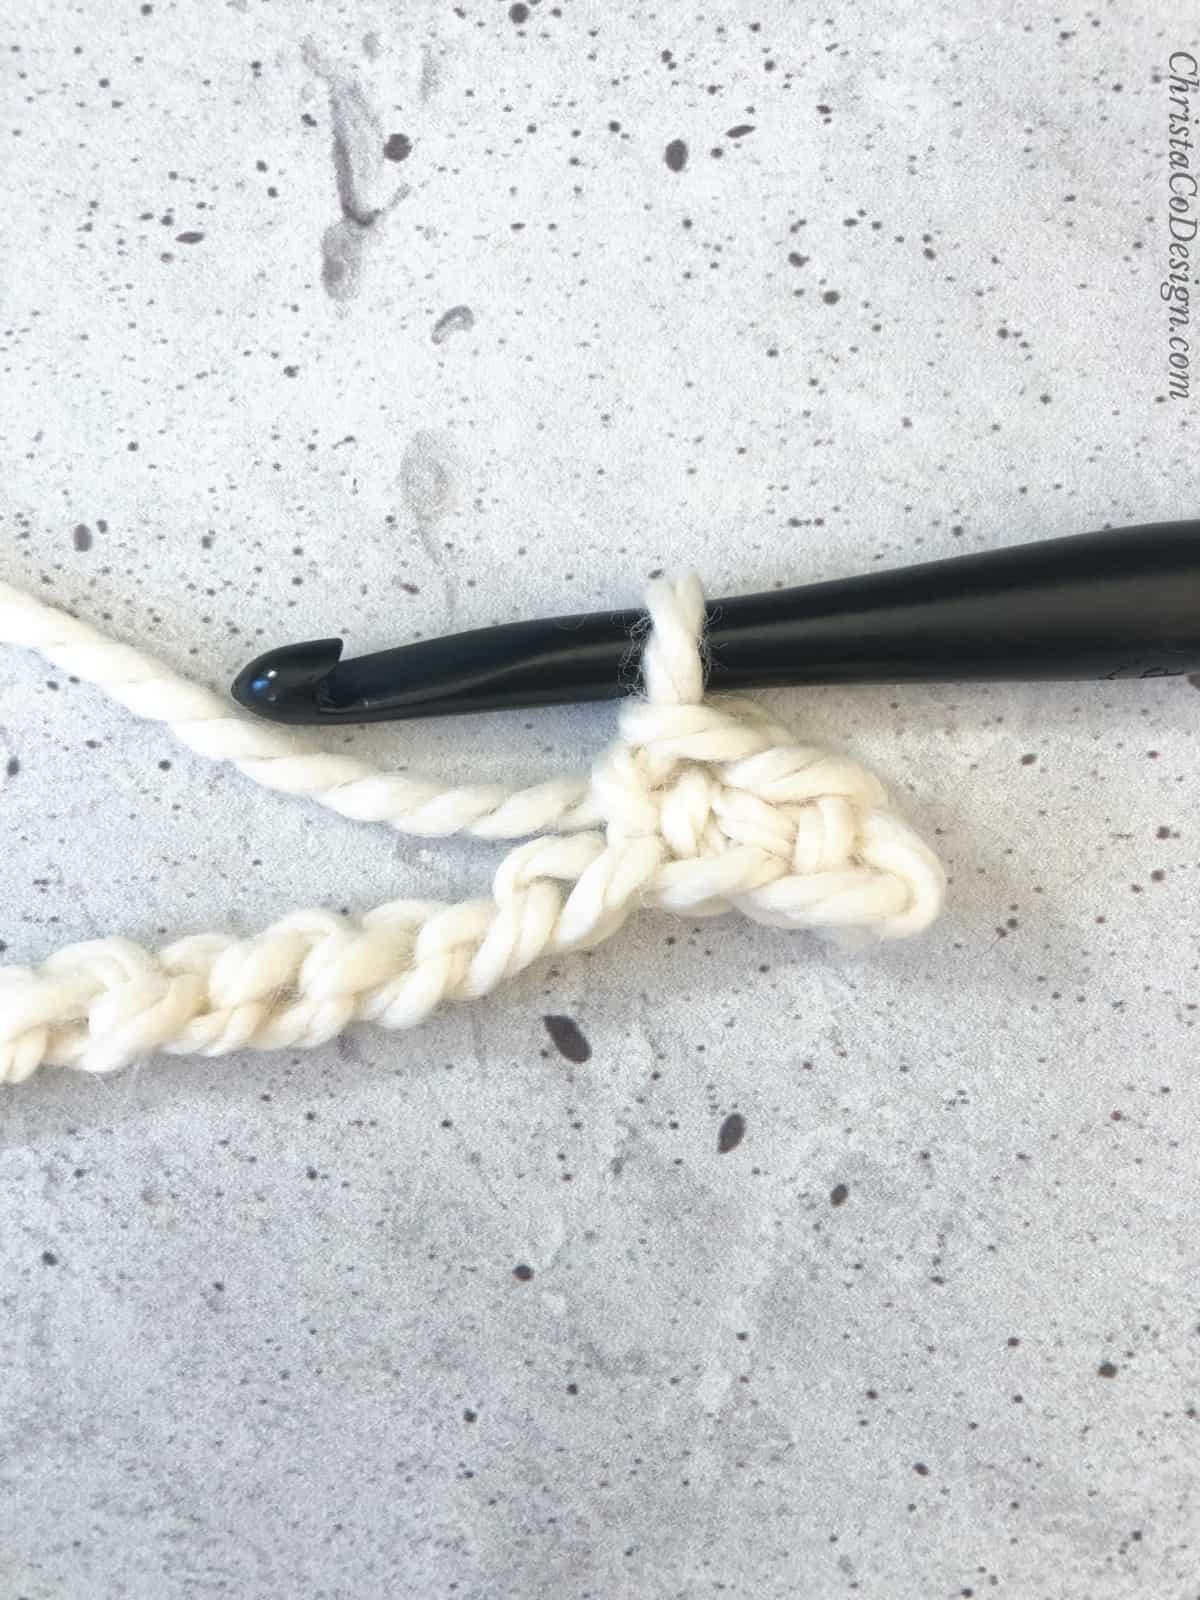
Insert hook in next chain, yo and pull up a loop, yo and pull through both loops.
Repeat step 7 in each chain across the row.
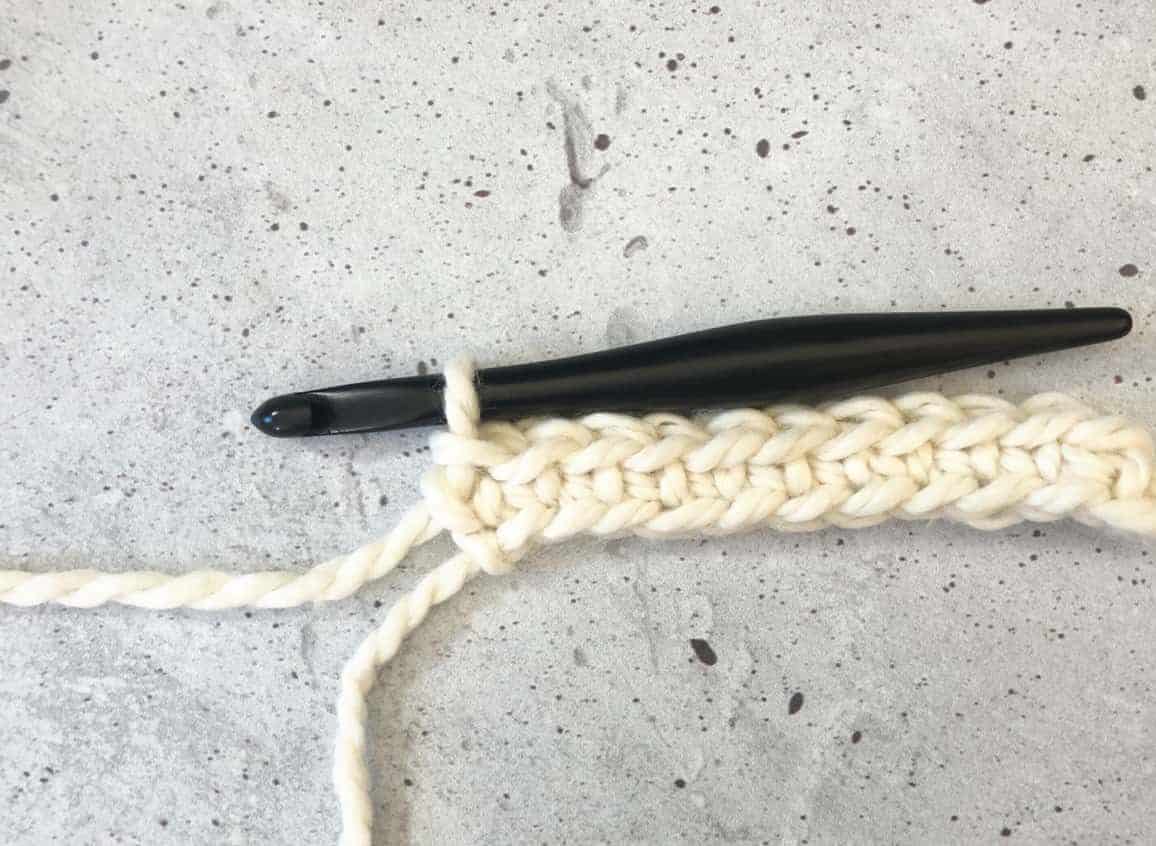
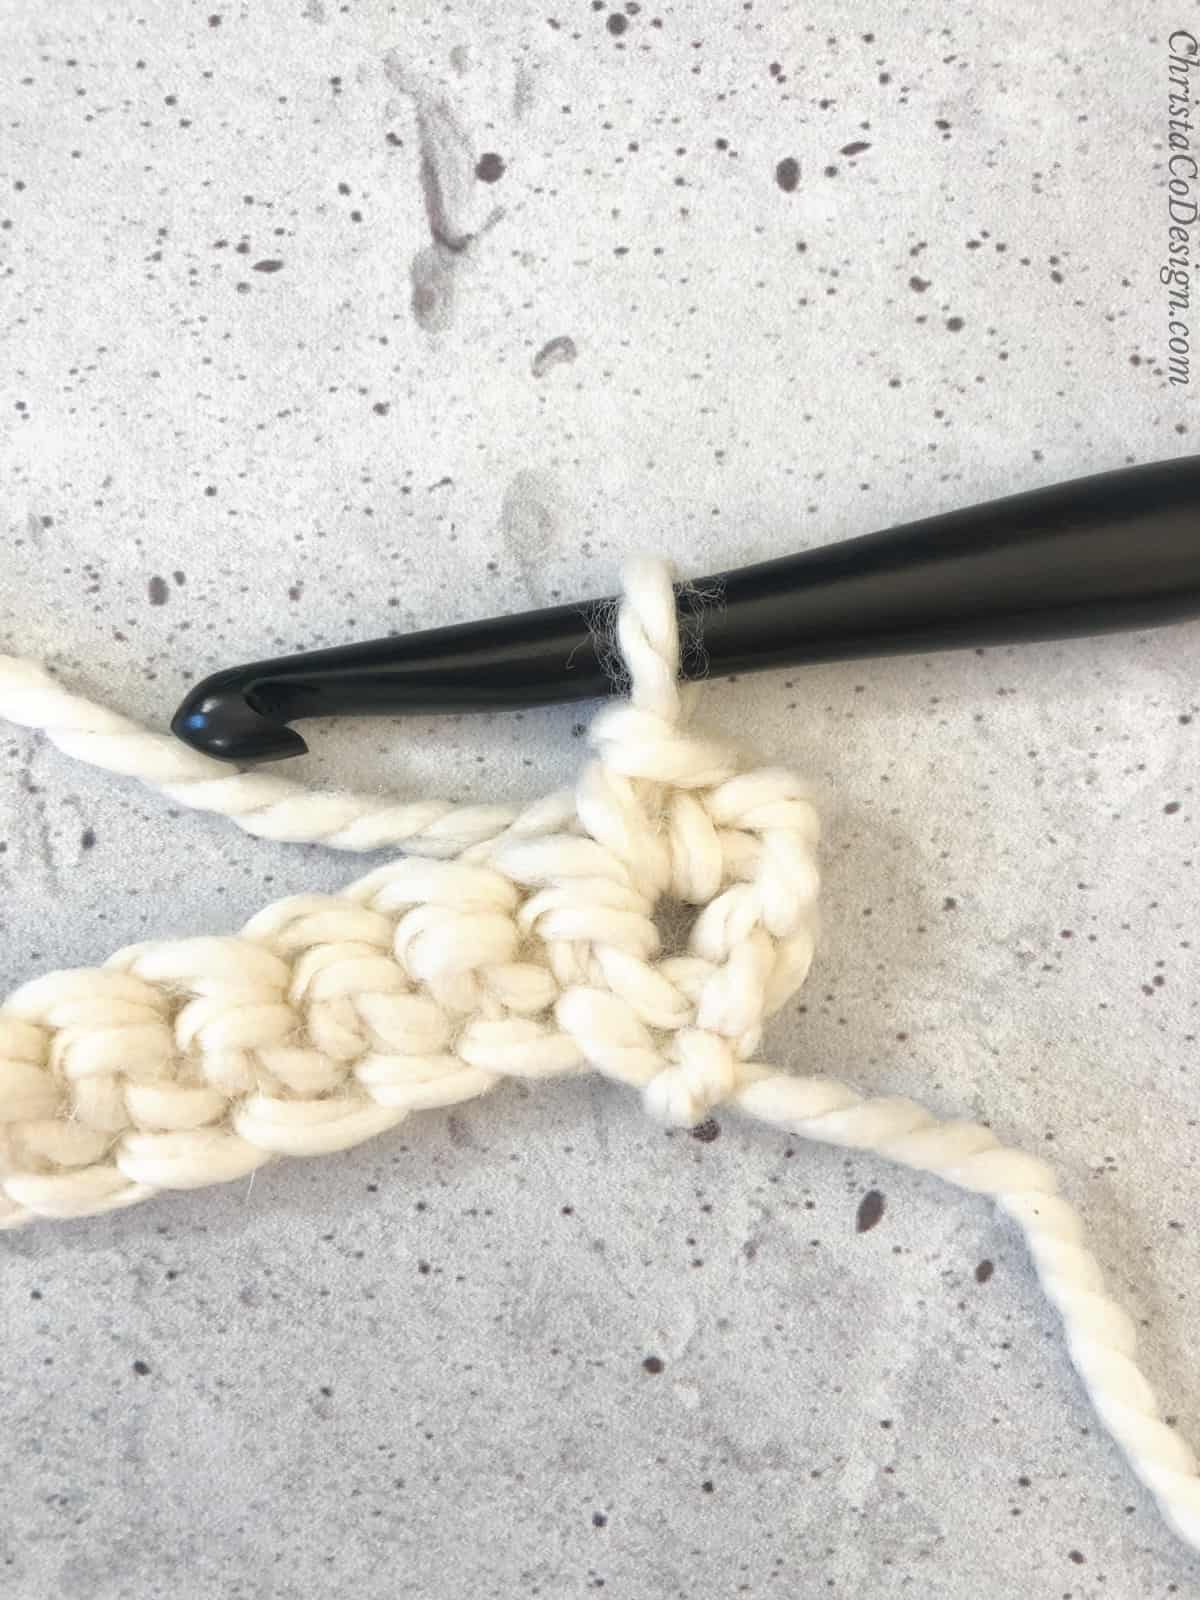
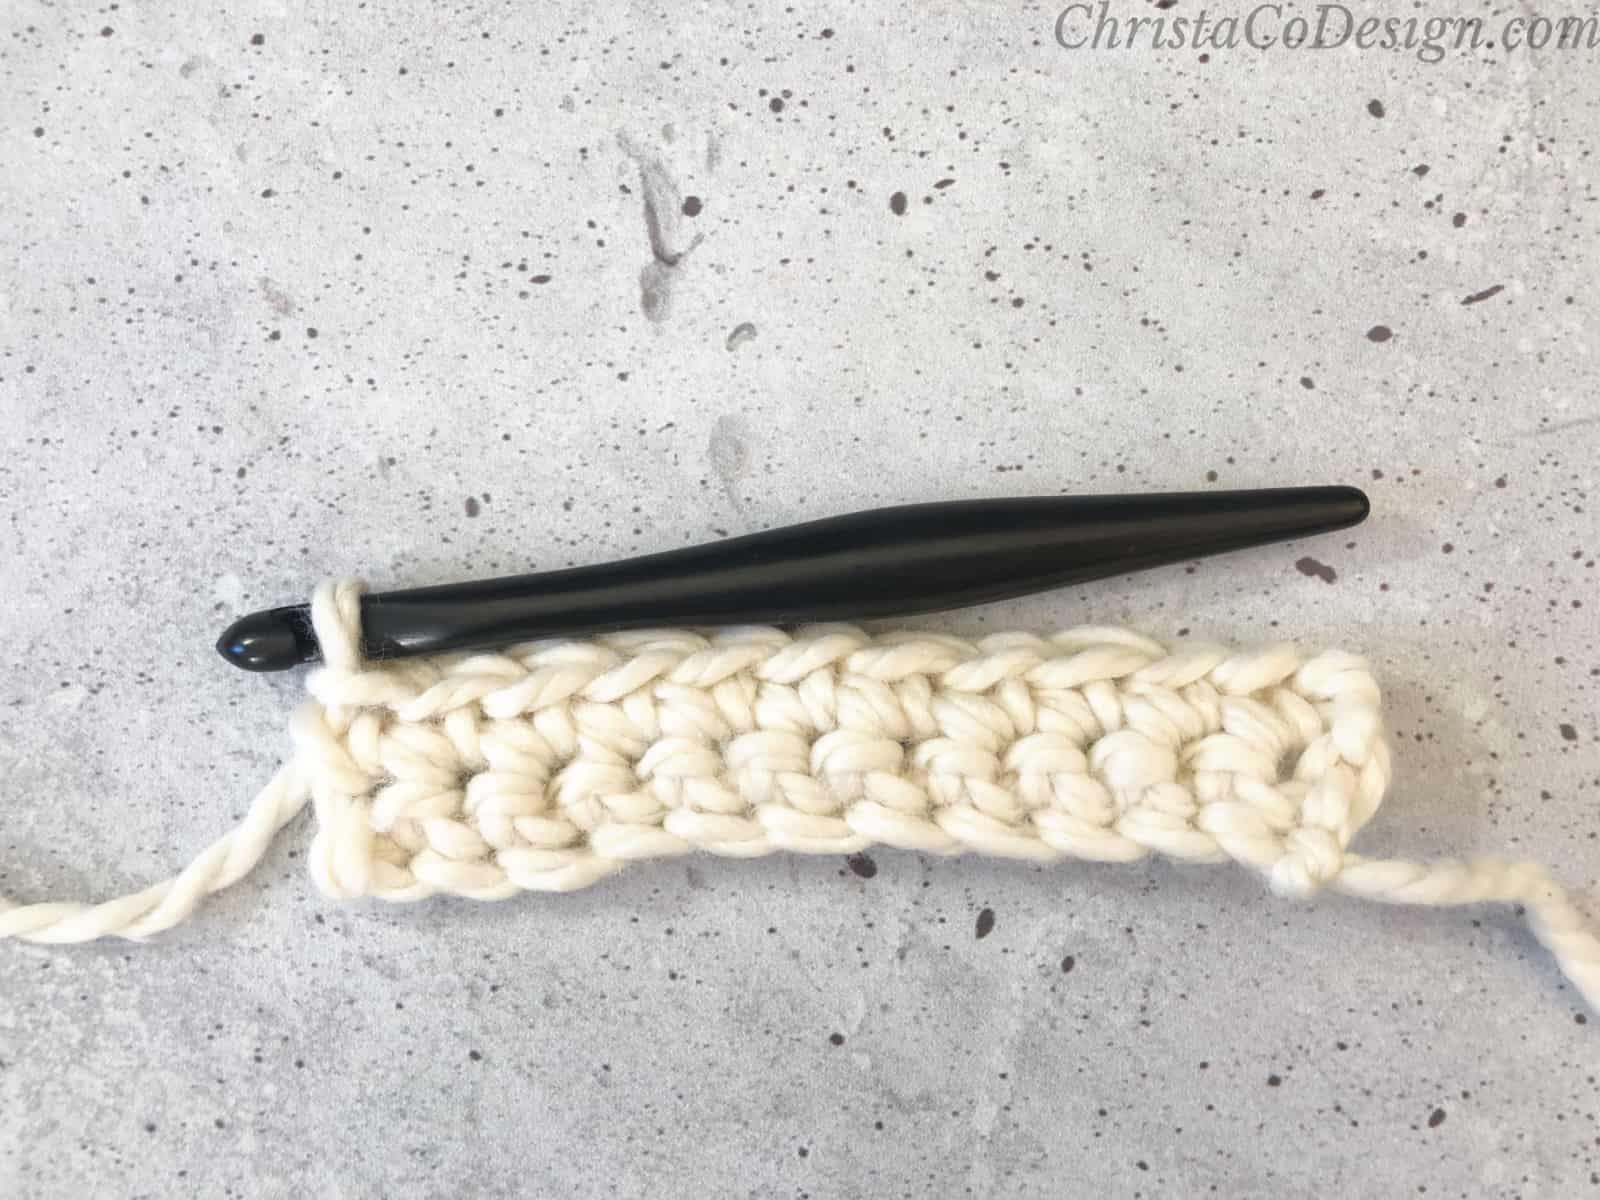
Here is your first row of single crochet.
When you get to the end of the row, turn your work.
Now you’re ready to start the second row.
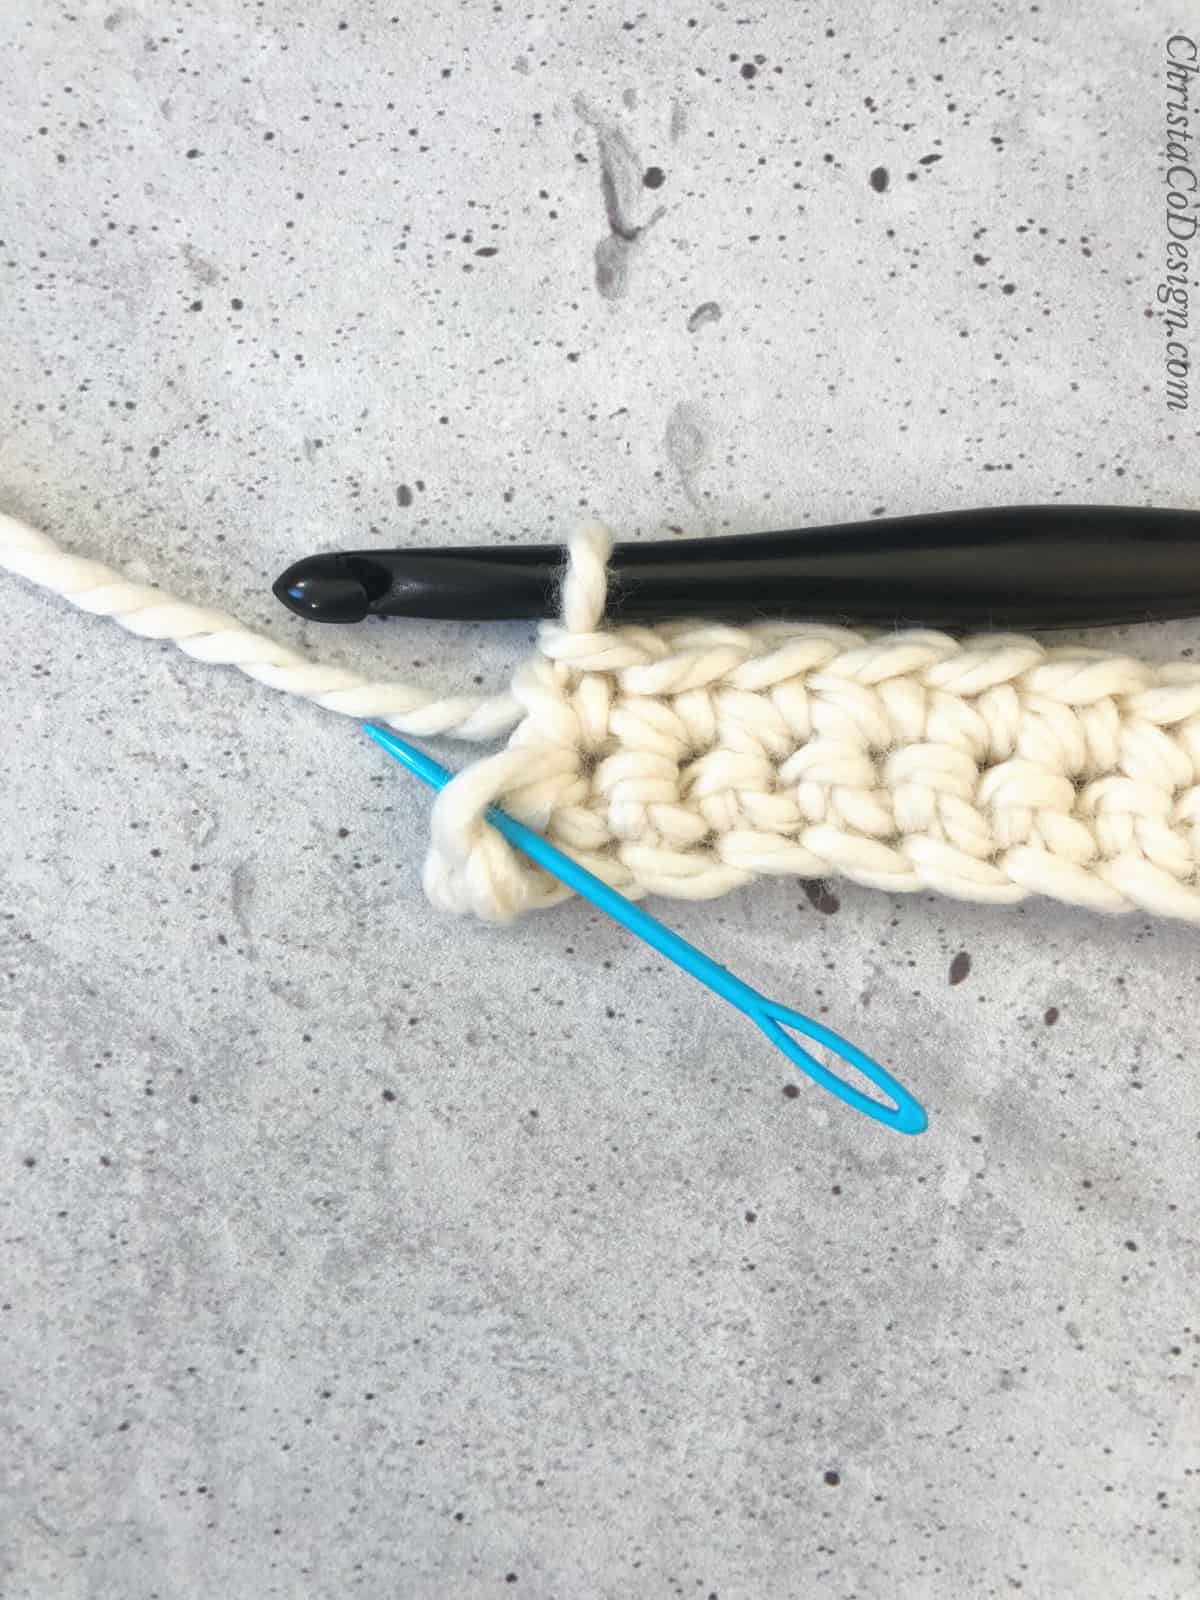
(Row 2) Chain 1, insert hook under both loops of the stitch. The blue yarn needle (above) marks where you will insert your hook. Make a single crochet repeat steps 3-6.
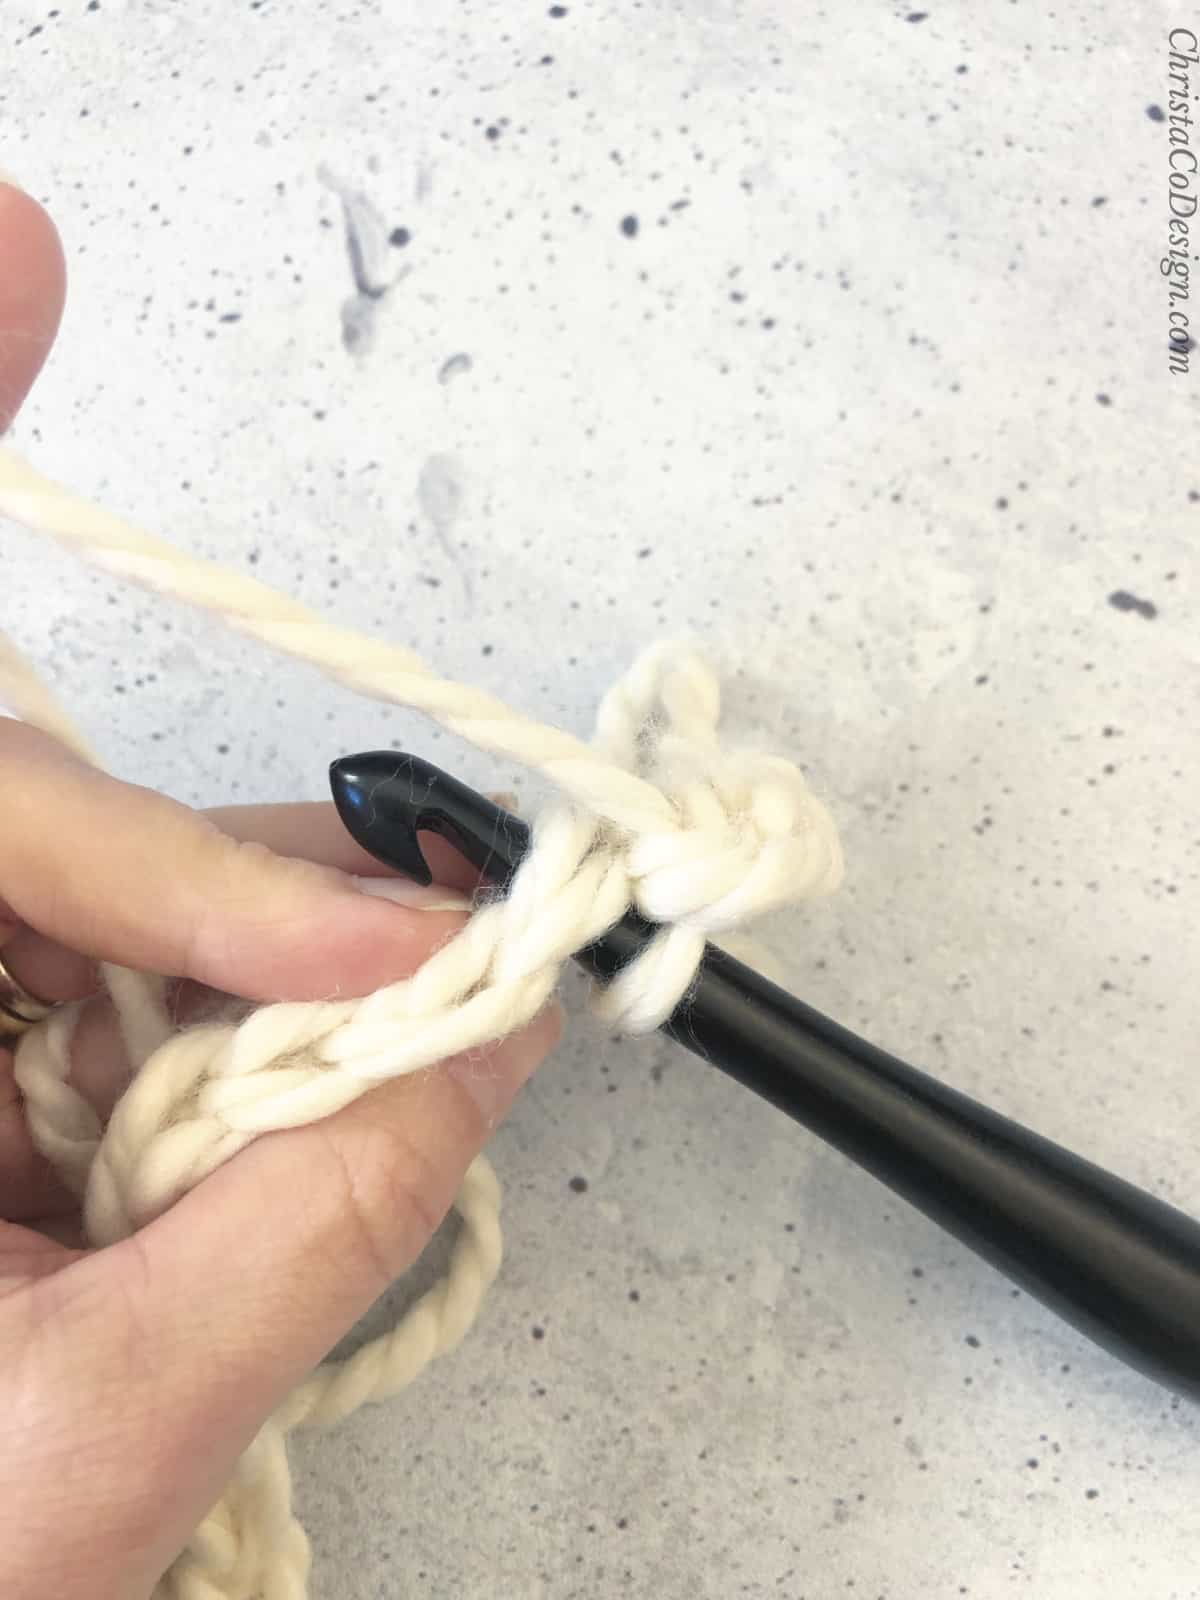
Insert your hook in the next stitch, and single crochet. The picture shows the top view where you can see how the hook goes under the two top loops of the single crochet stitch from the previous row. The working yarn is coming from the loop on your hook and held in your left hand.
Continue to single crochet in each stitch across the row. The blue yarn needle marks the last stitch you will work into of the row.
Keep repeating Row 2 until your length is reached.
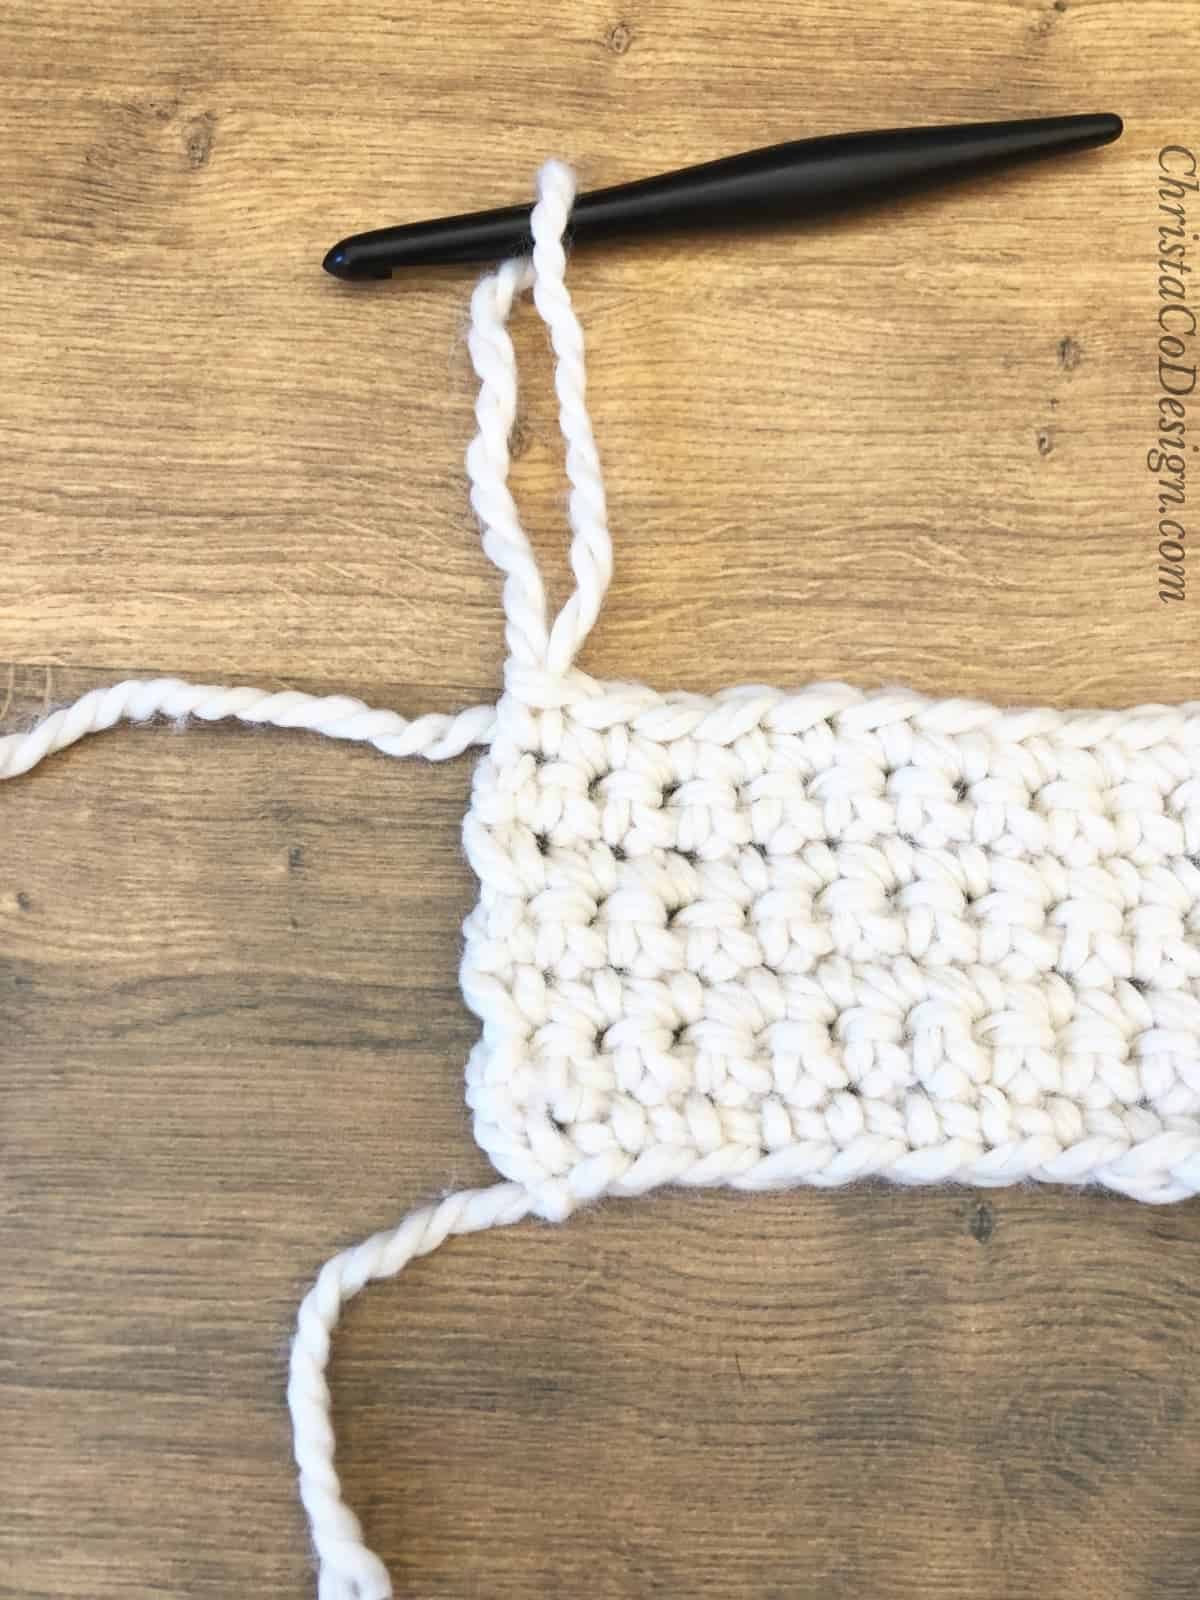
When you get to the last stitch on the last row, use your hook to pull up a long loop.
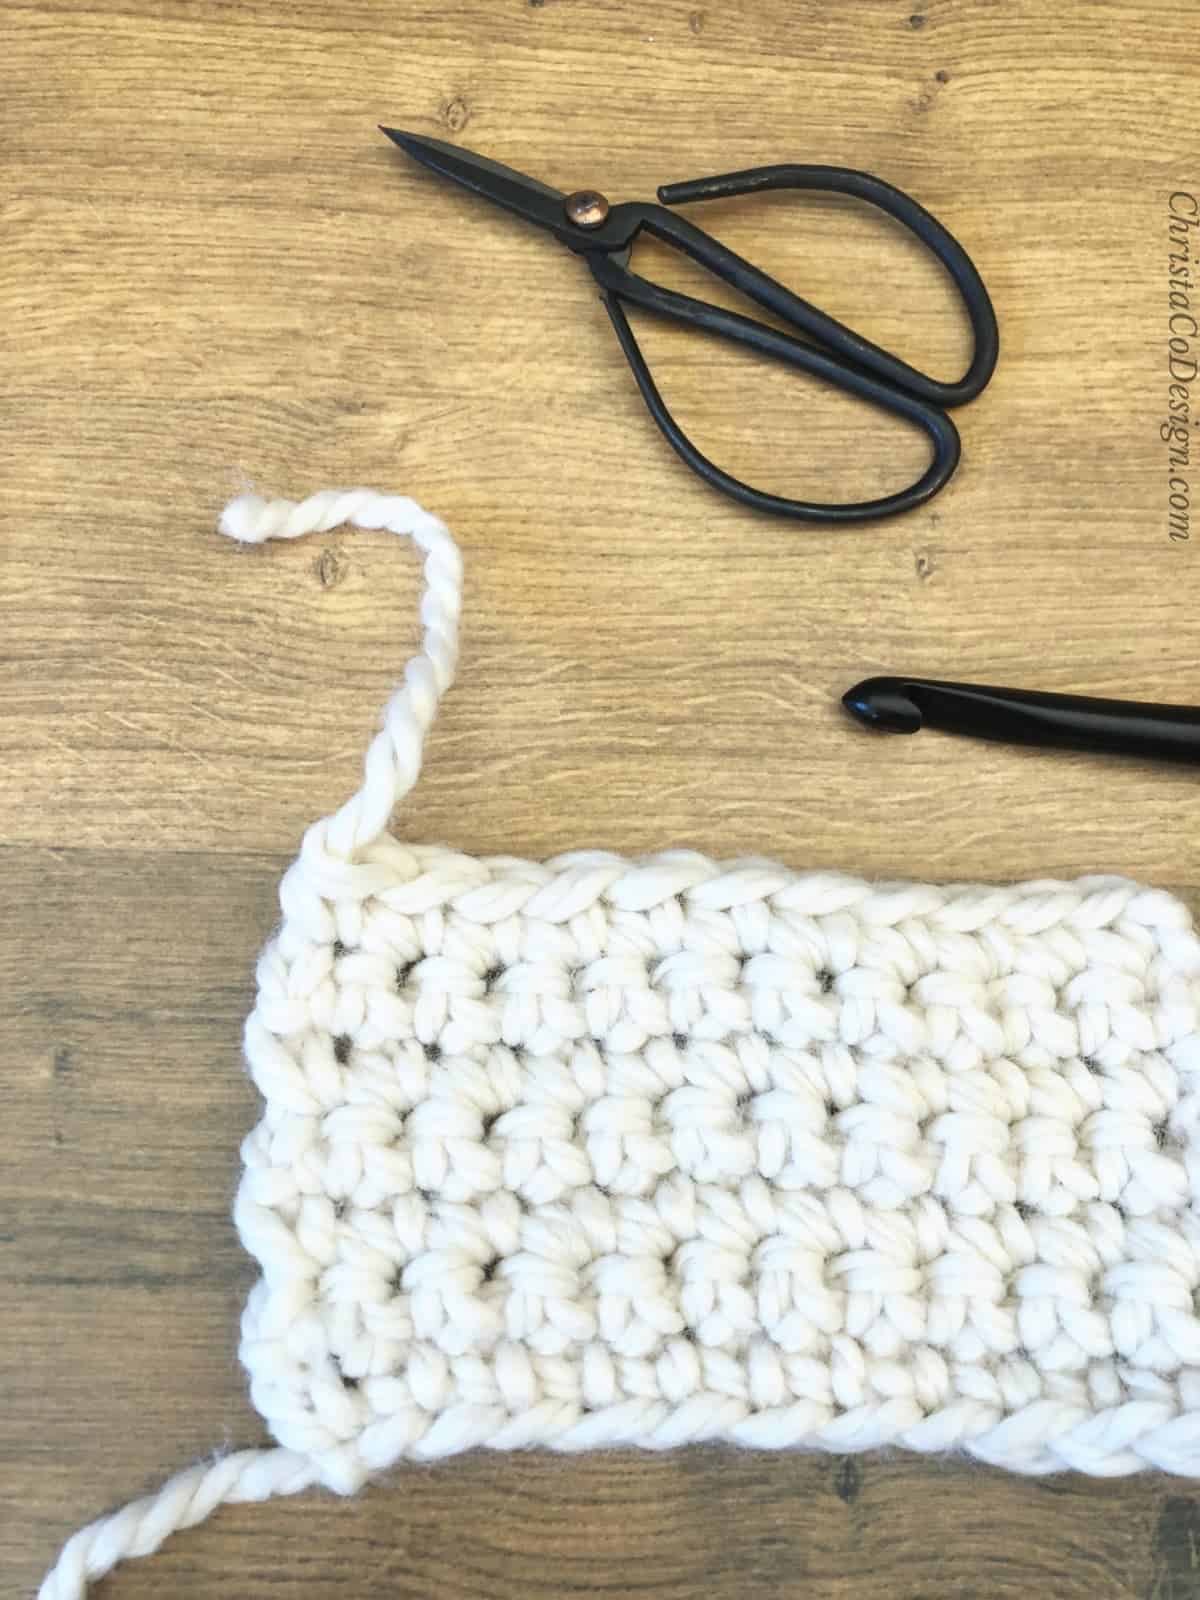
Cut the yarn leaving 6″ – 8″.
Now weave in ends.
Photo Tutorial
How To Single Crochet
Learn how to crochet the single crochet stitch.
Materials
- any weight yarn, I'm using a #4 med weight yarn
Tools
- hook size compatible with your yarn, I'm using a 5mm (H) hook
Instructions
- Chain to any number, plus one more for the turning chain. Here I chain 12, so I will end with 11 single crochet stitches.
- (Row 1) Skip the first chain stitch and insert hook into the second chain from your hook. The blue yarn needle marks the chain in the above photo.
 There are different ways to work into chain stitches. Here I work in the back loop of the chain, which is easier, and neater.
 - Wrap the yarn around the hook, known as "yarn over" and abbreviated "yo."

- ‘Pull up a loop’ is common terminology which means to pull the yarn through and leave it on the hook for now. You have 2 loops on your hook.
- Yarn over
- Pull this through the 2 loops on your hook. First single crochet made.
 If you have stitch markers they can be very helpful as a beginner. You can mark this first stitch and then it's easy to find your starting point on the next row.
 - Insert hook in next chain, yo and pull up a loop, yo and pull through both loops.
- Repeat step 7 in each chain across the row.
 Here is your first row of single crochet.
 - When you get to the end of the row, turn your work.
 Now you're ready to start the second row.
 - (Row 2) Chain 1, insert hook under both loops of the stitch. The blue yarn needle (above) marks where you will insert your hook. Make a single crochet repeat steps 3-6.
- Insert your hook in the next stitch, and single crochet. The picture shows the top view where you can see how the hook goes under the two top loops of the single crochet stitch from the previous row. The working yarn is coming from the loop on your hook and held in your left hand.
- Continue to single crochet in each stitch across the row. The blue yarn needle marks the last stitch you will work into of the row.
 Keep repeating Row 2 until your length is reached.
- When you get to the last stitch on the last row, use your hook to pull up a long loop.
- Cut the yarn leaving 6" - 8".
- Now weave in ends.

Recommended Products
As an Amazon Associate and member of other affiliate programs, I earn from qualifying purchases.