
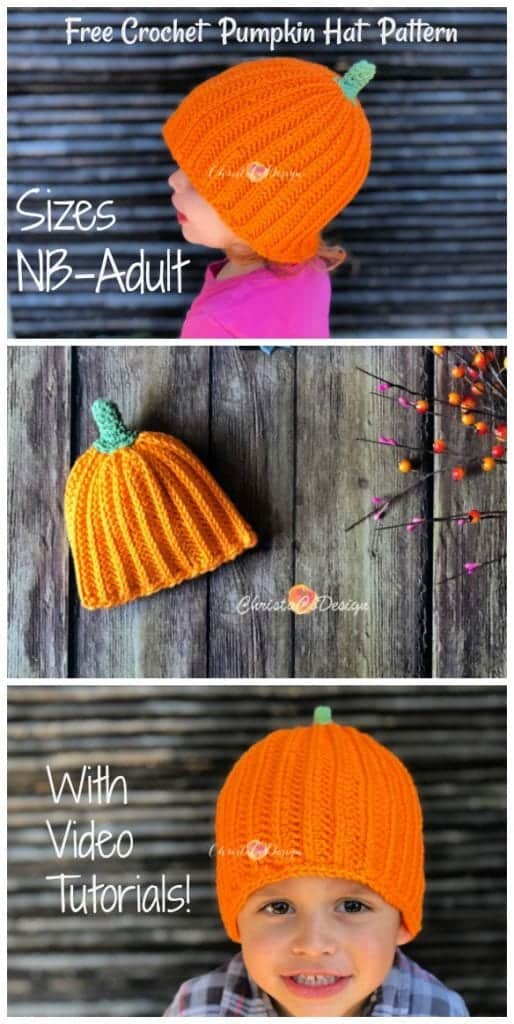
Ribbed Crochet Pumpkin Hat Pattern for Baby through Adult Sizes!

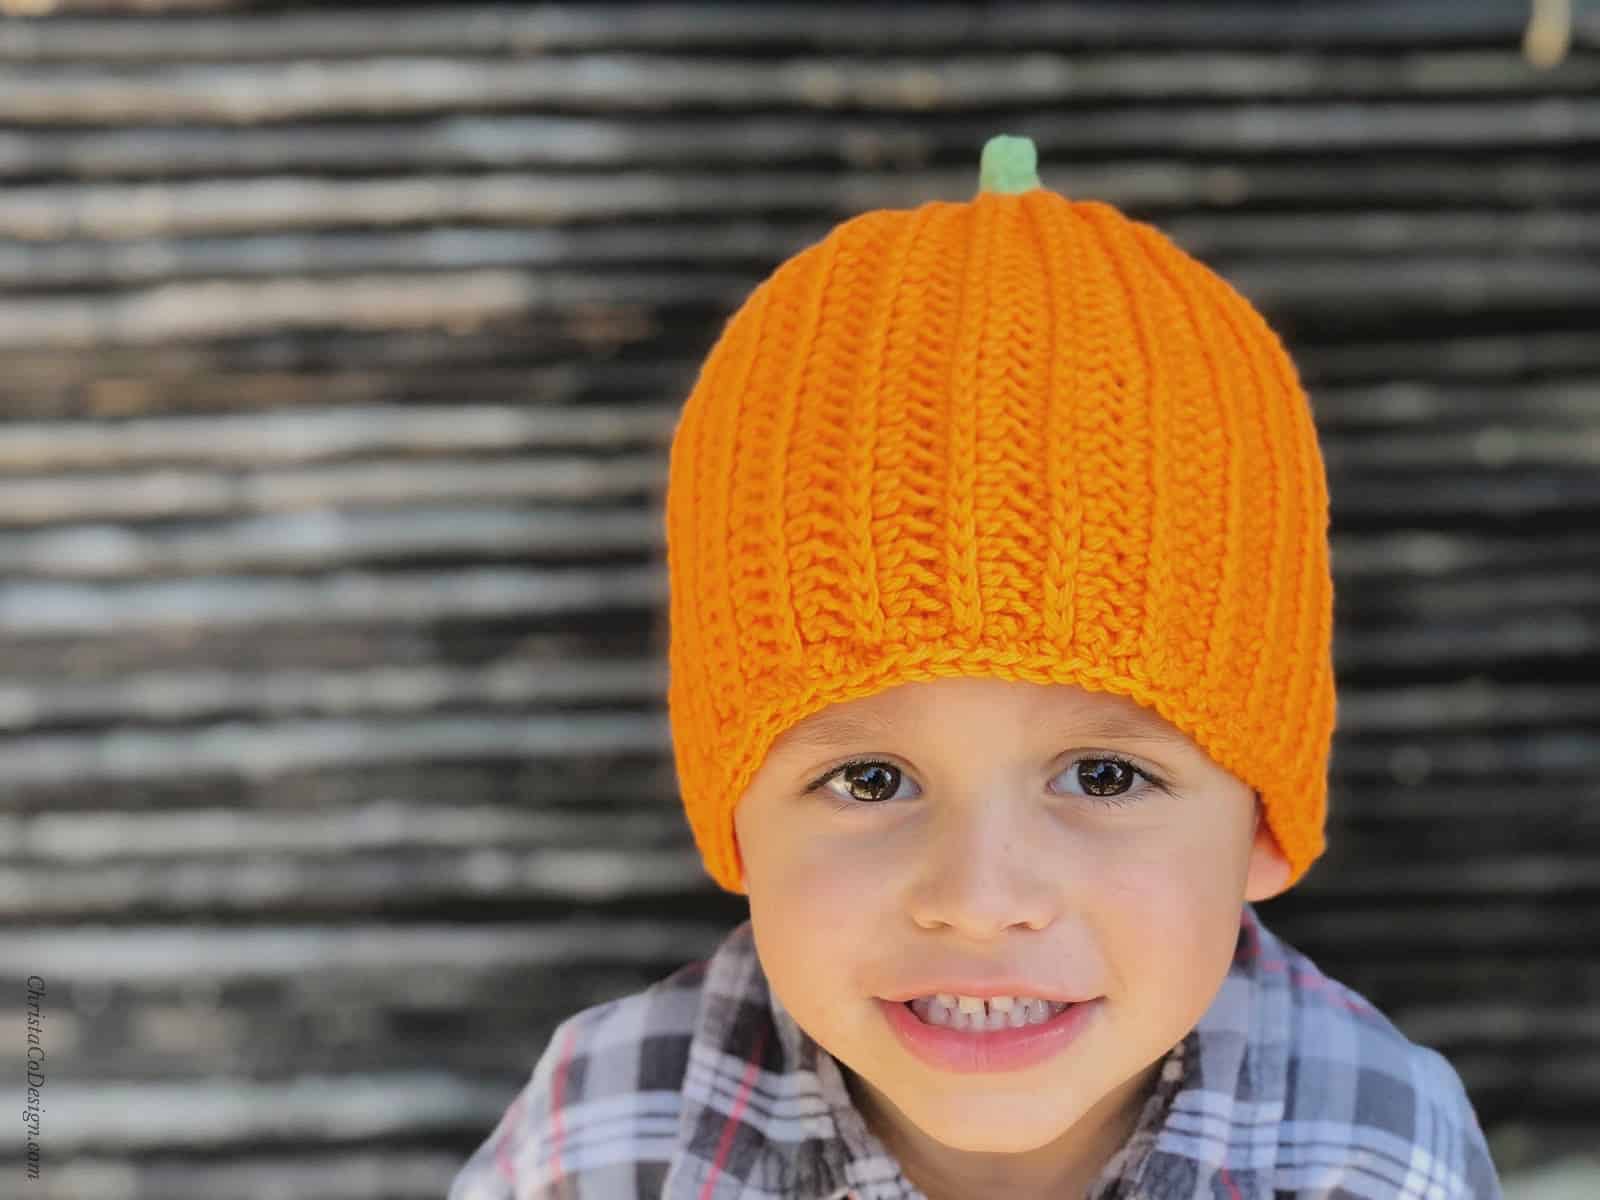
This crochet pumpkin hat pattern is sure to delight your little loves and big loves alike. The free crochet pumpkin hat pattern is available in baby to adult sizes so you can make pumpkin hats for your whole family.

Join the ChristaCoDesign Newsletter
Never miss a pattern!
When we’re wearing the same things my little lady likes to say we’re “matchy-matchy.” She’s only 2 and is big on noticing colors and patterns, so when she sees a “match” she gets really excited. Gotta love this age, they are just full of wonder and awe at every little thing.
Purchase the ad-free, well formatted printable PDF Pattern from my shop. Scroll down for the free pattern!
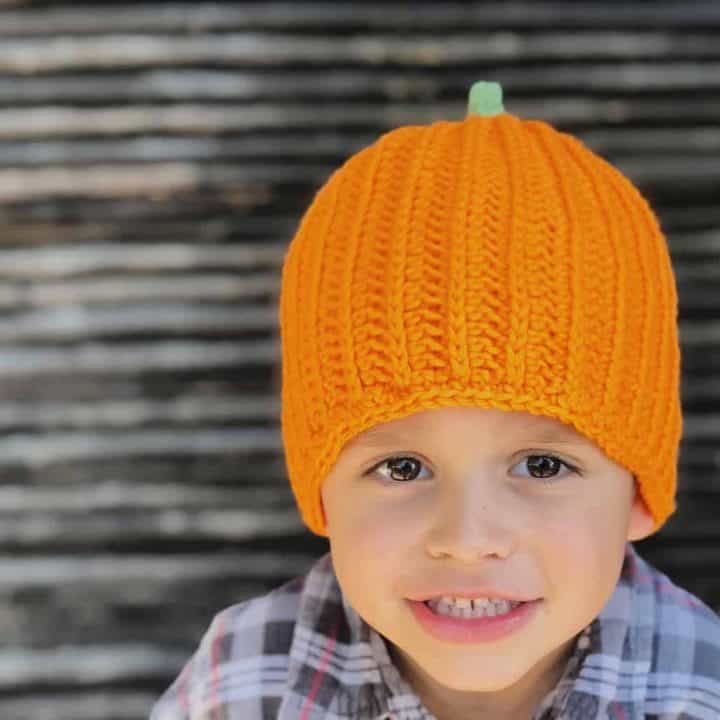
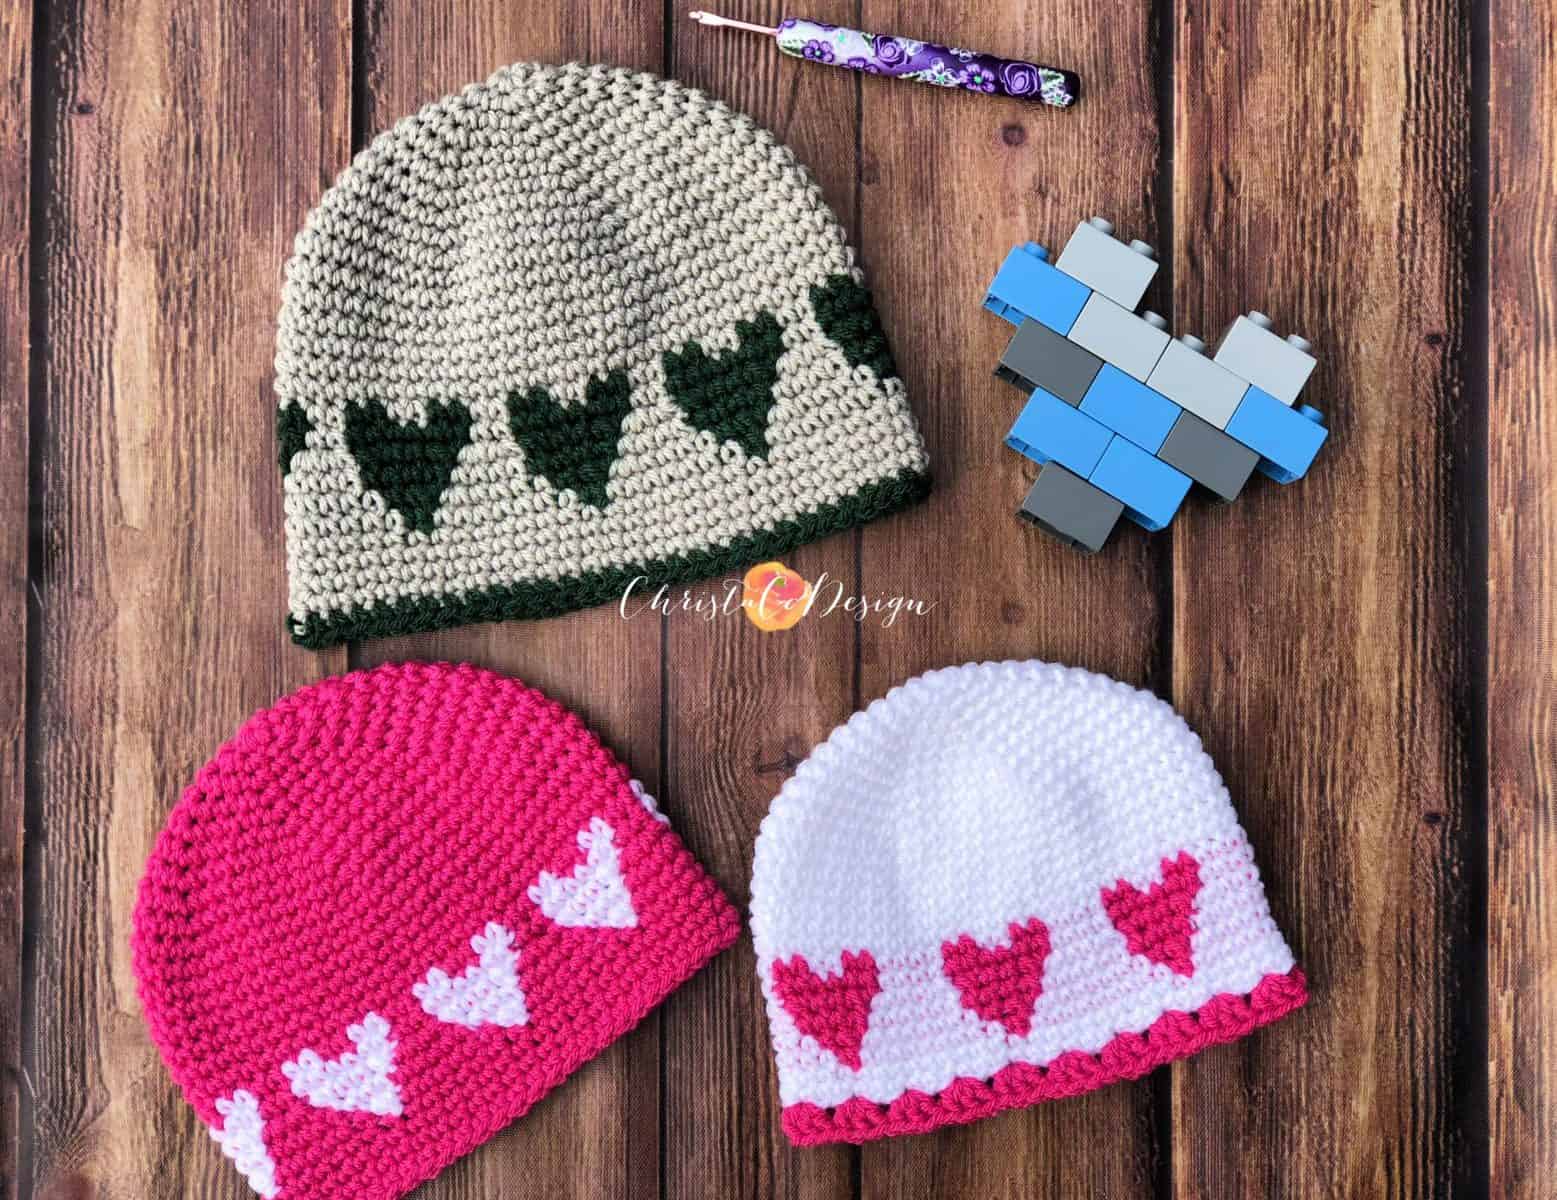
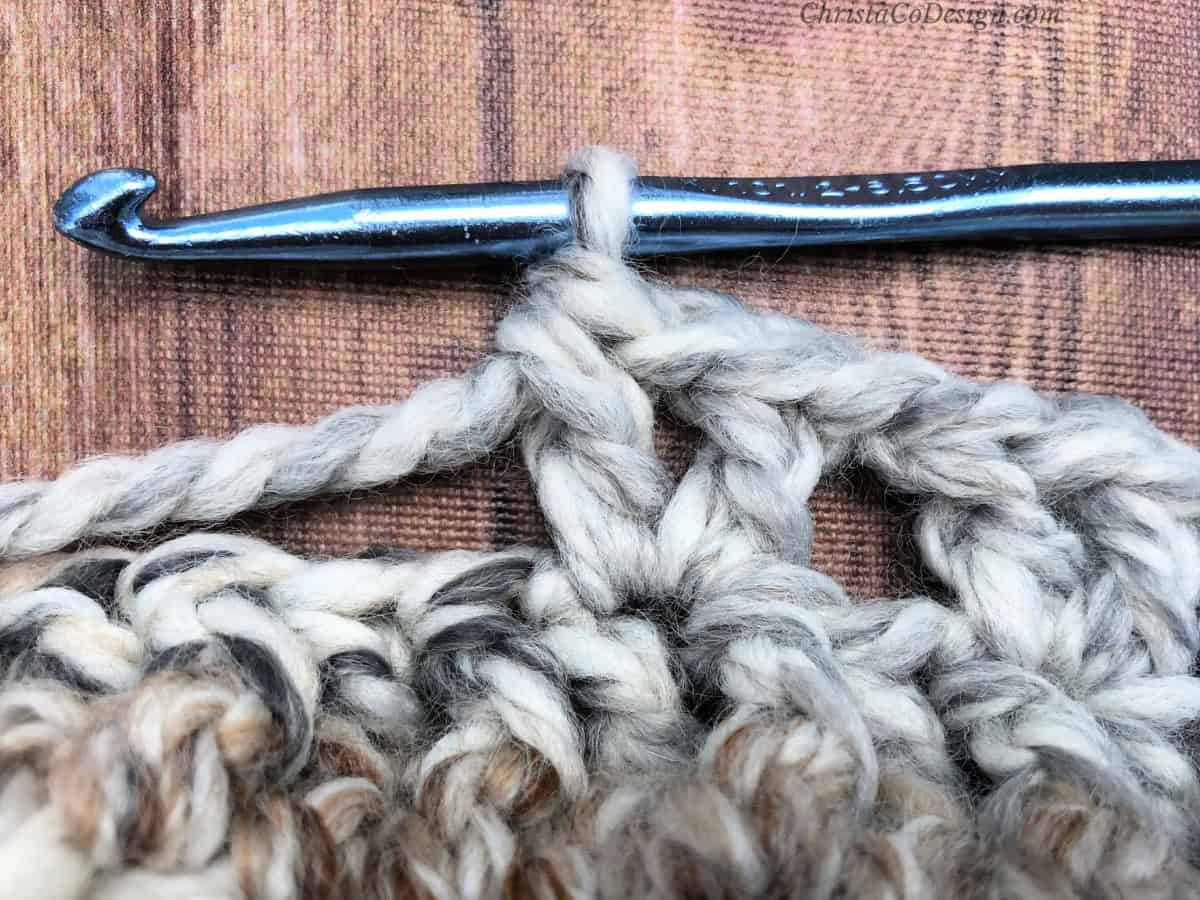
Did you notice the knit look of this crochet pumpkin hat? It’s the 3rd loop half double crochet stitch that gives the crochet pumpkin hat it’s ribbed texture. If you haven’t learned the 3rd loop hdc stitch yet, you’re gonna love it.
I’ve used the 3rd loop hdc stitch in a few crochet patterns now. It’s even easier than single crochet ribbing. And works up faster too. 3rd loop hdc video is included to help you crochet your own pumpkin hat.
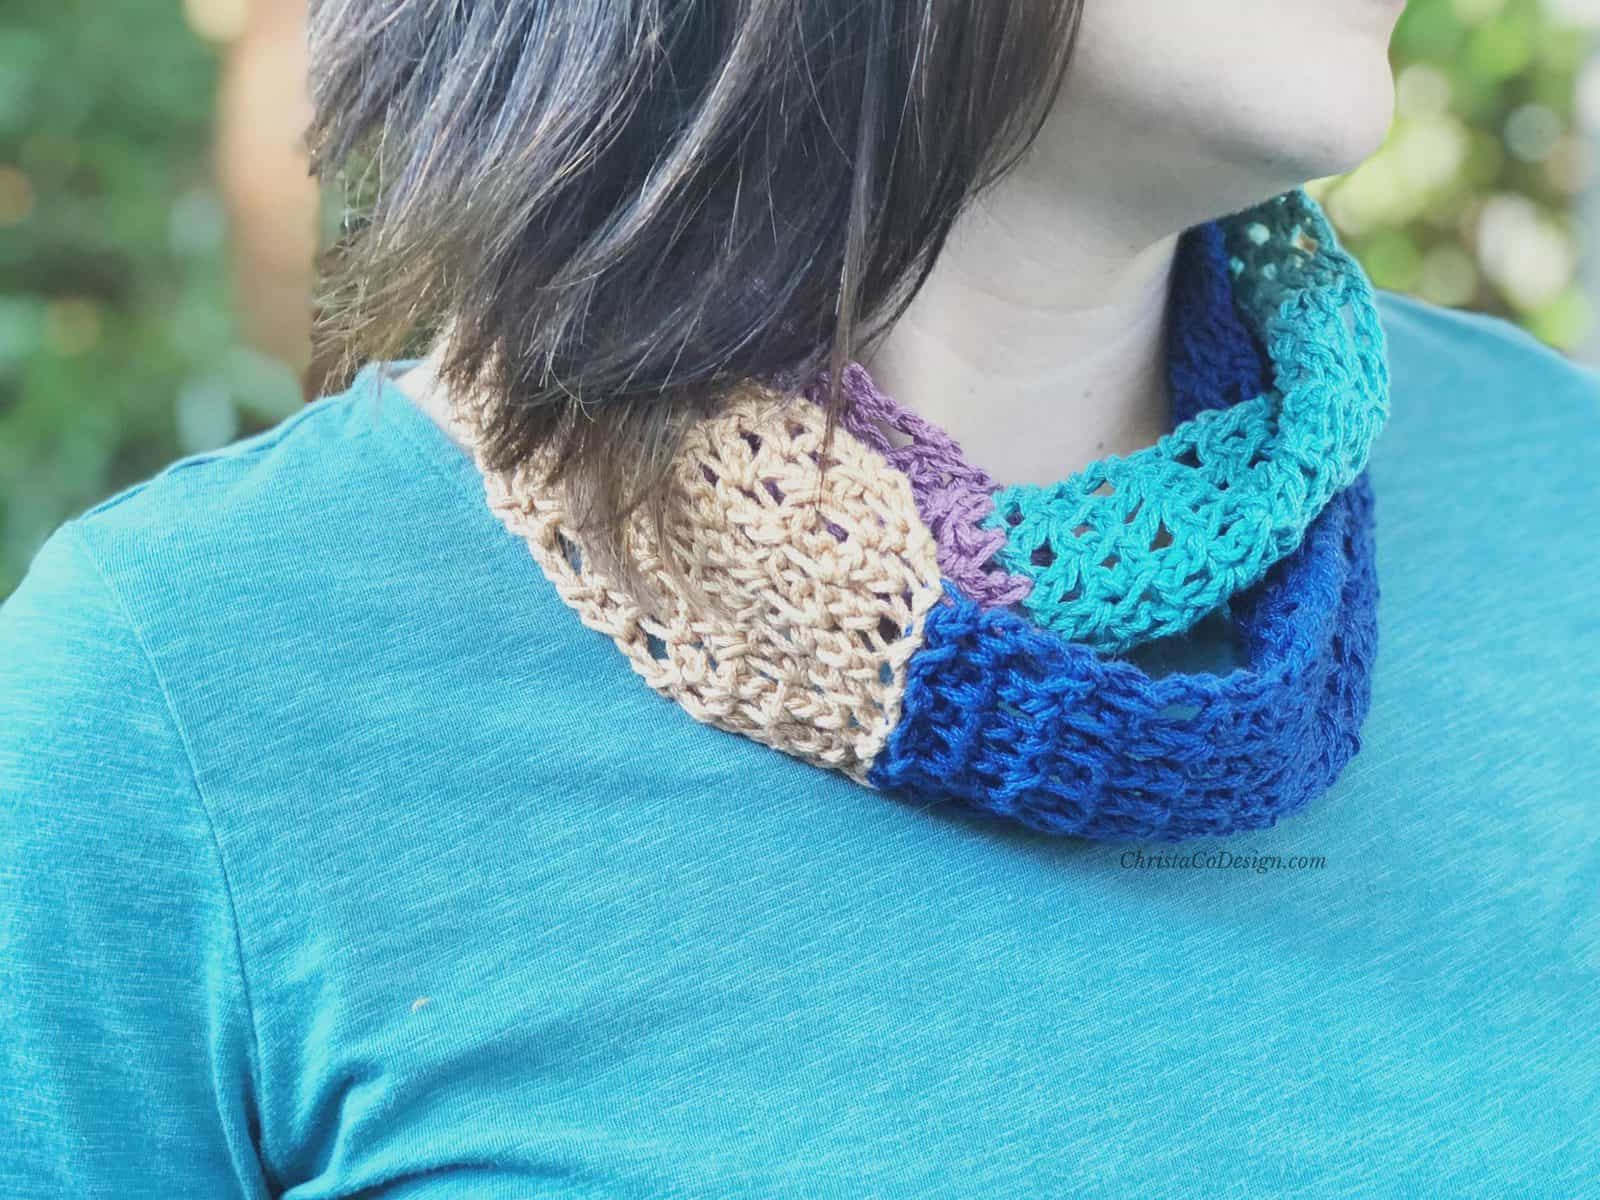
I first used the 3rd loop hdc in my Hygge Homebody Cardigan which is a crochet cardigan pattern with the coziest neckline. It’s a super stretchy stitch and I just love how the collar wraps around me. This is the cardigan I put on first thing in the morning when it’s just too chilly to get out of bed!
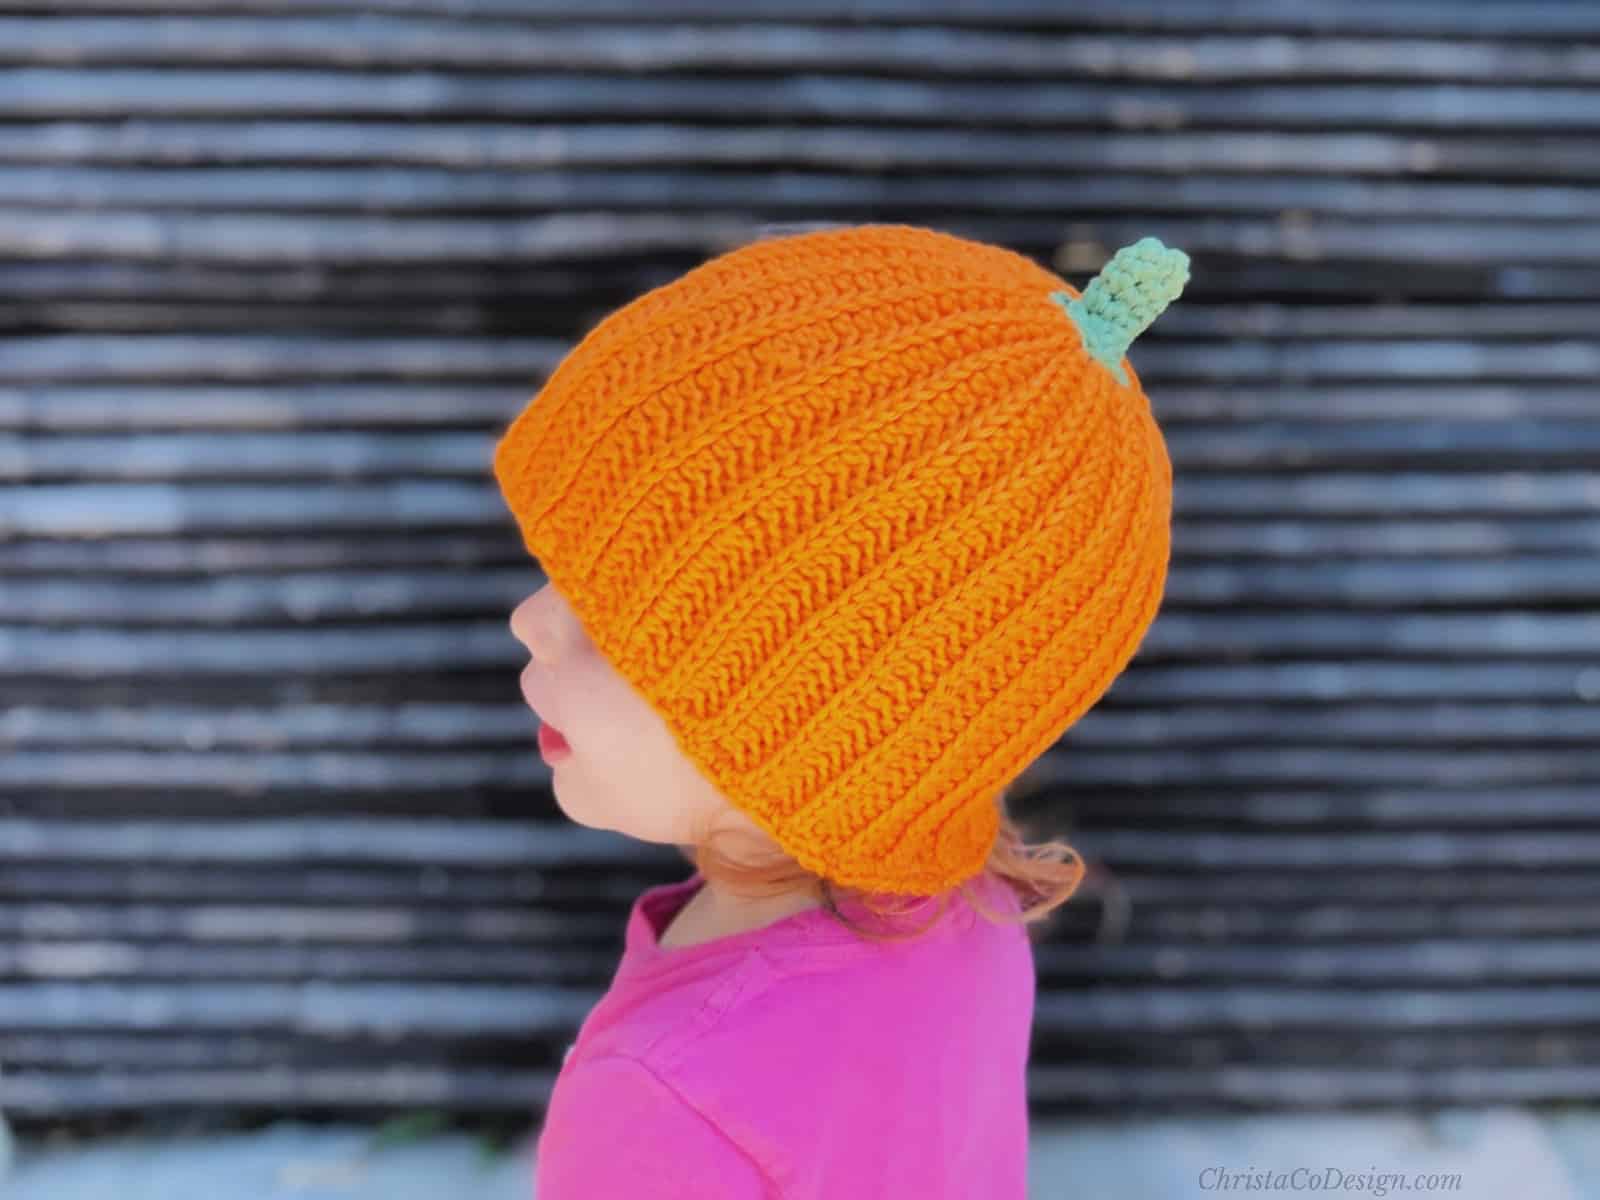
It’s really a fast little pumpkin hat and so fun for fall! The kids love wearing their mama made crochet pumpkin hats to festivals and gatherings. I can’t wait to make more of them!
Construction
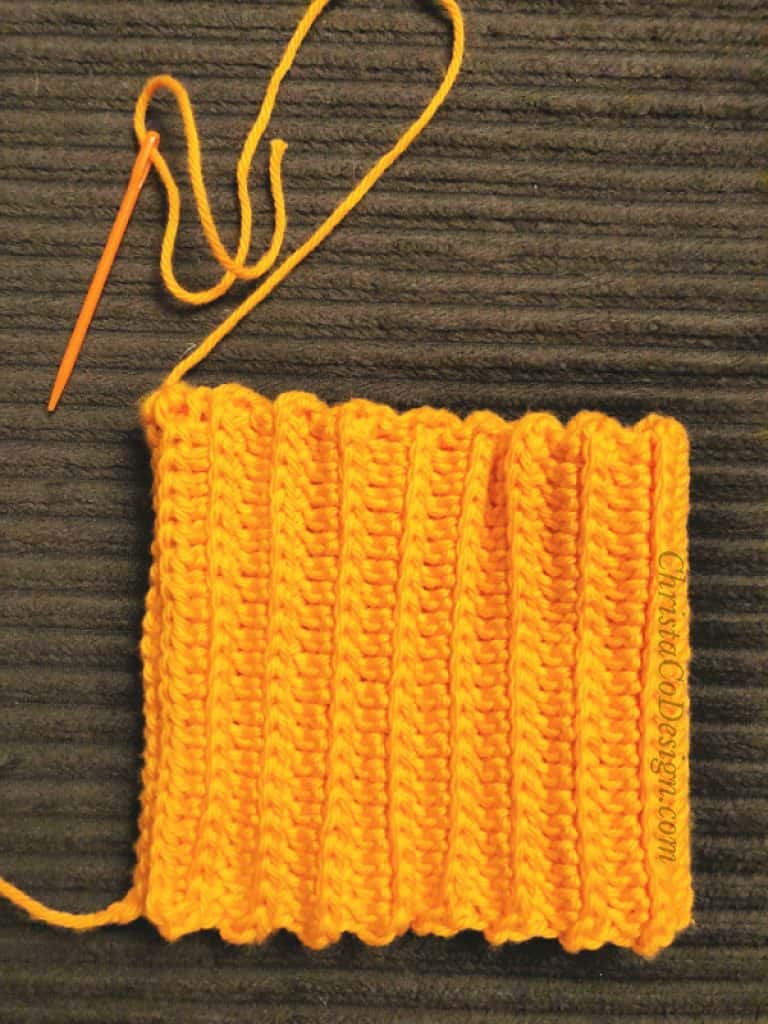
The pumpkin hat is crocheted in the 3rd loop of the hdc stitch, which I explain below and I have also included a video tutorial.
To achieve the pumpkin effect, this hat is worked flat in rows. So we’re just crocheting a rectangle to make this crochet pumpkin hat.
Once your rectangle is complete, you seam it up to form the tube. I have a video for that too, should you need it!
And finally, you will close up one end of the tube to form the top of the hat, finishing with the stem. There are videos for the stitch I used to close the hat and how to make the stem too. So you’re all covered if any (or all) of these techniques are new to you!

You might also like these crochet pumpkins. This free crochet pattern includes 3 sizes. It’s a great way to accent your fall decor.
Pin It
More Free Crochet Hat Patterns
- The texture of the Pebbled Beanie is my favorite. And this pattern comes in all sizes.
- Another cutie pattern for the kiddos (but also comes in all sizes) is the Chunky Bear Beanie, or you can get the tutorial for how to add bear hears to a hat.
- And another textured top down beanie pattern to love is the Matteo Beanie. This one has a matching Scarf and Fingerless Gloves Set.
Video Tutorial
You can watch the full, step by step Pumpkin Hat Video Tutorial on YouTube.
You can also watch the individual video tutorials for each step of this little pumpkin hat on my YouTube channel, under the playlist: Pumpkin Hat Tutorials.
Scroll down for the pumpkin hat pattern in each size.
Save your favs!
Add this pattern to your Ravelry queue.
Materials
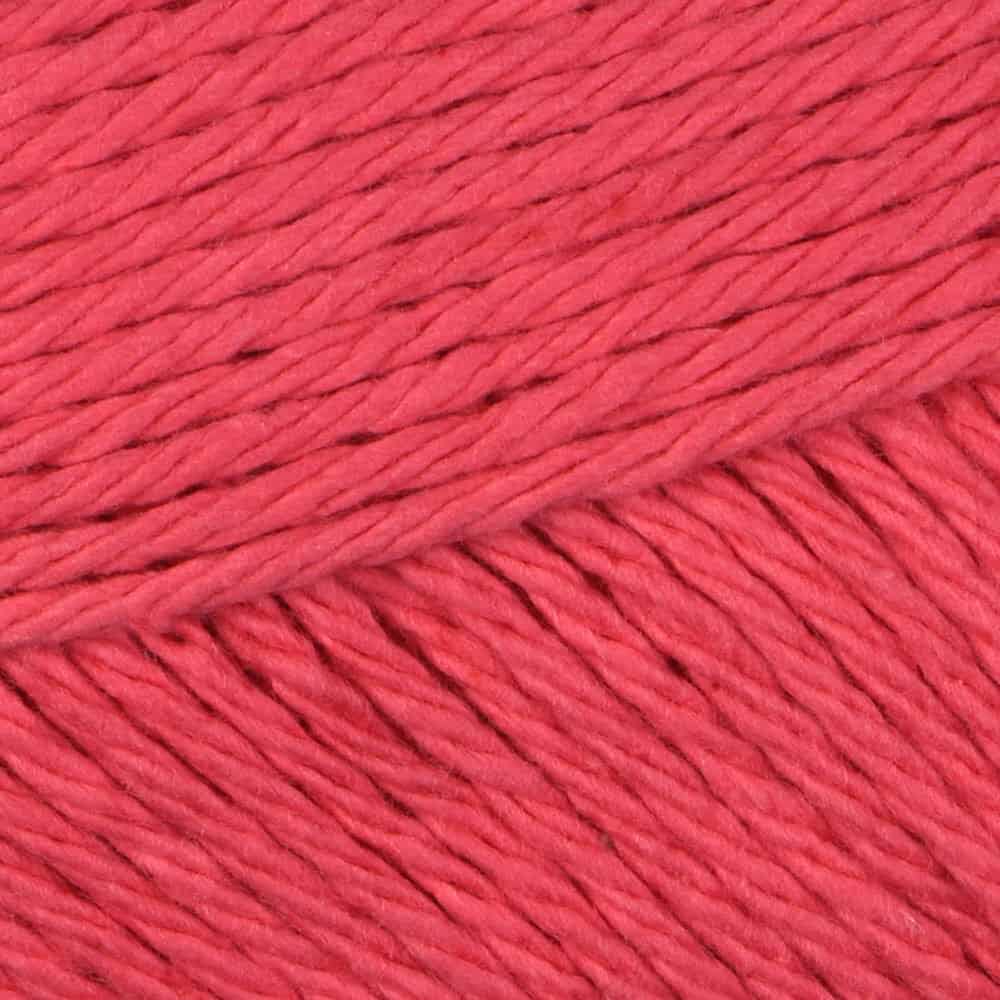
- 75yd/69m-230yd/210m I Love This Cotton! Yarn (100% cotton, 3.5 oz/100g, 180yd/165m); color: glowing (Color A), or comparable #4 medium worsted weight yarn. Any fiber works for this pattern.
- 23yd/21m-25yd/23m Sugar n’ Cream* (100% cotton, 2.5oz/71g, 120yd/109m); color: green (Color B) Vine and Leaf shown in Red Heart Super Saver in spring green.
- 4mm US size G/6 + 5mm US size H/8 hook,* or hook needed to meet gauge.
- Yarn Needle
- Stitch Marker
- Measuring Tape
- Scissors
Notes
- Ch 2 does NOT count as a st.
- This hat is worked as a rectangle-the chain length is the height of the hat, and the length of the rectangle will wrap around head, which is seamed to make a tube.
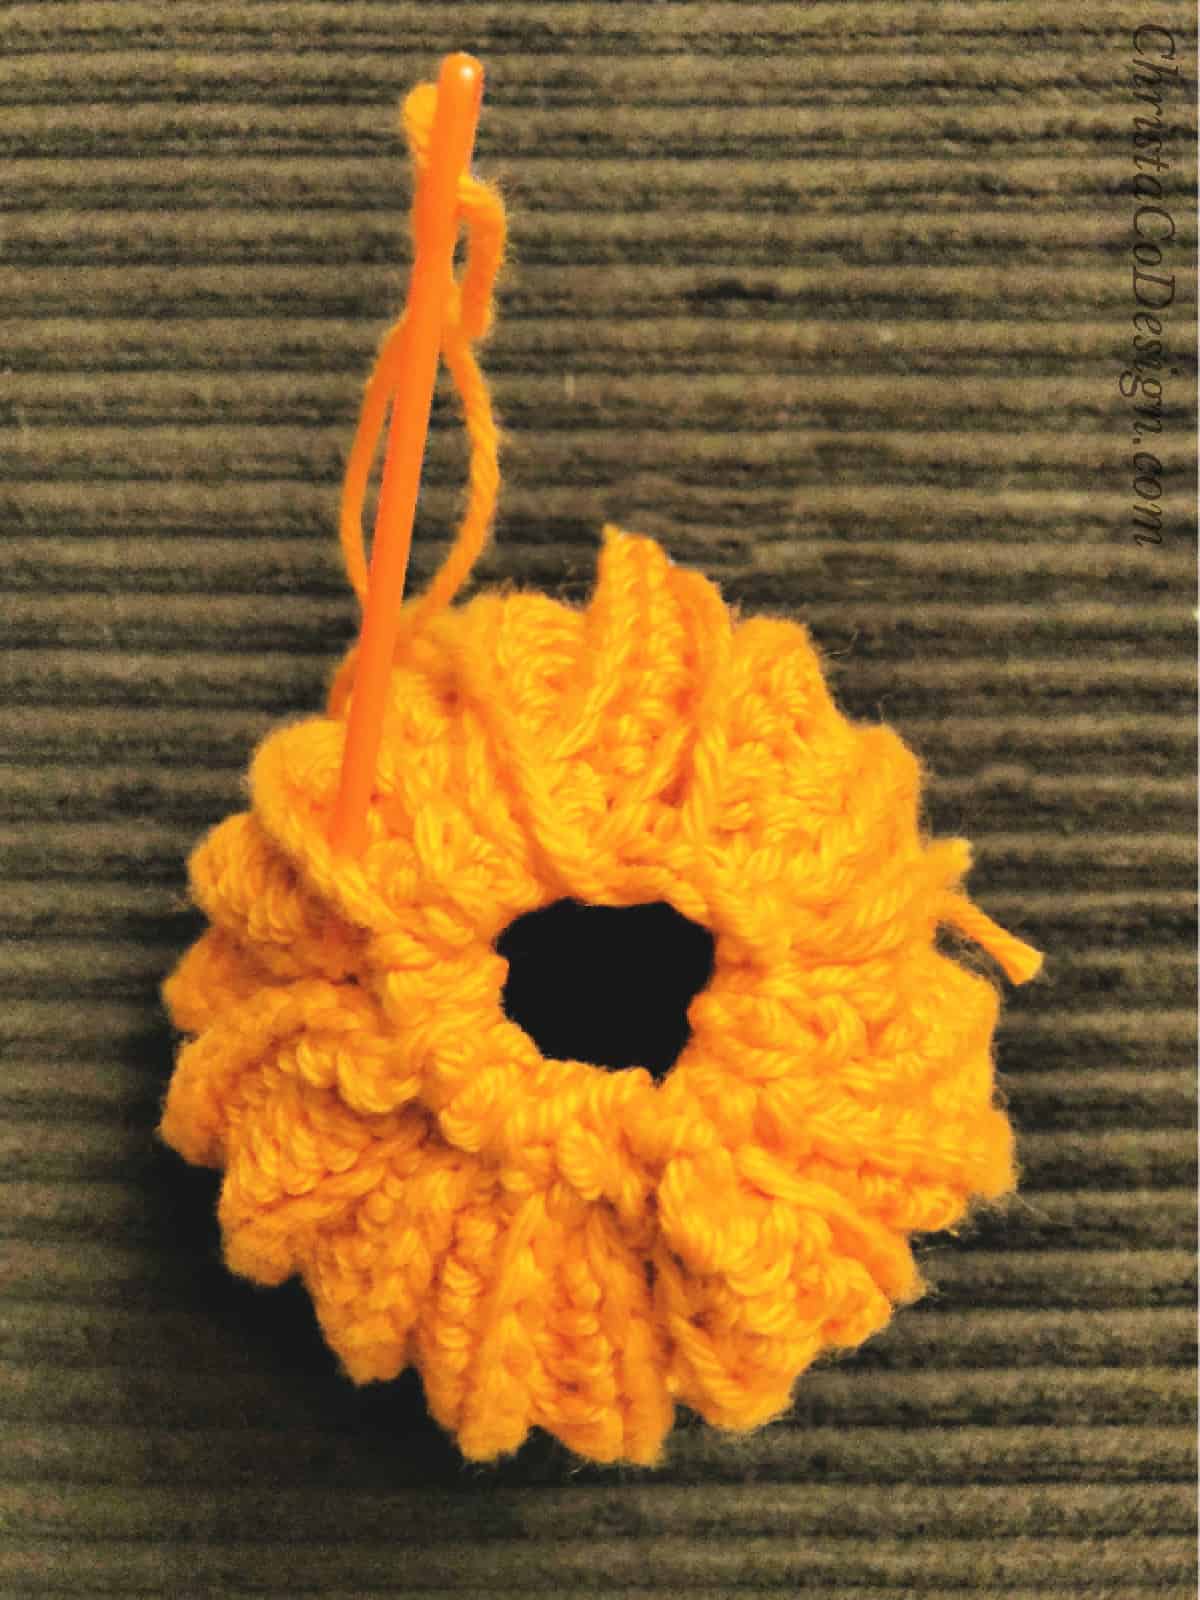
- To close the top of the hat, you will use a running stitch. The stem will cover any hole left. Picture under Newborn Hat.
- The stem is worked in continuous rounds.
- As you crochet your stem it will be wrong side out, be sure to flip it right side out before it’s too tall.
Stitches/Abbreviations
Here are the abbreviations for the stitches in this pattern. You can click any of these links for an in depth tutorial on the stitch.
- ch-chain
- ss-slip stitch
- 3rd loop hdc-on the back side of the hdc st, the vertical loop below the top loops you normally crochet into. Note that the back side of the hdc stitches will be facing you for rows 2 and on.
Gauge
Using larger hook.
hdc swatch:
2″ x 2″ = 7 hdc x 5 rows
in the pattern:
2″ x 2″ = 3rd Loop hdc=6 rows x 9 3rd loop hdcs
More about this pumpkin hat pattern
This crochet pumpkin hat is for adults, teen, children sizes and all the baby sizes too.
I’ve included measurements under each size, so this one is even easier to customize, since no two heads are the same!
The target measurement of the rectangle is under each size. Remember the length goes around the head, and the width is the height of the hat for this pattern.
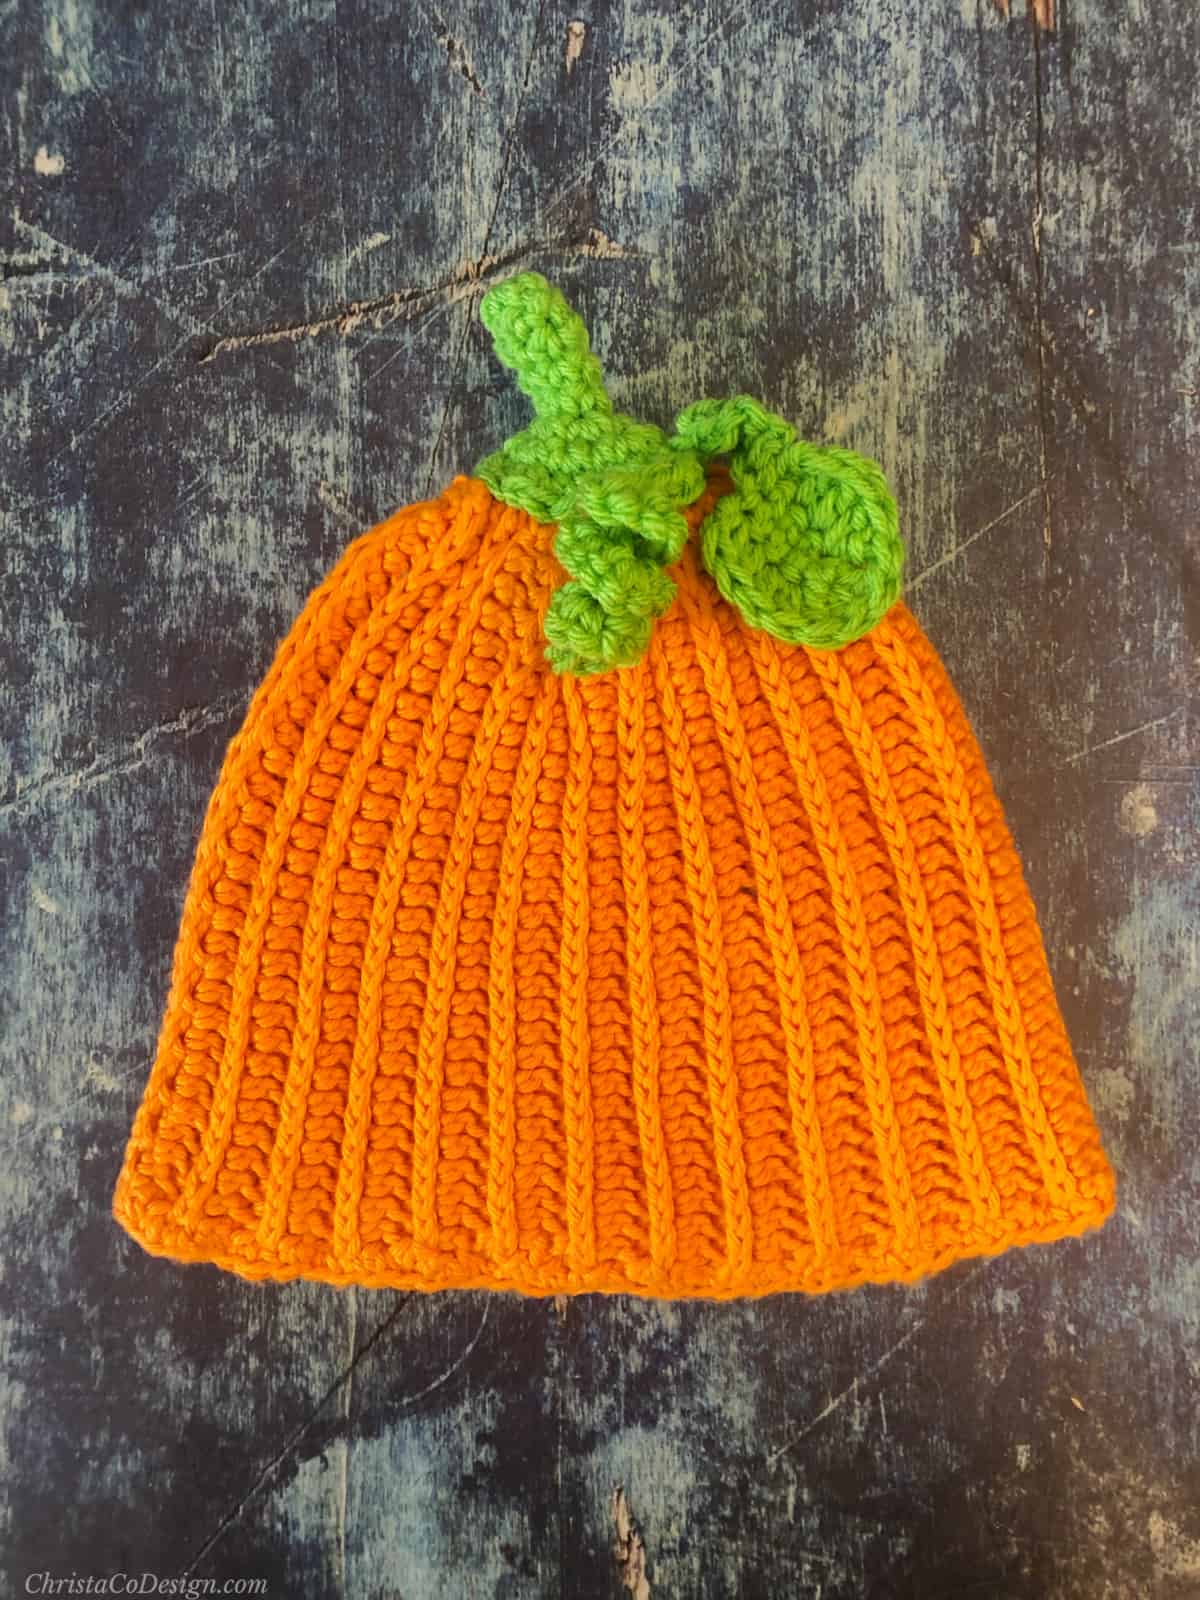
The crochet leaf, stem and pumpkin vine patterns are included at the bottom of the pattern instructions.

Download the Hat Sizing Chart
Get this handy dandy chart so you can crochet perfectly fitting hats!
Purchase the ad-free, well formatted printable PDF Pattern from my shop. Scroll down for the free pattern!
Scroll down for the free pumpkin hat crochet pattern!
Pattern Instructions
Crochet Pumpkin Hat a Free Pattern In All Sizes
This crochet pumpkin hat is sure to delight your little loves and big loves alike.
Materials
- orange yarn-75-230 yds, I used Hobby Lobby’s I Love This Cotton in Glowing (Color A), any #4 worsted weight will work.
- 3-5 yds of green yarn-I used Sugar n’ Cream in Sage Green*(Color B)
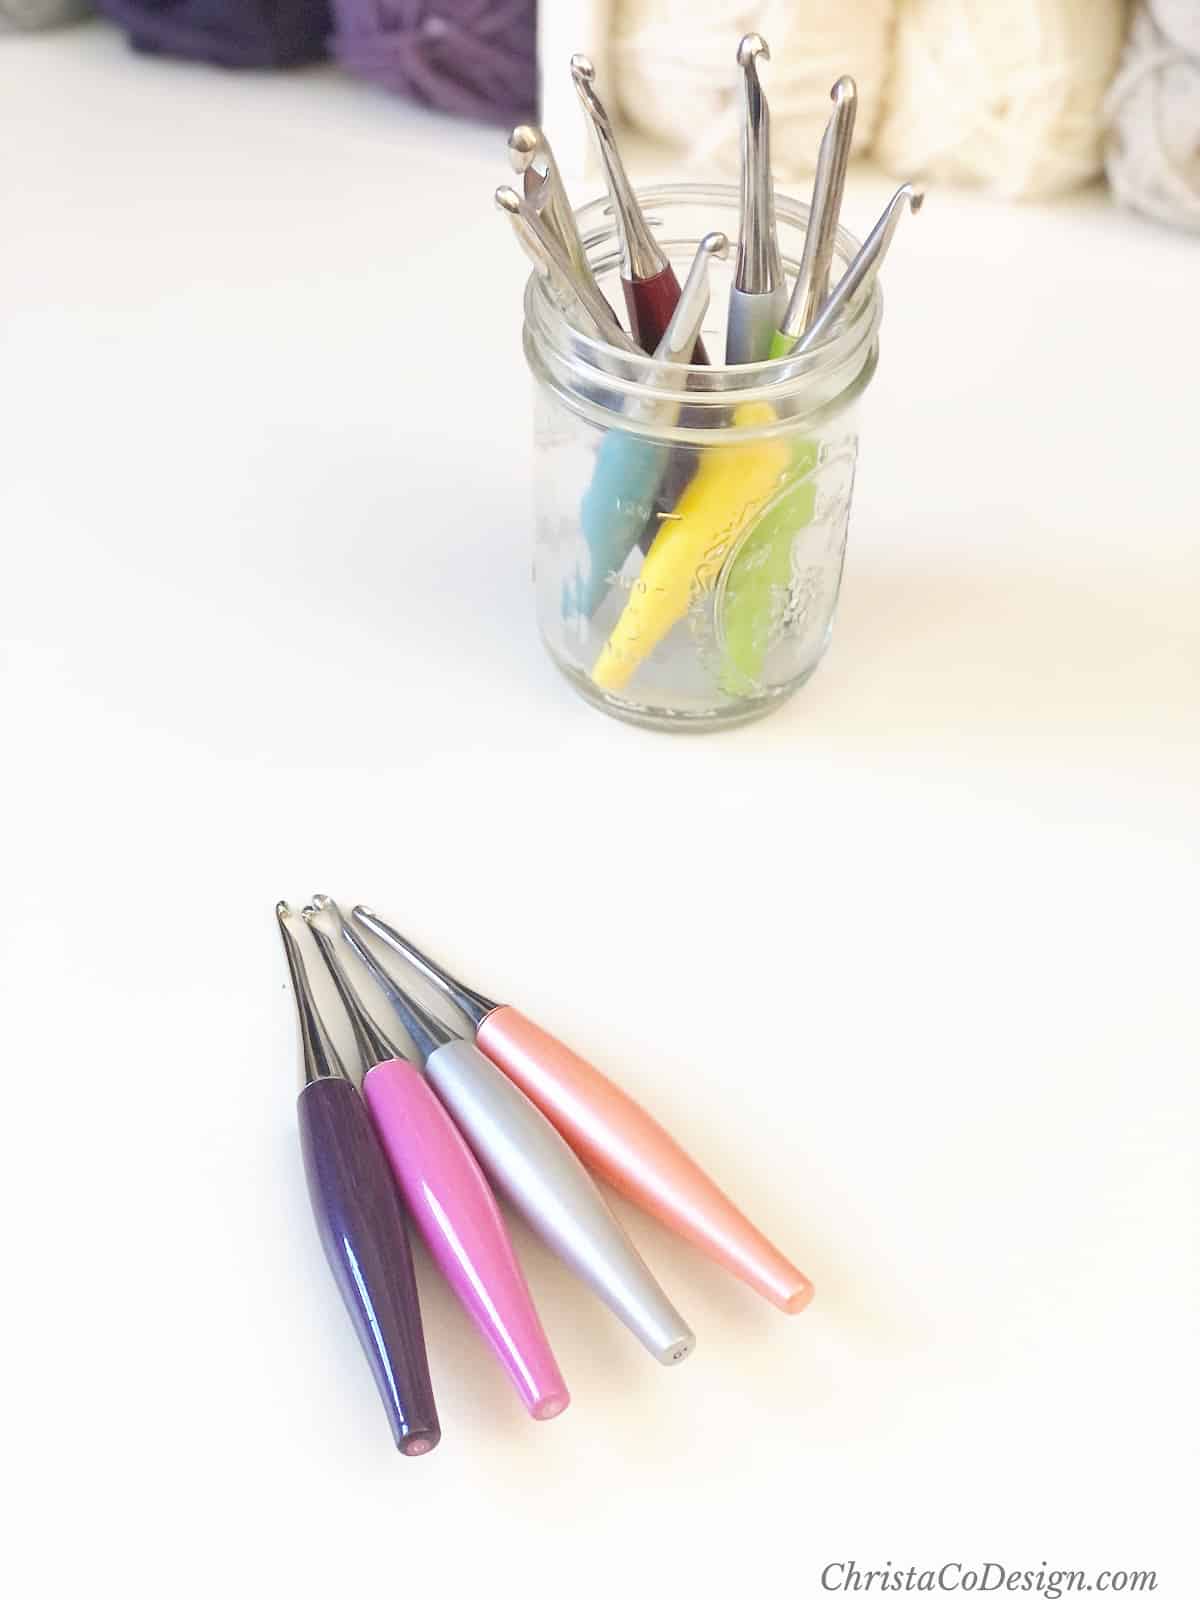
Tools
- 5mm H hook or hook needed to meet gauge
- 4mm G hook for brim.
- Yarn Needle
- Stitch Marker
- Measuring Tape
- Scissors
Instructions
- In the 3rd chain from your hook hdc and in each ch across, turn. (21)
- Ch 2, hdc in the 3rd loop of the same st and in each hdc across, turn. (21) 5.25″ (hat height)
- – 36. Rep row 2. Or until you’ve reached 12.” Leave a long tail to sew together. 12″ x 5.25”
Go to Seaming. - In the 3rd chain from your hook hdc and in each ch across, turn. (26)
- Ch 2, hdc in the 3rd loop of the same st and in each hdc across, turn. (26)
- - 40. Rep row 2. Or until you've reached 13.5" Leave a long tail to sew together. 13.5” x 6.5”
Go to Seaming. - In the 3rd chain from your hook hdc and in each ch across, turn. (28)
- Ch 2, hdc in the 3rd loop of the same st and in each hdc across, turn. (28)
- - 45. Rep row 2. Or until you've reached 15." Leave a long tail to sew together. 15” x 7”
Go to Seaming. - In the 3rd chain from your hook hdc and in each ch across, turn. (28)
- Ch 2, hdc in the 3rd loop of the same st and in each hdc across, turn. (28)
- – 48. Rep row 2. Or until you’ve reached 16.” Leave a long tail to sew together. 16” x 7”
Go to Seaming. - In the 3rd chain from your hook hdc and in each ch across, turn. (30)
- Ch 2, hdc in the 3rd loop of the same st and in each hdc across, turn. (30)
- - 52. Rep row 2. Or until you've reached 17." Leave a long tail to sew together. 17” x 7.5”
Go to Seaming. - In the 3rd chain from your hook hdc and in each ch across, turn. (32)
- Ch 2, hdc in the 3rd loop of the same st and in each hdc across, turn. (32)
- - 54. Rep row 2. Or until you've reached 18." Leave a long tail to sew together. 18” x 8”
Go to Seaming. - In the 3rd chain from your hook hdc and in each ch across, turn. (34)
- Ch 2, hdc in the 3rd loop of the same st and in each hdc across, turn. (34)
- - 60. Rep row 2. Or until you've reached 20." Leave a long tail to sew together. 20” x 8.5”
Go to Seaming. - In the 3rd chain from your hook hdc and in each ch across, turn. (36)
- Ch 2, hdc in the 3rd loop of the same st and in each hdc across, turn. (36)
- - 63. Rep row 2. Or until you've reached 21." Leave a long tail to sew together. 21” x 9”
Go to Seaming. - In the 3rd chain from your hook hdc and in each ch across, turn. (38)
- Ch 2, hdc in the 3rd loop of the same st and in each hdc across, turn. (38)
- - 67. Rep row 2. Or until you've reached 22." Leave a long tail to sew together. 22” x 9.5”
Go to Seaming.
Newborn Size
In Color A Ch 23
3-6 mos
In Color A Ch 28
6-12 mos
In Color A Ch 30
12-24 mos
In Color A
Ch 30
Preschool 2-4 yrs
In Color A Ch 32
Child
In Color A Ch 34
Teen/Sm Adult
In Color A Ch 36
Med Adult
In Color A Ch 38
Lg Adult
In Color A Ch 40
Seaming Your Hat
- Match the first row with your last row.

- Use the long tail to sew together, forming the tube.
- Leave this long tail and use a running stitch to sew the top closed-there will be a small hole left, which will be covered by the stem.
- Switch to 4mm G Hook.
- Join yarn with ss to opposite end of hat (brim side), ch 1 and sc around, finish off with an invisible join.
- Go to Stem Pattern.
Crochet Stem
Check out the Video Tutorial of the Stem here. *I added an extra row for the smaller stem size after I created this video.
NB-Toddler
In Color B
, start with a mc.
- 6 sc into the mc. (6) Don't join, mark first st of each round.
- -5. Sc into each stitch around. (6)
6. 2 sc in each sc around. (12)
7. 2 sc in the first st, sc in the next, *{2 sc in the next st, sc in the next st} rep from * around. (18)
8. Sc in each sc around, ss twice.
Leave a long tail. Sew stem to top of pumpkin hat, over the hole. Finish off.
Child-Adult
In Color B, start with a mc.
1. 6 sc into the mc. (6) Don't join, mark first st of each round.
2.-7. Sc into each stitch around. (6)
8. 2 sc in each sc around. (12)
9. 2 sc in the first st, sc in the next, *{2 sc in the next st, sc in the next st} rep from * around. (18)
10. 2 sc in the first st, sc in each of the next 2 st, *{2 sc in the next st, sc in each of the next 2 st} rep from * around. (24)
11. Sc in each sc around, ss twice.
Leave a long tail. Sew stem to top of pumpkin hat, over the hole. Finish off. 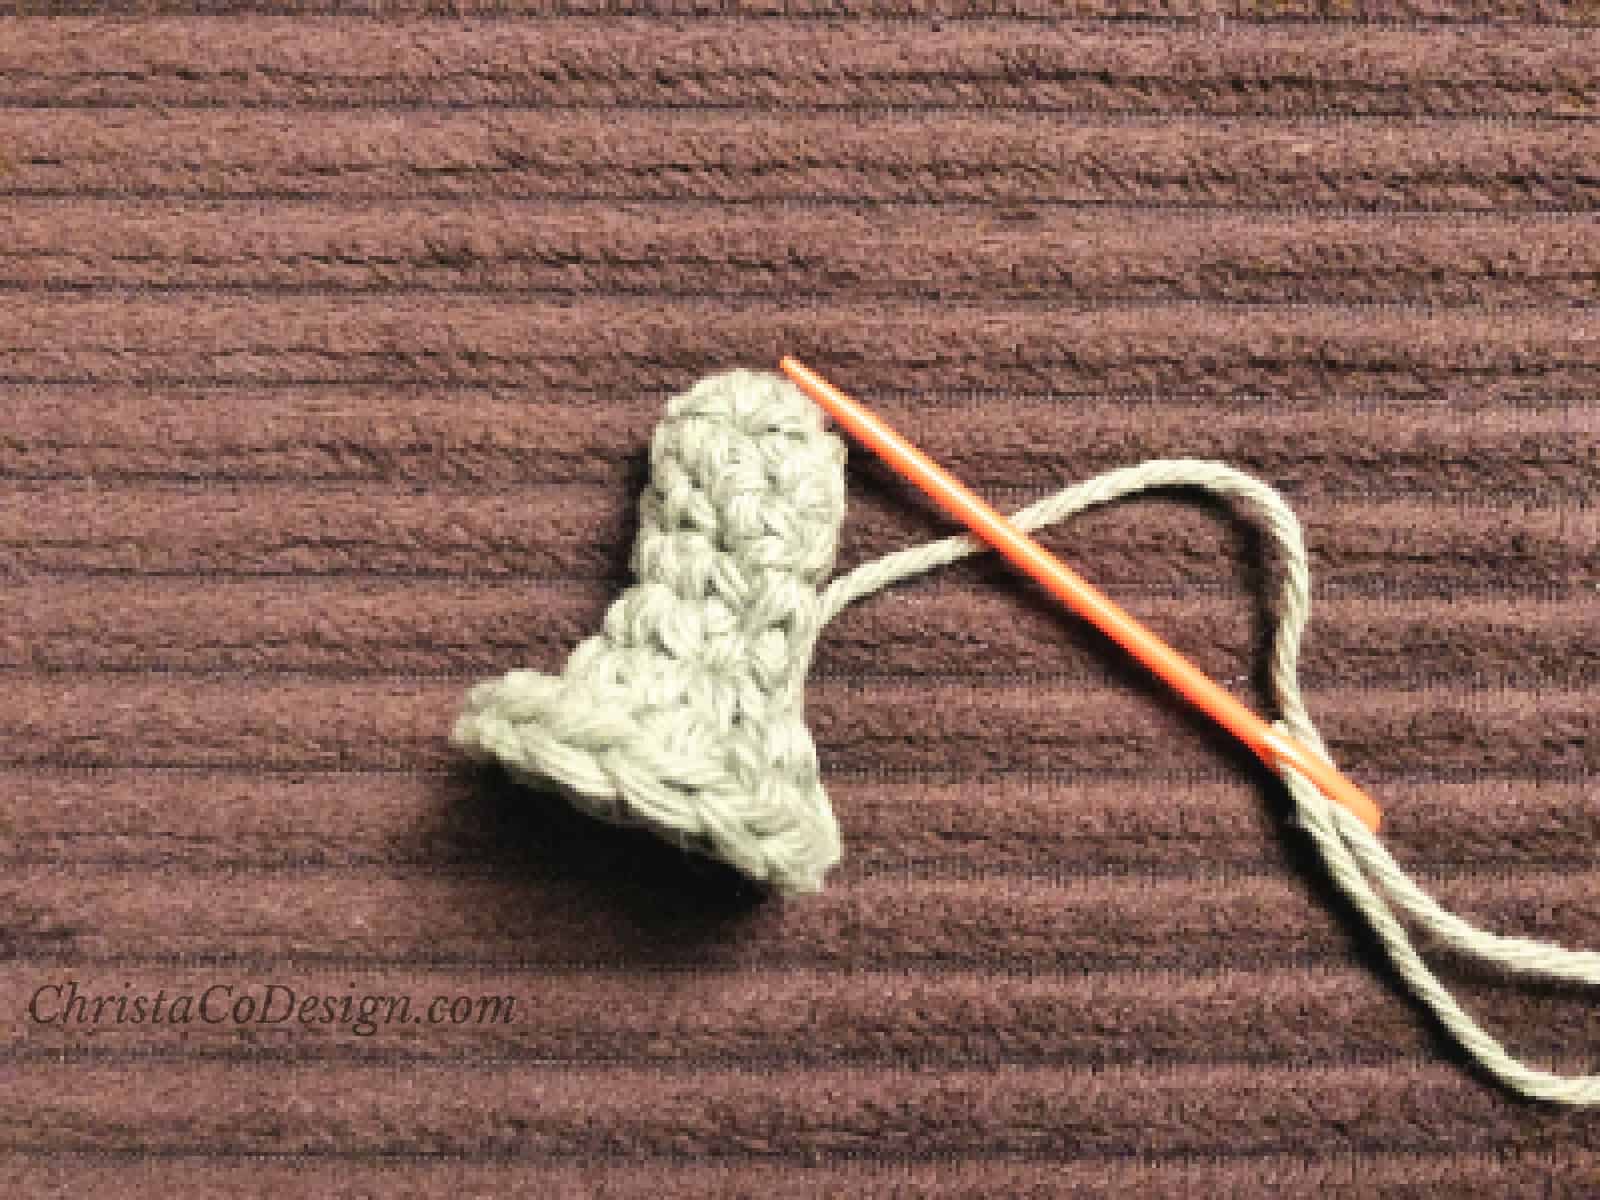
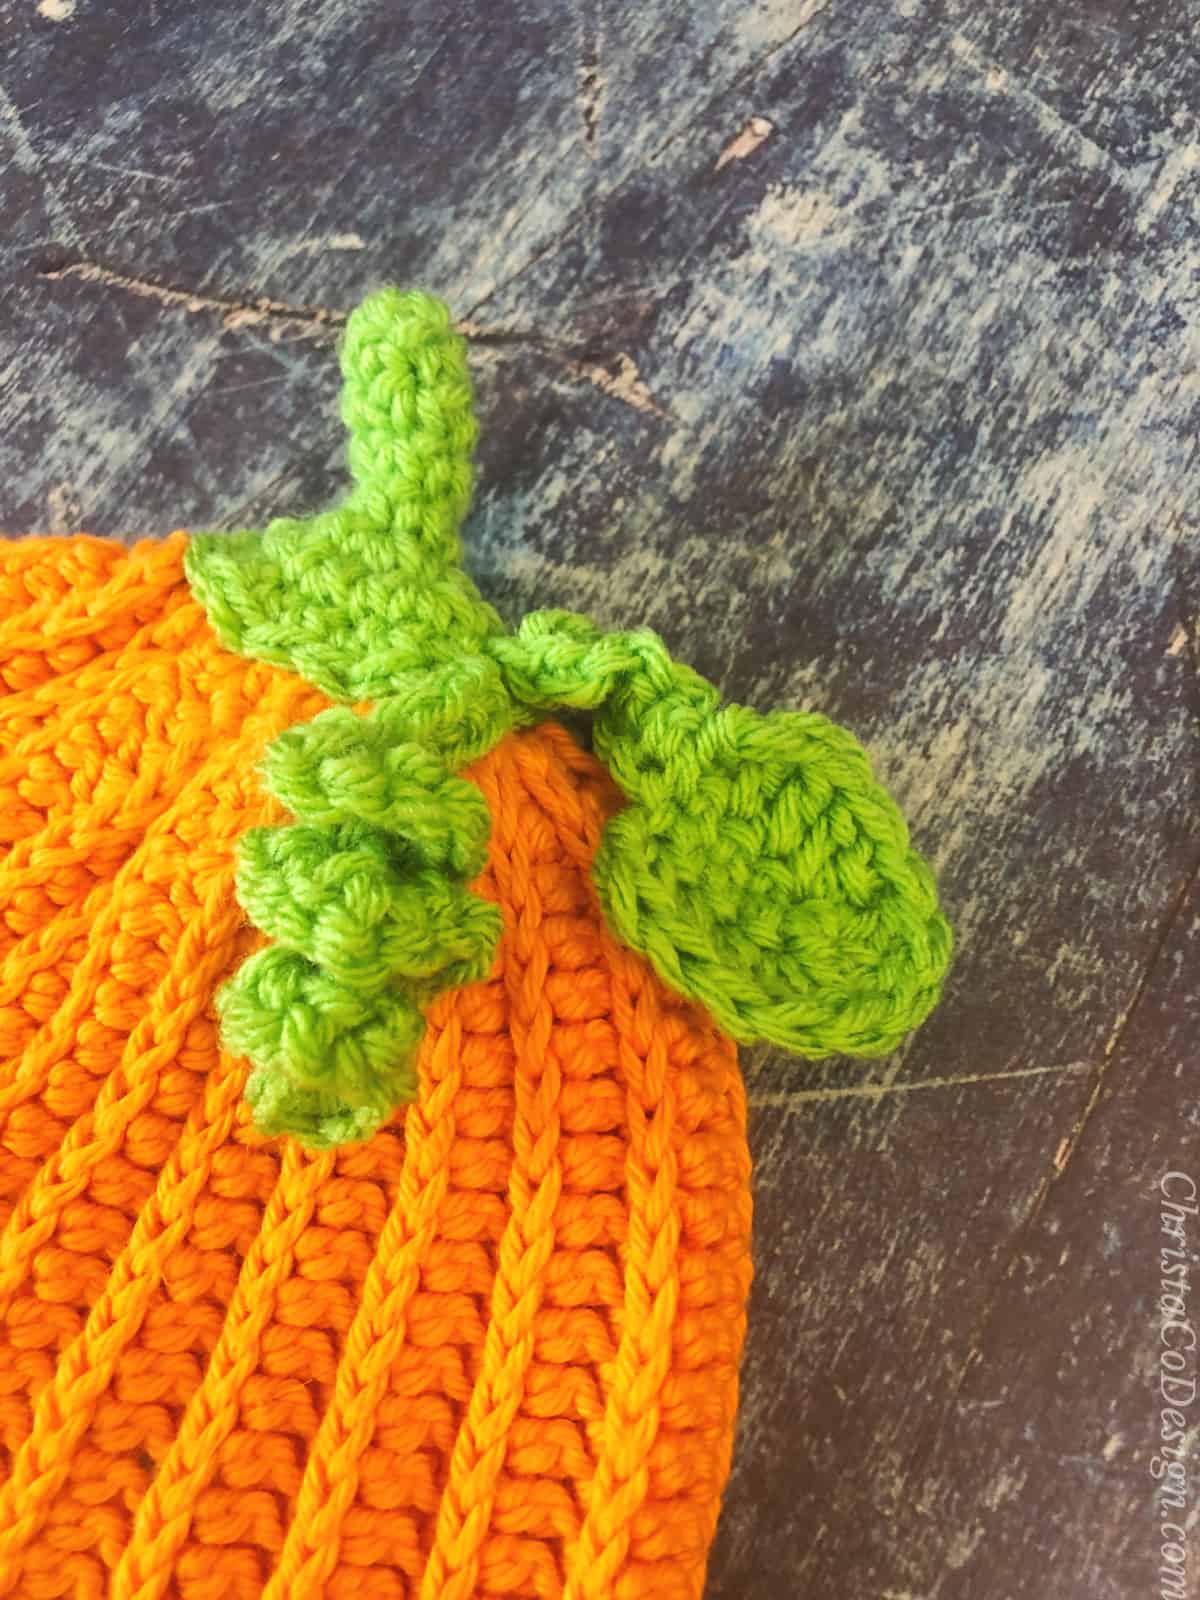
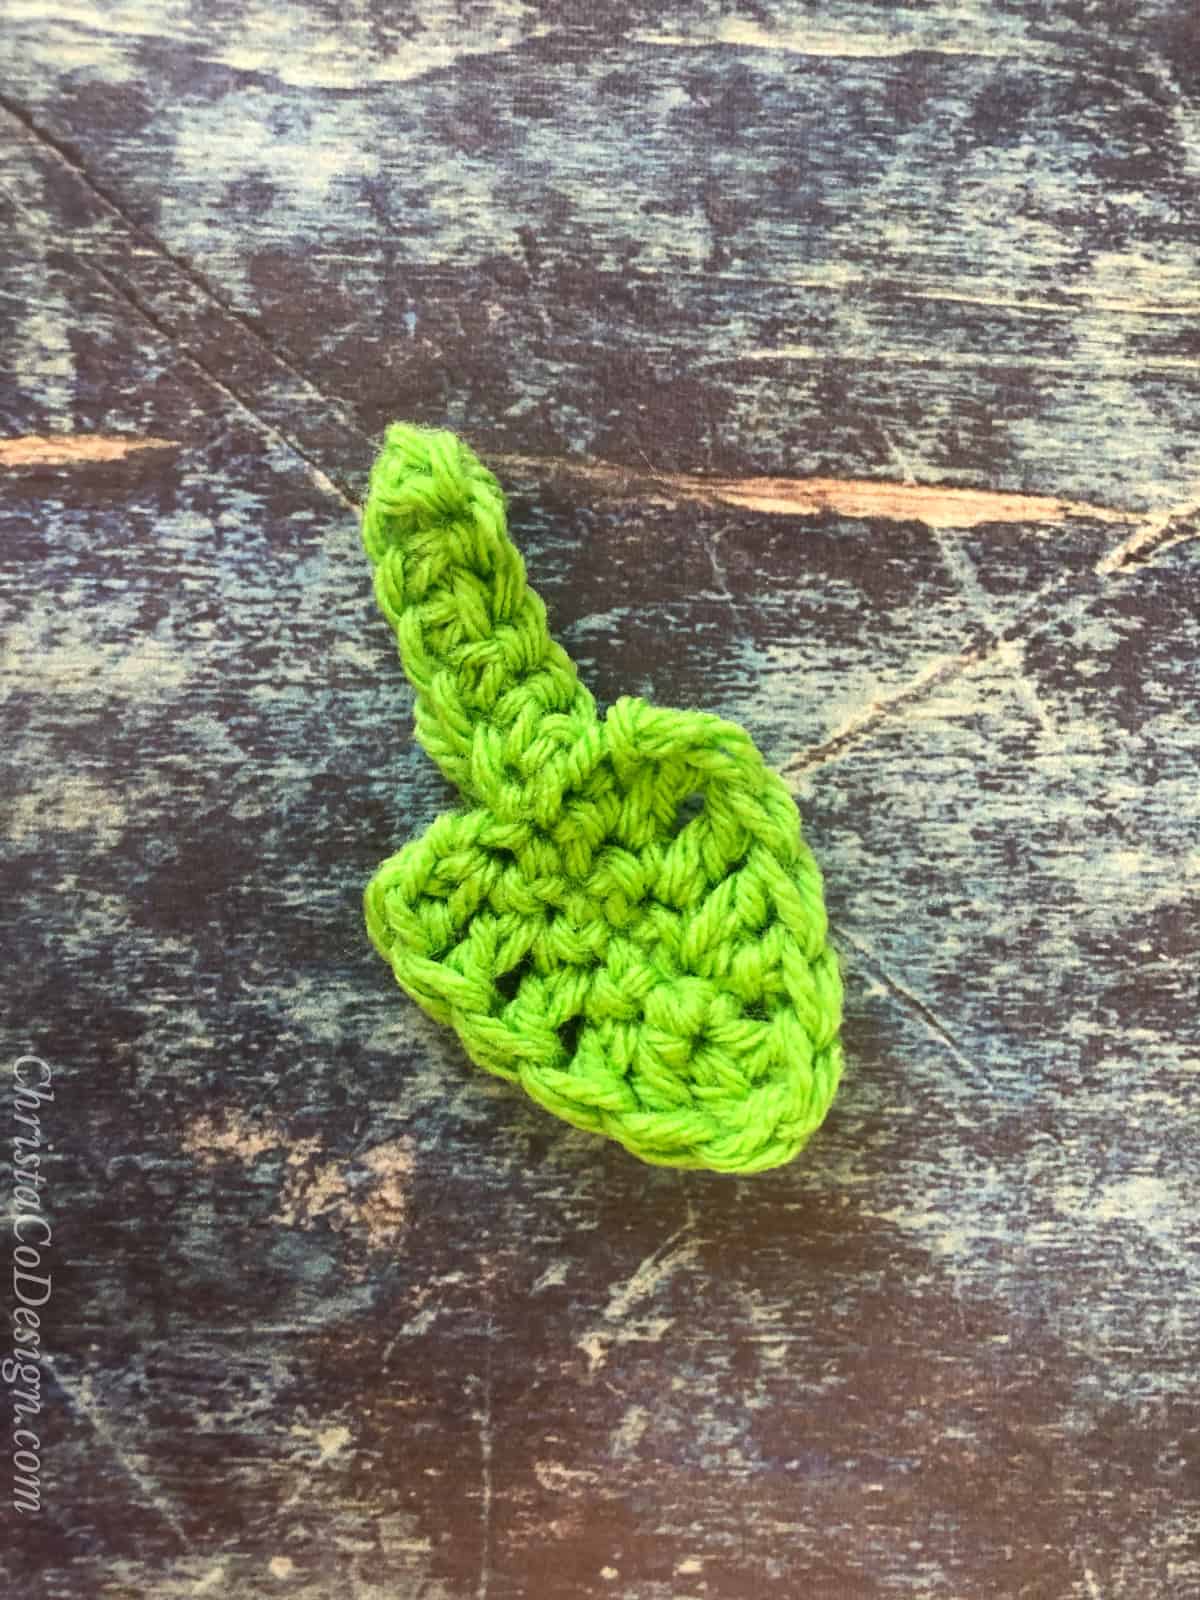
Crochet Leaf
Find the full step by step crochet leaf pattern with photo tutorial here.
- Chain 11-the first 6 will be the stem and leaf is worked over the last 4 sts, so add more here for a longer leaf or stem.
- SC in the 2nd ch and in each ch across,
- On the last ch add 2 more sc (3 total in this st),
- Continue around on to the other side of the chain and place 1 sc in each of next 3 sc (you're working into the opposite side, so there will be sts in both sides as you work), turn.
- Place 1 dc in each of next 3 sc,
- Place 2 dc in each of next 3 sc. (again you're working around the end back on to the other side),
- Place 1 dc in each of next 3 sc. Cut yarn, leave a long tail for sewing. Sew on to a stem base. Cut yarn and weave in ends.
Crochet Pumpkin Vine
- You can vary your starting chain to increase or decrease your finished lengths.
- Ch 15,
- Place 3 sc in the 2nd ch from your hook,
- Continue to place 3 sc in each ch, until you have 3 ch left,
- Place 1 sc in each of the last 3 ch.
- Sl st on to your stem base. Cut yarn and weave in ends.
- This gave me about 1.5" in length of curl, and about an inch for it to dangle.
Recommended Products
As an Amazon Associate and member of other affiliate programs, I earn from qualifying purchases.

I LOVED how easy this hat worked up! I learned a couple of tricks from testing this pattern, too! As Always, Thank you for another GREAT design.
Would love to try this yarn. Thank you for the giveaway
I love your pumpkin hat. It’s so cute and it comes in so many sizes. I could make one for everyone in the family.
Love this pumpkin hat and that it is in all sizes
I really loved making this little pumpkin hat for my first little granddaughter. I have never used this stitch before and enjoyed how quickly it came up. I also made a little pumpkin to match.🎃🙂
Thank you Sarah, I’m so glad you enjoyed it!