The Positano Crochet Cardigan a Free Pattern with Pockets!
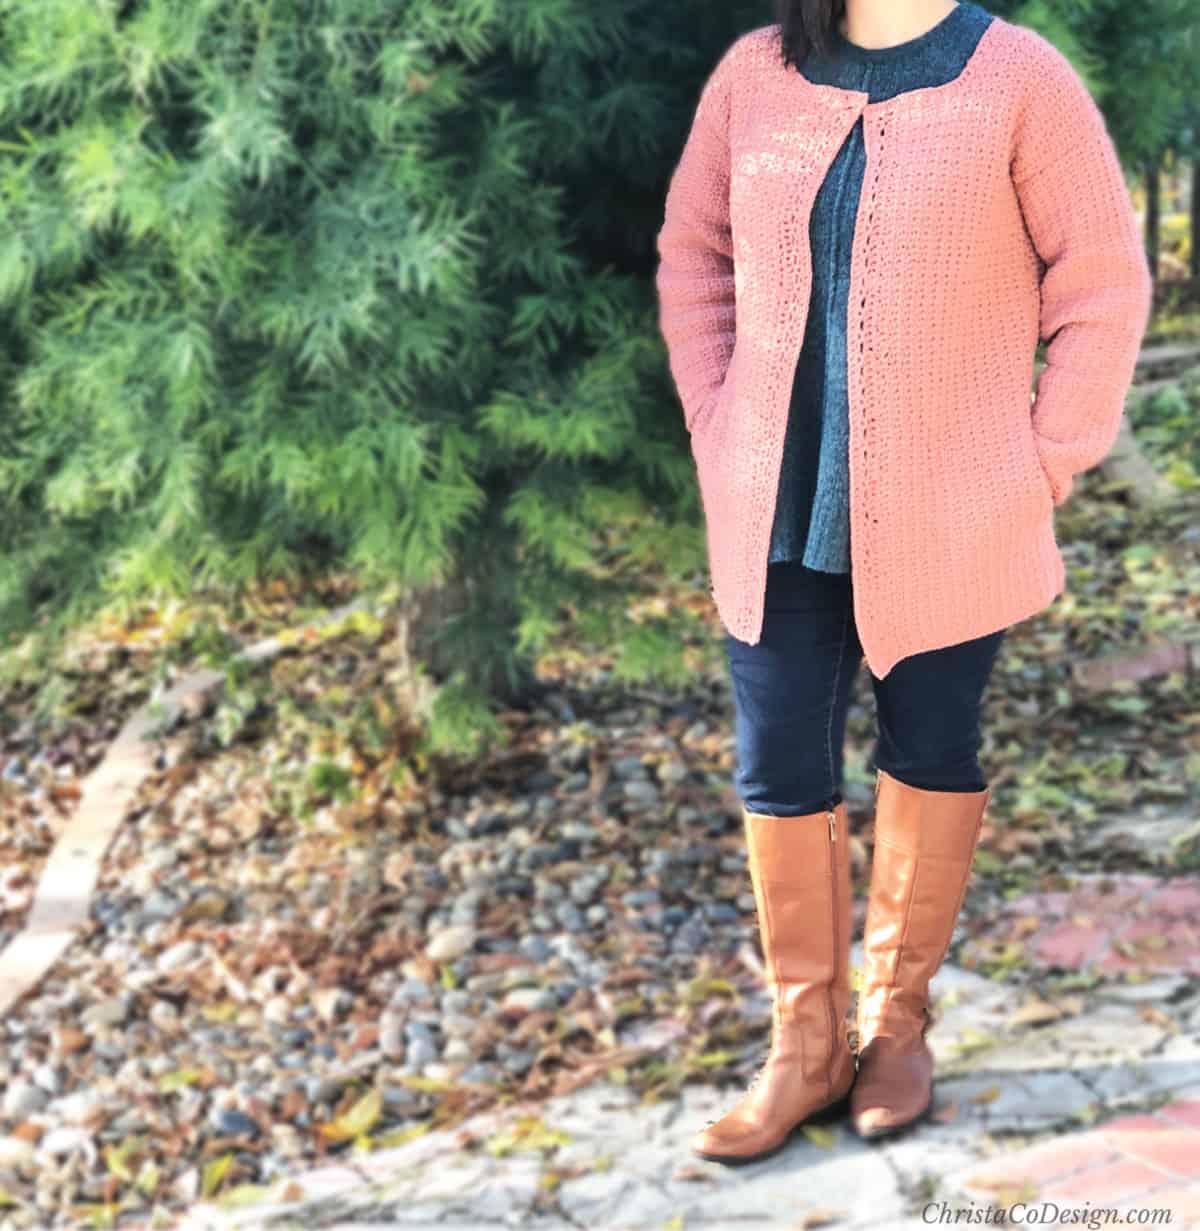
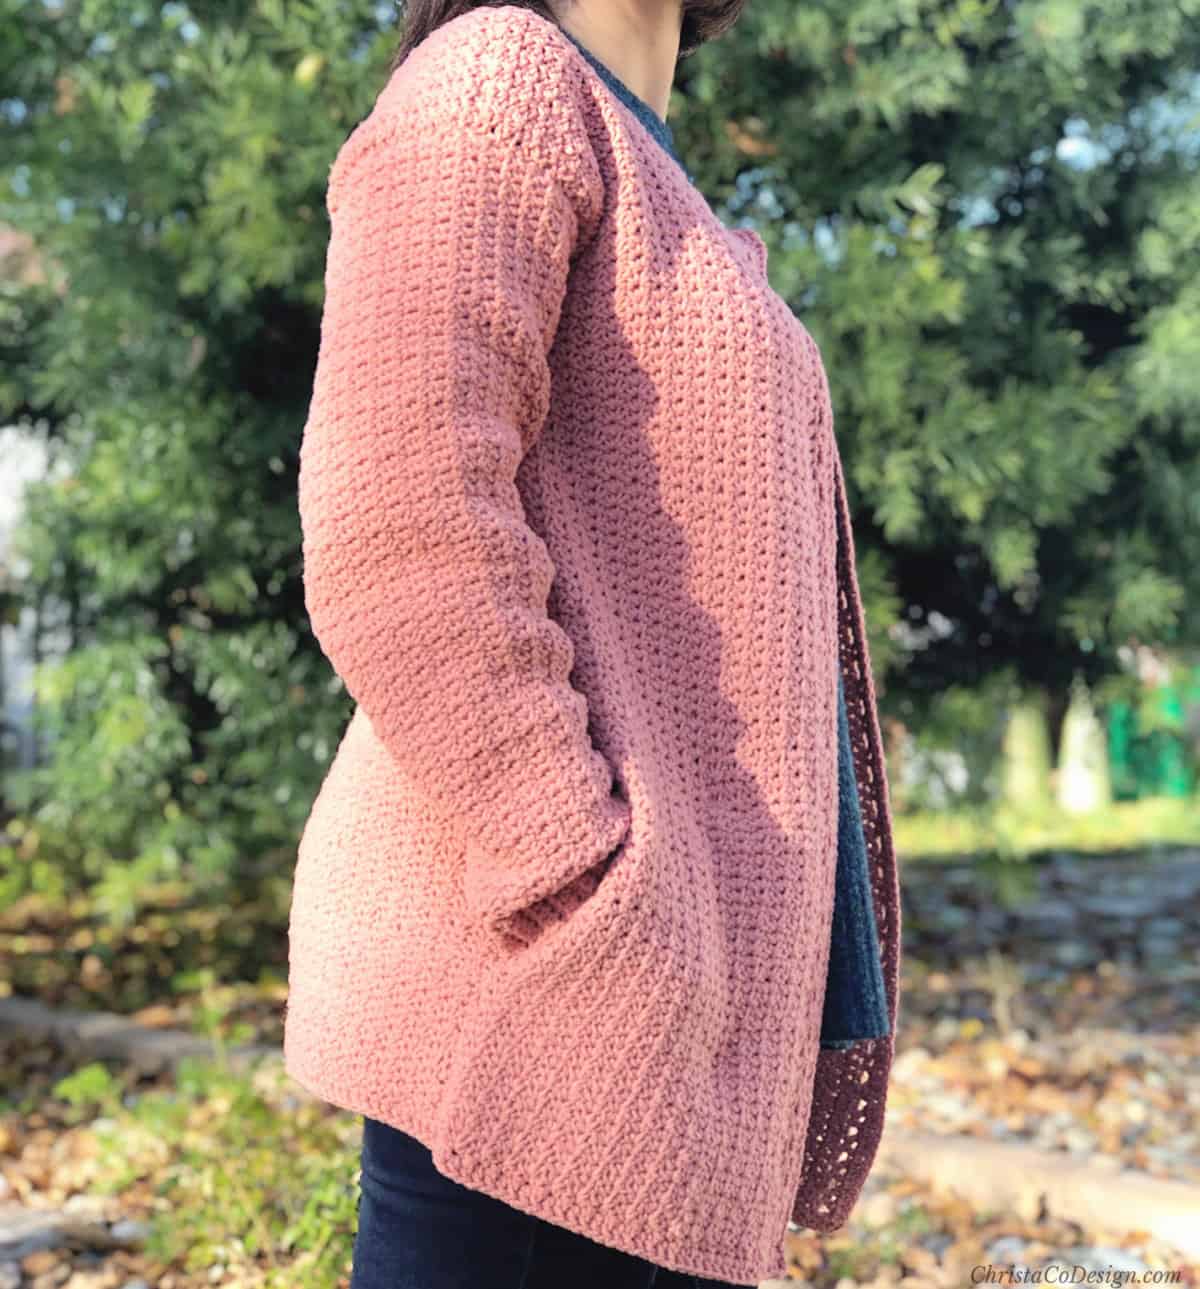
This crochet cardigan pattern is both comfy and warm, with classic styling. The Positano Cardigan features crochet pockets to keep your hands toasty too. These pockets are seamed right into the sides of the crochet cardigan.
The Positano Crochet Cardigan has a classic fit that is comfortable with some room, 5” of positive ease. The front panels overlap and can be secured by adding buttons, using a shawl pin or worn open.
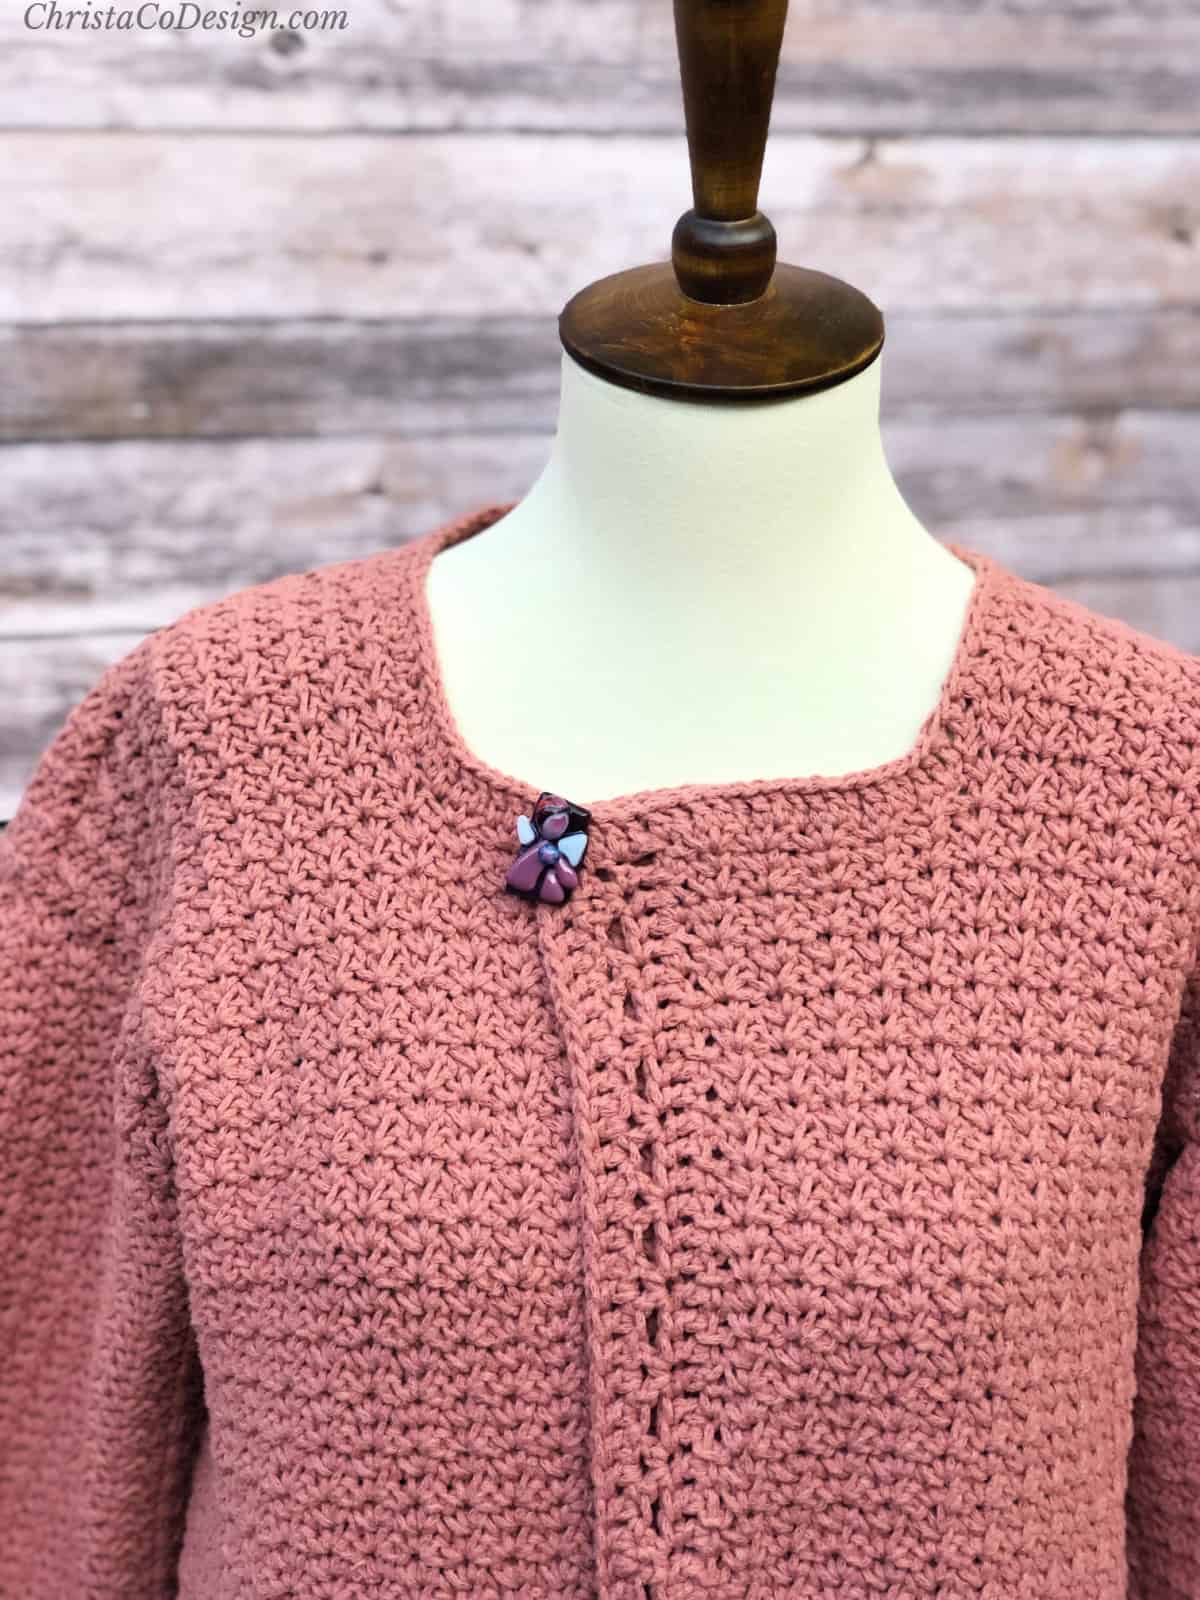
The scoop neck is designed to allow for pairing with your favorite crochet cowl, scarf or turtle neck. My favorite ways to wear my cardigan are pinned closed or around the house, I wear it loose and open.
This post contains affiliate links, I may earn a fee. Read more disclosure policy.
When I go out I add my favorite cowl {the Charisma Cowl Pattern can be found here}, or if it’s not that cold I use one of the lovely handmade pins I was gifted.
My favorite part of this cardigan are the pockets! They are seamed into the sides and are perfectly placed to keep your hands warm. Pockets are optional and can easily be left off.
The Stitch For This Crochet Cardigan
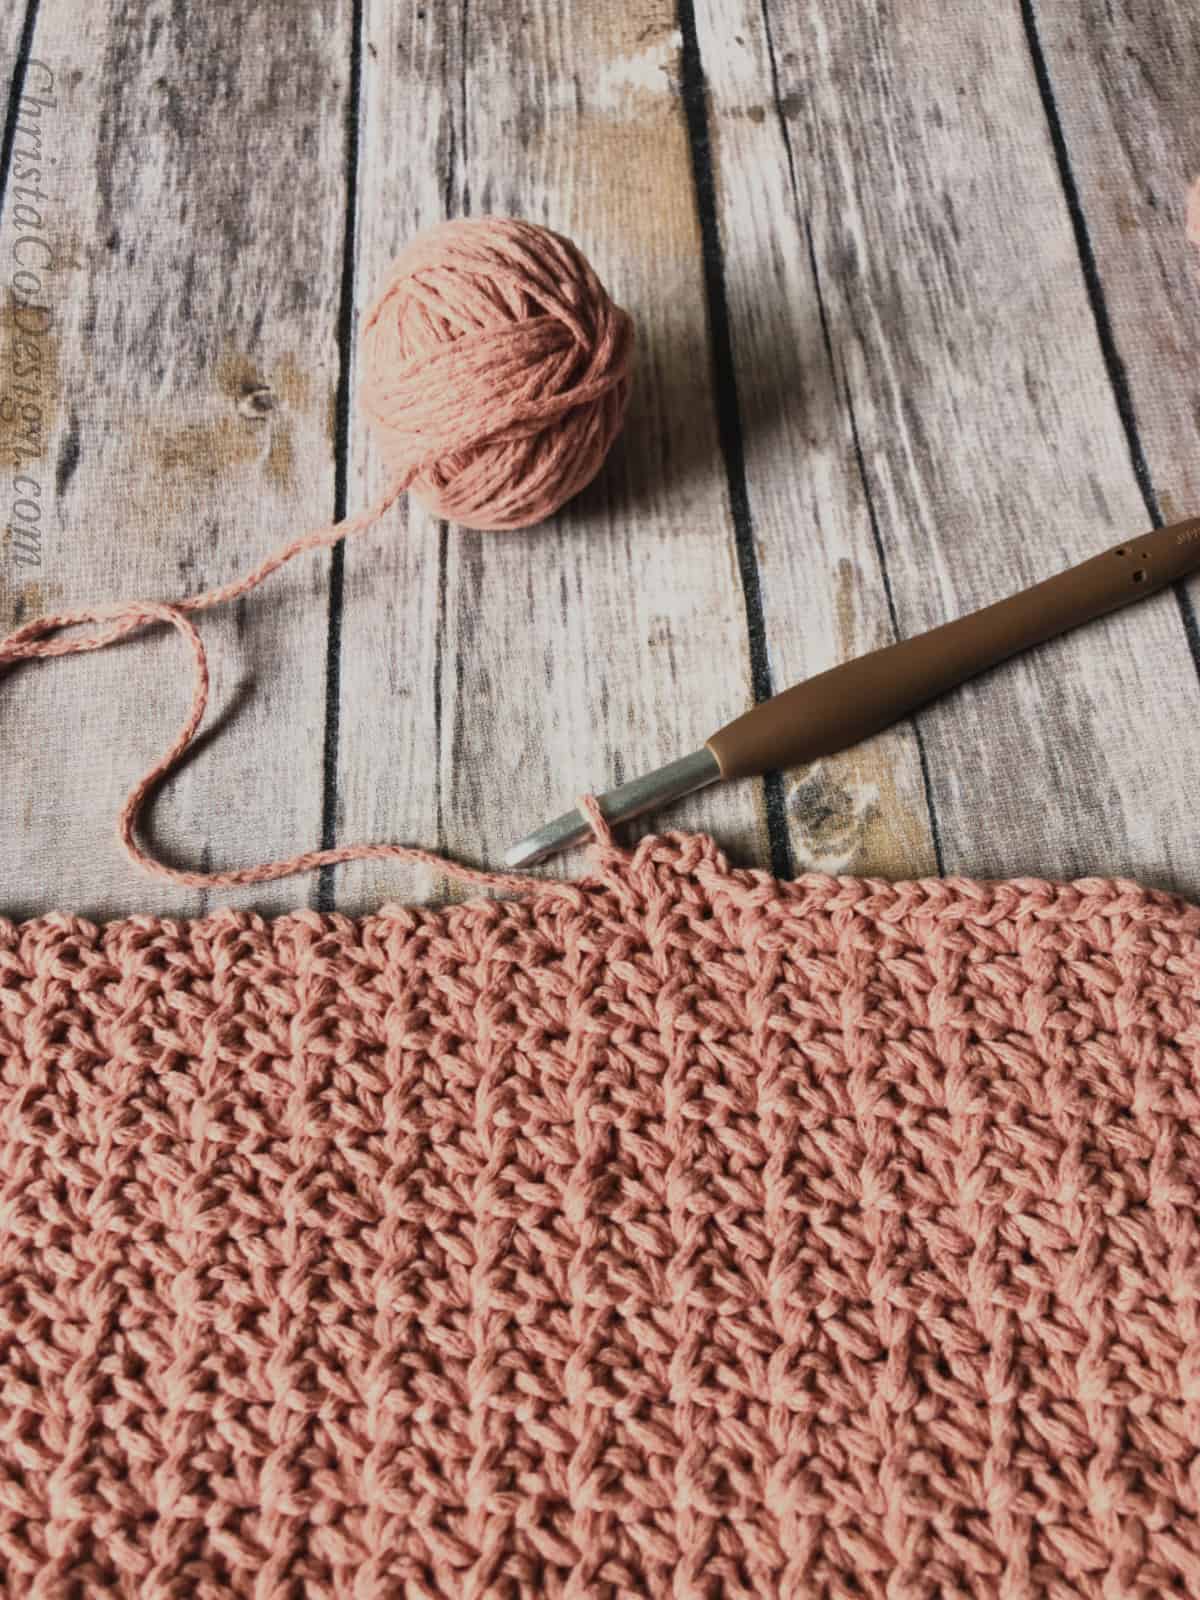
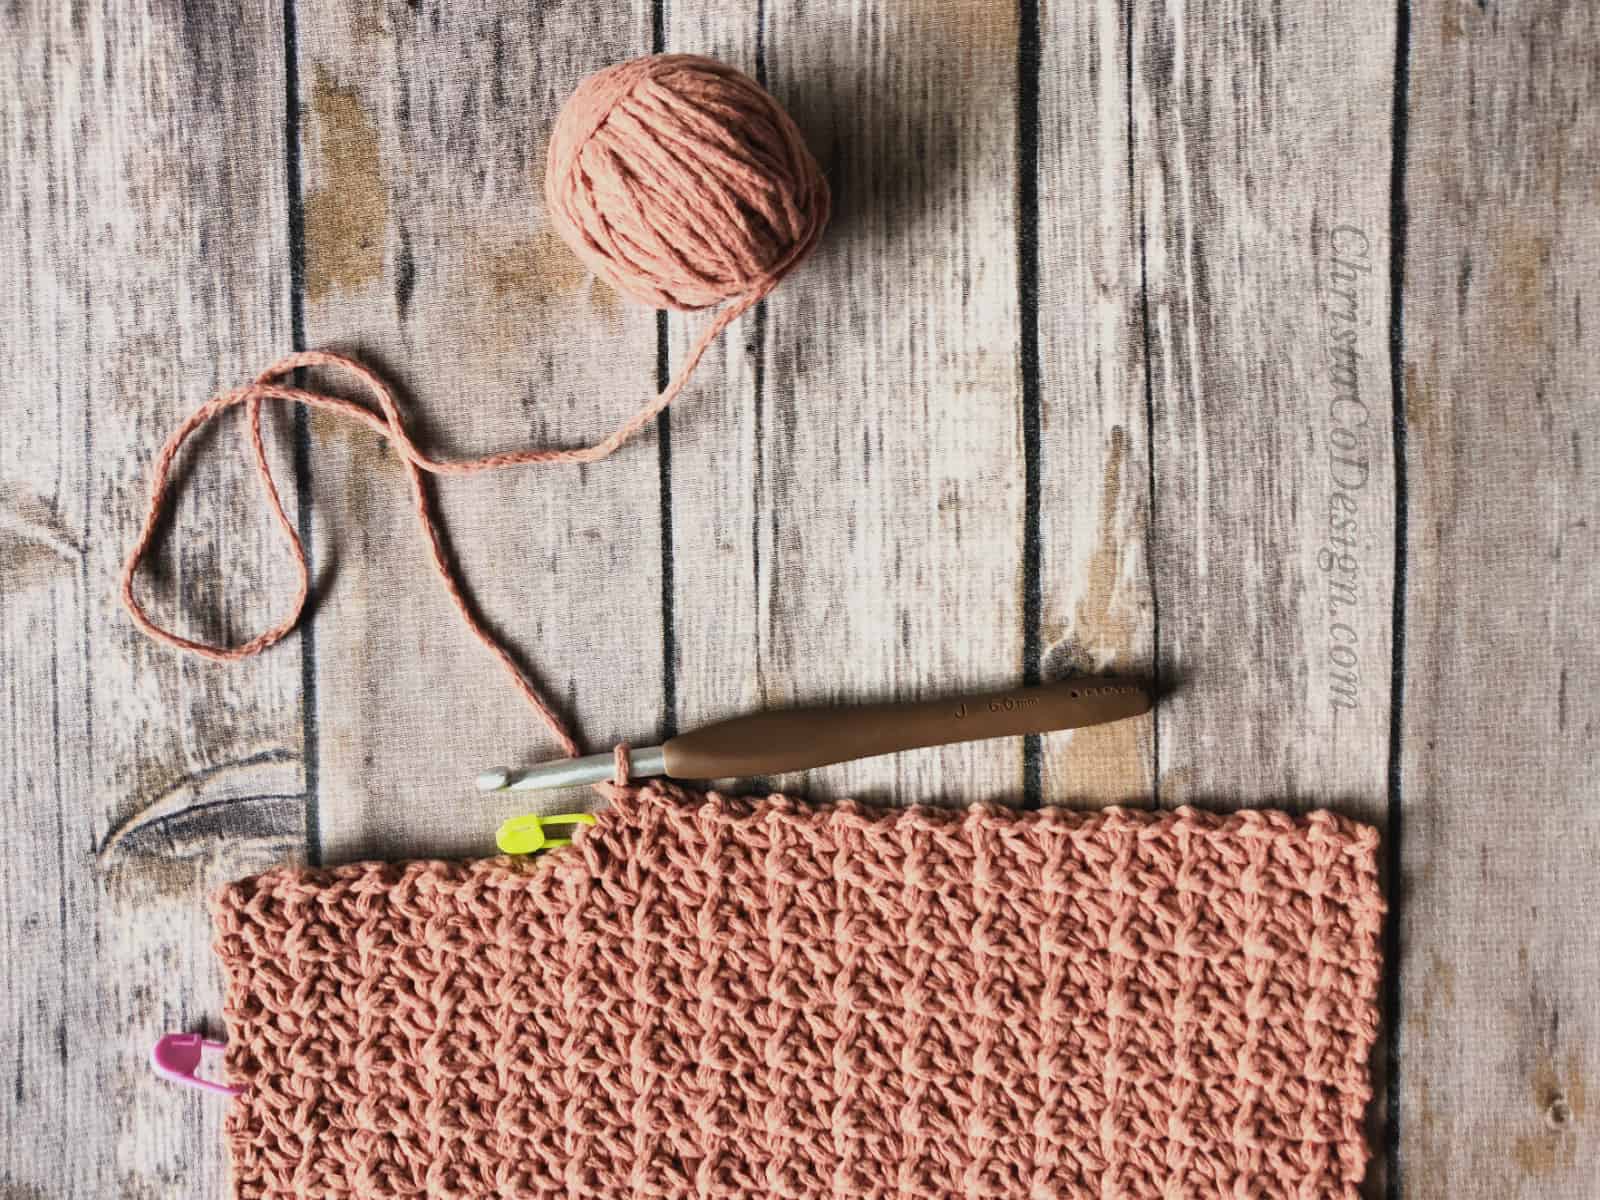
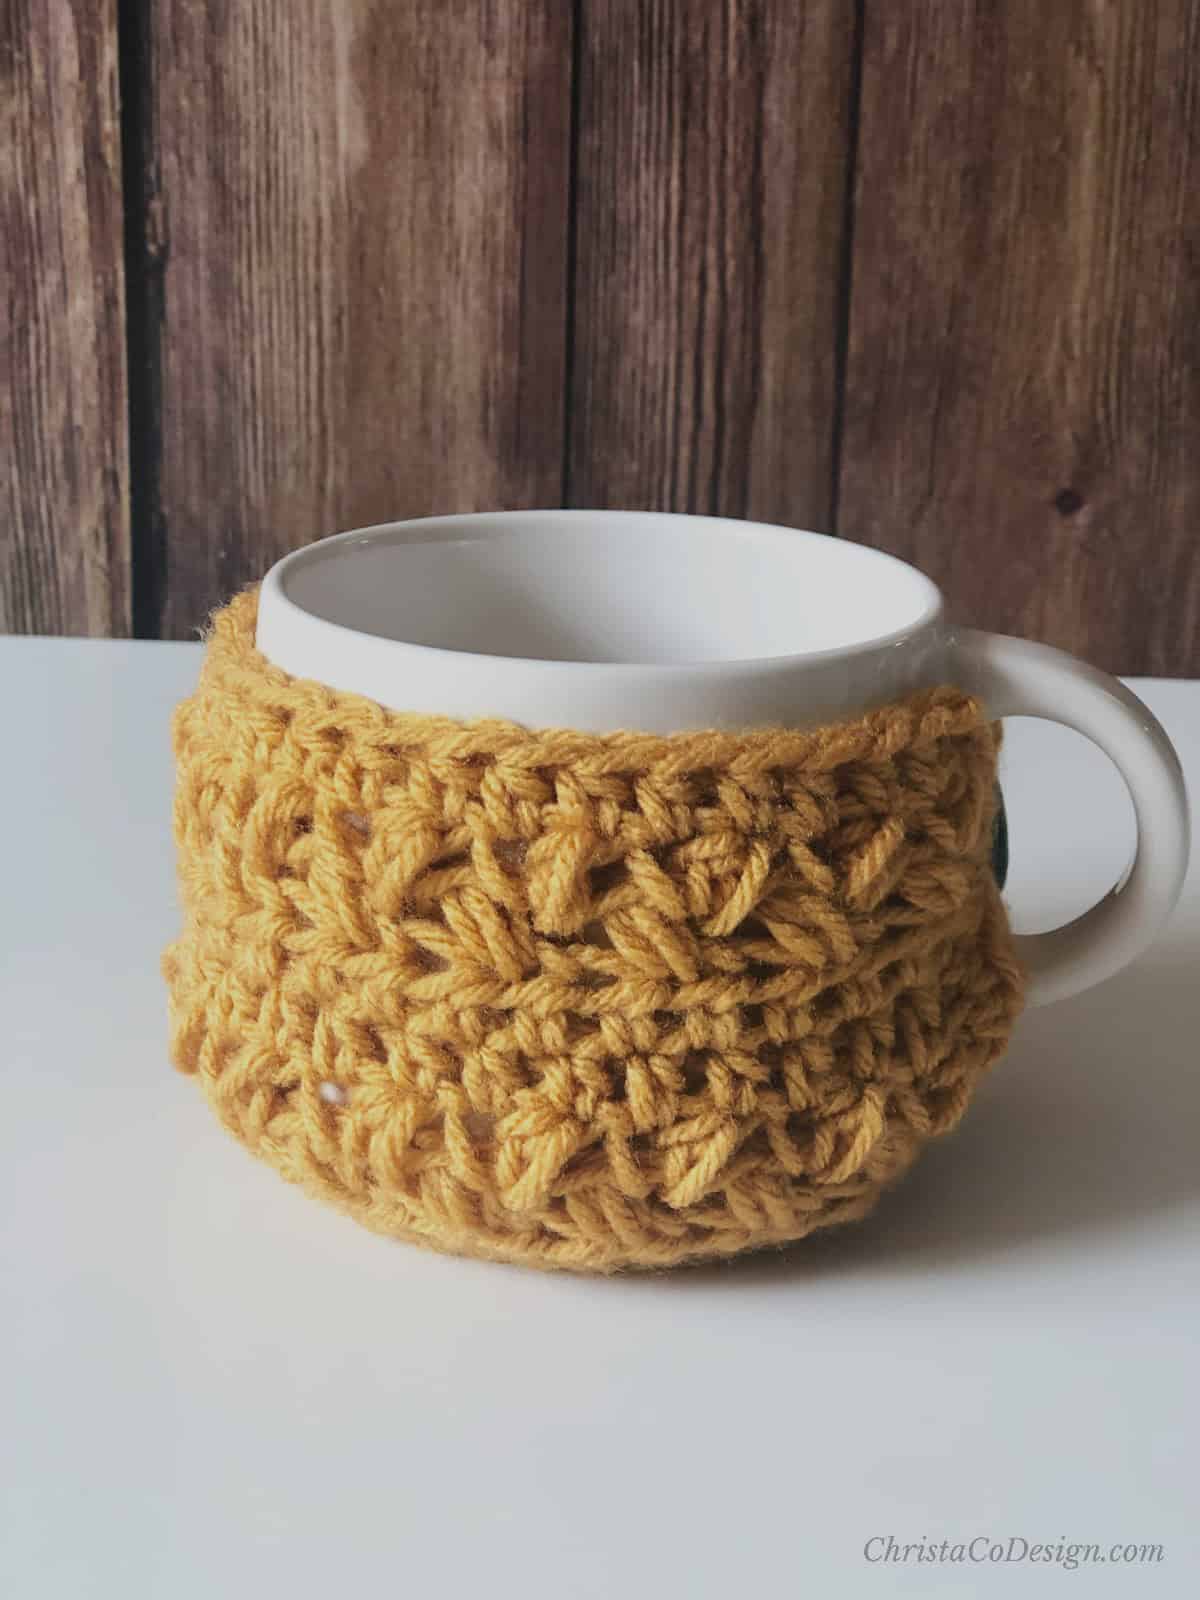
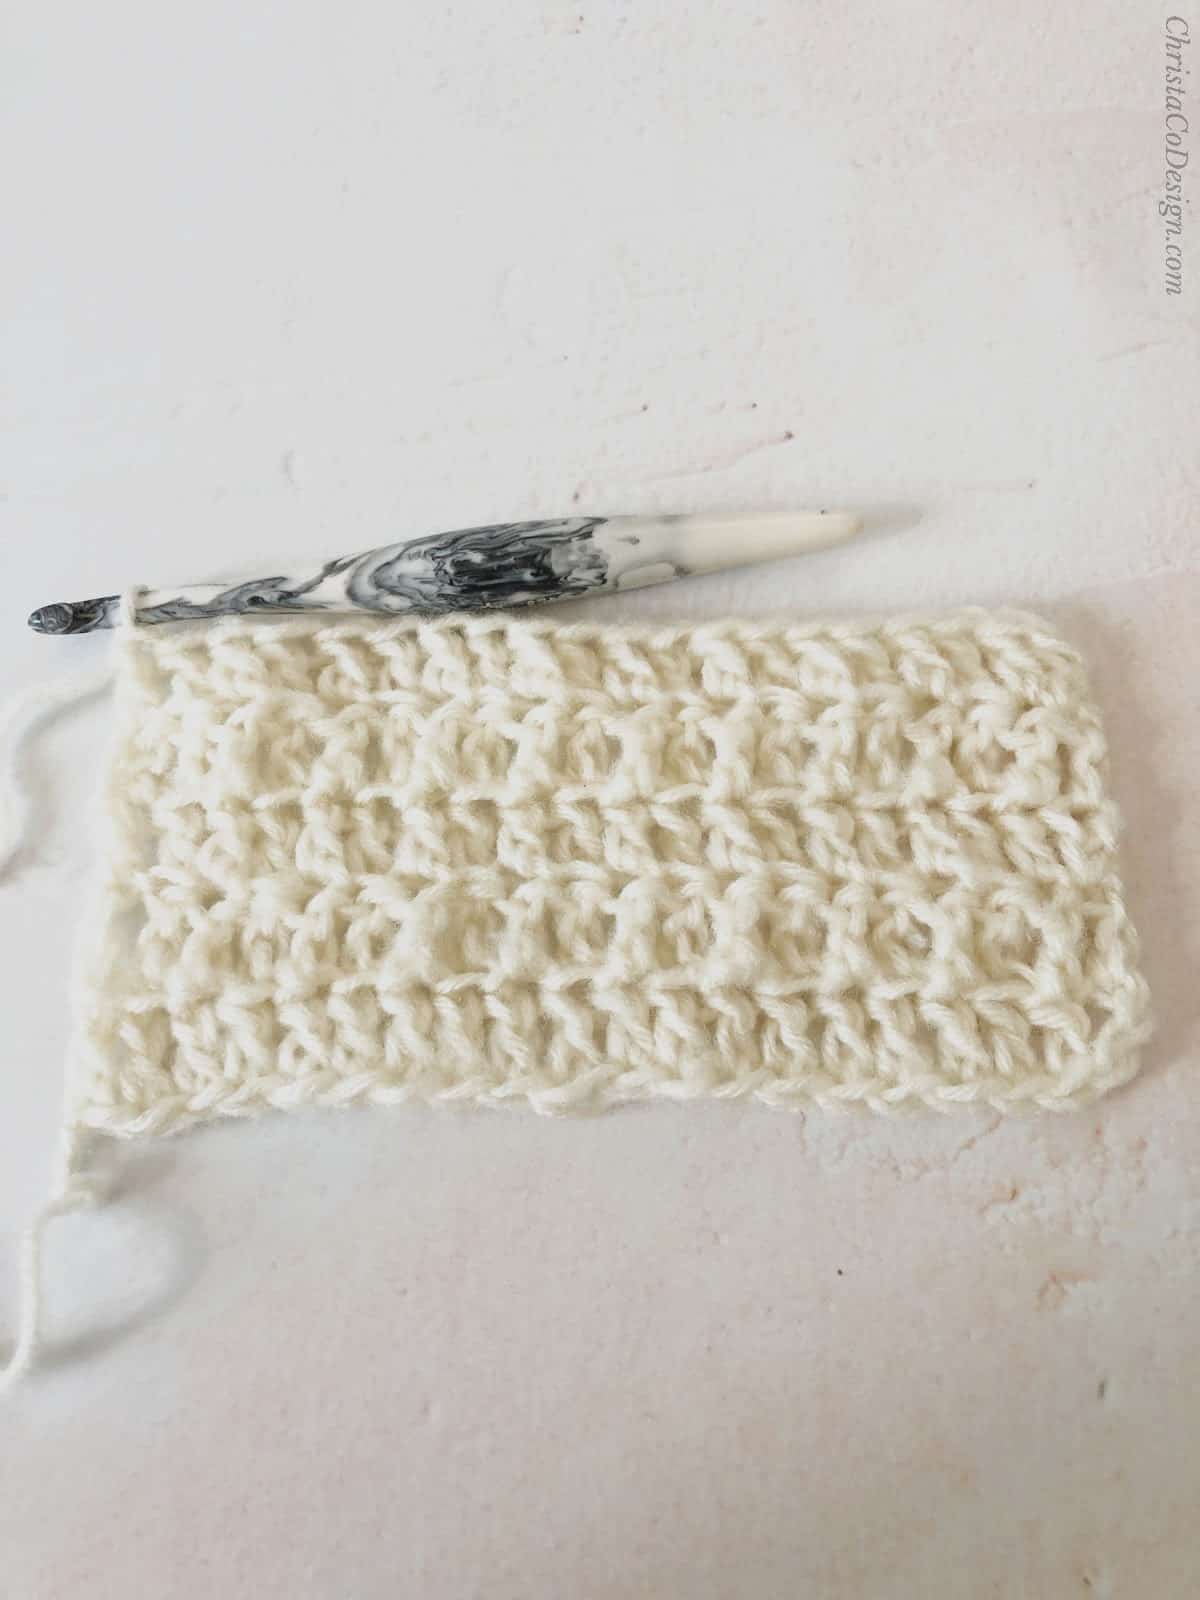
I set out to design a crochet cardigan that would be a bit warmer than some crochet sweaters. Keeping that in mind, I knew I needed to keep the stitch tight. I chose the spider stitch, which is basically a single crochet v-stitch.
Don’t worry if you’re never heard of the spider stitch, there’s a video for that! Who knows, maybe you know this stitch by another name. Once you get the first few rows of stitches set up, it’s an easy repeat to remember.
You can purchase the ad-free, well formatted PDF Pattern in one of my shops. Scroll down for the free pattern!
To crochet a cardigan that is warmer, the fabric needs to be relatively dense. The spider stitch is a great choice, as the stitches sit snuggly on top of each other. However, to make a nice crochet garment, you want plenty of drape in your stitches as well.
The Positano Crochet Cardigan achieves both warmth and drape. The combination of stitch, yarn and hook size all come together in one cozy cardigan! And you can’t have a cozy cardigan without comfy pockets!
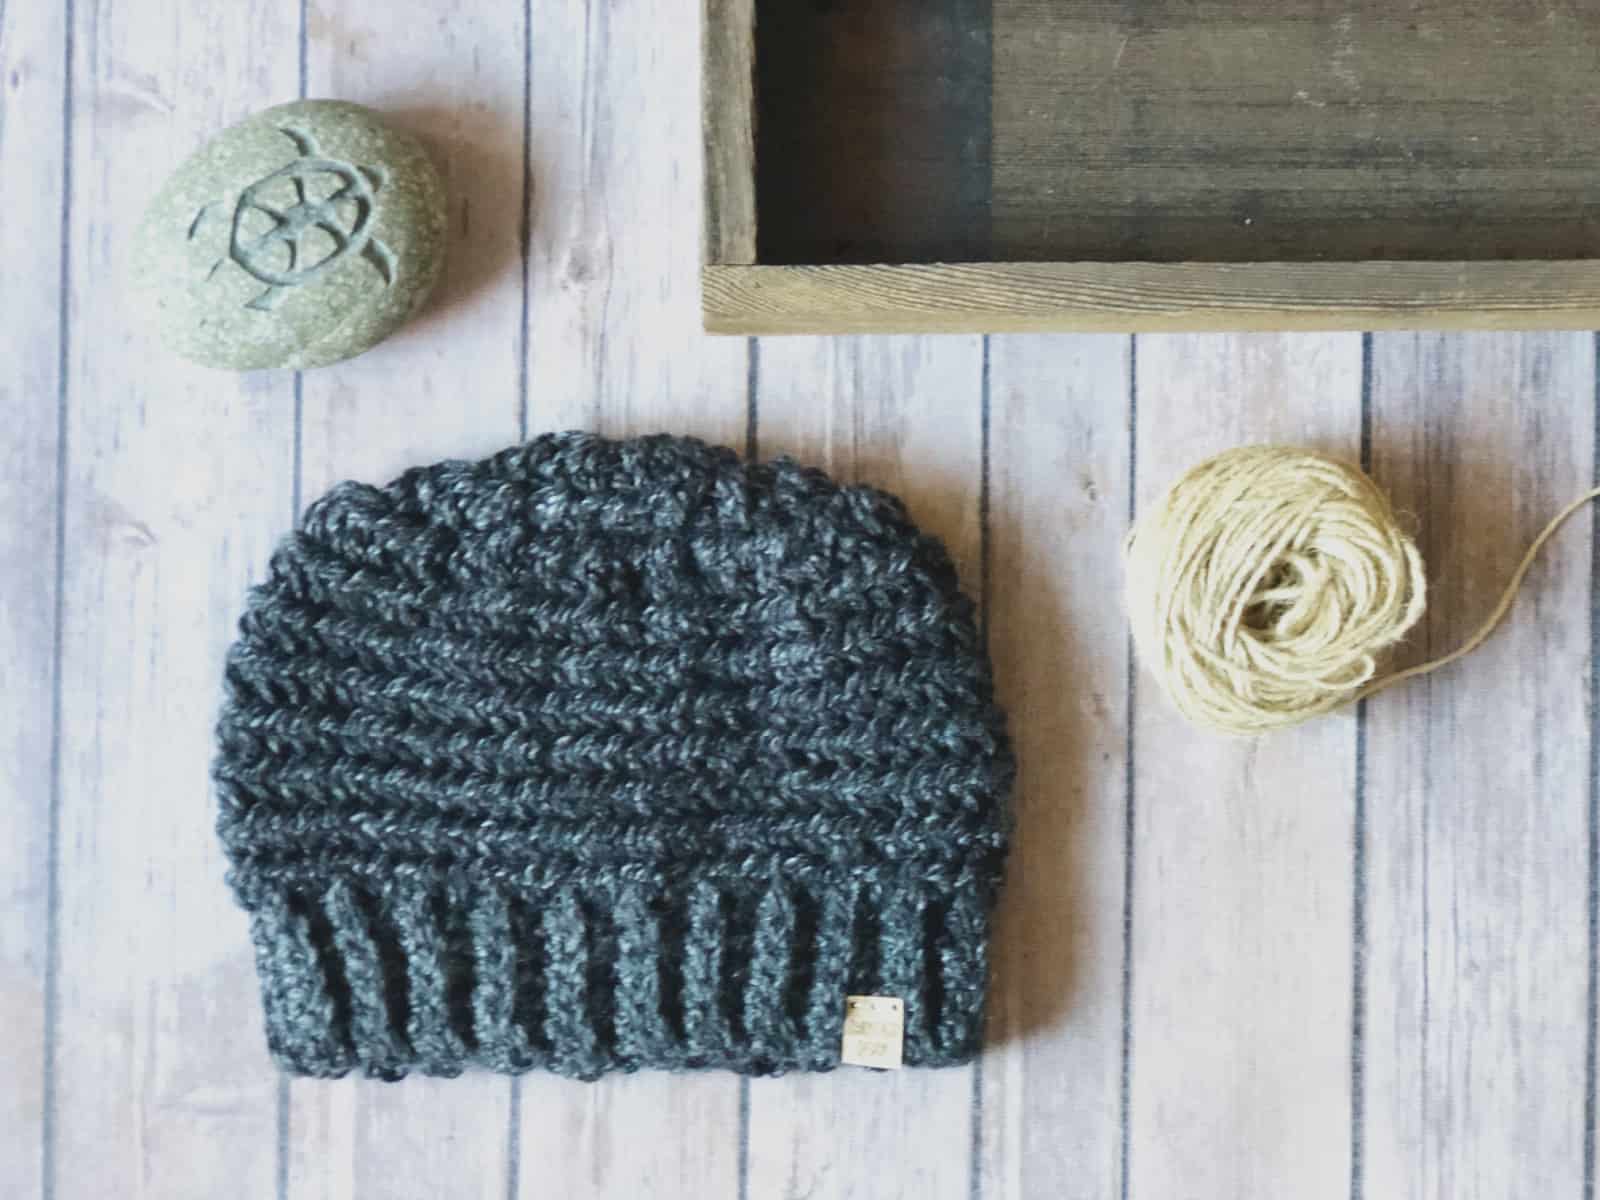
If you love this stitch you’ll want the hat too. The Positano Hat is now a free crochet hat pattern that’s worked bottom up.
The Yarn
Can we talk about the yarn from the Positano Cardigan a minute? This gorgeous dark pink is called Chai in Red Heart’s Amore Yarn. It is so soft and easy to work with-no splitting.
Amore is a polyester yarn (yay for washable!) and responded well to steam blocking. I liked my crochet cardigan when I finished it, but once I blocked it-I loved it. The stitches relaxed a bit and you could just see the yarn settle into itself. I’m so glad I choose it.
Adjusting Your Cardigan
It’s easiest to go up or down a size in the pattern if you know you want to adjust the fit of your crochet cardigan. However, you may wish to customize the fit further. Here are some ways to do that.
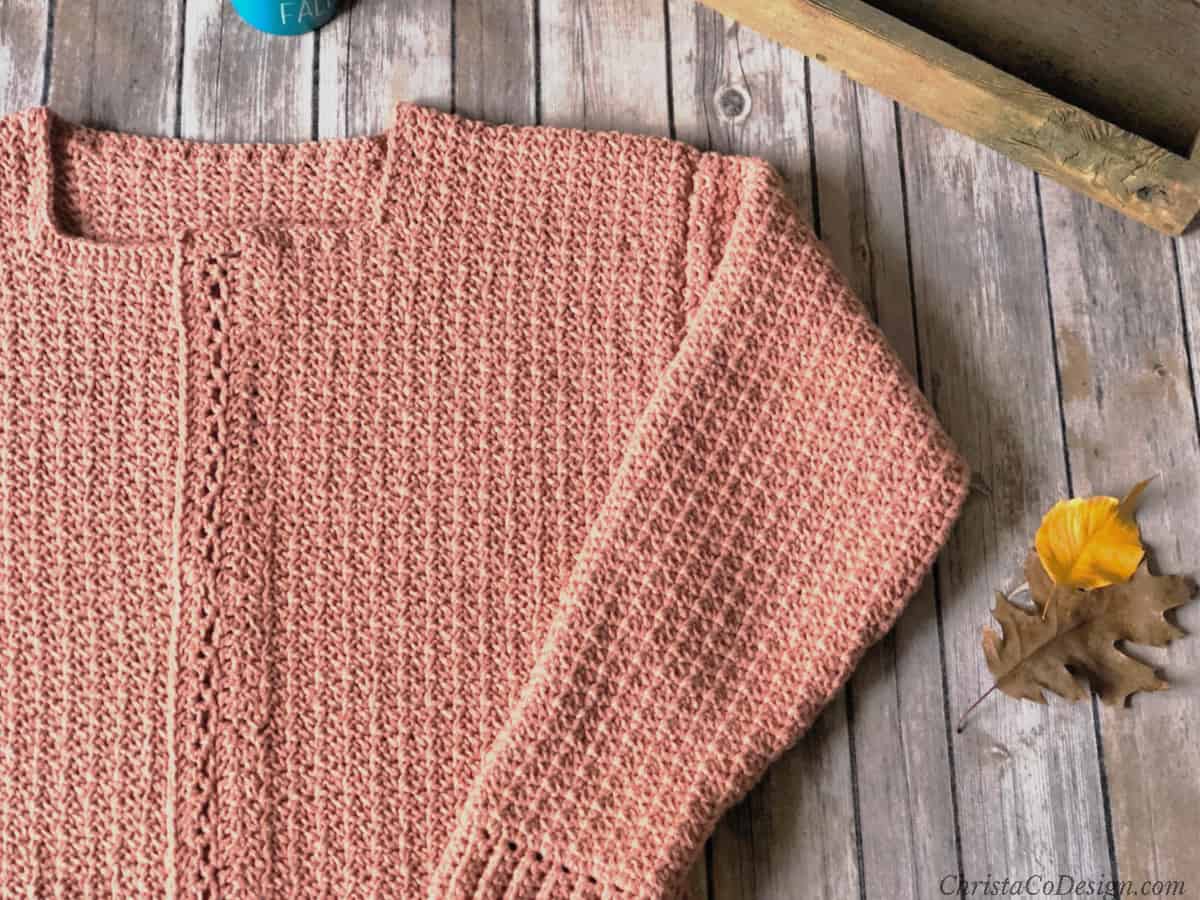
The length of the Positano Cardigan falls just past the bottom. It’s easily adjustable by adding/subtracting rows. Be sure to adjust panels before beginning the scoop neck. Alternatively, you can add more rows to the hem at the end.
The sleeves are crocheted from the wrist up. This makes them easy to try on as you go and make any adjustments. You can also go up or down a sleeve size should you prefer a slimmer or roomier sleeve.
This pattern is written for sizes S (M, L, XL, 2X). Target Measurements for each piece are included which make adjusting for your tastes or size easier. Stitch multiple is also included.
Positano Cardigan Video Tutorials
The video tutorials are for the spider stitch used and several for the techniques used on the sleeves. Check them out here: Positano Pocket Cardigan Video Playlist. The videos are for the purposes of illustrating how the technique is done. All measurements, stitch counts, etc. are in the written pattern below.
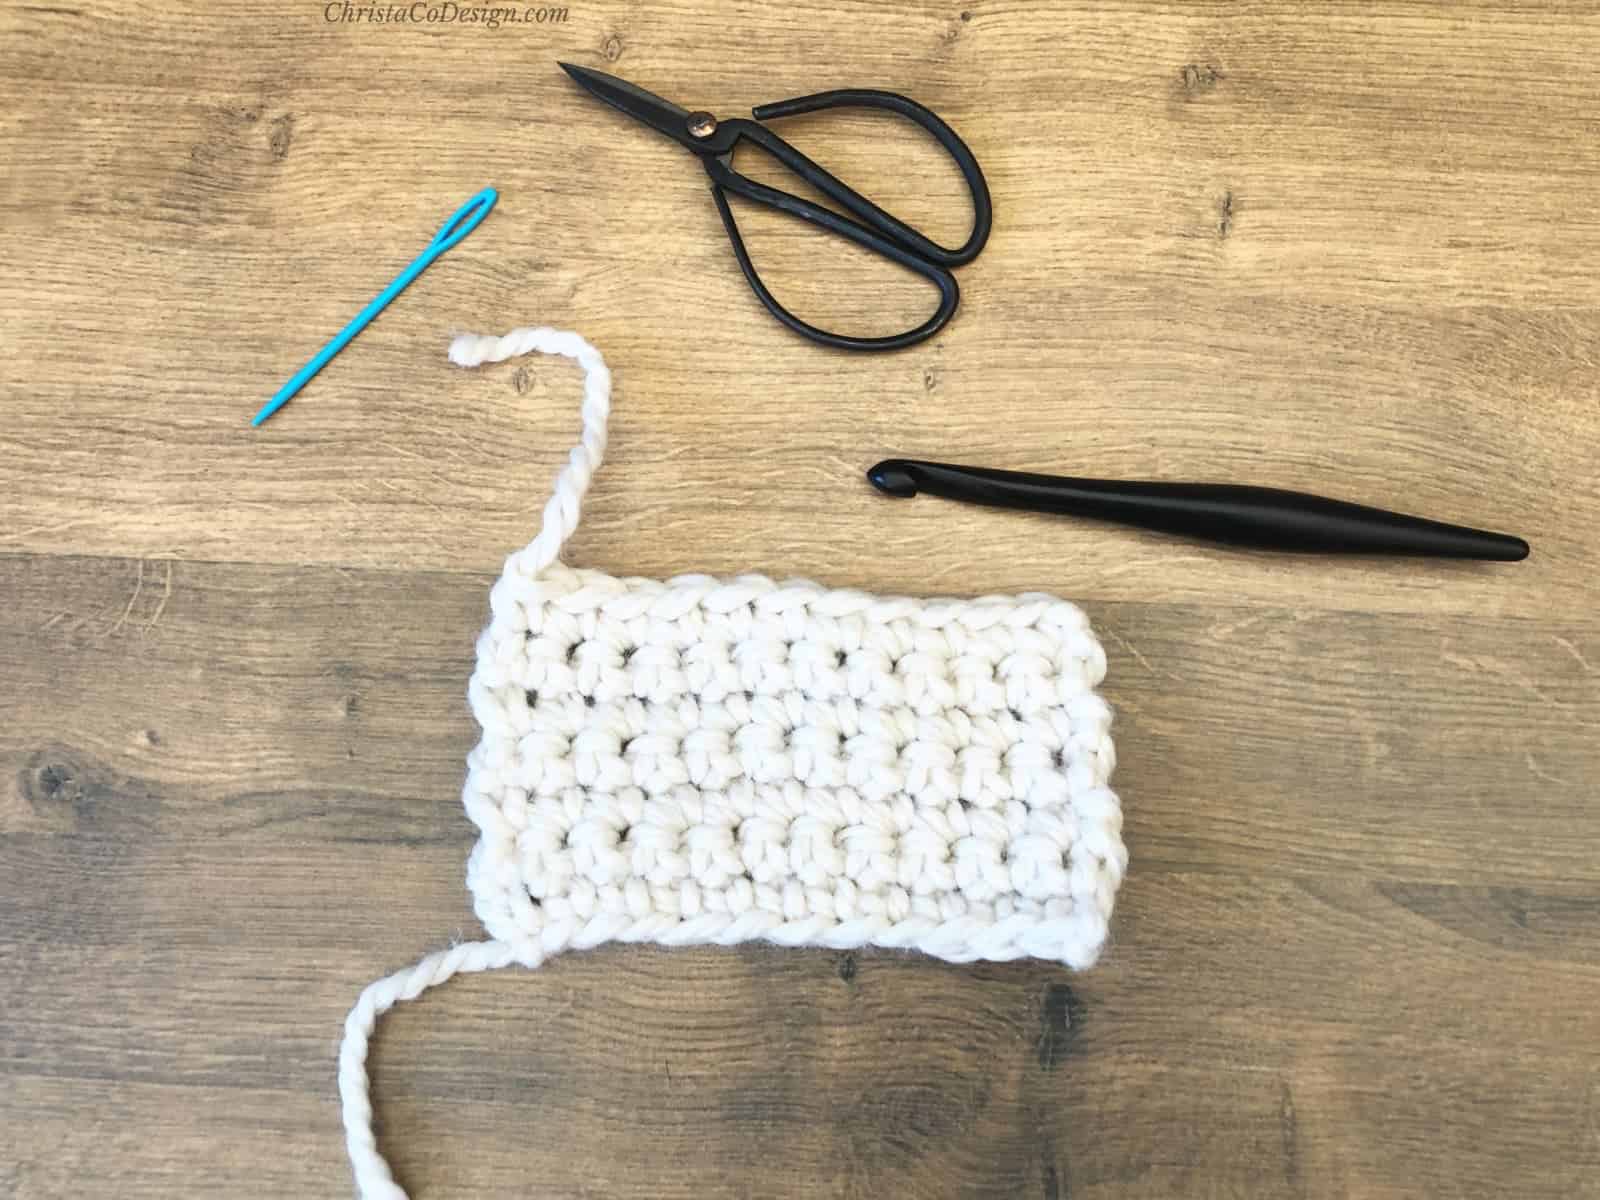
Gauge swatch instructions are included. Please do a gauge swatch to check your tension. It is easy to adjust your hook size before beginning. This also allows you to get familiar with the spider stitch.
Our Favorite
Free Crochet Cardigan Patterns
- The Hygge Homebody Cozy Crochet Cardigan is my favorite cozy cardigan with patch pockets.
- The Spring Cardi is a top down crochet cardigan with no seaming.
- The Sera Cardigan is bottom up crochet cardigan, with a classic fit.
- There is also a matching Sera crochet sweater pullover with v-neck.
Materials
- Red Heart’s Amore yarn, in color Chai, a #4 med worsted weight yarn. Estimated yardage by size: Sm 1782 M/L 1980 XL 2178 2X 2376
- 6mm (J) hook* or crochet hook size needed to meet gauge.
- Yarn needle, Measuring tape, Scissors
Notes
- Skipped chains at the start of the first row will count as 1 st.
- Turning chains count as a stitch (ch 2 at the beginning of a row-1 ch for turning and 1 ch counts as a sc). You will work into this ch 2 space on the next row. I recommend marking with a stitch marker to easily see it.
- Pattern is written as Sm (M, L, XL, 2X).
- Stitch multiple is an odd number, plus 2 for the starting ch.
- When possible measurements and stitch/row counts are given so that if you are unable to meet gauge or need to make adjustments you can do so based on measurements. See Target Measurements Chart.
Video Tutorials for the Positano Cardigan
Positano Pocket Cardigan Video Tutorial Playlist
Stitches
ch – chain
ss – slip stitch
sc – single crochet
Spider stitch-all in the same stitch: (sc, ch 1, sc), when working into a spider stitch on Row 2 and on, you will crochet the spider st (sc, ch 1, sc) into the ch 1 space of the previous row’s spider st.
Gauge
2” x 2” = 10 sts (3 spider stitches plus 1 sc) x 7 rows
Swatch
Ch 15,
1. In 3rd ch from your hook spider st, sk next ch *{spider st in next ch, sk next ch} rep from * across, sc in last ch, turn.
2. Ch 2, sk next sc, spider st in next ch 1 sp, *{sk next two sc, spider st into next ch 1 sp} rep from * across, sk last sc, sc into 2nd ch, turn. (20 st)
3. Rep last row until work measures 3-4” tall.
Measure 2” x 2” within swatch, if you’re gauge does not match the listed gauge, go up or down a hook size.
Fit
This cardigan has a classic fit that is comfortable with some room. The front panels overlap, with 5” of ease. The scoop neck is designed to allow for pairing with your favorite cowl, scarf or turtle neck. The length falls just past the bottom, but is easily adjustable by adding/subtracting rows to all panels before beginning the scoop neck decreases.
Target Measurements
| Size | Bust “ | Back Panel Width “ | Front Panel Width “ | Panel Length ” | Sleeve Length ” w/o ribbing | #Rows after ribbing | # Spider St on Cuff |
| SM | 34 | 19 | 10 | 26 | 17 | 60 | 17 |
| M | 38 | 21 | 11 | 26.5 | 18 | 63 | 17 |
| L | 42 | 23 | 12 | 27 | 19 | 66 | 18 |
| XL | 46 | 25 | 13 | 27 | 19 | 67 | 18 |
| 2X | 50 | 27 | 14 | 28 | 20 | 70 | 19 |
Pattern
Back Panel
Ch 69 (75, 81, 87, 93)
- (RS) In 3rd ch from your hook spider st, sk next ch *{spider st in next ch, sk next ch} rep from * across, sc in last ch, turn. 101 (107, 113, 119, 125) sts
- Ch 2, sk next sc, spider st in next ch 1 sp, *{sk next two sc, spider st into next ch 1 sp} rep from * across, sk last sc, sc into 2nd ch, turn.
- Rep last row for a total of 91 (93, 95, 95, 98) rows or until panel length is 26 (26.5, 27, 27, 28)”. FO, leaving a long tail for seaming.
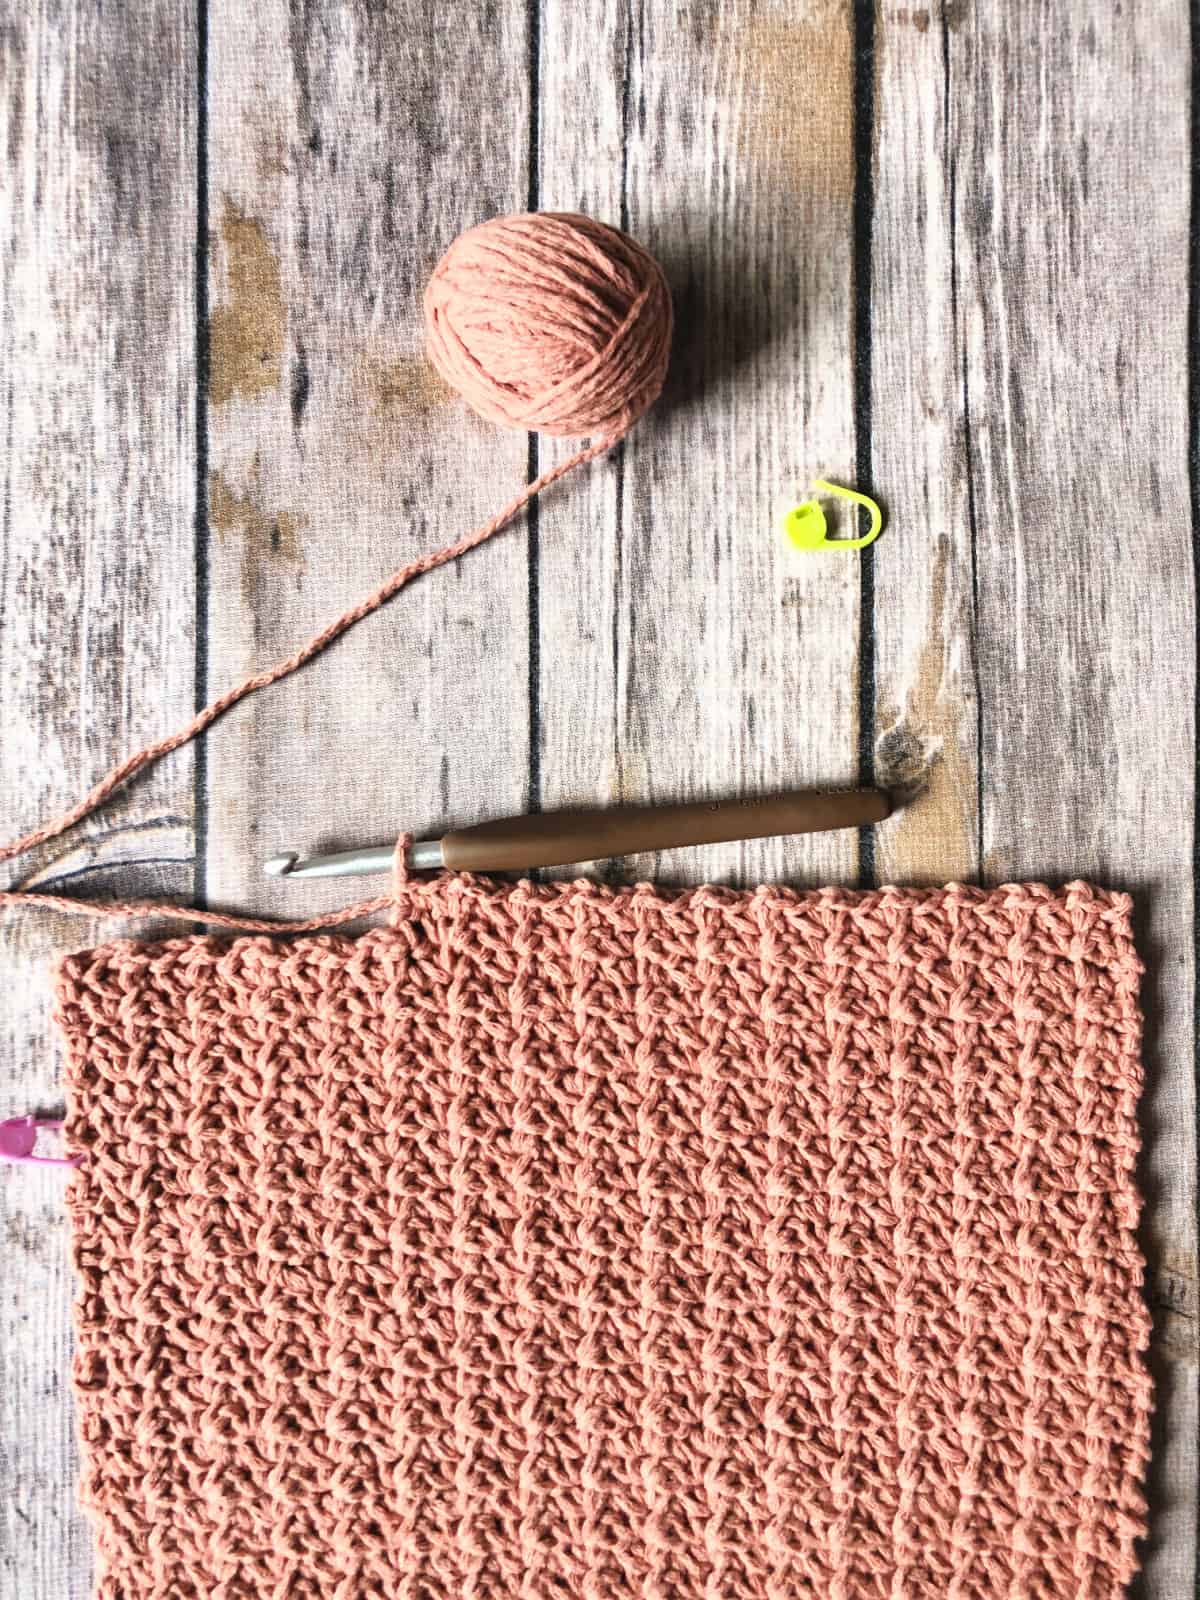
Left (when wearing) Front Panel
Ch 37 (41, 45, 51, 55)
- (RS) In 3rd ch from your hook spider st, sk next ch *{spider st in next ch, sk next ch} rep from * across, sc in last ch, turn. 53 (59, 65, 74, 80) sts
- Ch 2, sk next sc, spider st in next ch 1 sp, *{sk next two sc, spider st into next ch 1 sp} rep from * across, sk last sc, sc into 2nd ch, turn.
- Rep last row for a total of 80 (82, 84, 84, 87) rows or 23 (23.5, 24, 24, 25)”.
Left Scoop Neck Decrease: (row count starts over for decrease section)
- Ch 2, sk next sc, spider st in next ch 1 sp, *{sk next two sc, spider st into next ch 1 sp} rep from * until last 16 sts, sk next sc, sc into next sc, turn. You will leave the rest of this row unworked, about 3”. 38 (44, 50, 59, 65) sts
- Ch 2, sk next sc, spider st in next ch 1 sp, *{sk next two sc, spider st into next ch 1 sp} rep from * across, sk last sc, sc into 2nd ch, turn.
- Rep last row for a total of 10 rows or 3”. *Back panel and front panels are the same row count and height. FO, leaving a long tail for seaming.
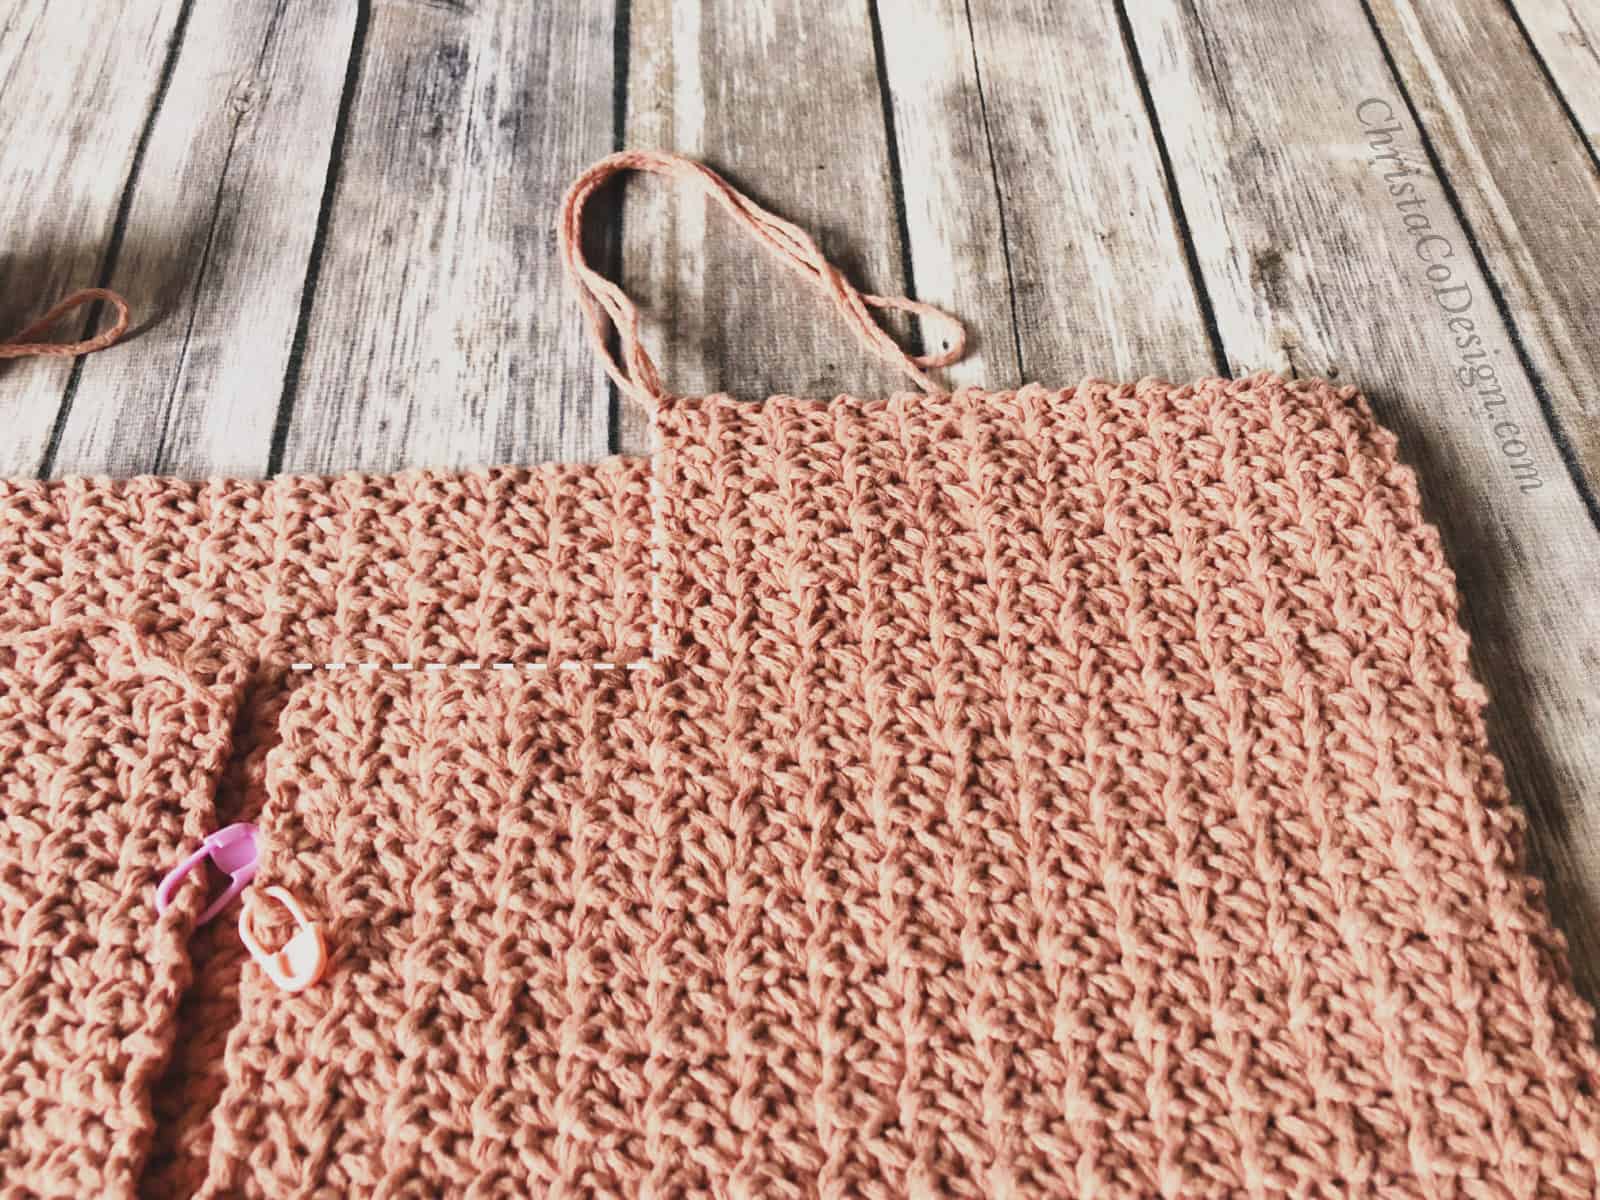
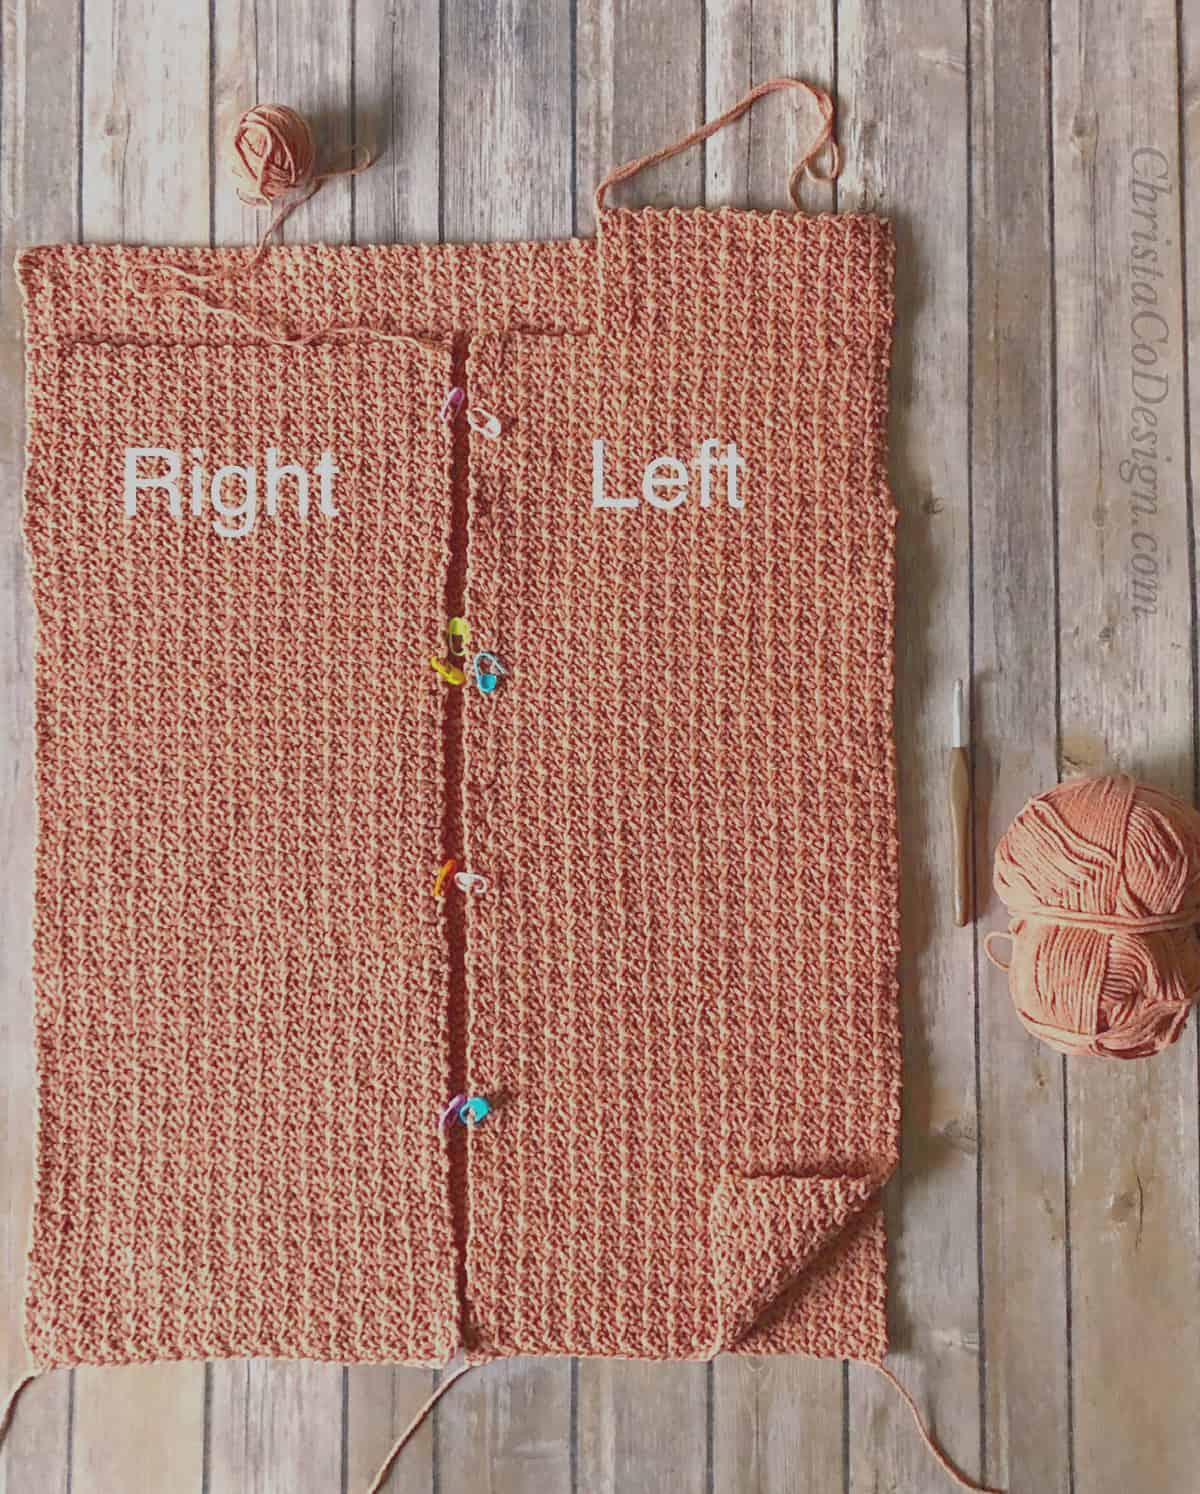
Right (when wearing) Front Panel
Ch 37 (41, 45, 51, 55)
- (RS) In 3rd ch from your hook spider st, sk next ch *{spider st in next ch, sk next ch} rep from * across, sc in last ch, turn. 53 (59, 65, 74, 80) sts
- Ch 2, sk next sc, spider st in next ch 1 sp, *{sk next two sc, spider st into next ch 1 sp} rep from * across, sk last sc, sc into 2nd ch, turn
- Rep last row for a total of 80 (82, 84, 84, 87) rows or 23 (23.5, 24, 24, 25)”.
Right Scoop Neck Decrease
(row count starts over for decrease section)
- Ss over 16 sts, or 3”, start here. Ch 2, sk next sc, spider st in next ch 1 sp, *{sk next two sc, spider st into next ch 1 sp} rep from * across, sk last sc, sc into 2nd ch, turn. 53 (59, 65, 74, 80) sts
- Ch 2, sk next sc, spider st in next ch 1 sp, *{sk next two sc, spider st into next ch 1 sp} rep from * across, sk last sc, sc into 2nd ch, turn.
- Rep last row for a total of 10 rows or 3”. *Back panel and front panels are the same row count and height. FO, leaving a long tail for seaming.
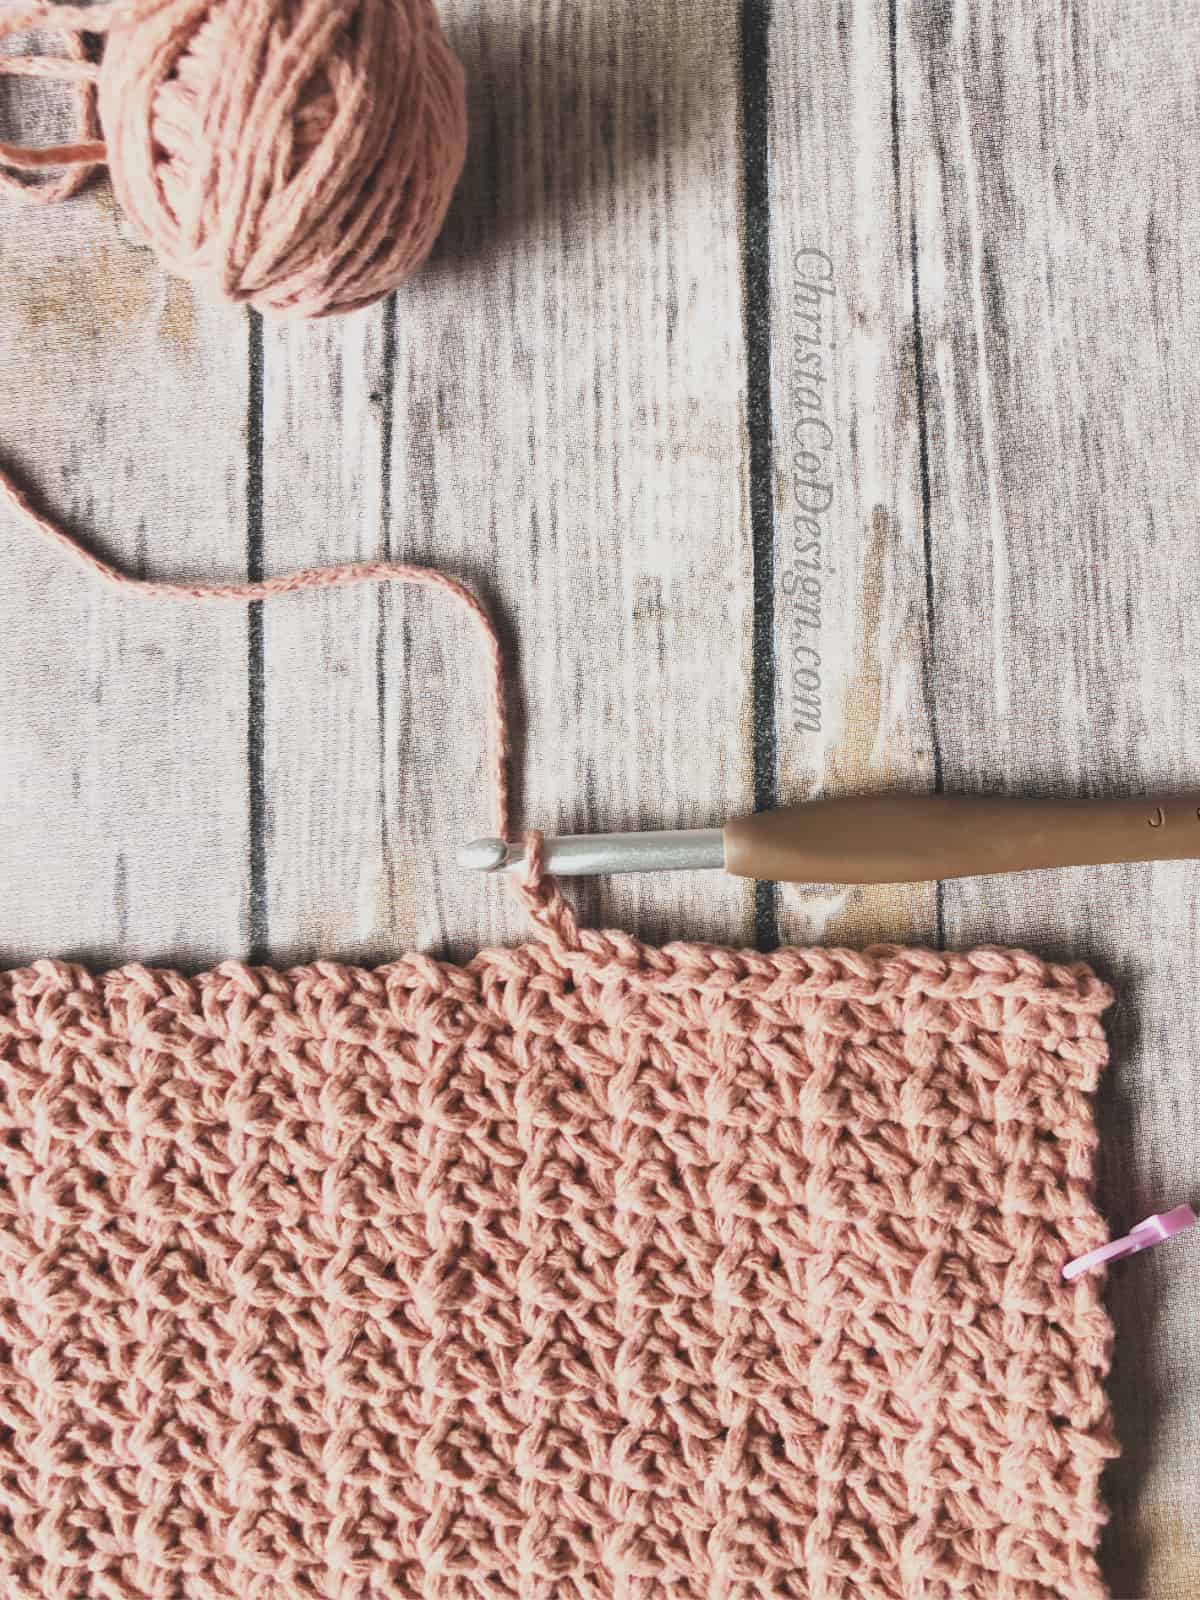
Seam Shoulders
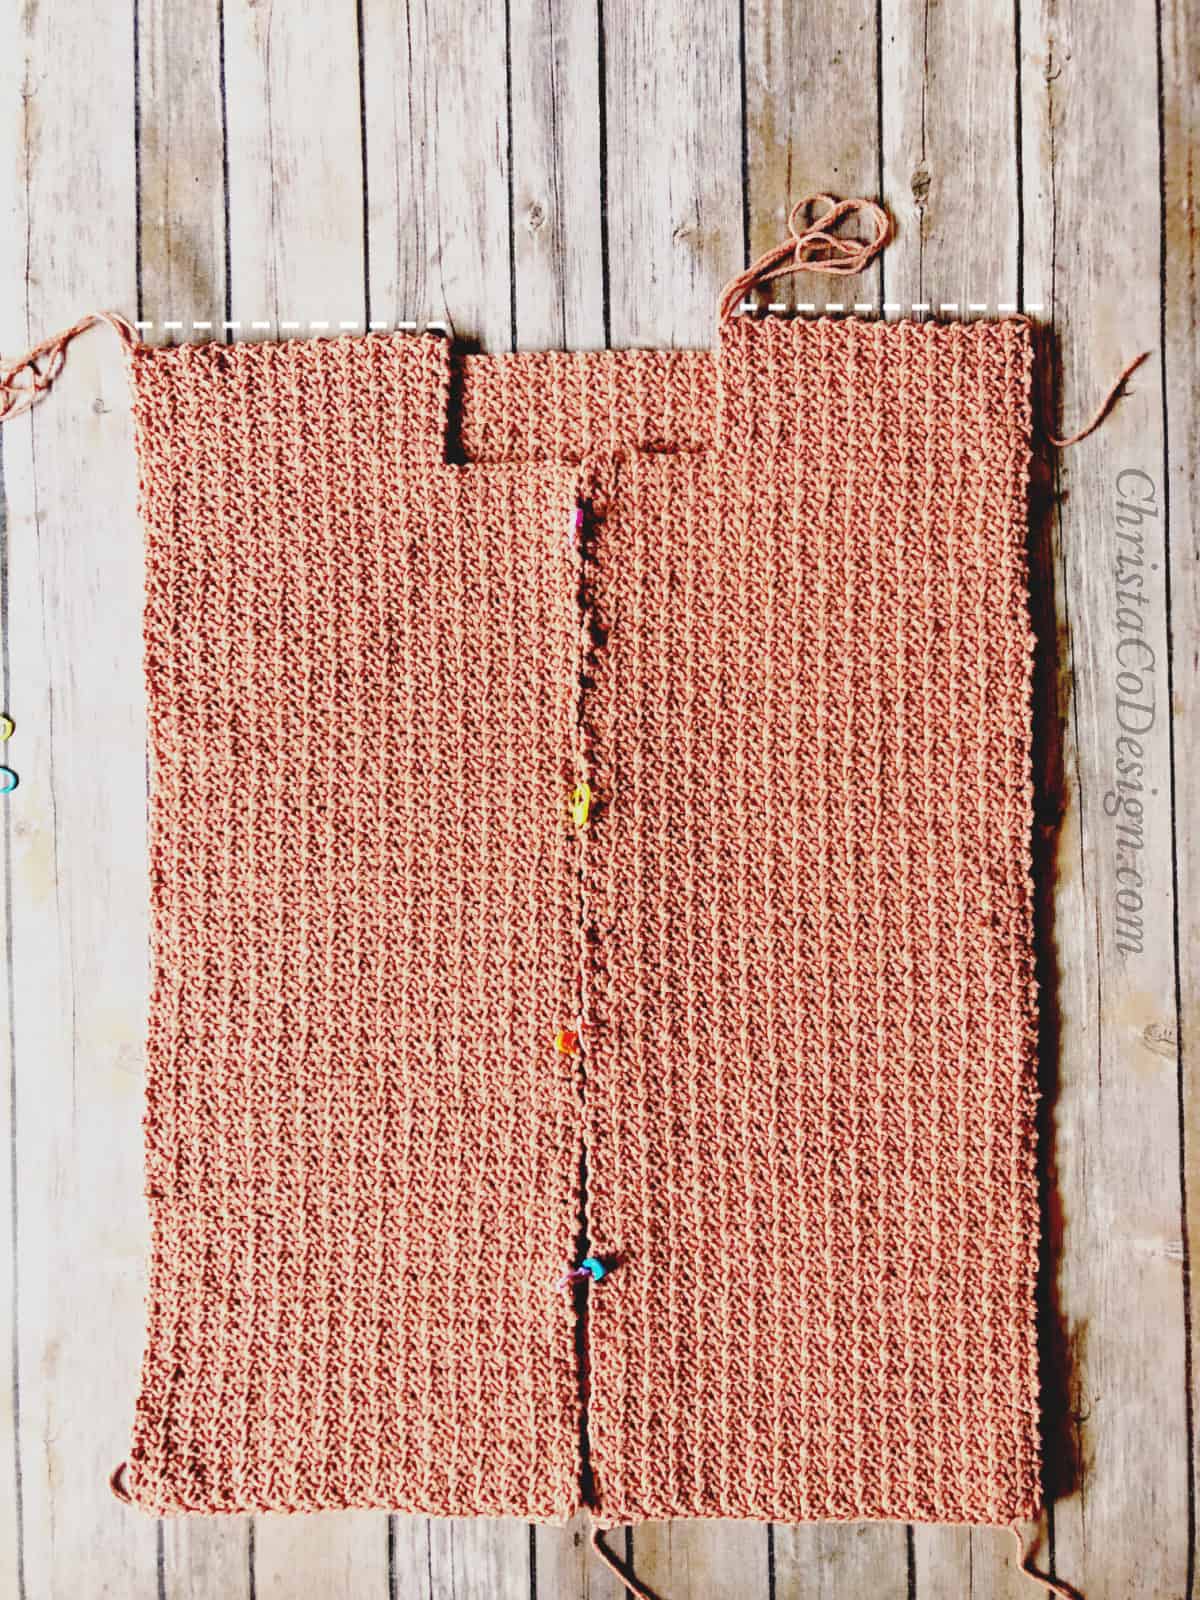
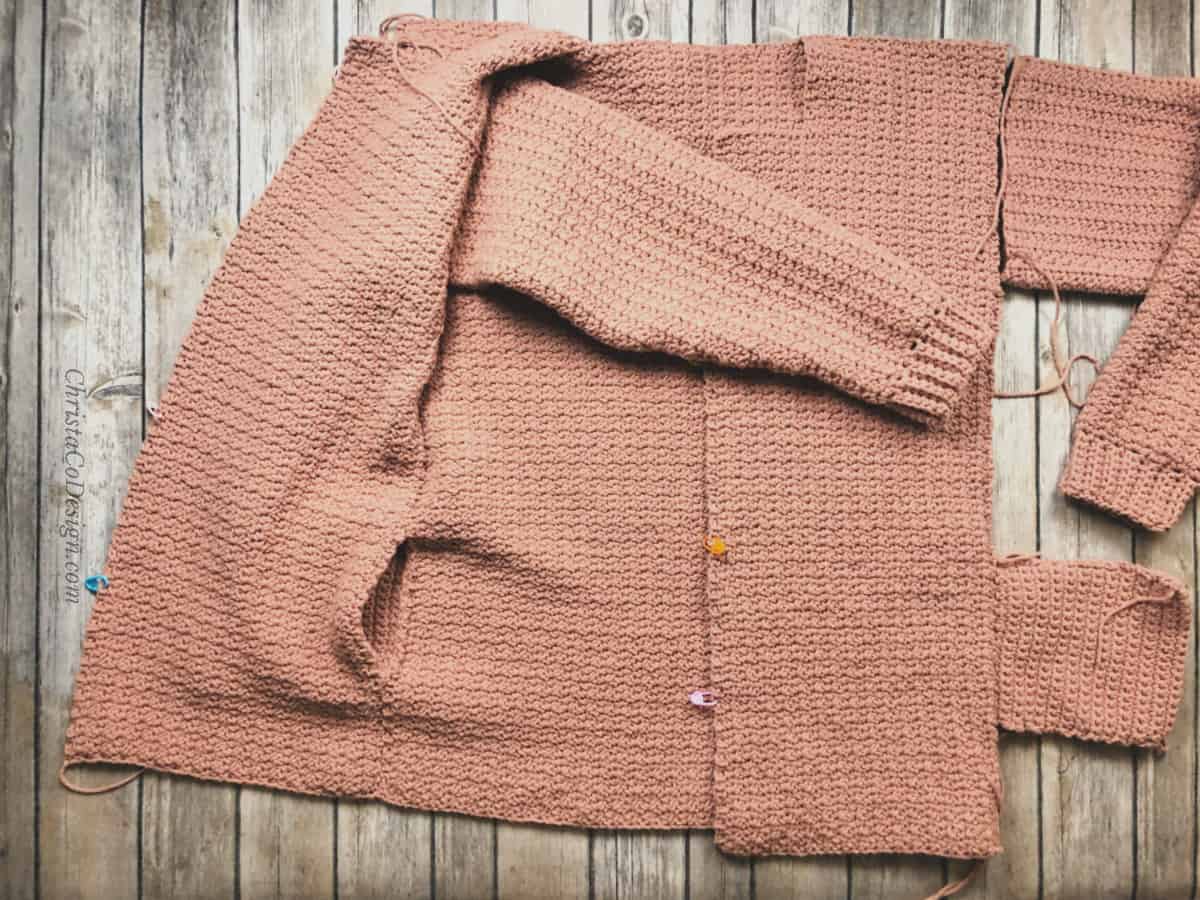
Lay front panels on top of back panel with right sides (RS) together. Sew front panels to back panel at shoulders. See dotted lines in picture.
Make 2
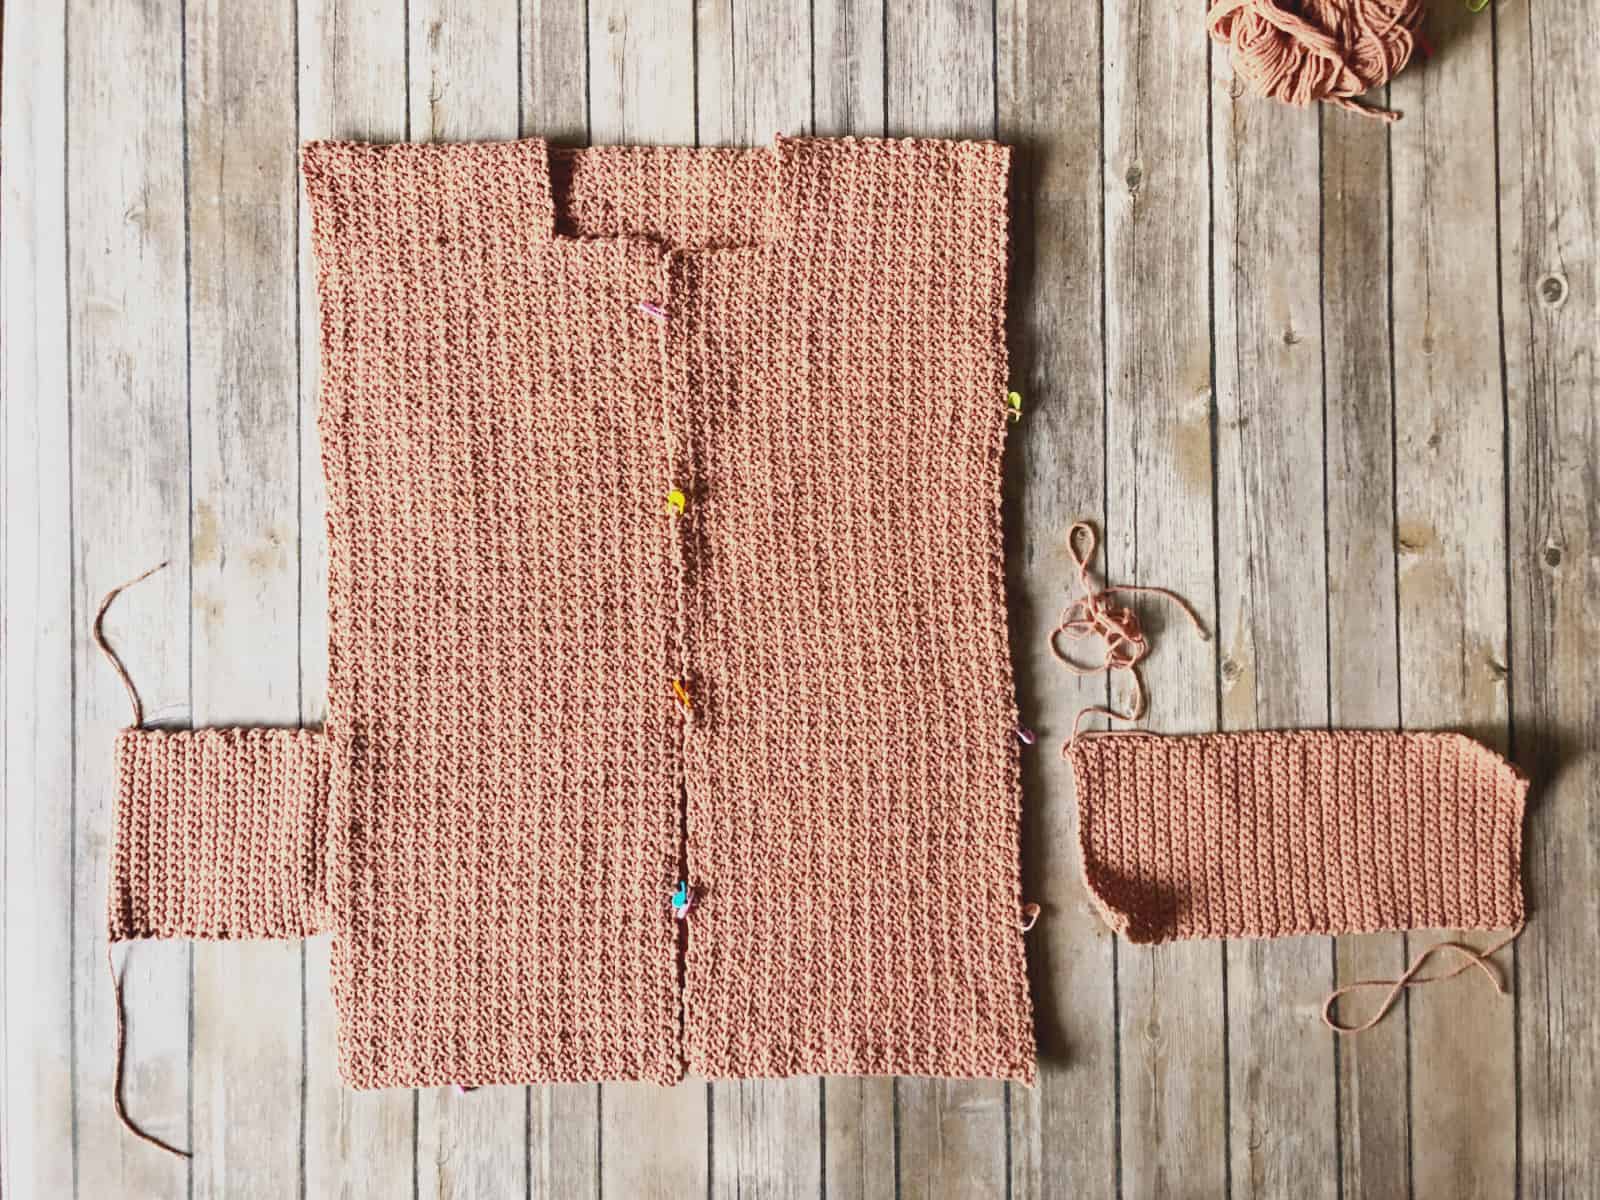
For 5”x12” (shown) pocket Ch 20, or for larger 6” pocket Ch 24
- Sc in 2nd ch from hook and in each ch across, turn.
- Ch 1, sc in the same st and in each st across, turn.
- Rep last row till work measures 12” or 14”.
Finish off, leave a long tail for sewing pocket in.
Fold pocket rectangle in half, matching the first and last rows, but leave these unsewn for pocket opening. The fold is the bottom of the pocket. Seam the sides.
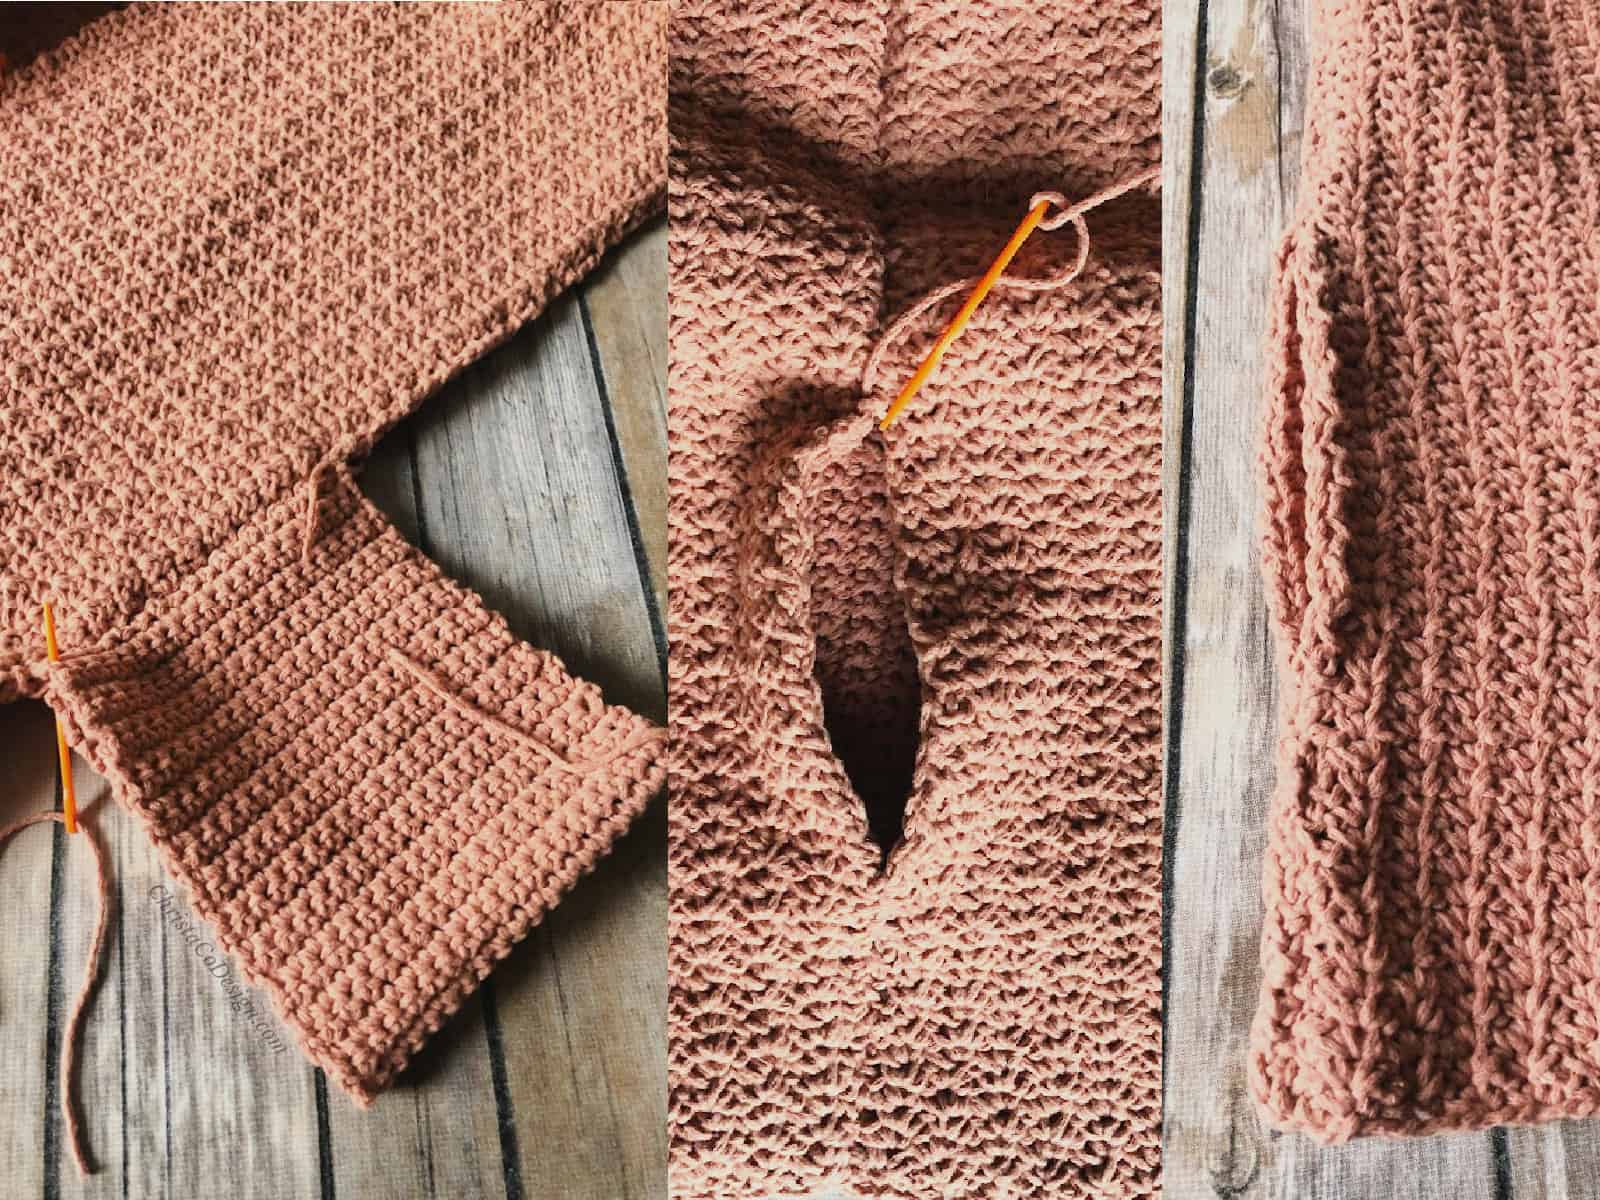
Pin open pocket end between front and back panels at sides, about 4” up from the bottom hem.
Sew one side of pocket opening to front panel side and the other side of the pocket opening to the back panel, leaving the pocket open. Repeat on the other side with second pocket. You will tack the pocket corners in place at the very end.
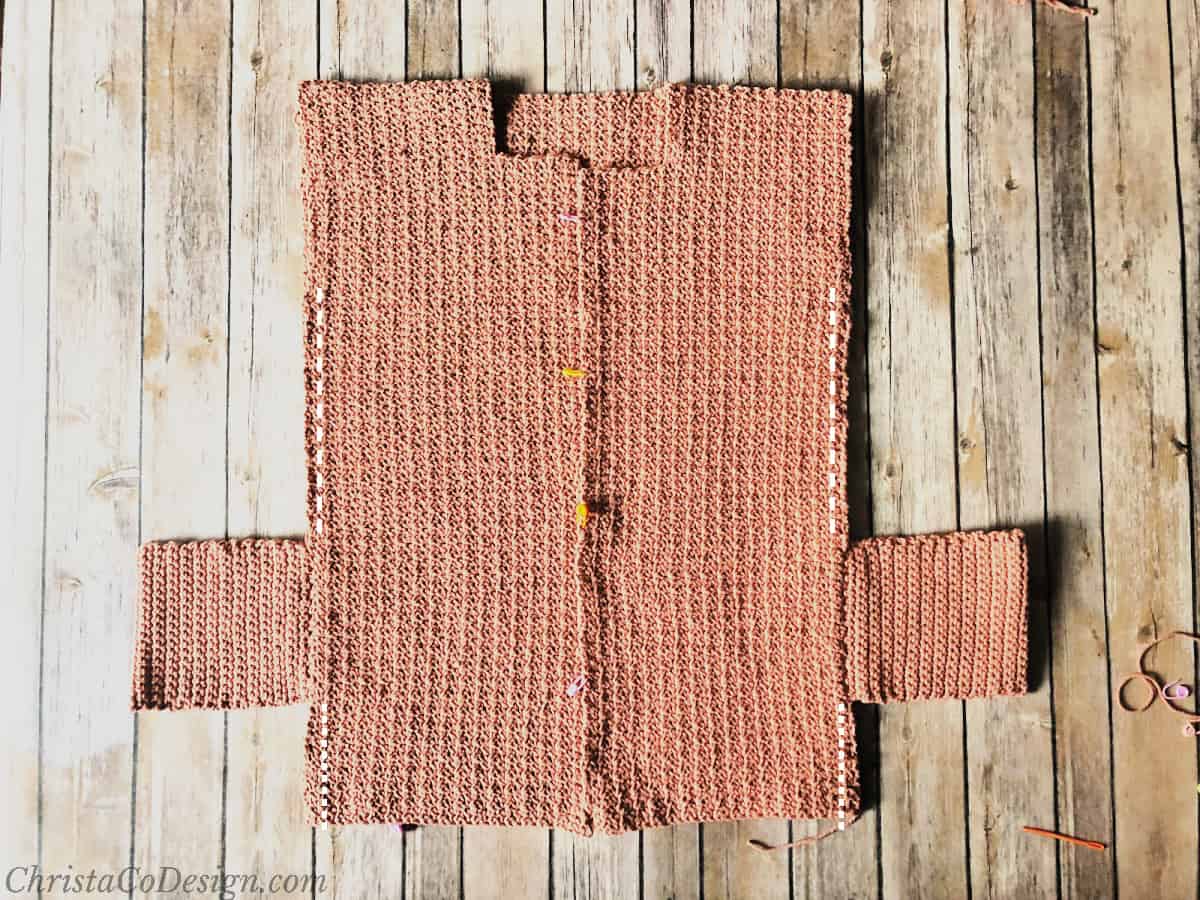
Seam
With RS together, sew sides of front and back panels together up to the pocket, skip pocket and then continue to sew sides together until last 6.5 (7, 7.5, 8, 8.5)” of panels. This will be the armholes-where you will attach the sleeves. Repeat on other side.
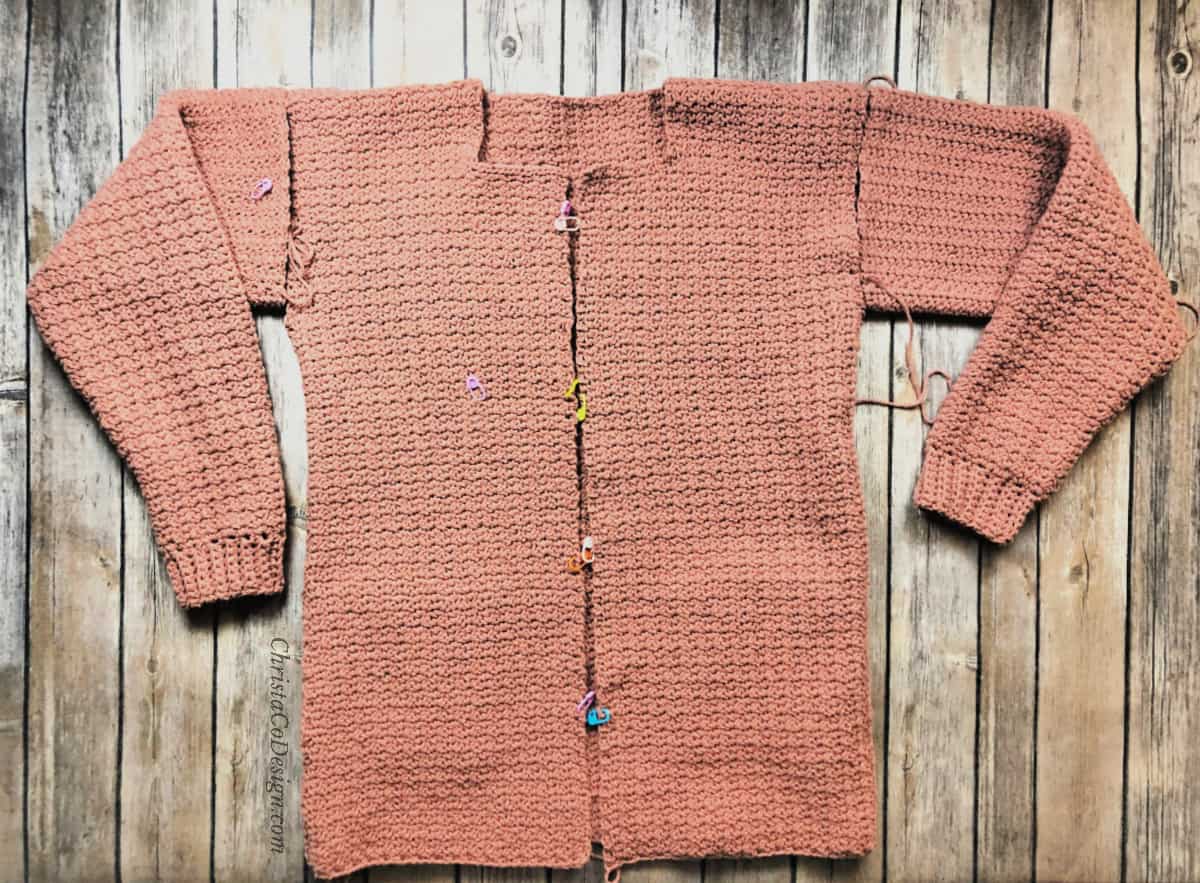
Sleeve Notes
- Sleeves are worked from the wrist up.
- You’ll start with a cuff and then crochet onto the top of the cuff.
- Sleeves are then worked in the round, but to keep the stitch pattern the same you will TURN after joining each round and work back as you would in rows.
- Ch 1 does not count as a stitch.
- To increase the sleeve width you will crochet an increase round when indicated, where you will add spider sts close to the beginning and towards the end of the increase round-as written in the pattern.
- Do not ch 1 for Round 2 and on, just start the spider st. This keeps the join closed.
- Increase rounds will increase by 2 spider sts, or 6 sts total, so 51 becomes 57, which becomes 63 and so forth.
Cuff
Watch the Cuff Video Tutorial here.
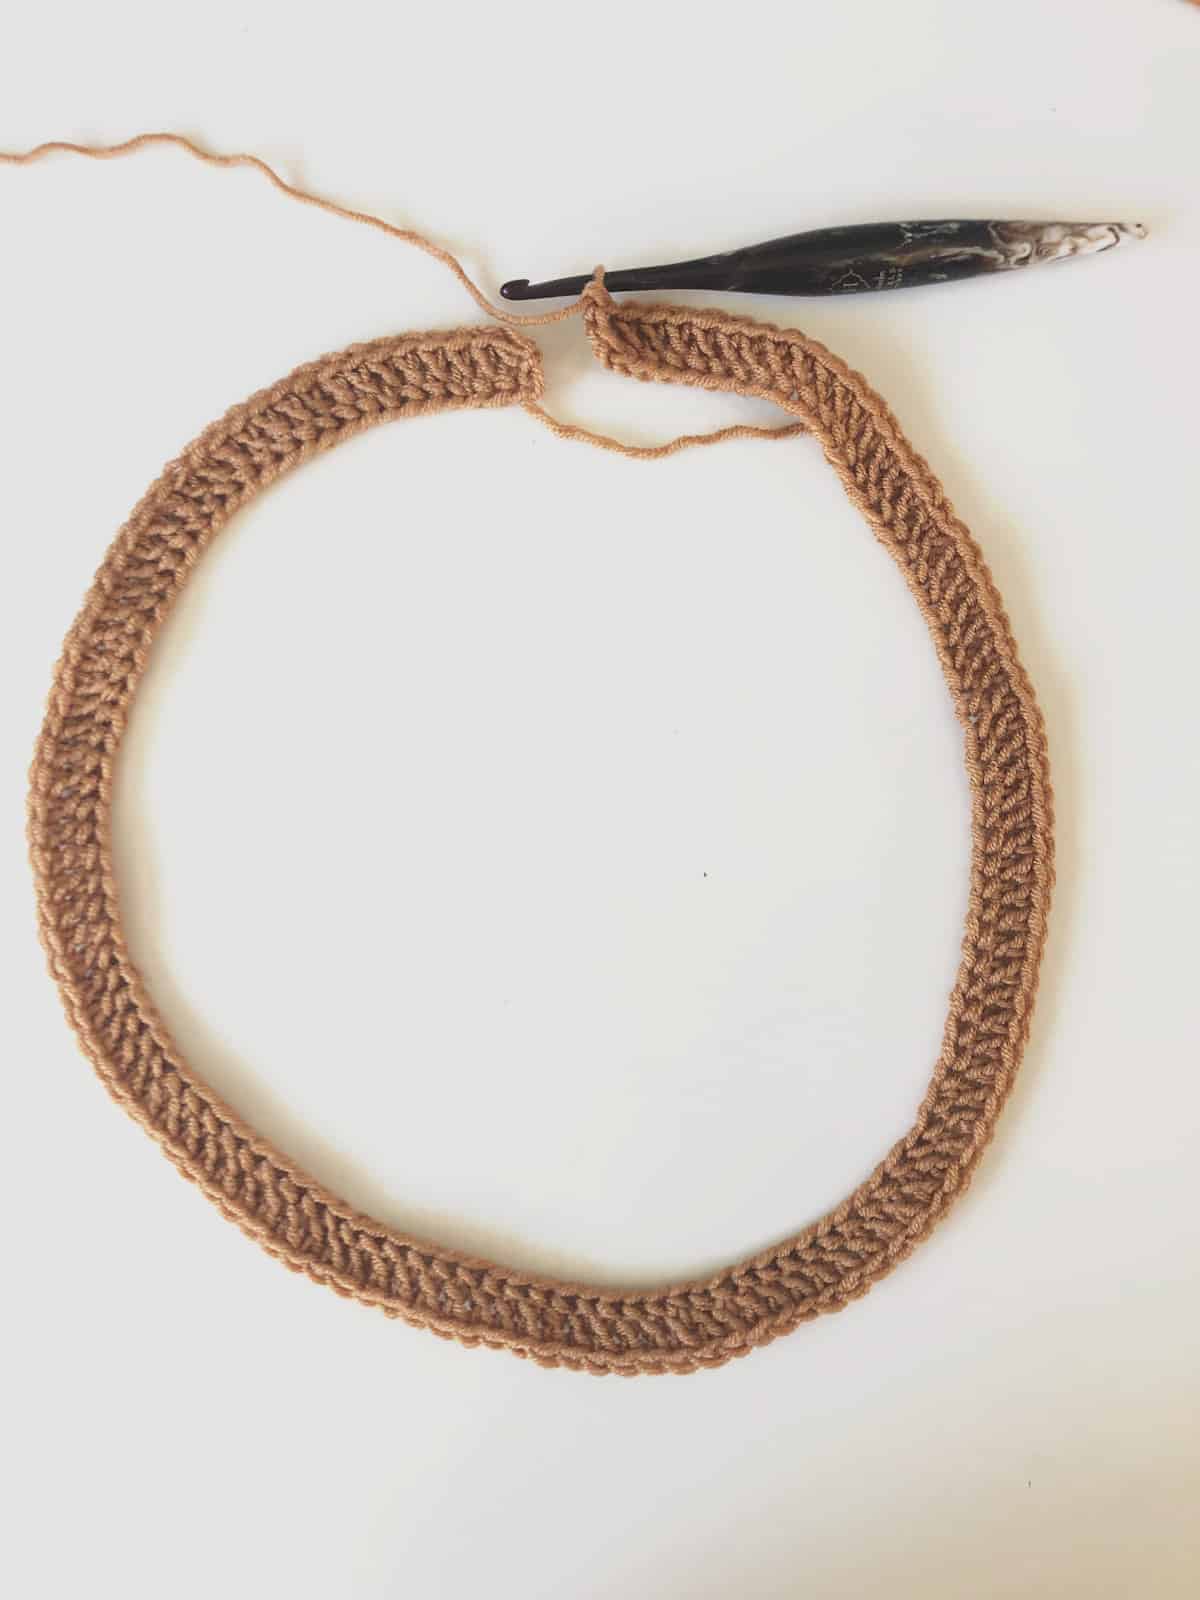
Ch 9
- Sc in the 2nd ch from your hook & in each ch across. (8)
- Ch 1, in blo only sc in each sc across, turn.
- Rep last row for a total of 28 (28, 30, 30, 32) rows or 7.5 (7.5, 8, 8, 8.5)”.
Cut yarn and leave a long tail to seam. Match short ends together and sew up with the tail. Turn right side out and join yarn with a ss to top of cuff.
Sleeve
Watch the Sleeve Video Part 1 here.
- Ch 1, starting in the same place, work 17 (17, 18, 18, 19) total spider stitches around cuff, ss to first sc of first spider st to join, TURN. 51 (51, 54, 54, 57) sts
- Beginning in the first ch 1 sp of the first spider st, spider st in each ch 1 sp around, ss to first sc of first spider st to join, TURN.
- Rep Round 2 until you have 15 (15, 10, 9, 8) rounds total.
Round 16. (16, 11, 10, 9):
Increase round
Watch the increase videos: Part 1 & Part 2
Spider st in the first ch 1 sp, spider st in the very next sc, sk the next sc, spider st in the next ch 1 sp, *{sk the next two sc, spider st in next ch 1 sp} rep from * around until last 4 sts, spider st in the next sc, sk the next sc, spider st in the last ch 1 sp, ss to first sc of first spider st to join, TURN. (57, 57, 60, 60, 63) sts
***
Rep Round 2 for 15 (15, 10, 9, 8) more rounds.
Rep Increase Round.
***
Continue to repeat rounds between *** until your sleeve has reached a total of 60 (63, 66, 67, 70) rows or 17 (18, 19, 19, 20)” from the ribbing AND is 6.5 (7, 7.5, 8, 8.5)” inches wide when laid flat. The width needs to match the armhole you left in the sides of your cardigan.
Cut yarn, leave a long tail for sewing sleeves to body.
Seam
Turn cardigan inside out. Keep your sleeves right side out. Place sleeves inside your cardigan, lining up armhole end of sleeve to armhole opening you left in the sides of your cardigan. The right side of your sleeve fabric should be touching the right side of the cardigan fabric. You will be looking at the wrong side of the cardigan. Seam sleeves to cardigan at armhole with yarn needle and long tail you left. Weave in ends.
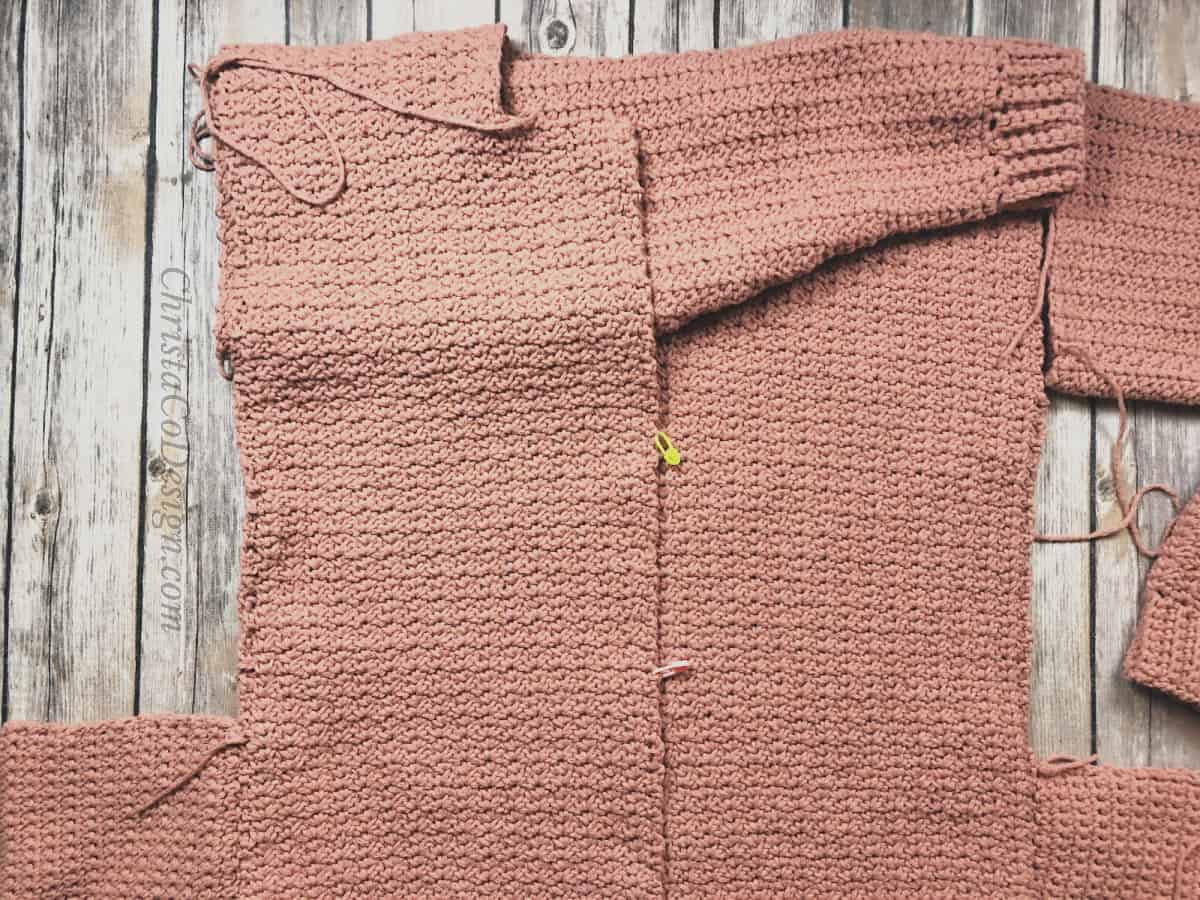
Neck/Lapel

Notes
- Switch to a size smaller hook-5 mm (H)
- Ch 3 counts as a dc.
- V-stitch: double crochet, chain 1, double crochet all in same stitch
- Lapel stitch pattern is a multiple of 3 + 2.
Lay cardigan with front facing you. Ss yarn to top front lapel on your right.
- Ch 3, dc 86 (89, 92, 95, 98) evenly down along length of lapel, turn.
- Ch 3, sk next st, v-st in next st, *{sk next two sts, v-stitch in next st} rep from * until last 2 sts, sk next st, dc in last, turn.
- Ch 3, dc in each dc and ch st across. Finish off.
Rep on other lapel but do not finish off after row 3, continue to dc evenly around the neckline. Weave in ends.
Hem
Lay cardigan with front facing you. With 5mm hook, ss yarn to bottom front lapel on your right.
Ch 3, dc evenly around bottom hem. Finish off and weave in all ends.
Finishing
Secure corners of pocket to inside fabric loosely with whip st-this will prevent them sagging or flapping.
Block your cardigan and it’s ready for wear! Add buttons or use a pin to close the front. I’ve opted for a pin as it’s more flexible.

Restful is the perfect name for that color
thanks for the pattern
love this sweater
Love the pockets!
I love making cardigans. This goes on my list. It is so different. Thank you much.
I have saved both the Positano Pocket Cardigan and the Hygge Cardigan! I’d LOVE to win the yarn to make the Positano!! Very pretty color!!
Love the color of your cardigan! I’ve never tried the Amore yarn, will be checking my local crafts stores.
Love it!!! Would love to win so I can make this! !! am also subbed you on utube Cindy Stewart and FB ?
This is such a lovely stitch along the seamline! I can’t wait to crochet this cardigan!
Very pretty! The Like button won’t load, though.
I love this cardigan! I pinned to save the pattern – hopefully I win the yarn and can use it for the Positano Pocket Cardigan!
thank you for your pattern this will make an excellent christmas present this year for my mother.
Beautiful love the color!!
I love this! I’m hoping to advance enough to be able to accomplish this!!
Love, love this!!!
Lovely pattern. Thank you!
Ty for the tutorial this is so pretty and looks so cozy 🙂
This sweater is so my style!
The sweater is gorgeous! It looks easy enough for me to want to try. Thank your for sharing the step by step process
Just live the color of this yarn they picked the perfect name of Restful
So pretty! I love a good cardigan
Love this! Thanks for sharing.
That cardigan is gorgeous! ?I’ve been on a cardigan kick lately and this is going to be a must. Adding it to my queue. This is the first time I’ve heard of the “spider stitch” and it’s beautiful!
Love the cardigan.
This yarn is so squishy!! I have really wanted to try it and this color is perfection!
Love the color of that yarn!!
I love this pattern. You so many more on your blog. I can’t choose. (Also, the “like” buttons are not loading right now so I couldn’t “like” the scarf with spots post.)
BEAUTIFUL PATTERN WOULD LOVE TO MAKE THIS FOR SPRING
I love pockets! This cardigan is awesome.
This yarn is so pretty, I would love to win this yarn and try it. The name is so perfect for this color, like a slow flowing river and peaceful.
Such a beautiful sweater!
love this pattern. i have been wanting to try this yarn for a while so now I can
Absolutely beautiful.
Thanks for the tutorial!
love this pattern!!! but have one question: Right front panel directions has 1, 2, 3 steps. there is a 4 but nothing there.
Hi Elaine,
Thank you, I’m glad you’re enjoying it. The 4 shouldn’t be there at all, I removed it. Thanks for letting me know, sorry for the confusion!