
Tostata Easy Triangle Scarf Knitting Pattern for Beginners
The Tostata is an easy scarf knitting pattern perfect for beginners. This free knitting pattern is a triangle scarf that is simple, stylish and versatile.

This post contains affiliate links, I may earn a fee. Read more disclosure policy.
Join the ChristaCoDesign Newsletter
Never miss a pattern!
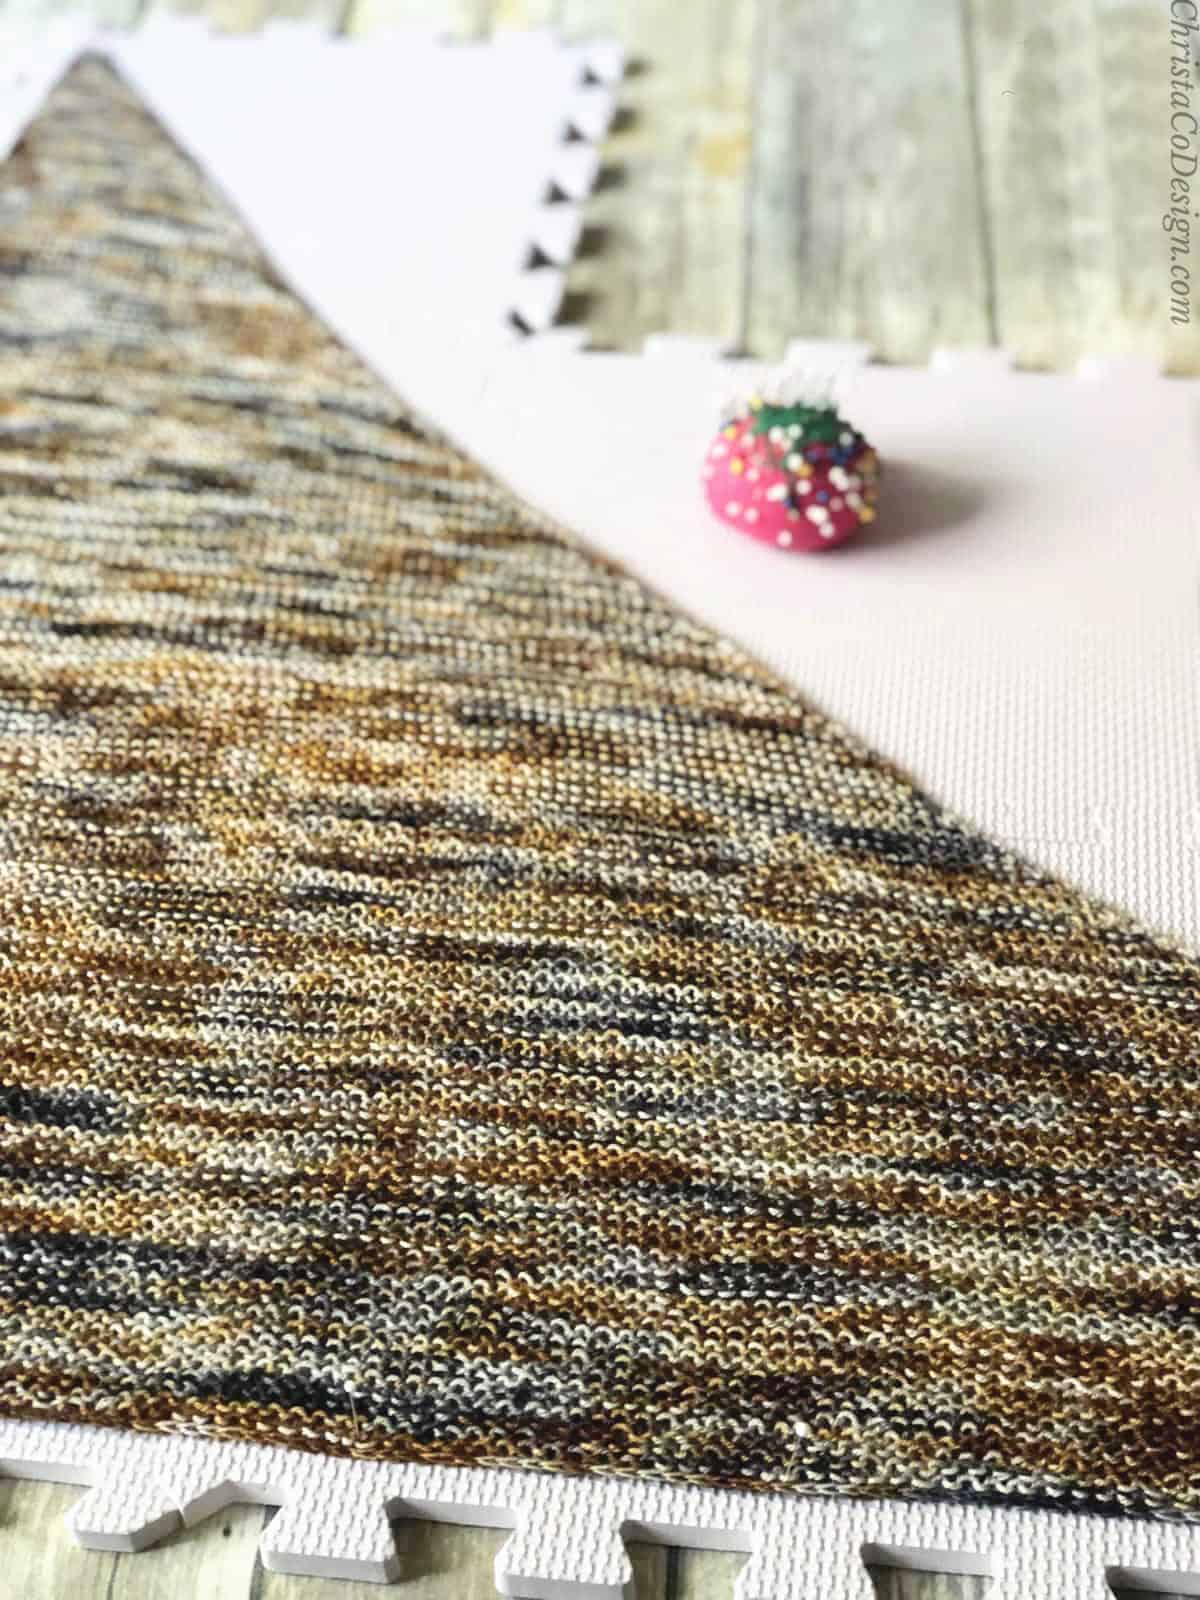
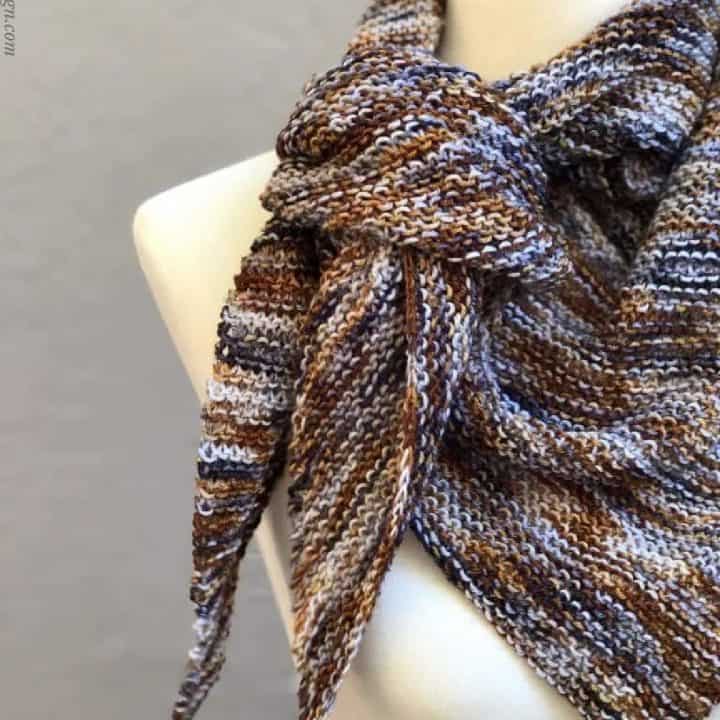
The Tostata knit triangle scarf is ideal for those single hanks of hand dyed yarn you have tucked away. Knit with the ever easy garter stitch this scarf showcases that gorgeous yarn.
The simple garter stitch scarf pattern is adaptable should you desire to create a larger scarf/shawl with more yarn. While final results will vary, this pattern works for other weight yarns as well.

Purchase the ad-free, well formatted printable PDF Pattern from my shop. Scroll down for the free pattern!
The pdf pattern is offered at a affordable price. It’s well formatted for printing or viewing on mobile. It also includes a little dimensions schematic. Making a pattern purchase is a great way to support my work.
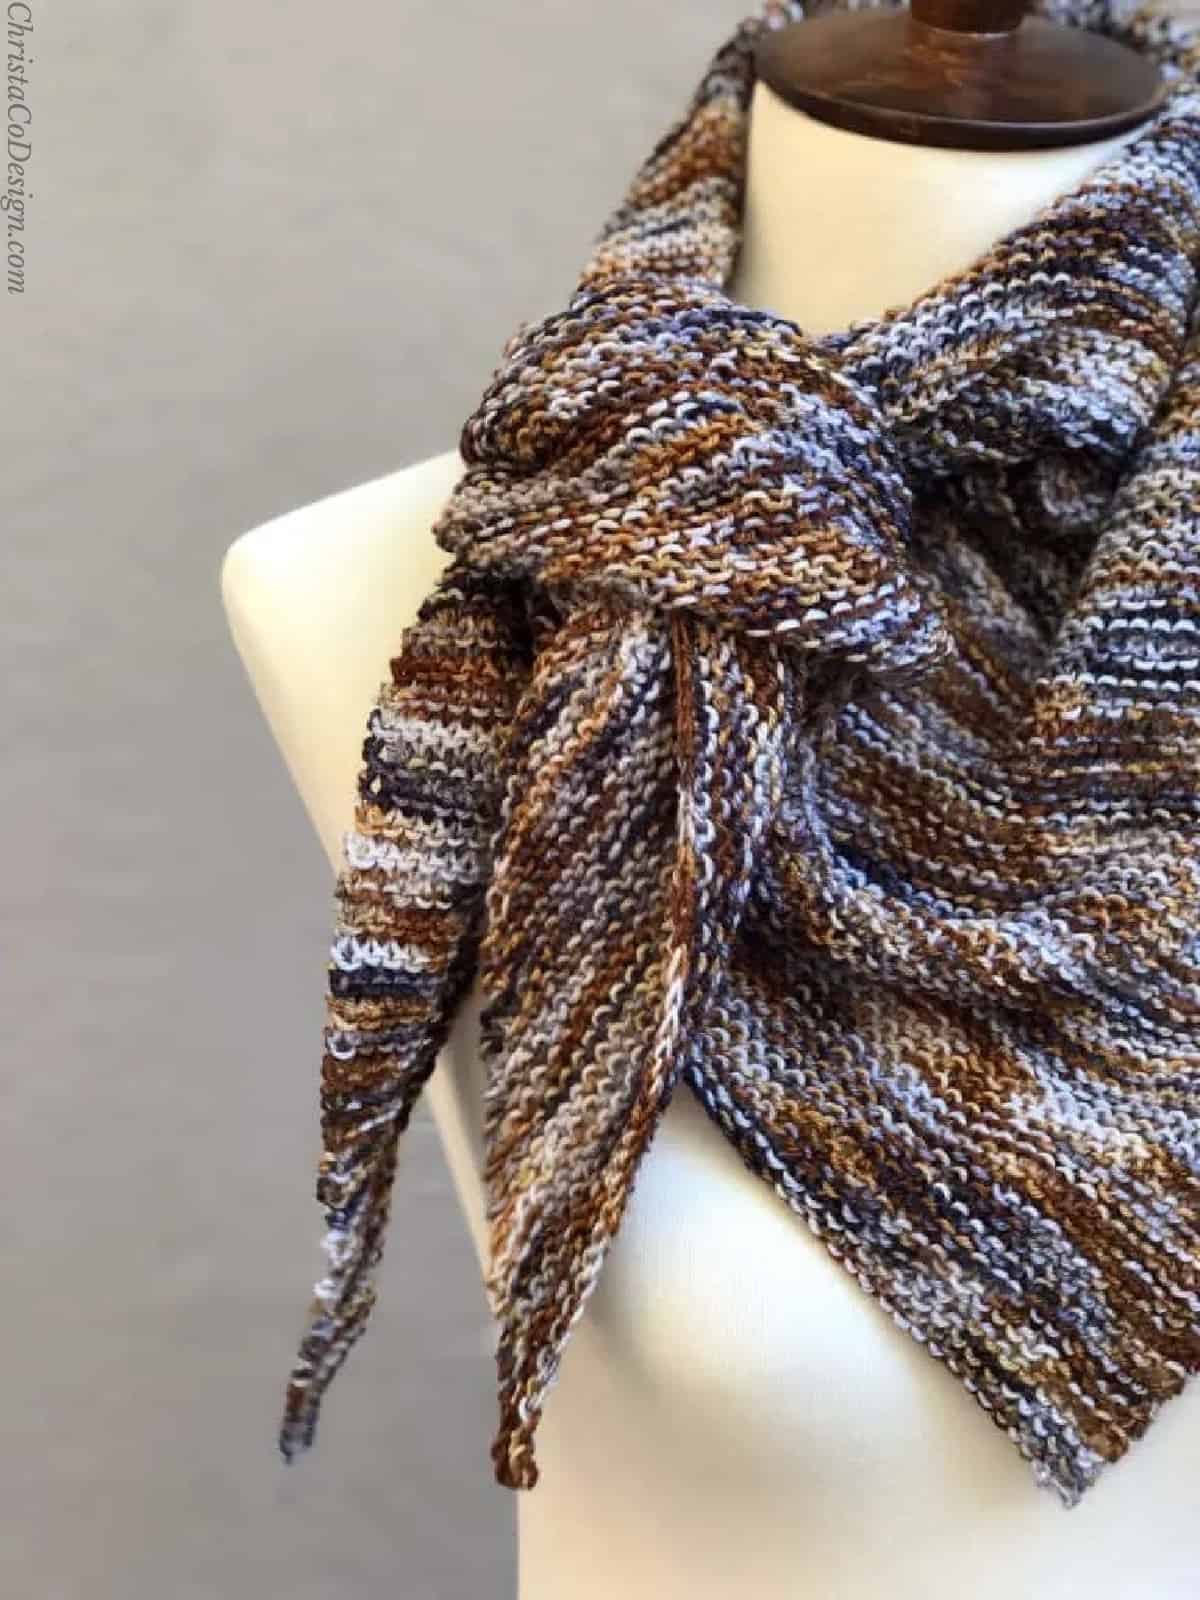
Watch the video on how to tie this knit scarf like this on my YouTube channel!
I was blessed to have a few hours to myself this summer while the kids were at day camp with our church. I’m still amazed that all of them are old enough to participate in something like this! Anyway, I set out to visit my local yarn shop and see what I could get in to.

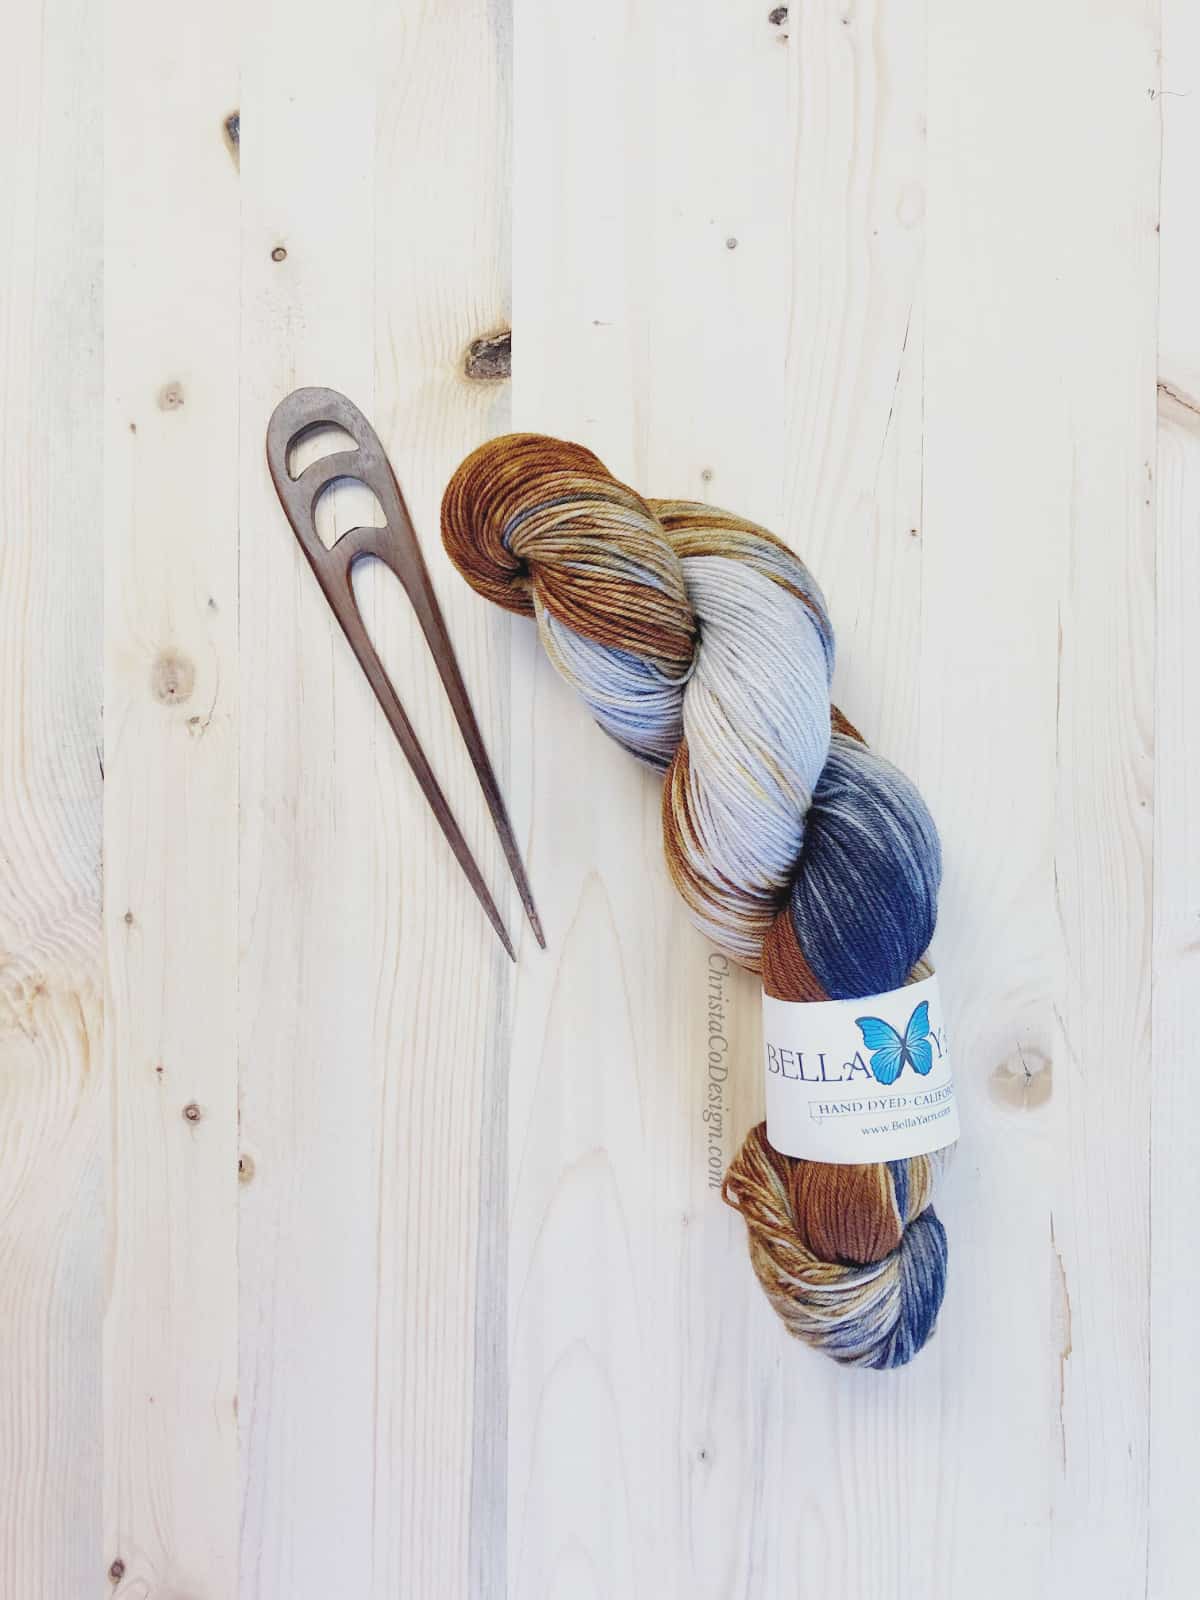
I found this stunning yarn from Bella Yarn. There was only one hank left, but the color was just too amazing to pass up. I’m so glad I splurged on it.
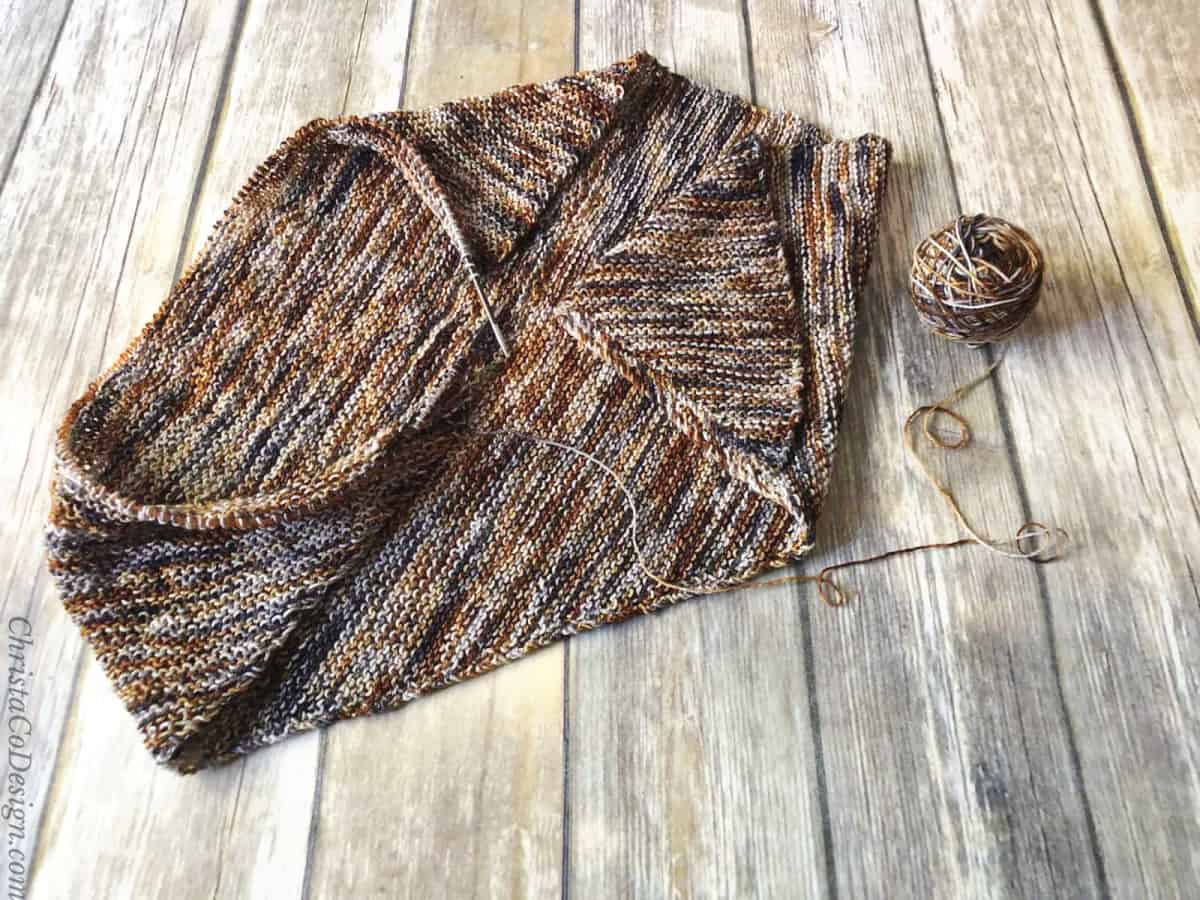
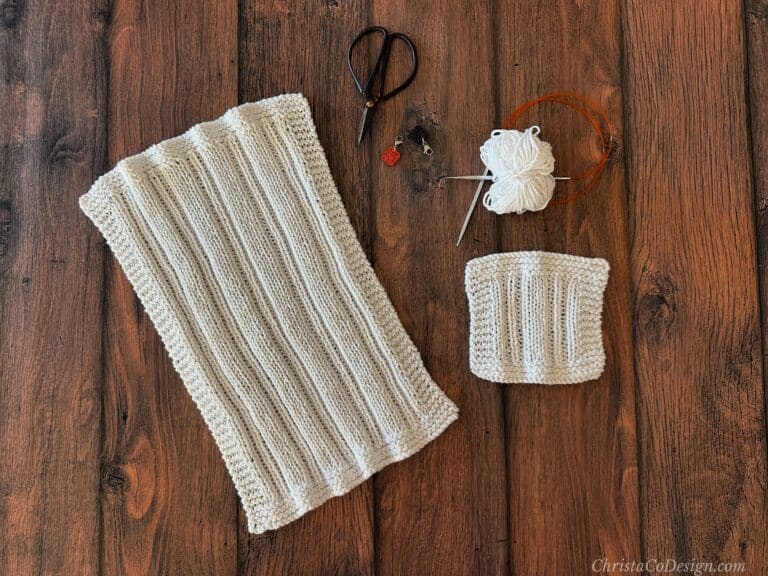
I started knitting right away–I have a couple other precious hand dyed hanks that I haven’t used yet. Now I’m working on a crochet version of this triangle scarf, so crocheters stay tuned.

I chose the color Tiger’s Eye on Mendocino. The dappling of the black, grey and copper is just mesmerizing. I love that the simplicity of the stitches lets the colors do all the talking. Truly there were so many beautiful colors to chose from. I’m so happy I was able to finish my scarf in time for fall!
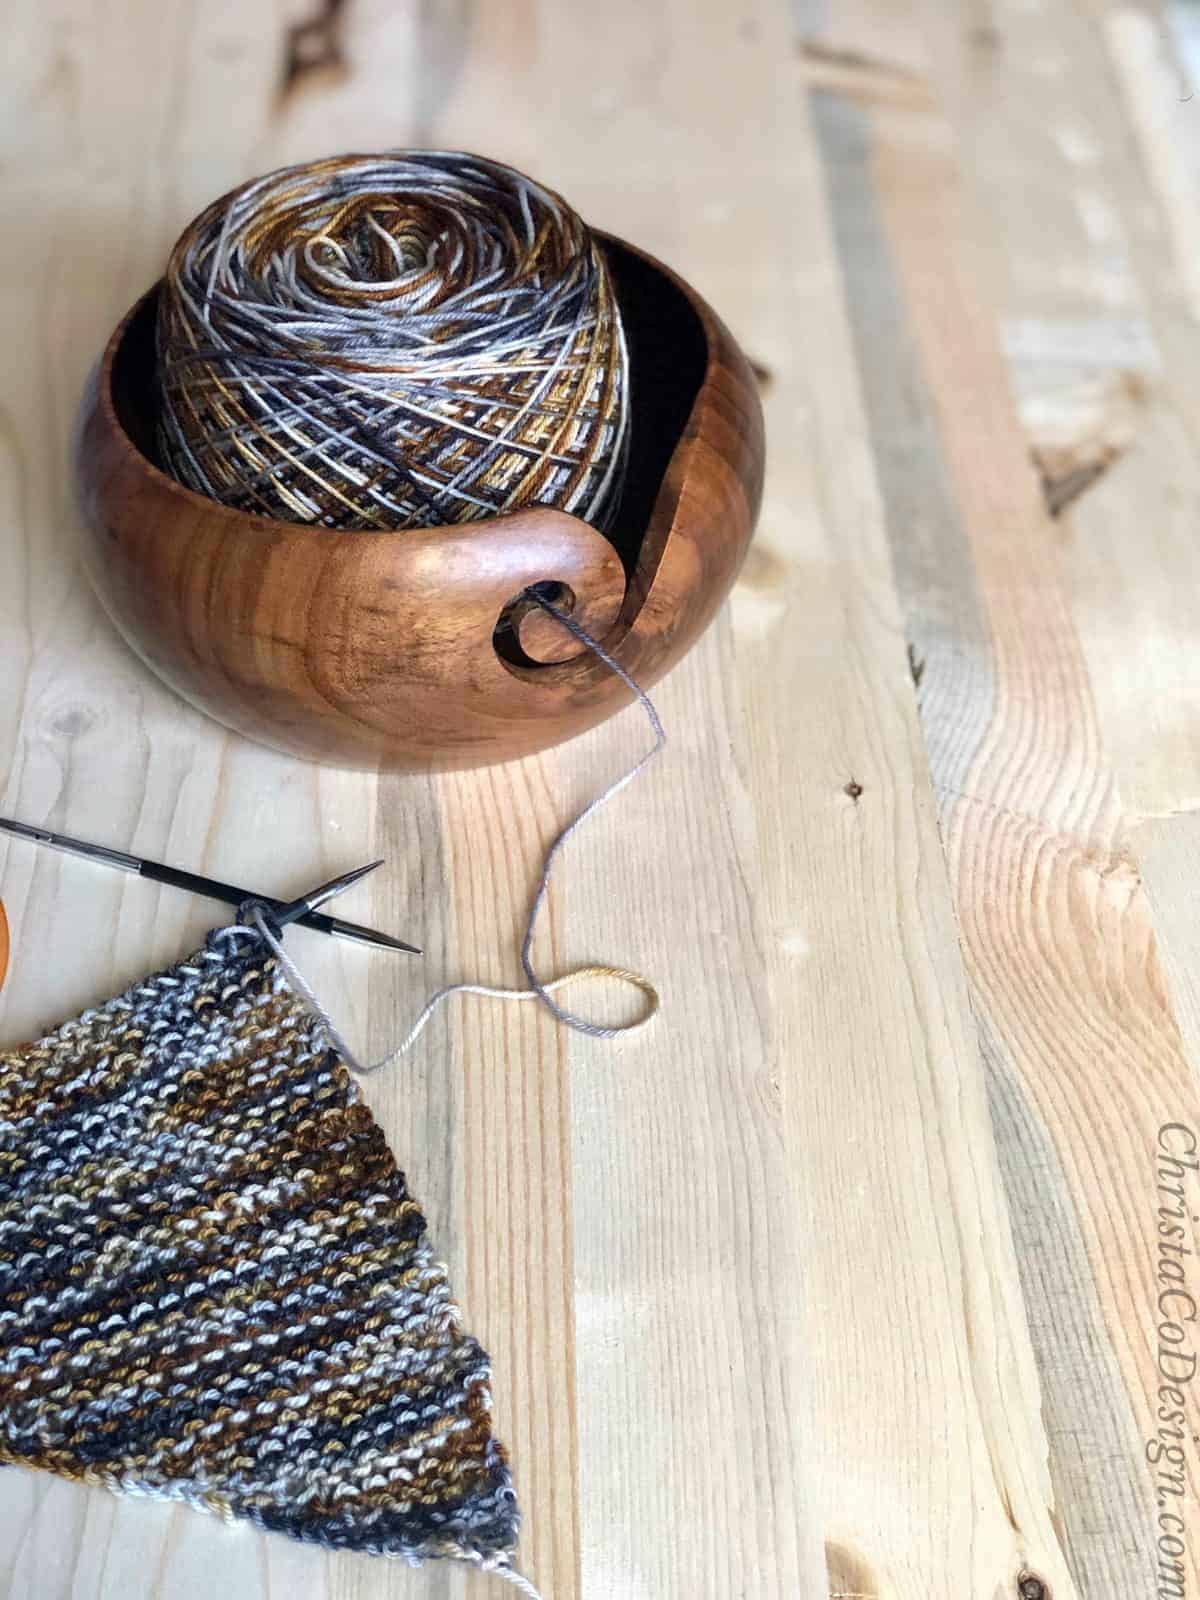
I did a little tutorial on how to hand roll a ball from a hank of yarn here. If you don’t have a yarn swift and winder. They are handy to have, especially if you prefer yarn that’s sold in hanks. And truly the winder almost counts as an essential, as I use it to frog larger pieces, and neaten up leftovers.
I got this Amish Style Yarn Swift* last year for my birthday. It’s made for the table top, assembles/disassembles and stores easily when I’m not using it.
And I love my Knit Picks yarn winder* too. I use this frequently, not only for hanks but for those non center pull skeins that like to bounce around. Caked yarn is easy yarn to work with!
Never Miss a Pattern
Be sure to join my newsletter for my weekly emails + access to my Resource Library.
Materials
- 1 hank (438 yds) of 4 ply/fingering weight yarn, I used Mendocino in Tiger’s Eye from Bella Yarn.
- US 4/3.5mm needles, I used my Knitter’s Pride Karbonz Interchangeable Needles with 32” cable
- Yarn needle, Scissors, optional stitch marker
Notes
- Pattern is worked flat, turn your work after each row.
- You will always be on the right side of your fabric when you increase. Plus, you’ll increase on the same edge of your work.
- Place a stitch marker on the RS of your work to easily remember which side to increase on.
- This pattern is worked sideways.
Stitches/Abbreviations
BO – bind off
CO – cast on
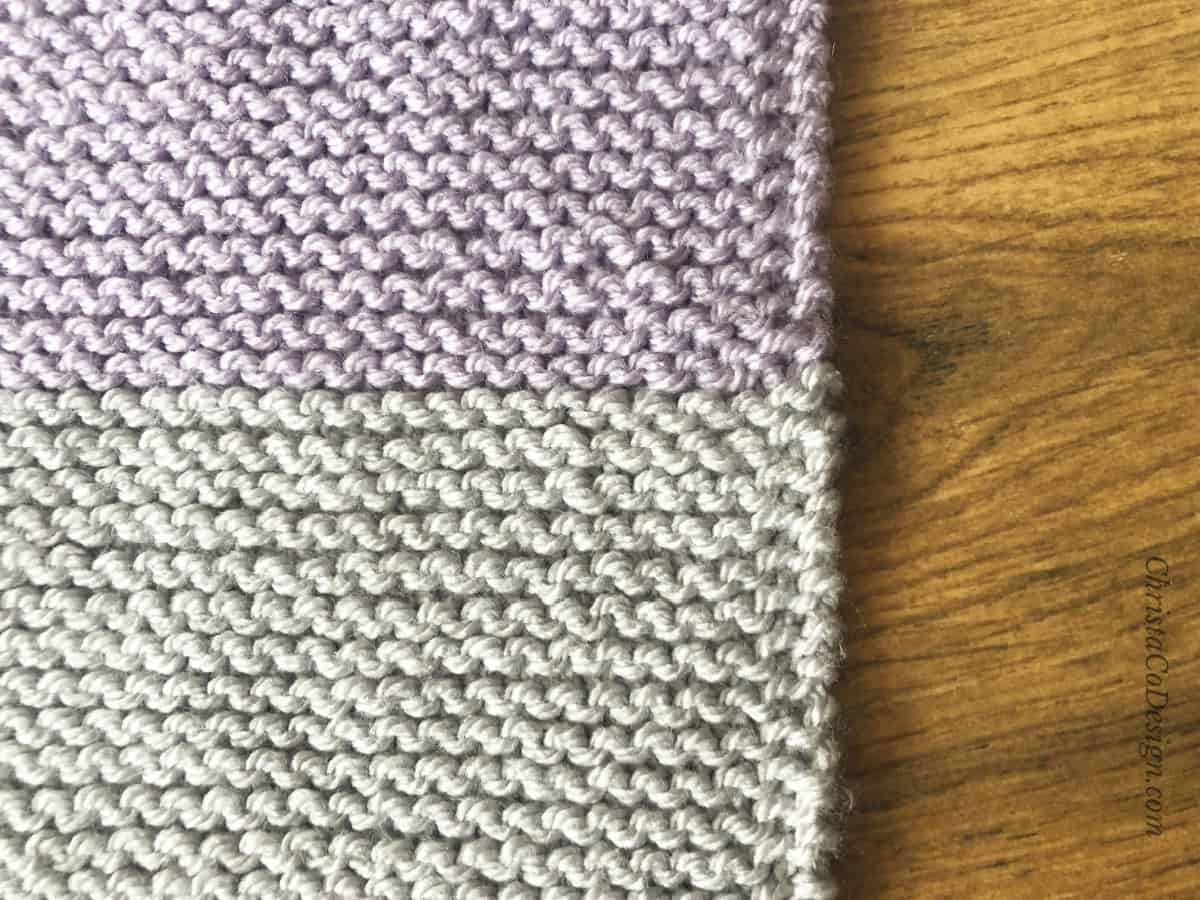
Garter st – knit both sides of your work
K – knit
RS – right side
rep – repeat
st(s) – stitch(es)
YO – yarn over (increase)
WS – wrong side
Gauge
4”/10cm x 4”/10cm = 18 sts x 38 rows in garter st
Finished dimensions
= 20”/ 25 cm deep, 33”/ 84 cm sides, 48” / 122 cm across
Helpful Knitting Tutorials
Cast On With A Crochet Hook As a crocheter, this is my favorite and go-to cast on method.
The Long Tail Cast On is another easy and popular cast on method.
Eventually you will need to know how to join new yarn, the magic knot is one way.
How to change colors when you slip 1 at the beginning of a row.
More Easy Scarf Knitting Patterns
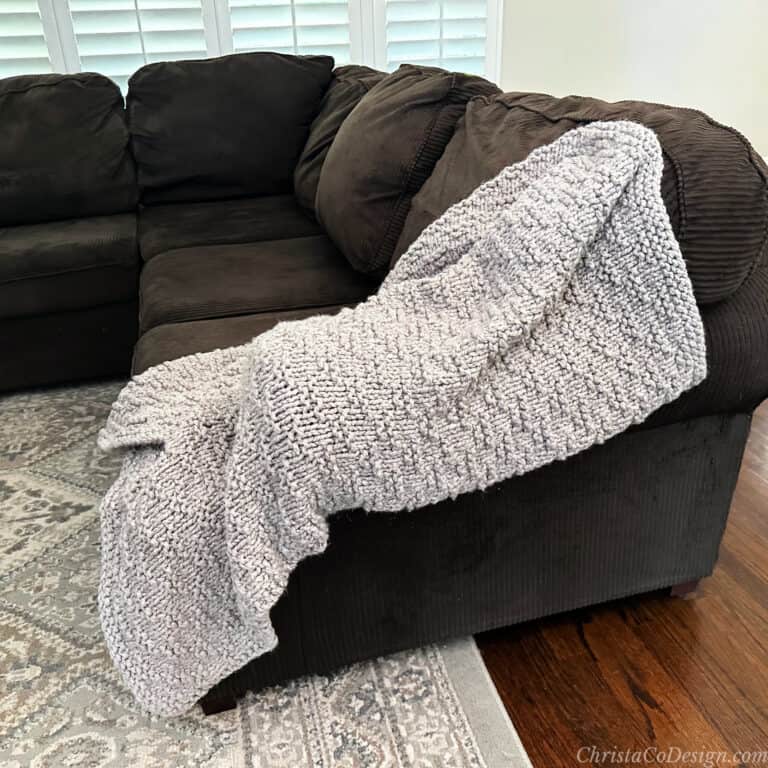
The Umbria is a chunky knit shawl that can easily be knit smaller into a triangle scarf too.
This total beginner seed stitch scarf is a simple knitting pattern that’s free.
Video Tutorial
You can watch the full video tutorial on how to knit this easy triangle scarf on my YouTube channel.
Purchase the ad-free, well formatted printable PDF Pattern from my shop. Scroll down for the free pattern!
Scroll down for the easy scarf knitting pattern!
More Knitting Patterns
Check out the newest knitting patterns and tutorials.
Pattern Instructions
Easy Scarf Knitting Pattern for Beginners | Tostata Triangle Scarf
The Tostata is an easy scarf knitting pattern for beginners. This triangle scarf knits up in one hank with the simple garter stitch.
Materials
- 1 hank (438 yds) of 4 ply/fingering weight yarn, I used Mendocino in Tiger’s Eye from Bella Yarn
Tools
- US 4/3.5mm needles, I used my Knitter’s Pride Karbonz Interchangeable Needles with 32” cable
- Yarn needle
- Scissors
- Optional stitch marker
Instructions
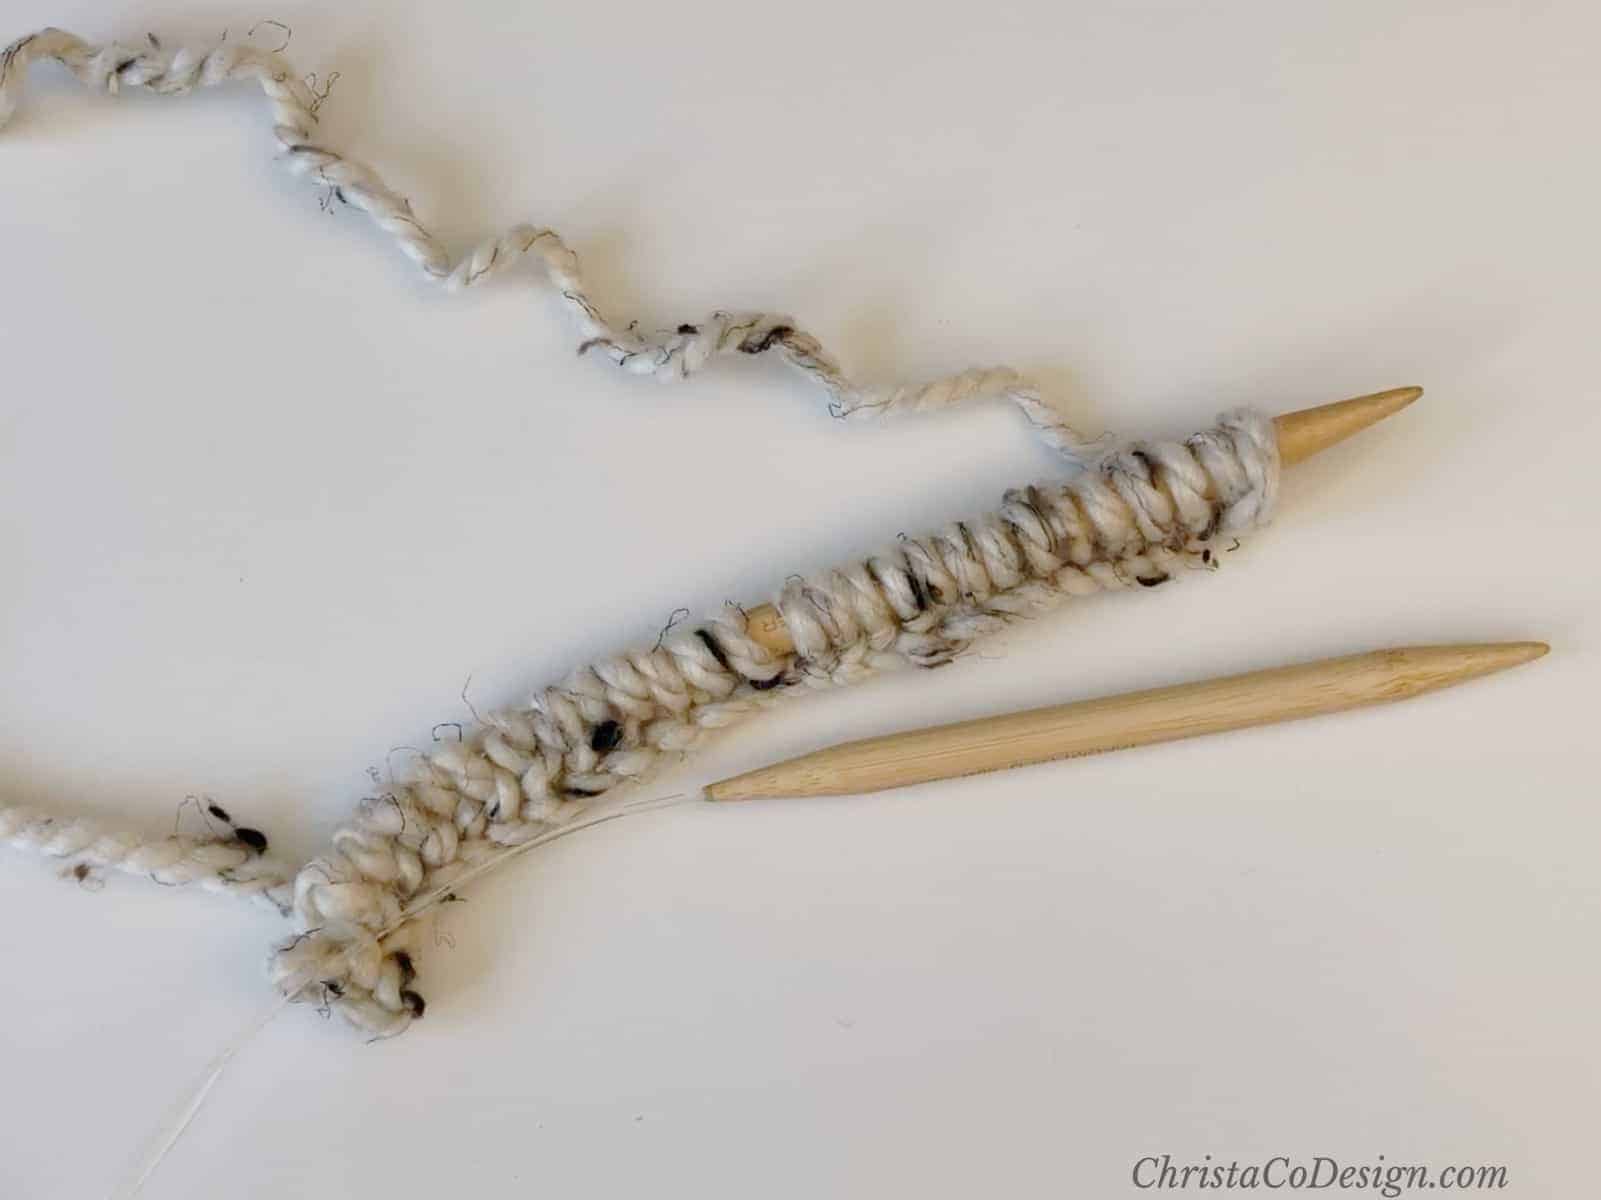
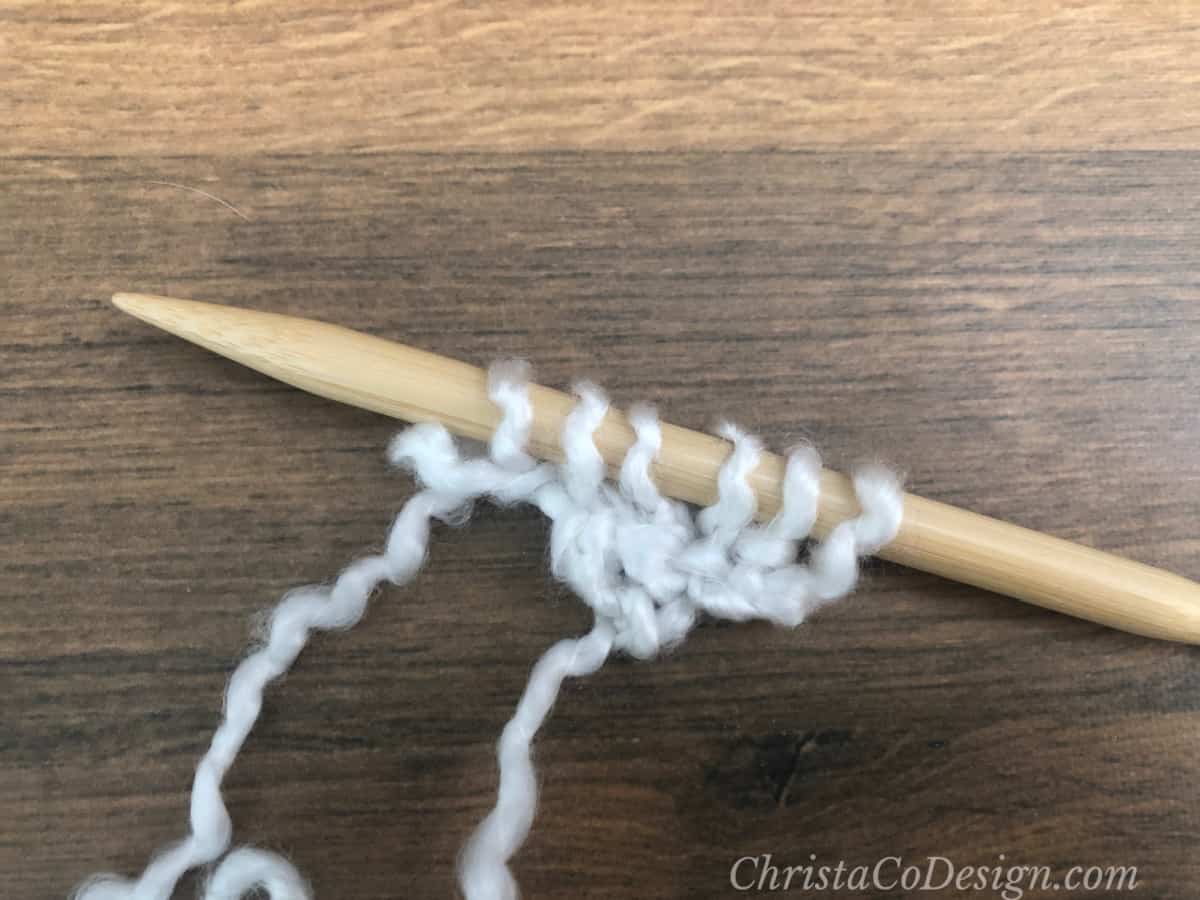
CO 3
Row 1. (WS) K all. (3 sts)
Row 2. (RS) K first st, yo, k all sts to end of row. (4 sts)
Row 3. K all. (4 sts)
Row 4. Rep Row 2. (5 sts)
Row 5. Rep Row 3. (5 sts)
Rows 6-289. Continue to repeat Rows 2-3, or until desired length is reached.
Finishing
BO.
Cut yarn and weave in ends.
Block
Block your scarf. I use my blocking boards from Knit Picks and my sewing pins. These sweet flower pins from Knit Picks are too cute.
If you don’t have blocking boards
If you’re lucky you can sometimes find similar foam puzzle pieces at the dollar store or hardware store too. I’ve used my clean carpet or bed before I had these too! So never fear, these are just nice to have if you frequently block.
My Wet Blocking Process
First I soaked my finished scarf in cool water with a little wool wash. Next I run it under water to rinse it off. Then, without twisting, I gently squeeze the water out.
Now I lay out a dry towel and place the scarf on it. Then I roll it up like a burrito, gently squeezing as I go. Once I’ve gotten the excess water out, it’s ready for the blocking boards.
I puzzle together my boards and lay the damp scarf out on them. Next I pin along the edges and gently use my hands to position the scarf. I try to avoid smoothing the yarn’s surface out too much with my hands.
And that’s it. It usually air dries over night. In the winter, or when it’s damp outside it can take longer.
Recommended Products
As an Amazon Associate and member of other affiliate programs, I earn from qualifying purchases.


Just finished knitting your scarf, was wondering if you could tell me how it was tied on the mannequin in your photos. Looks so good that way. Hope you can help . Thanks
Hi Barbara,
Thanks for reaching out with your question. I worked up a little video showing how I styled the scarf in the mannequin picture. I’ve added the video to this blog post, or you can view it here https://jumprope.com/g/how-to-side-tie-a-knit-triangle-scarf/1hI9gSRDB It’s a loose tie, so you may need to tuck a shawl pin in it to secure. I hope this helps!
Thank you,
Crystal
@Christa, sorry to take so long to reply. I want to thank you for your response and the video. I really appreciate the fact that you did that for me. it was very kind of you! Thank you so much.
You are quite welcome Barbara. I hope you found it helpful!