
How To Join Yarn in Crochet + Magic Knot Tutorial
Learn how to join a new ball of yarn to your project with the magic knot method. You’ll make two knots and slide them together in this join.

This post contains affiliate links, I may earn a fee. Read more disclosure policy.
Join the ChristaCoDesign Newsletter
Never miss a pattern!
I include step by step instructions for making the magic knot in this blog post. Plus there’s a video tutorial to demonstrate how to do. Photos are in the tutorial to show how the steps look.
This type of knot is a pretty secure join. The two knots pull tightly together to butt against one another. Then you can weave the ends of yarn in, and trim them.
Crochet How to Join Yarn
There are many different ways to join yarn in crochet. The magic knot technique is one of the most effective ways to snugly and neatly join a new yarn ball.
Here I include some of the simple ways to join yarn, and the specific ways to join yarn also.
Join Yarn With a Yarn Over
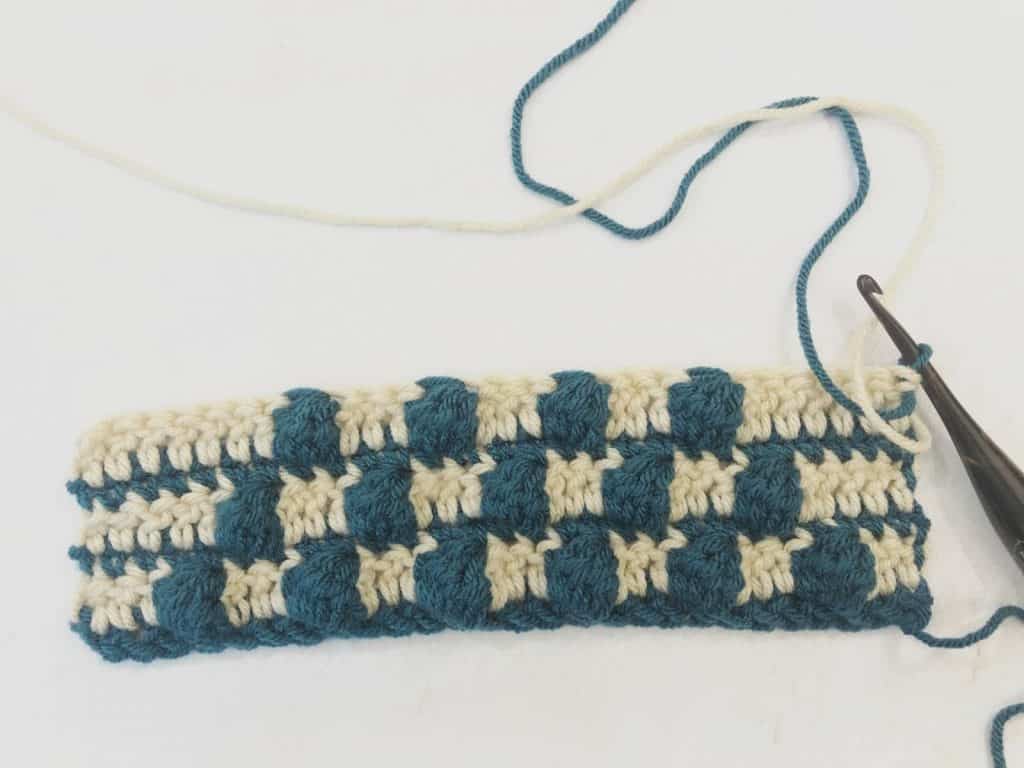
The easy way I like to join yarn is just by yarning over in the new yarn and you’re ready with the new color in your next stitch! There are not any unsightly knots to deal with, but you do have ends. I work over the tails to secure them for now. And at the end, weave them in.
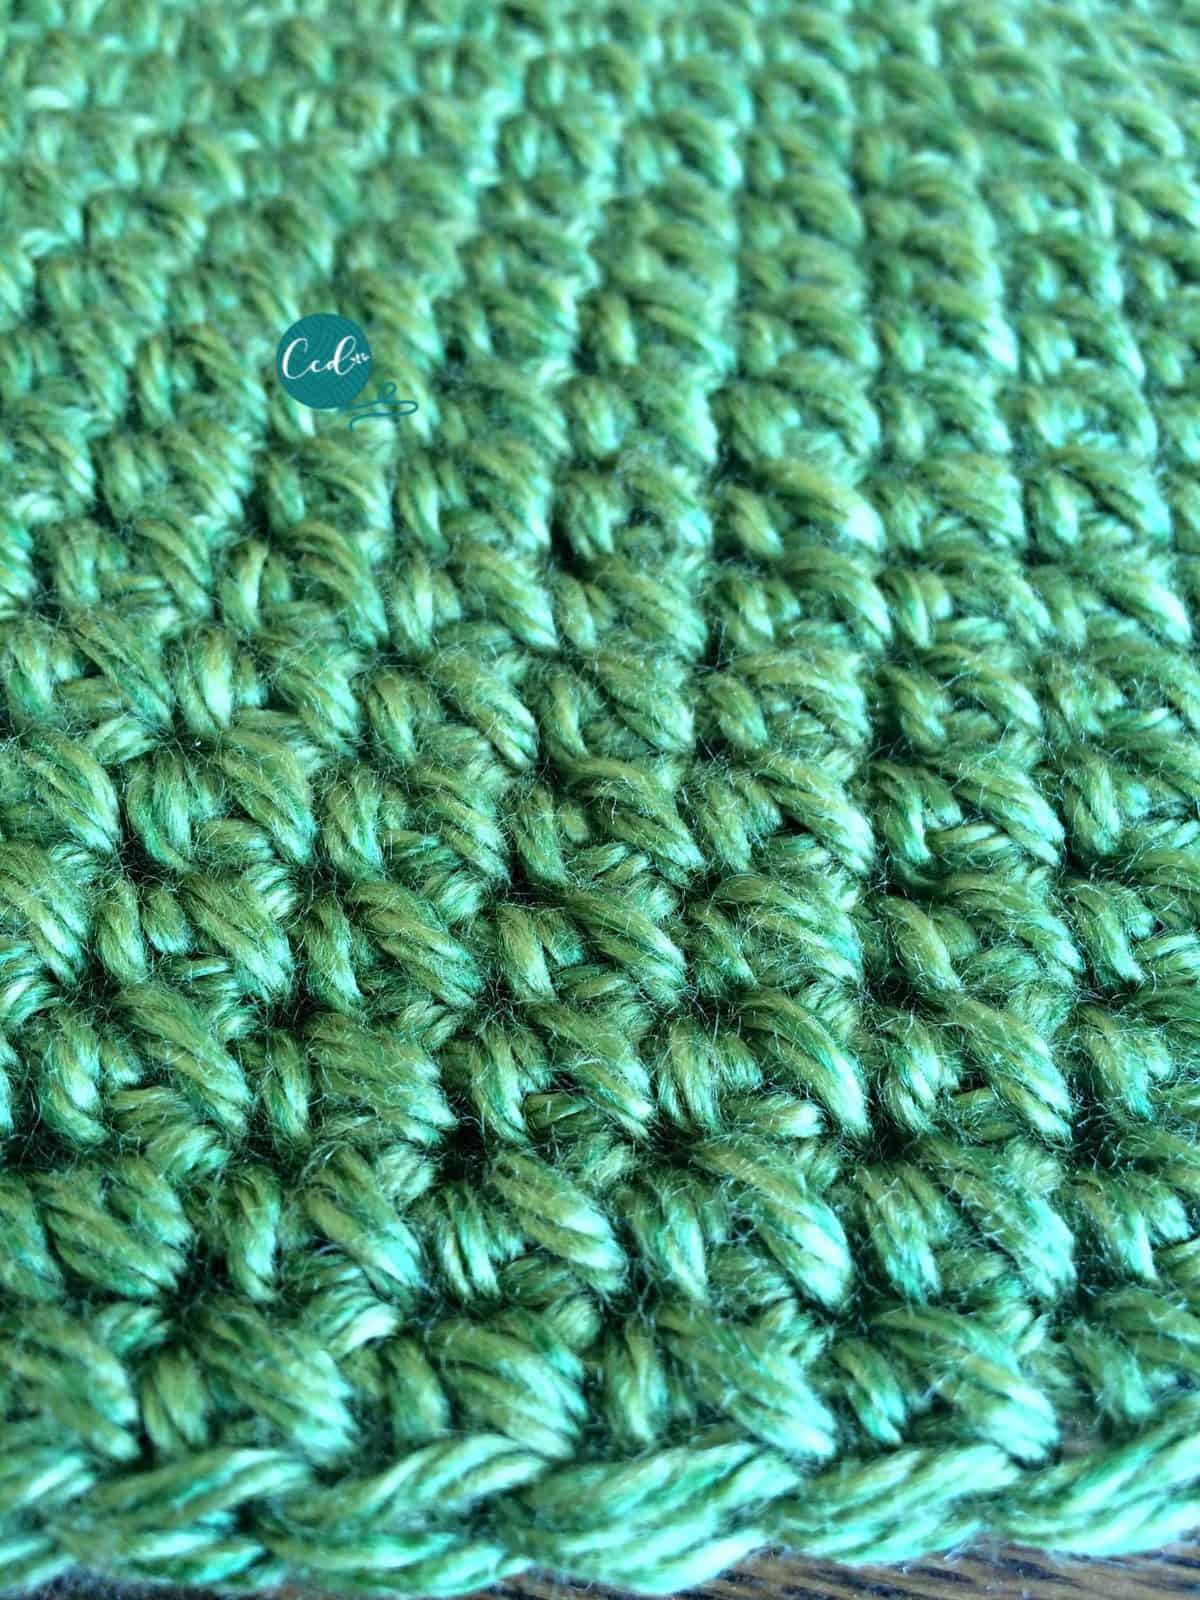
In the same of double crochet stitches below I use this method. This swatch alternates between yarn colors so this method works well for changing in the middle of a row.
Join Yarn With a Slip Stitch
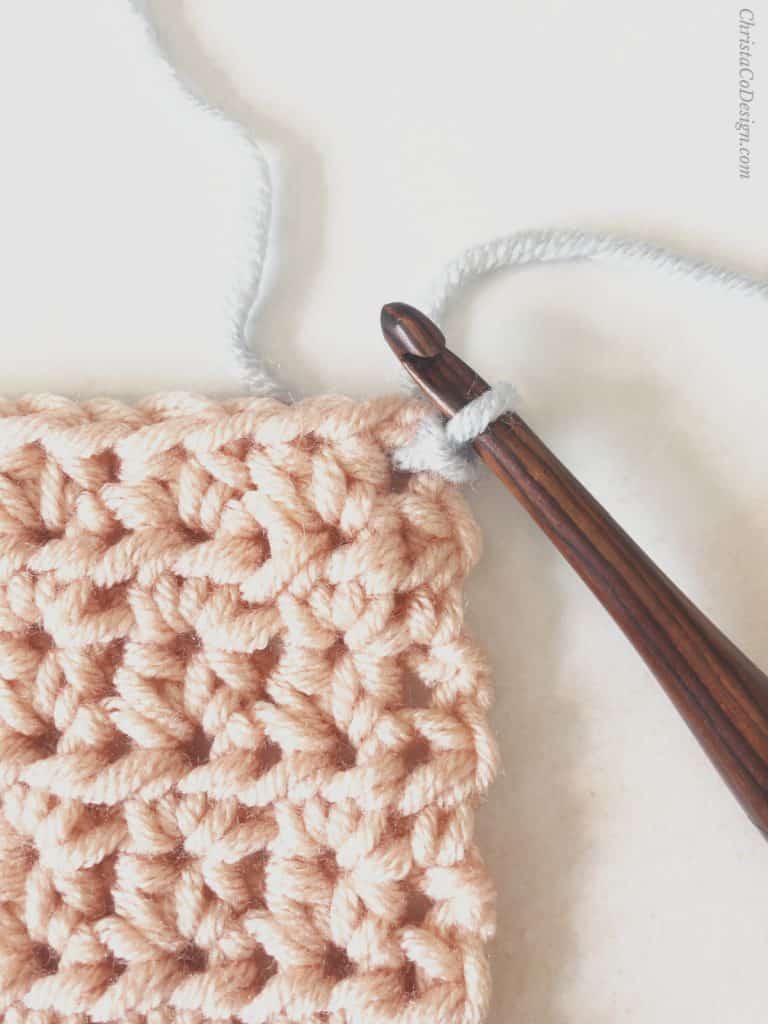
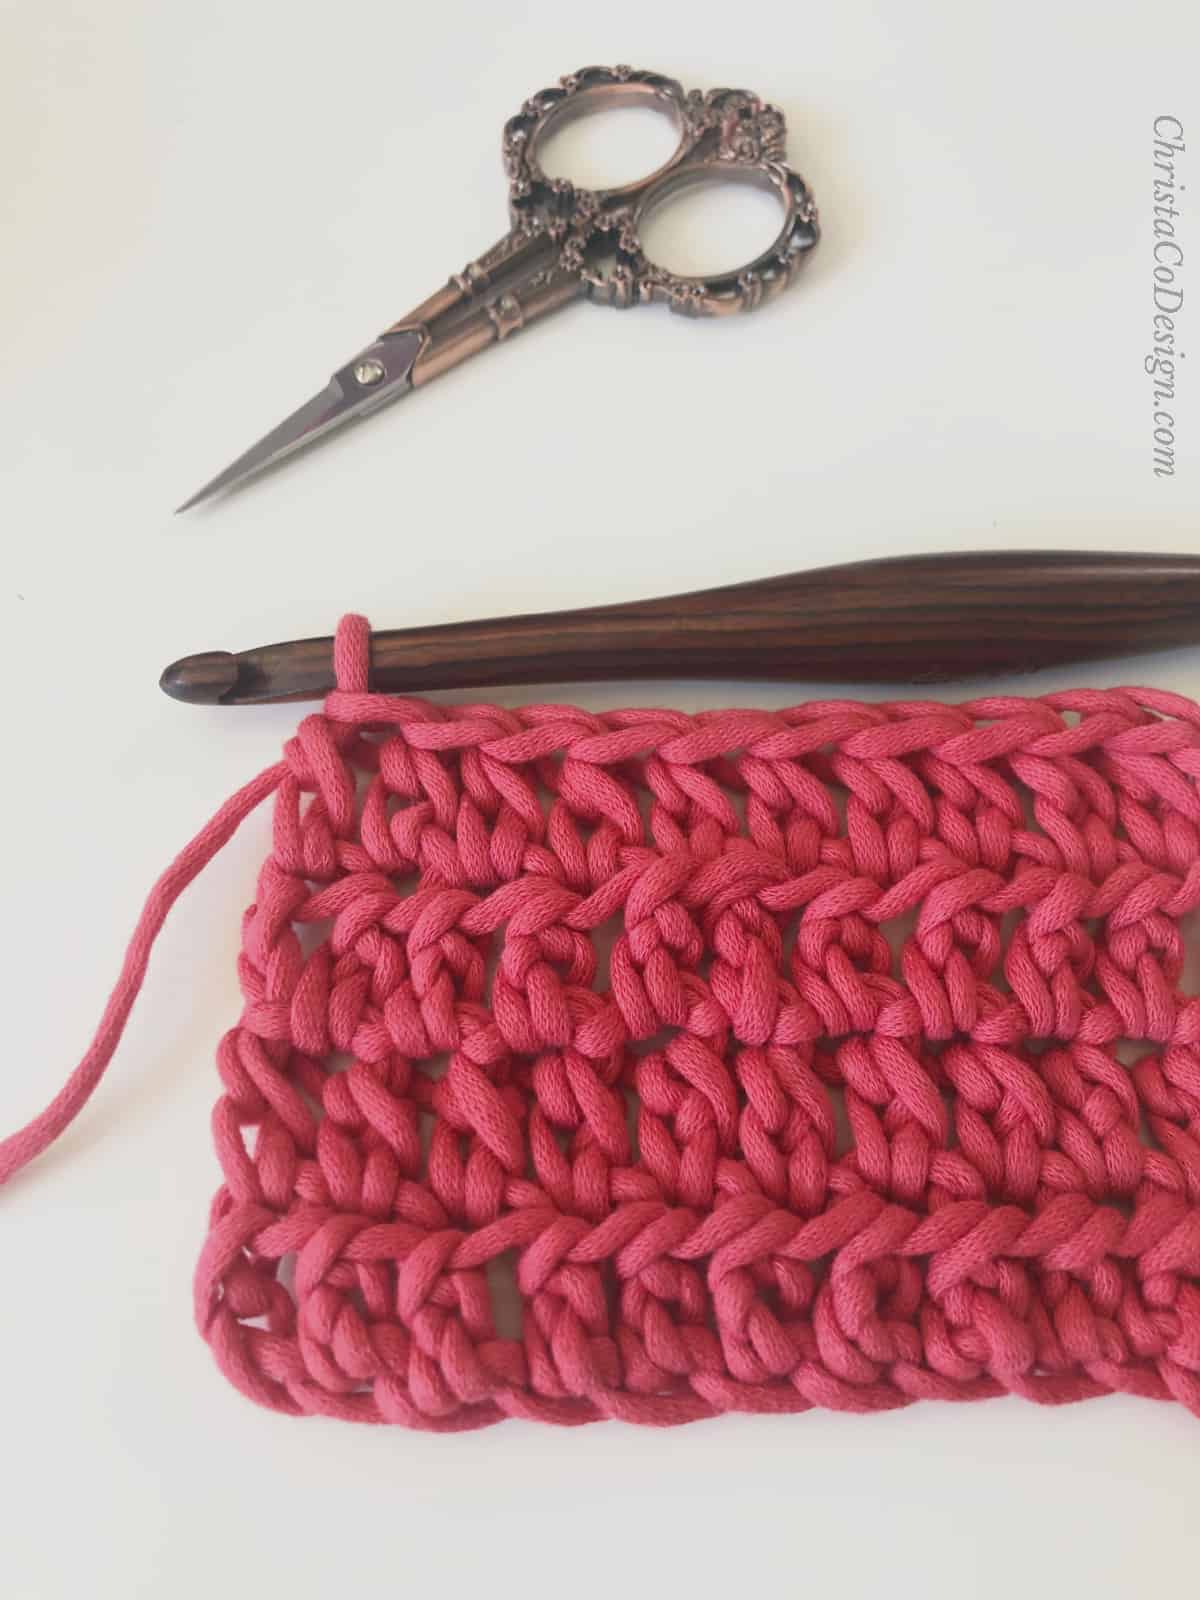
Below the grey yarn is slip stitched to the turning chain. Joining with a slip stitch is likely the first way most crocheters learn how to join yarn in crochet.
To join like this, start with a slip knot on your hook in the new color. Insert your hook in the stitch you want to join to. Then yarn over and pull it through the slip knot.
The more ways you try, the more you’ll decide on your own personal preference for joining yarns.
How do you join yarn in the middle of a row?
In crochet when you change colors are the end of a row, you can just pull in the new color on the last stitch. This way you’ll be ready to crochet in the new color on first stitch of your next row. You can see a full tutorial of how to change colors at the end of row here.
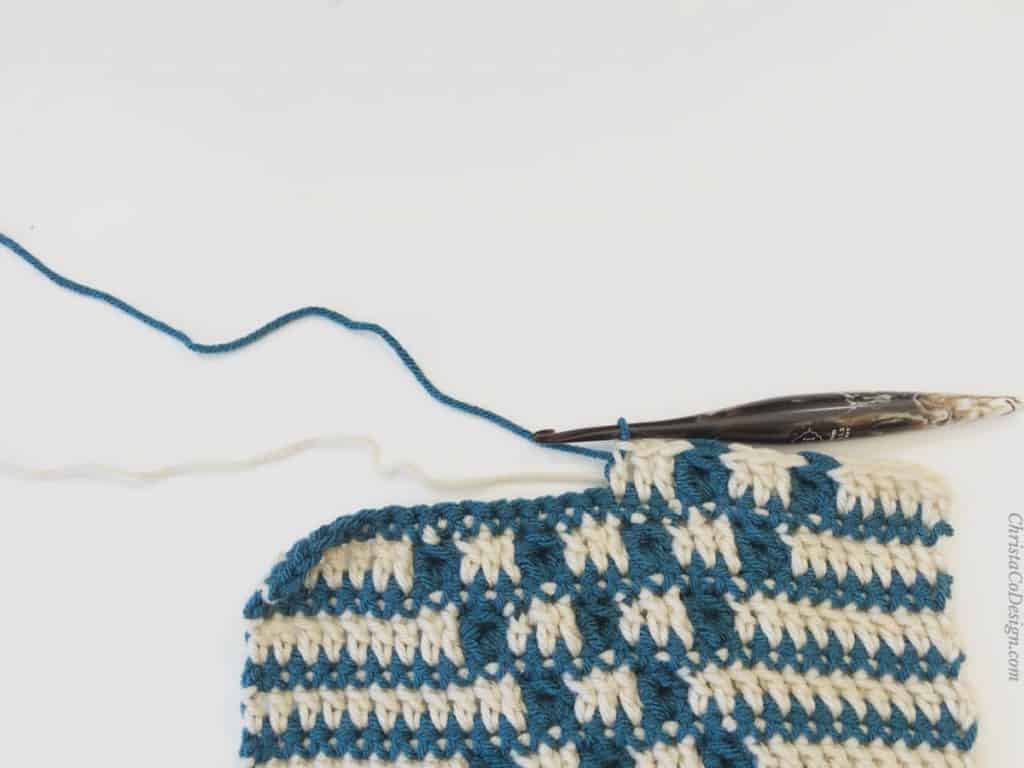
In some stitch patterns you will have different colors in the same row. In this case, you will change colors on the last yarn over of the stitch before the new yarn color. You can see exactly how to do this in my tutorial on how to change colors throughout a row.
You can use the magic knot in any of these places too, if you prefer it. When you’re working large projects with different colors you’ll need to add new yarn balls often.
Join the yarn without weaving in the ends
The magic knot method of joining yarn creates a tight knot that you can trim the ends pretty close to, so you don’t have to weave in the ends. Some still prefer to weave them in though, for extra security.
To join yarn without a knot
A magic knot is a good joining method for many stitches and patterns. However, there are some times when the bump will show too much. For instance, smooth stitch patterns like knitting stockinette or crocheting the single crochet in the round.
While the magic knot join works for many yarns, the thicker the yarn, the thicker the knot. This also means the stitches hiding the bump will be thicker too.
Russian Join
If the bump bothers you, another way to join a new color of yarn is the Russian join. In this method you loop your yarns around one another and use a yarn needle to weave the yarn tails into the strands of yarn, essentially hiding them.
Felt the Ends to Join
Another way to join without a knot is by felting the ends together with water, or saliva. To use this method, dampen both ends of yarn. Rub them together between your hands so the ends fray and become entangled, felting together.
This method works best for natural fibers that are prone to felting like wool.
Popular Crochet Projects that are Free Crochet Patterns
The Chunky Bear Beanie is such a cute crochet pattern for the family.
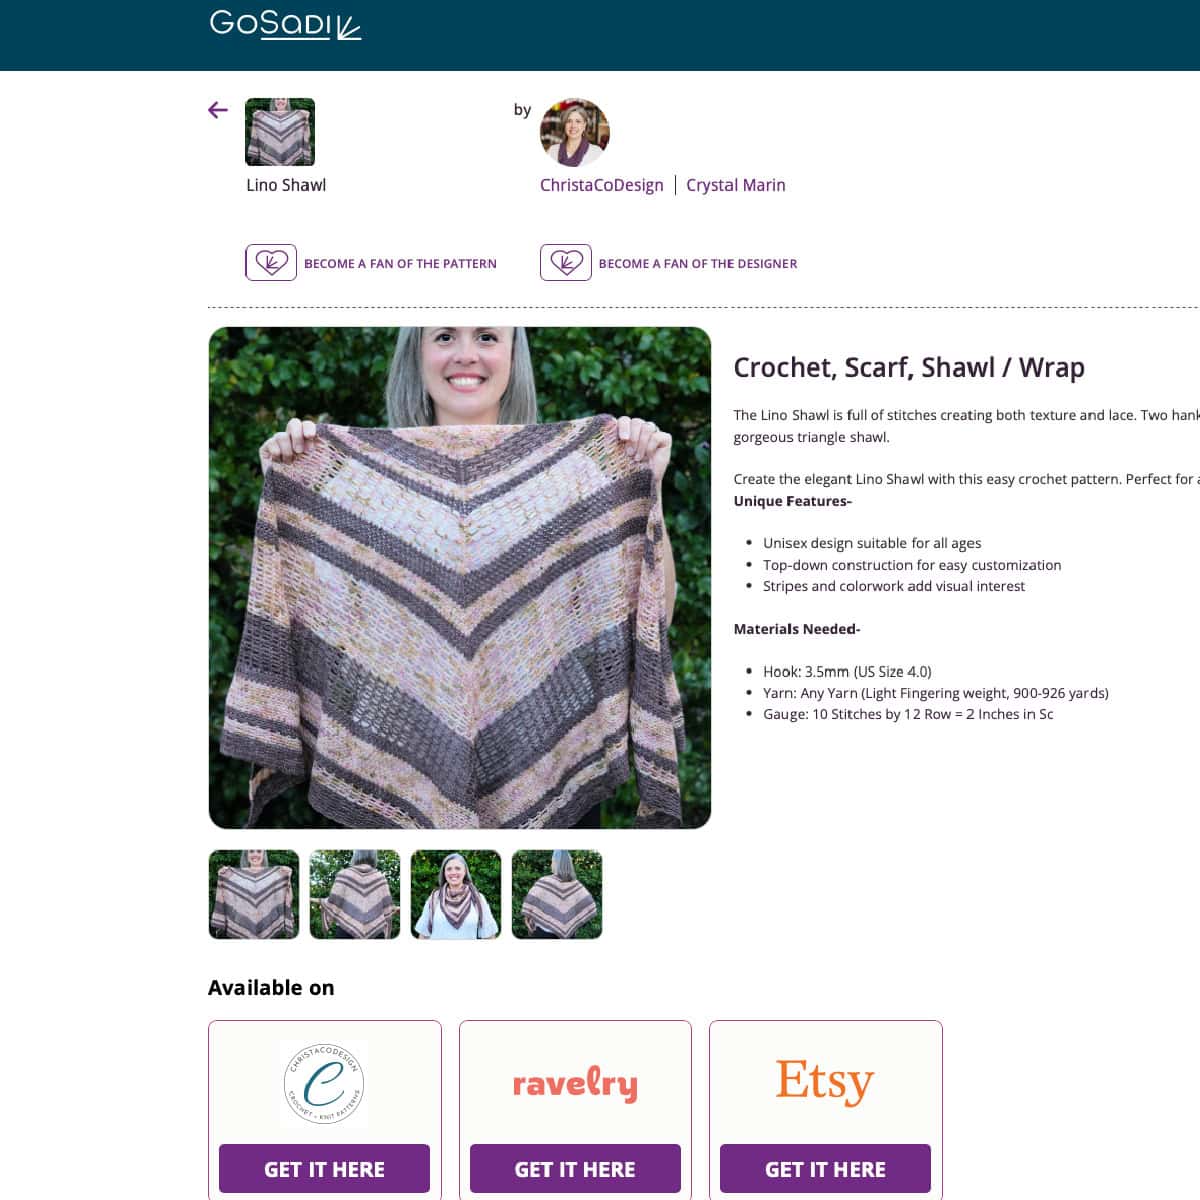
If you’re a knitter the Giana Pocket Shawl is such a relaxing knit.
The Ridge Walk Hat from Ned + Mimi is textured and cozy!
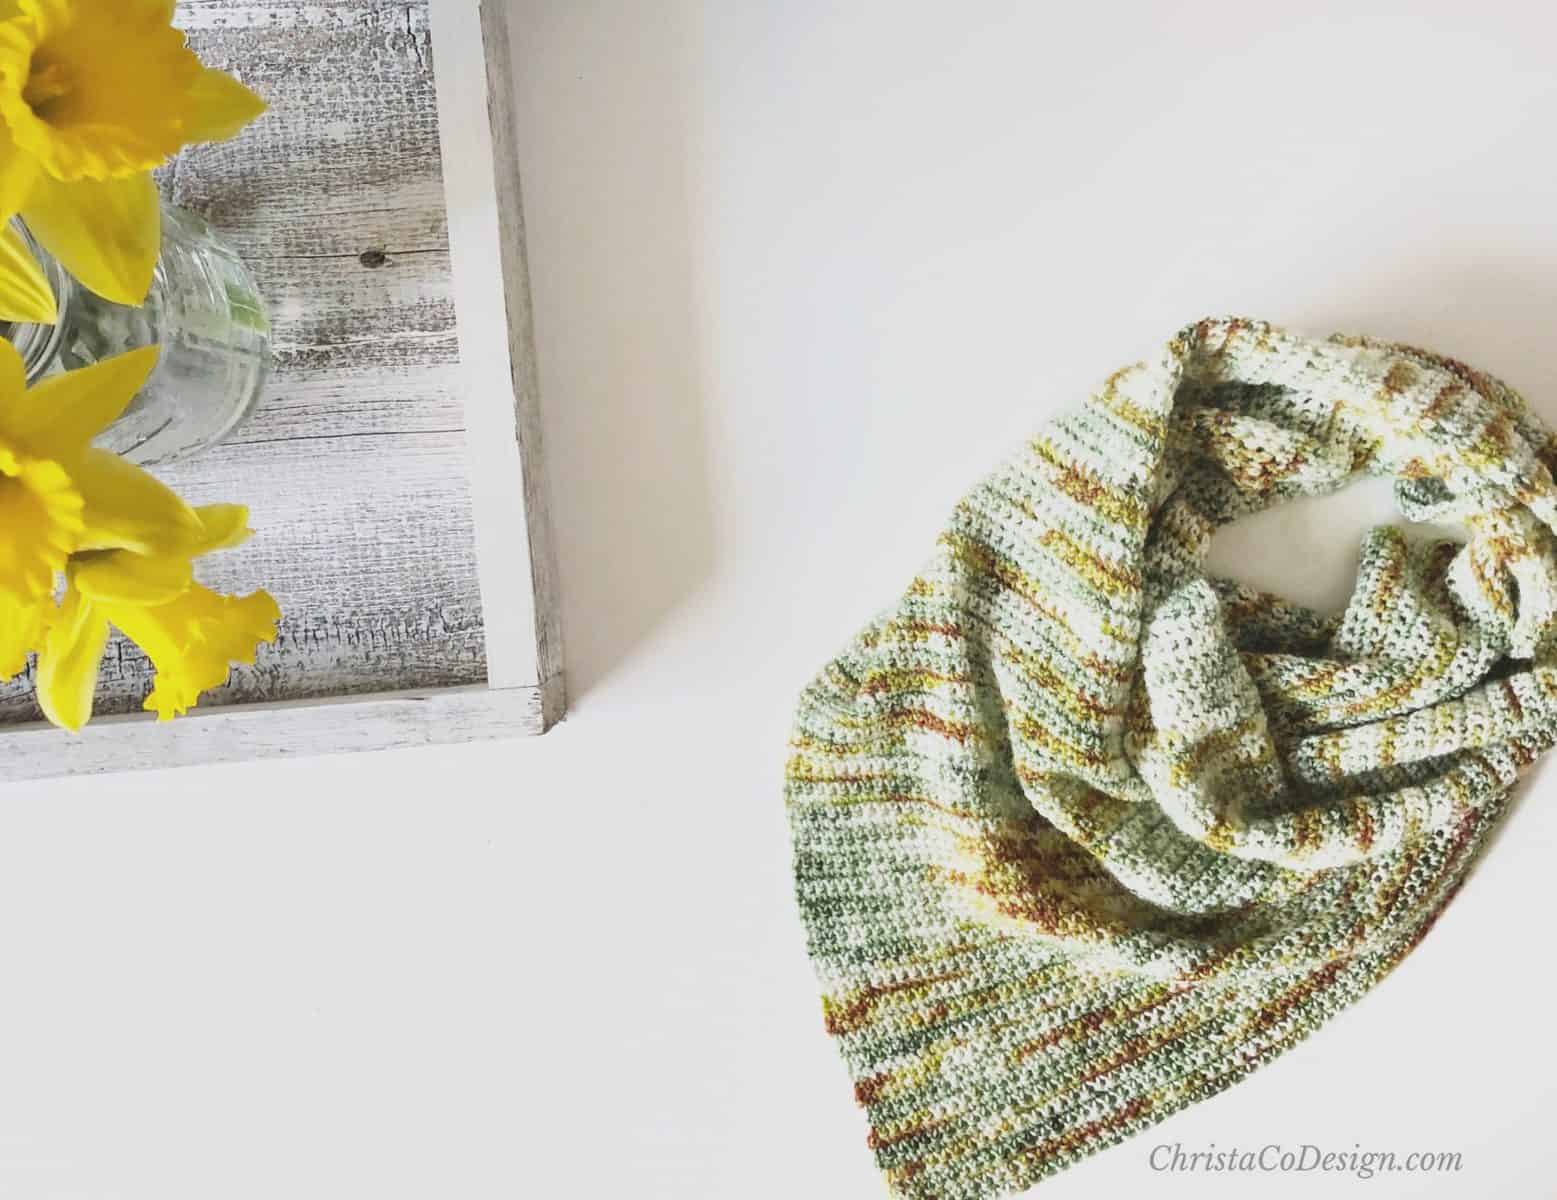
The Verso Scarf crochet pattern will give you some practice join new colors of yarns with this new technique.
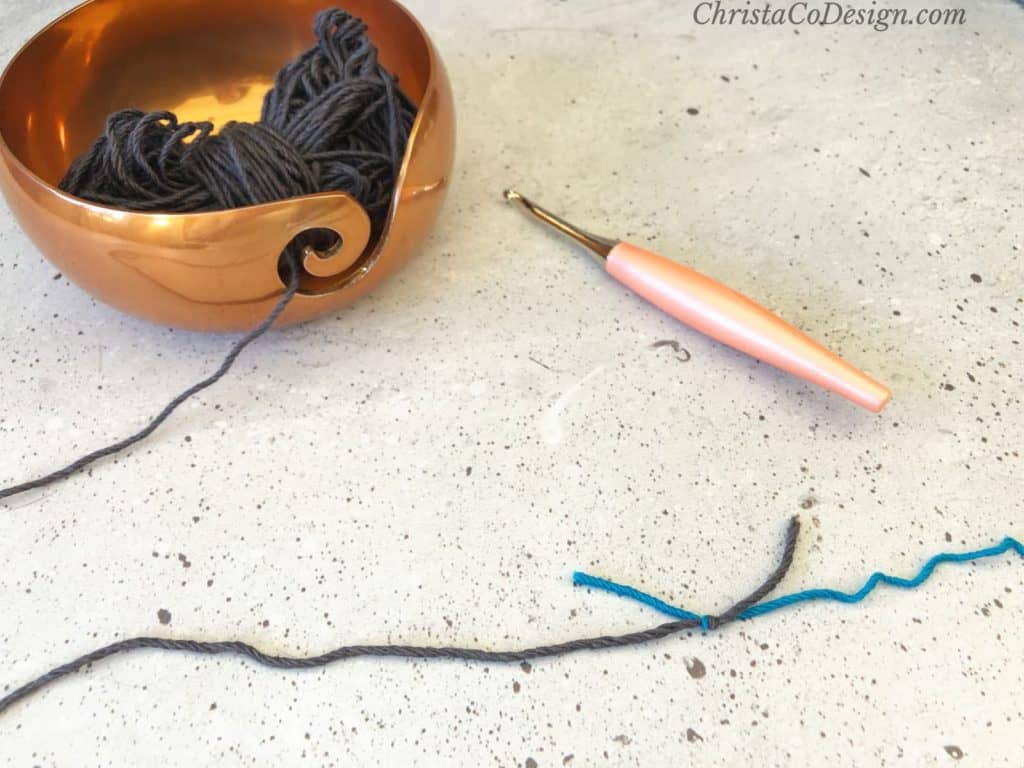
Materials
- two yarns, the one you’re working with and the new yarn you wish to add. I’m using two strands of Whims Merino in charcoal and blue. This is a merino blend, but acrylic yarns work well too.
- I use two colors to help illustrate where the ends and knots are in the tutorial. You will want to use the same color yarn for your project.
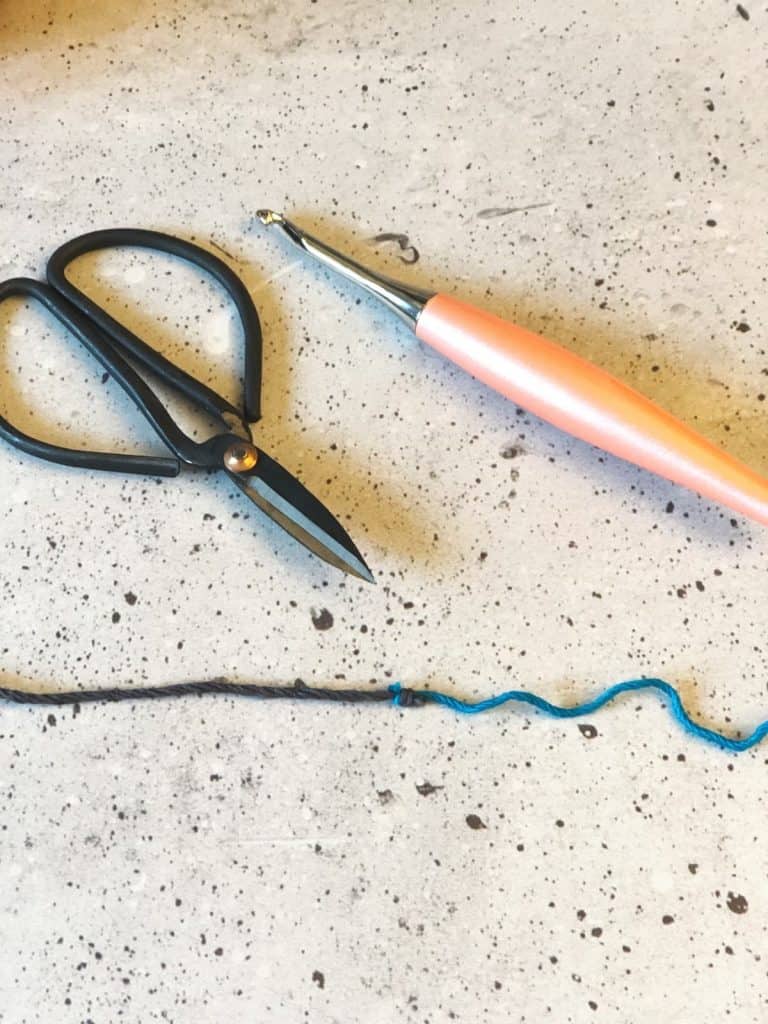
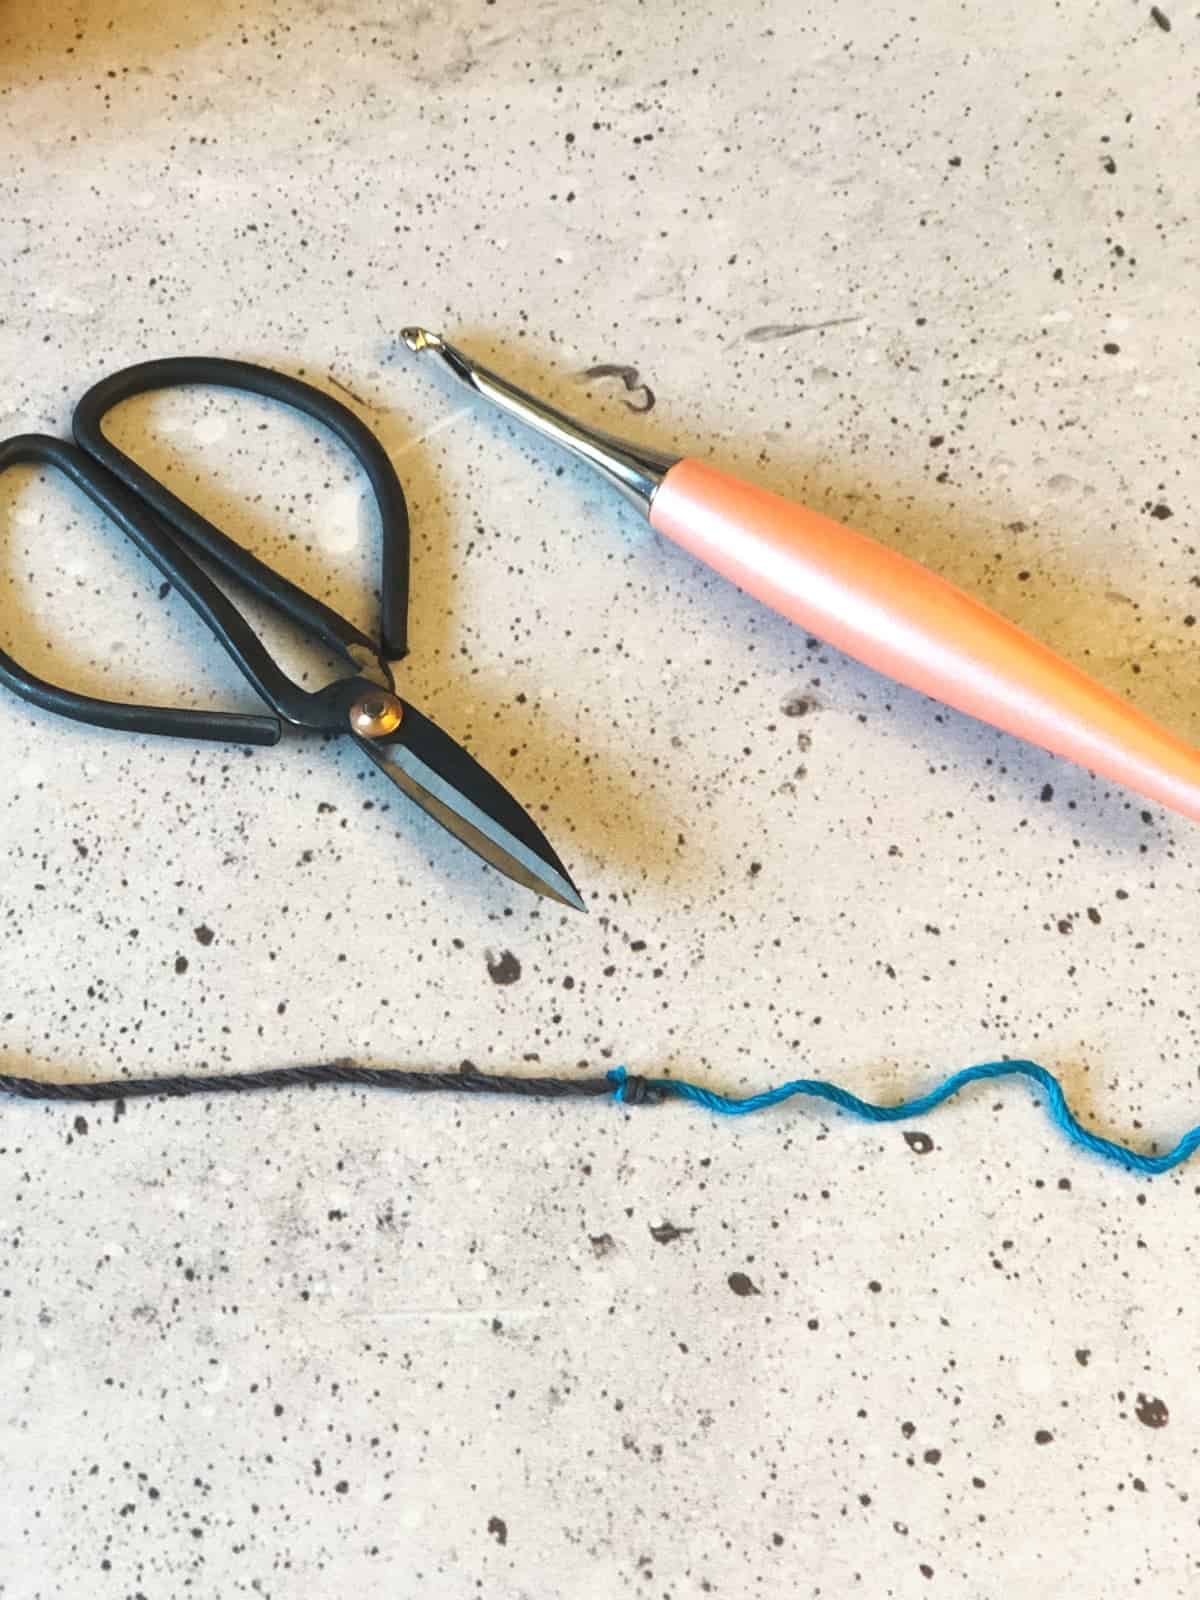
- Scissors to trim your ends.
Stitches/Abbreviations (US Terms)
Working yarn is the yarn that you’re using, or “working with.”
Tail refers to the end of the yarn. We usually weave these in when a project is complete. Or crochet over them to save time.
Video Tutorial
You can watch the step by step video tutorial for how to join yarn with a magic knot on my YouTube.
Scroll down for the tutorial on how to crochet join yarn with a magic knot!
Instructions
Crochet: How to Join Yarn with the Magic Knot
Learn how to join yarn with the Magic Knot by sliding two knots together.
Materials
- two yarns, the one you're working with and the new yarn you wish to add
Tools
- scissors to trim
- yarn needle if you wish to weave them in
Instructions
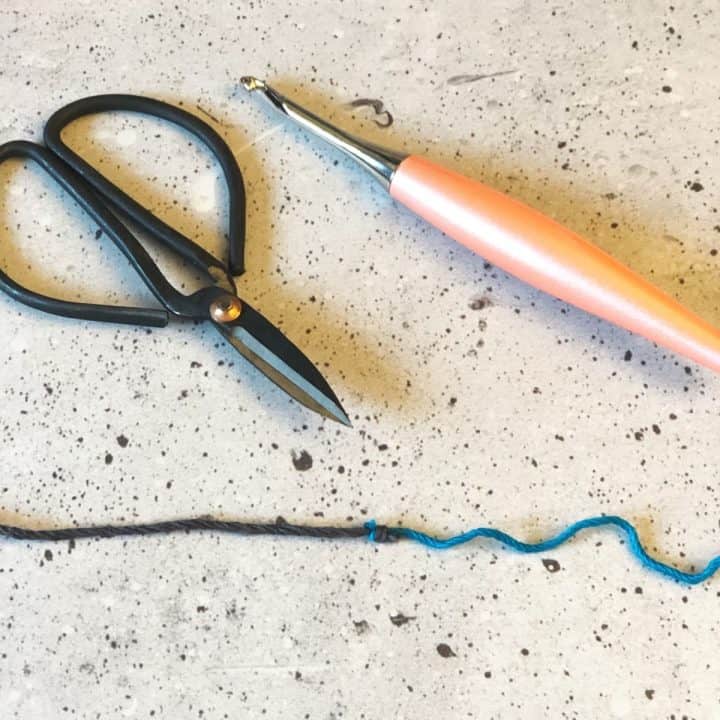
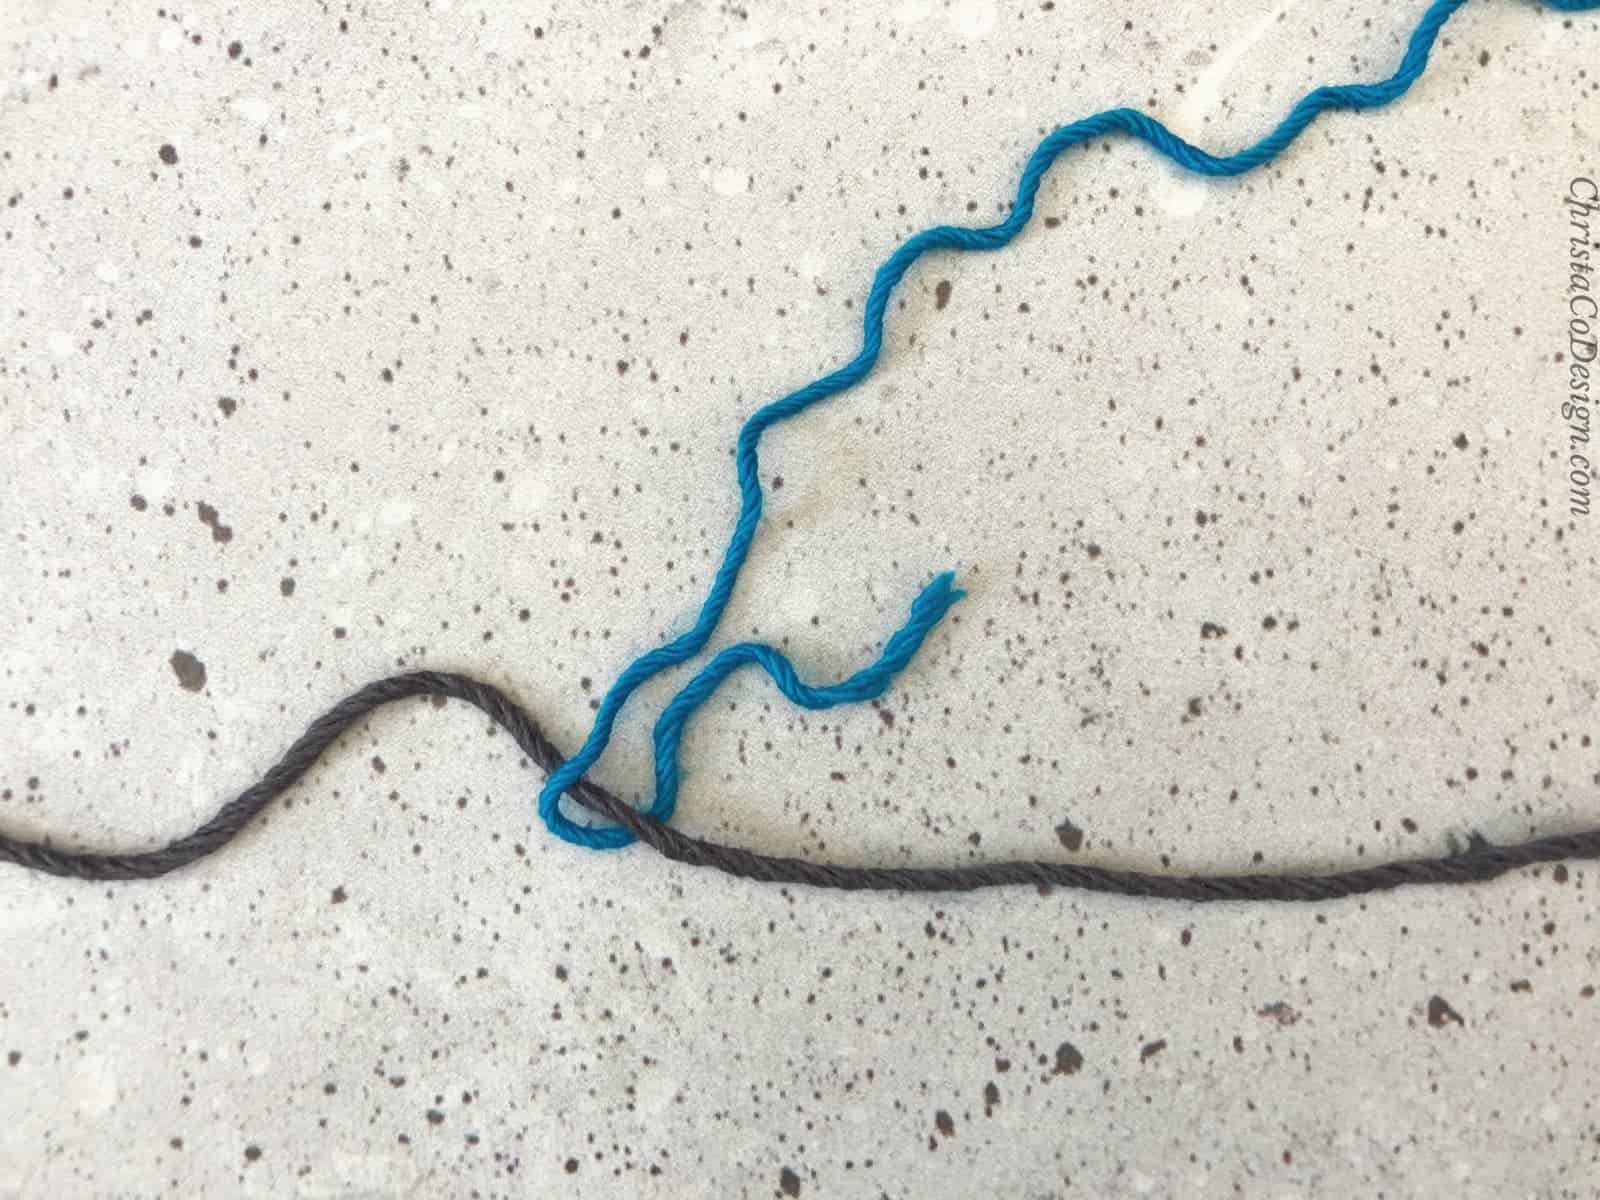
- Lay out working yarn horizontally at the top.
- Lay out new yarn, parallel below it. Make sure yarns are parallel with tails pointed in opposite directions.
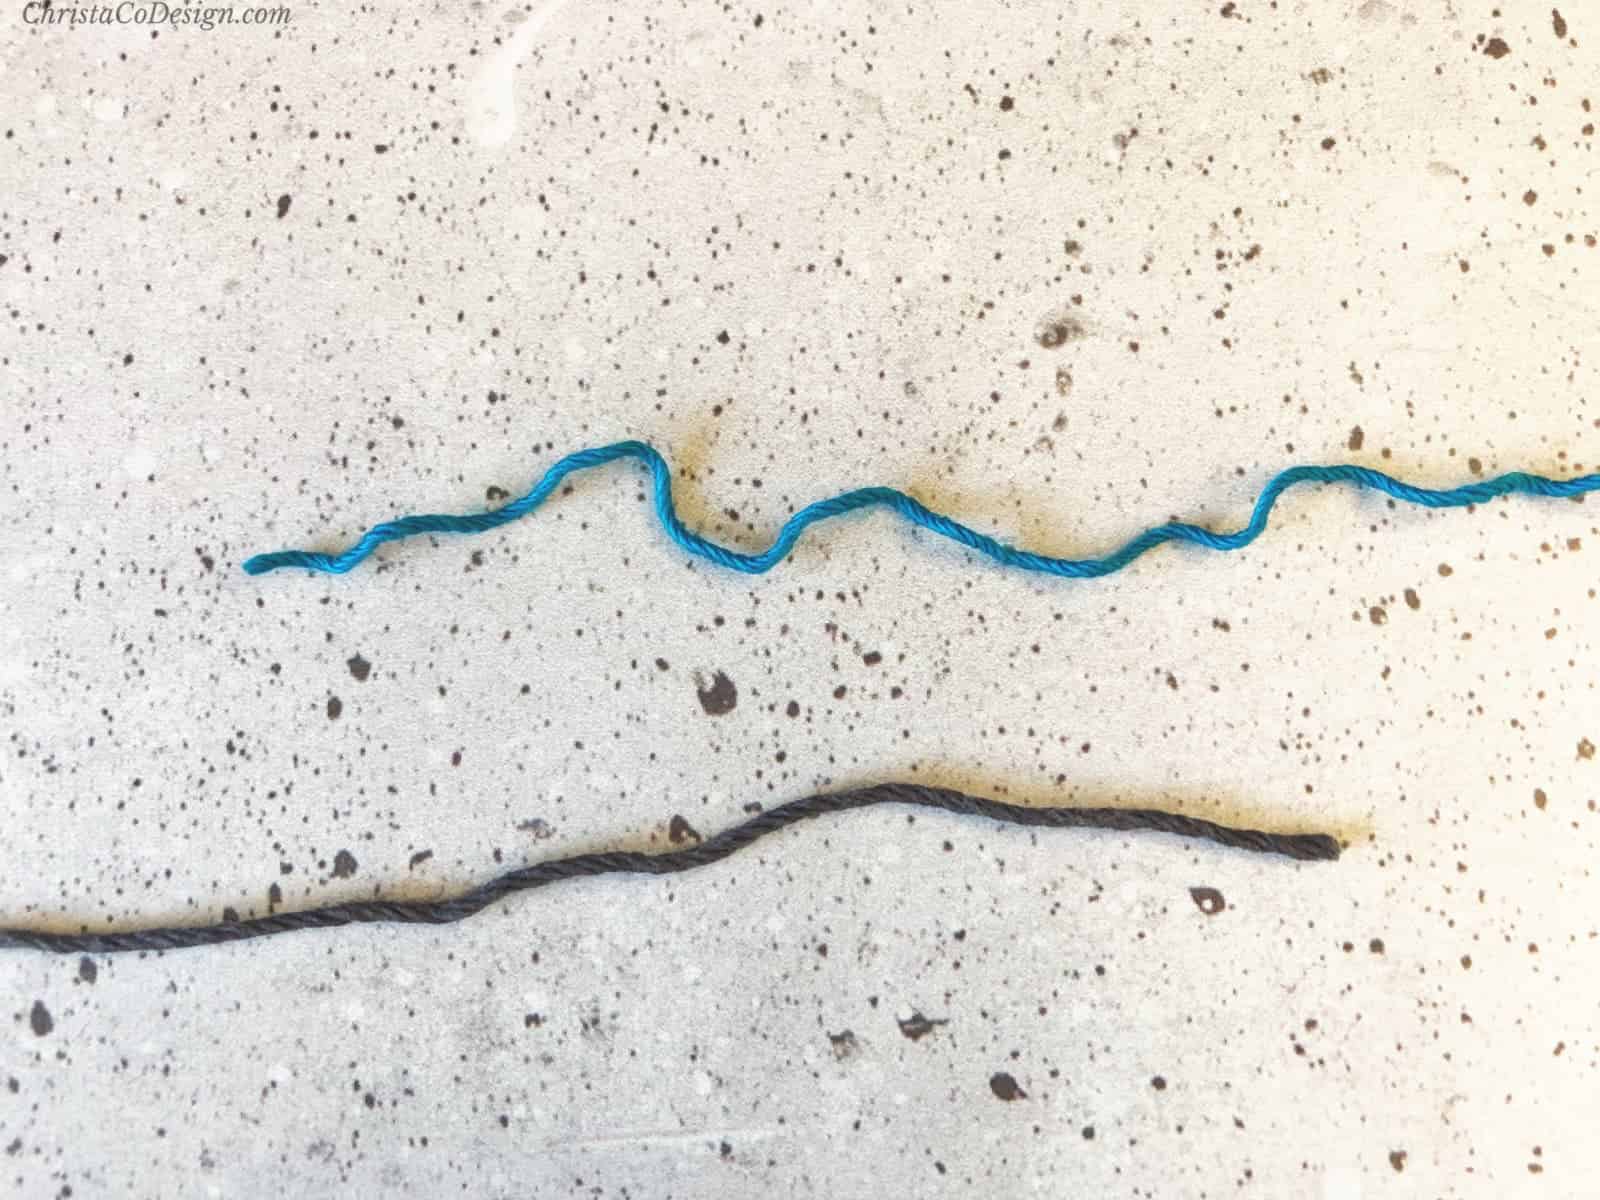
- Bring tail of working yarn (blue) over new yarn (black) so they cross.
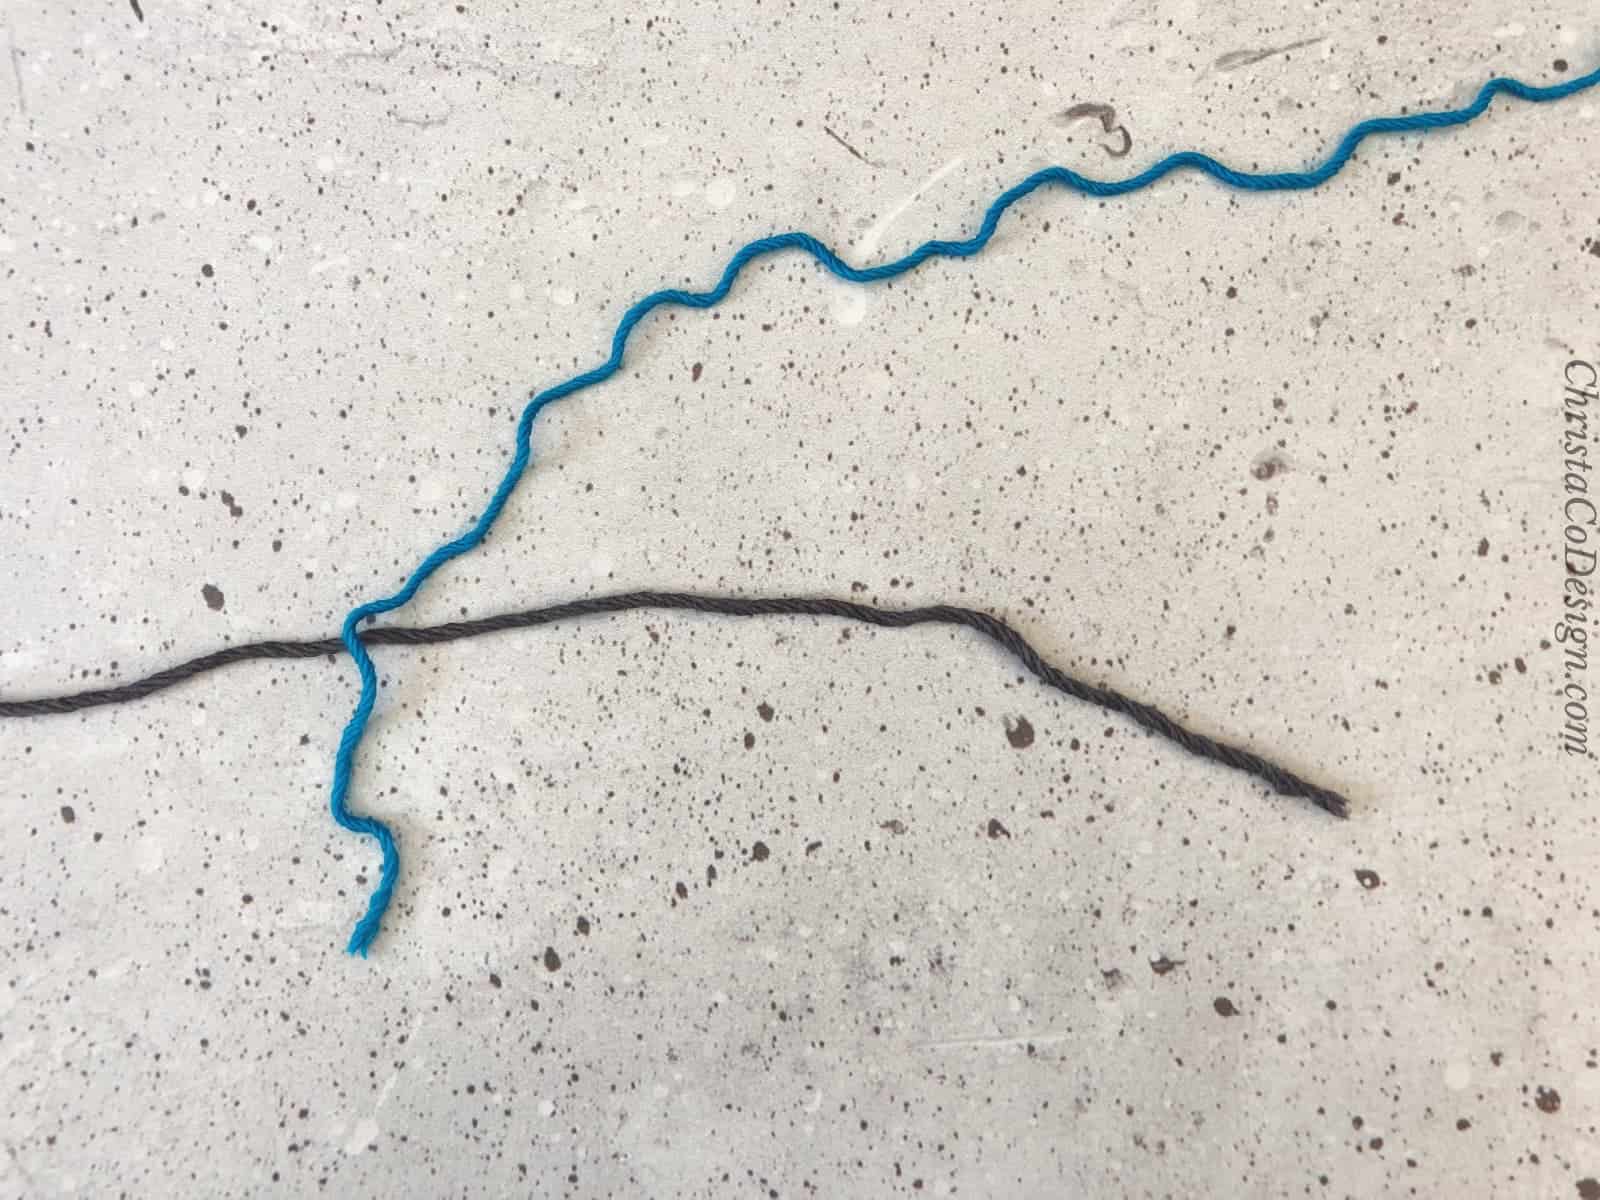
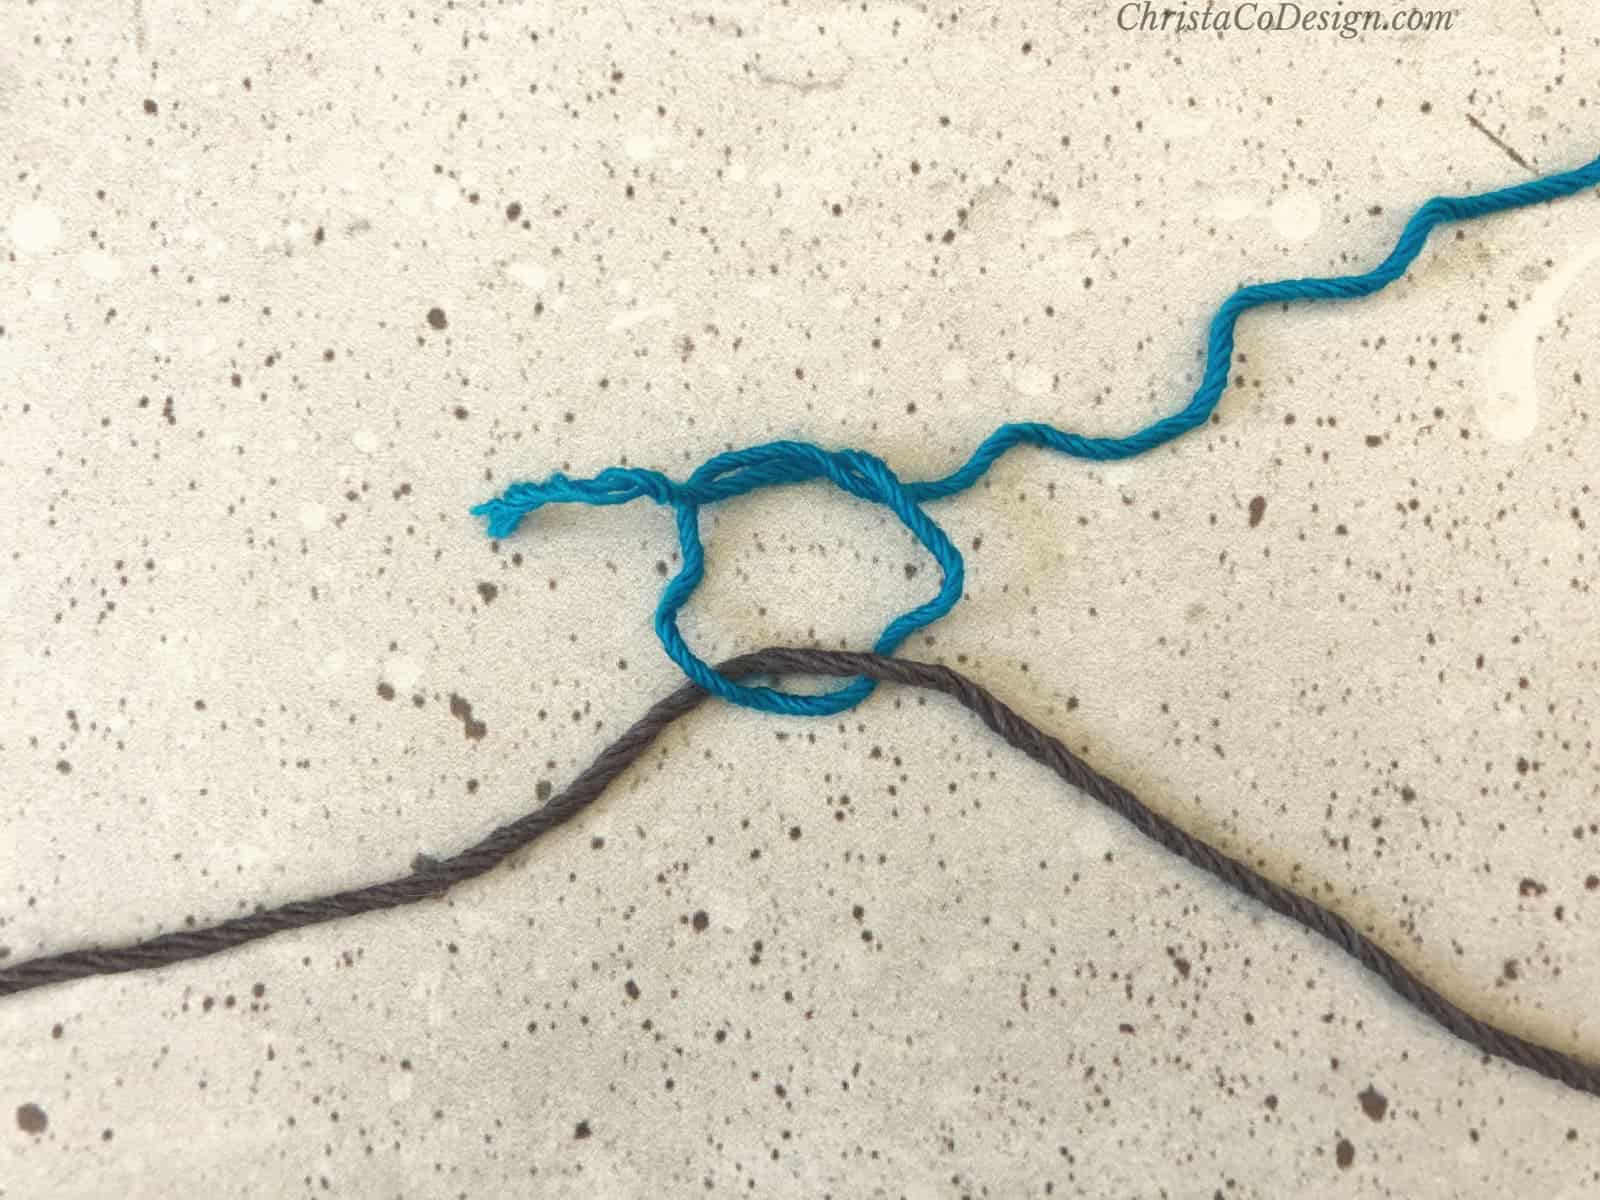
- Tuck working yarn (blue) under new (black) yarn and bring it up.
- Bring working (blue) yarn over and under itself to tie knot.
- Bring new yarn (black) over working yarn (blue) so they cross.
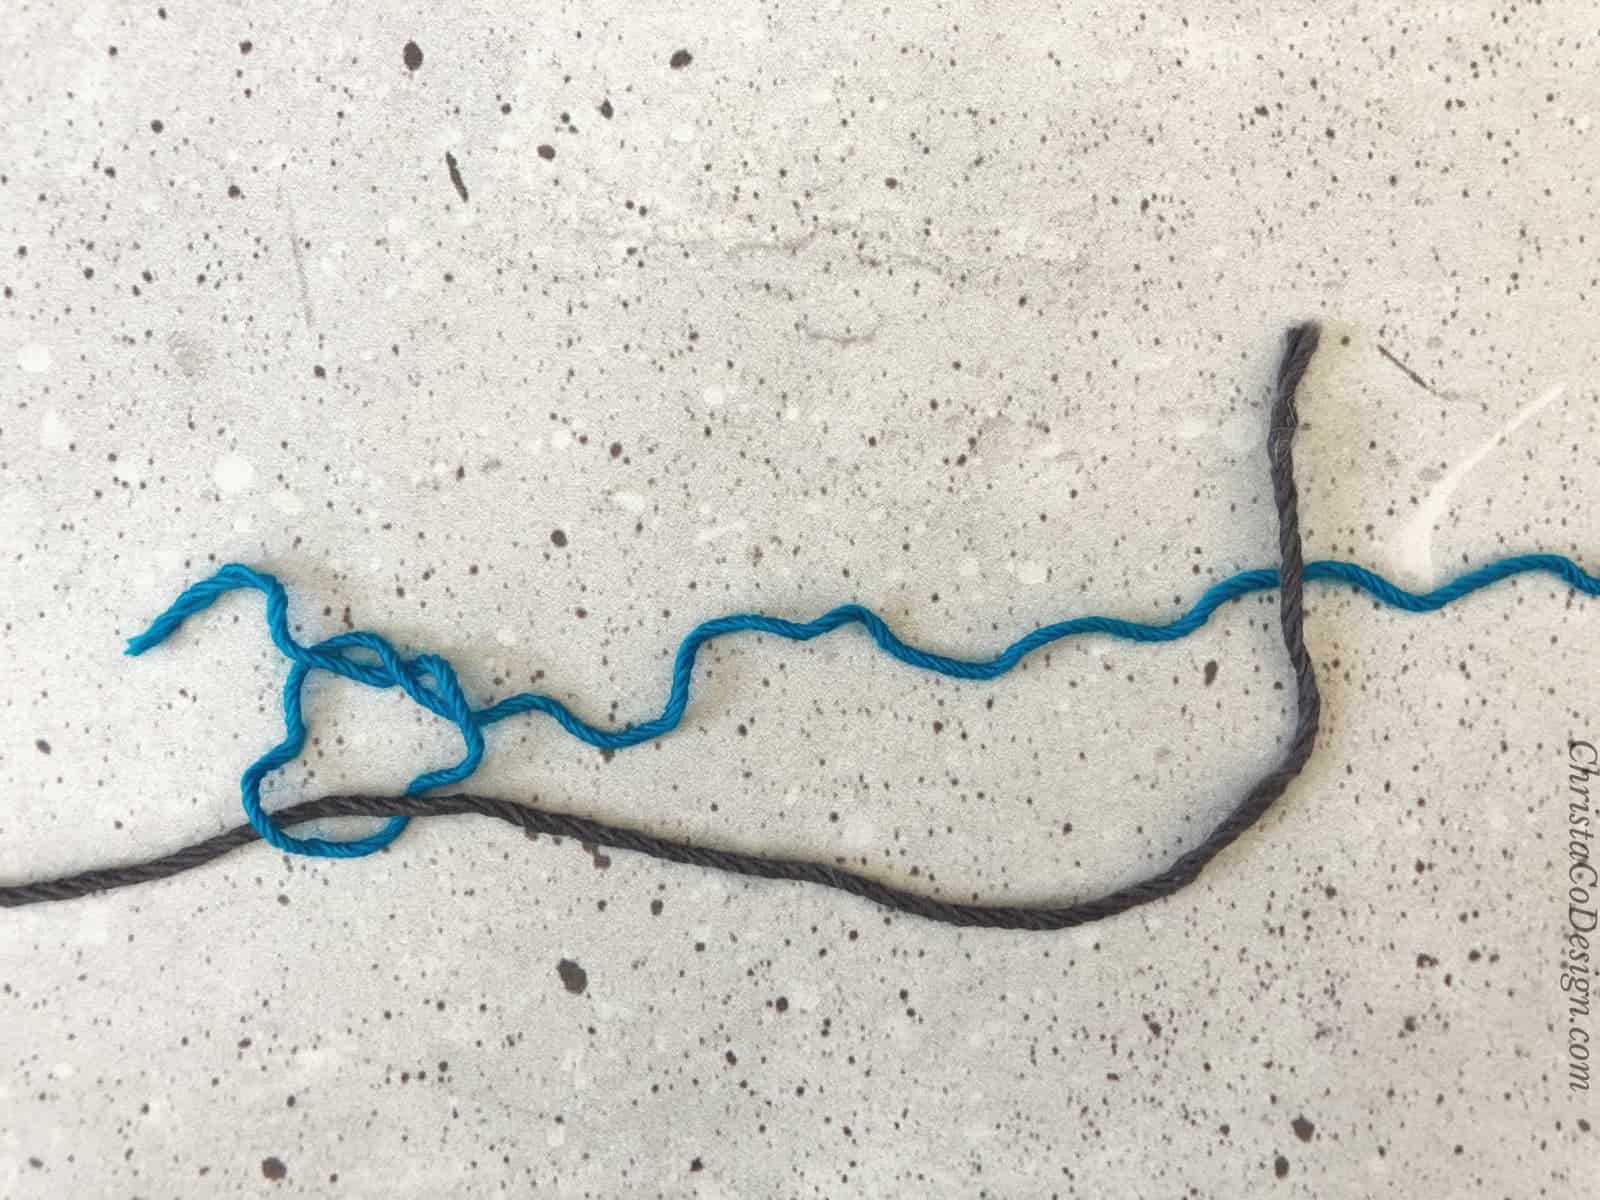
- Tuck new yarn (black) over and under working (blue) yarn.
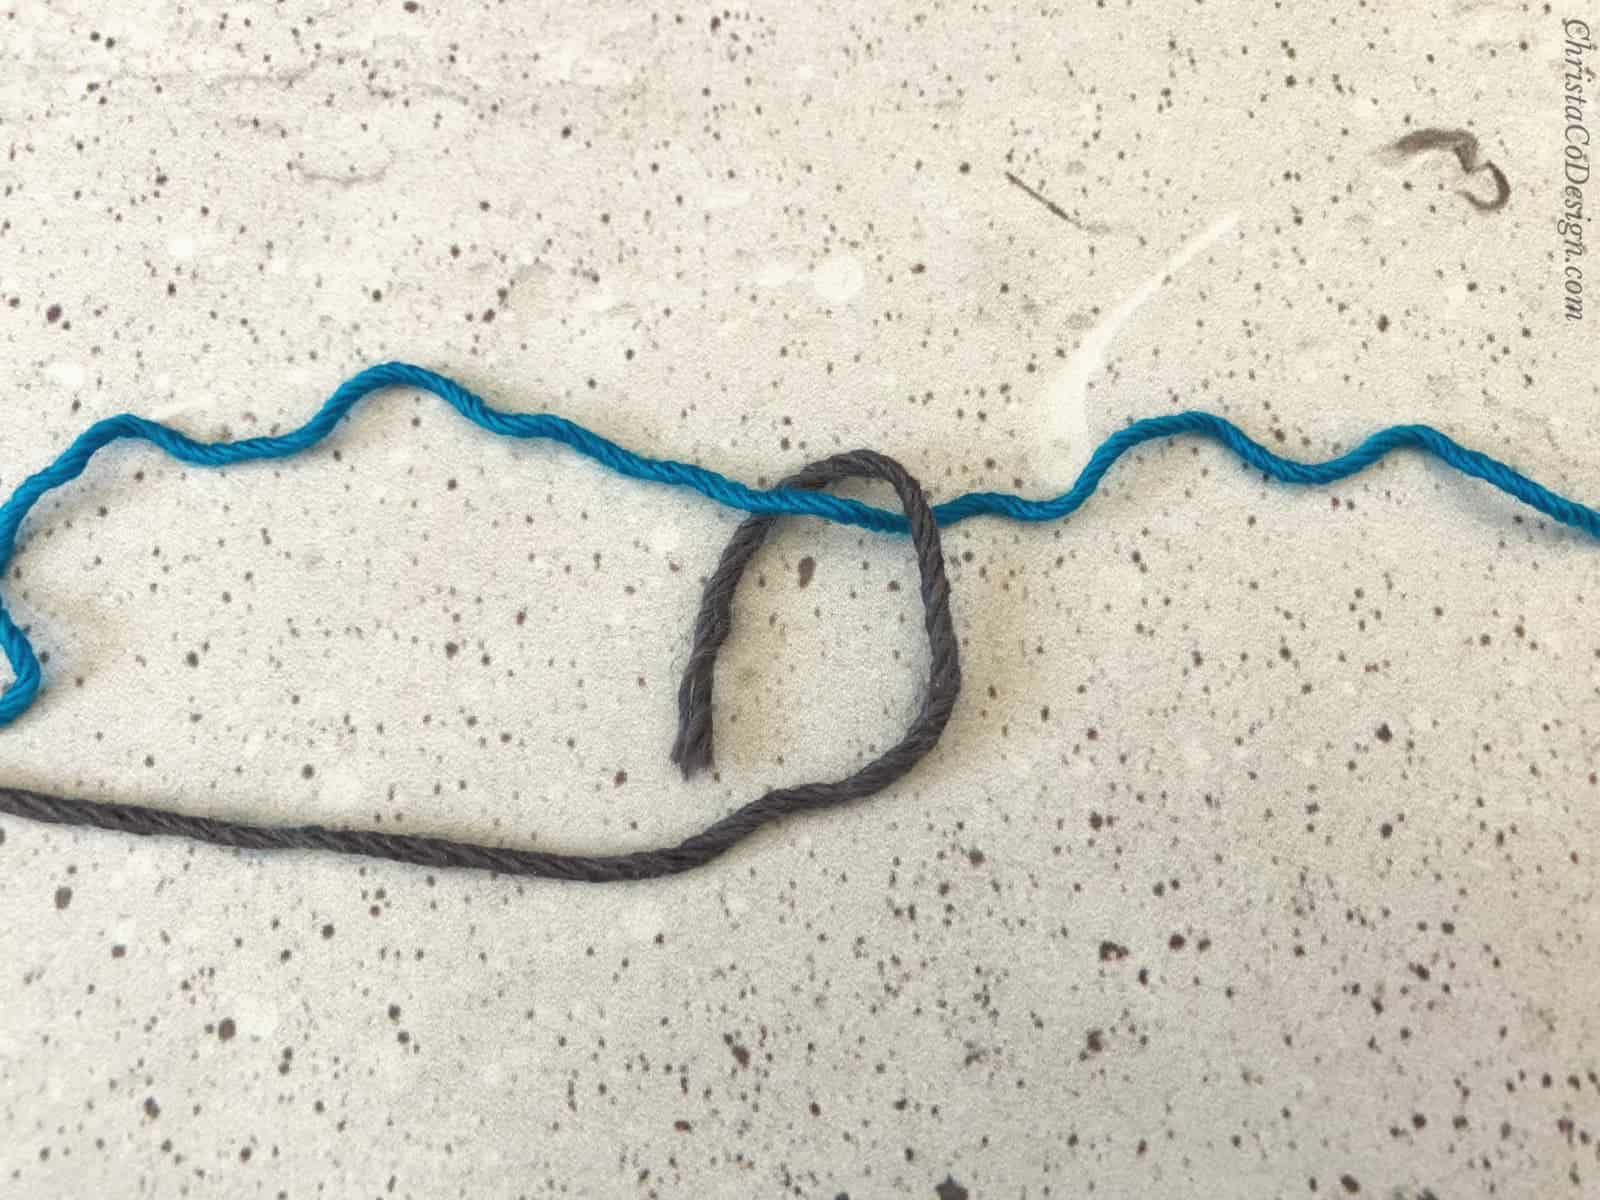
- Bring new (black) yarn over and under itself to tie knot.
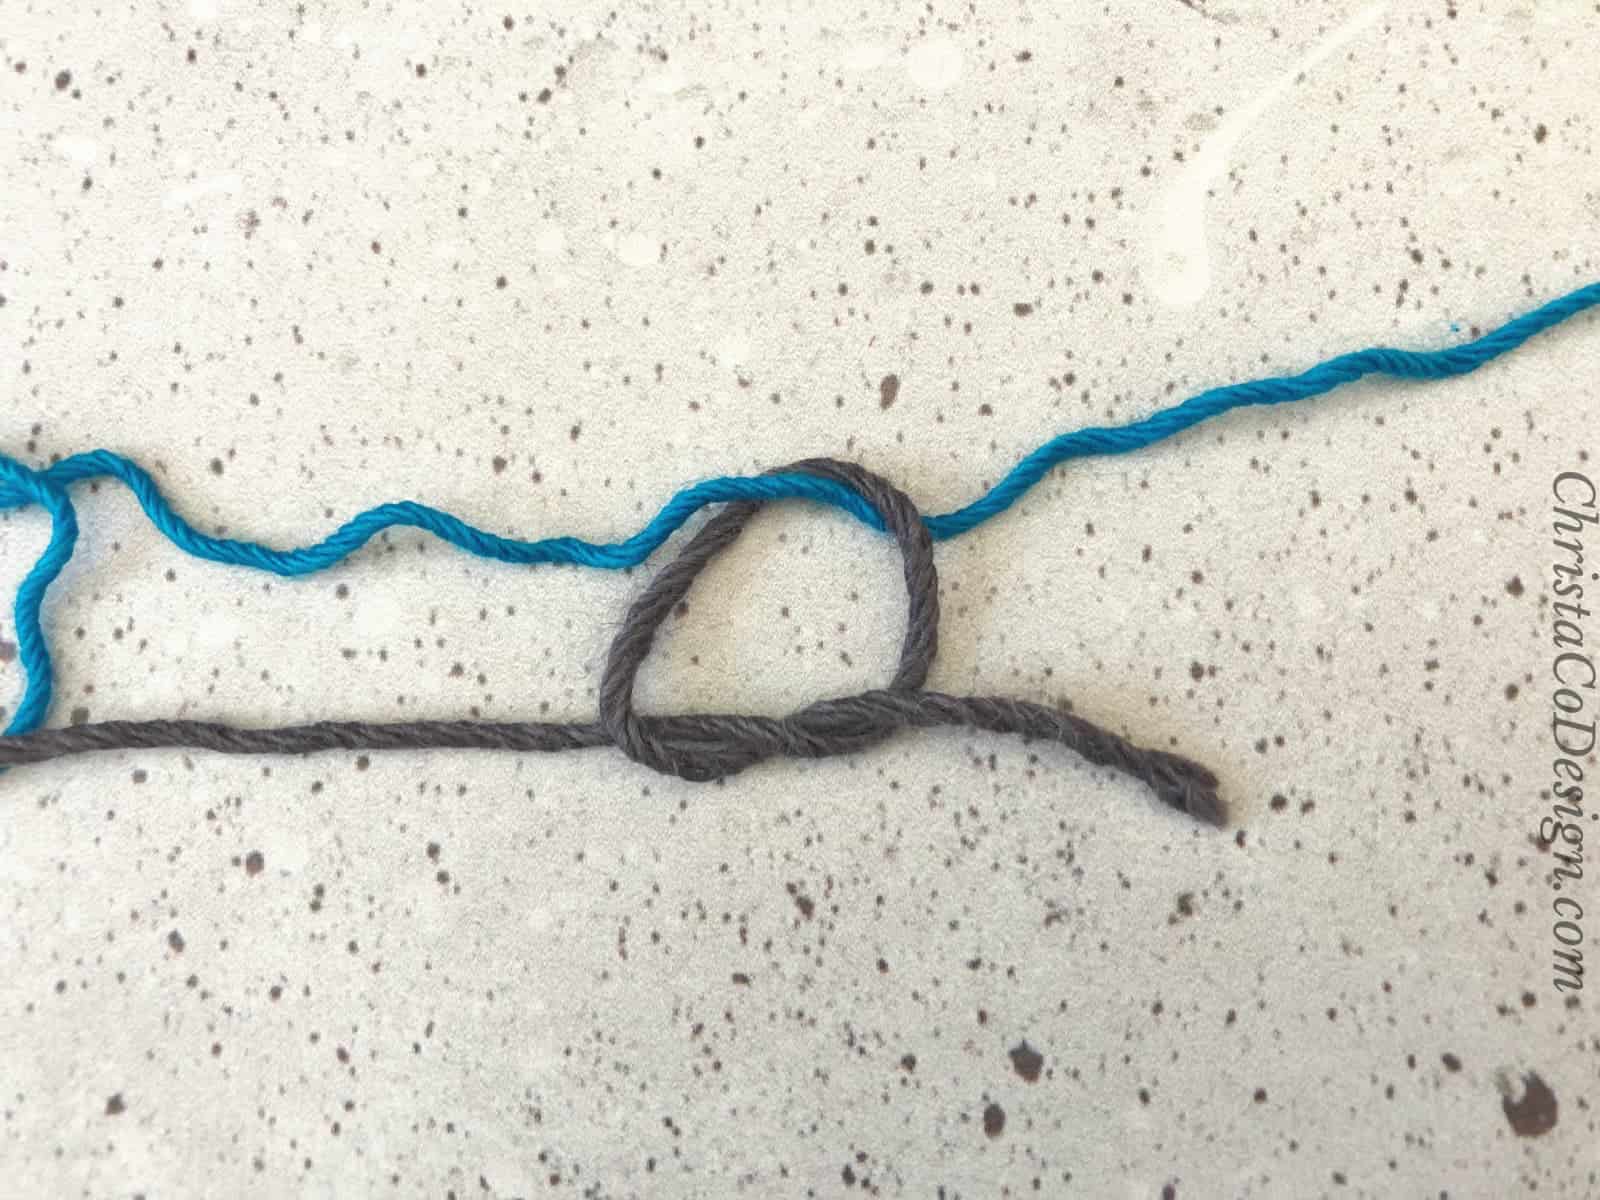
- You'll have two loose knots.
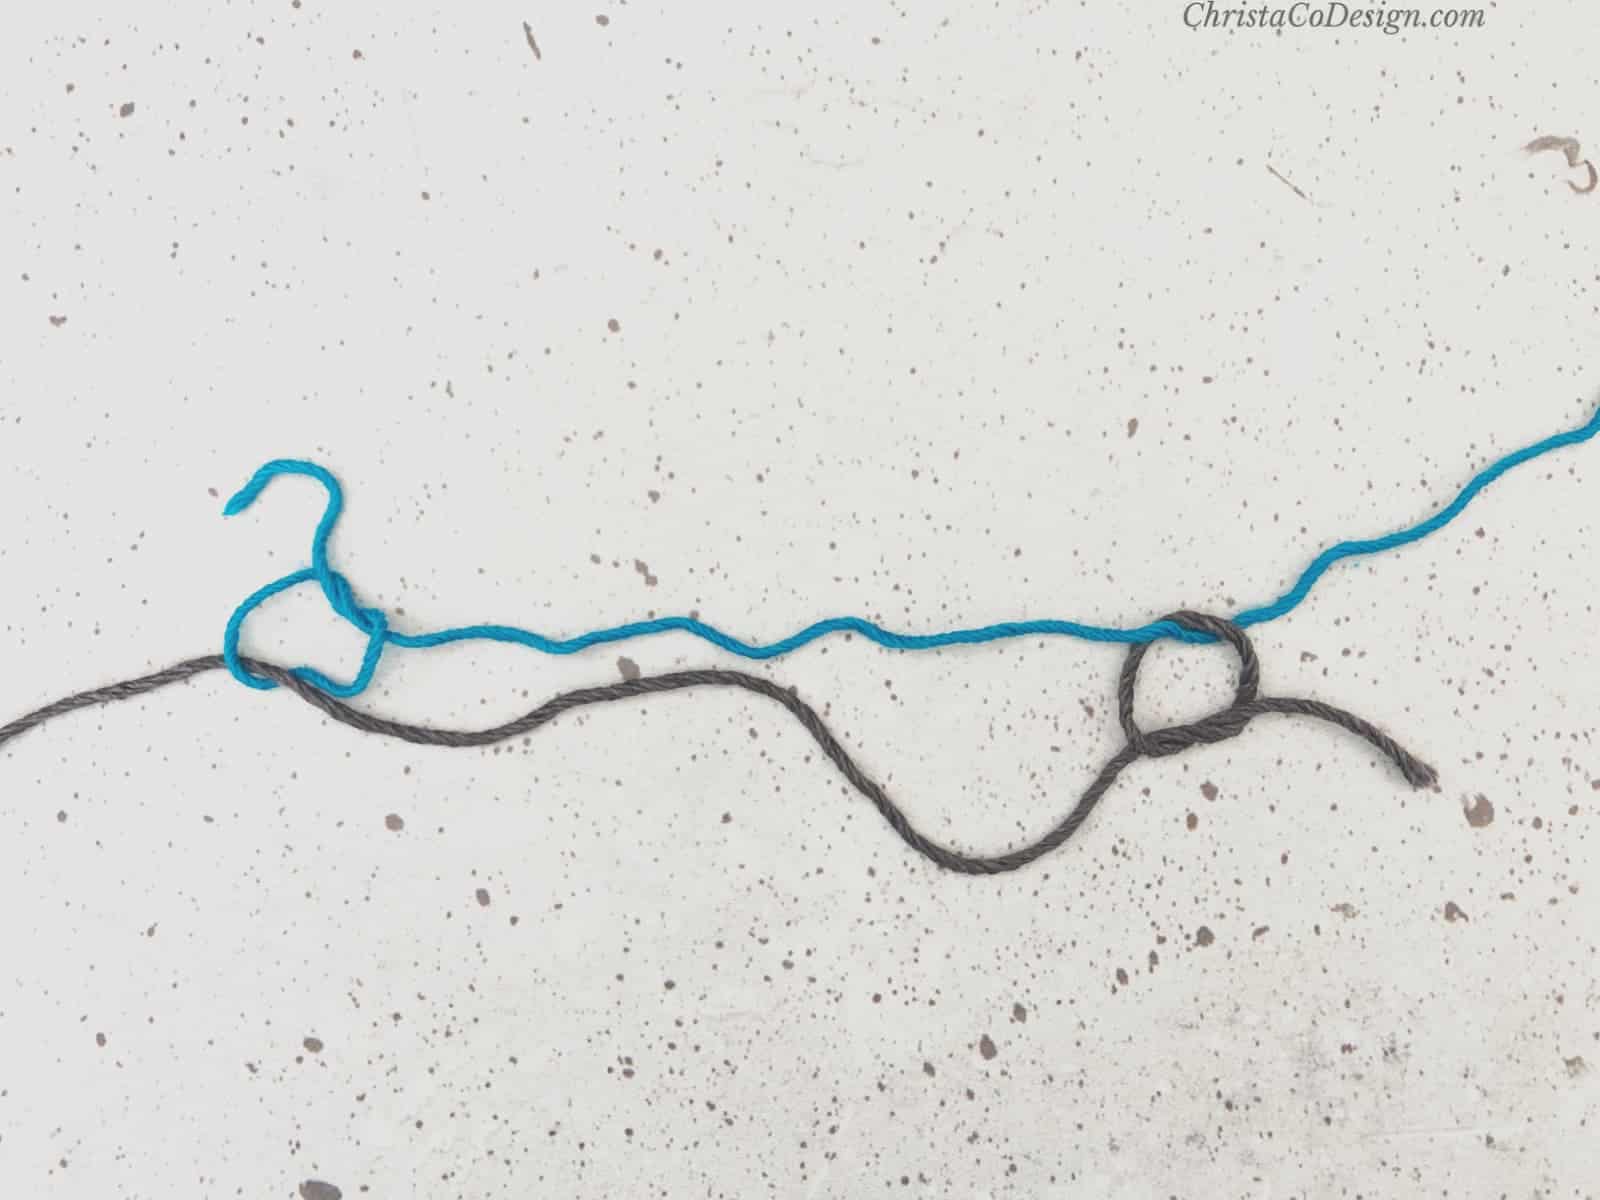
- Tighten both knots.
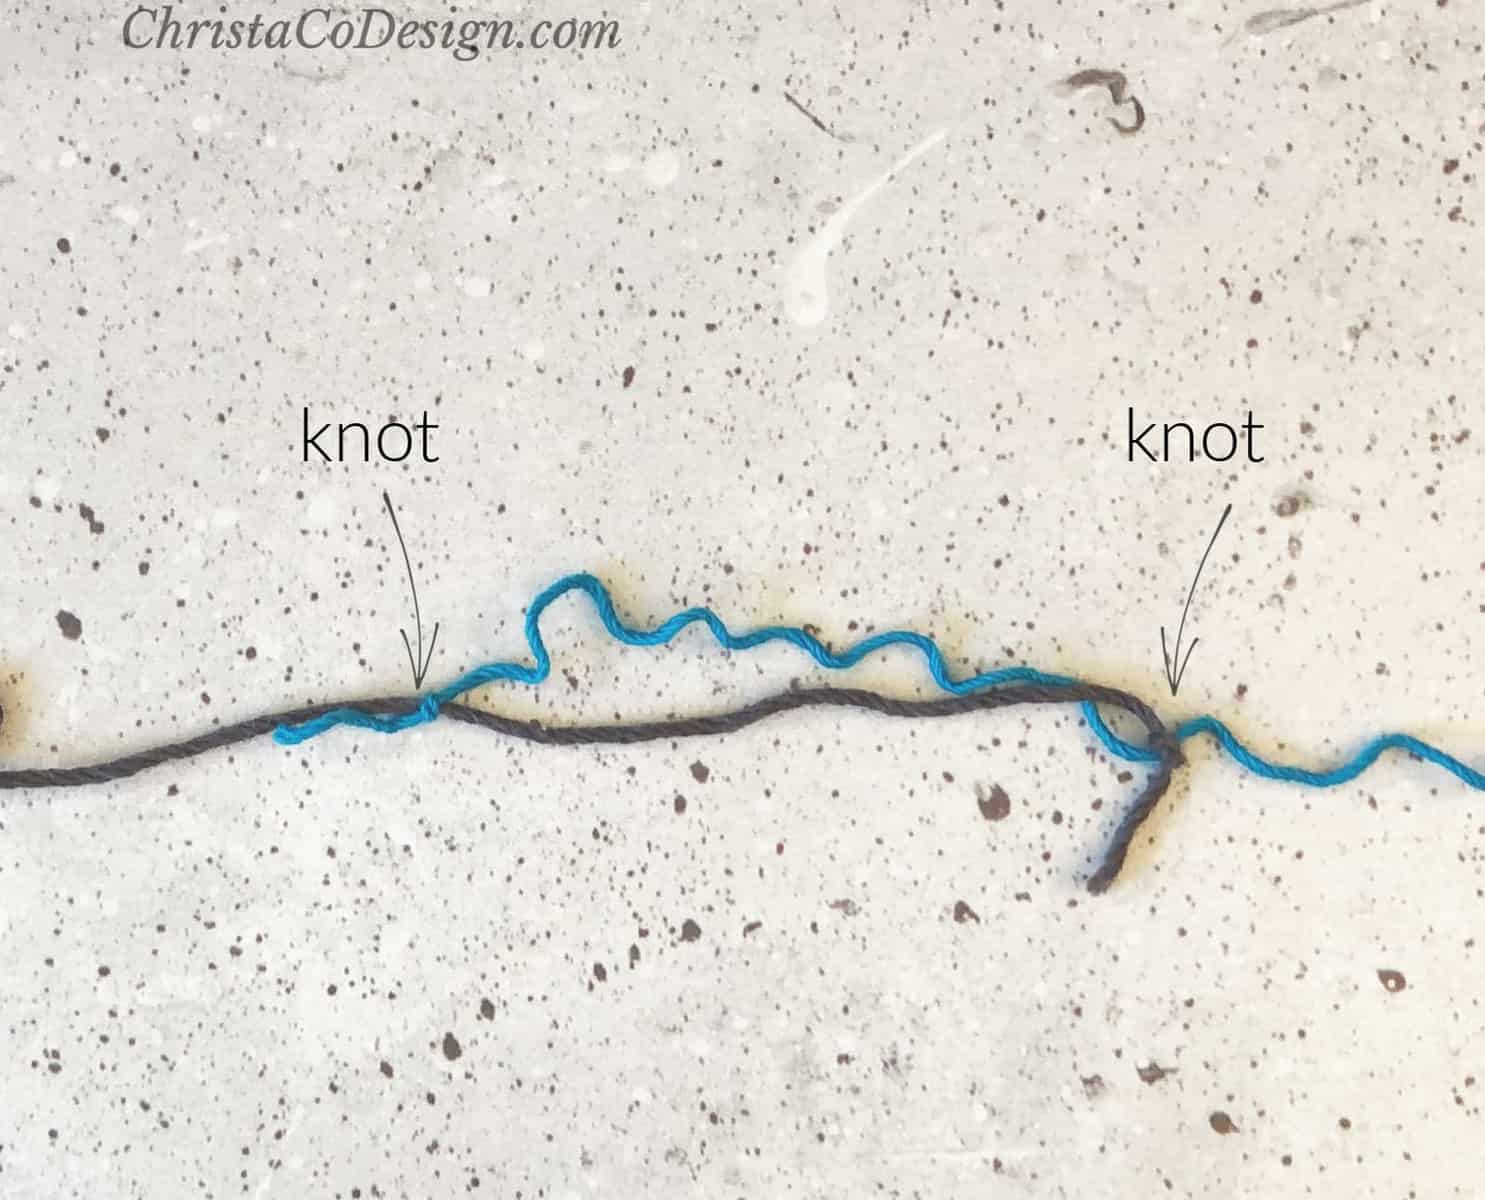
- Slide knots together by pulling on both ends of the working yarn.
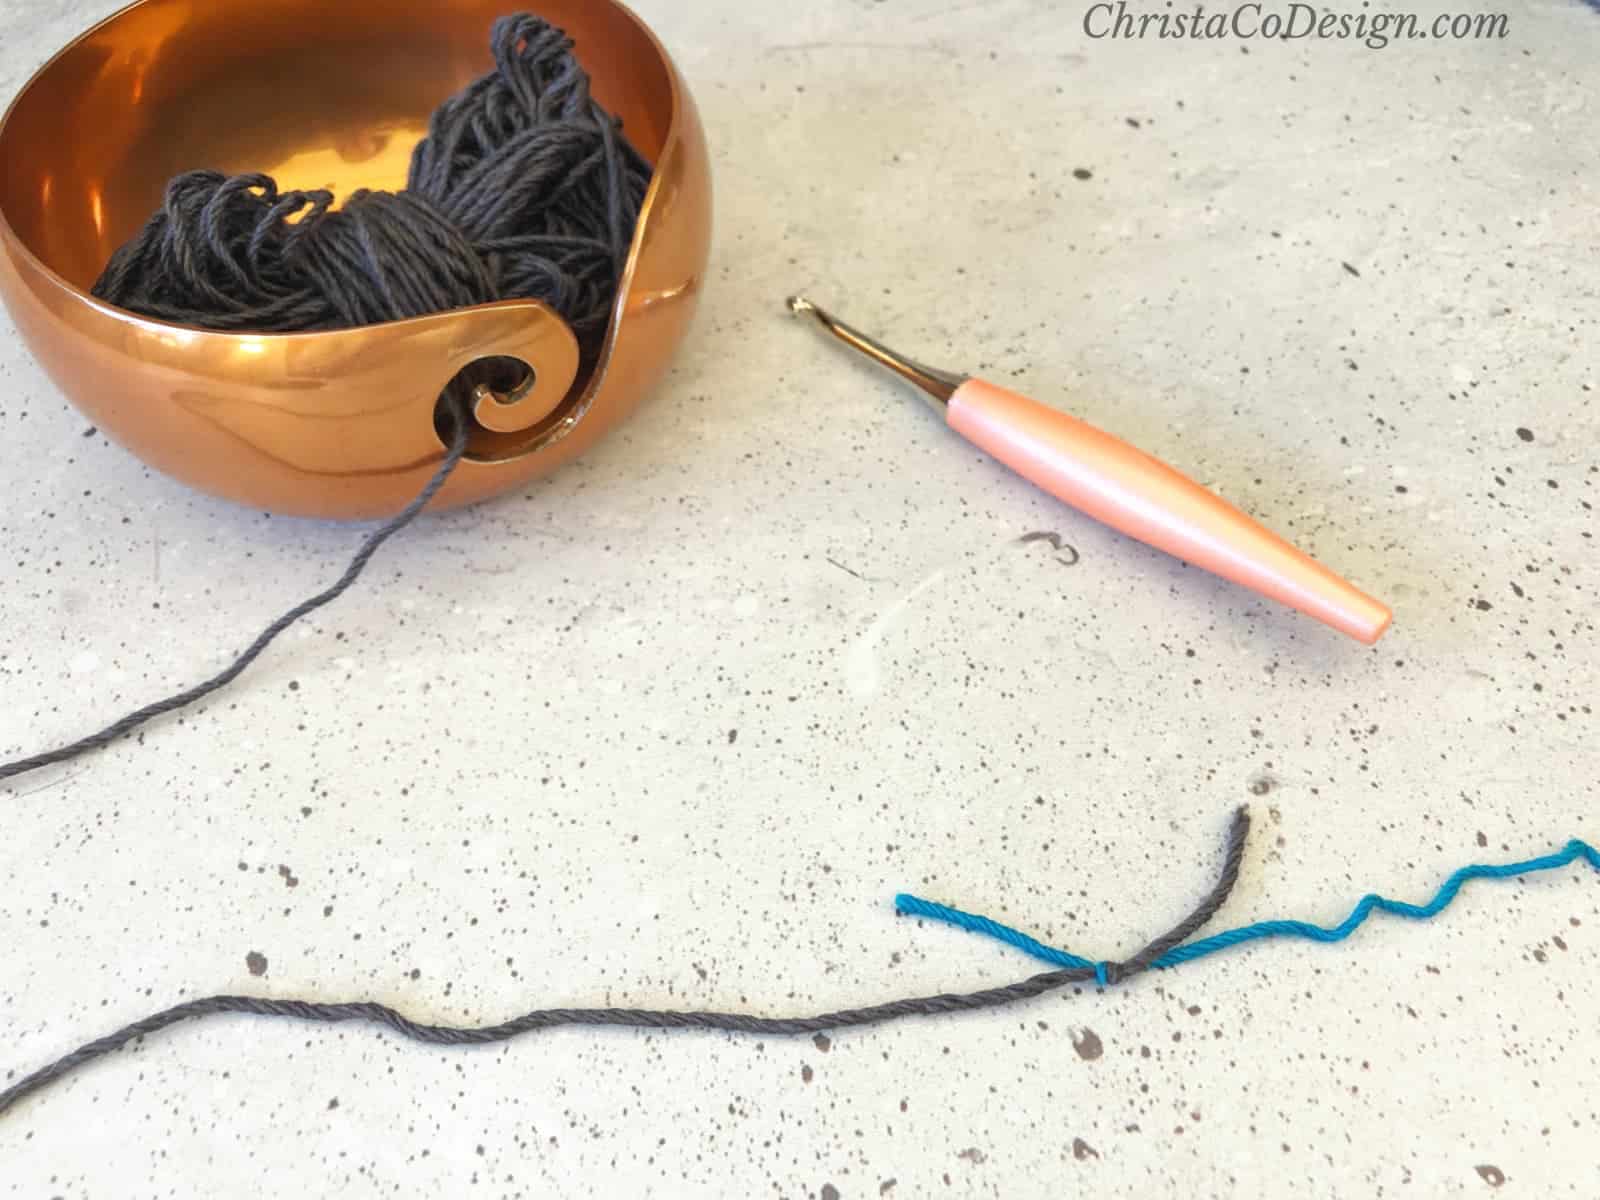
- Pull tails to secure.
- Trim the ends.
Recommended Products
As an Amazon Associate and member of other affiliate programs, I earn from qualifying purchases.

it is one of my favourite knots – very secure and usually almost invisible 🙂