How to Yarn Over for Knitting Increase Tutorial
Learn how to make a yarn over increase in your knitting pattern. The step-by-step tutorial shows you how to yarn over with pictures, written instructions, and a video tutorial.

This post contains affiliate links, I may earn a fee. Read more disclosure policy.
Join the ChristaCoDesign Newsletter
Never miss a pattern!
This type of increase is considered the easiest increase method. It leaves a small hole which is great for lace patterns.
In this tutorial I show you how to knit a yarn over on a knit row, and when you are on a purl side. Plus see what it looks like to knit into a yarn over on the following row.
Yarn Over Abbreviation
The yarn over is abbreviated YO in knitting patterns. A yarn over is a simple way to increase a stitch in knitting.
How to knit a yarn over
To make a yarn over you will simply wrap the yarn around the knitting needle, and continue knitting in the next stitch. You have made an extra stitch, so on the next row you will knit this yarn over just as you would any other knit or purl stitch.
One of the most important things to remember about working a yarn over in knitting is the correct way to wrap the yarn. Be sure to wrap the yarn from the front around the top of the needle to the back.
So if you are working knit stitches, then you will need to move the yarn to the front of your work. Then wrap the yarn over the needle and toward the back. Hold the yarn in place with your finger while you continue to knit the following stitches.
If you are making a yarn over with purl stitches, then your yarn will already be in the front. So you wrap the yarn from the front to the back, and (if you are purling the next stitch) then you bring the yarn back to the front to purl the next stitch.
Once you have worked the stitch after the yarn over, it will be locked in and you don’t have to hold it in place anymore.
What is a yarn over in knitting?
The yarn over in knitting is the easiest way to increase. It adds another stitch to your work.
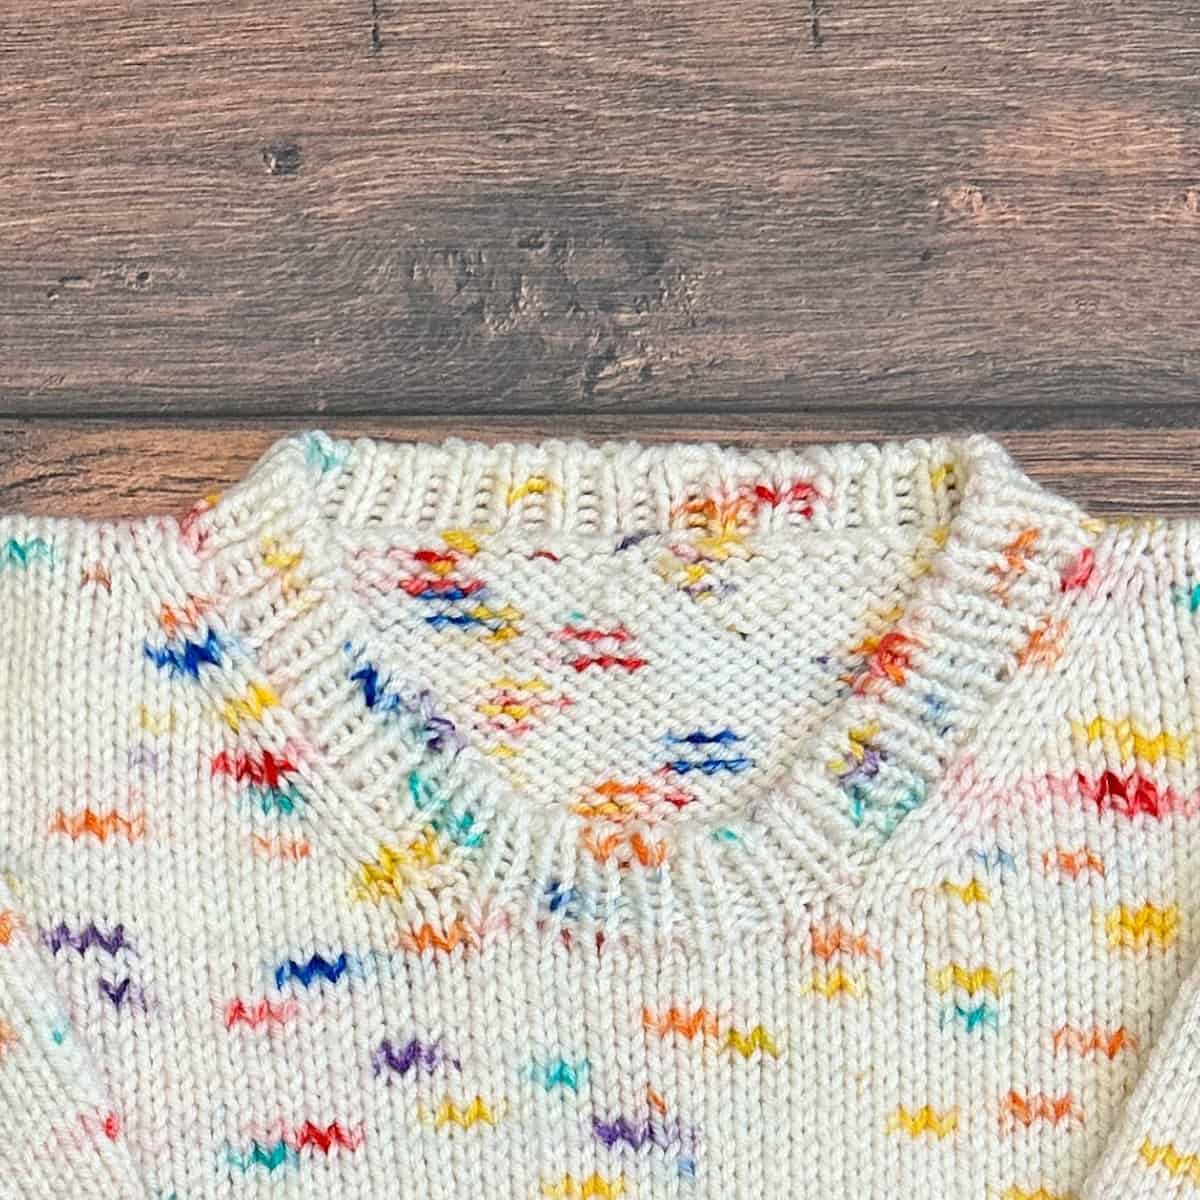
Yarn over increases also create a decorative eyelet design to your work. As it creates a little bit of a hole. It sounds much prettier to call it an eyelet!
For this reason the yarn over is often used in lace knitting for decorative increases. And to balance out the new stitches paired with the knit 2 together .
Mistakes with yarn overs
Creating a yarn over is simply wrapping the yarn over the needle. The knit (or purl) stitch is not included in the steps of making a yarn over.
Making accidental yarn overs is actually one of the more common mistakes made by new knitters (don’t worry it happens to all of us at one time or another)!
These accidental yarn overs often happen when move the yarn back and forth to create the different stitches. One way to spot a yarn over you didn’t mean to make is to look for how it creates the hole.
And and easy way to check is count your stitches. Since it creates an extra loop on your needle you’ll have an additional stitch.
More Knitting Increases
There are many ways to increase stitches in knitting. Another easy one is the KFB, or knit front back. This increase shows a bar like a purl bump. It’s great for garter stitch.
Video Tutorial
You can view the full video tutorial on my YouTube channel.
Scroll down for the yarn over increase knitting tutorial!
How to Yarn Over Knitting Increase Tutorial
Learn how to yarn over in this step-by-step tutorial with pictures, written instructions, and a video tutorial.
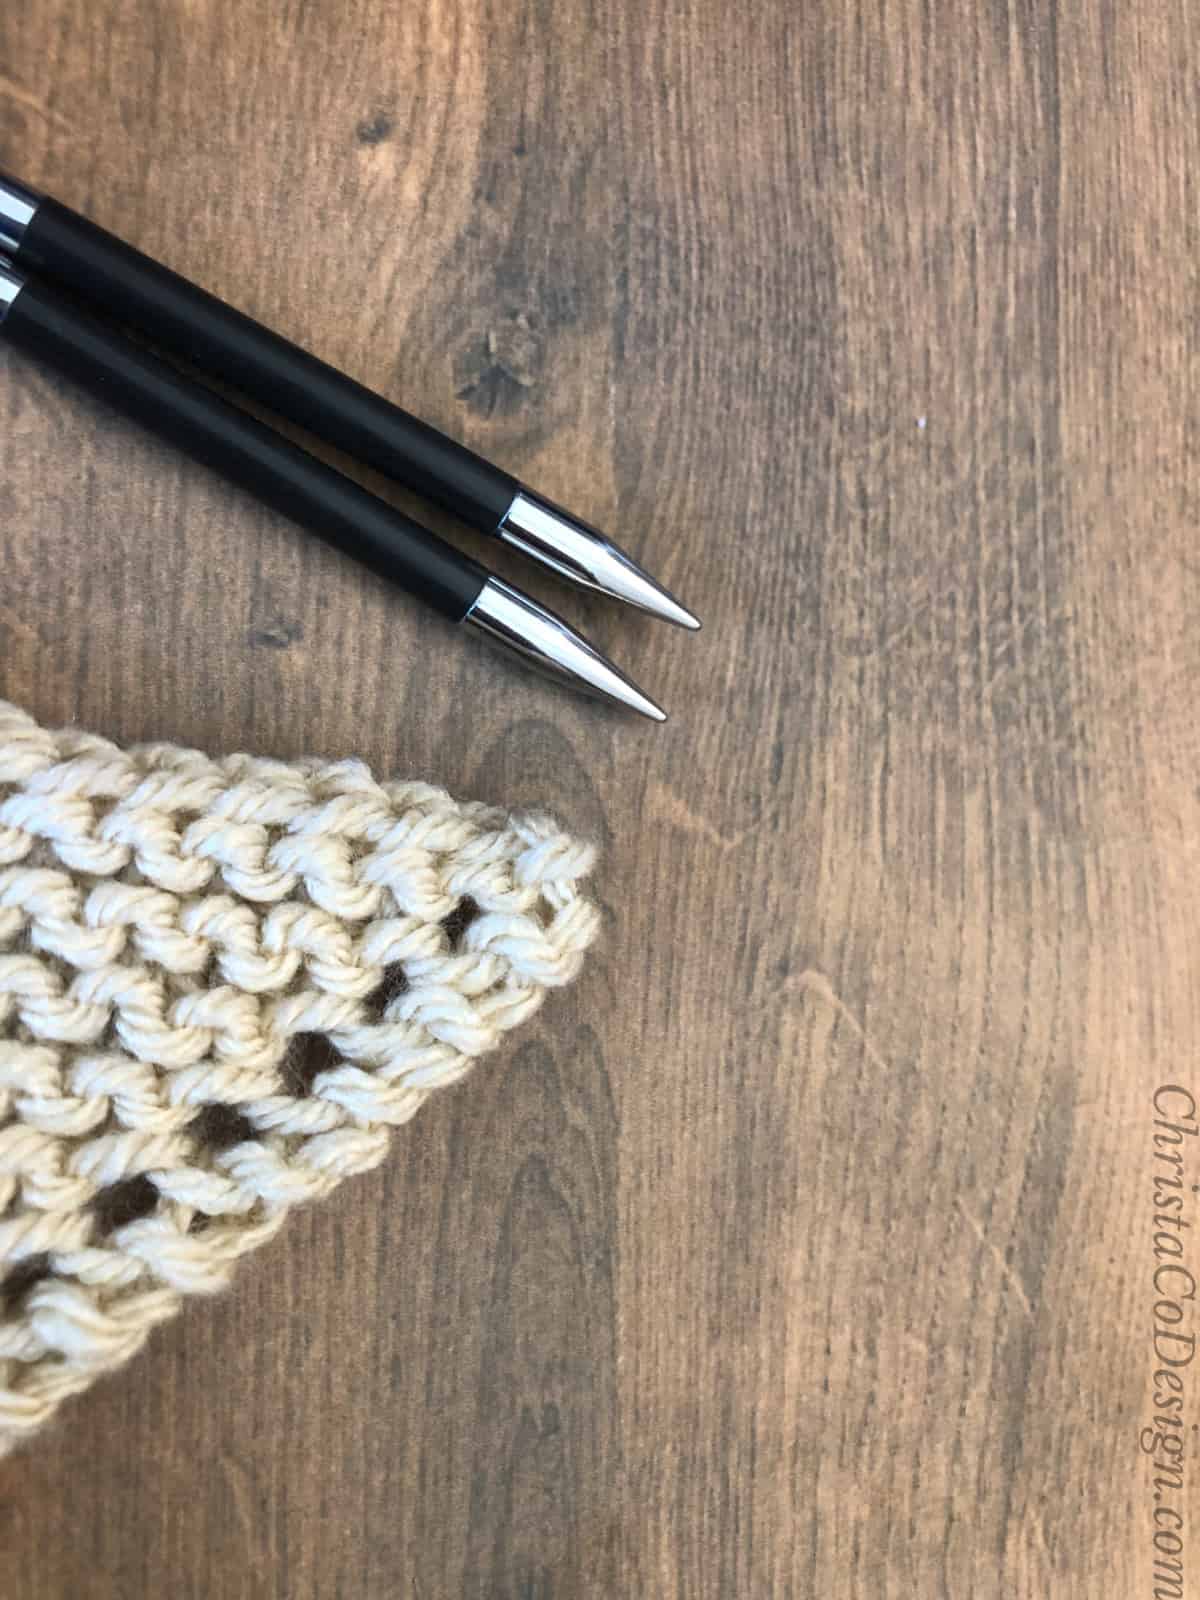
Materials
- A yarn over can be made with any weight yarn. I'm use Paintbox Simply Chunky a #5 bulky weight yarn for this tutorial.
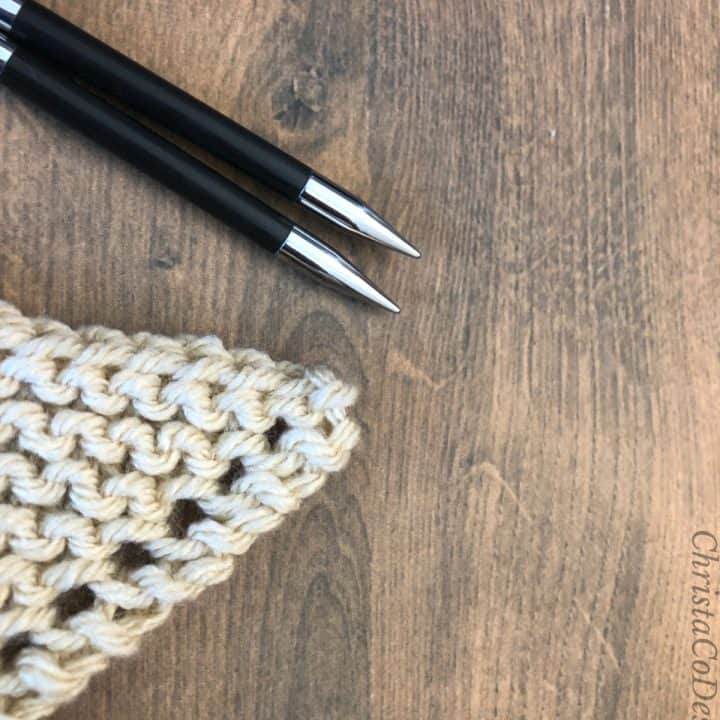
Tools
- Knitting needles to match your yarn. For this tutorial I'm using my 6 mm needles (US SIze 10) Knitter's Pride Karbonz Interchangeable needles.
Instructions
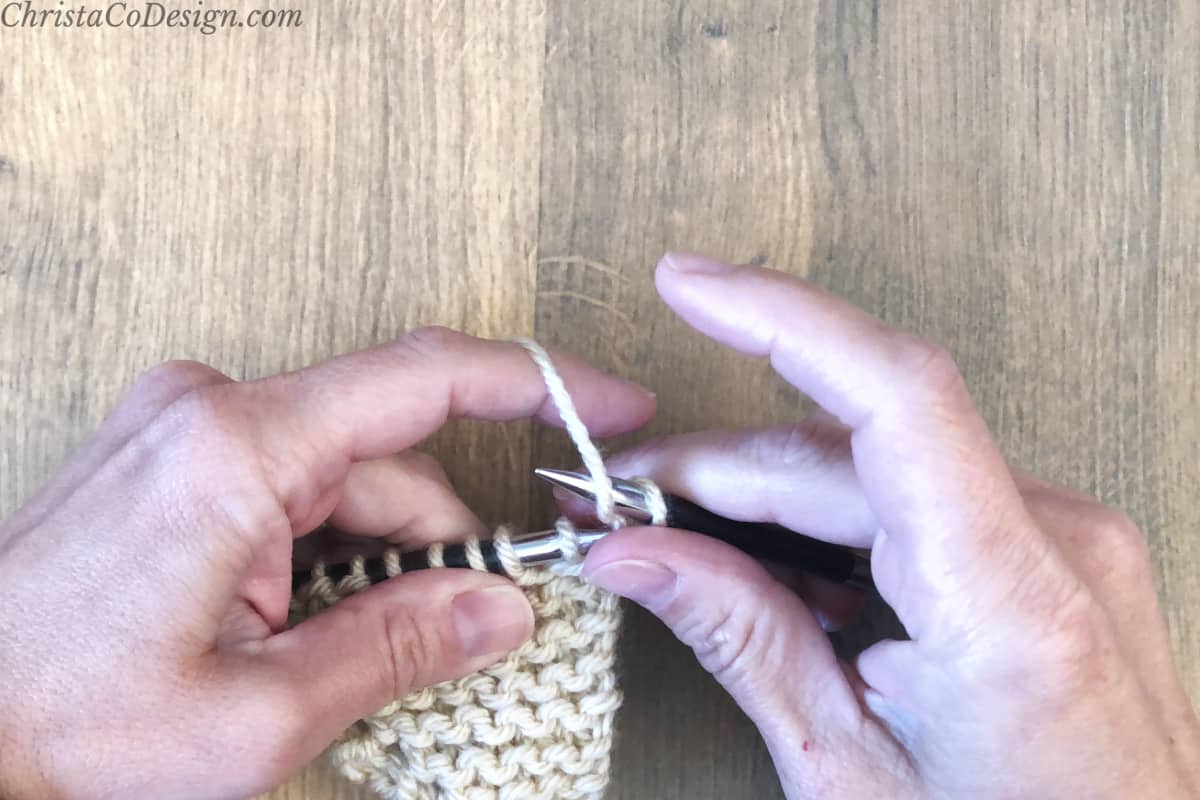
- Knit to the place you need to make a yarn over (YO).

- Bring the working yarn to the front of the work.
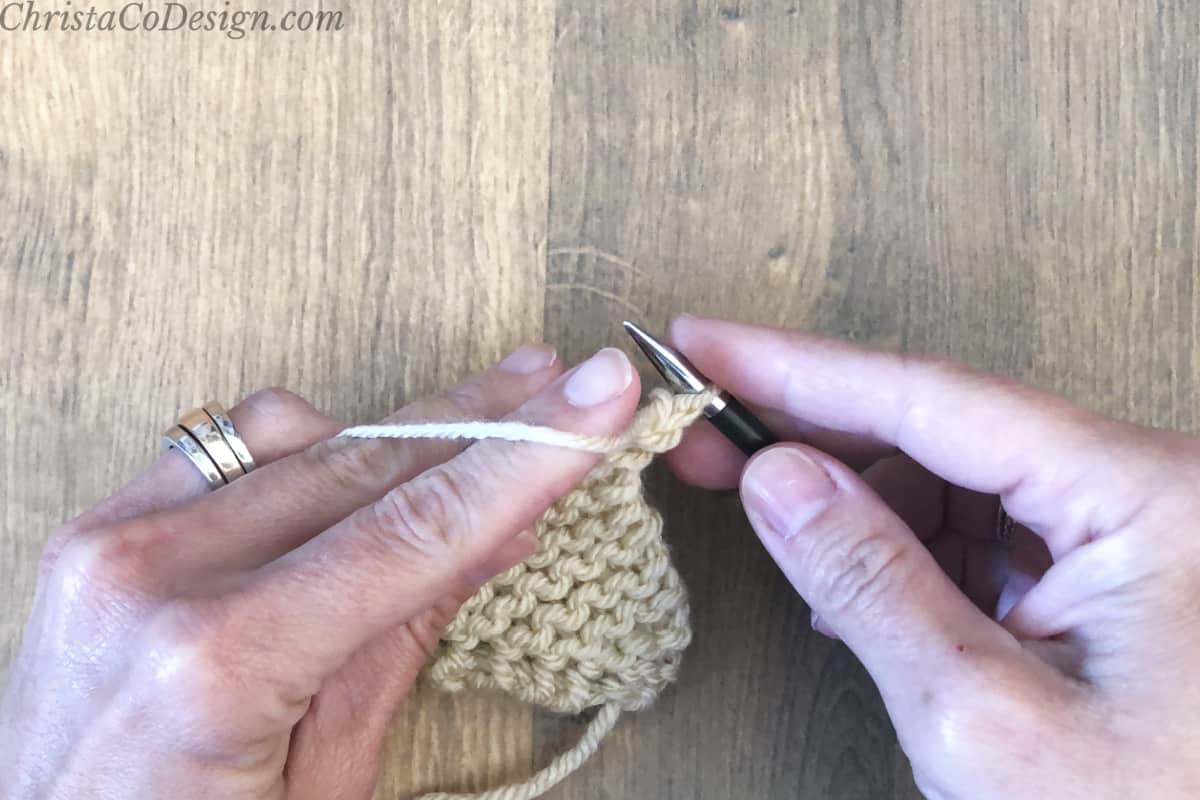
- Wrap the yarn around the right hand needle from front to the back of the work.
- Hold the yarn in place with your index finger.
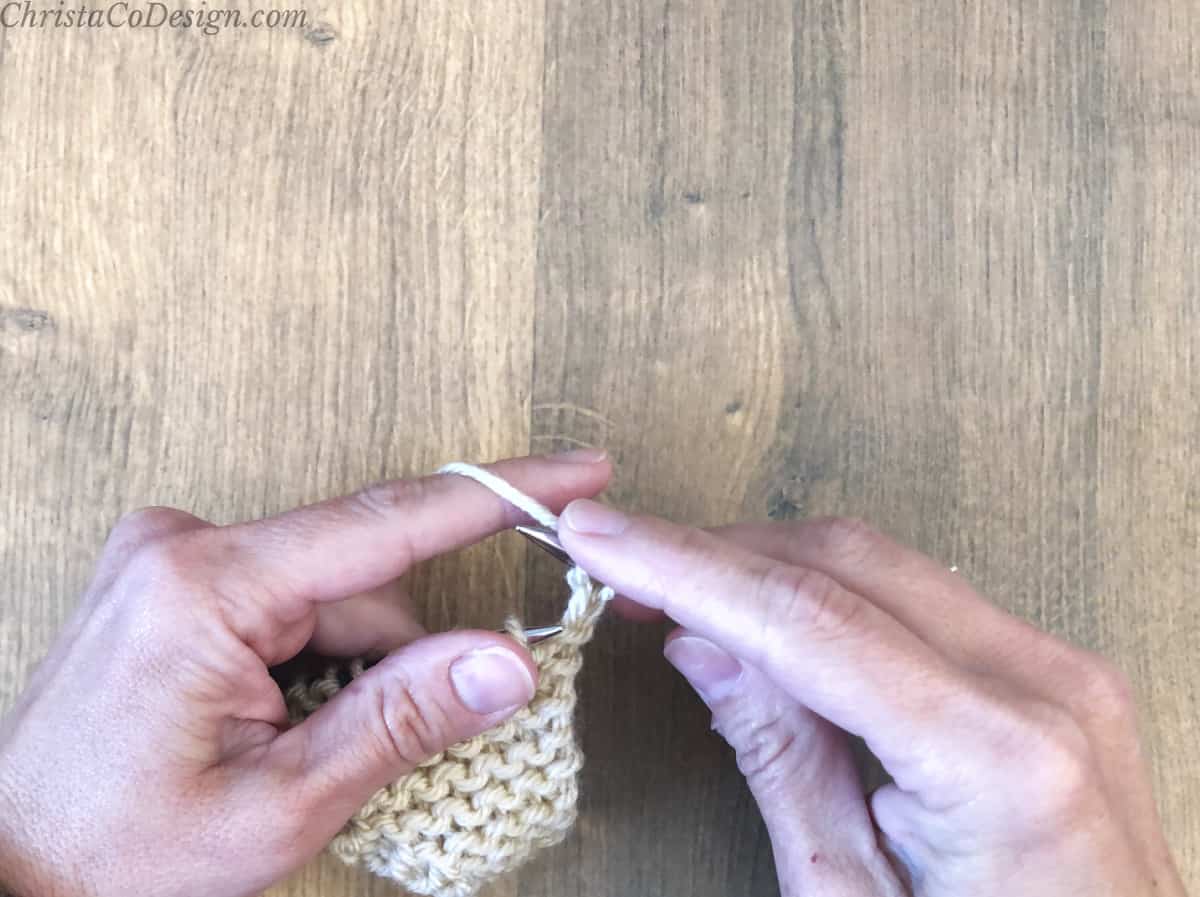
- Work the next stitch as normal. If you're making a knit stitch then your yarn is in the right place.
 If you're making a purl stitch then you'll need to bring the yarn forward again so you can purl like normal.
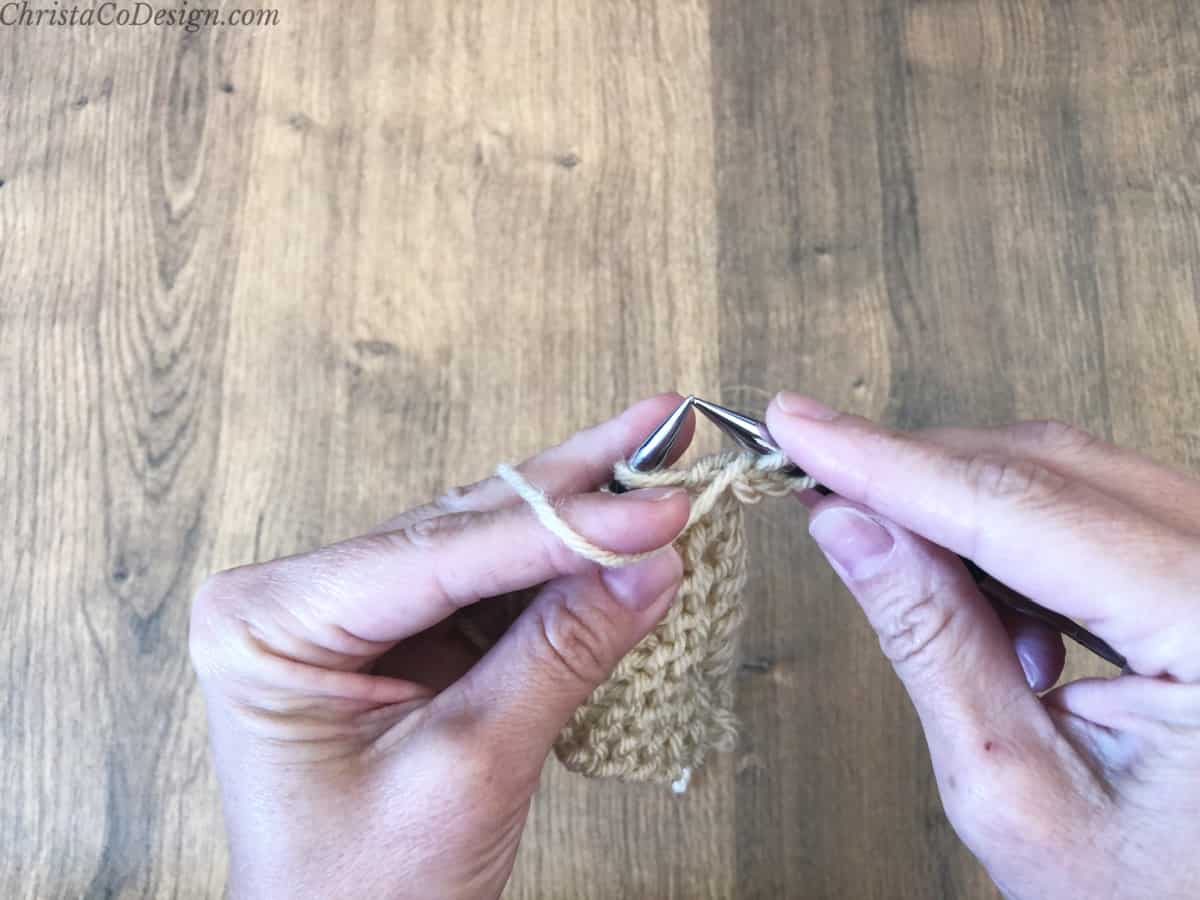
- Once you have worked the first stitch after the yarn over, there is no need to hold it in place and you can remove your finger.
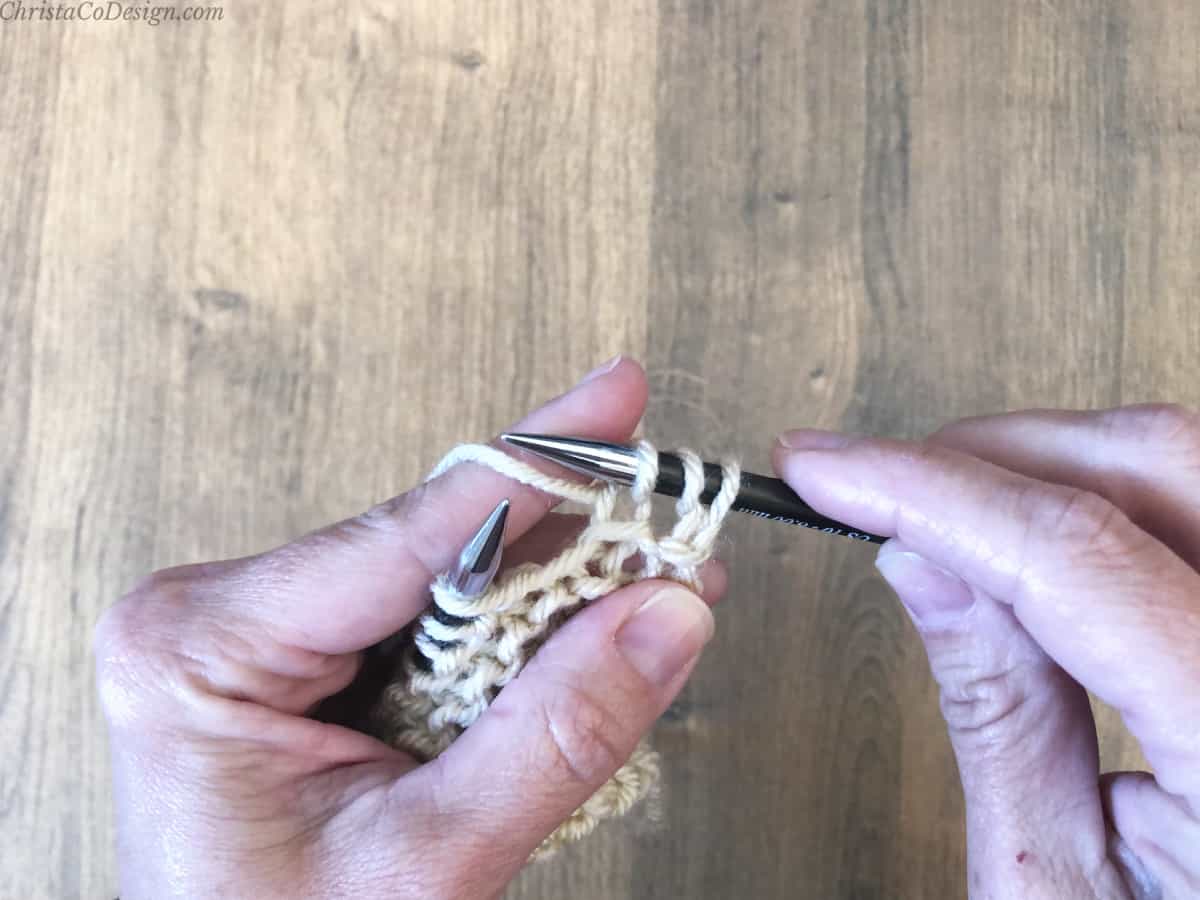
- When you work back on the return row, you can work into the yarn over like a normal stitch. The stitch will look open and looser.
- The yarn over creates an open space, or eyelet.
- Remember the yarn over will increase your stitch count.
- A yarn over is used as an easy increase or to create a lace design since it forms the eyelet.
Recommended Products
As an Amazon Associate and member of other affiliate programs, I earn from qualifying purchases.