
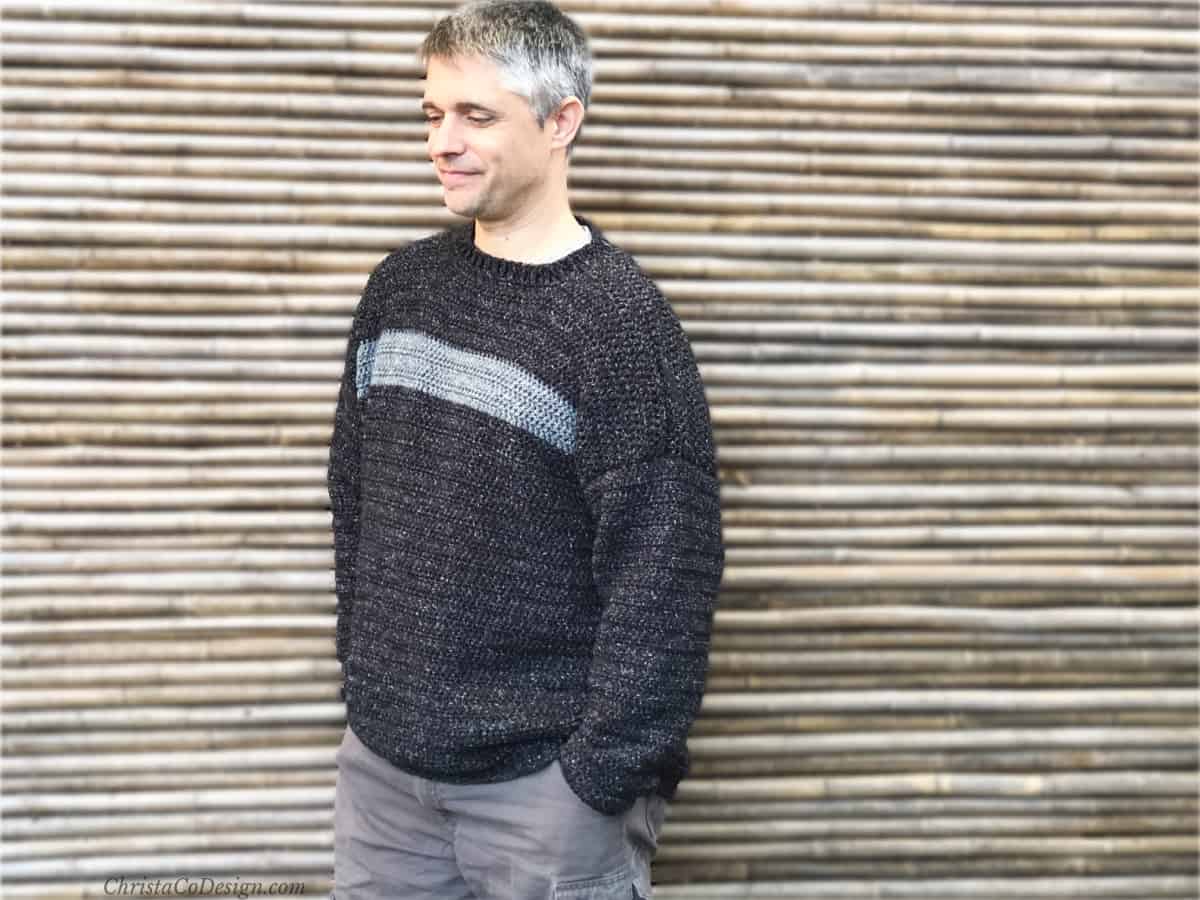
Free Crochet Pattern Men’s Crewneck Pullover Sweater
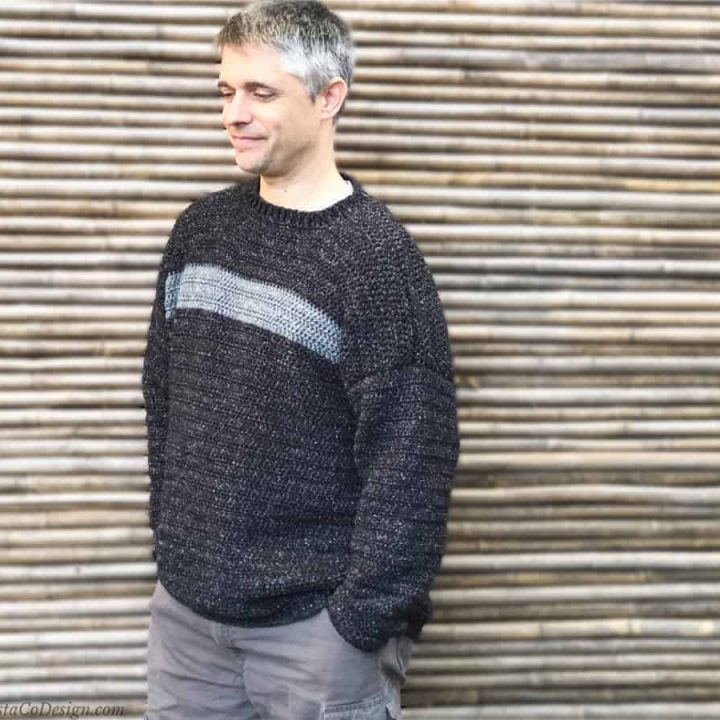
Learn how to make this men’s crochet sweater pattern in 9 sizes. Keep him cozy and polished looking in this classic design.

This post contains affiliate links, I may earn a fee. Read more disclosure policy.
Join the ChristaCoDesign Newsletter
Never miss a pattern!
The simple double crochet stitches make a great choice for a men’s crochet pullover sweater. It works up pretty quickly too.
The basic stitches work out great in this yarn since it has lots of variation in the color. It’s also way easier to work with than straight black yarn.
Thanks to Lion Brand for sending me the yarn to make this sweater.
Purchase the ad-free, well formatted printable PDF Pattern from my shop. Scroll down for the free pattern!
Purchase My Ad-Free PDF Patterns In Your Favorite Shop Here:
The only stitch pattern to consider is the ribbing added to the cuffs, hem and neckline. So you can easily adjust this free crochet sweater pattern by adding or taking away stitches and rows as needed.
The finished ribbing makes for a handsome pullover! What a thoughtful gift this cozy sweater would be for Father’s Day.
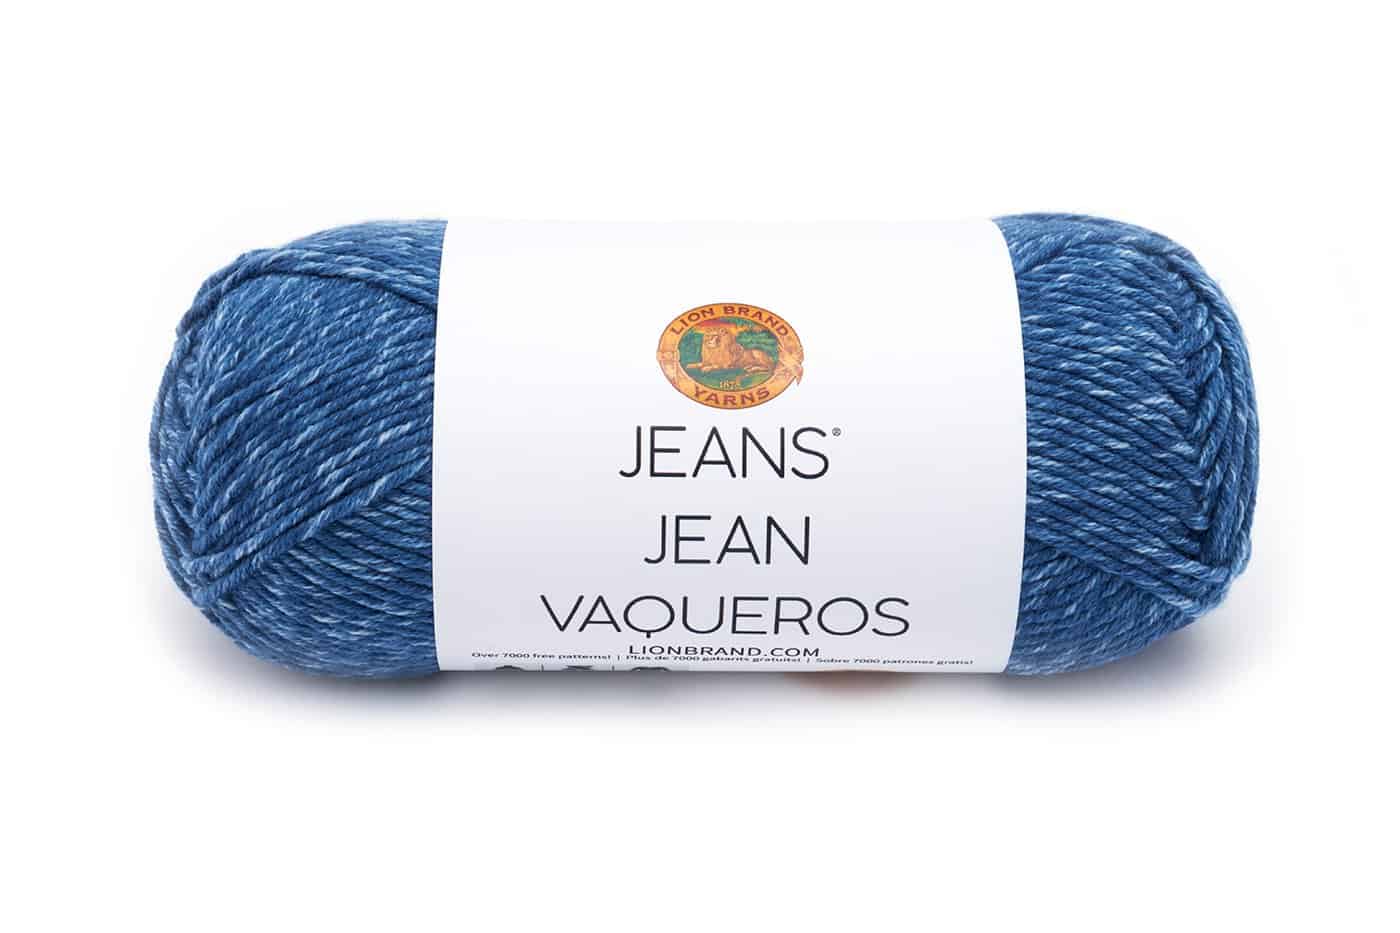
The Yarn
I chose Jeans from Lion Brand Yarn to design this classic crew neck sweater.
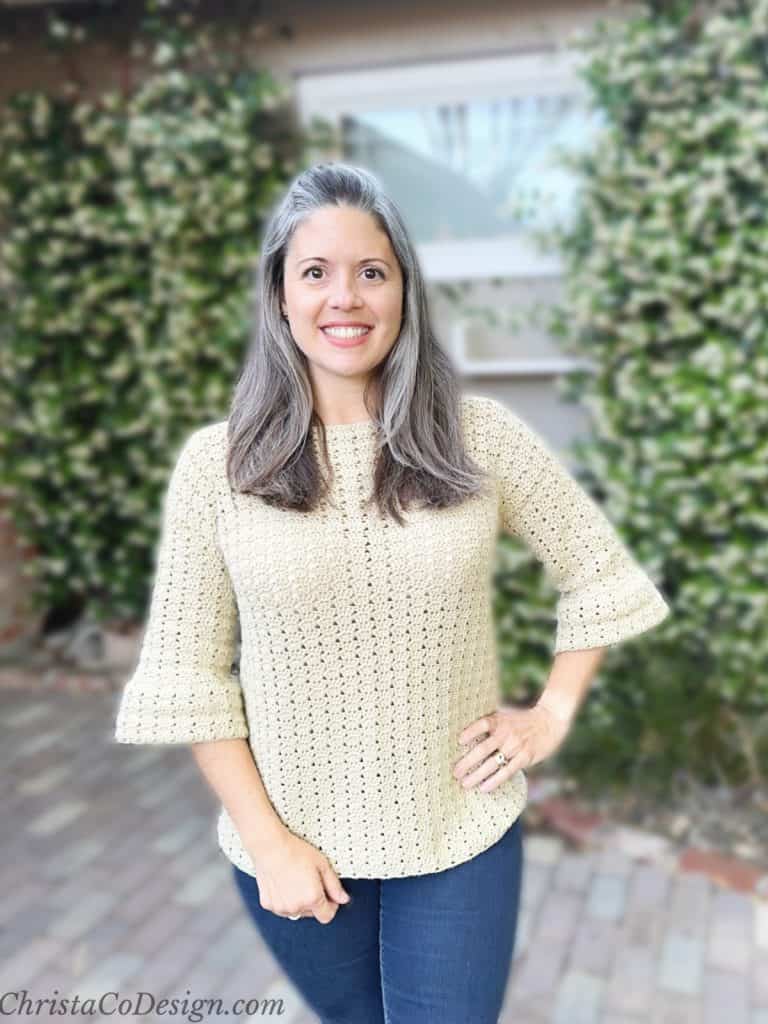
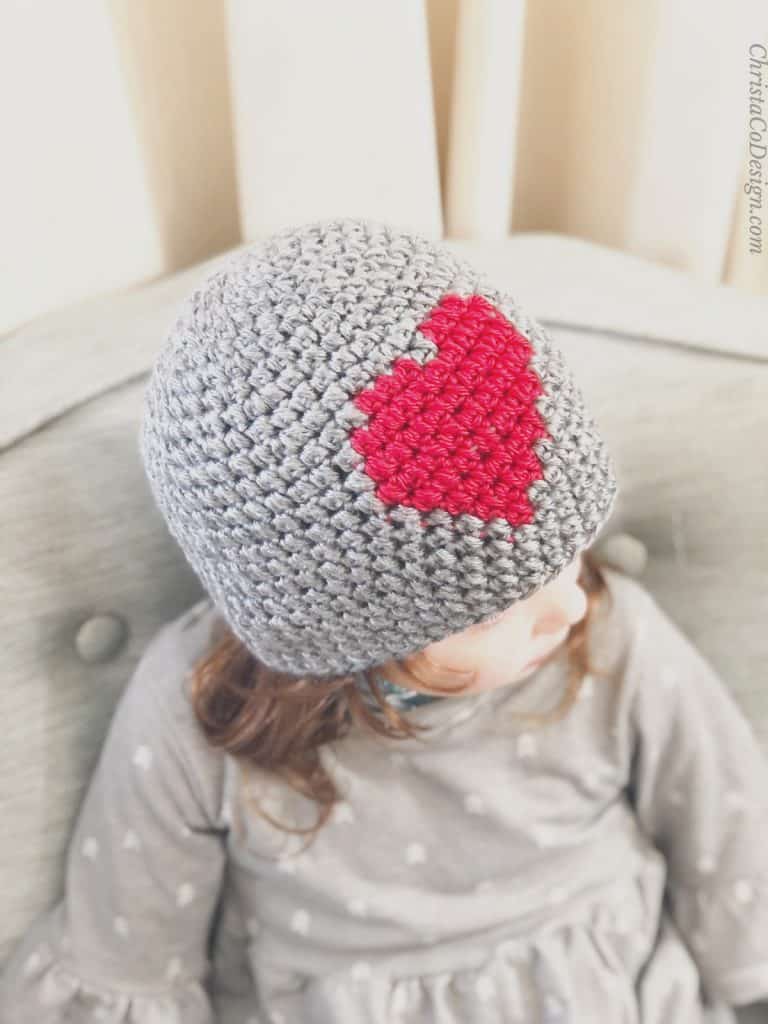
I also crocheted a child size sweater in Jeans yarn. You might check out my Short Sleeve V-Neck pattern. This cute crochet sweater has been the most worn and loved sweater by my kids!
You can substitute another yarn if you need. Heartland* would be a great option I think. Just be sure to check gauge with your yarn and hooK!
Save your favs!
Add this pattern to your Ravelry queue.
More Crochet Garments For Men!
The Alfonso Vest is a classic v-neck crochet vest that’s also a free pattern.
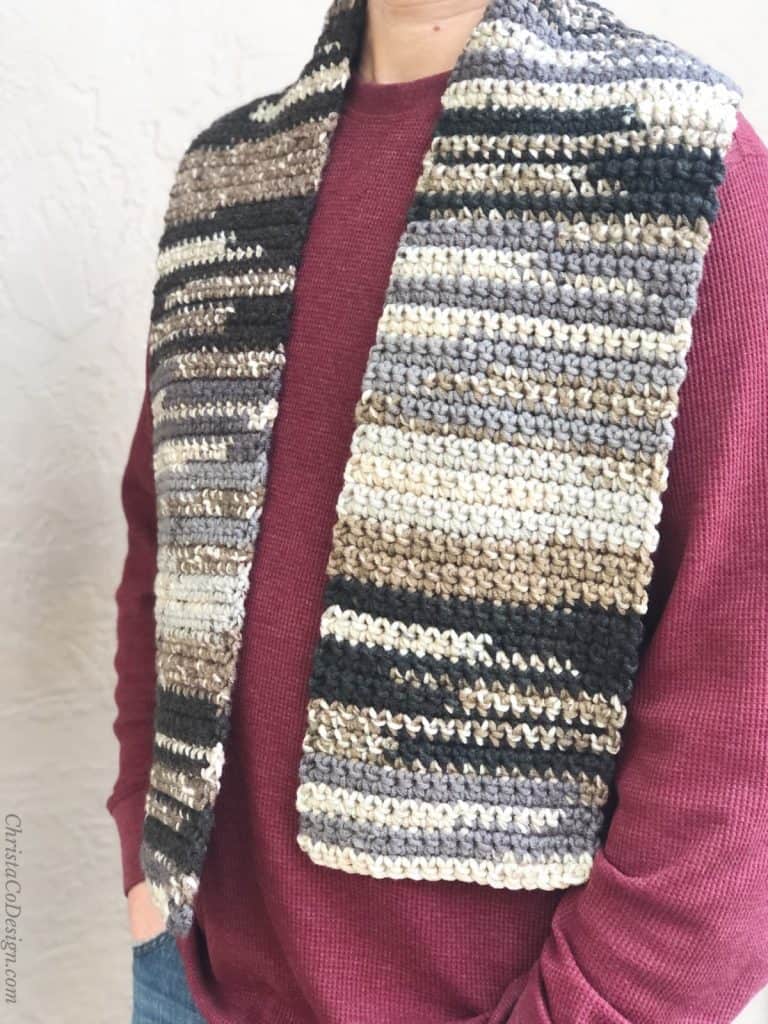
I was able to make the Simple Striped Sweater in his favorite color of this soft yarn.
Materials
- 5mm (US Size H-8) hook,* Yarn needle, Measuring tape, Scissors
- Lion Brand Jeans Yarn* (100% Acrylic, 3.5 oz / 100g, 246 yd / 225 m) a #4 med worsted weight yarn; 7 (7, 8, 8, 9, 9, 10, 10) total balls divided as 6 (6, 7, 7, 8, 8, 9, 9) balls of main color (MC) and 1 ball of contrast color (CC). See approximate yardage by size below.
Yarn By Size
- (S) 1402 yd in MC & 75 yd in CC
- (M) 1467 yd in MC & 78 yd in CC
- (L) 1575 yd in MC & 84 yd in CC
- (XL) 1708 yd in MC & 88 yd in CC
- (2X) 1901yd in MC & 92 yd in CC
- (3X) 1952 yd in MC & 96 yd in CC
- (4X) 2071 yd in MC & 101 yd in CC
- (5X) 2195 yd in MC & 107 yd in CC
Skill Level
Easy
The ribbing requires post stitches and the join and turn technique may be new to a beginner crocheter. I have tutorials linked under special stitches below.
Gauge
4” / 10 cm x 4”/ 10 cm = 13.5 dc x 8 rows of dc after blocking
Please start with a gauge swatch to get the best fitting results.
Notes
- Ch 3 counts as a stitch, I highly recommend using a ch 3 alternative, here’s my favorite.
- Pattern is written as S (M, L, XL, 2X, 3X, 4X, 5X).
- Until you add the finishing ribbing the sweater and sleeves are reversible. In the pattern Row 2 is the right side. If you prefer place a stitch marker on the right side to help you remember.
Sizing
S (M, L, XL, 2X, 3X, 4X, 5X).
To Fit Chest in inches = 36″ (40, 44, 48, 52, 56, 60, 64) in.
With suggested ease of 3 – 4”.
Finished Chest in inches = 39.5″ (44, 48, 52, 56, 59.5, 64, 68) in.
Length in inches = 25″ (26, 28, 29, 30, 31, 31, 33) in.
For reference Size L is pictured on 5′ 10″ man with 42″ chest.
Fit & Adjustments
The suggested fit is with 3 – 4” of ease. Where finished measurements are larger than the actual body measurements. Go down a size in the pattern for a snugger fit. Go up a size for a looser fit.
The suggested length reaches just past the bottom. To adjust length add or subtract rows before dividing the front and back.
You can adjust the neck opening by skipping more / less stitches, or by lengthening / shortening the shoulders. Take note that ribbing is added afterwards so the neck opening is made larger to accommodate this finishing. The ribbing requires an even stitch count.
Construction
This sweater is crocheted in 3 pieces. Sweater is worked bottom up in the round, but you turn after joining each round so you will work on both sides of the fabric.
Sleeves are worked separately in the same way, from the wrist up, increasing to the necessary width, then sewn to the body. Ribbing is added to hem, cuffs and neckline at the end.
Stitches/Abbreviations
US Terms
CC – contrasting color
ch – chain
dc – double crochet
MC – main color
RS – right side
sl st – slip stitch
WS – wrong side
Special Stitches
Fdc – foundation double crochet
Ch 3 alternative this is a written and video tutorial for my favorite way to start a row of dc!
inv join – invisible join
Purchase the ad-free, well formatted printable PDF Pattern from my shop. Scroll down for the free pattern!
Pattern Instructions
Men's Crewneck Sweater Crochet Pattern
Learn how to crochet a men's crewneck sweater in this simple crochet pattern.
Materials
- Lion Brand Jeans Yarn (100% Acrylic, 3.5 oz / 100g, 246 yd / 225 m) a #4 med worsted weight yarn; 7 (7, 8, 8, 9, 9, 10, 10) total balls divided as 6 (6, 7, 7, 8, 8, 9, 9) balls of main color (MC) and 1 ball of contrast color (CC). See approximate yardage by size above.
Tools
- 5mm (US Size H-8) hook
- Yarn needle
- Measuring tape
- Scissors
Instructions
Body
In MC
Row 1. Fdc 132 (148, 160, 176, 188, 200, 216, 228) join to first st with a sl st and turn. If you are unfamiliar with fdc and would prefer you can Chain 134 (150, 162, 178, 190, 202, 218, 230) dc in the 4th ch from your hook then dc in each ch across, join to first st with a sl st and turn.
Row 2. (RS) Ch 3, dc in each st across, join to first st with a sl st and turn. (132, 148, 160, 176, 188, 200, 216, 228 sts)
Row 3. Rep Row 2 until work measures 14 (14.5, 16, 16.5, 17, 17.5, 17, 18.5)” long.
Divide
Now divide the sweater into the front and back panels.
These will be worked flat, separately.
This section is worked over 9 (9.5, 10, 10.5, 11, 11.5, 12, 12.5) inches to accommodate the armhole opening. To adjust add / subtract rows before striping.
Row count starts over. Move the joining seam to be on the side of the sweater.
Front Panel = 66 (74, 80, 88, 94, 100, 108, 114 sts)
Back Panel = 66 (74, 80, 88, 94, 100, 108, 114 sts)
Back
Continue in MC.
Row 1. Ch 3, dc in next 65 (73, 79, 87, 93, 99, 107, 113 sts) and turn. (66, 74, 80, 88, 94, 100, 108, 114 sts)
Rep Row 1 for 7 (8, 9, 10, 11, 12, 13, 14) more rows.
Change to CC.
Rep Row 1 for 5 rows.
Change to MC.
Rep Row 1 for 9 rows or until work measures 25” (26, 28, 29, 30, 31, 31, 33)” long. Cut yarn.
Front
Continue in MC join yarn with sl st to underarm, be sure you’re working in the right direction.
Row 1. Ch 3, dc in next 65 (73, 79, 87, 93, 99, 107, 113 sts) and turn. (66, 74, 80, 88, 94, 100, 108, 114 sts)
Rep Row 1 for 7 (8, 9, 10, 11, 12, 13, 14) more rows.
Change to CC.
Rep Row 1 for 5 rows.
Change to MC.
Rep Row 1 for 5 rows or until work measures 23” (24, 26, 27, 28, 29, 29, 31)” long.
Shoulders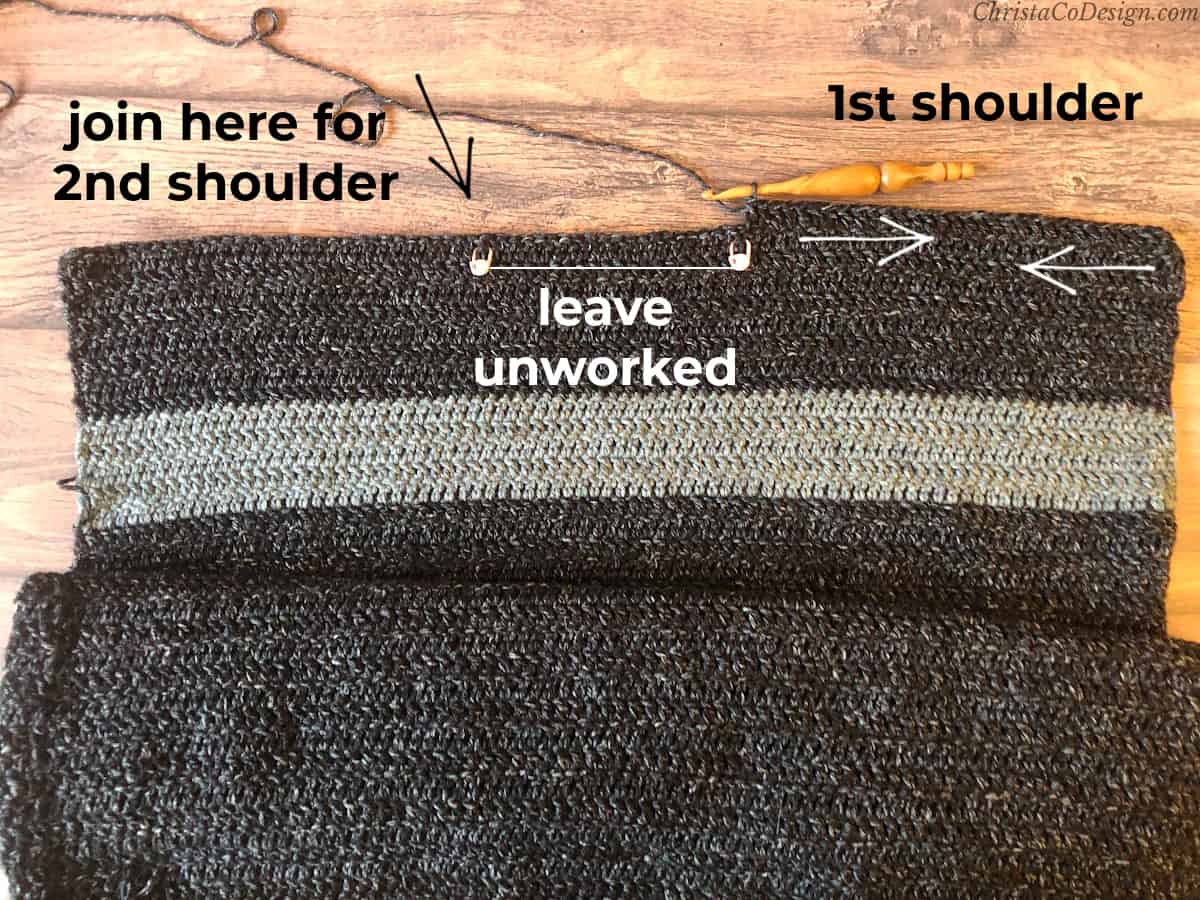
For the first shoulder work 24 (28, 30, 34, 37, 40, 43, 46) sts, leave 18 (18, 20, 20, 20, 20, 22, 22) sts unworked for the neck opening. The second shoulder is worked over the last 24 (28, 30, 34, 37, 40, 43, 46) sts.
Shoulders are worked flat in rows.
Row count starts over.
First Shoulder
Row 1. Ch 3, dc in next 23 (27, 29, 33, 36, 39, 42, 45) sts, turn. (24, 28, 30, 34, 37, 40, 43, 46 sts)
Rep Row 1 for 3 more rows.
Cut yarn and leave a long tail for seaming.
Second Shoulder
Be sure to join and continue in the same direction you were working for Row 1 of the first shoulder.
Skip middle 18 (18, 20, 20, 20, 20, 22, 22) sts and join yarn in next st.
Row 1. Ch 3, dc in next 23 (27, 29, 33, 36, 39, 42, 45) sts, turn. (24, 28, 30, 34, 37, 40, 43, 46 sts)
Rep Row 1 for 3 more rows.
Cut yarn and leave a long tail for seaming.
Finished panel length measures 25” (26, 28, 29, 30, 31, 31, 33)” long to match the back, unless you made adjustments.
Shoulder Seaming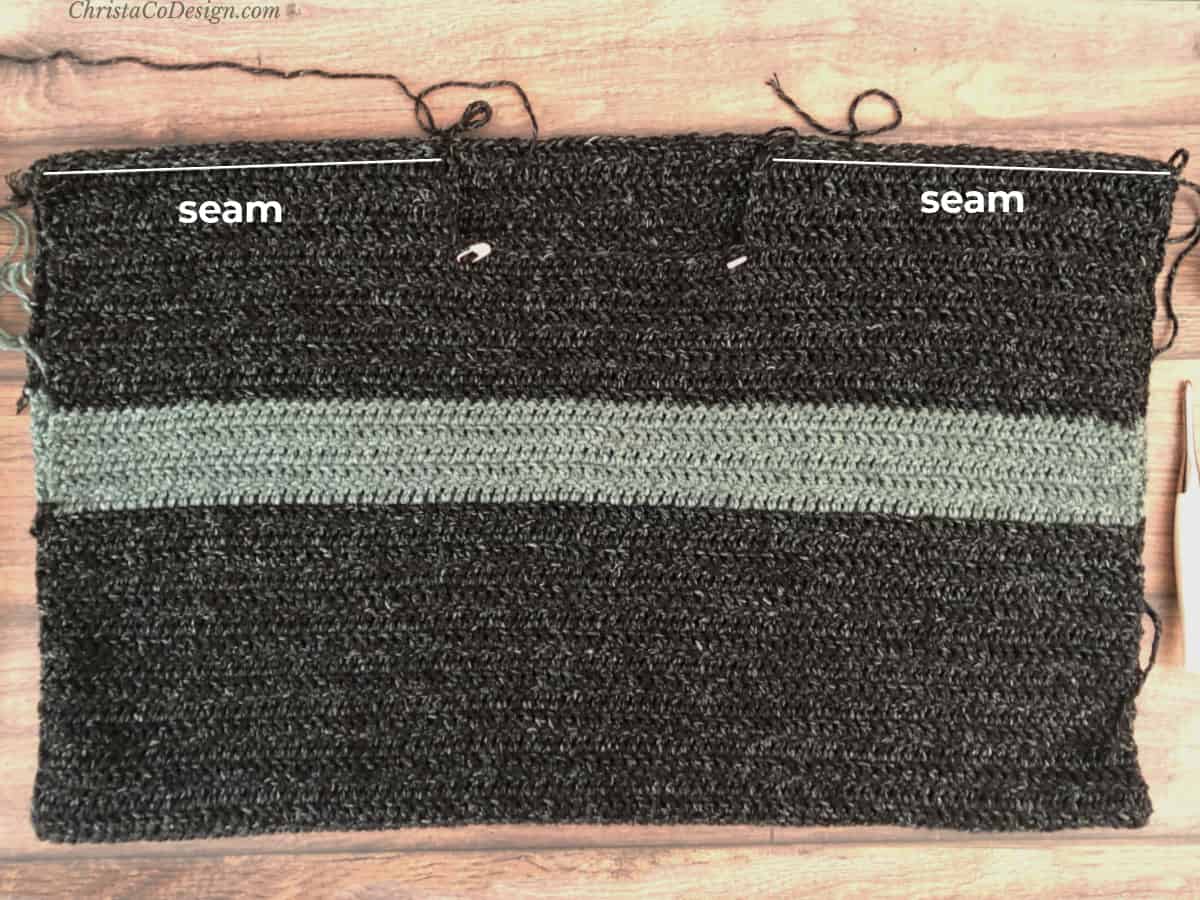
Work on the WS. Match up front panel shoulders to back panel. Slip stitch together or use a yarn needle and the long tail to sew. I prefer a mattress stitch for seaming.
Sleeves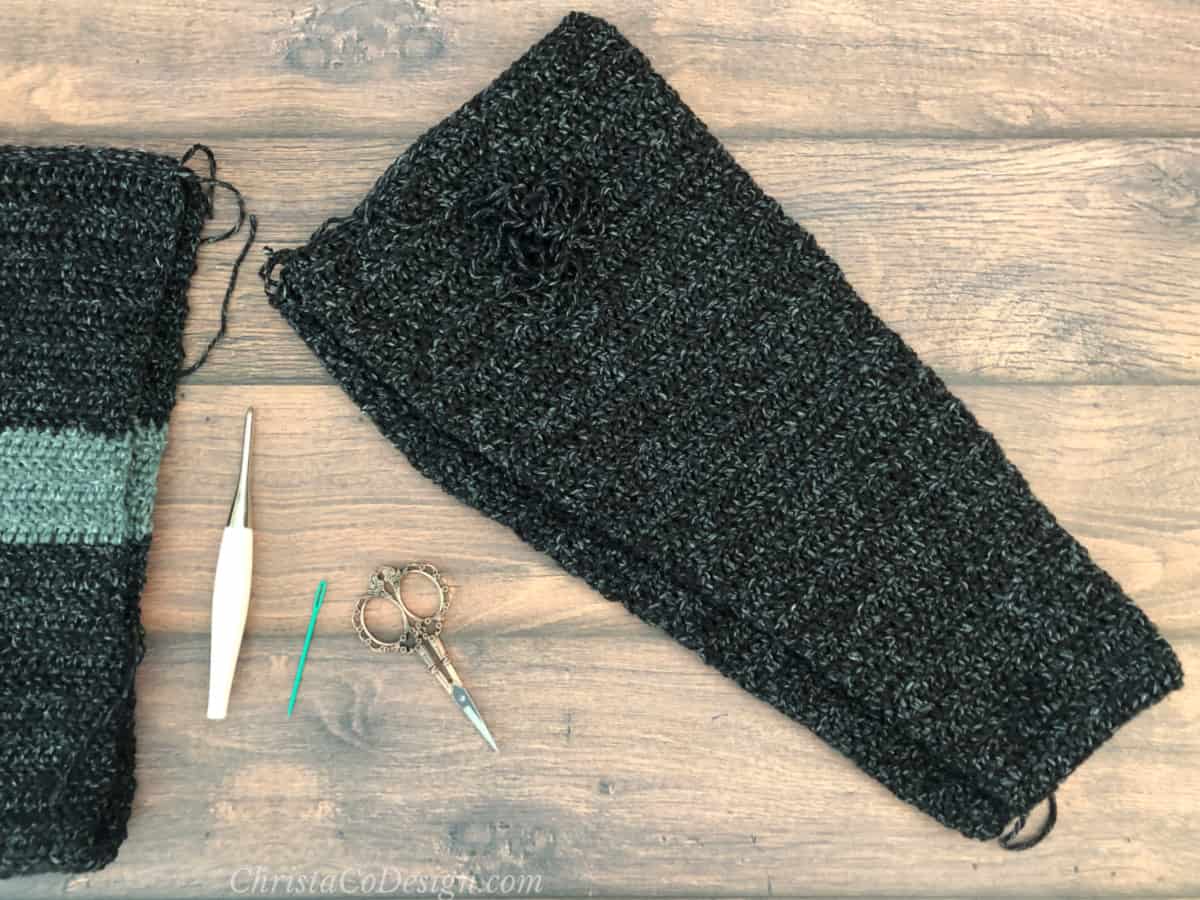
Make 2 in MC.
Worked from the wrist up in the round and turned, like the body.
Rnd 1. Fdc 34 (36, 36, 38, 38, 38, 38, 38) join to first st with a sl st and turn. If you are unfamiliar with fdc and would prefer you can Chain 36 (38, 38, 40, 40, 40, 40, 40) dc in the 4th ch from your hook & dc in each ch across, join to first st with a sl st and turn.
Rnd 2. (RS) Ch 3, dc in each st across, join to first st with a sl st and turn. (34, 36, 36, 38, 38, 38, 38, 38 sts)
Rnd 3. Ch 3, 2 dc in next st, dc in each st around until last 2 sts, 2 dc in the next st, dc in the last st, join to first st with a sl st and turn. (36, 38, 38, 40, 40, 40, 40, 40 sts)
Rnd 4. Rep Row 2.
Rnd 5. Rep Row 3. + 2 sts
Rnd 6. Rep Row 2.
Rnd 7. Rep Row 3. + 2 sts
Continue repeating Rnds 2 and 3 until sleeve measures 9” (9.5, 10, 10.5, 11, 11.5, 12, 12.5)” wide.
Once the necessary width is reached continue to repeat Rnd 2 until sleeve measures 20” long.
Seaming Sleeves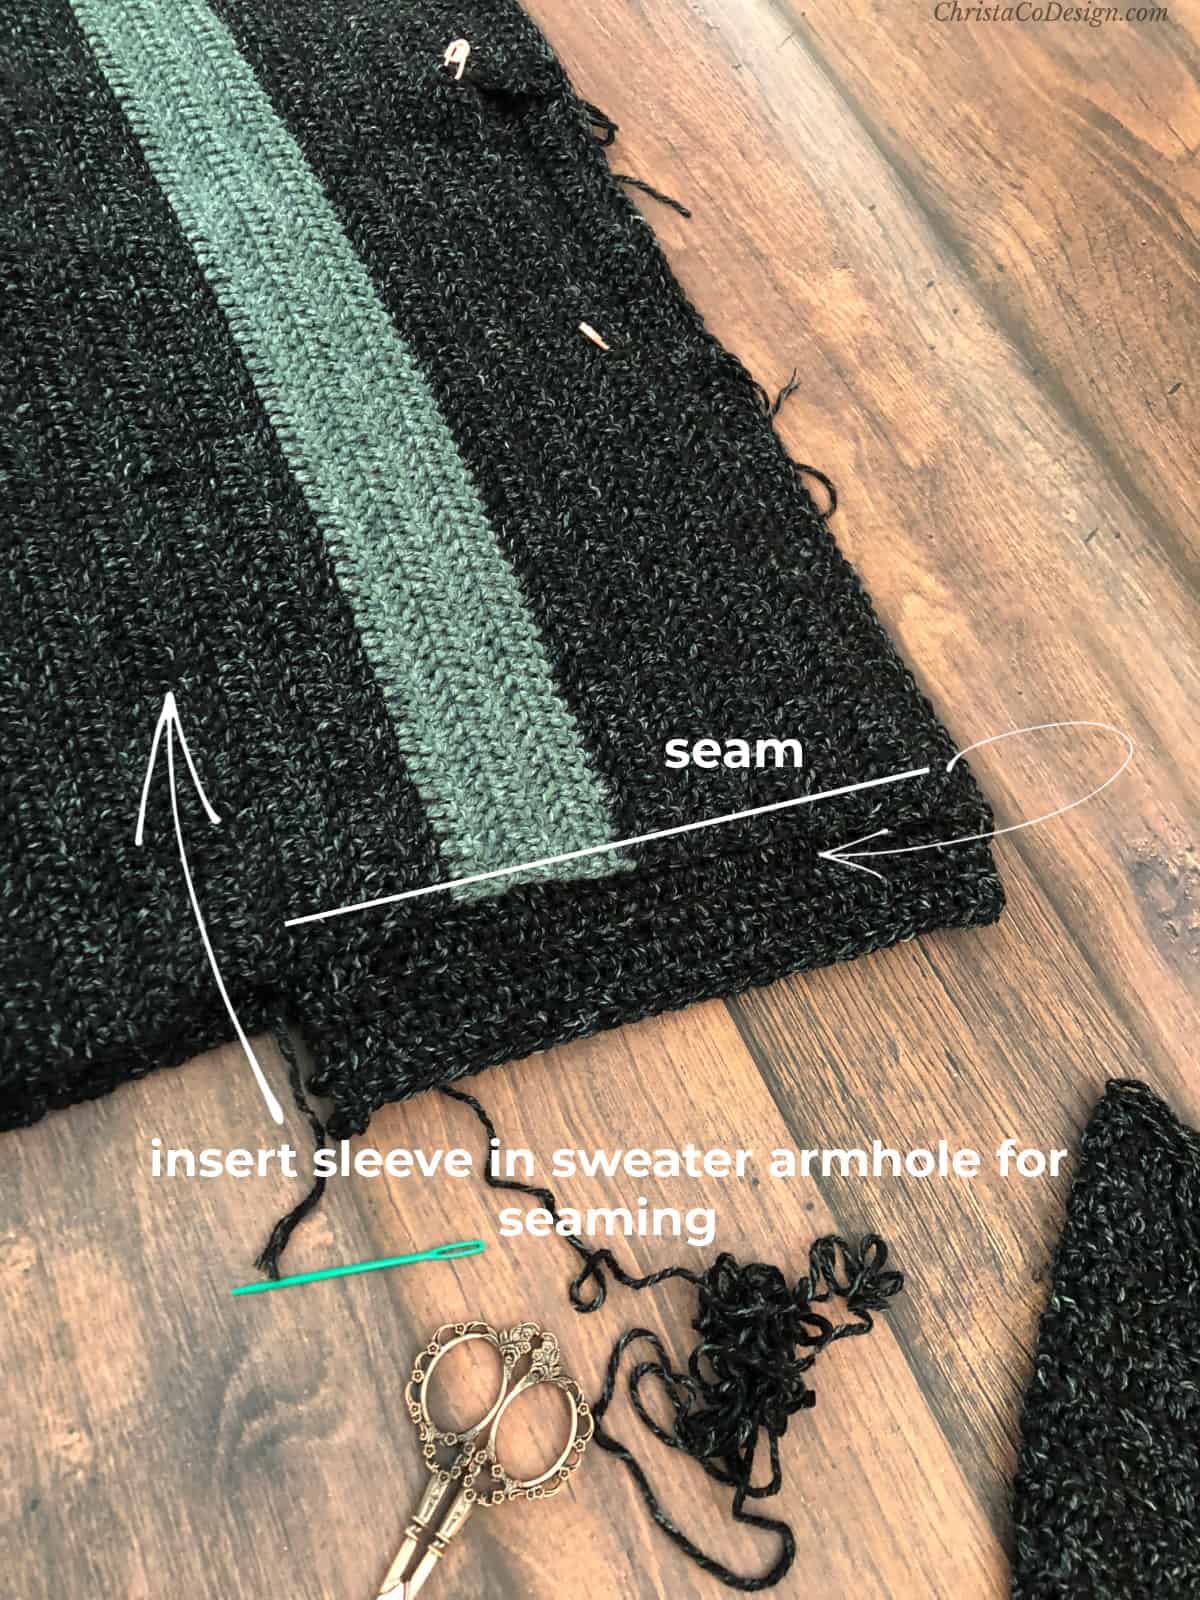
Turn body of sweater inside out so you’re looking at the WS.
Turn sleeve right side out so you’re looking at the RS.
Slide sleeve inside sweater (so RS of sleeve is touching RS of sweater), line up armhole end of sleeve to armhole opening in sweater body.
Seam sleeve to sweater around armhole.
Cut yarn & weave in ends.
Repeat for other sleeve and turn RS out.
Finishing
All ribbing (neck, hem, and sleeve cuff) is worked in the round and not turned.
In MC. Work on RS.
For ribbing I suggest going down a half or full hook size.
Neck Ribbing
Join yarn with sl st to any stitch at the back of the neck. Dc 52 (52, 56, 56, 56, 56, 60, 60) sts evenly around the neck opening, join with a sl st. You will place 2 dc per dc on the shoulder rows, so 8 dc on each side. If you get more or less stitches as you work around that is ok, but be sure to end with an even number of stitches.
Row 2. Ch 3, FPdc in next st, *{dc in next st, FPdc in next st} rep from * around, join with sl st to first st. (52, 52, 56, 56, 56, 56, 60, 60 sts)
Rows 3 - 5. Rep Row 2.
Finish with inv join. Cut yarn and weave in ends.
Hem Ribbing
Join yarn with sl st to any st. I prefer to join right before the faux side seam.
Row 1. Ch 3, FPdc in next st, *{dc in next st, FPdc in next st} rep from * around, join with sl st to first st.
Rows 2-3. Rep Row 1. Finish with inv join. Cut yarn and weave in ends.
Sleeve Cuff Ribbing
Join yarn with sl st to any st. I prefer to join right before the faux seam.
Row 1. Ch 3, FPdc in next st, *{dc in next st, FPdc in next st} rep from * around, join with sl st to first st.
Rows 2-3. Rep Row 1.
Finish with an inv join.
Cut yarn and weave in all ends.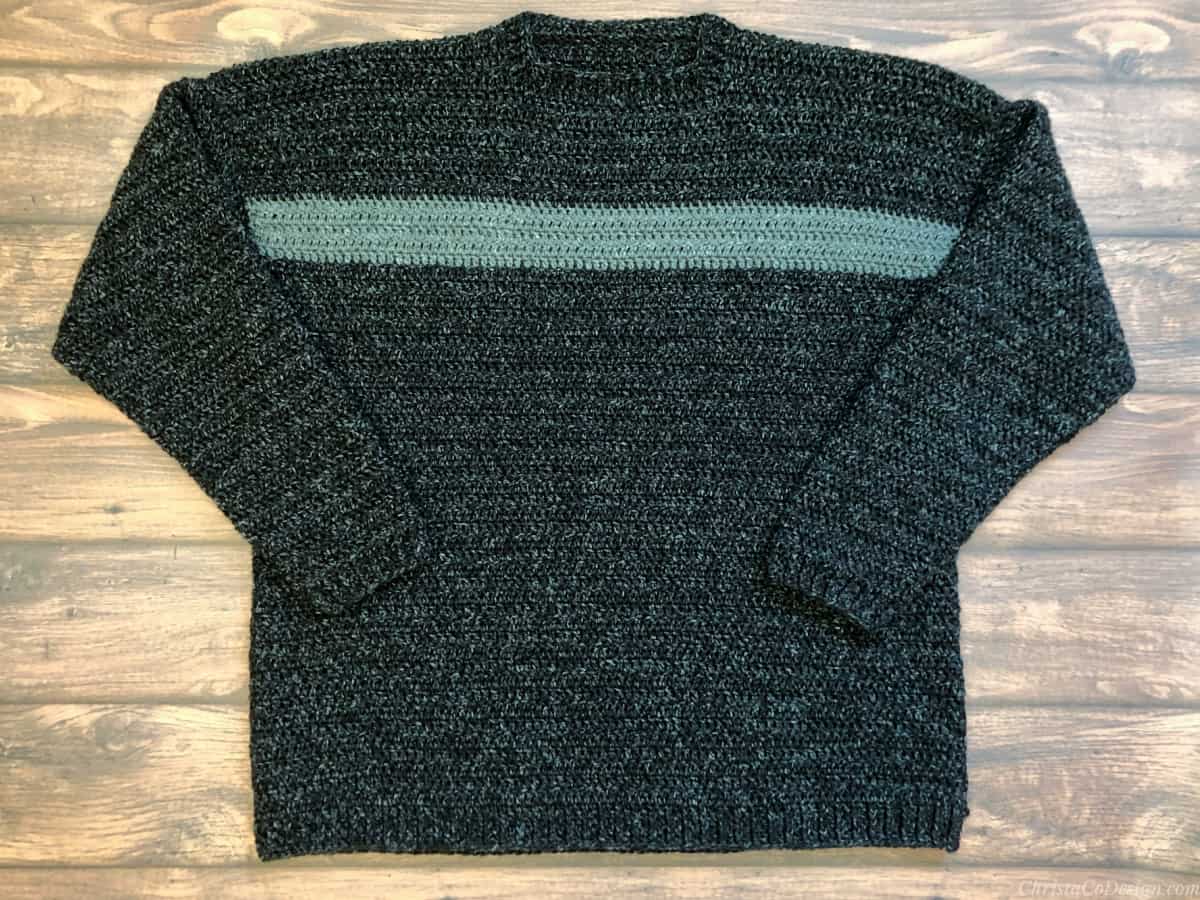
Recommended Products
As an Amazon Associate and member of other affiliate programs, I earn from qualifying purchases.

My crochet men’s sweater patterns are some of my best patterns. I need to keep adding to them! What would you like to see for my next project?

I’m a little confused on the sleeves. They seem to be worked flat as I don’t see where it says to join. However, I don’t see that it ever says to sew the length of the sleeve? Am I missing something?
Hi Janet,
Thanks for asking. You’re right, it was missing the “join to first st with a sl st and turn.” part for each row. I’ve updated it now. The sleeves are worked wrist up, in the round, joined and turned like the body. Sorry about that. Please let me know if you have any other questions!
I love this sweater and so did my partner, I made a size Medium and had a similar weight yarn, same hook size, and i checked my gauge to ensure sizing accuracy and it was almost perfect fitting, the only trouble I had was that the neck opening for the sweater was WAY too small to fit my boyfriends head through, and he has a pretty small head. Luckily i figured this out before cutting off and tying off the shoulder seams and starting the ribbing, so instead of undoing the entire neck, i just undid the last 3 stitches into the shoulder seam, so adding 6 stitches per side, 12 stitches total extra around the neck and although it looks a little wonky on the neck now at least it fits over his head. otherwise great pattern and i’m very happy with it.
Hi Alana,
Thanks for this! I’m sorry the neck was too small but I’m glad you worked it out in the end! Thanks for letting me know, I’ll have a look at it again. Did you skip 18 stitches for the neck (before you modified it)? And you worked the 4 shoulder rows before seaming and adding ribbing? This will help me see what might need to be changed!
Thank you,
Crystal
Hello! I’m making this sweater in a size medium and I have some questions. You say that the round part of the body needs to measure 12.5″ and that the total length needs to be 24″ (round part + flat part). That makes the armhole opening 11.5″ wide instead of 9.5″. Am I supposed to seam the extra 2″ together after seaming the sleeve or is that an error? Thank you!
Thanks for reaching out with your question. In looking over the pattern I believe the 2″ difference is the hem. It reads “from the hem” so over all “from the edge” it would be 14.5″ (or 2″ longer) which is where your difference is coming in. I hope that makes sense. It may be easier if I adjust it to read that way, I think I’ll update it for clarity. Thanks for messaging in your question. Please let me know if you have any other questions.
Thanks,
Crystal
Ifyou work the sweater bottom up in rounds, how do you make the front?? It is not explained in the pattern. If I keep on doing what the pattern says the front won’t be crocheted, only the back cause it says continue in main color, if I shall crochet the front also I have to cut the yarn and join it somewhere on the front?? It was definitely not worth the money spent on the pattern with such bad explanations….
Hi Kim,
I’m sorry you’re having trouble. Under the Suction for the “front” it says to continue in the main color and then Row 1 gives the number of dc to work before you turn. Essentially you’re only working half the stitches (only the front). Feel free to email me if you have any more questions. [email protected]