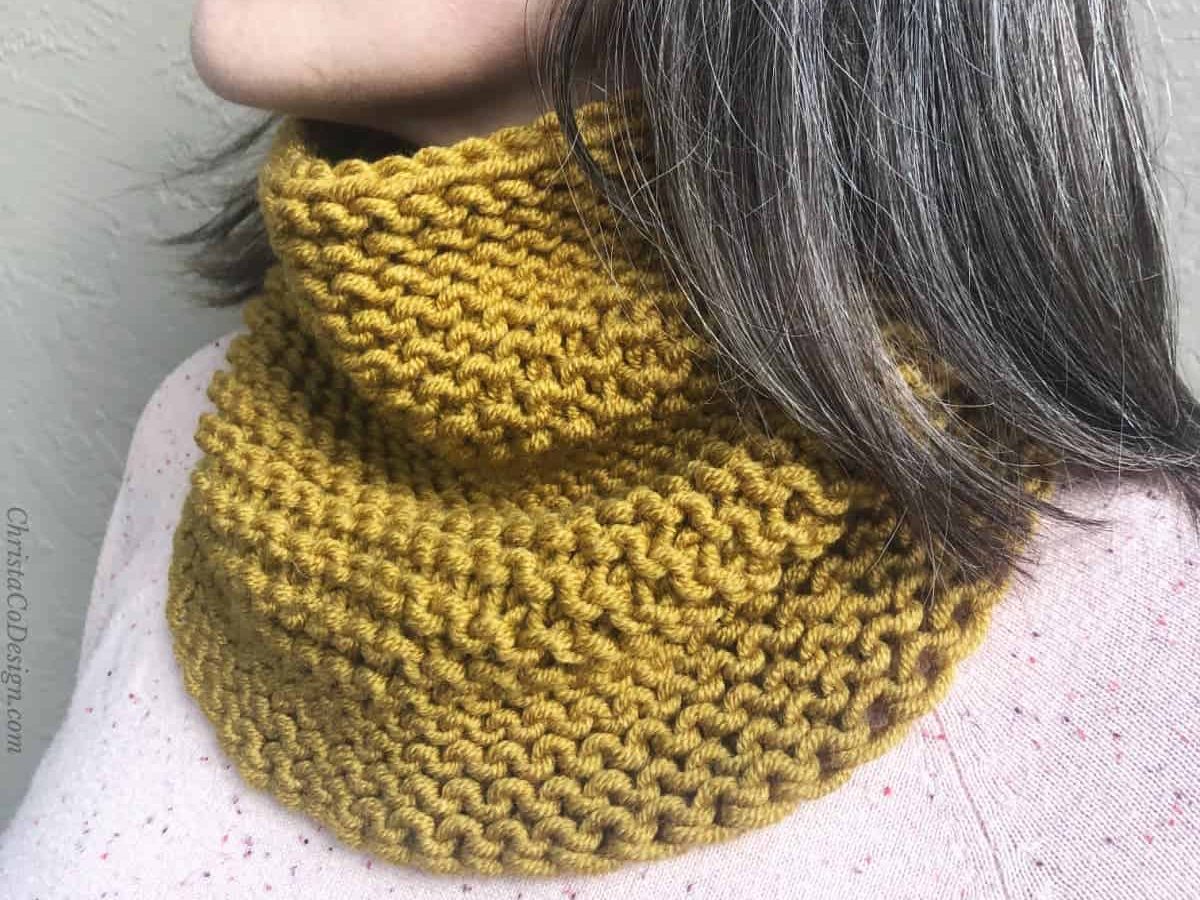
Simple Snood Free Knitting Pattern
This cozy knit snood is an easy knitting project. It’s perfectly simple for beginner knitters to make too.

This post contains affiliate links, I may earn a fee. Read more disclosure policy.
Join the ChristaCoDesign Newsletter
Never miss a pattern!
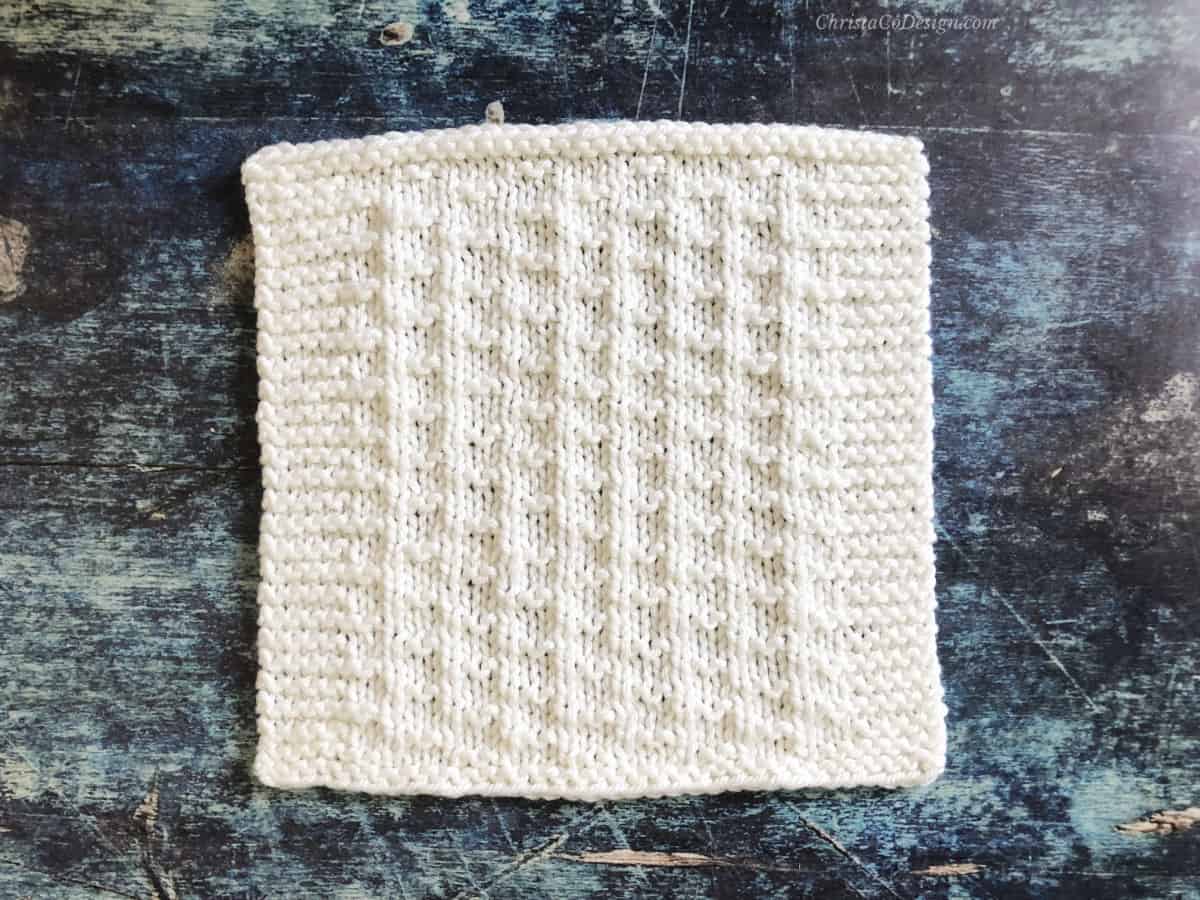
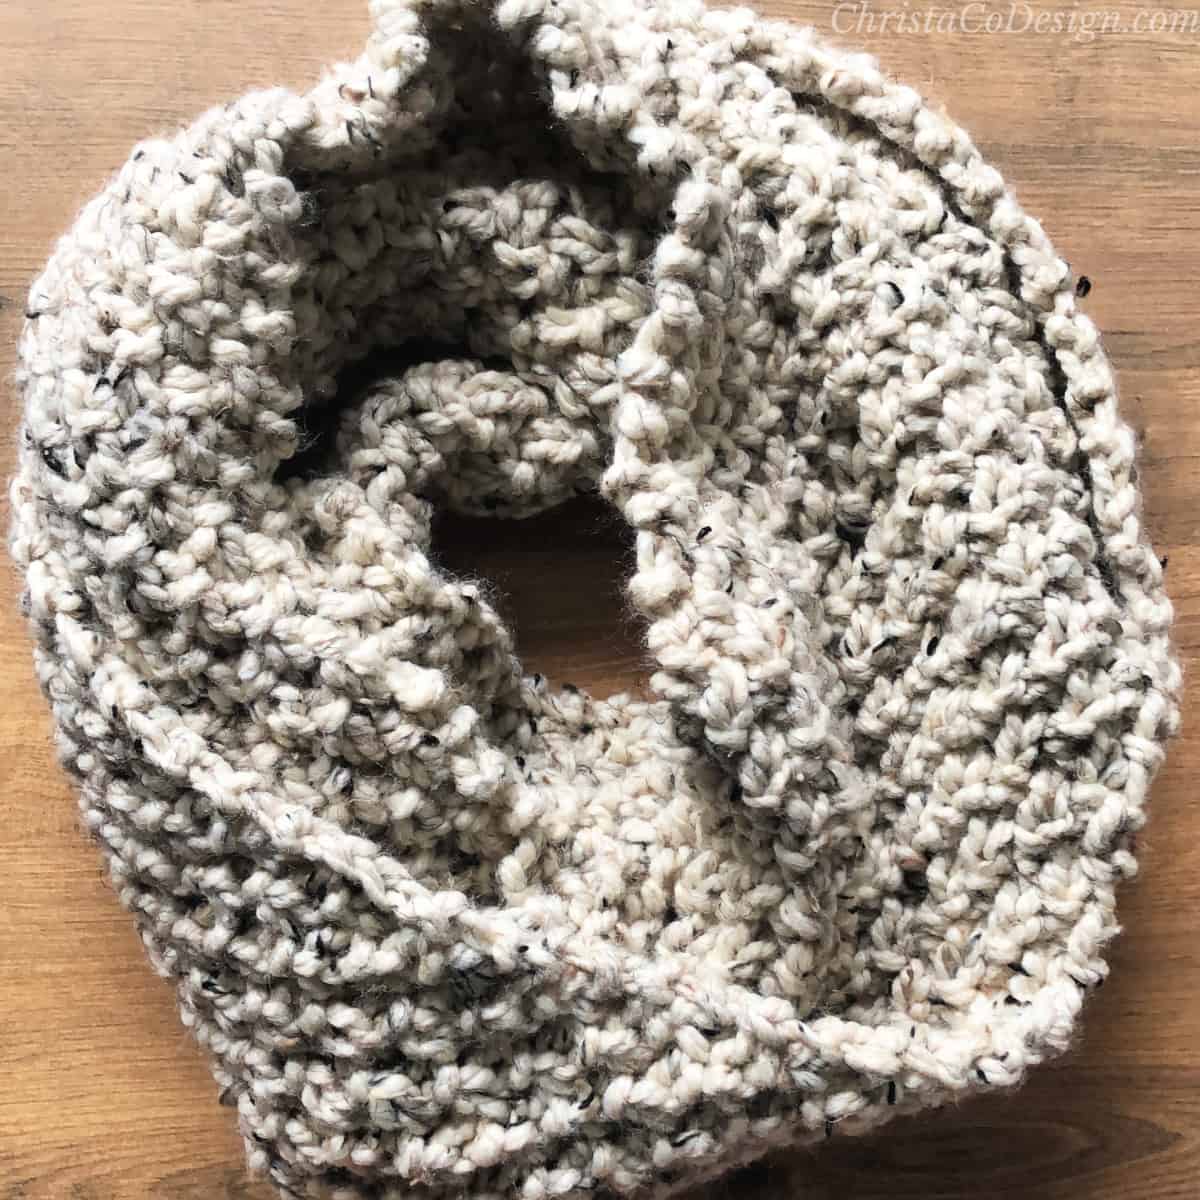
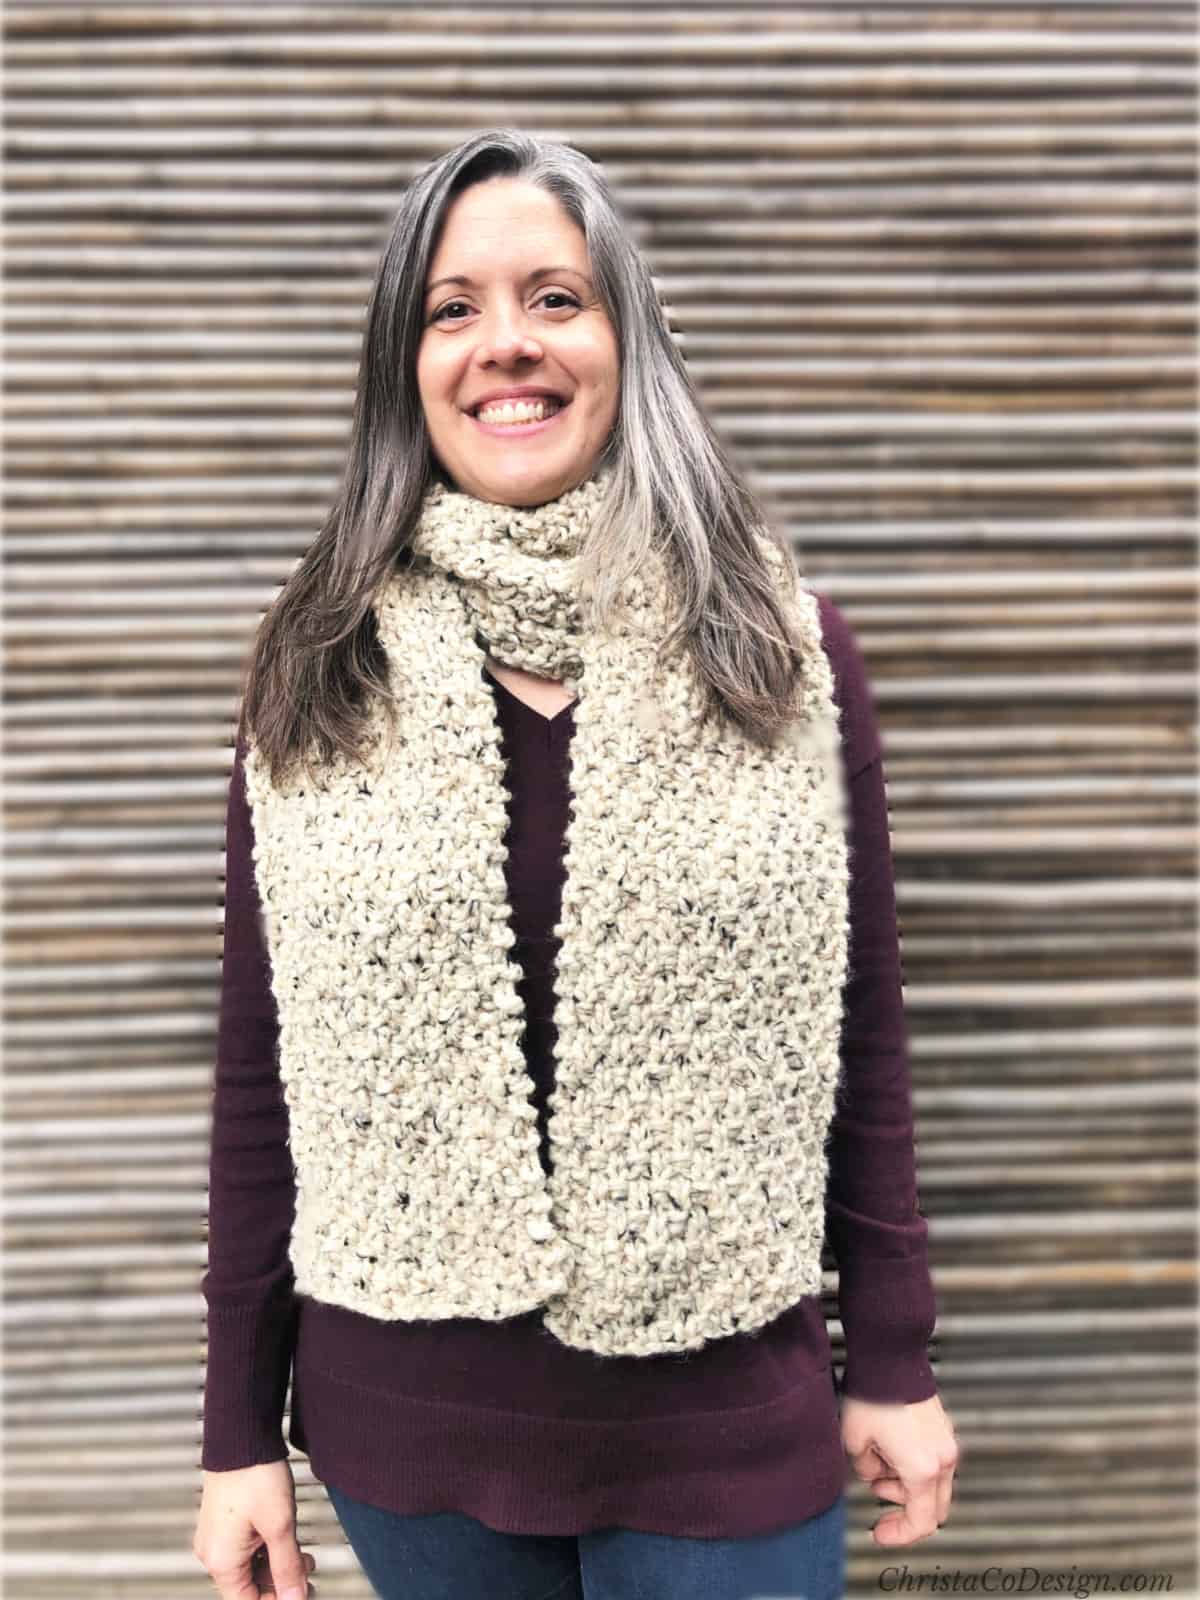
This snood is knit as a rectangle and seamed. So if you prefer the versatility of a traditional scarf you can leave it unseamed too.
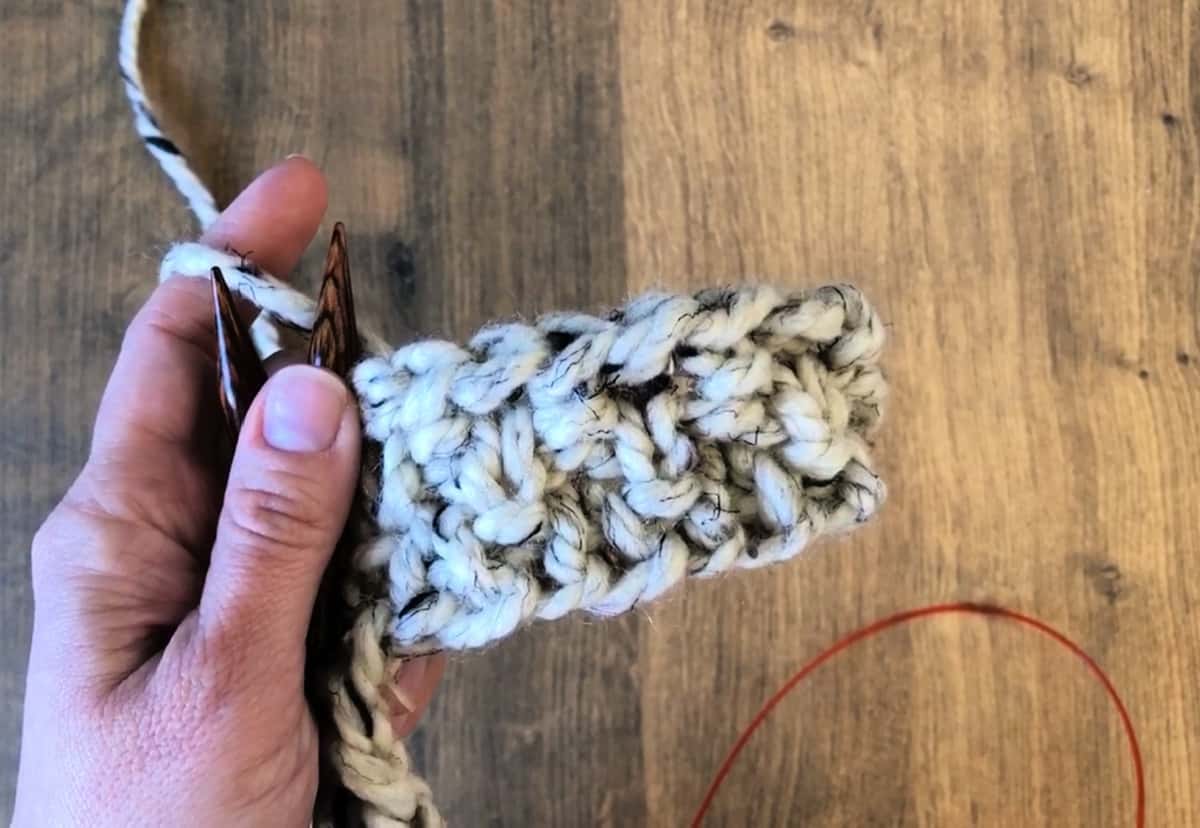
I use my circular needles but since this snood is knit flat you can use straight needles.

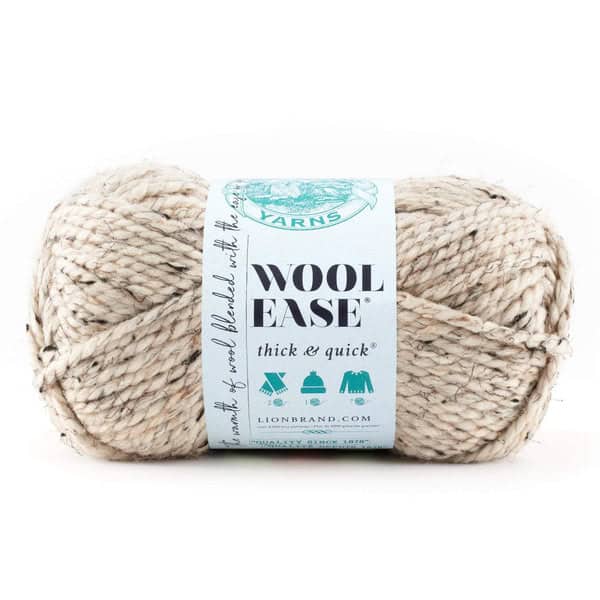
The chunky yarn knits up quickly. I love knitting with Lion Brand’s Wool Ease Thick & Quick. The are so many different colors to choose from too.
More Free Knitting Patterns
- The Giana is a cozy garter stitch pocket shawl.
- The Miramonte Knit Scarf features this same LBWET&Q yarn in a different design.
- Go beyond the knit stitch and get comfy with the pockets on the Bienno Scarf knitting pattern.
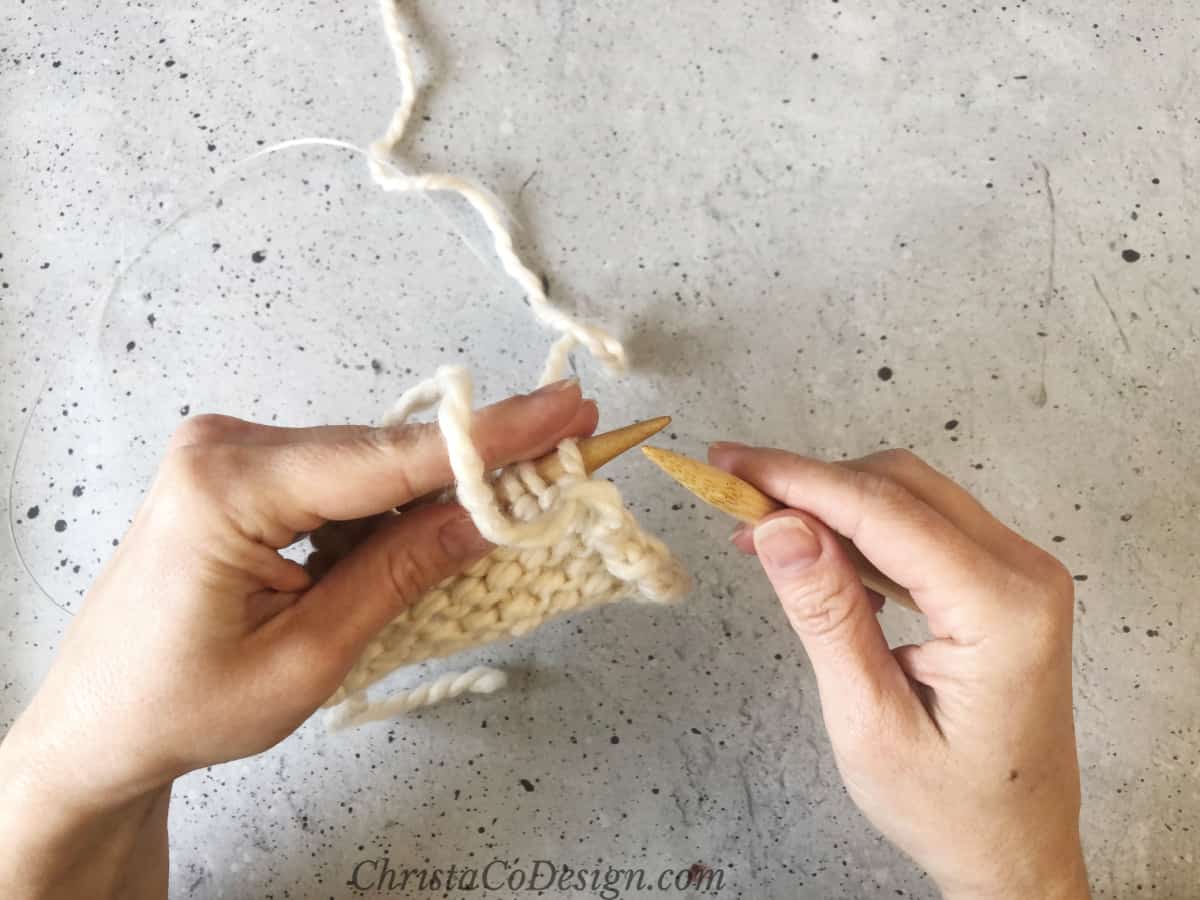
If this is your first time time a long project like a scarf at some point you’ll need to know how to join a new ball of yarn.
Materials
#6 superbulky yarn in Lion Brand’s Wool Ease Thick & Quick* (80% Acrylic; 20% Wool, 87 yd/80m, 5 oz/140 g); color: Oatmeal, 2 balls.
9 mm US Size 13 knitting needles, I love this set of interchangeable needles.*
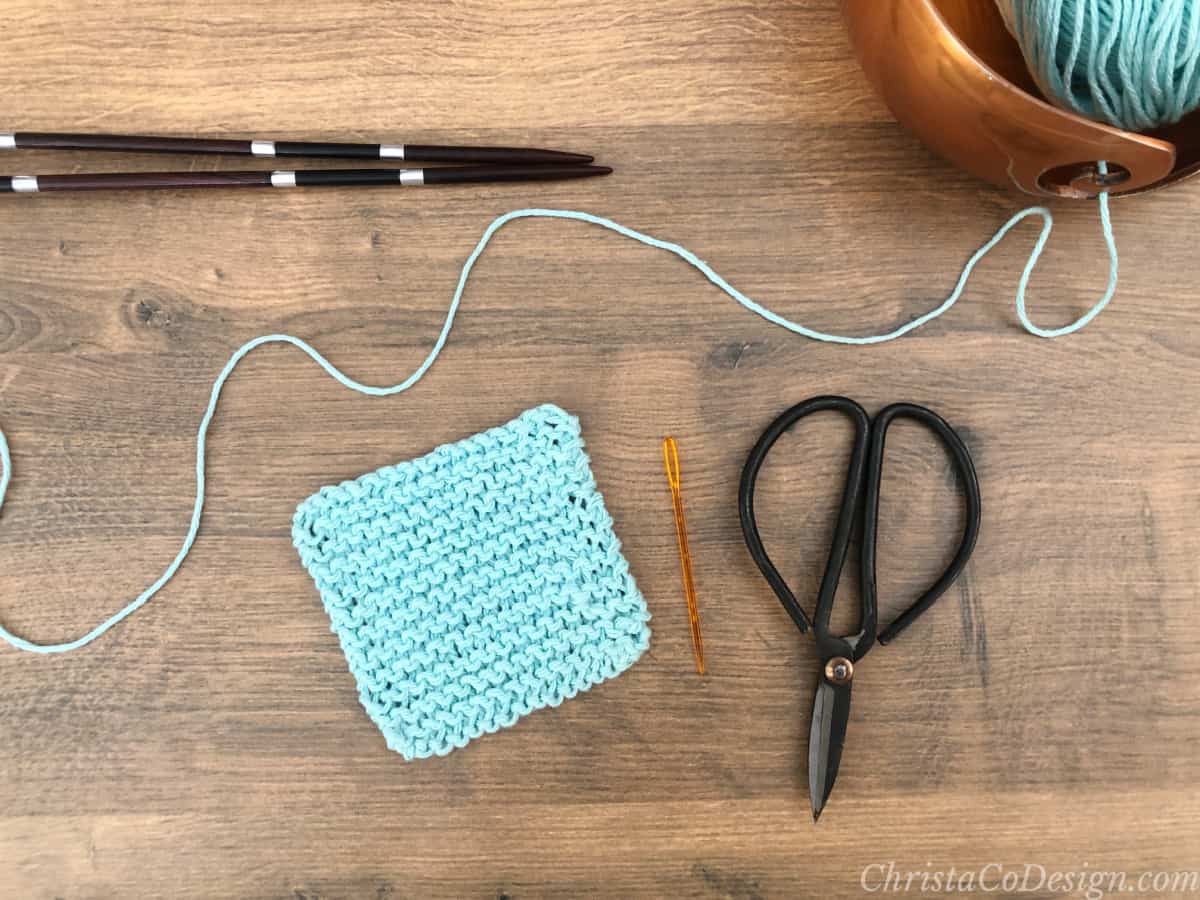
Yarn needle, scissors, measuring tape
Notes
Stitch pattern requires an even stitch number.
Stitches / Abbreviations
US Terms
co – cast on You can use any cast on method. I have linked the long tail cast on. Here are 4 easy cast ons for beginners to choose from.
bo – bind off
k – knit
p – purl
rep – repeat
RS – right side
st(s) – stitch(es)
WS – wrong side
Level
Easy
Gauge
4″ / 10 cm x 4″ / 10 cm = 8.5 sts x 14 rows in pattern
Finished Dimensions
As a flat rectangle snood measures 8″ wide by 60″ long.
Fit/Adjustments
To make this pattern wider or narrower cast on any number of stitches. Keep an even number of stitches if you would like to adjust the width.
To change the length, adjust the number of repeats. Likely you’ll need more yarn if making changes.

Video Tutorial
You can watch the video on how to make this snood on my YouTube.
Scroll down for the free pattern!

How to Knit a Simple Snood
Learn how to knit this simple snood to keep cozy this winter. This free knitting pattern is easy enough for beginners!
Materials
- #6 superbulky yarn in Lion Brand’s Wool Ease Thick & Quick* (80% Acrylic; 20% Wool, 87 yd/80m, 5 oz/140 g); color: Oatmeal, 2 balls.
Tools
- 9 mm US Size 13 knitting needles
- Yarn needle, scissors, measuring tape
Instructions
- CO 18 for an 8" width.

Row 1. *K1, P1 rep from * to the end of the row.
- Row 2. Rep Row 1.

- Row 3. *P1, K1 rep from * to the end of the row.

- Row 4. Rep Row 3.

- Continue repeating Row 1 - 4 until you reach 60" in length, or to your desired length.
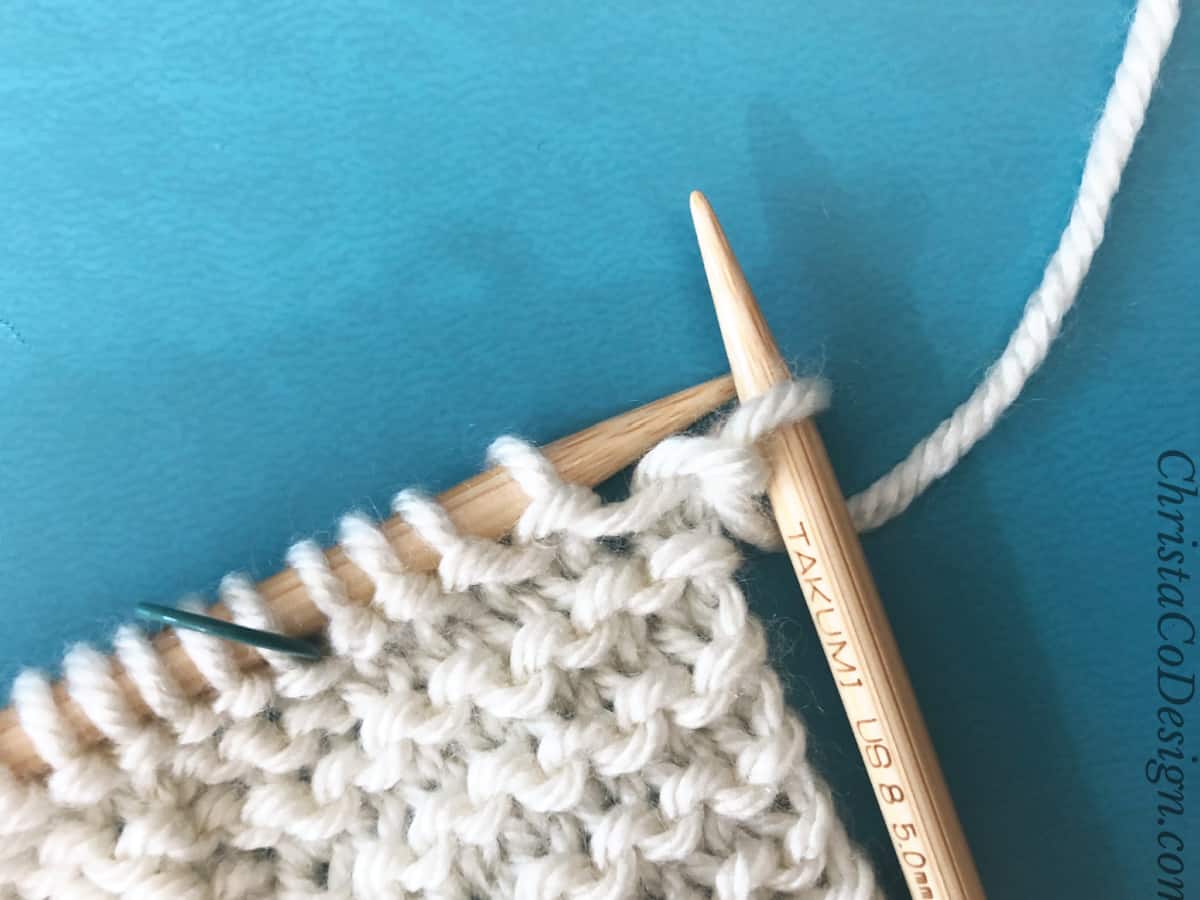
- BO in pattern: K1, P1, bind off, K1, bind off, P1, bind off, etc.
- To keep as a scarf, cut yarn and weave in ends.
- To seam into a snood, pull up a long loop and cut a long tail for seaming.
- Make sure fabric is not twisted.
- Match up ends and sew together.
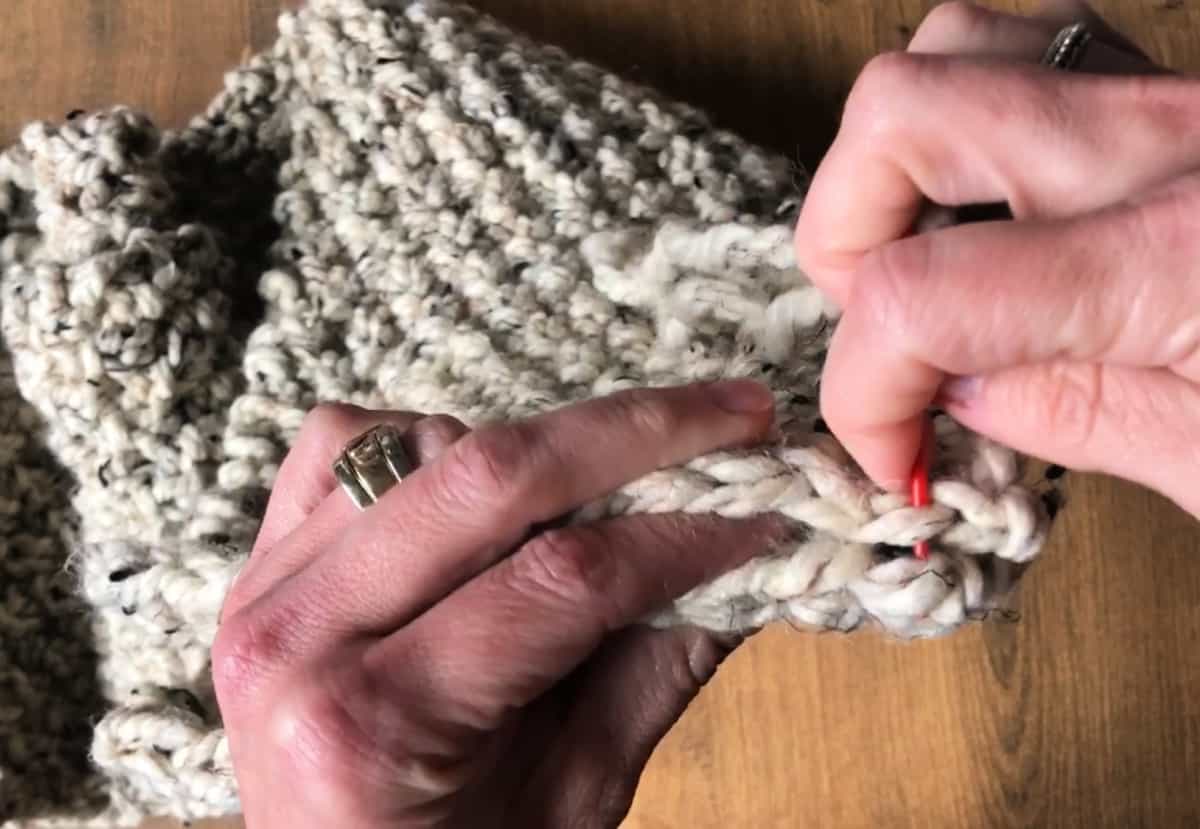
- Cut yarn and weave away ends.
Recommended Products
As an Amazon Associate and member of other affiliate programs, I earn from qualifying purchases.

If you love learning by video tutorial be sure to check out my YouTube Channel!
Subscribe to my youtube channel
Let me know if you’d like to see more snood knitting patterns on the blog!