How To Seam Knitting With Mattress Stitch Tutorial
Learn how to sew two pieces of knitting together in this step by step tutorial with video. In this seaming tutorial I’ll demonstrate a vertical seam using mattress stitch on both ribbing and stockinette. This allows you to see how it looks with a purl to knit and knit to knit.

This post contains affiliate links, I may earn a fee. Read more disclosure policy.
Join the ChristaCoDesign Newsletter
Never miss a pattern!
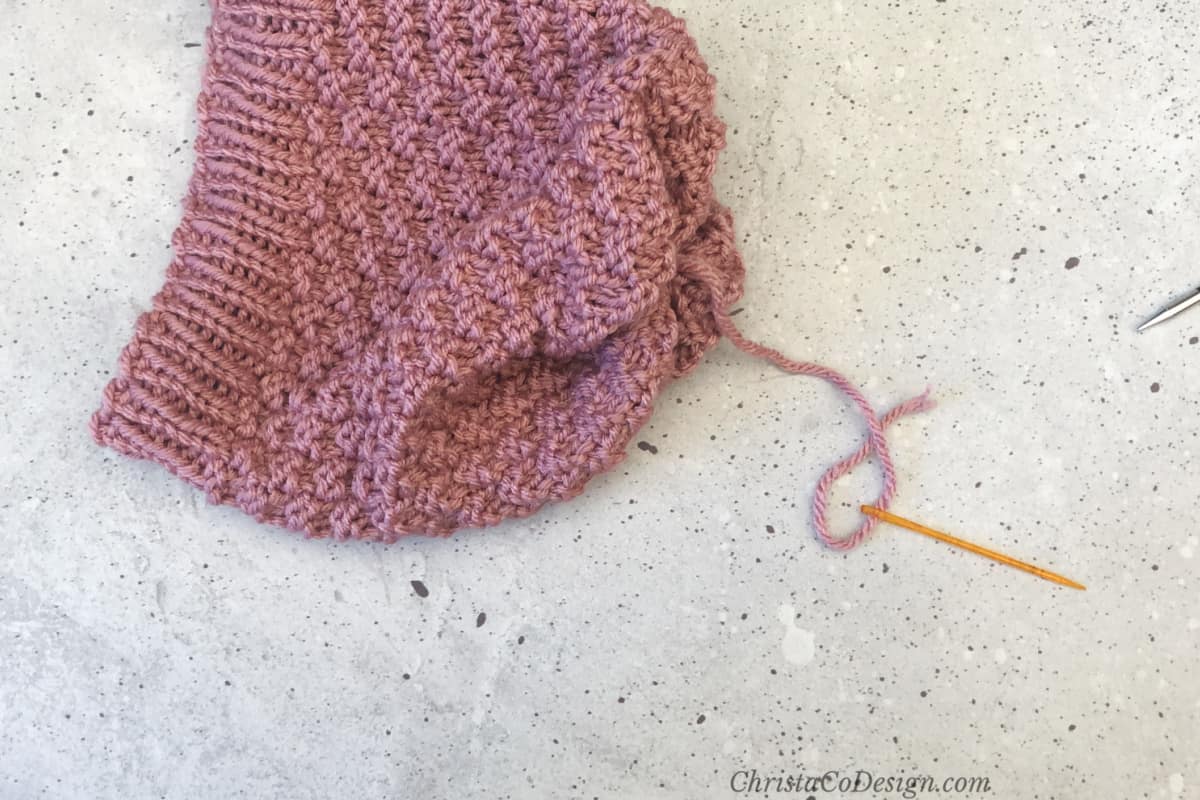
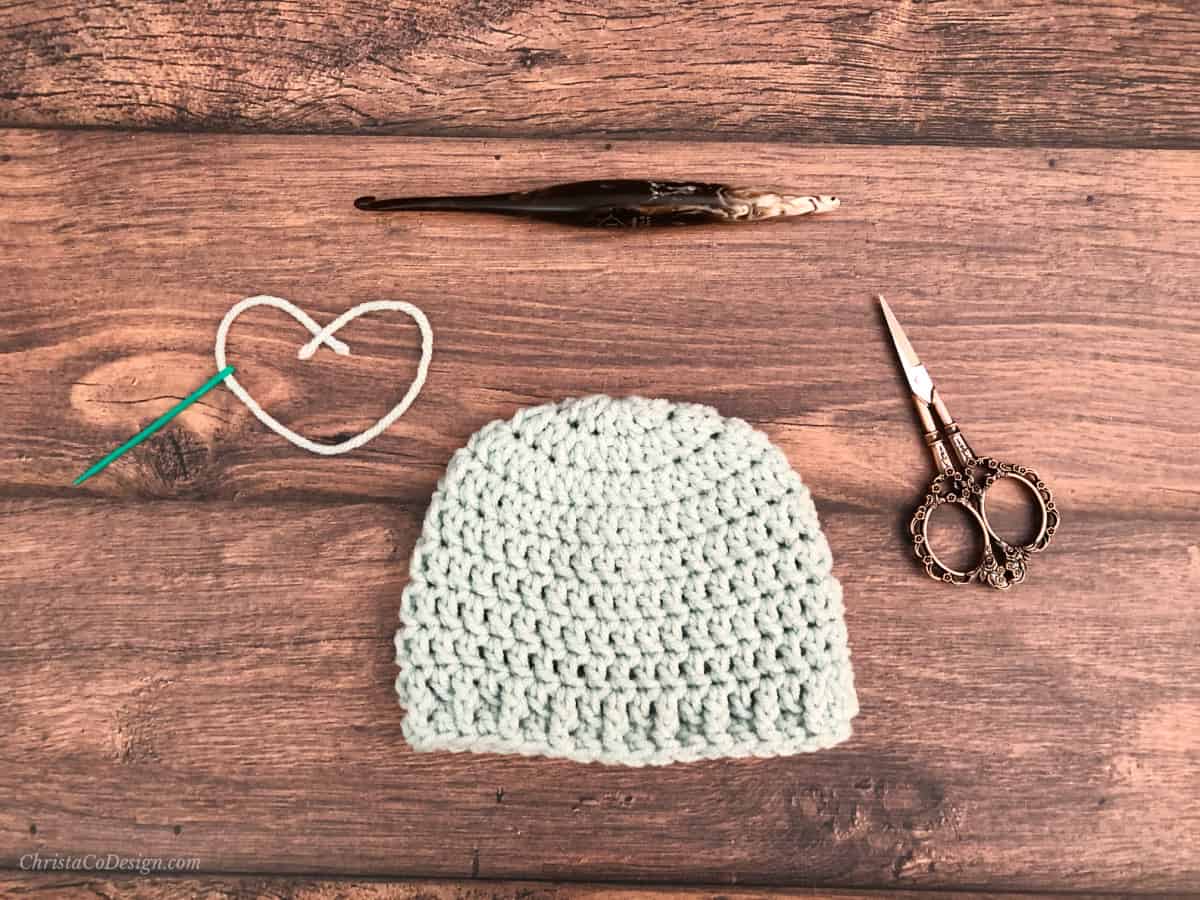
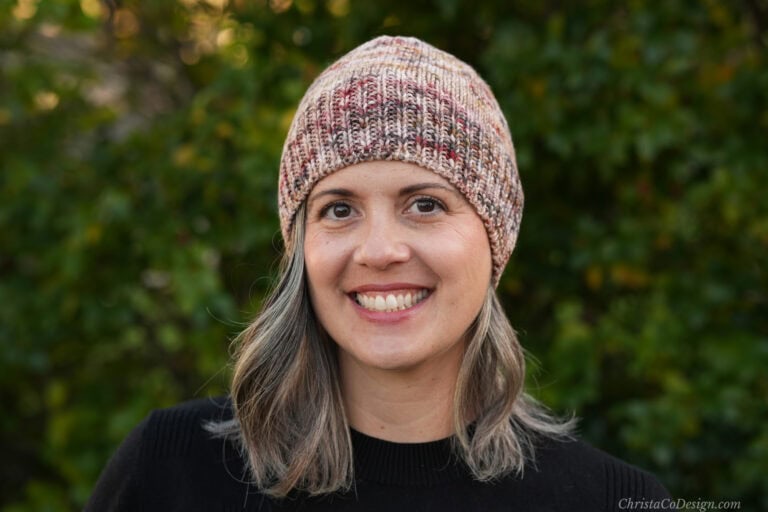
One of the nice things about a mattress stitch seam is that it’s worked on the front side, not the wrong side so you can easily so how it’s turning out. This is a popular finishing technique for shoulder seams on sweaters or in this case, a hat that’s worked flat. In both situations you’ll have a visible seam so you want it to be seamless.

Here my seaming yarn is shown in a different color yarn, but you’ll want to choose one that matches your project. Regardless though you won’t see the seam on the right side of the fabric.
Materials
yarn needle
Matching length of yarn that’s long enough for your seam. I recommend twice the length of the seam. Unless it’s a very long seam then it may be too unmanageable in which case you can divide it into two.
Free Patterns
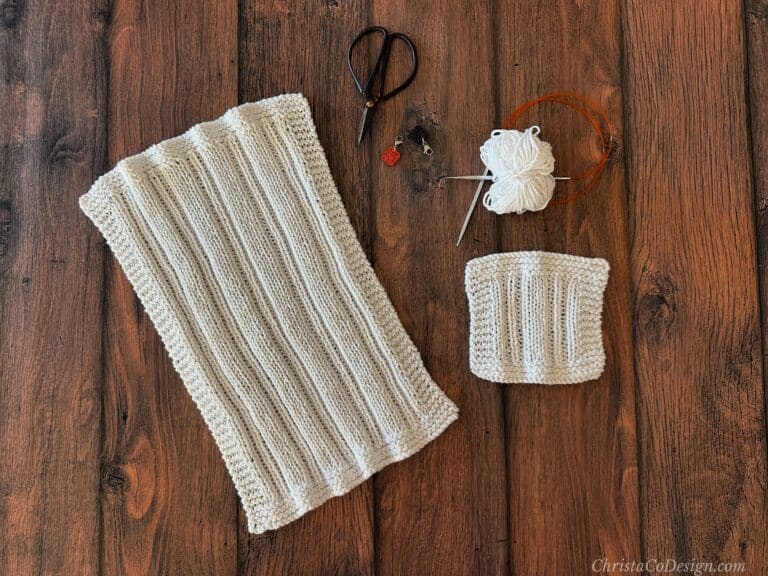

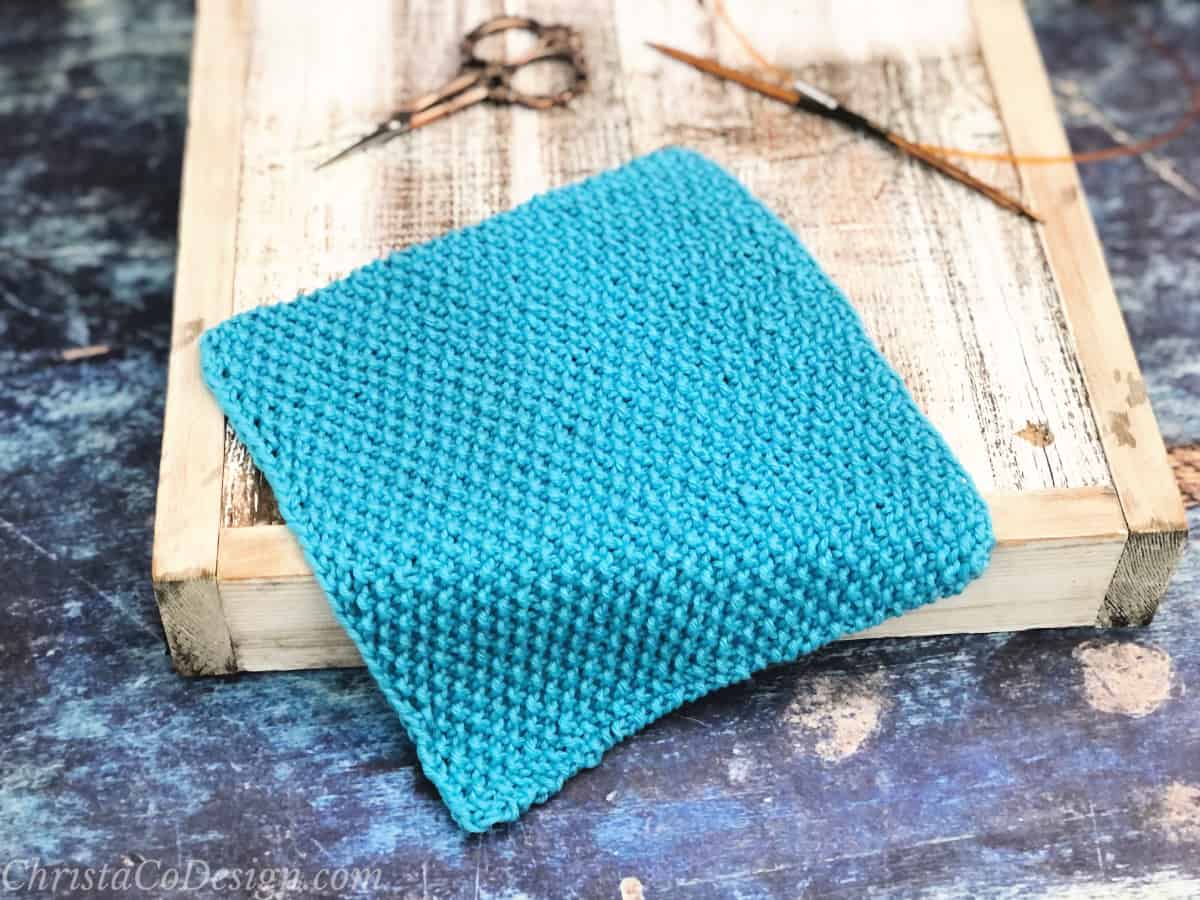
You can use mattress stitches on two vertical pieces of knitting to sew up the side seams of any edge stitches, eliminating a messy seam and giving your work that polished finished.
Pattern Instructions

Knit Mattress Stitch
Learn how to seam knitting using mattress stitch for purl to knit and knit to knit.
Materials
- matching yarn to your project
Tools
- tapestry needle
Instructions
- Working on the right side of your fabric, match up the side edges you want to seam. I'll start with the ribbing which is knit to purl.
- Thread yarn needle with matching yarn.
- Start with the bottom two stitches, thread yarn through through first stitch on your right, then to the parallel stitch on the opposite side, and go back into the same stitch on your right to lock it in place.
 Leave a 6"+ tail to weave in later.
 - Now on the next stitch work in a zig zag: if you're on the right edge, go to the left side, then go to the right, etc.
- Identify the horizontal bar of yarn between the first and second stitches of the row.
 You will insert the yarn needle under this bar and pull the yarn through.
 - Then switch to the other side, find the same bar between the last two stitches.
 Make sure it's the same row as the one you just did. Insert needle under the bar and pull the yarn through.
- Keep repeating for the length.

- Every couple of inches (or you can wait until the end)
 hold the yarn at the start of the seam secure, and pull the working yarn (that's in your yarn needle) to close the seam.
 - Now on the stockinette stitch you'll go between two columns of knit stitches, looking for the same horizontal bar. Follow the same steps, you'll just be joining a knit stitch to knit.
 Once you pull the seam close it's virtually an invisible seam.
 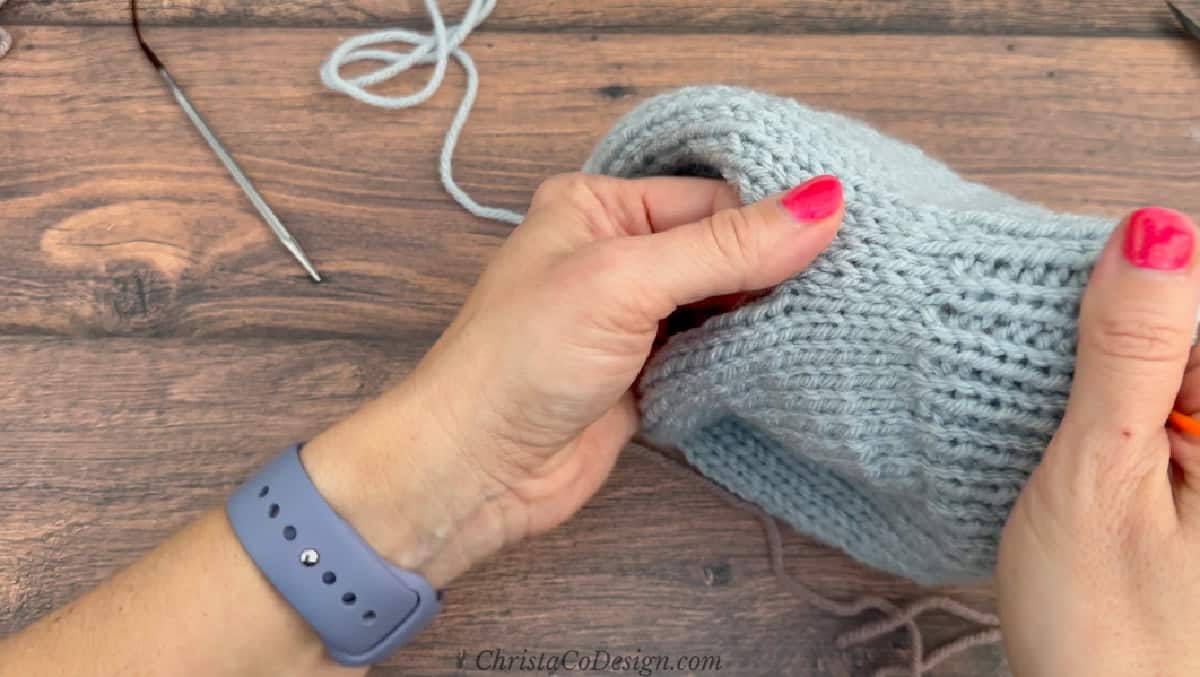 As you can see the seaming yarn is not visible so if you run out of your yarn you can just choose a similar color to use!
 - Weave away ends and enjoy your professional finish.