How to Join and Turn Crochet Tutorial
When your pattern says to join and turn it might seem confusing at first. Really, this is just another way to work in the round.

This post contains affiliate links, I may earn a fee. Read more disclosure policy.
Join the ChristaCoDesign Newsletter
Never miss a pattern!
The benefit to joining and turning is that you get the texture of crochet rows, but you’re able to work them in the round.
Most often when we crochet in the round, we continue in the same direction. But not in the join and turn method.
How do you join?
The most common method of joining crochet is with a slip stitch. Sl st = slip stitch, or ss = slip stitch.
If you are unfamiliar with slip stitches, then start with this tutorial.
A slip stitch is made to bring the last stitch you crocheted together with the first stitch (or another stitch).
The slip stitch does not count as a separate stitch, otherwise you would be increasing. But check your specific pattern notes, as there may be exceptions.
How do you start?
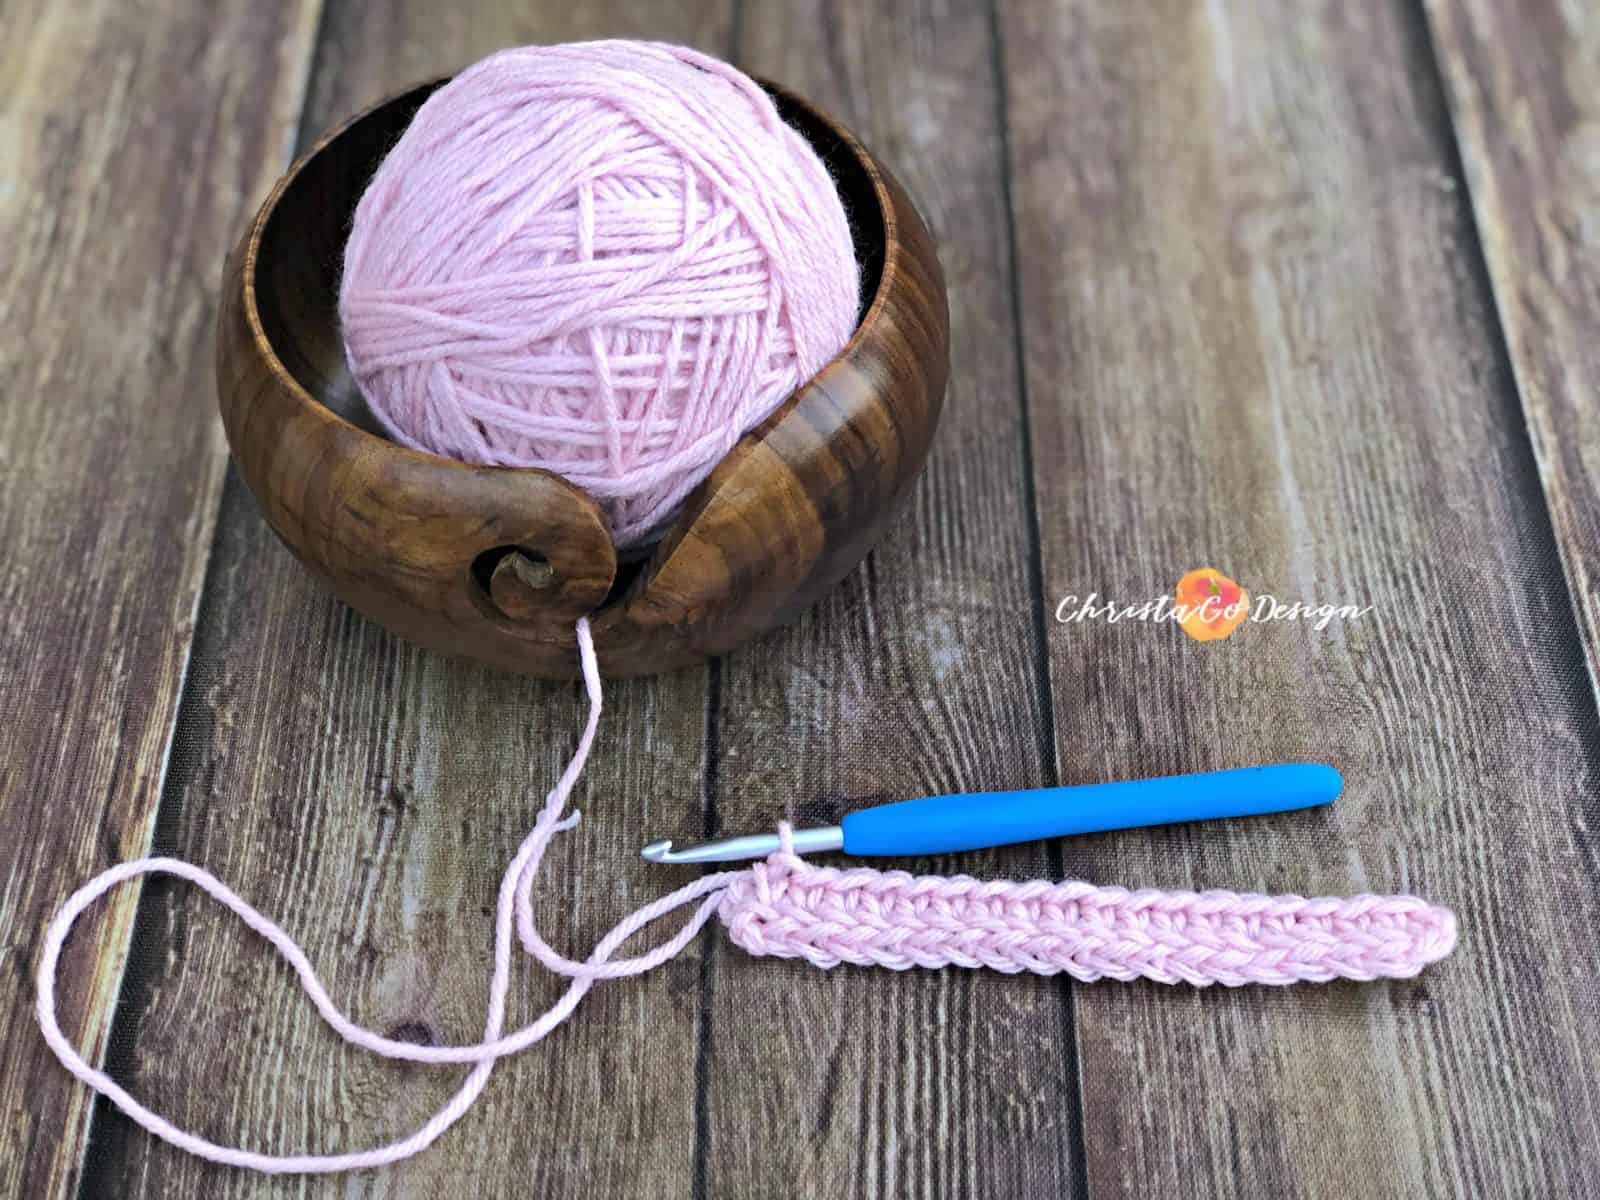
You need at least a first row of stitches.
For this tutorial I’m using a row of double crochets. You can join and turn with any crochet stitch or row though.
I love starting with foundation double crochets. If you need to learn foundation stitches then start with this tutorial on the fdc.
Another benefit to joining and turning
In addition to preserving the texture, the join and turn method allows you to create a “seam.”
Instead of crocheting two rectangles and sewing the sides together, you can crochet one, larger rectangle, join it in the round and turn.
This creates one faux seam, if you will. It seems like we crocheters will do just about anything to not put down our hooks and picks those yarn needles!
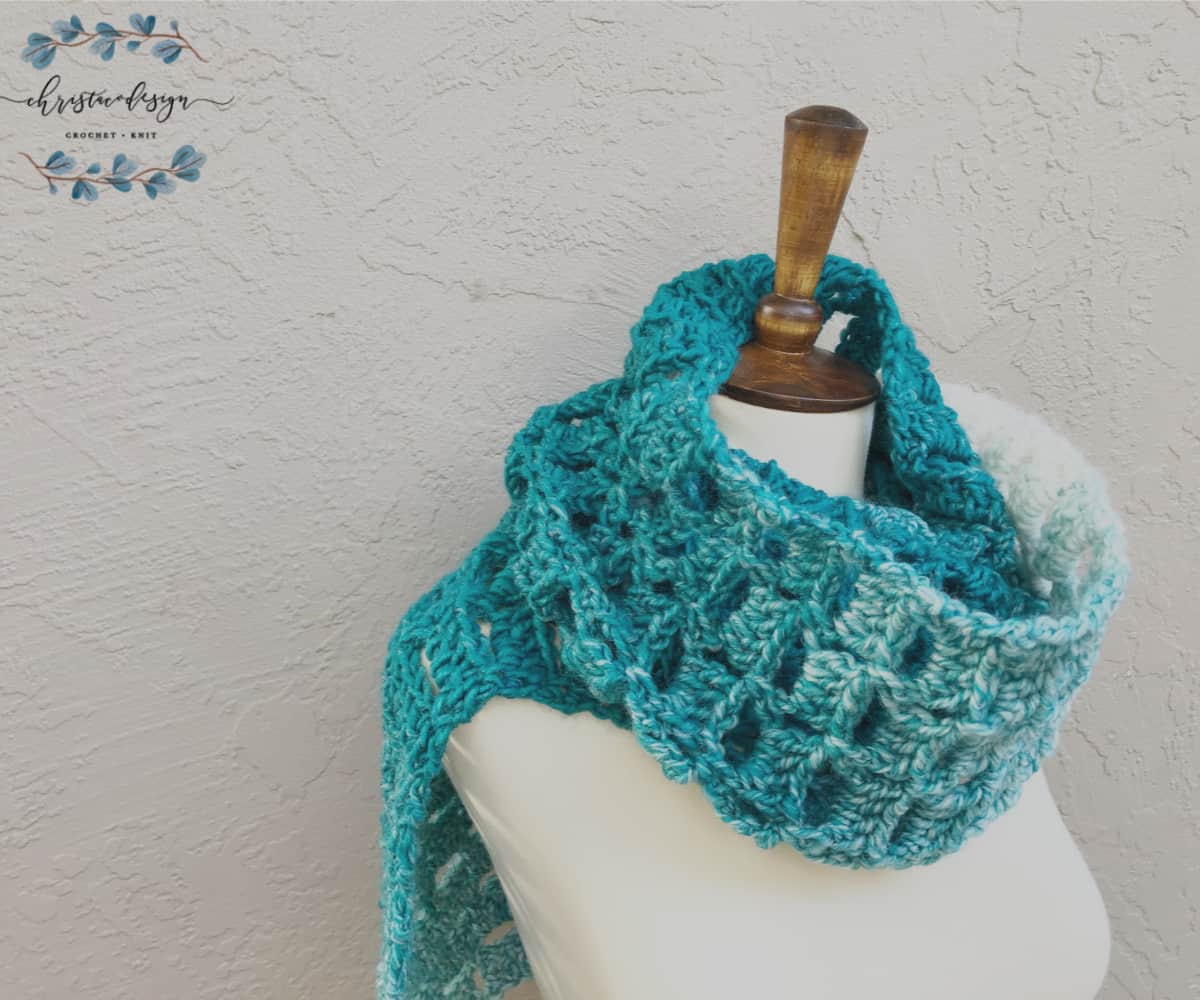
Here is an example below of my Sera Sweater that I use the join and turn method on.

You can see how the body crochets up in a tube, which means one less place to sew.
Pin It

Join & Turn Tutorial
How to Join and Turn a Crochet Tutorial
Learn how to join crochet stitches and turn to work in the round.
Materials
- Any weight yarn; for this tutorial I'm using a #3 light weight yarn.
Tools
- A hook that's compatible to your yarn; I'm using my 5mm Streamline Cafe.
Instructions
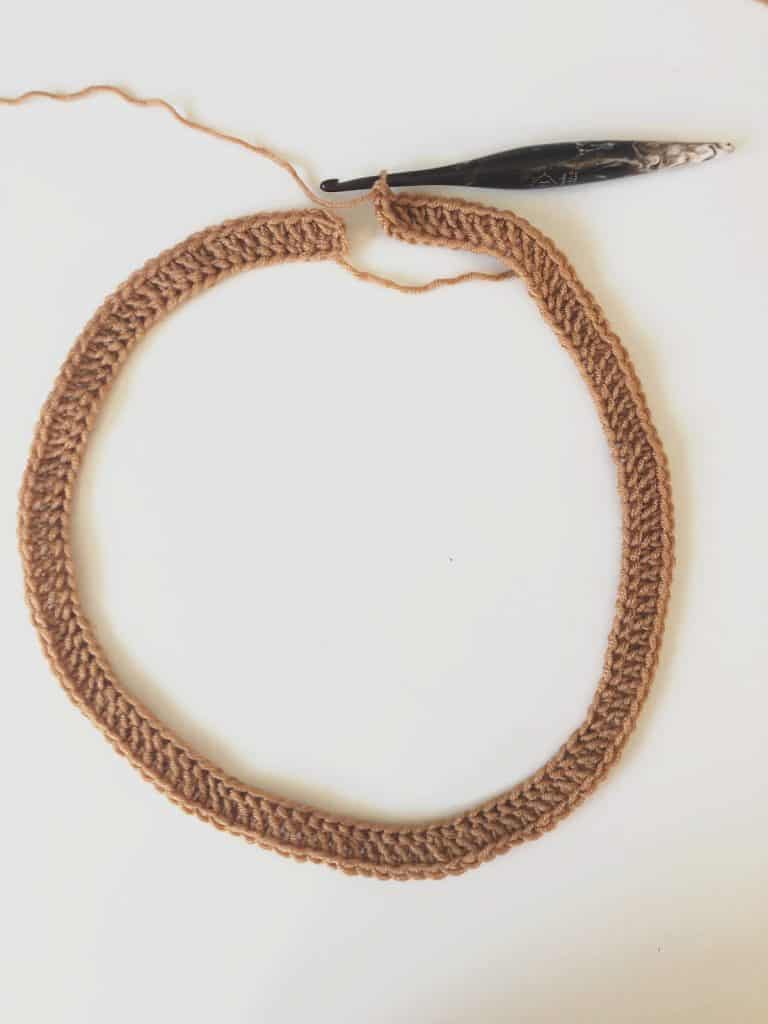
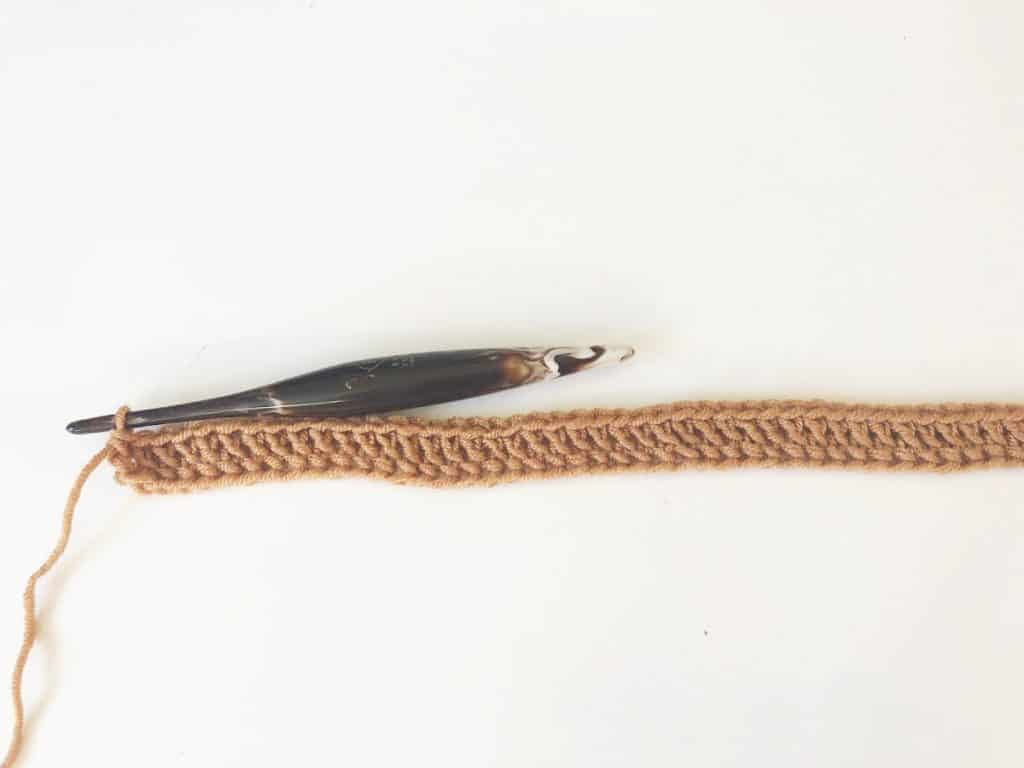
- Work a row of stitches I have a row of double crochets here.

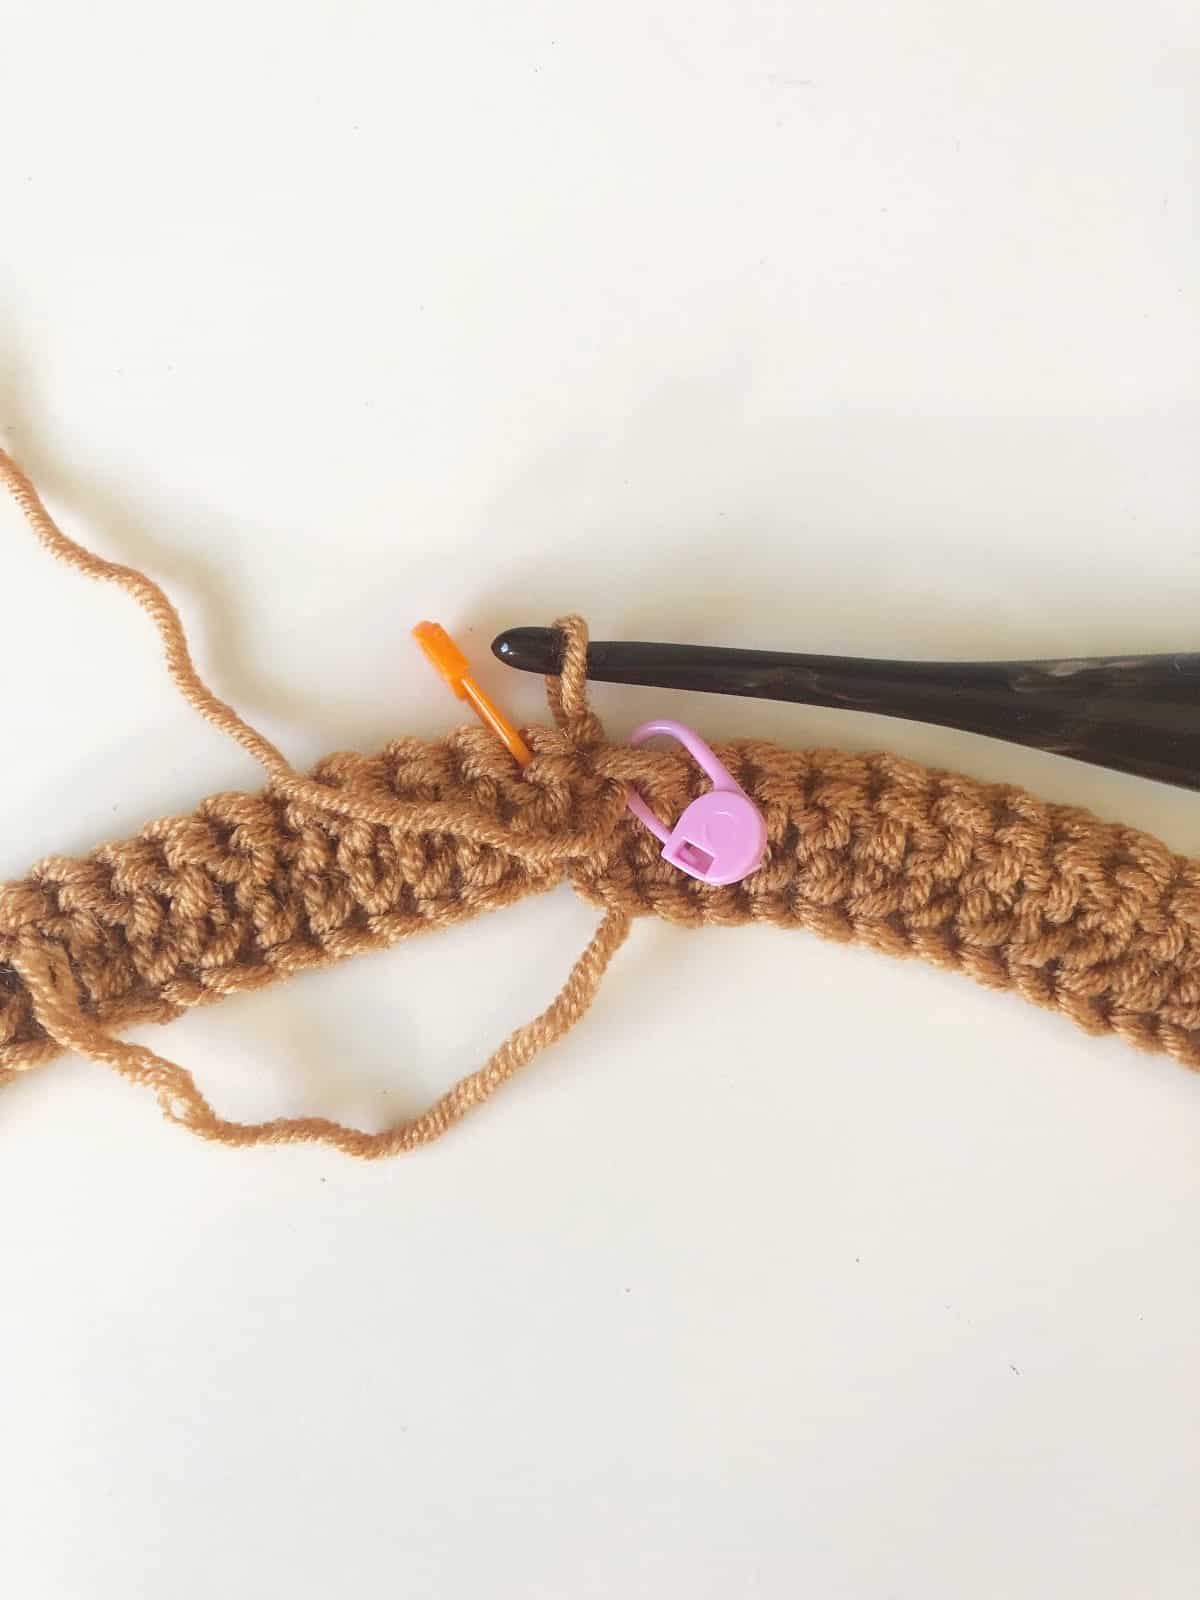
- Bring the last stitch and first stitch together, making a cirlce, be sure not to twist.
- Insert hook in the first you made, yarn over and pull through that stitch and the loop on your hook to slip stitch.
 The orange stitch marker is in the last stitch you made. The pink stitch marker is in the first stitch you made. The slip stitch does not count as a stitch.
 - Since our tail is right there, we'll use that to join the bottom of the stitch by weave it into the bottom of the first stitch and back through the bottom of the last stitch.
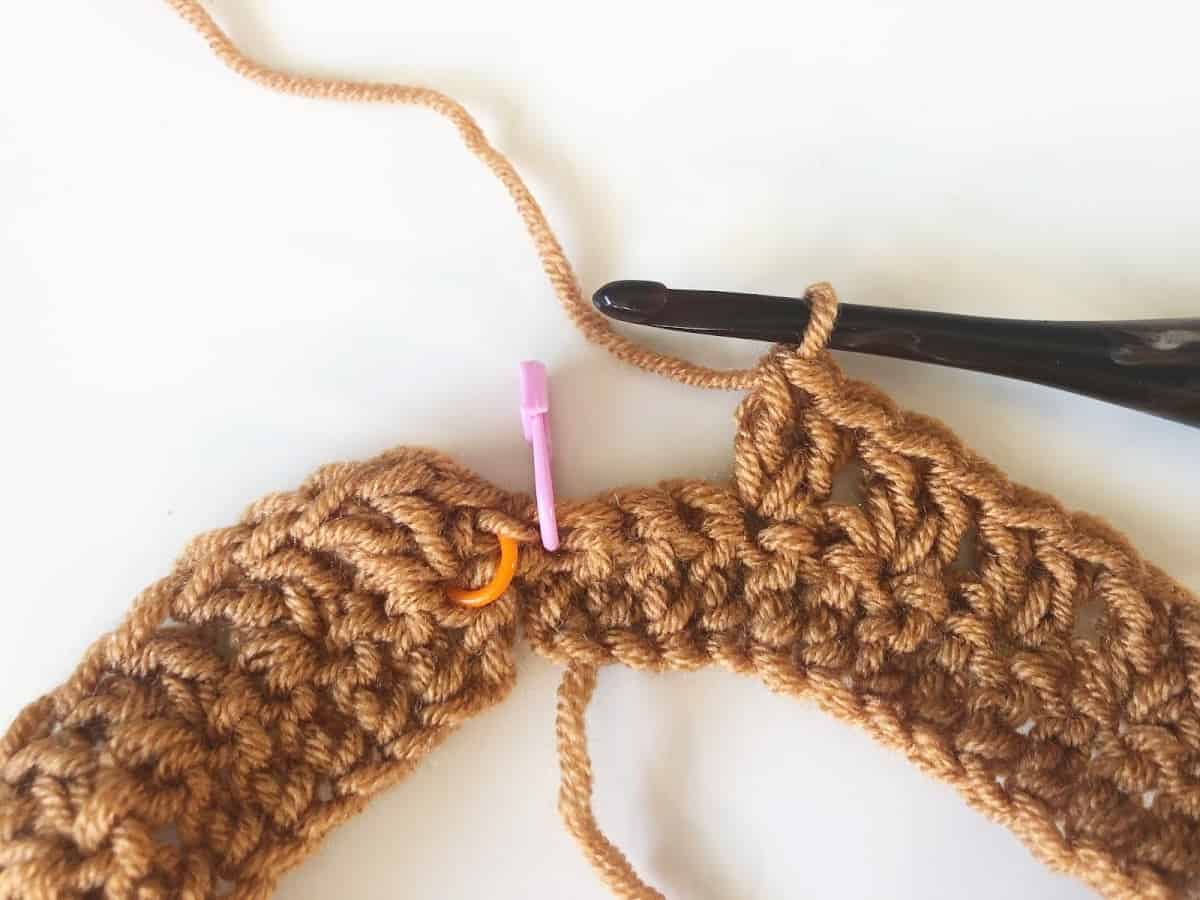
- Now we'll turn our work, just like crocheting in flat rows.
- To start this row, you'll chain 3 (or use a ch 3 alternative), here I have also added a double crochet in the same stitch.
 So there are two stitches to start the row.
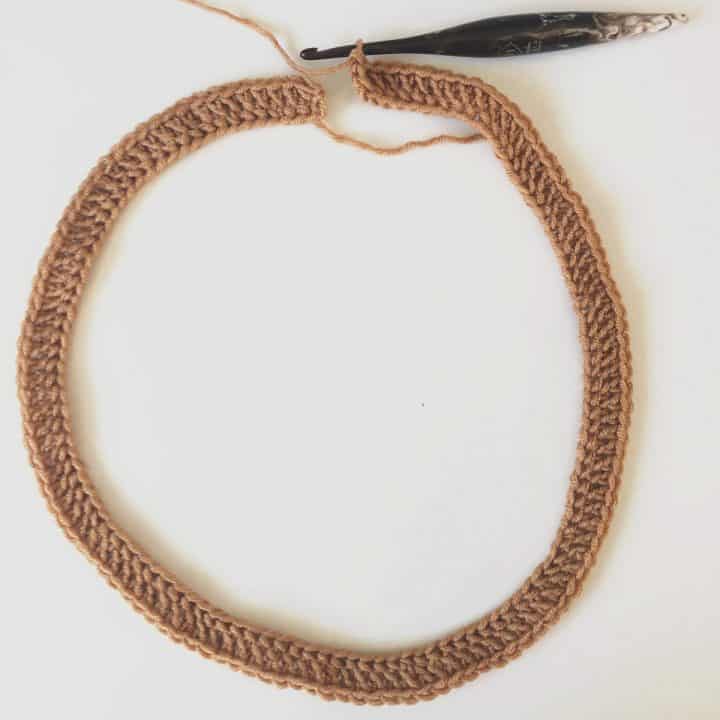
 - I'm going to work around and show you the join and turn again. To get there I am skipping 1 stitch and place 2 double crochets in the next.

- Here I just need to skip 1, place 2 dc in the next one and then the last stitch will be skipped and I'm ready to join and turn again.
- Join with a slip stitch to the top of the 3rd ch (or ch 3 alt)
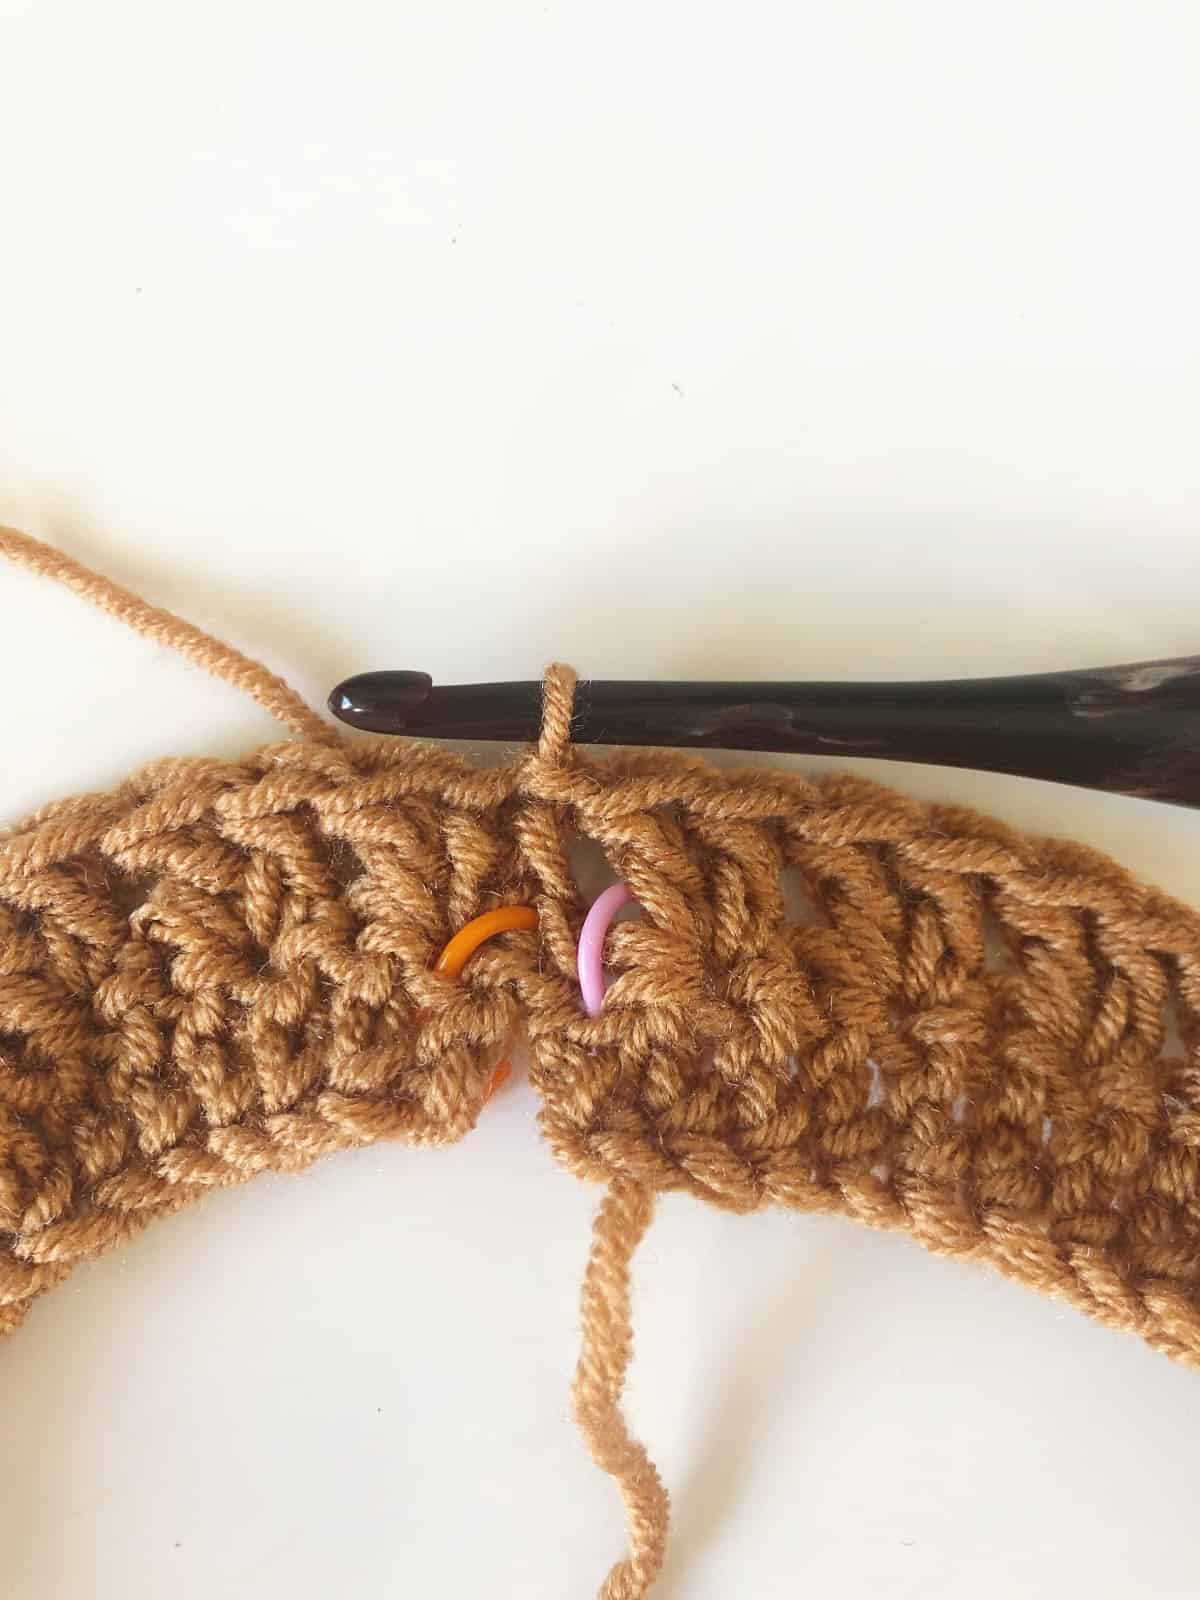
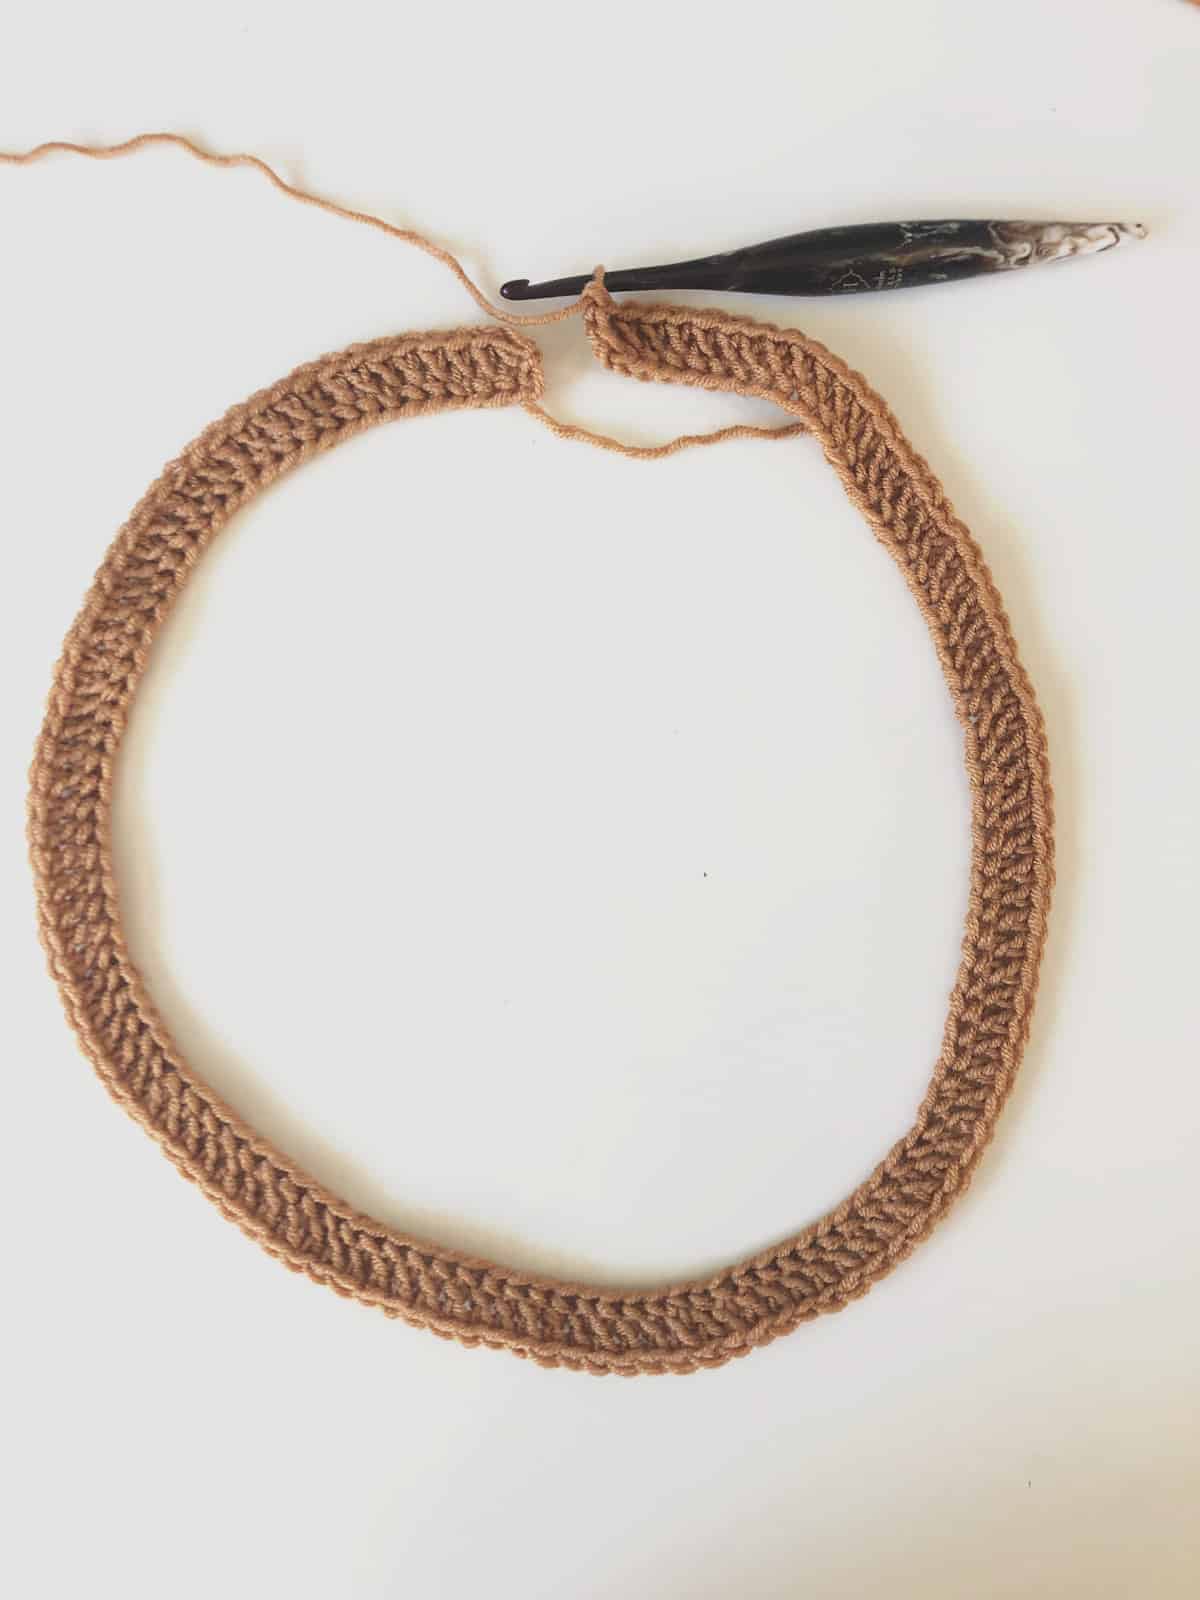
- Now turn your work.

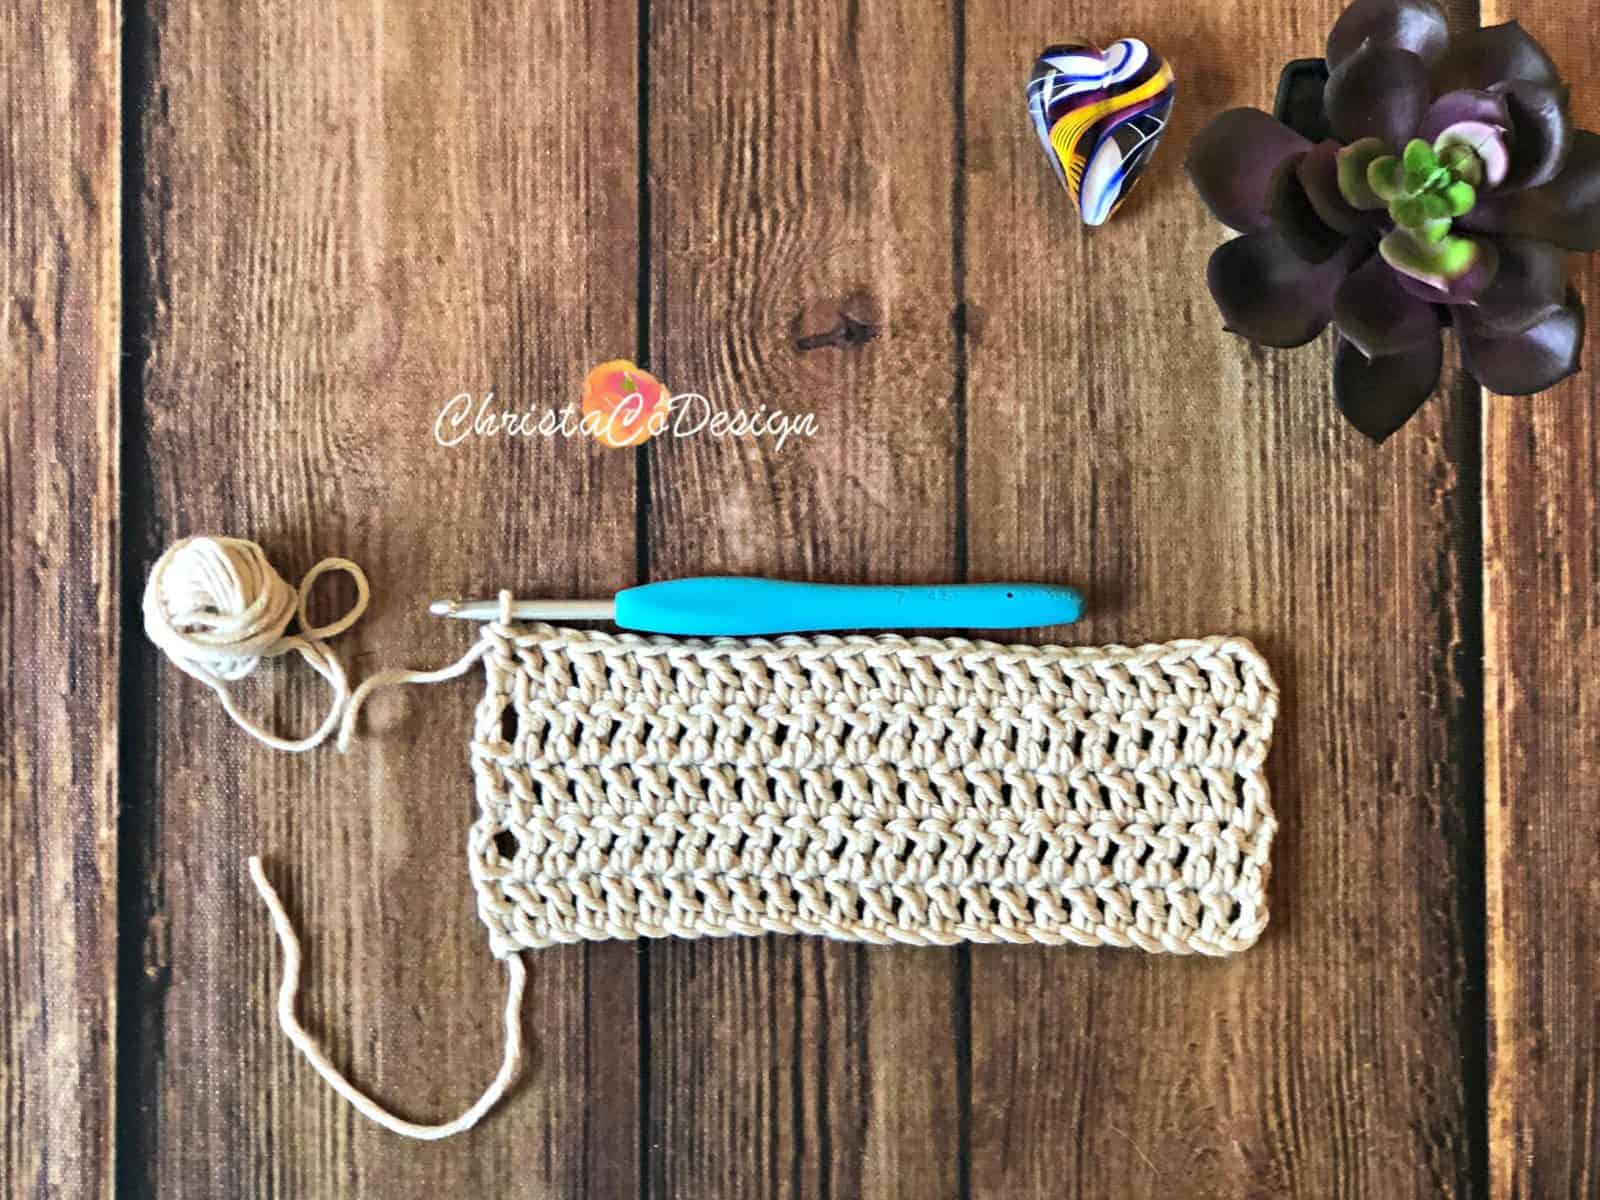
- And continue crocheting: Ch 3, dc in the same st, sk 1, 2 dc in the next stitch, sk 1, 2 dc in the next st...

- In this way, you are able to work in the round, but also work on both sides of the fabric. This creates the texture of crocheting in rows, but the convience of crocheting in the round.
Recommended Products
As an Amazon Associate and member of other affiliate programs, I earn from qualifying purchases.