The Lana Cardigan a Free Beginner Knitting Pattern
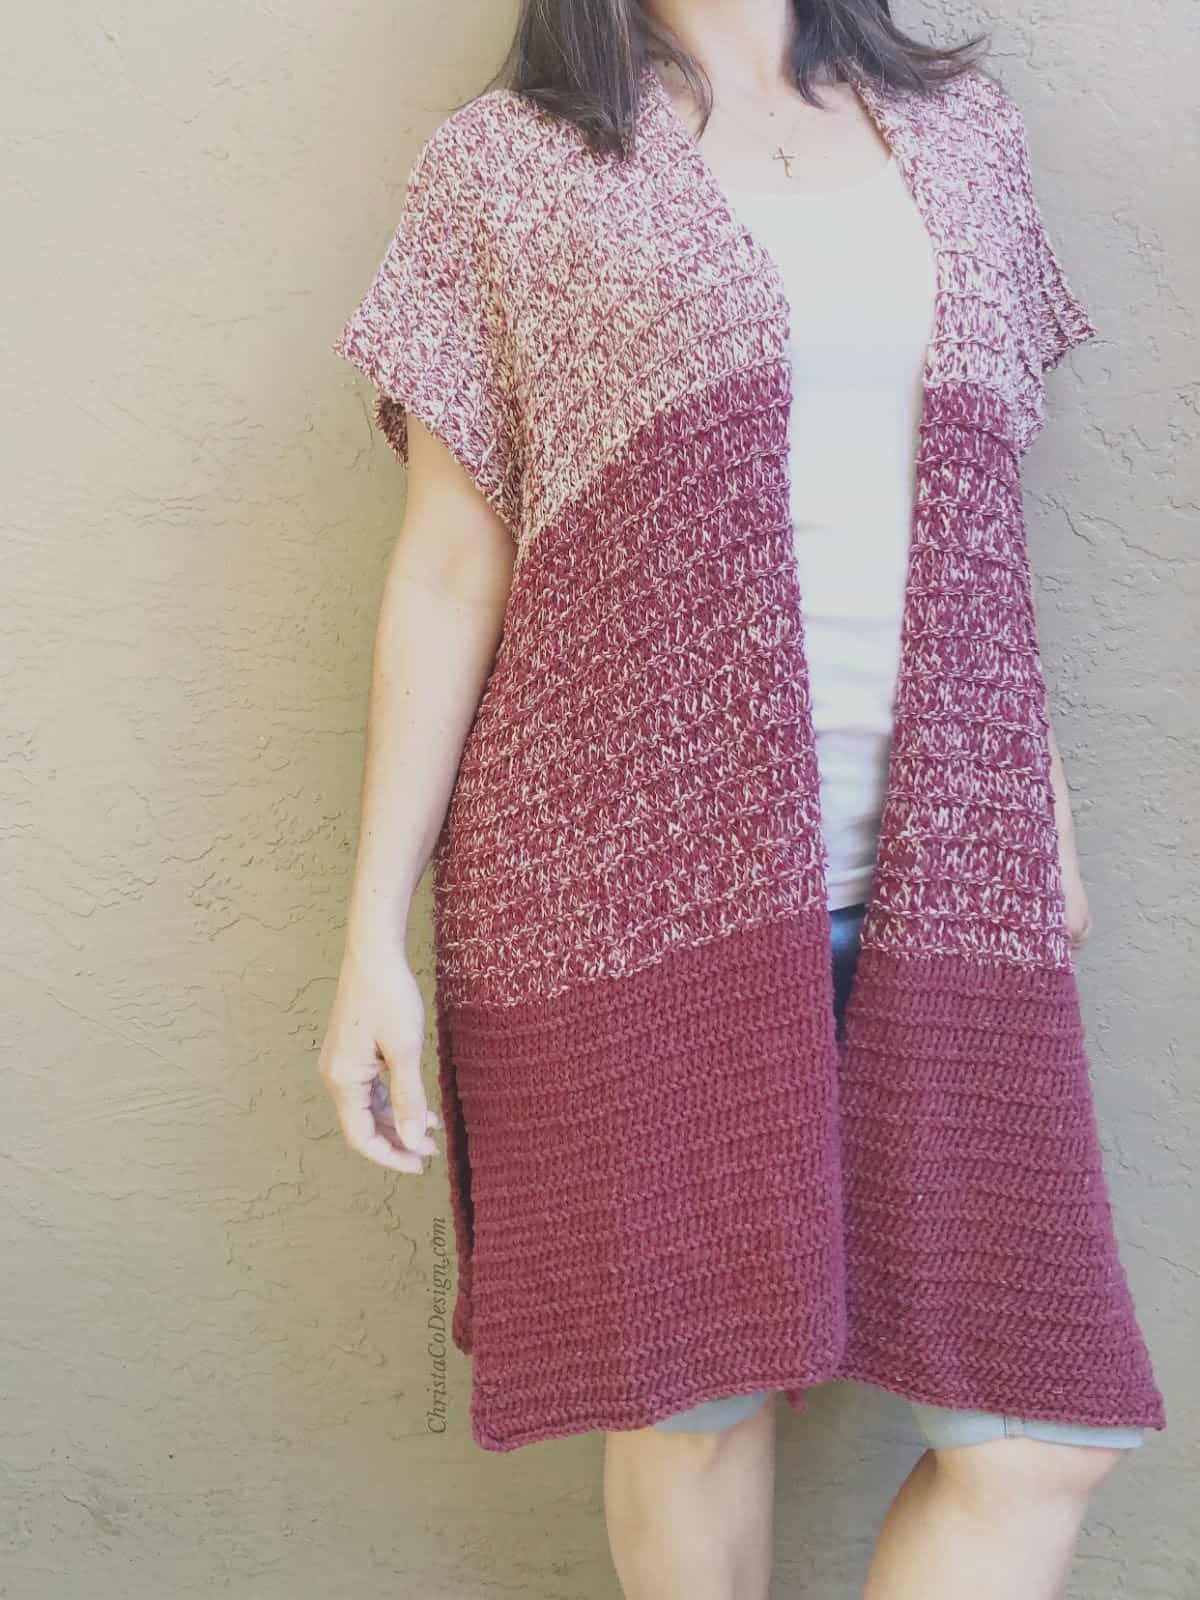
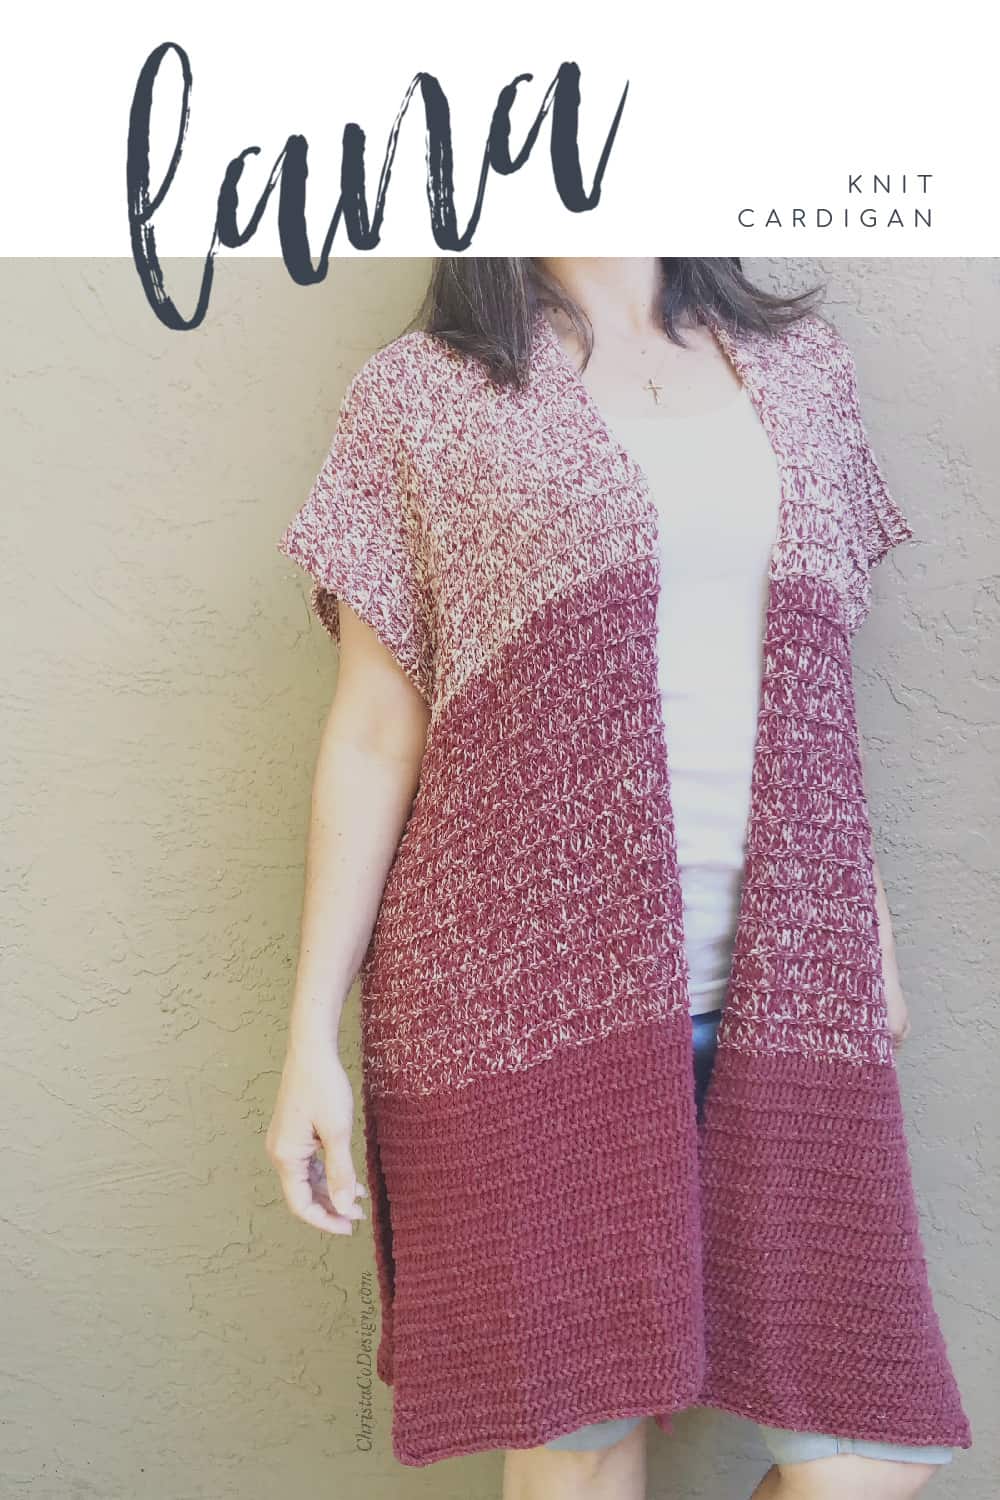
The Lana Knit Cardigan is a simple knitting pattern designed for beginning knitters. This long knit cardigan pattern includes a generous amount of ease for a loose, flowing garment. The easy repeat is a relaxing knit that any level knitter will enjoy.
Take your Lana Knit Cardigan out while on an evening walk. Knit in cotton yarn this cardigan is great to take along for a beach day. The length makes it so easy to wear as a beach cover up.
Love to wear leggings? The Lana Cardigan features a long length and side slits. Which makes this knit cardigan perfect for layering, without the bulk.
This post contains affiliate links, I may earn a fee. Read more disclosure policy.
In short, this knitted cardigan is a versatile garment. It’s simple to knit this cardigan even for a beginner. And it’s simple to style the Lana to your liking.
Once you cast on and get knitting, this pattern is a simple four row repeat. It’s easy to watch tv while you’re knitting this simple cardigan pattern.
Get the ad-free pdf on Etsy or LoveCrafts scroll down for the free pattern.
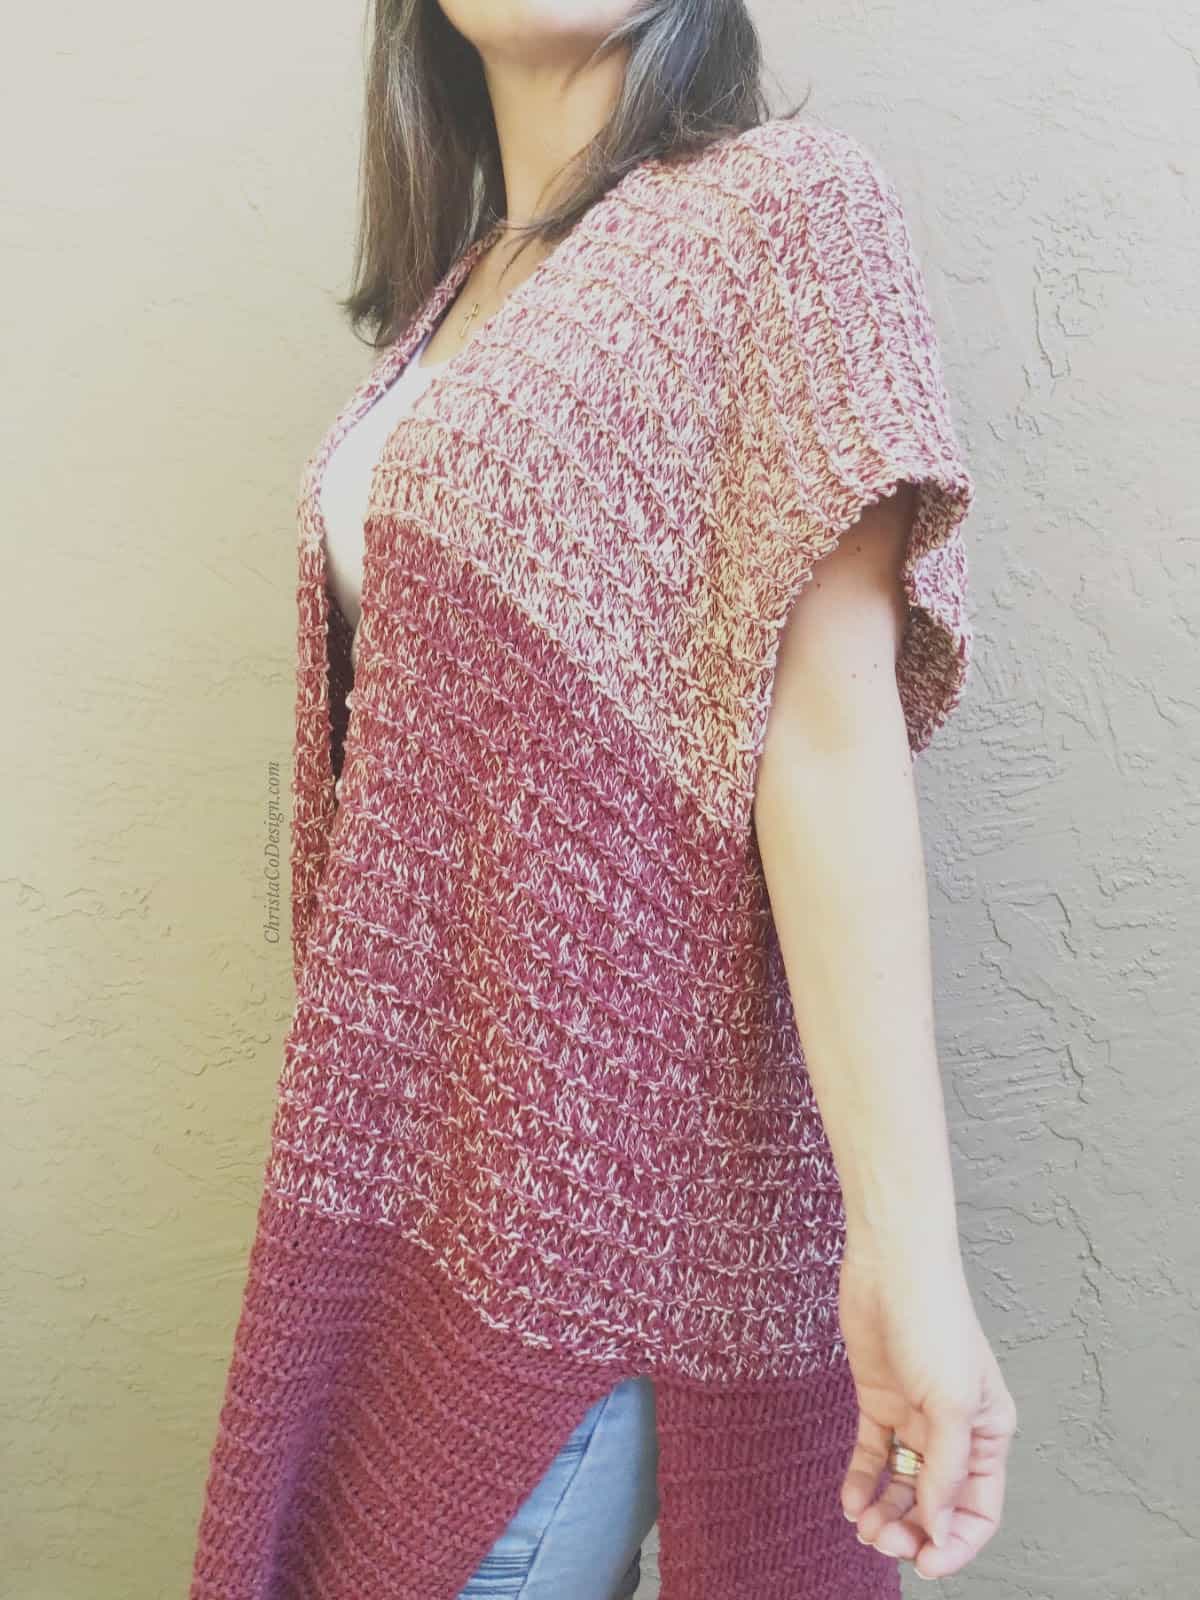
The side slit may be my favorite feature of the Lana Cardigan. It allows such movement in the garment. And it’s easy to adjust, if you would like to have a shorter or longer opening.
The armhole is loose and open, creating a breezy summer garment. Sleeves are incorporated so there’s no seaming for them. If you prefer a closer fit, it’s a simple matter of seaming the sides a bit further.
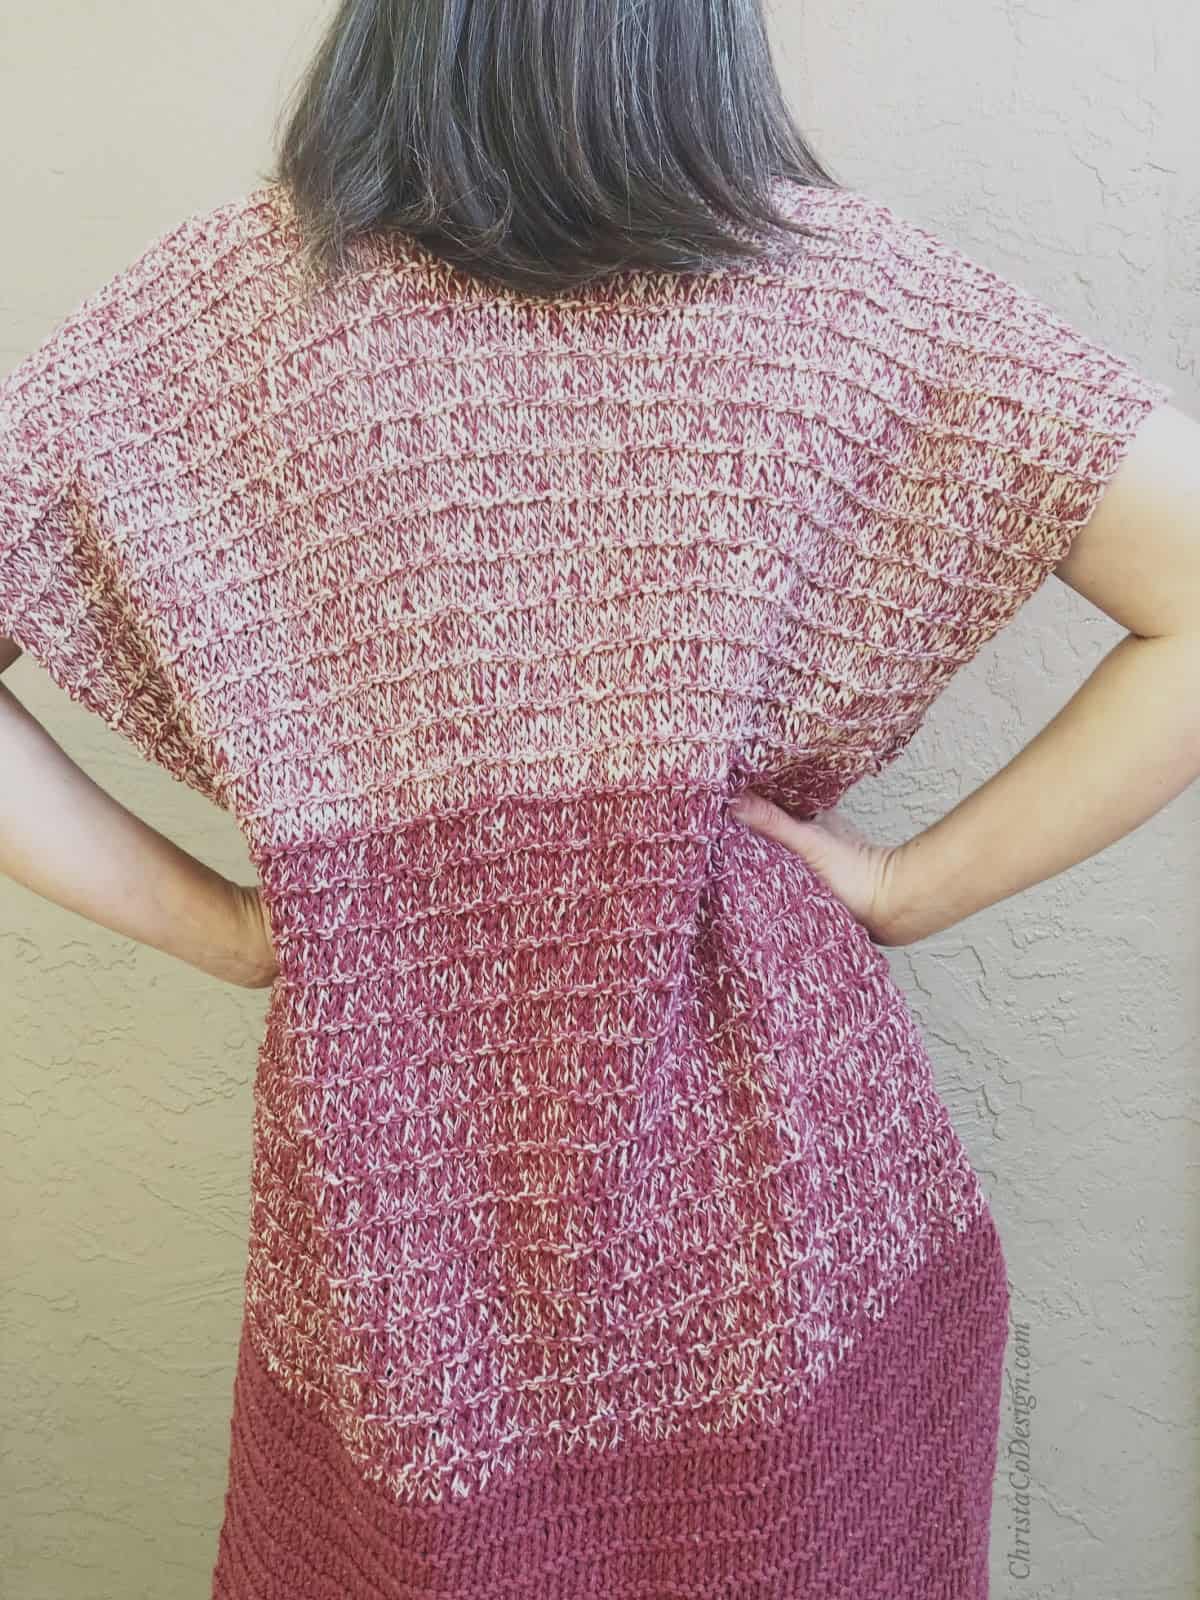
Knit in 3 colors, the ombre effect is heightened by the marl colored yarn. Solid maroon followed by maroon marled with white and ending with white marled with maroon. Customizing the colored stripes is all part of the knitting fun.
Construction
This simple knit cardigan is worked flat, bottom up. After knitting the back panel, you’ll divide the stitches in half. Then continue knitting the front panels, one at a time.
Once your front panels are complete then you seam. Seam up the center of the side seam to create the armholes and side slits. These are completely and easily adjustable.
PDF Pattern
Scroll down for the free knitting pattern for the Lana Knit Cardigan. You can also purchase an ad-free, well formatted downloadable pdf pattern. The pdf pattern includes schematic and additional progress pictures. These are great for viewing on your phone or printing.
Get the ad-free pdf on Etsy or LoveCrafts
Add it to your Ravelry queue here.
Never Miss a Pattern
Be sure to join my newsletter for my weekly emails + access to my Resource Library.
More Knitting Patterns
- Sophia’s Blanket an easy beginner knitting blanket pattern.
- This Seed Stitch textured knit scarf is an easy one skein scarf pattern.
- The Tostata Triangle Scarf is gorgeous in just one hank of hand dyed yarn, also a free knitting pattern.
Yarn
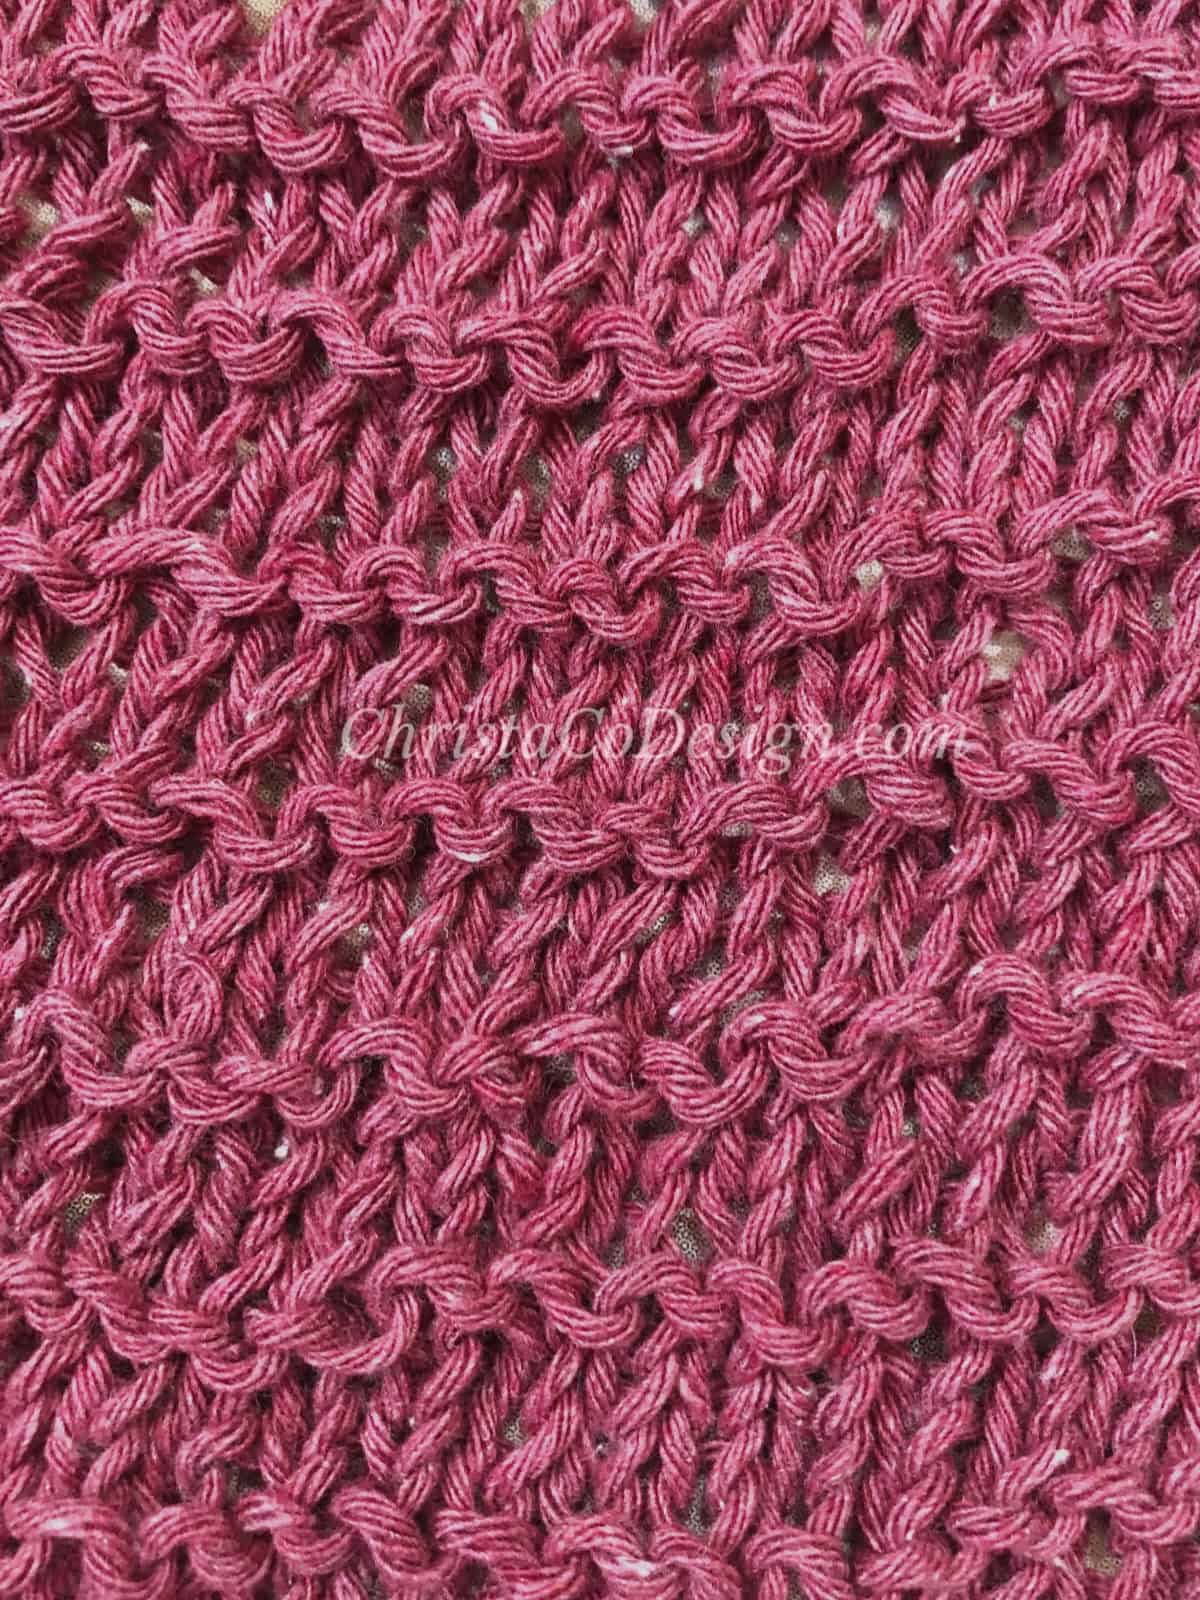
The Lana Cardigan pictured is knit in Premier Rodeo Yarn. This medium worsted weight yarn is a soft, comfy cotton yarn. The blend of solid and marl color ways lend this yarn a rustic feel.
Substitutions
You can substitute any worsted weight yarn. I choose a cotton yarn, as I was looking to create a summer cardigan. However, you can use acrylic or wool yarn also for your knit cardigan.
Touch of Alpaca from Lion Brand would make a gorgeous cardigan. This yarn also comes in larger, bonus bundles. Red Heart makes an Ombre Super Saver acrylic yarn which would be so colorful and easy.
Pin it Now, Make it Later
Materials
- #4 medium worsted weight yarn, pictured is Premier Rodeo (265 yds each), in dark red (Color A), medium red (Color B) and light red (Color C)
- 5mm needles on 24”+ cable, this is the interchangeable set I used.
- Yarn needle, Measuring tape, Scissors
- Recommended yarn yardage by size: (XS) 960 yds (S) 1060 (M) 1150 (L) 1275 (XL) 1360 (2X) 1450 (3X) 1575 (4X) 1650 (5X) 1725
Notes
- Stitch multiple is any number, but keep an even number to divide for the front panels equally.
- Pattern is written for multiple sizes, where the first size is the smallest and the larger sizes are in parenthesis. For ease of reading, every other number is bolded.
Stitches/Abbreviations
sk-skip the indicated stitch
RS-right side
WS-wrong side
st(s)-stitch(es)
rep-repeat
CO-cast on
K-Knit
P-purl
BO-bind off
Helpful Knitting Tutorials
Cast On With A Crochet Hook As a crocheter, this is my favorite and go-to cast on method.
The Long Tail Cast On is another easy and popular cast on method.
Eventually you will need to know how to join new yarn, the magic knot is one way.
How to change colors when you slip 1 at the beginning of a row.
Gauge
4″ x 4″ = 15 sts x 22 rows in pattern
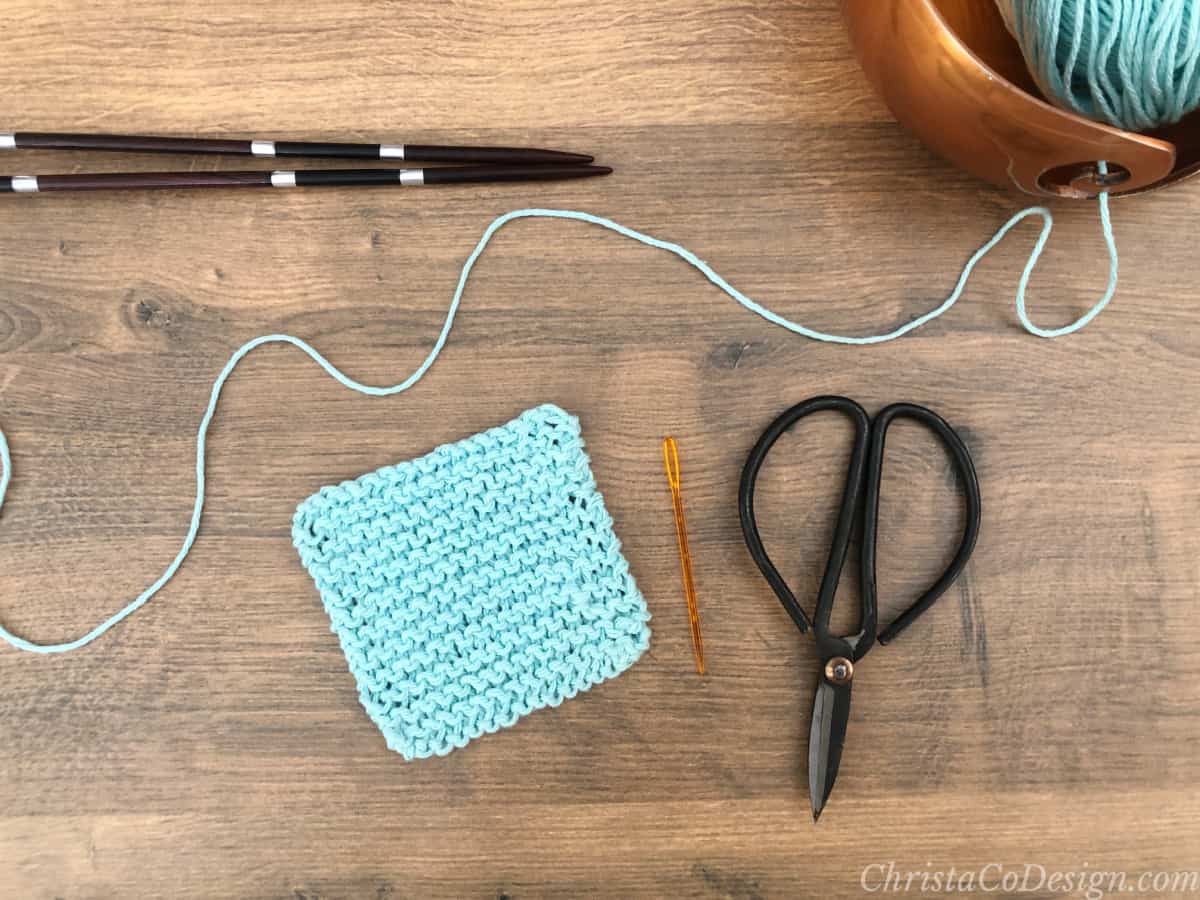
To check gauge, co 20 sts and work the pattern up until you have at least 4,” a little more is better to account for edges. Measure 4” within the swatch. If you have more sts per 4” than gauge, go up a needle size. If you have less sts per 4” then go down a needle size. Swatch again. If your row count is more or less than gauge, you can add or subtract rows to the pattern, as needed.
Level
beginner
Construction
Worked flat, from bottom up. Once the back panel is to target length, then we’ll divide for the front panels. Once front panels are bound off, the sides are seemed, leaving open loose arms and side slits.
Fit/Adjustment
| To Fit Bust Size “ | Back Panel Width “ | Front Panel Width “ | Total Bust “ | Ease ” | Length “ | Armhole Depth “ | Side Slit “ |
| 30 | 23.5 | 11.7 | 46.9 | 16.9 | 30 | 10 | 10 |
| 34 | 25.6 | 12.8 | 51.2 | 17.2 | 30 | 10 | 10 |
| 38 | 27.7 | 13.9 | 55.5 | 17.5 | 30 | 10 | 10 |
| 42 | 29.9 | 14.9 | 59.7 | 17.7 | 30 | 10 | 10 |
| 46 | 31.5 | 15.7 | 62.9 | 16.9 | 30 | 10 | 10 |
| 50 | 33.6 | 16.8 | 67.2 | 17.2 | 30 | 10 | 10 |
| 54 | 35.7 | 17.9 | 71.5 | 17.5 | 30 | 10 | 10 |
| 58 | 37.9 | 18.9 | 75.7 | 17.7 | 30 | 10 | 10 |
| 62 | 39.5 | 19.7 | 78.9 | 16.9 | 30 | 10 | 10 |
This garment has a positive ease of 17,” where the finished garment measurements are 17” larger than the actual body measurement. For a looser fit, go up a size in the pattern. For a snugger fit, go down a size. To increase or decrease the length just add more rows. If you are color blocking, you will need to figure this out before you start.
The armholes and side slits are the same for all sizes in the pattern. These are easy to adjust to your needs. However, the pattern has the color blocks lining up with the armholes and slits, so you may want to take that into consideration when planning your colors and adjustments.
All sizes are written for the same length. To customize length and color blocking, measure how far down from the top of your shoulder you would like your garment to fall. Once you have a length you can decide if you want blocks of color in 5” or 12” or whatever. As written, color changes are every 10.”
Pattern
In Color A
CO 88 (96, 104, 112, 118, 126, 134, 142, 148)
Row 1. (RS) K
Row 2. (WS) P
Row 3. K
—
Row 4. (WS) K
Row 5. K
Row 6. P
Row 7. K
—
Rows 8-59. Rep Rows 4-7 for 14 sets (plus Rows 1-3), or 10.”
Change to Color B.
Rows 60-115. Rep Rows 4-7 for 14 sets, or 10.”
Change to Color C.
Rows 116-171. Rep Rows 4-7 for 14 sets, or 10.”
Divide For Front Panels
On WS, slip first 44 (48, 52, 56, 59, 63, 67, 71, 74) sts on to spare cable with stops, or extra yarn tied off loosely, but securely.
You’ll come back to these later and slip them back onto your needle to complete the second panel.
Keep remaining sts on needle to work Right Front Panel {when wearing}.
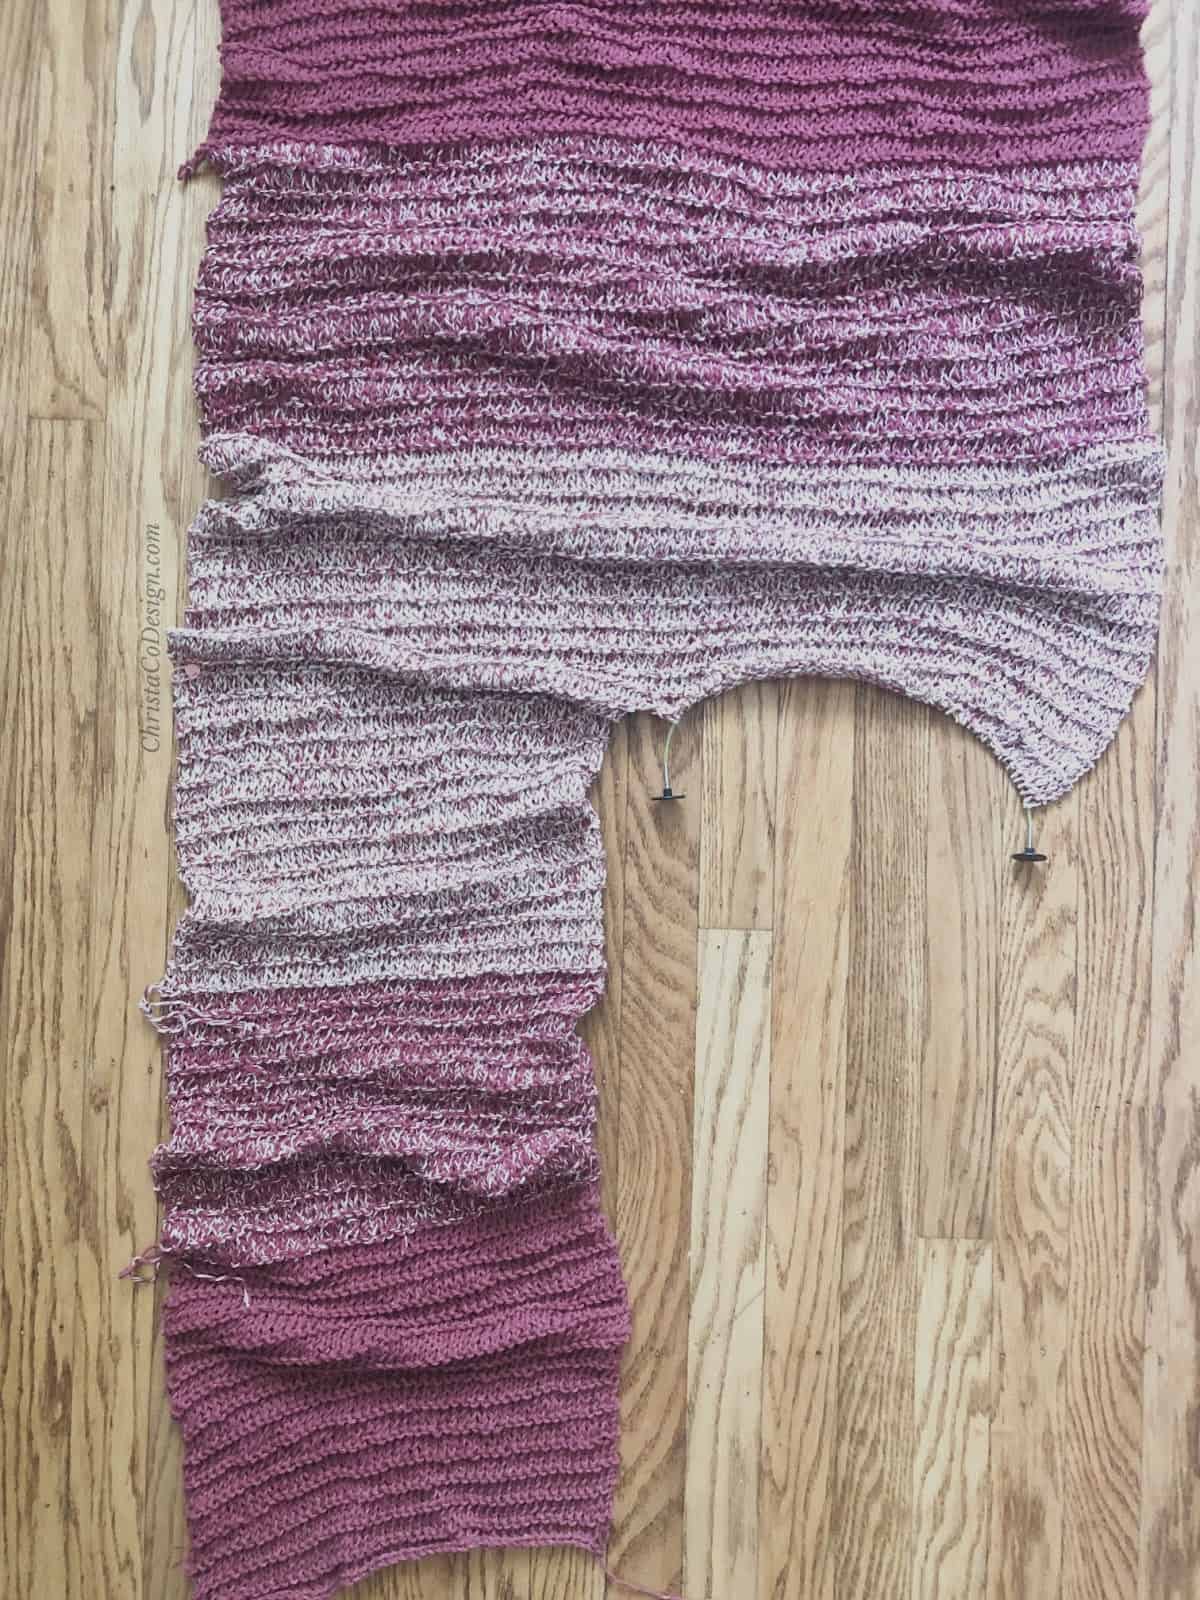
You can see how I did slipped the stitches with my cable needles in this short video. If you don’t have a spare cable, or the right size just use a spare length of yarn and needle instead. Just tie it in a bow to secure those stitches.
Front Right Panel {when wearing}
In Color C
Rows 172- 227. Continue the four row repeat of Rows 4-7 for 14 sets, or 10.”
Change to Color B
Rows 228-283. Rep Rows 4-7 for 14 sets, or 10.”
Change to Color A
Rows 284-339. Rep Rows 4-7 for 14 sets, or 10.”
Row 340. K
Row 341. P
BO.
Front Left Panel {when wearing}
Working from center to left, slip sts back on to needle. Double check your st count to make sure you got them all.
Rep instructions for Right Front Panel.
Seam

With garment WS out, match up sides. Leave bottom 10” (Color A) unseamed for side slit. Use a matching length of yarn and needle to sew the center 10” sides together. Leave the last 10” (Color C) unseamed for armholes. Use your Row 4s for easy lining up. Please note that the first and last Row 4s will be different colors (Color B on front and Color A on back and then vice versa) since the garment is folded over.
Finishing
Cut yarn and weave in ends.
Block your garment. I choose to do a wet block on this one. If you’d like to read more about wet blocking, I share my process at the end of the Tostata Knit Scarf post.
Share
I’d love to see your #lanacardigan.

I may have missed it, but I’ve read through twice, however I cannot find any indication of how much yarn is needed for each size?
Hi Lisa,
Sorry you’re having trouble finding that info, thanks for reaching out. The recommended yardage by size is under the Materials section, at the bottom. I’ll add it here too:Recommended yarn yardage by size: (XS) 960 yds (S) 1060 (M) 1150 (L) 1275 (XL) 1360 (2X) 1450 (3X) 1575 (4X) 1650 (5X) 1725
I hope that helps!
@Christa18, it does, thank you so much!