Knit vs Purl Stitch And How Tell The Difference
Knitting is made with two basic stitches: the knit stitch and the purl stitch. Learning to knit these two stitches allows you to knit a variety of fabrics.

This post contains affiliate links, I may earn a fee. Read more disclosure policy.
Join the ChristaCoDesign Newsletter
Never miss a pattern!
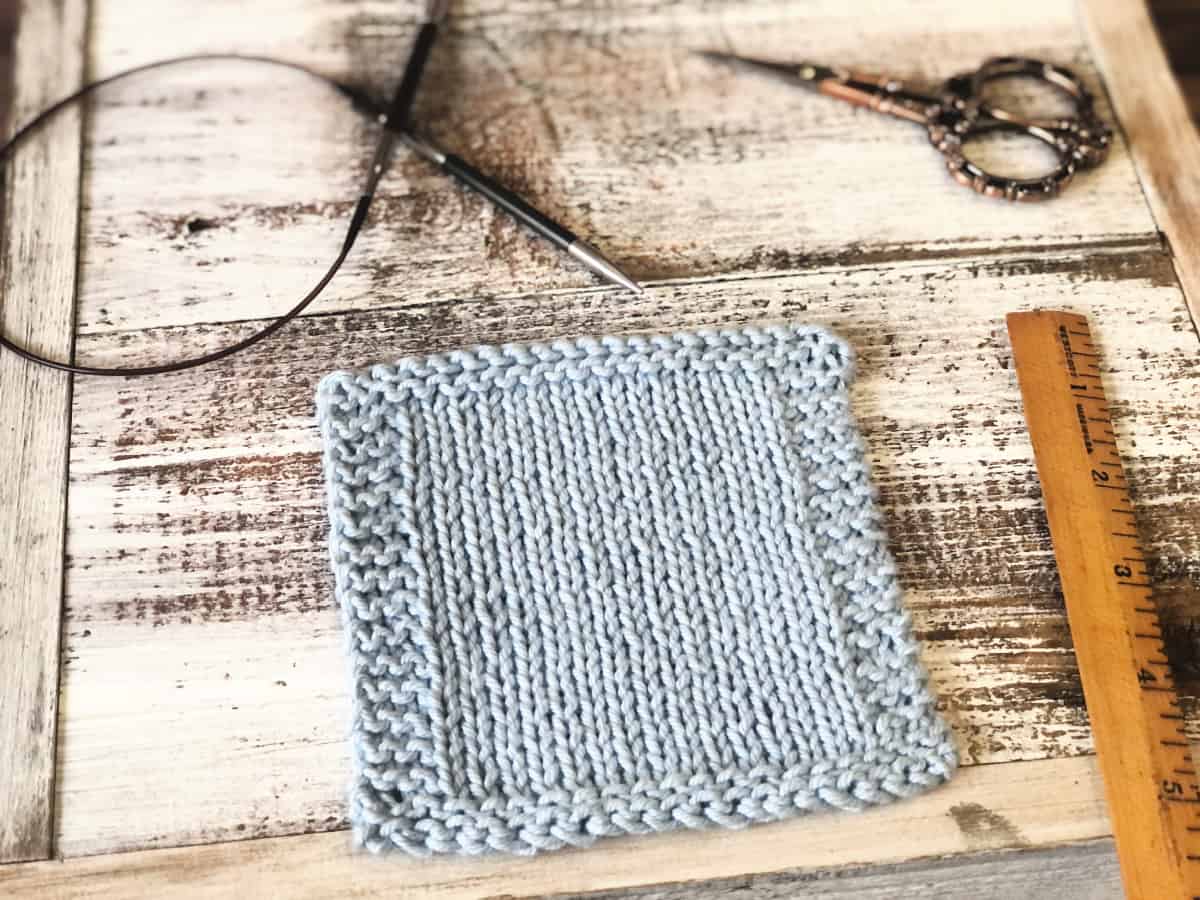
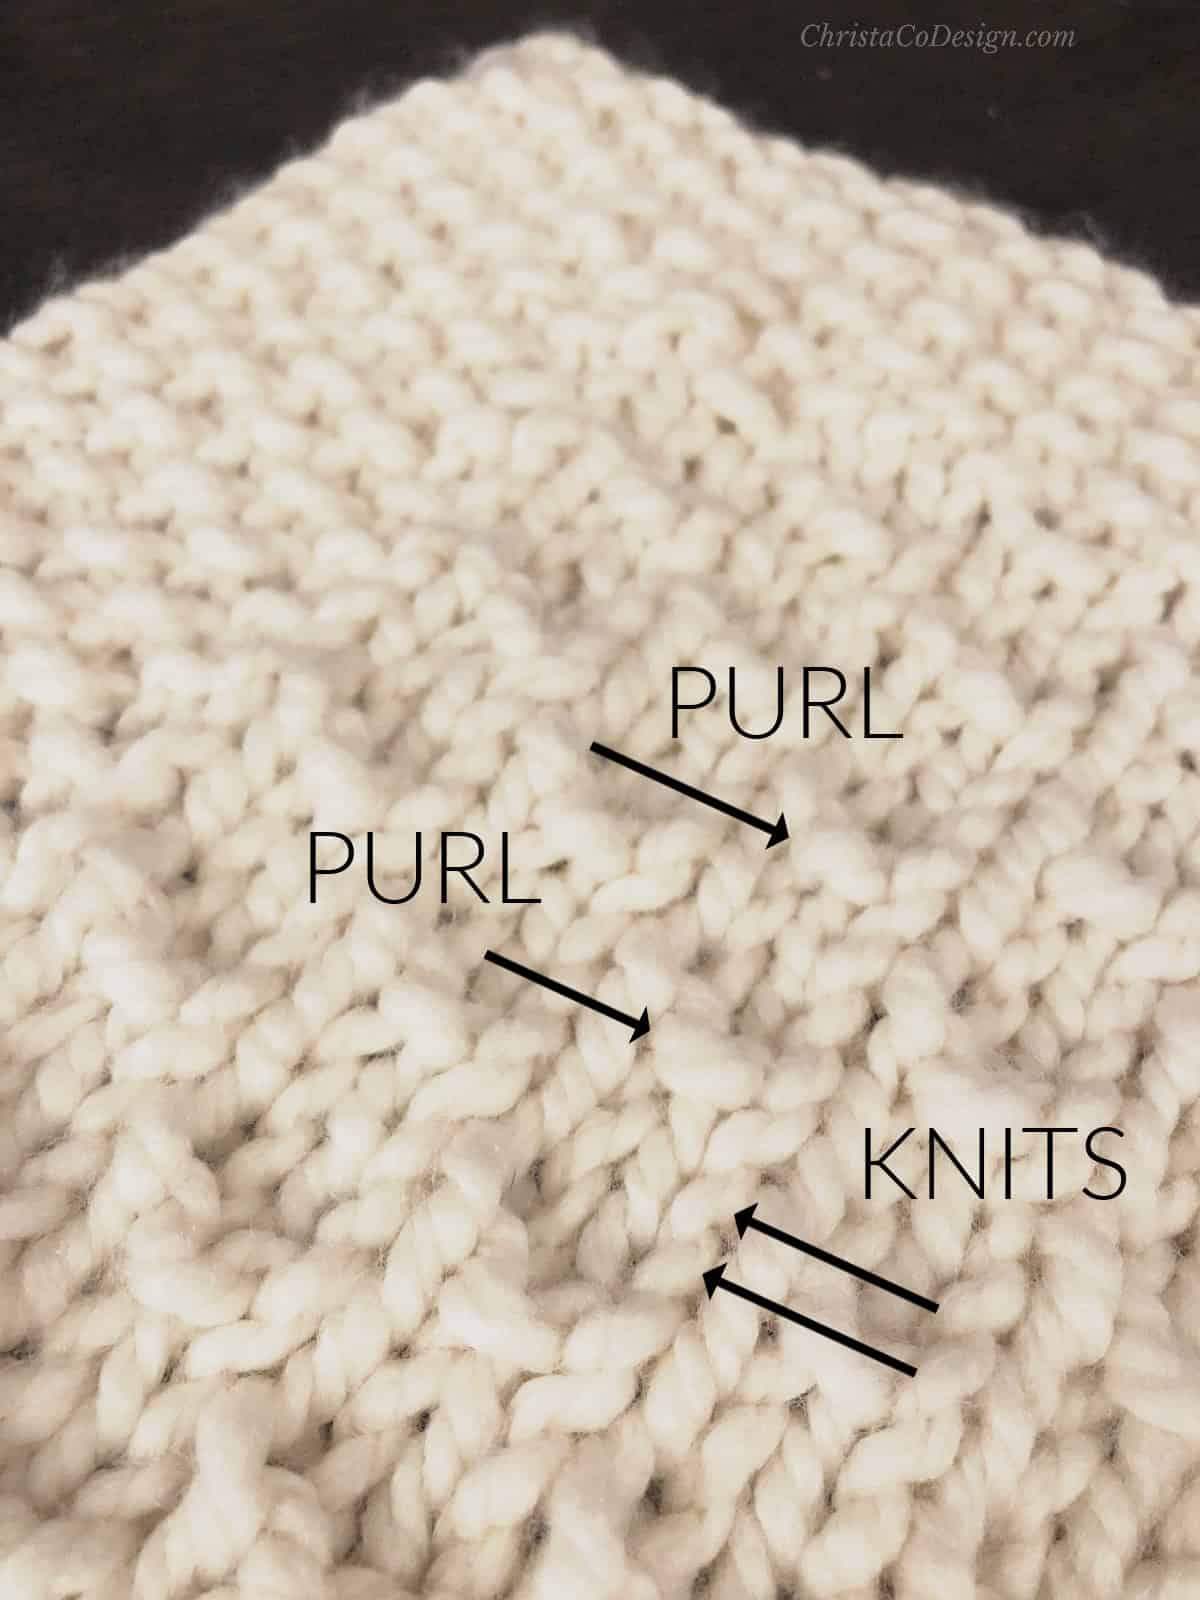
The classic stockinette stitch has a knit side and purl stitches on the back. This combination gives our knitted fabric that smooth, flat surface on the front of the work.
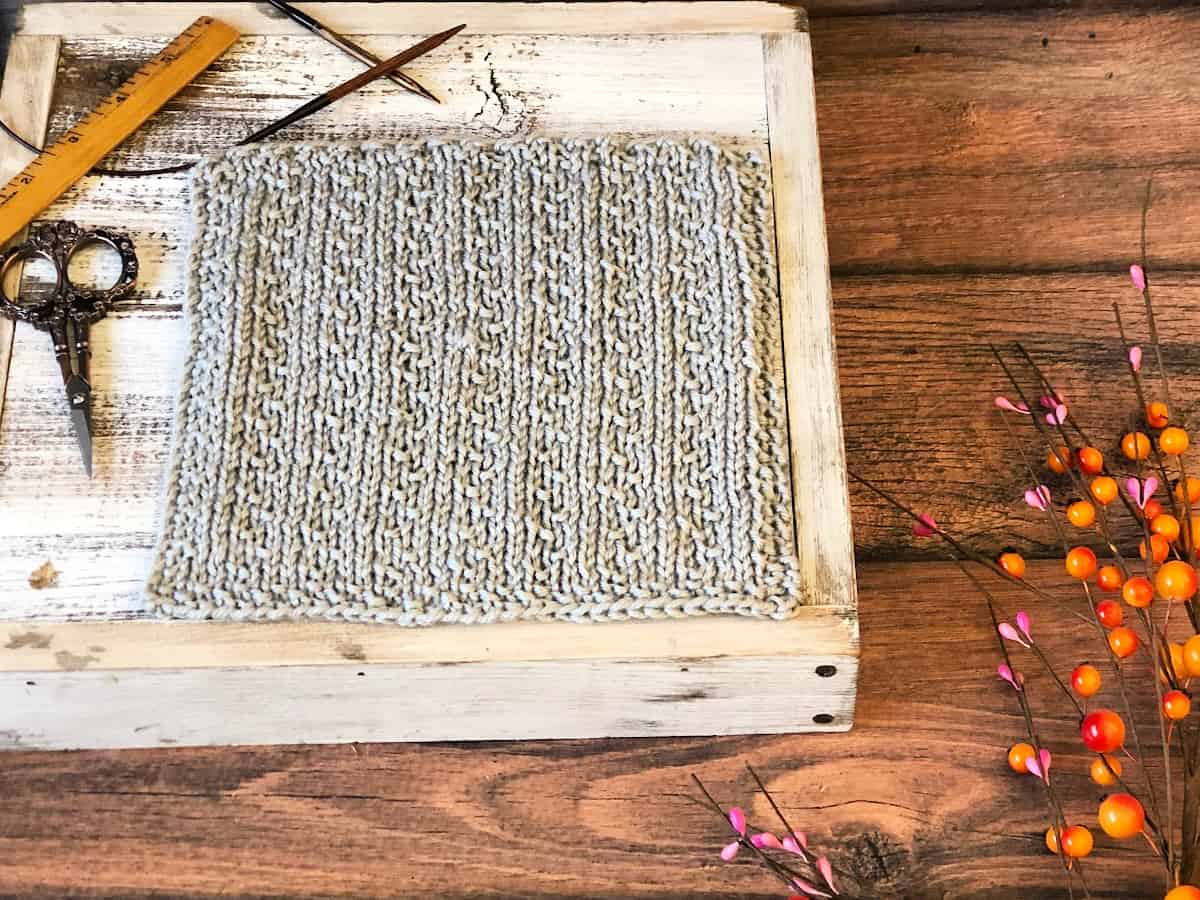
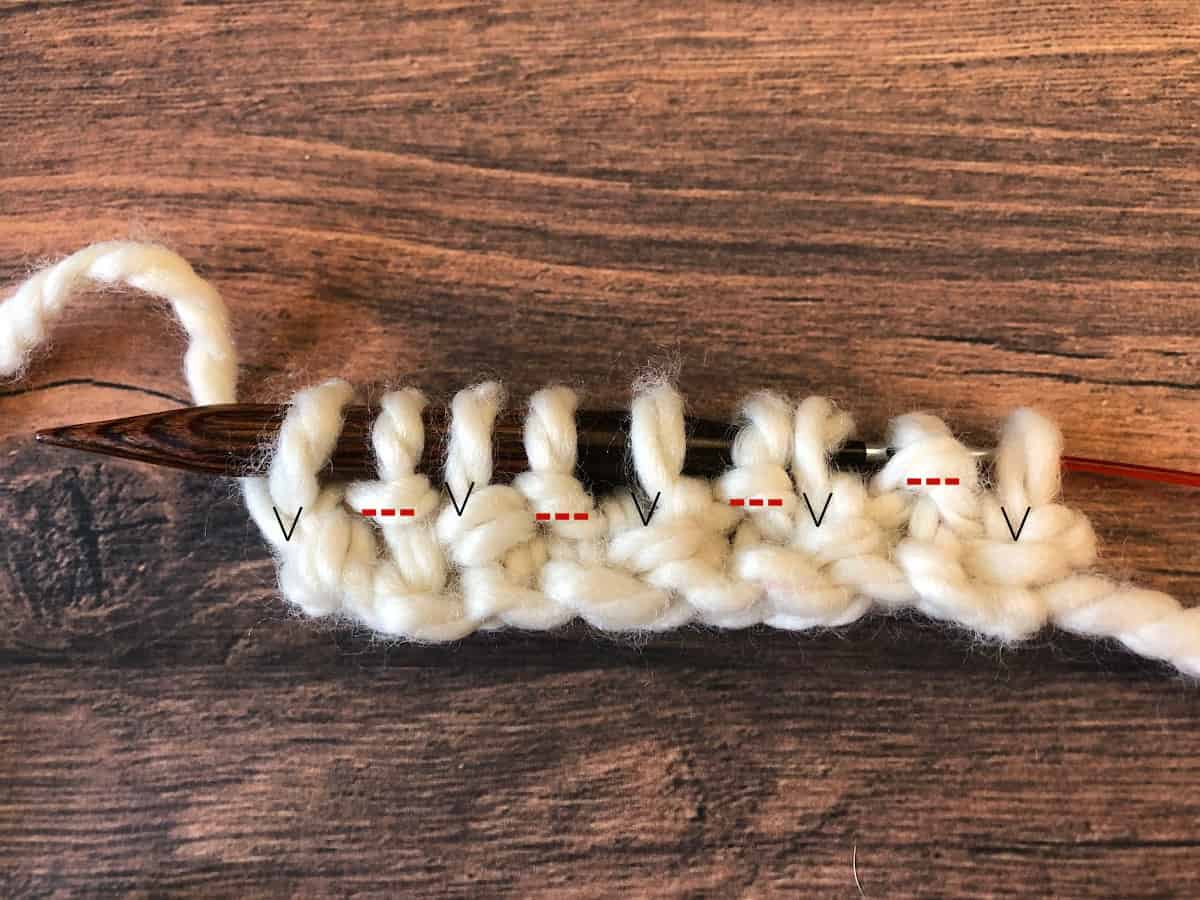
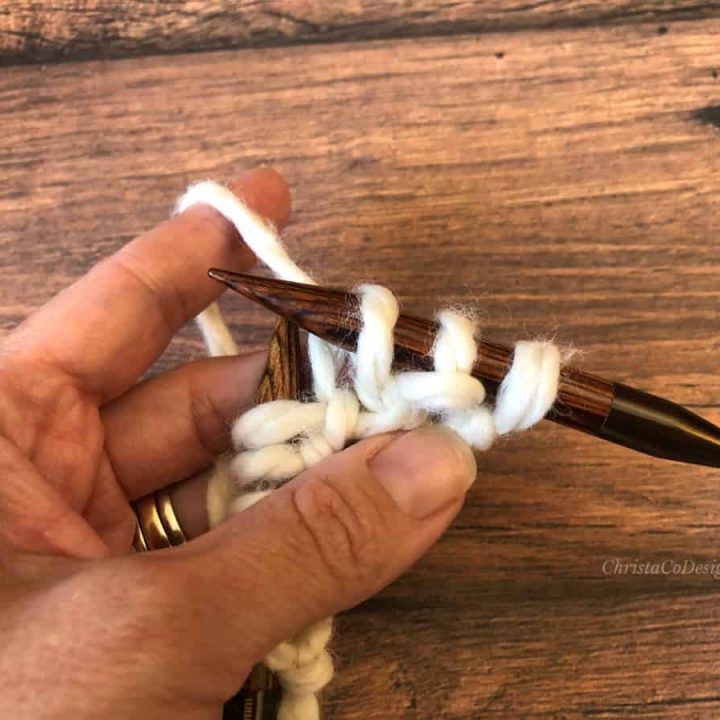
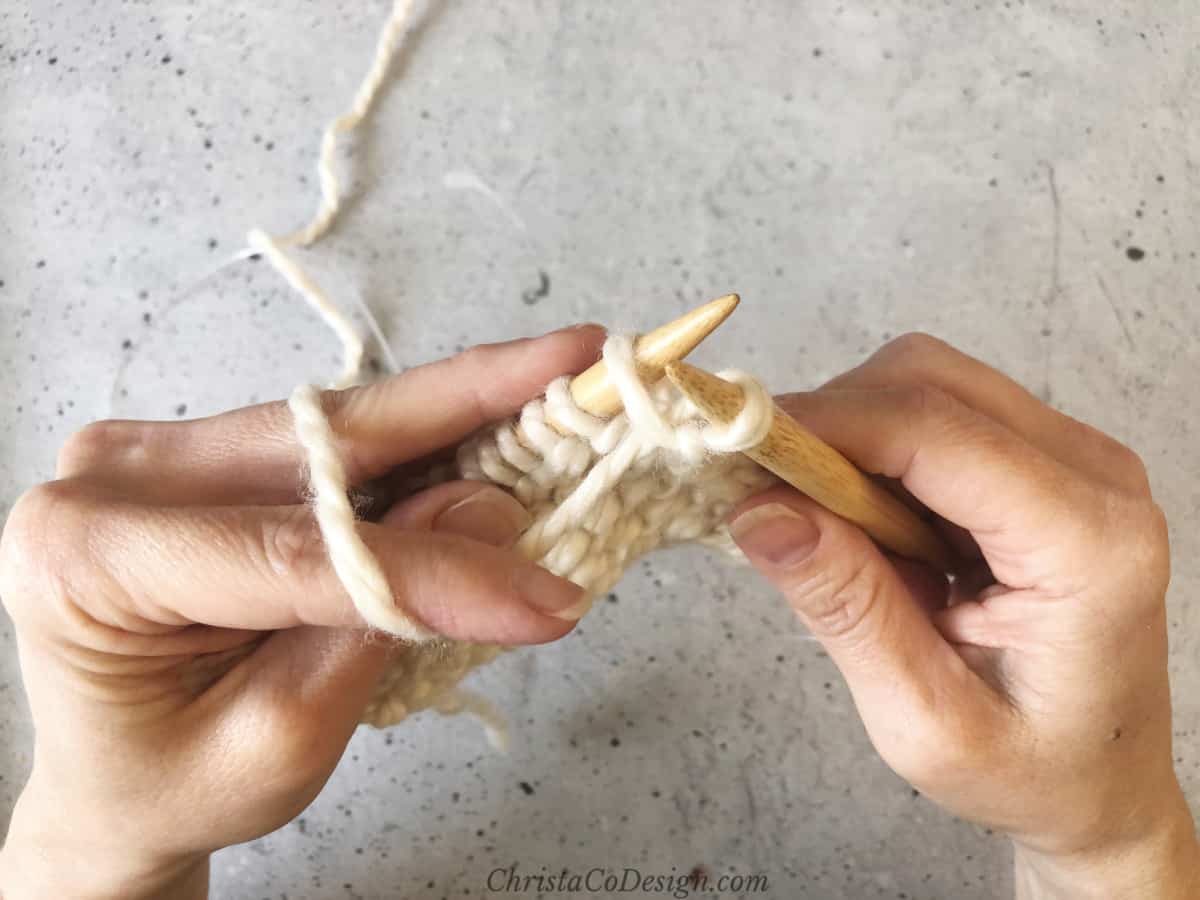
Knit stitches are identified by the little v in the center. Purl stitches have a horizontal bump. Theses two features become easy to see in your knitting project once you know what you’re looking for.
To make a knit stitch you hold the yarn in the back. When you purl you bring the yarn to the front of your work. This is the main difference when purling or knitting.
Holding the yarn in either the front or back of your work determines which side of the stitch you will see on the side of the fabric facing you.
So if you knit a stitch on the right side, the same stitch will have a purl bump on the wrong side. And the same applies to making a purl on the front side. The back of purl stitch is a knit stitch.
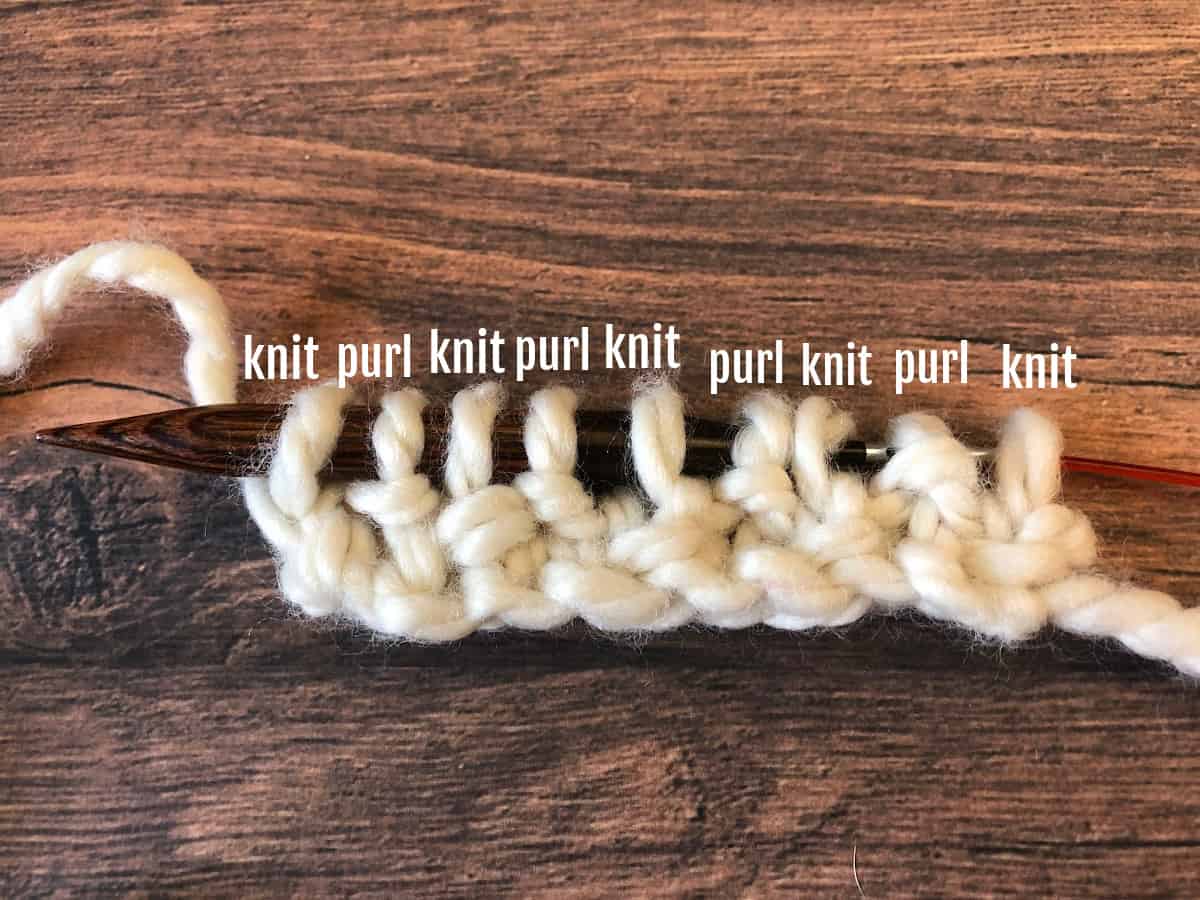
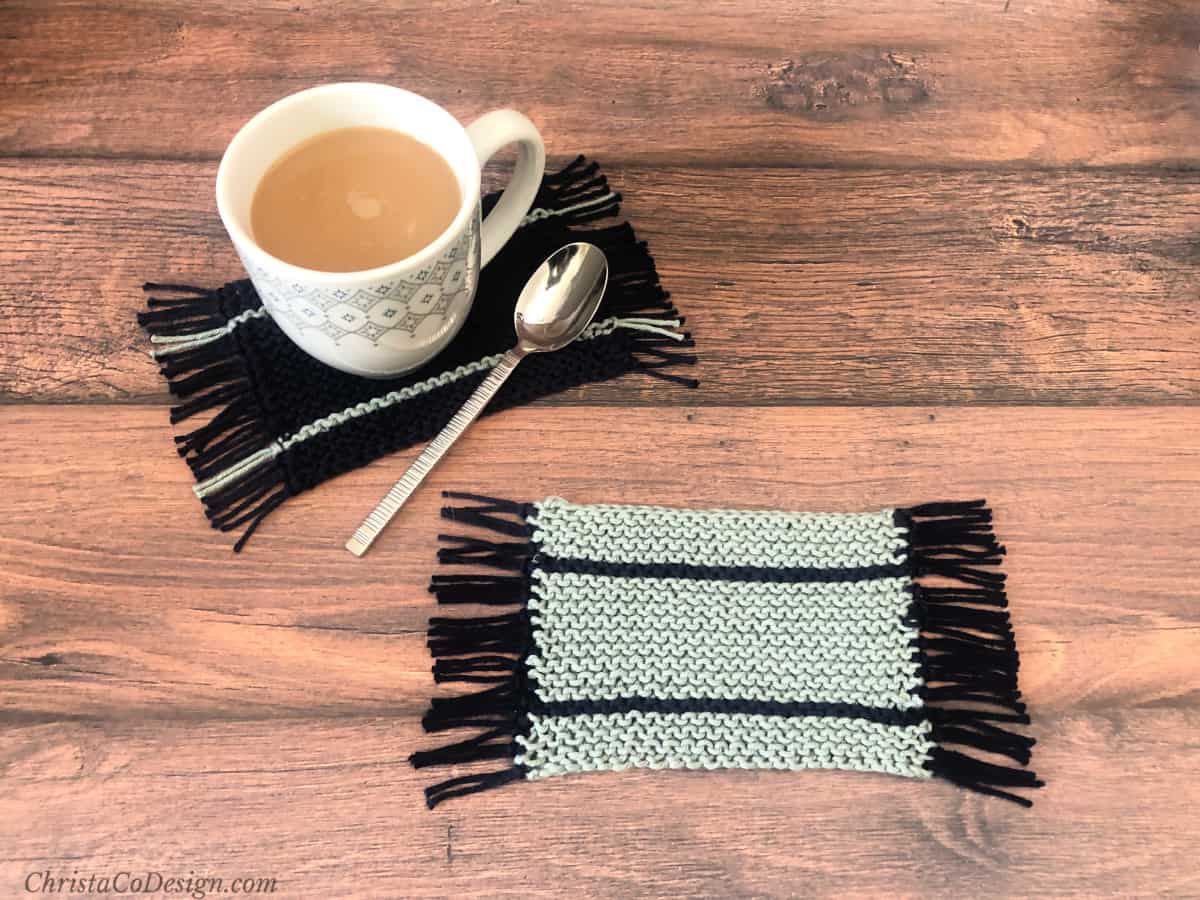
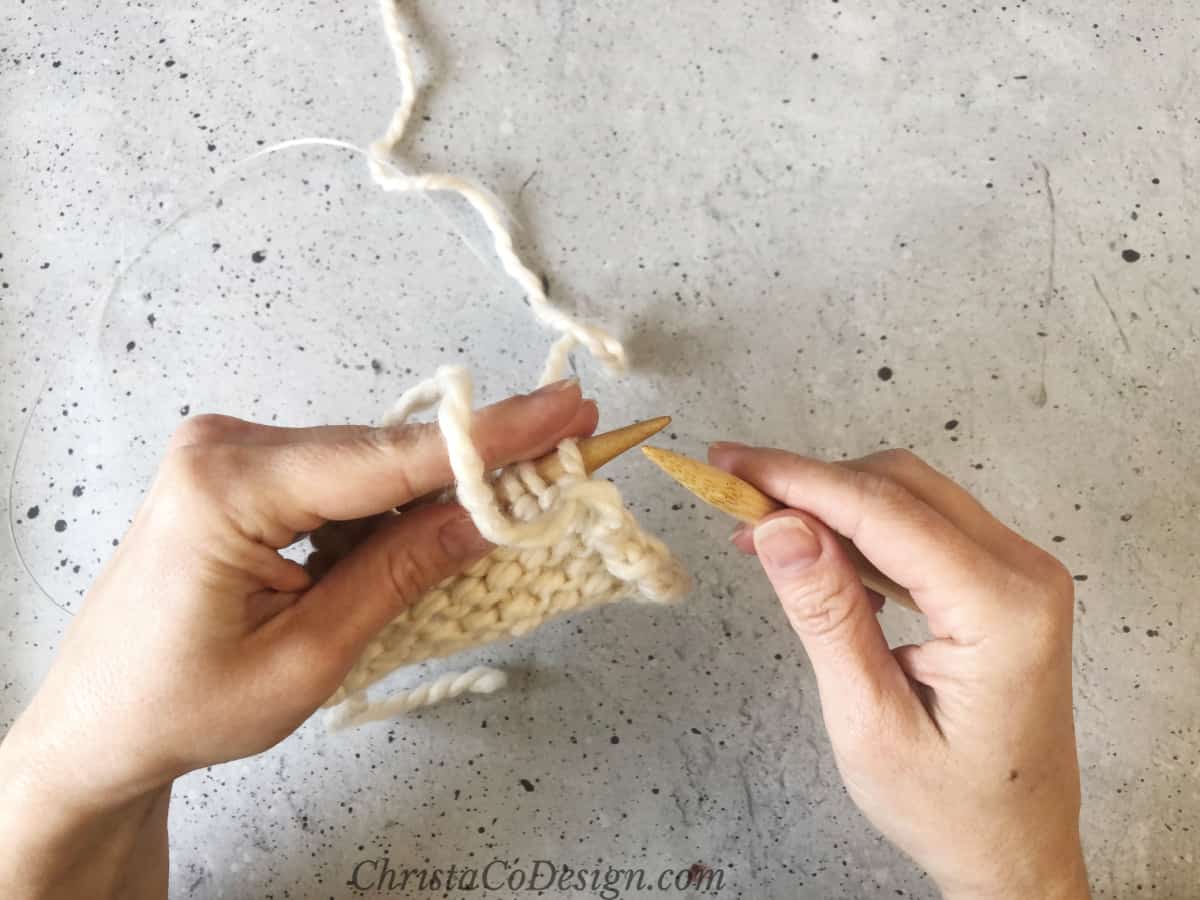
In the picture above the stitches on the right needle with the working yarn coming off to the left. This is a seed stitch sample so the first stitch is a knit, the next stitch is a purl. Then it repeats, alternating stitches across.
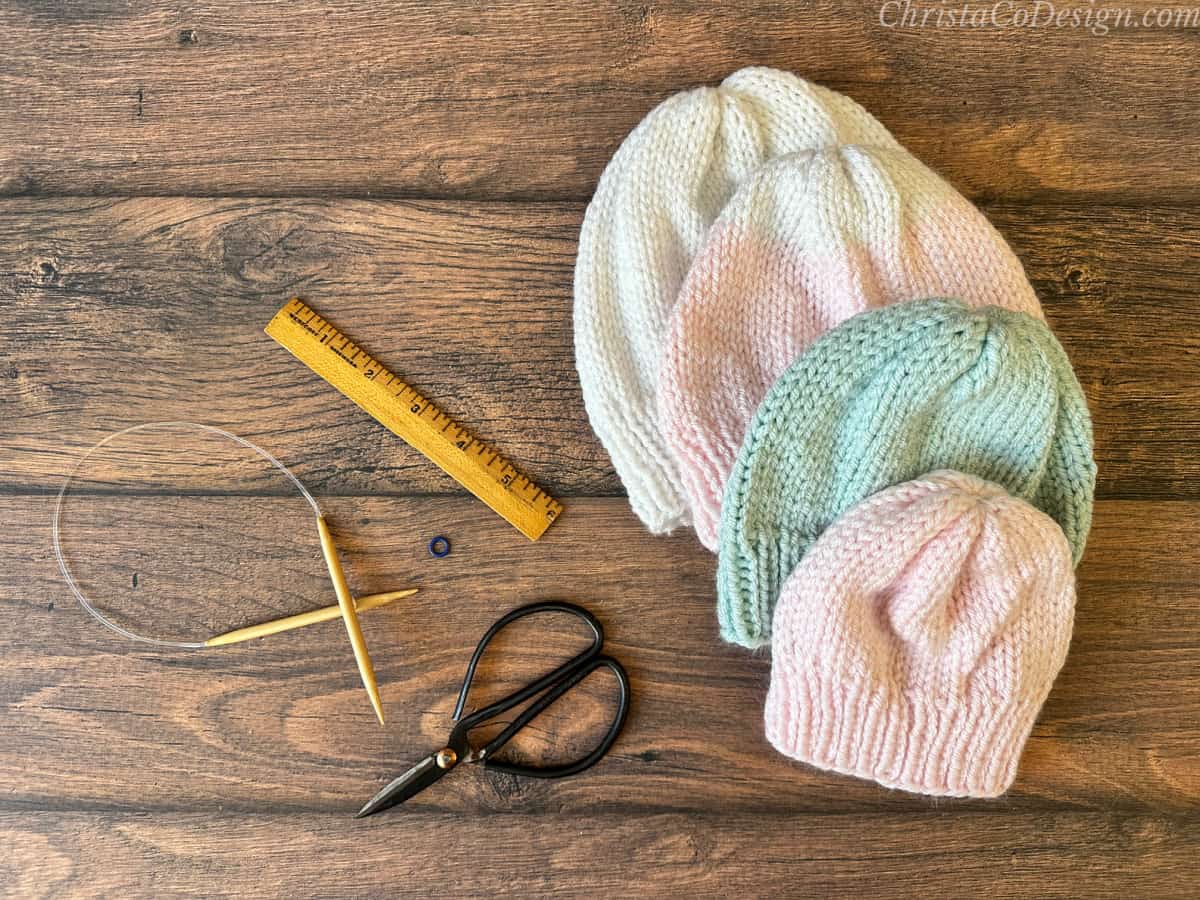
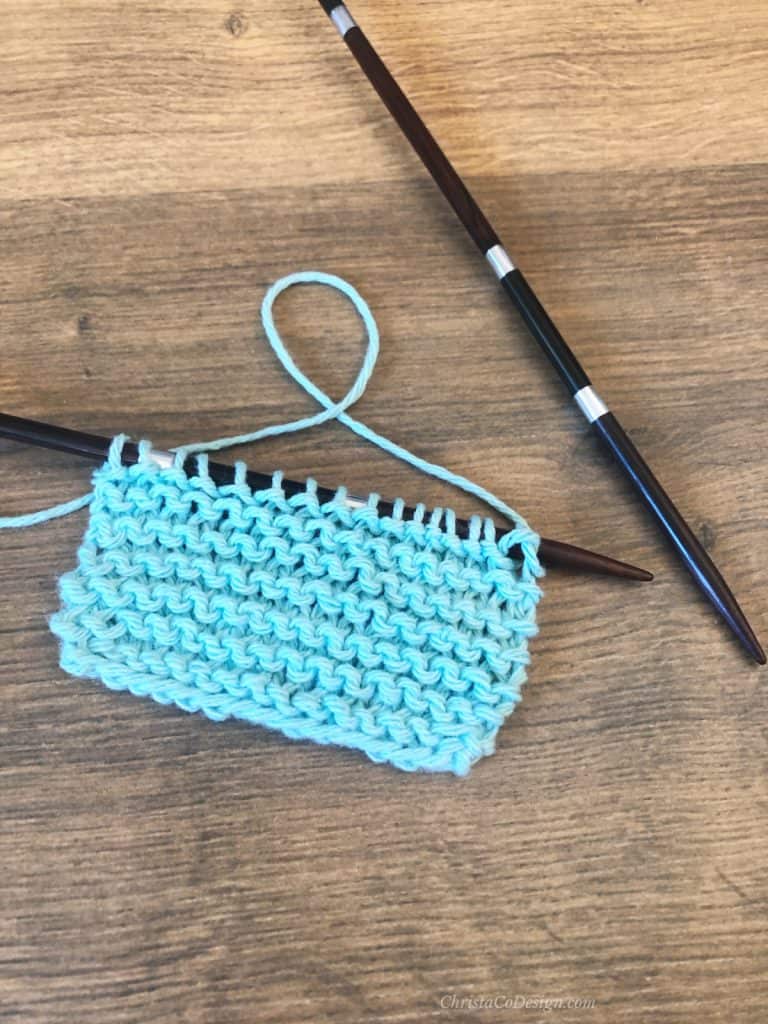
There are a few stitch patterns that alternate knits and purls: seed stitch and rib stitch. These are both a combination of knit and purl stitches. They’re great for beginner knitters to learn.
The Giana Pocket Shawl is another easy beginner pattern that is one repeat row of knits. More seed stitch patterns to try are this one skein scarf. This chunky scarf is a stockinette stitch pattern with seed stitch border.
How to Make a Knit Stitch vs a Purl Stitch
Learn the differnece between making a knit and a purl stitch.
Materials
- Yarn. You can use any weight yarn.
Tools
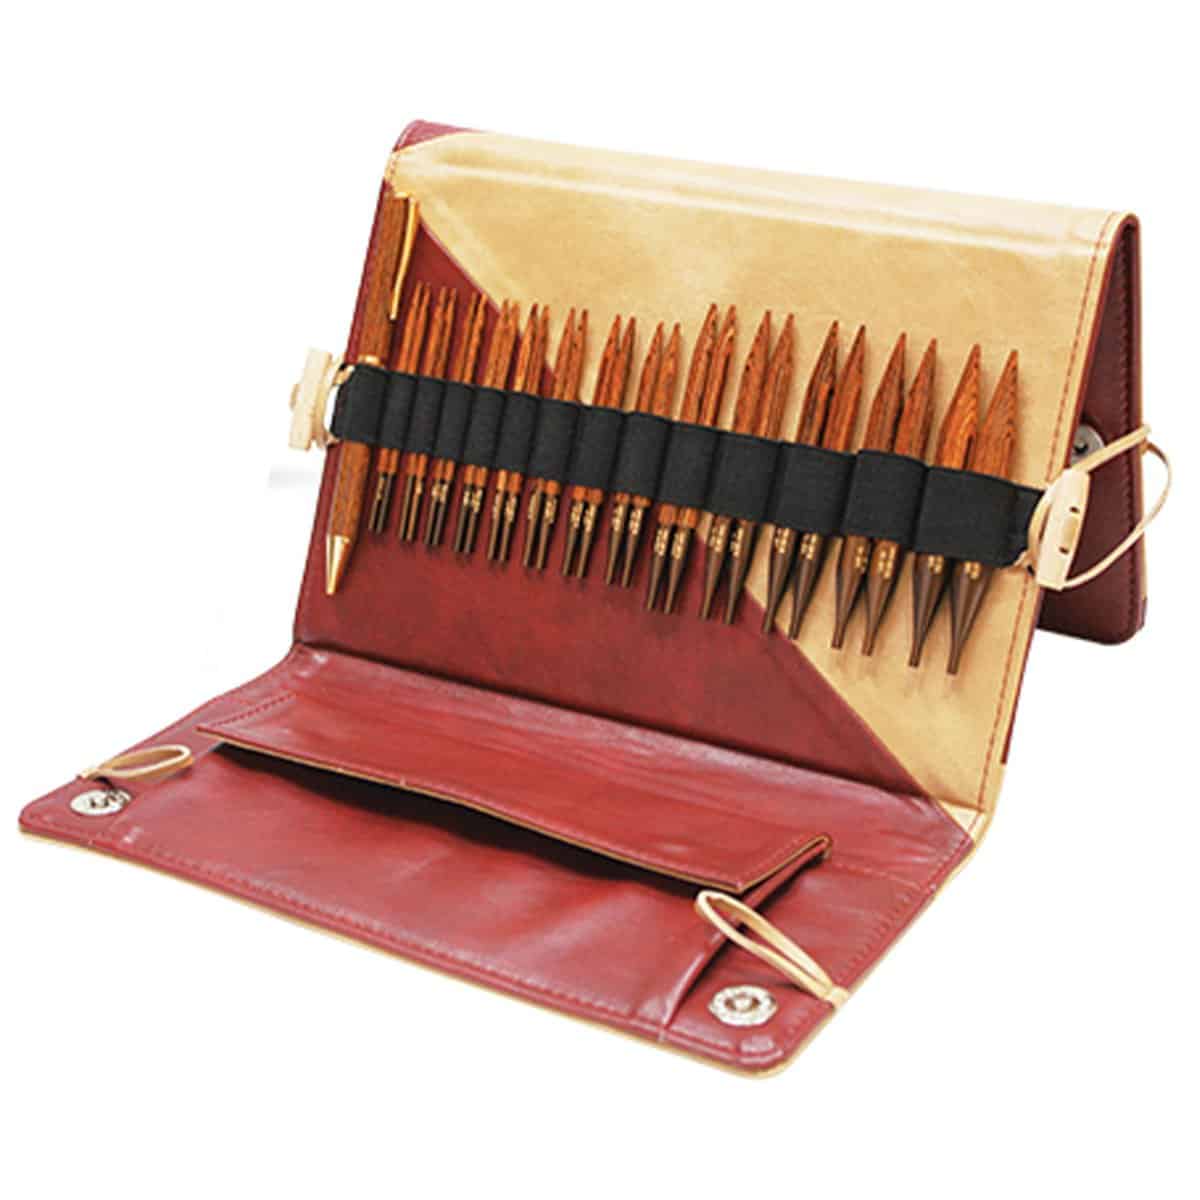
- Knitting Needles to match your yarn. I'm using 5mm needles, Furls Rosewood 10" straight needles for this tutorial.
- Scissors
- Yarn Needle
- Measuring Tape
Instructions
How to Knit
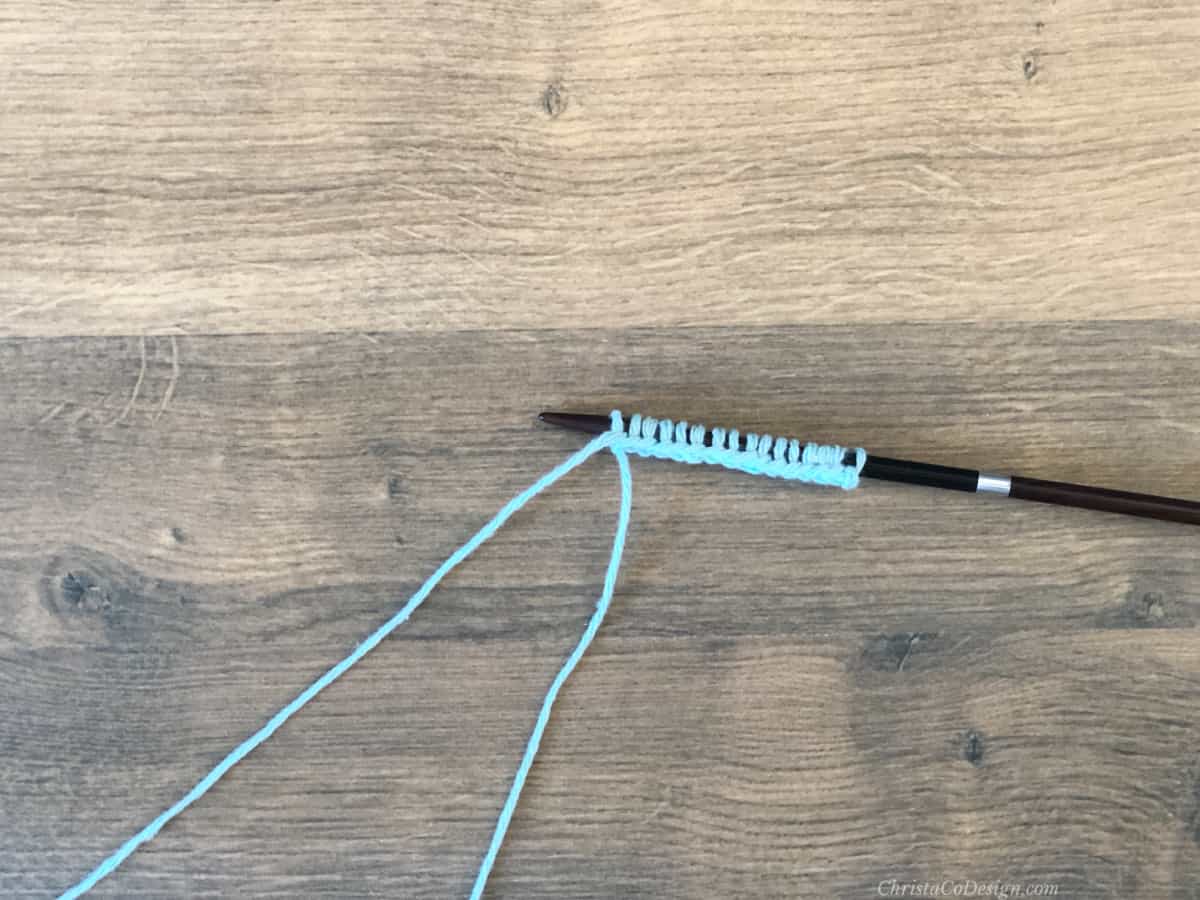
- Cast on any number of stitches.
- I knit continental style which just means that I hold the yarn in my left hand.
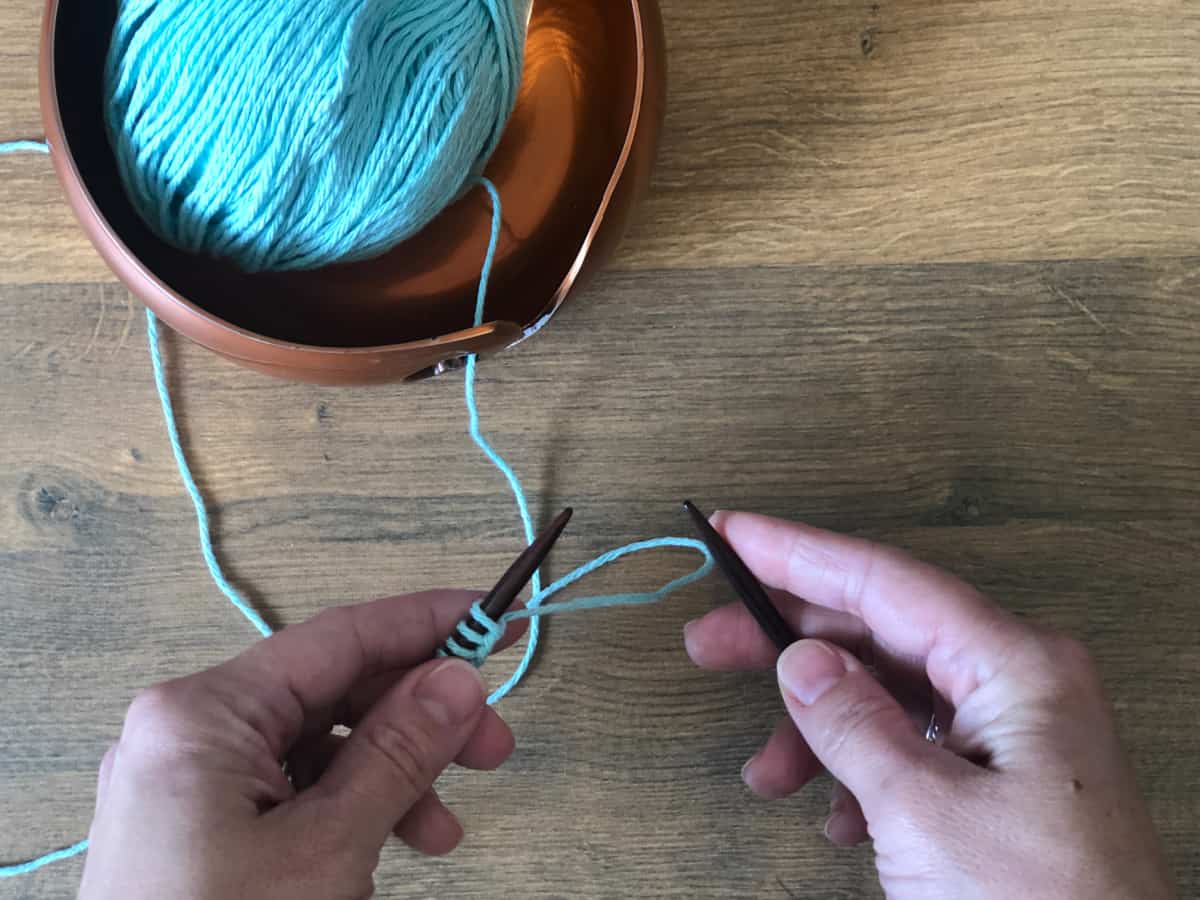
- Place the needle with the live stitches (that you just cast on) in your left hand, with the yarn coming out toward the back.
- Hold the second needle in your right hand. English knitters will hold the needles the same way, but they hold the yarn with their right hand.
- Insert the right needle into the first stitch-from front to back.
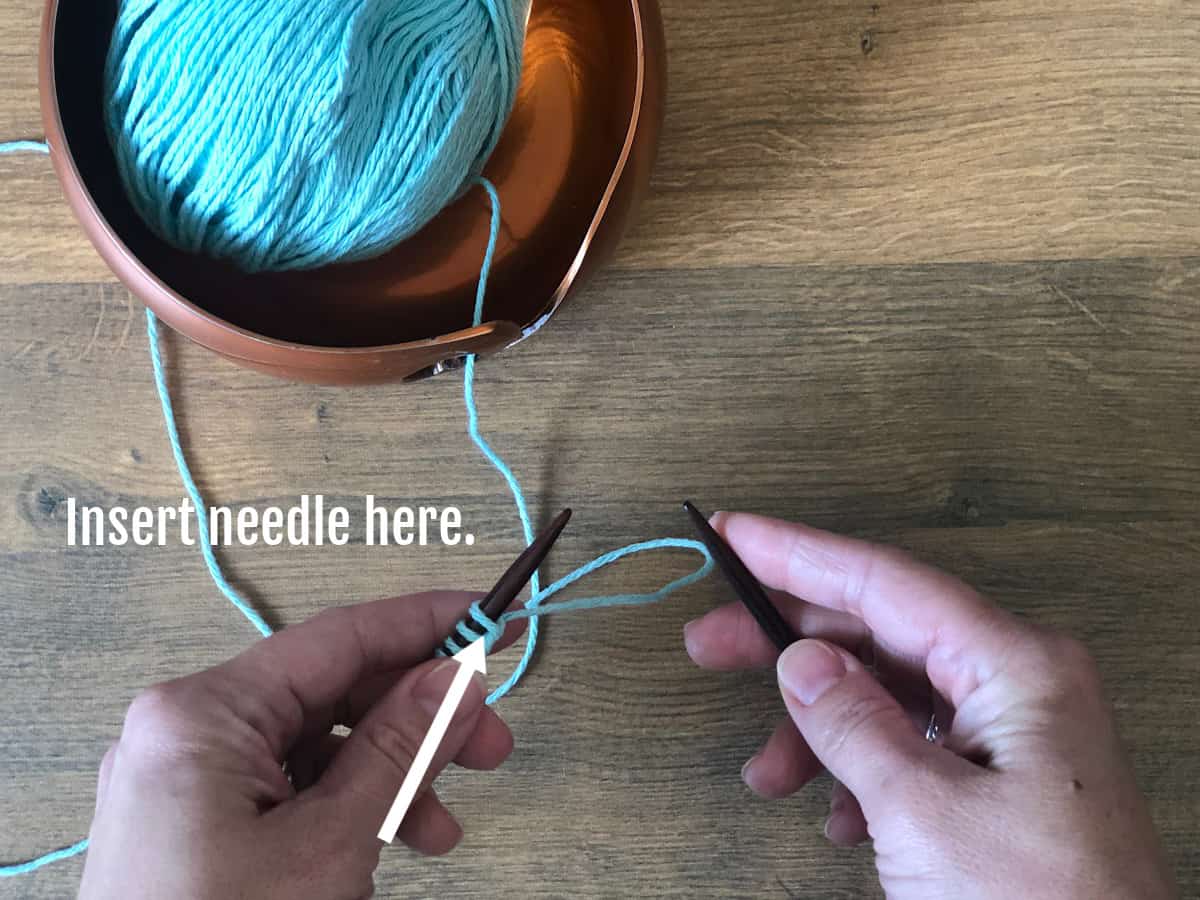
- Wrap the yarn over the needle.
- Pull that yarn up and toward the front, pulling it through the stitch.
- Now slide the stitch off the left needle.
- You've knit 1 stitch and it's now on your right needle.
How to Purl
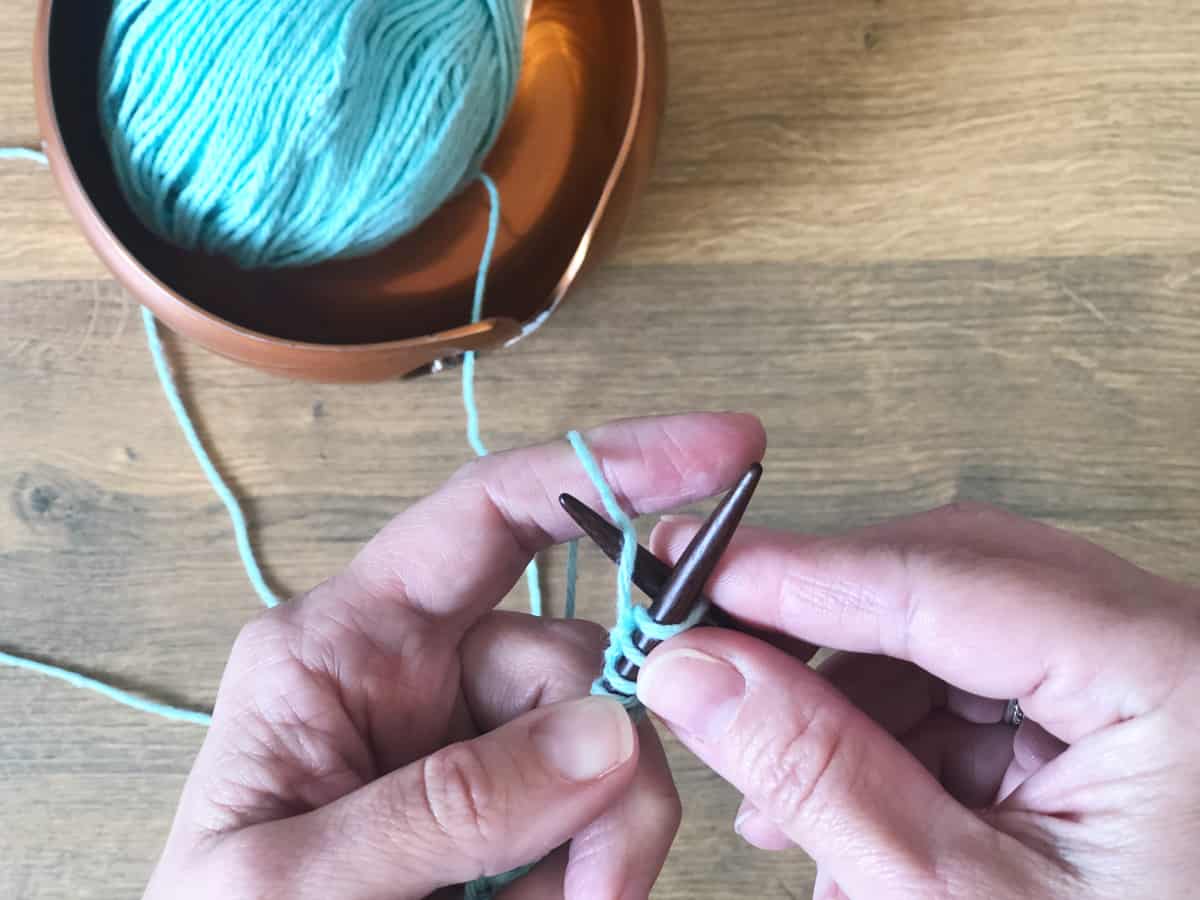
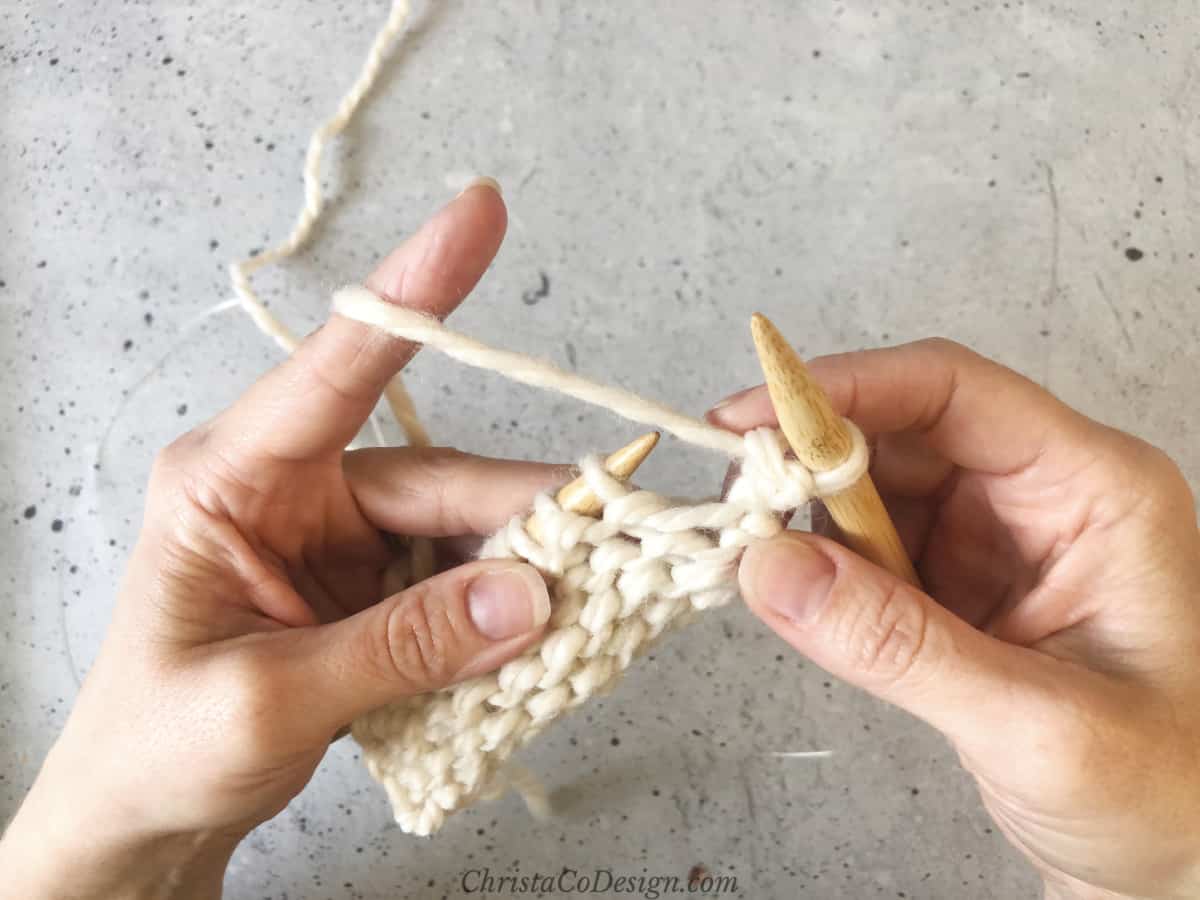
- I use my left index finger to bring the yarn to the front of your work.

- Bring your needle tips together.
 Your needles should be facing tip to tip.
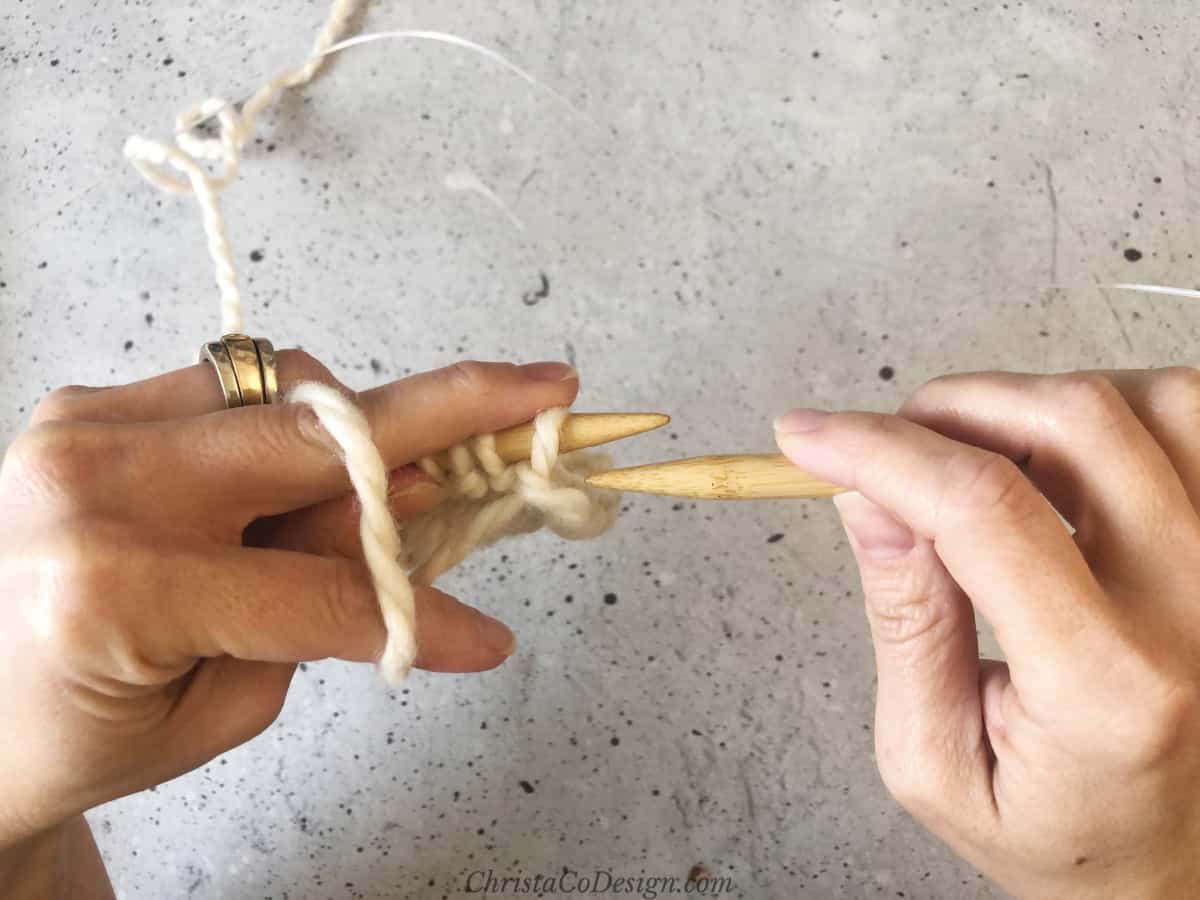 Keep the yarn in front of the needle.
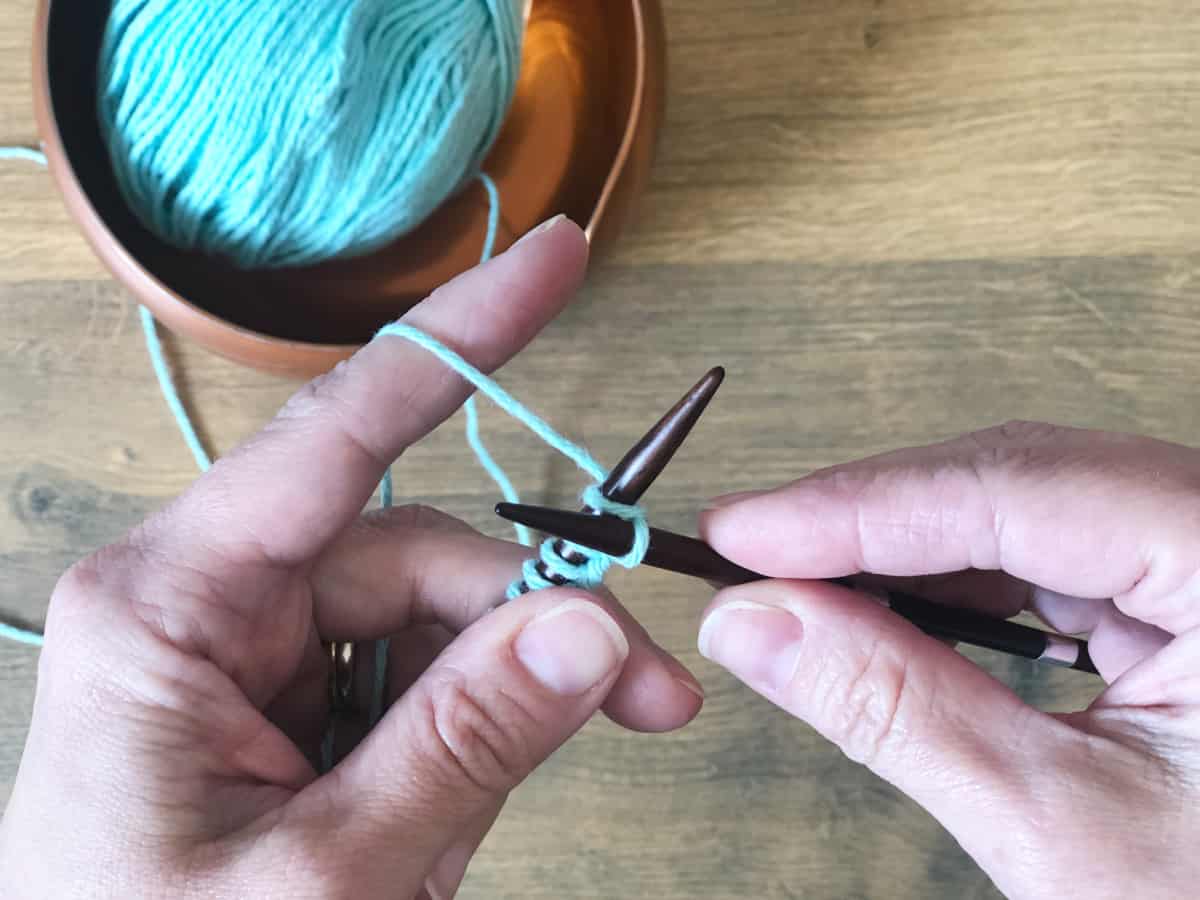
 - Insert the tip of the right needle in the front leg of your first stitch, from right to left.
- Wrap the yarn over the right needle.
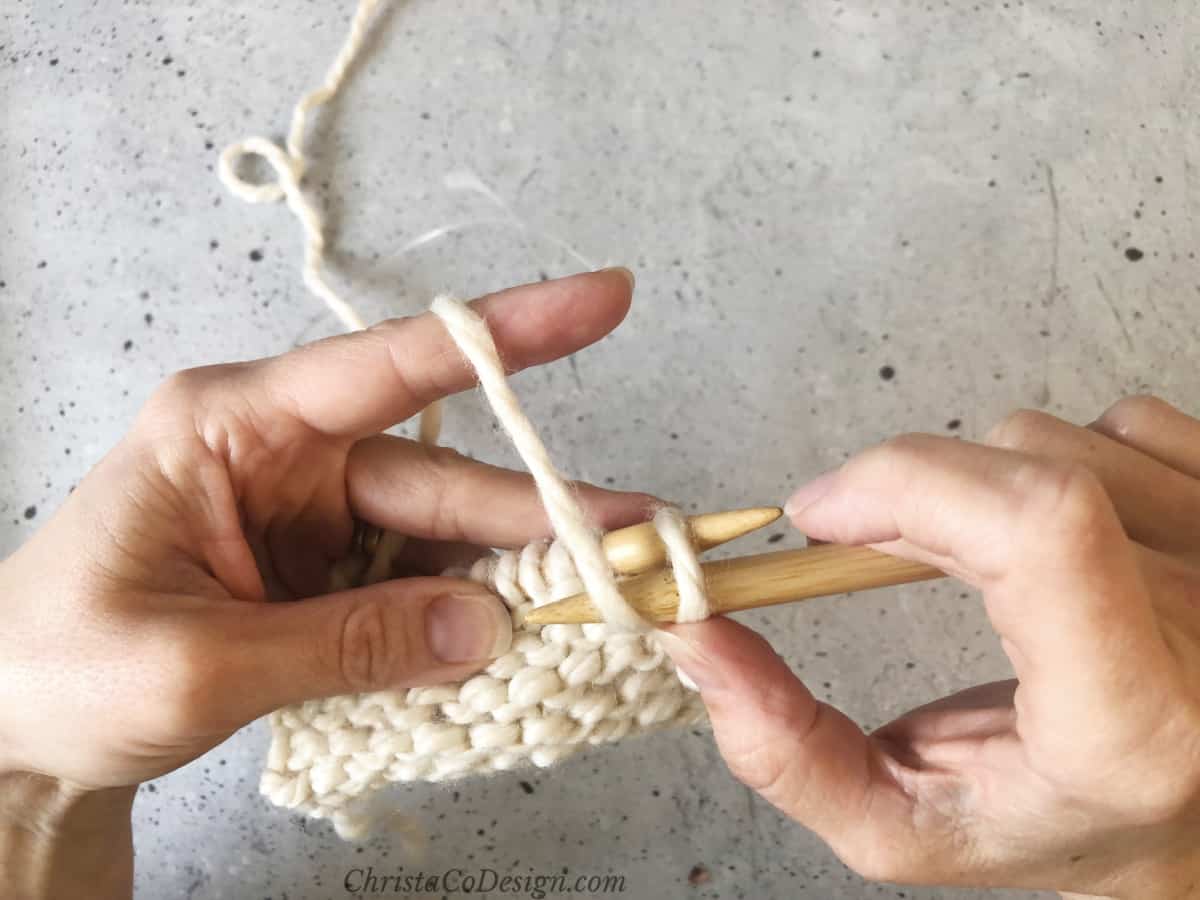
- Scoop the yarn with the right needle tip.
- Pull up a new loop of yarn, pulling it through the stitch.
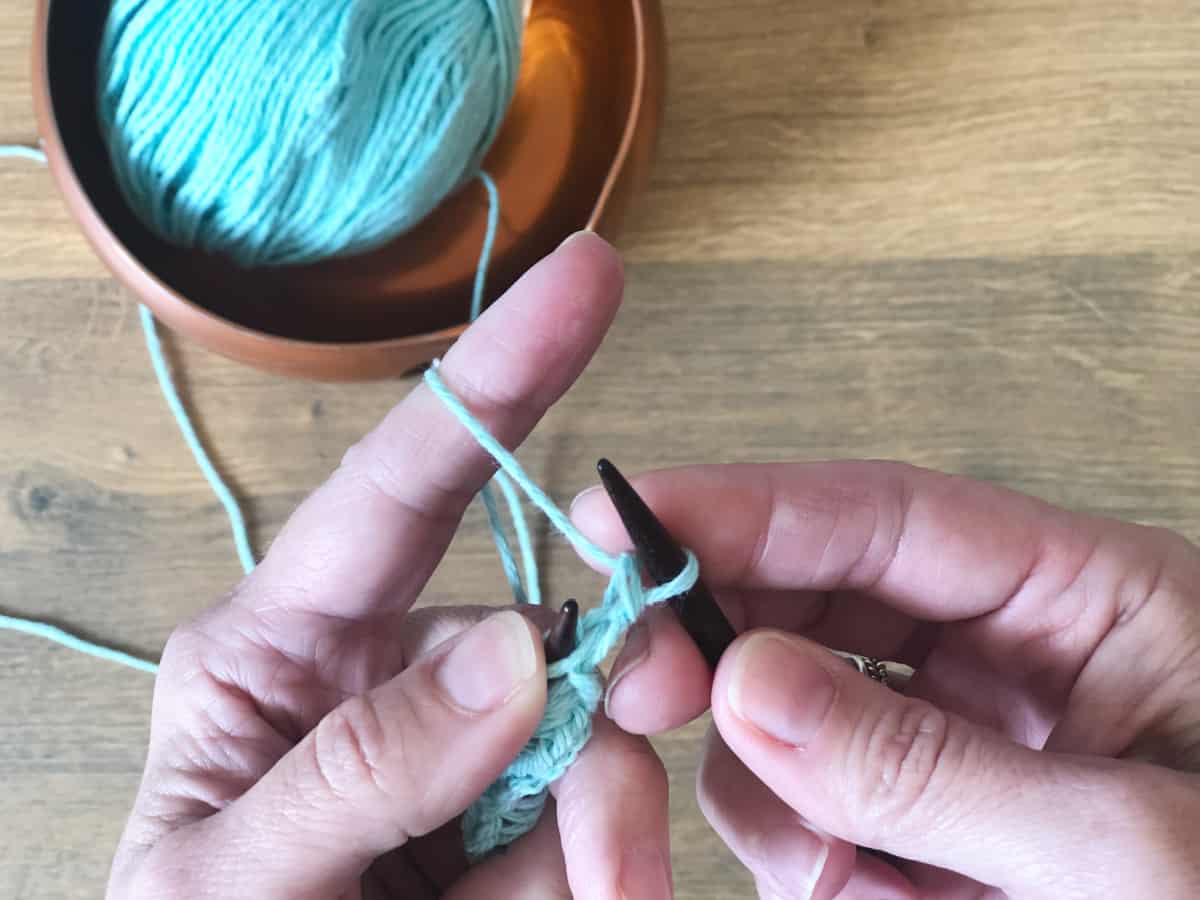
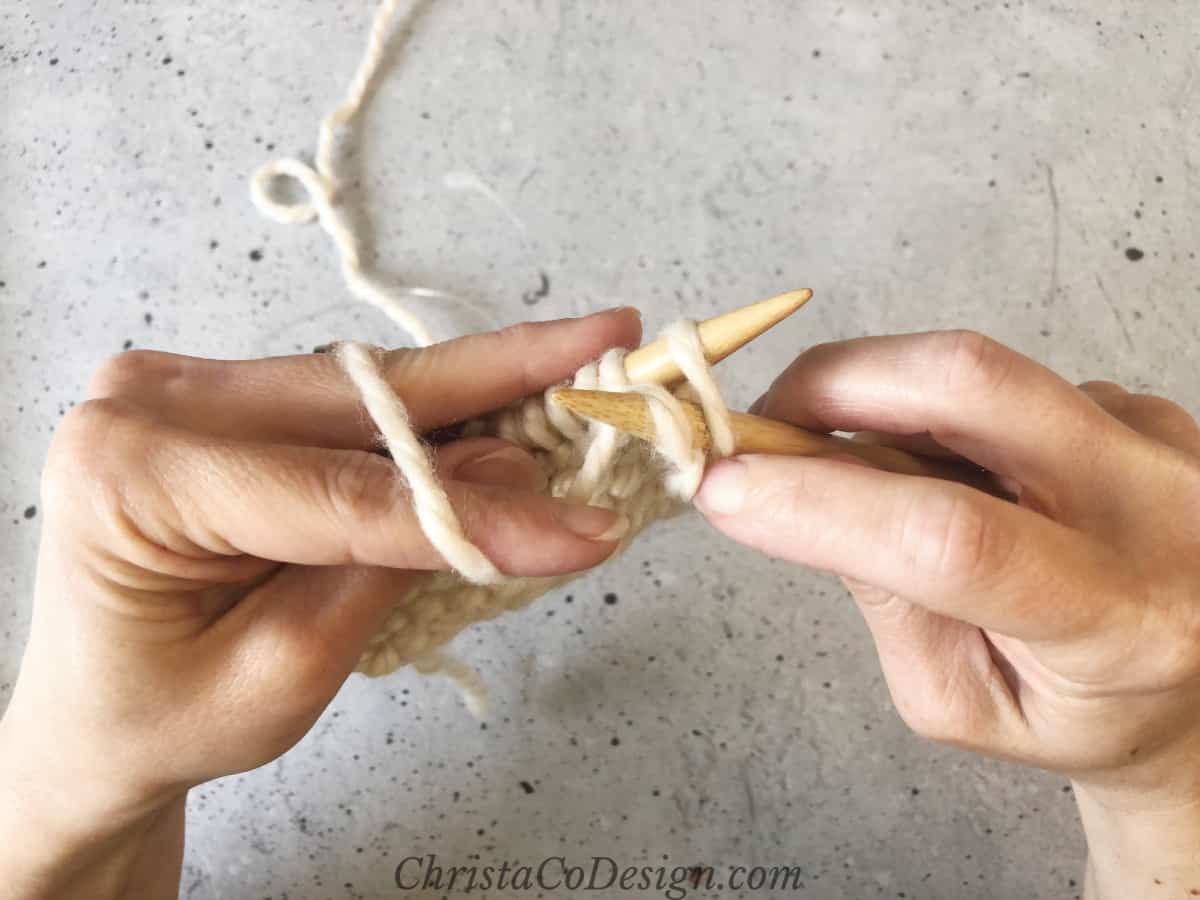
- Slide the old stitch off the left hand needle. The new stitch on your right hand needle is your first purl stitch. You can see the little bump just below the needle.
Recommended Products
As an Amazon Associate and member of other affiliate programs, I earn from qualifying purchases.