Juliet Square Coaster Free Crochet Pattern + Tutorial
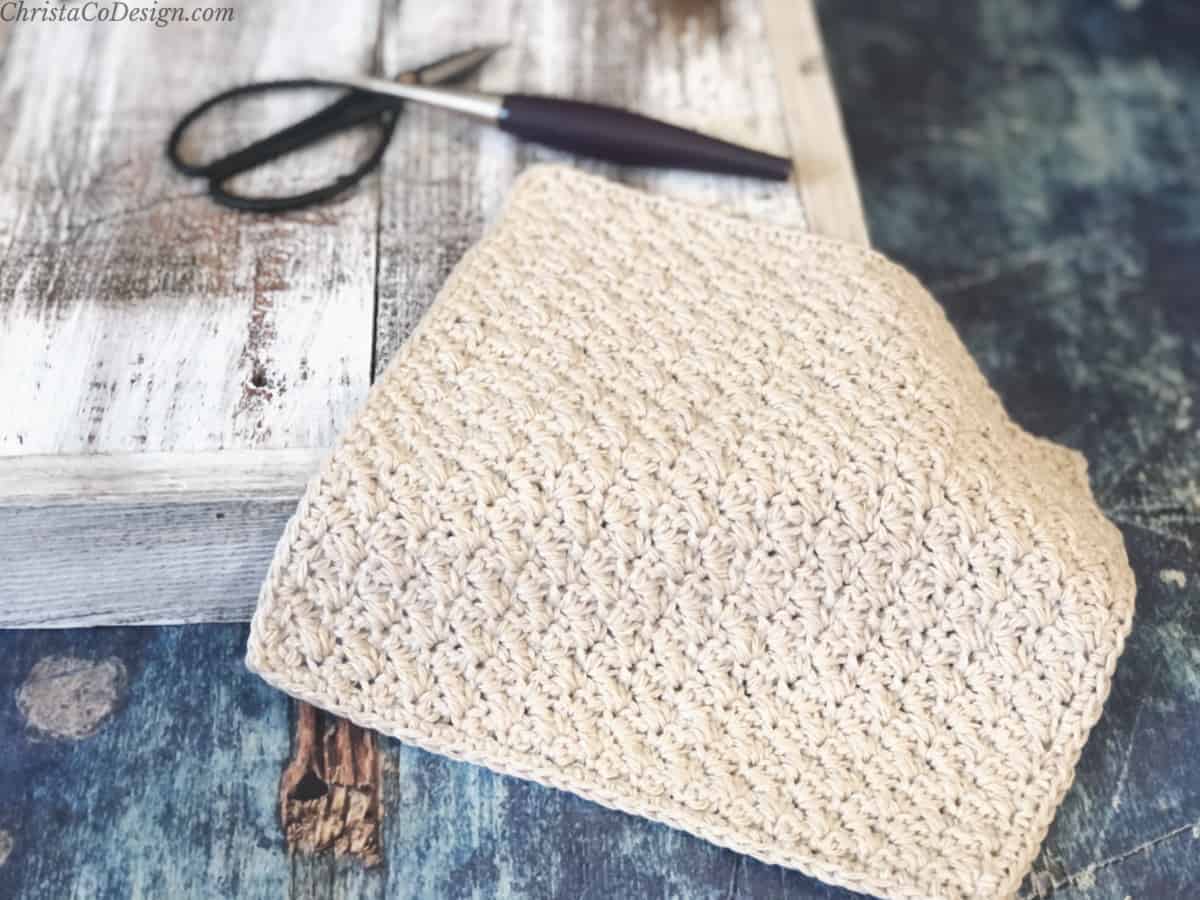
The Juliet Coaster is a free crochet coaster pattern with a feminine touch. There’s a simple elegance in the basic crochet stitches paired with a picot stitch edge.

This post contains affiliate links, I may earn a fee. Read more disclosure policy.
Join the ChristaCoDesign Newsletter
Never miss a pattern!
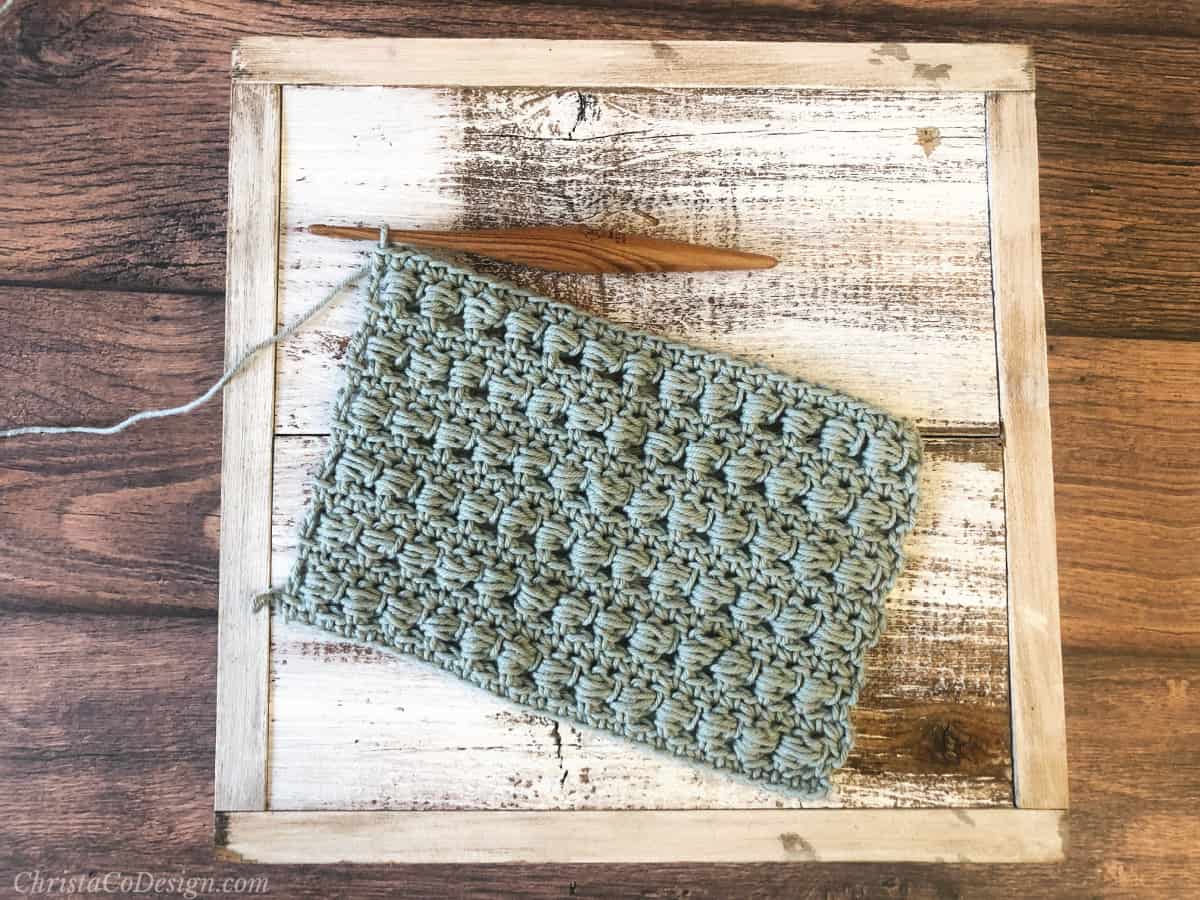
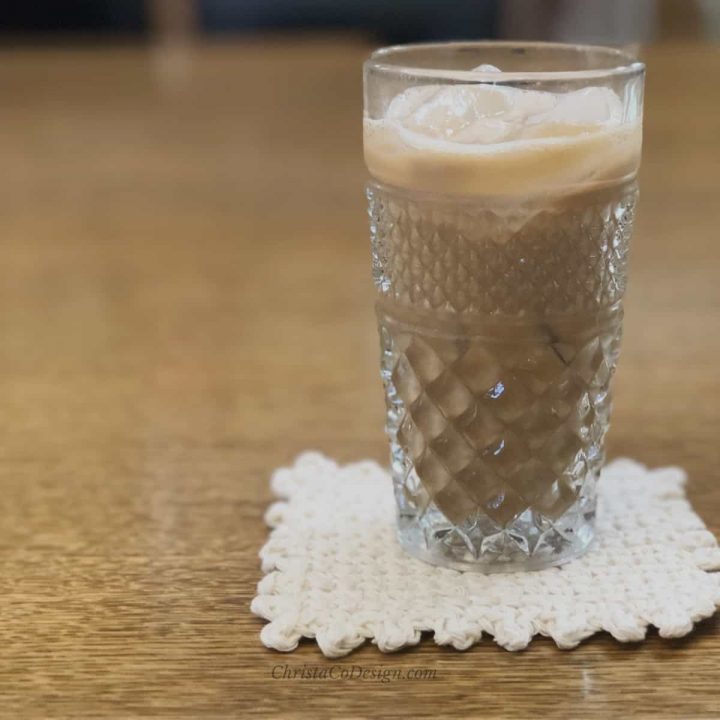
These square coasters are worked seamlessly. The free pattern includes full photo tutorial.
With the end of the school year approaching, teacher gifts become front of mind for many of us makers. These would make a great gift.
Purchase the ad-free, well formatted printable PDF Pattern from my shop. Scroll down for the free pattern!
With four kids, and some who have more than one teacher, I need an easy crochet project that’s small and fast.
Small and fast is important when I’m making crochet gifts. But, it isn’t everything. I also want the gift to be useful. Protecting your coffee table from glass rings is pretty helpful!
You can crochet these coasters in different colors to suit the theme. I aim for gifts I think they’ll love and/or find useful.
Purchase My Ad-Free PDF Patterns In Your Favorite Shop Here:
These beautiful coasters would make a great teacher gift by those standards. A simple project that is small, fast, useful.
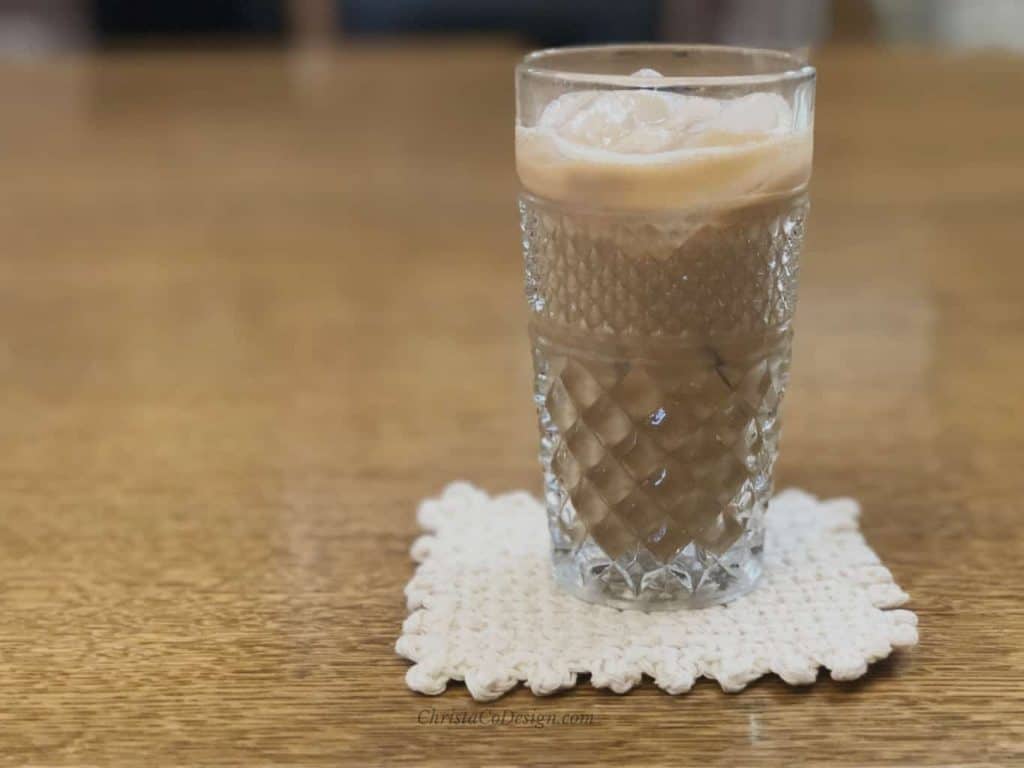
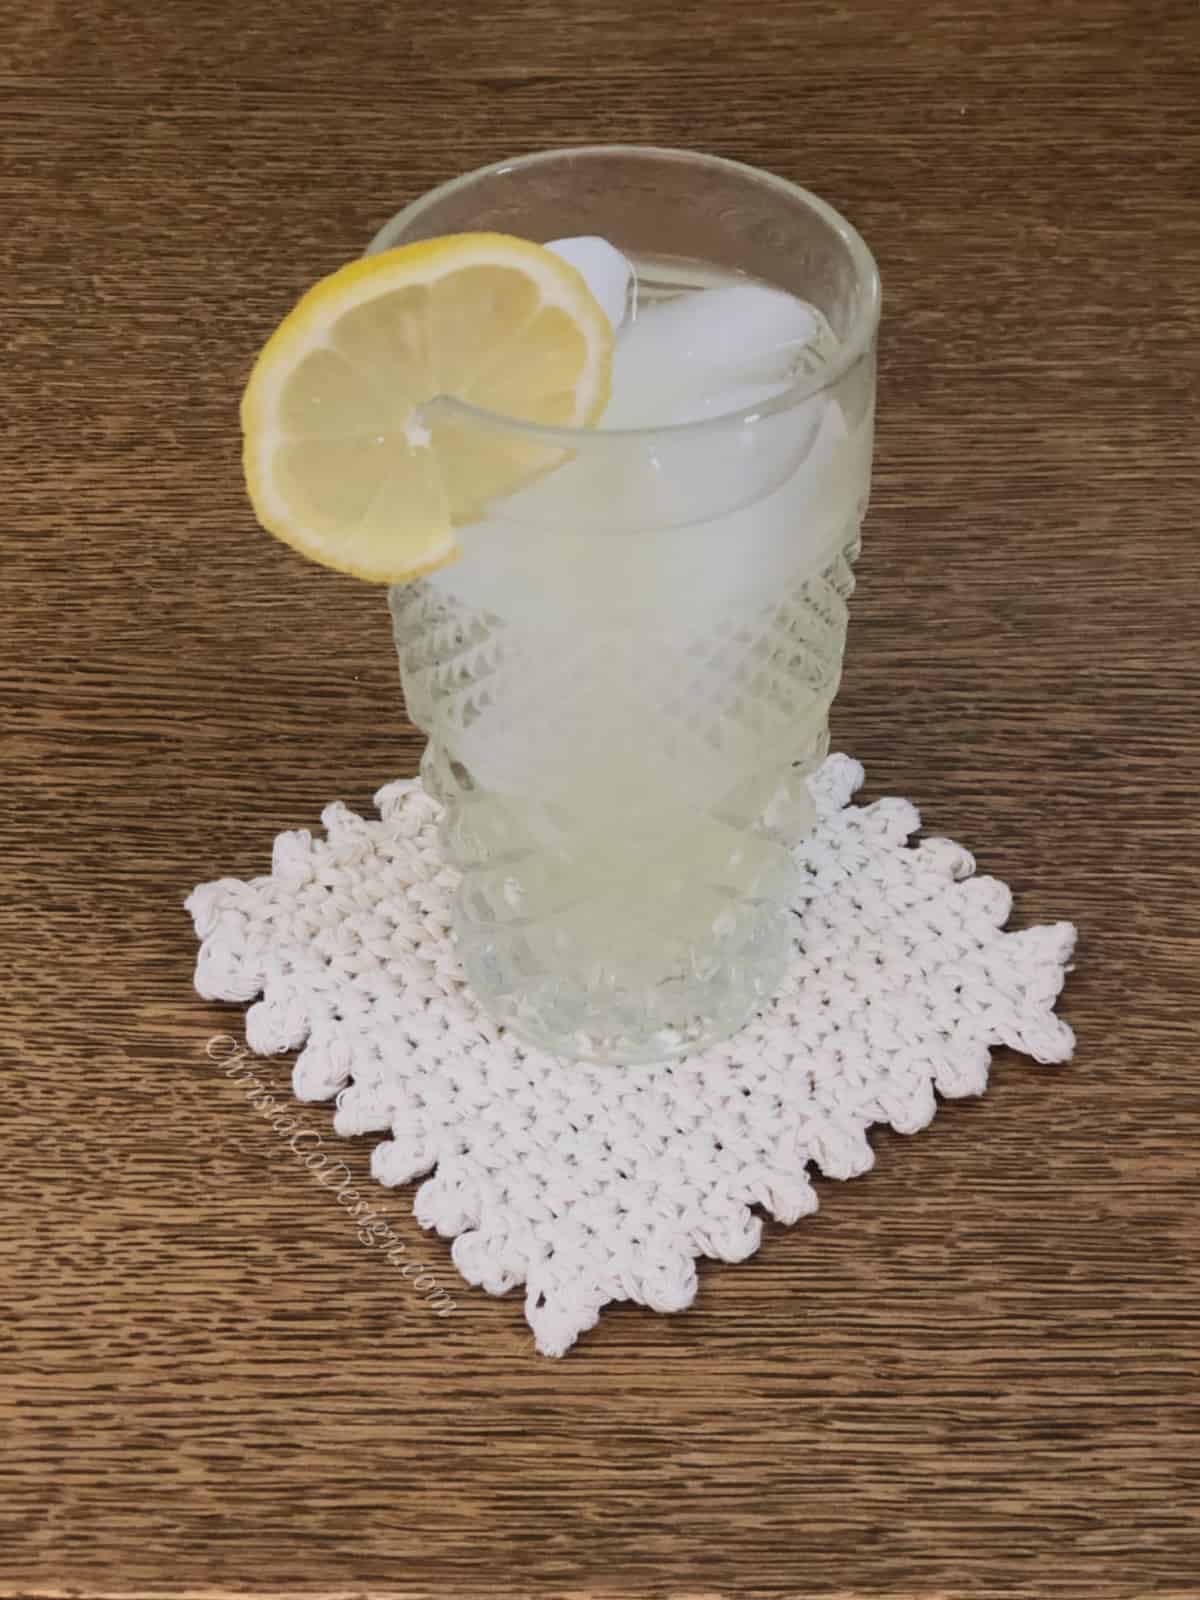
I hope the teachers can enjoy a frosty beverage while relaxing with their family around the pool this summer.
Mug rugs are similar to coasters but they’re usually longer, more rectangular for space to fit a spoon!
A funny little side note about these glasses. We’ve had them forever. I’m not even sure where they came from-maybe my husband’s relatives.
A couple of nights ago we were watching Back to the Future on Netflix. {Yes I was crocheting!} It was my pick since I was going to crochet.
I wanted something to look up from my work at, when I needed, but not something that was going to distract me from it either.
Anyway, there’s a scene at the kitchen table near the beginning that caught my eye. Wouldn’t you know it, they were using the same exact glasses as these right here on my coaster. We had a good chuckle at that.
Our Favorite
Free Crochet Coaster Patterns
Download the Printable Coaster Gift Label
You can purchase the coaster labels in my Etsy shop, or sign up below to download it free now!
Crochet Video Loving Friends
The Juliet Coaster Video is now available! Read on for the free written pattern + photo tutorial below.
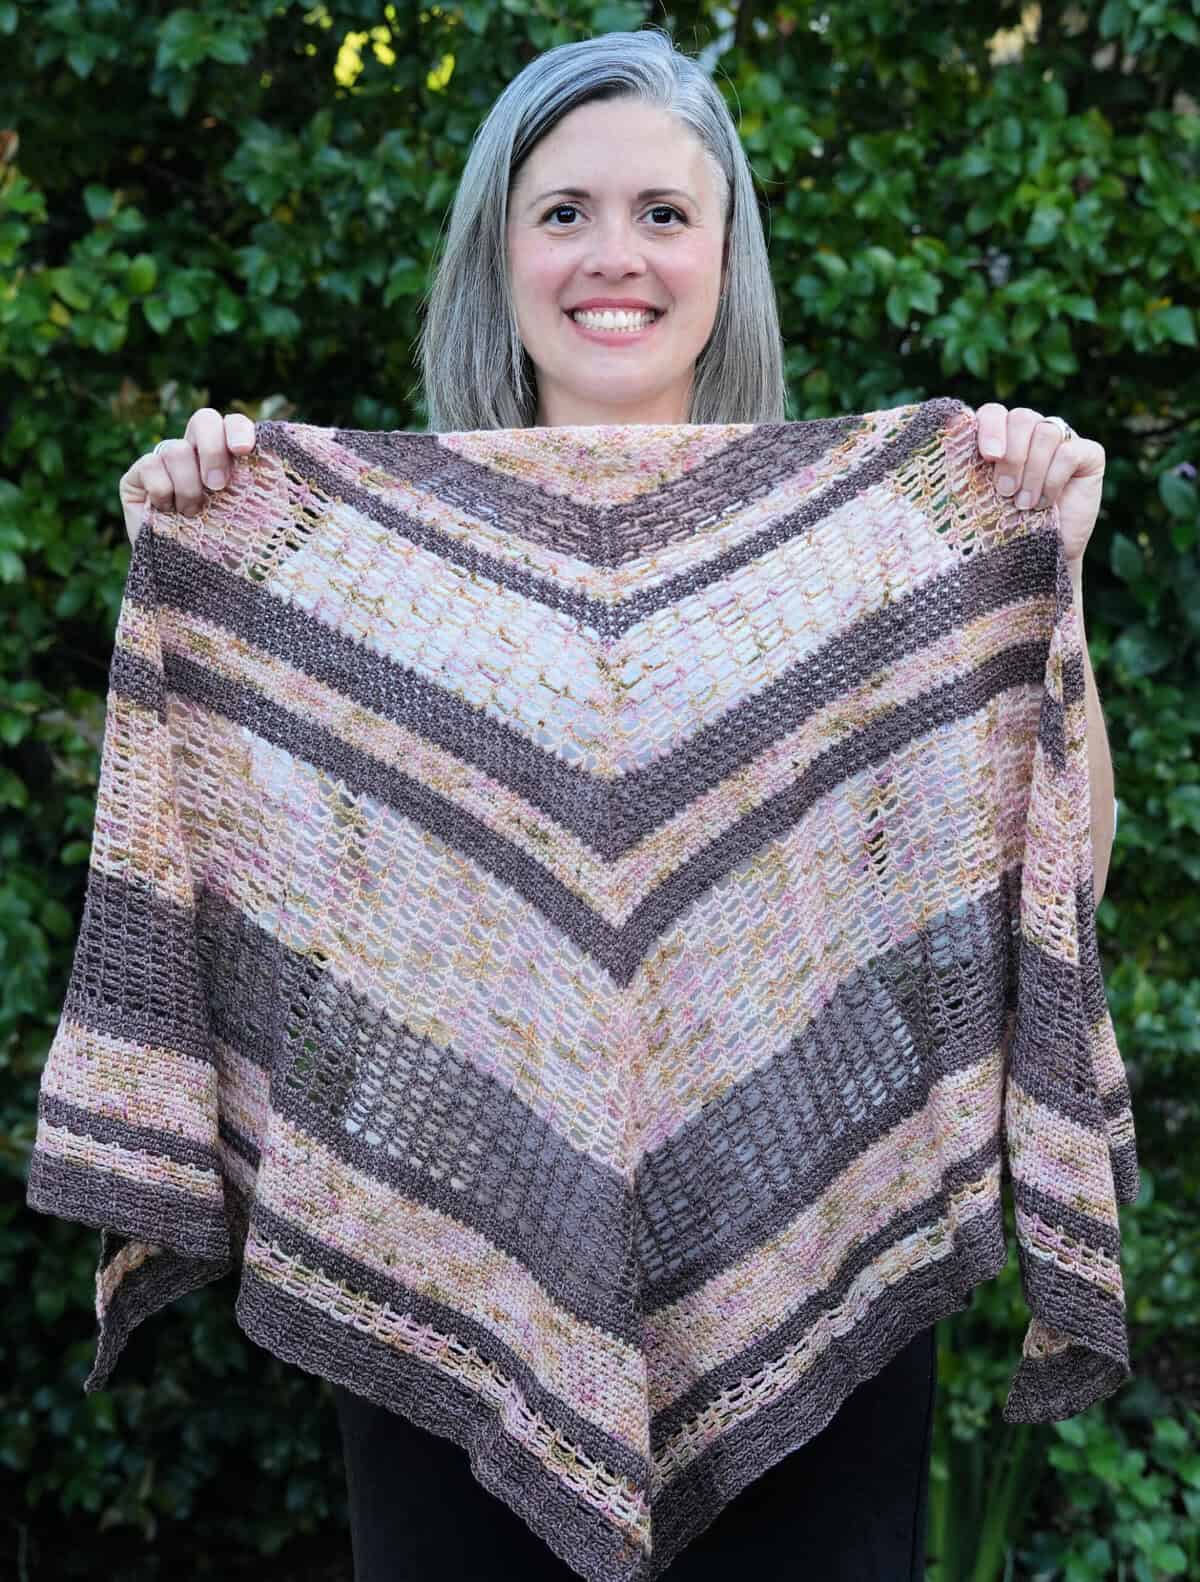
Be sure to stop by my friend Rose’s new crochet YouTube Channel. Rose publishes her crochet patterns on LoopinglyMade.com. Her first video is How to Crochet Reversible C2C Prayer Wrap, which is a lovely pattern. Give her a view and subscribe if you like.
Save your favs!
Add this pattern to your Ravelry queue.
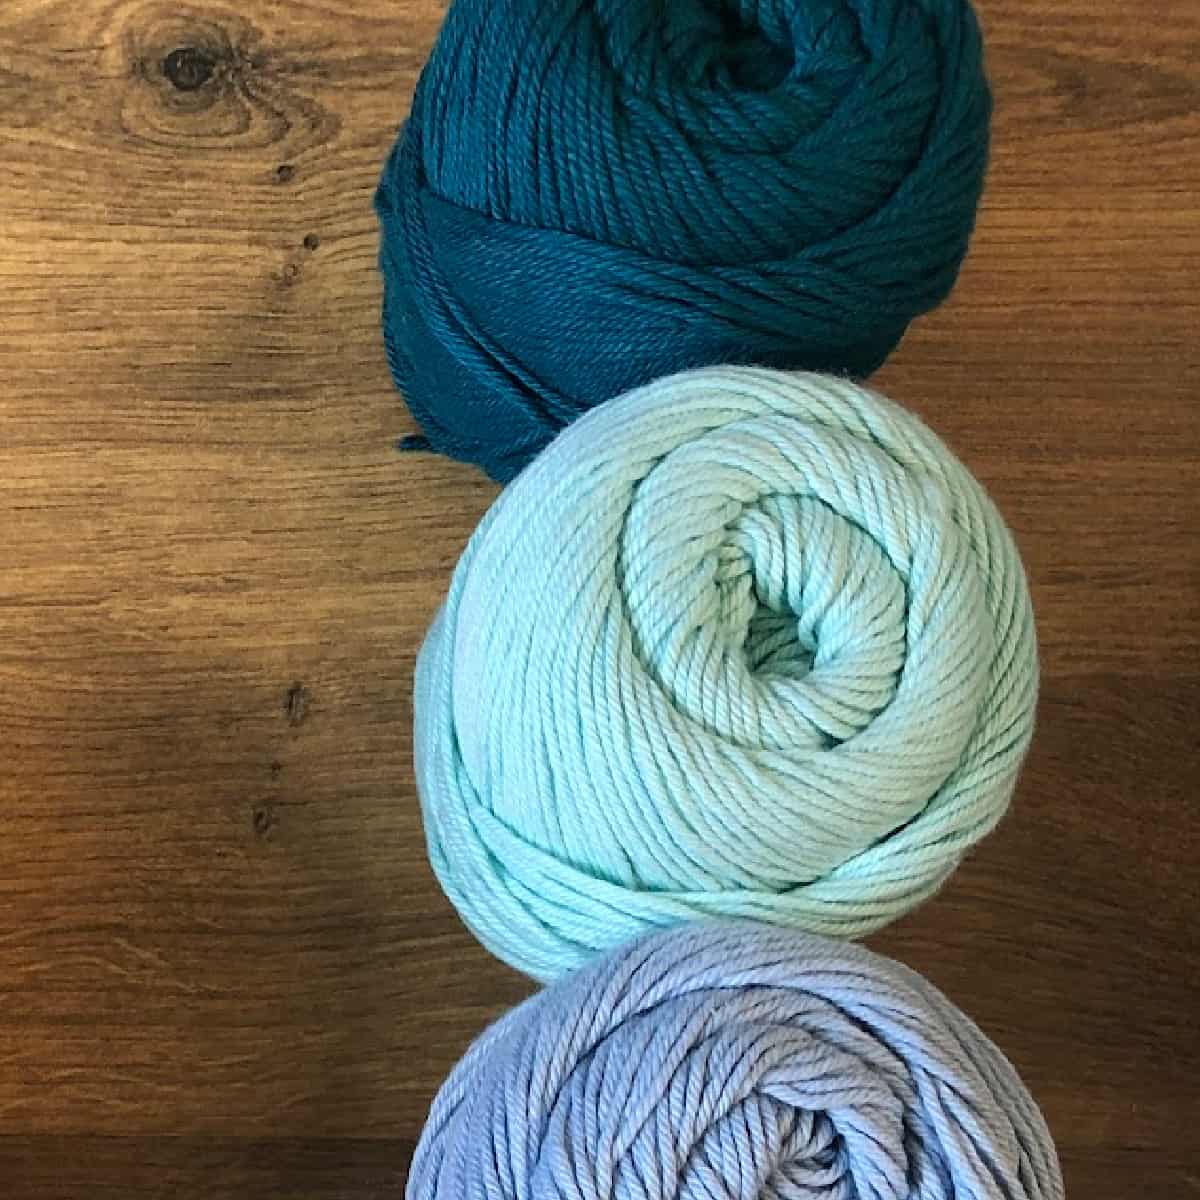
The best yarn for absorbent coasters is 100% cotton. You can use acrylic yarn it just won’t be absorbent. So if you have some random scrap yarn, grab it and crochet away!
Materials
- 1 ball Premier Rodeo Cotton yarn, a #4 medium worsted weight yarn,* each coaster requires 35 yds.
- 4 mm crochet hook (US Size G)* or hook size needed to meet gauge
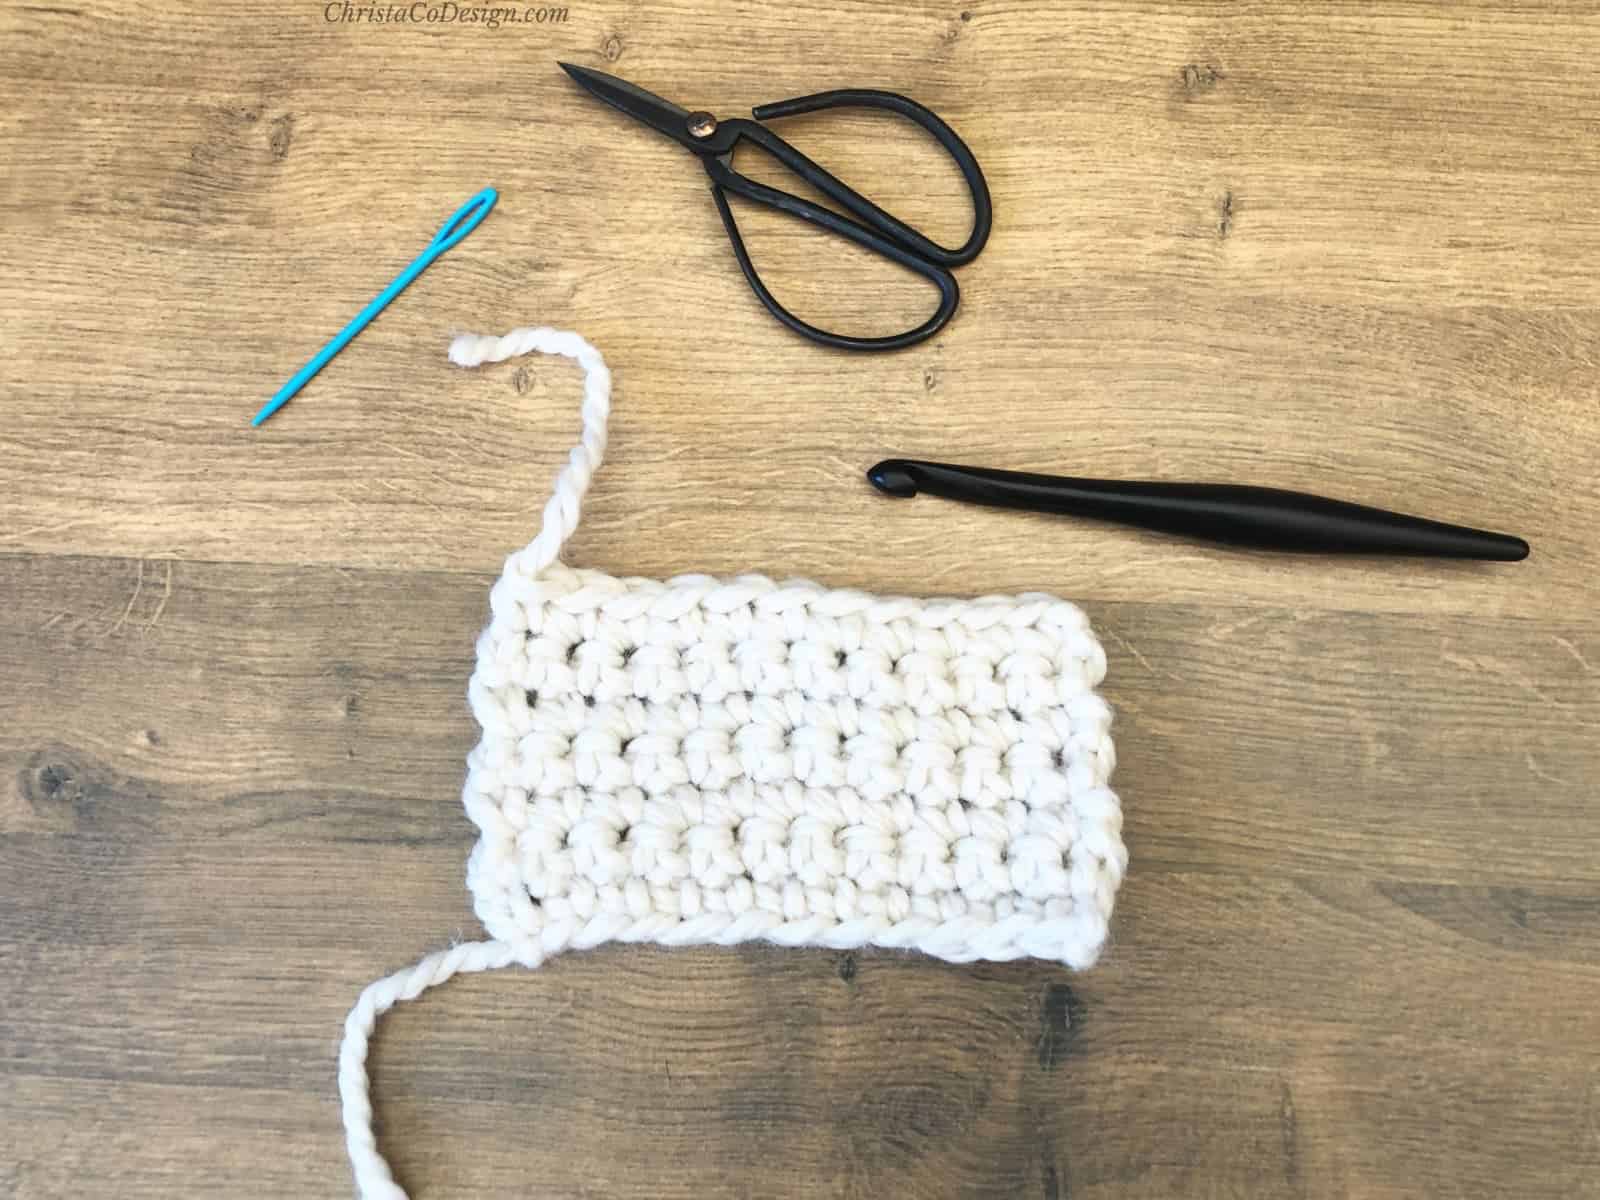
- yarn needle
- scissors
Notes
- The border and edges are worked within the pattern.
- You’ll work on both sides of the foundation chain.
- To adjust the size of your coaster, start with any number of chains and then add 3.
Stitches/Abbreviations
ch(s) – chain(s)
ch sp – chain space
sc – single crochet
sk – skip the indicated stitch
sl st – slip stitch
st(s) – stitch(es)
rep – repeat
Special Stitch
picot – chain 3, slip stitch to first chain made.
Gauge
2” x 2” = 8 sc x 8 rows
Skill Level
Easy
This is an easy crochet coaster pattern made mostly of basic stitches, but it does include a special stitch. So if you know the basics and are ready to add new stitches to your crochet journey then this one might be for you. To keep it easy I include both step by step pictures and video tutorial for support!
Construction
The picot stitches are worked on the edges of the square shape all at the same time. You will work into both sides of the foundation chain. It may be a good idea to make your chain loose, so you can work into both sides easily.
Working into both sides of the foundation chain allows for creating the picot edge to start. Then you’ll be working the single crochet rows, starting each one with an edge picot.
Finally, the last row will mirror the first. You’ll crochet the picots and single crochets across this last row. When you finish this row, the border is ready made!
Size
4.5” x 4.5” square with picot edge
Video Tutorial
Watch the full, step by step Video Tutorial of this square coaster pattern on my YouTube.
Pattern Instructions
How To Crochet Square Coaster With Picot Edge
Crochet coaster free pattern with photo tutorial. Easy and quick these crochet coasters make great gifts.
Materials
- 1 ball Premier Rodeo Cotton yarn, a #4 medium worsted weight yarn, each coaster requires 35 yds
Tools
- 4 mm hook (US Size G) or crochet hook needed to meet gauge
- yarn needle
- scissors
Instructions
Ch 19
Work into the back side of the foundation chain.
Row 1. Sl st into 3rd ch from hook (1 picot made), sc in next ch, ch 3,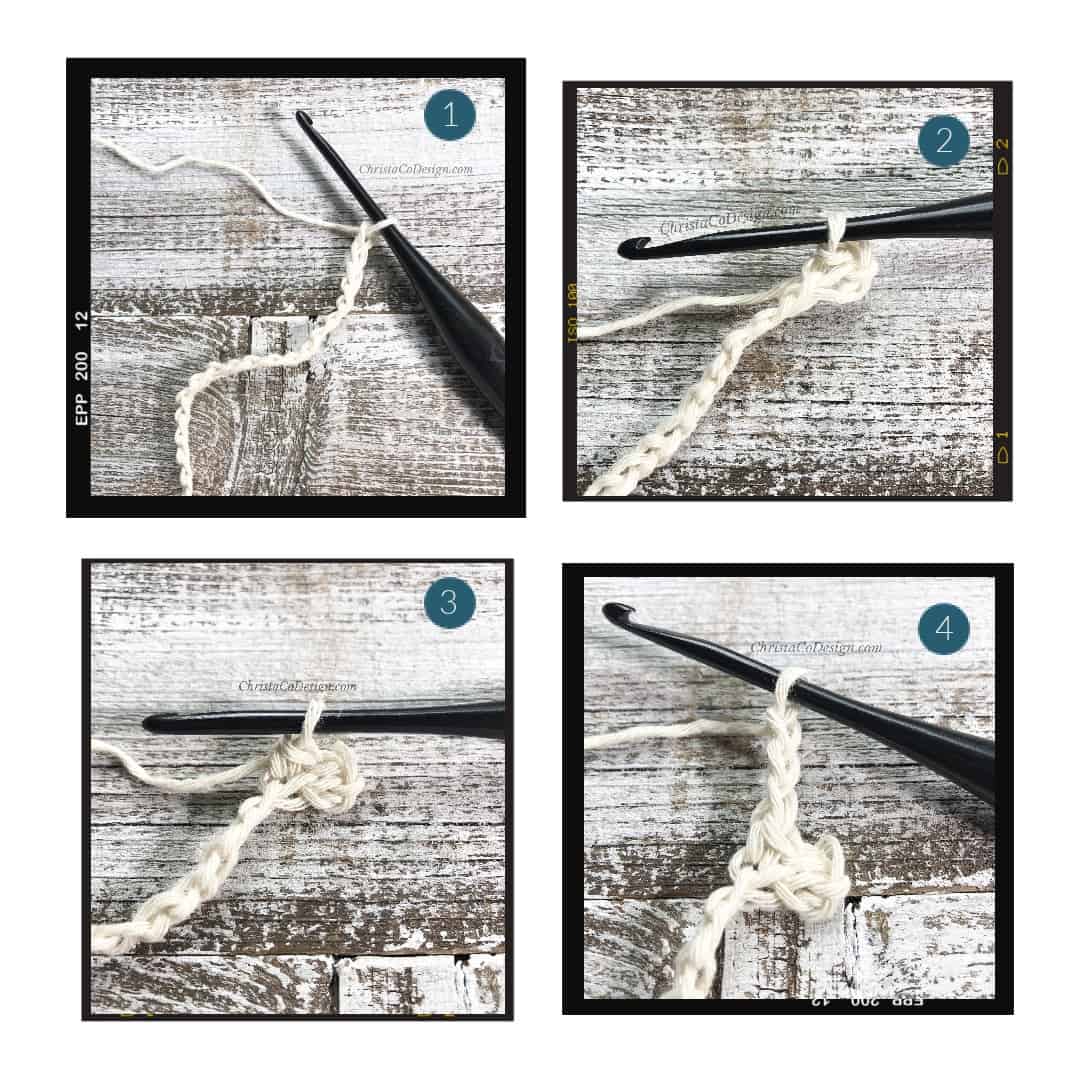
sl st back into first ch of ch 3 (1 picot made),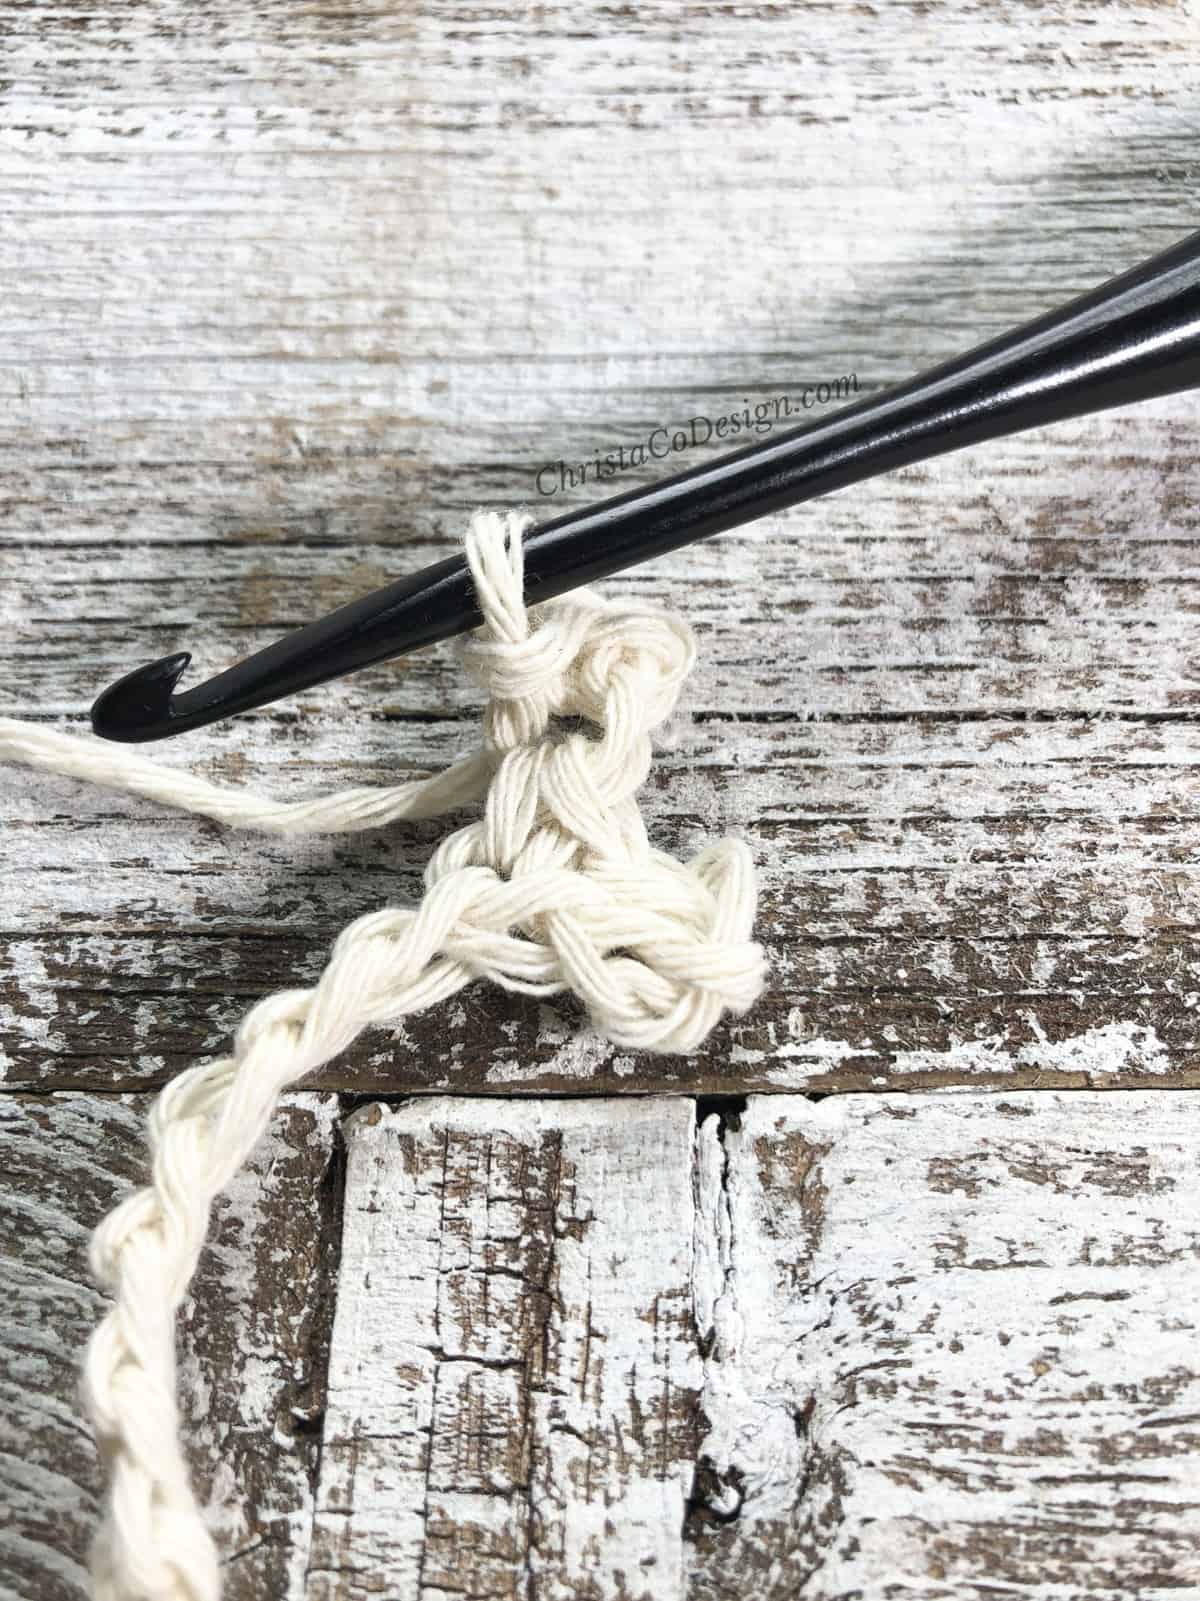
sc in next 2 ch (of foundation chs),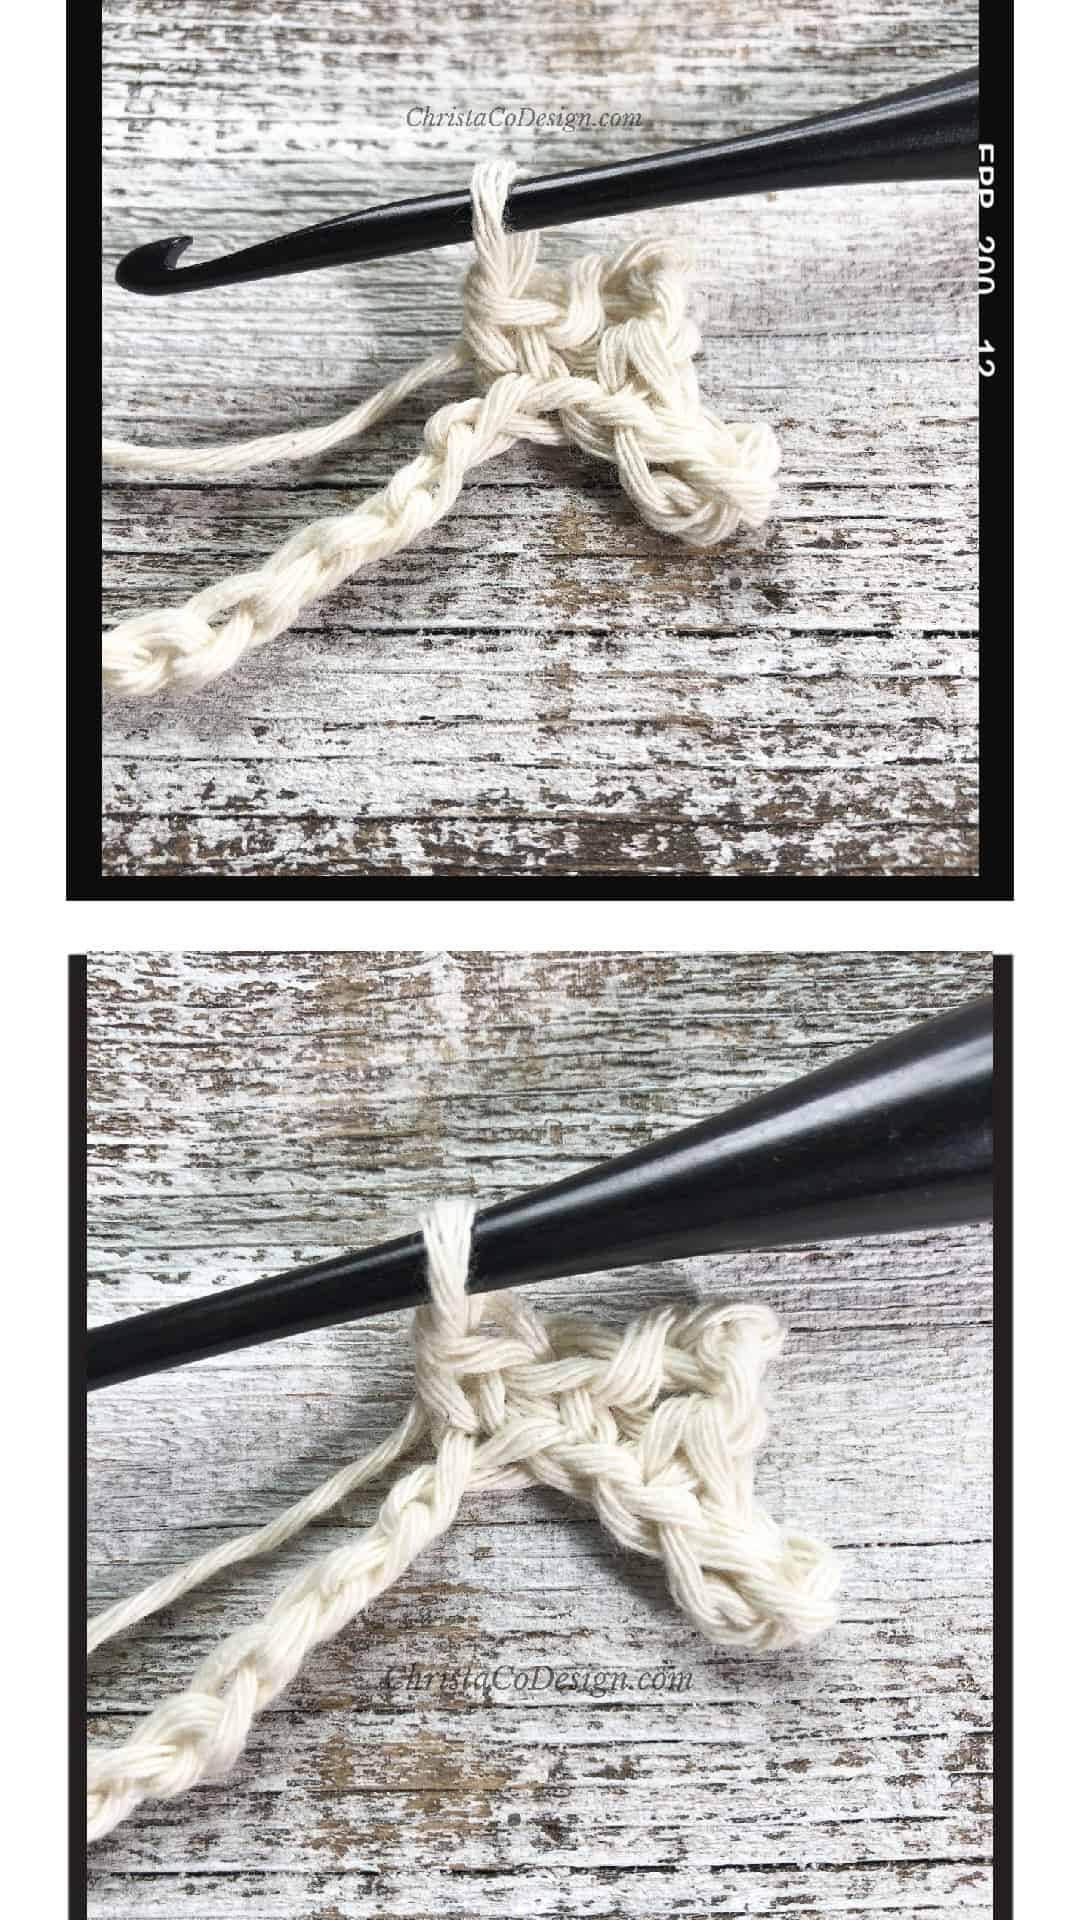
*{ch 3, sl st back into first ch of ch 3, sc in next 2 chs (of foundation chs)} rep from * til one ch left, 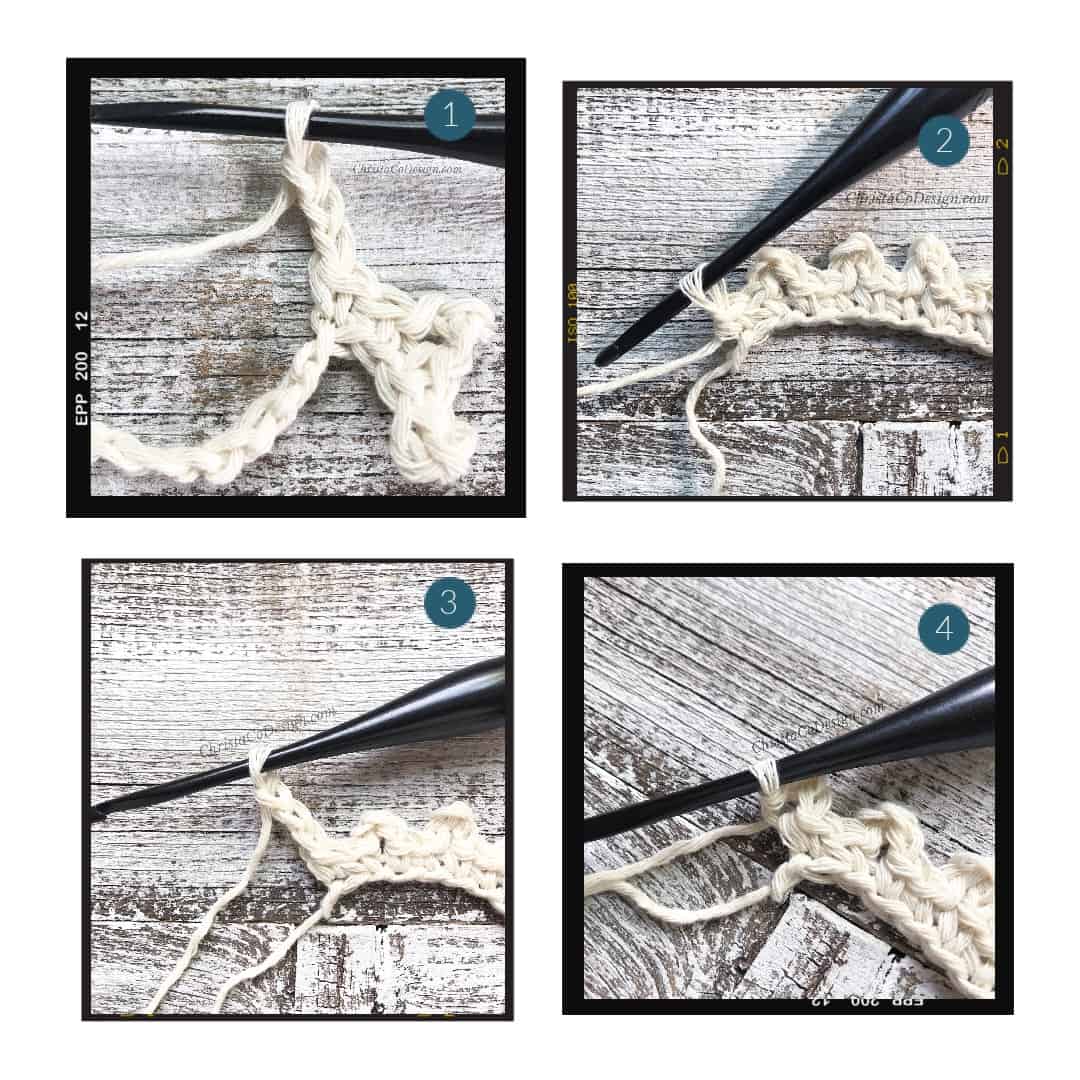
ch 3, sl st back to first ch, sc in last ch.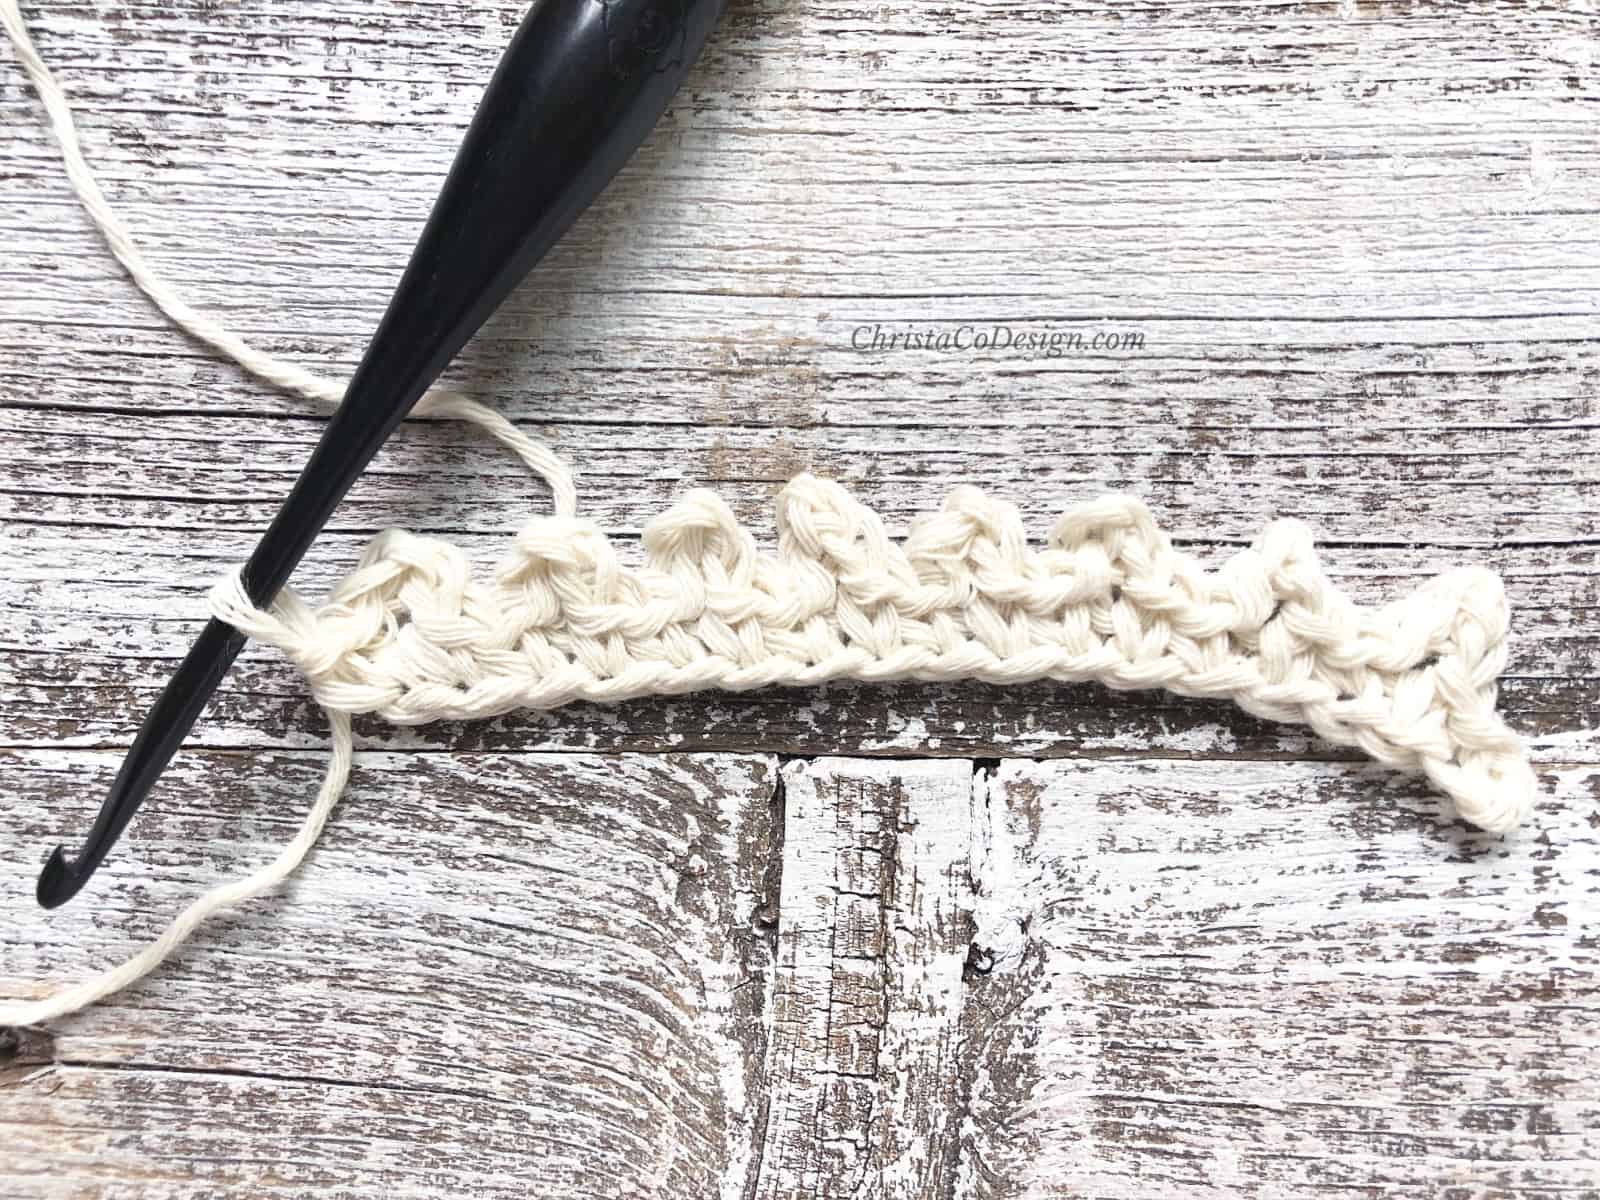
Row 1 complete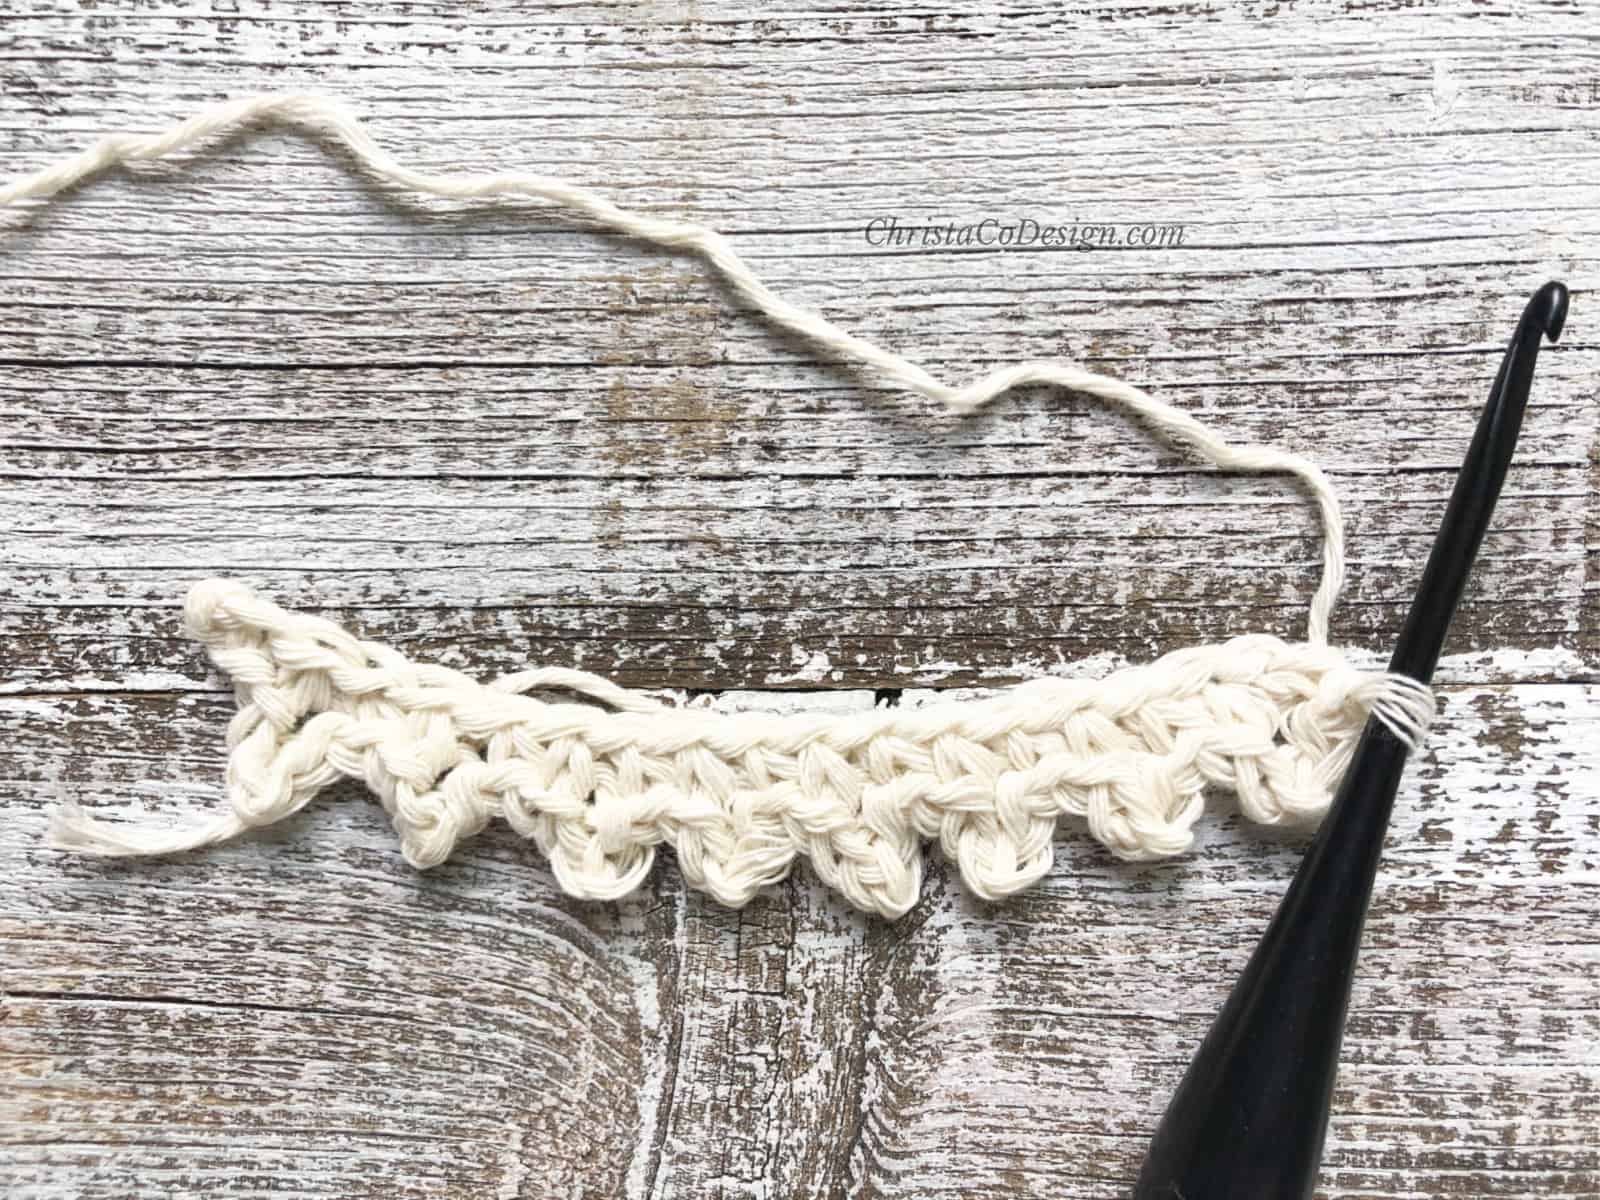
Turned and ready to work back along the bottom of the foundation chain.
Work around on the other side of the chain (into bottom of sc).
Row 2. Ch 3, sl st back to first ch, sc into bottom of first ch, and sc in each ch across, turn. (16 scs)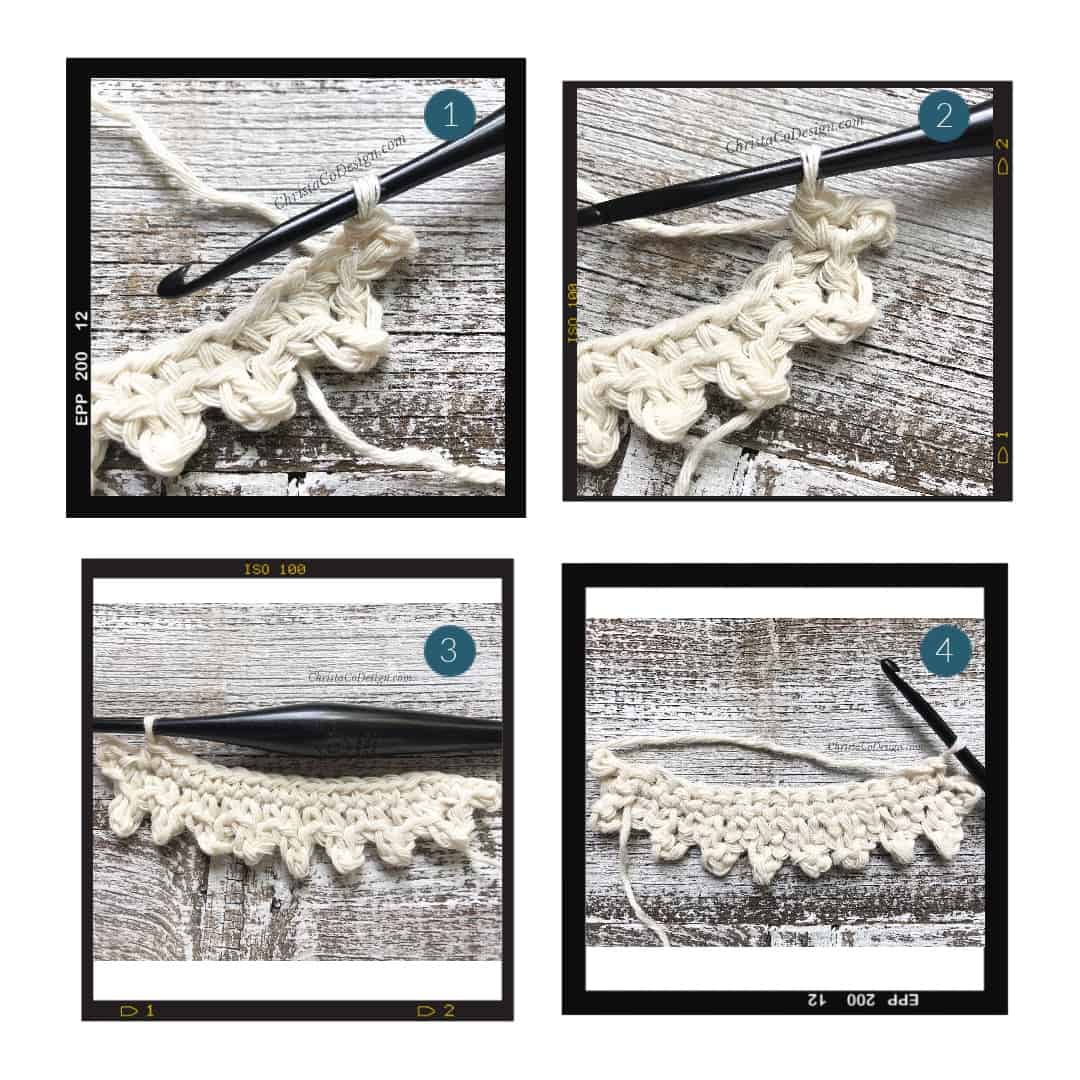
Row 3. Ch 3, sl back to first ch made, sc in first sc and in each sc across, turn. (1 picot + 16 scs)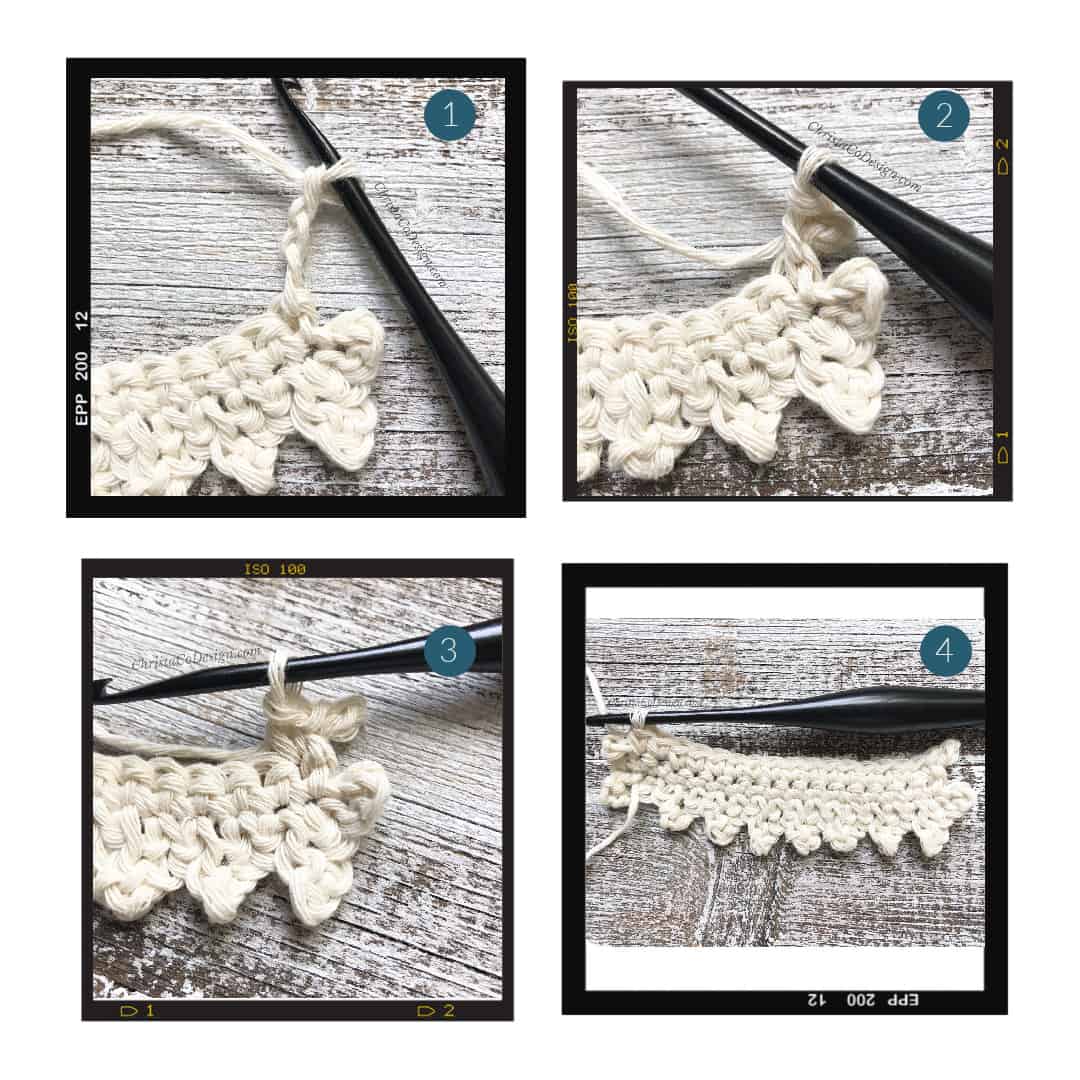
Row 4. Ch 3, sl back to first ch made, sc in first sc and in each sc across, turn. (1 picot + 16 scs)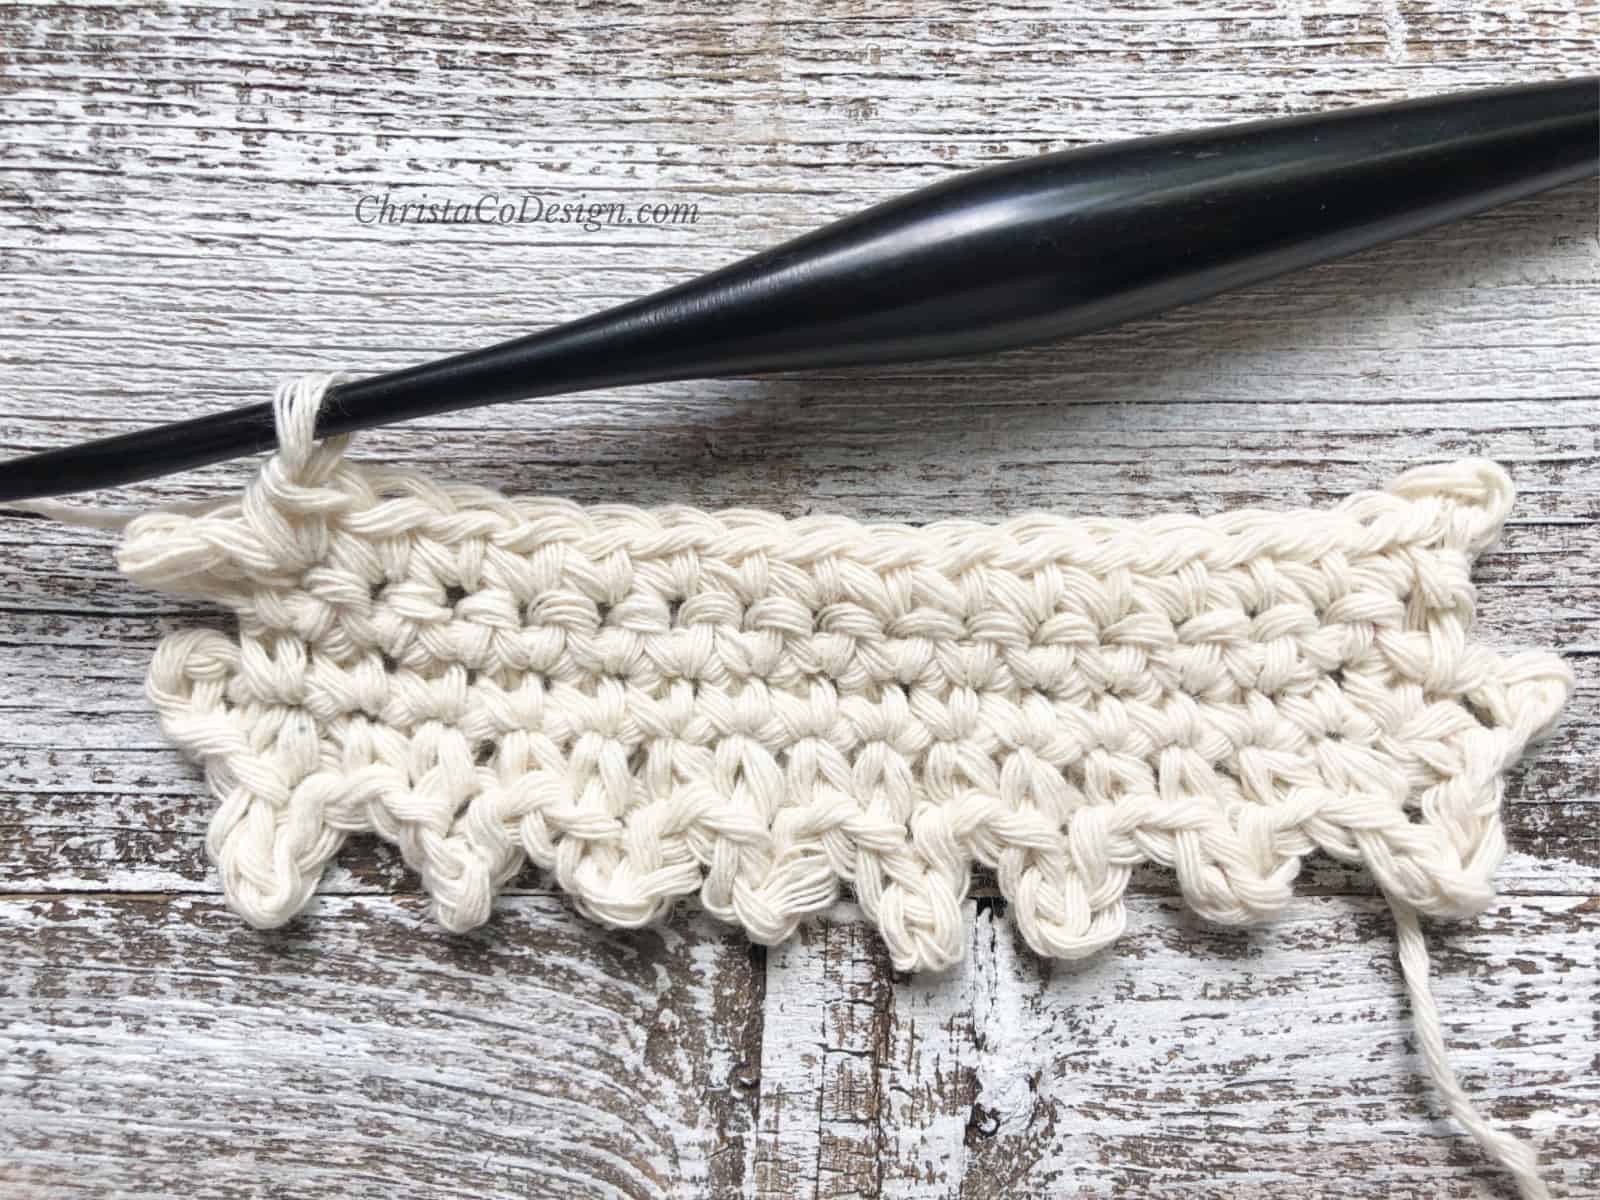
Row 5- 15. Repeat row 4. 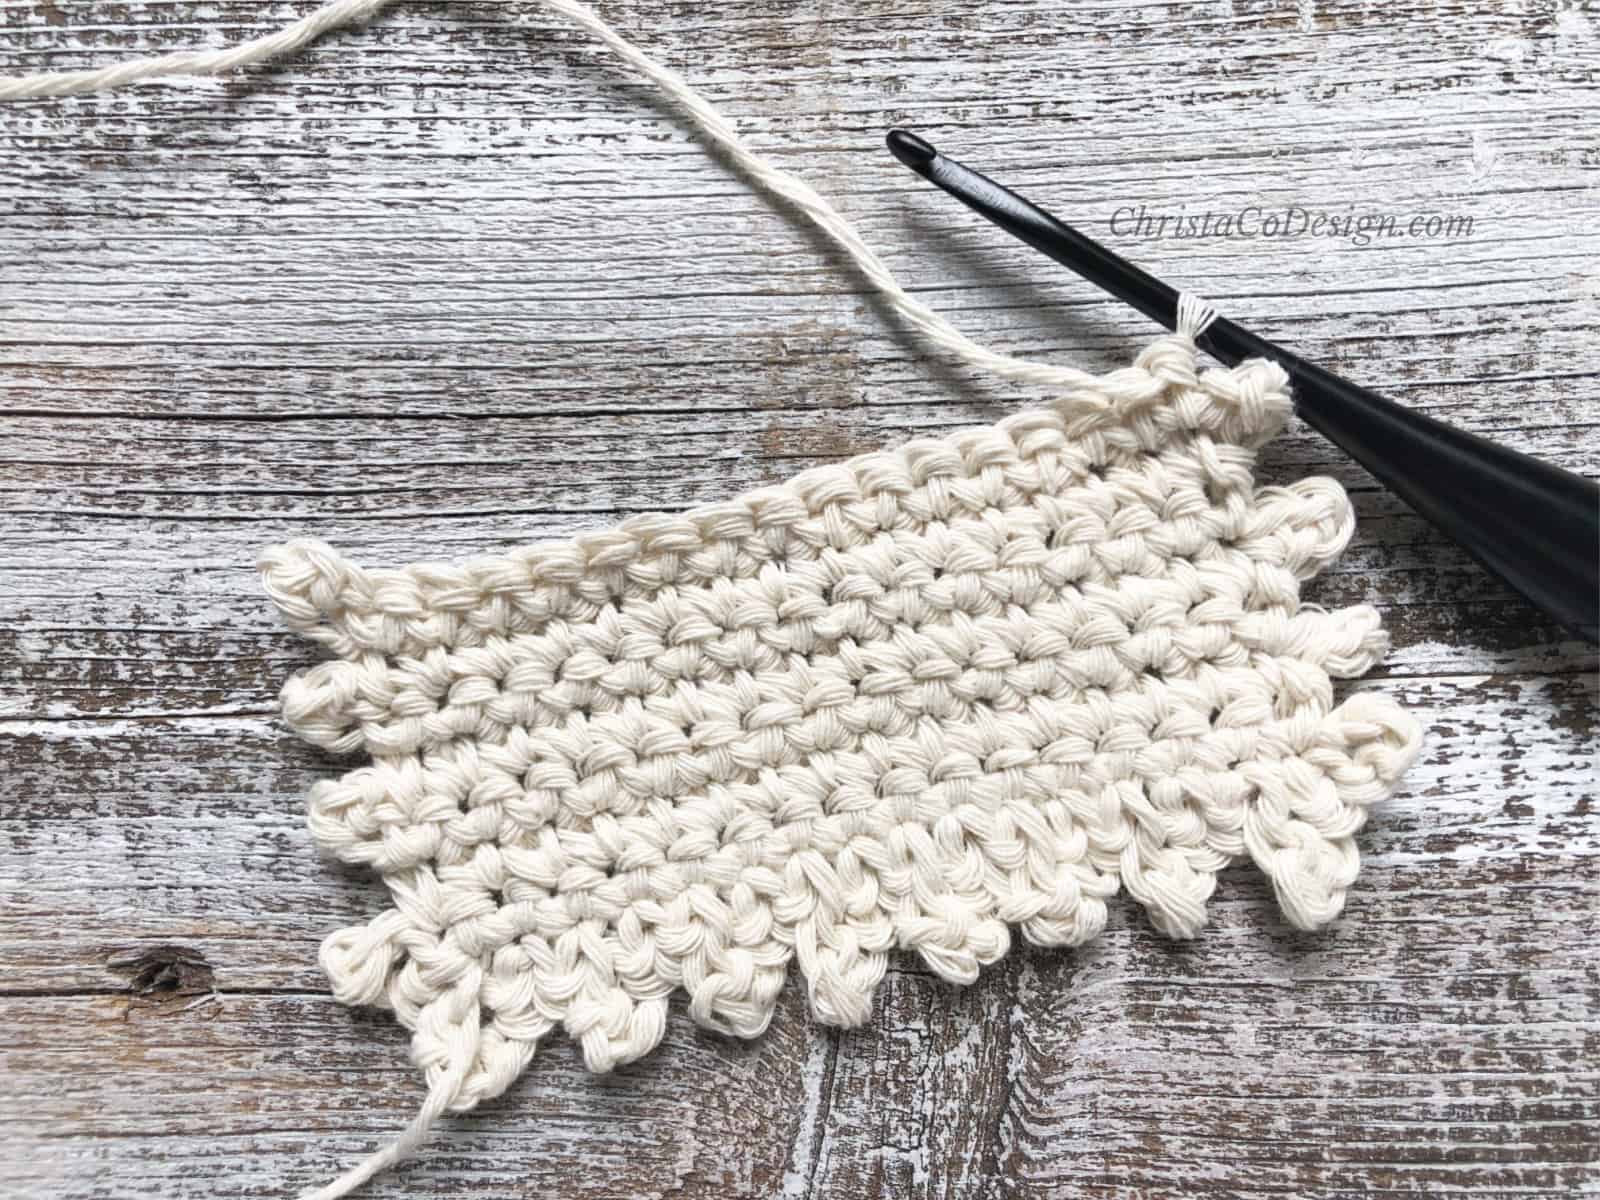
Row 16. Ch 3, sl back to first ch made, sc in first sc, sc in next, *{ch 3, sl st back to first, sc in next two sts} rep from * to end. 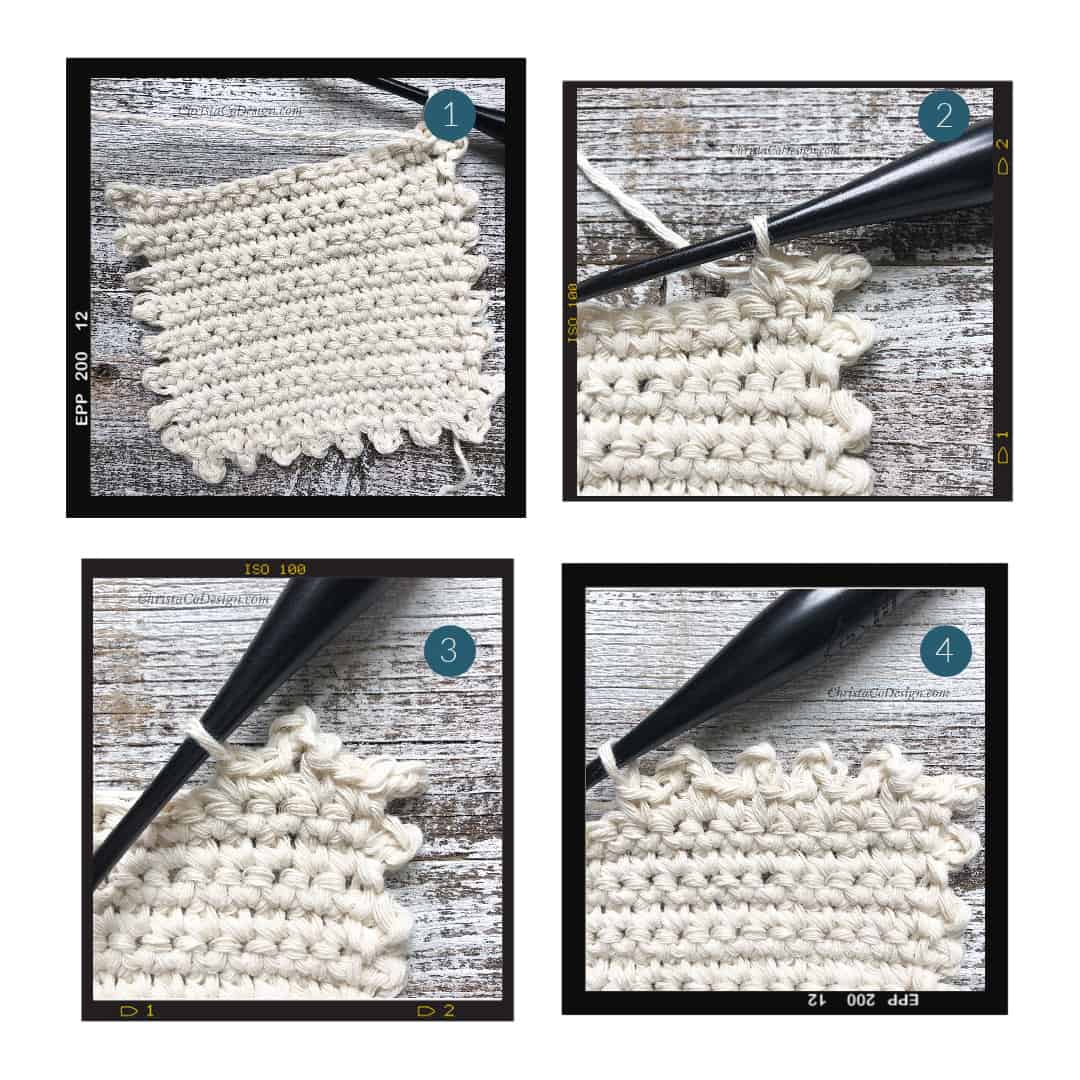
Finishing
Cut yarn and weave in ends.
Recommended Products
As an Amazon Associate and member of other affiliate programs, I earn from qualifying purchases.