How to Add Fringe to a Crochet or Knit Scarf Tutorial
Learn how to add fringe to your handmade scarves in this step by step tutorial. It’s a great way to finish up your knit or crochet project.

This post contains affiliate links, I may earn a fee. Read more disclosure policy.
Join the ChristaCoDesign Newsletter
Never miss a pattern!
Join the ChristaCoDesign Newsletter
Never miss a pattern!
Fringe seems to be one of those love it or hate it features in the yarn world. Personally, I think it has it’s place.
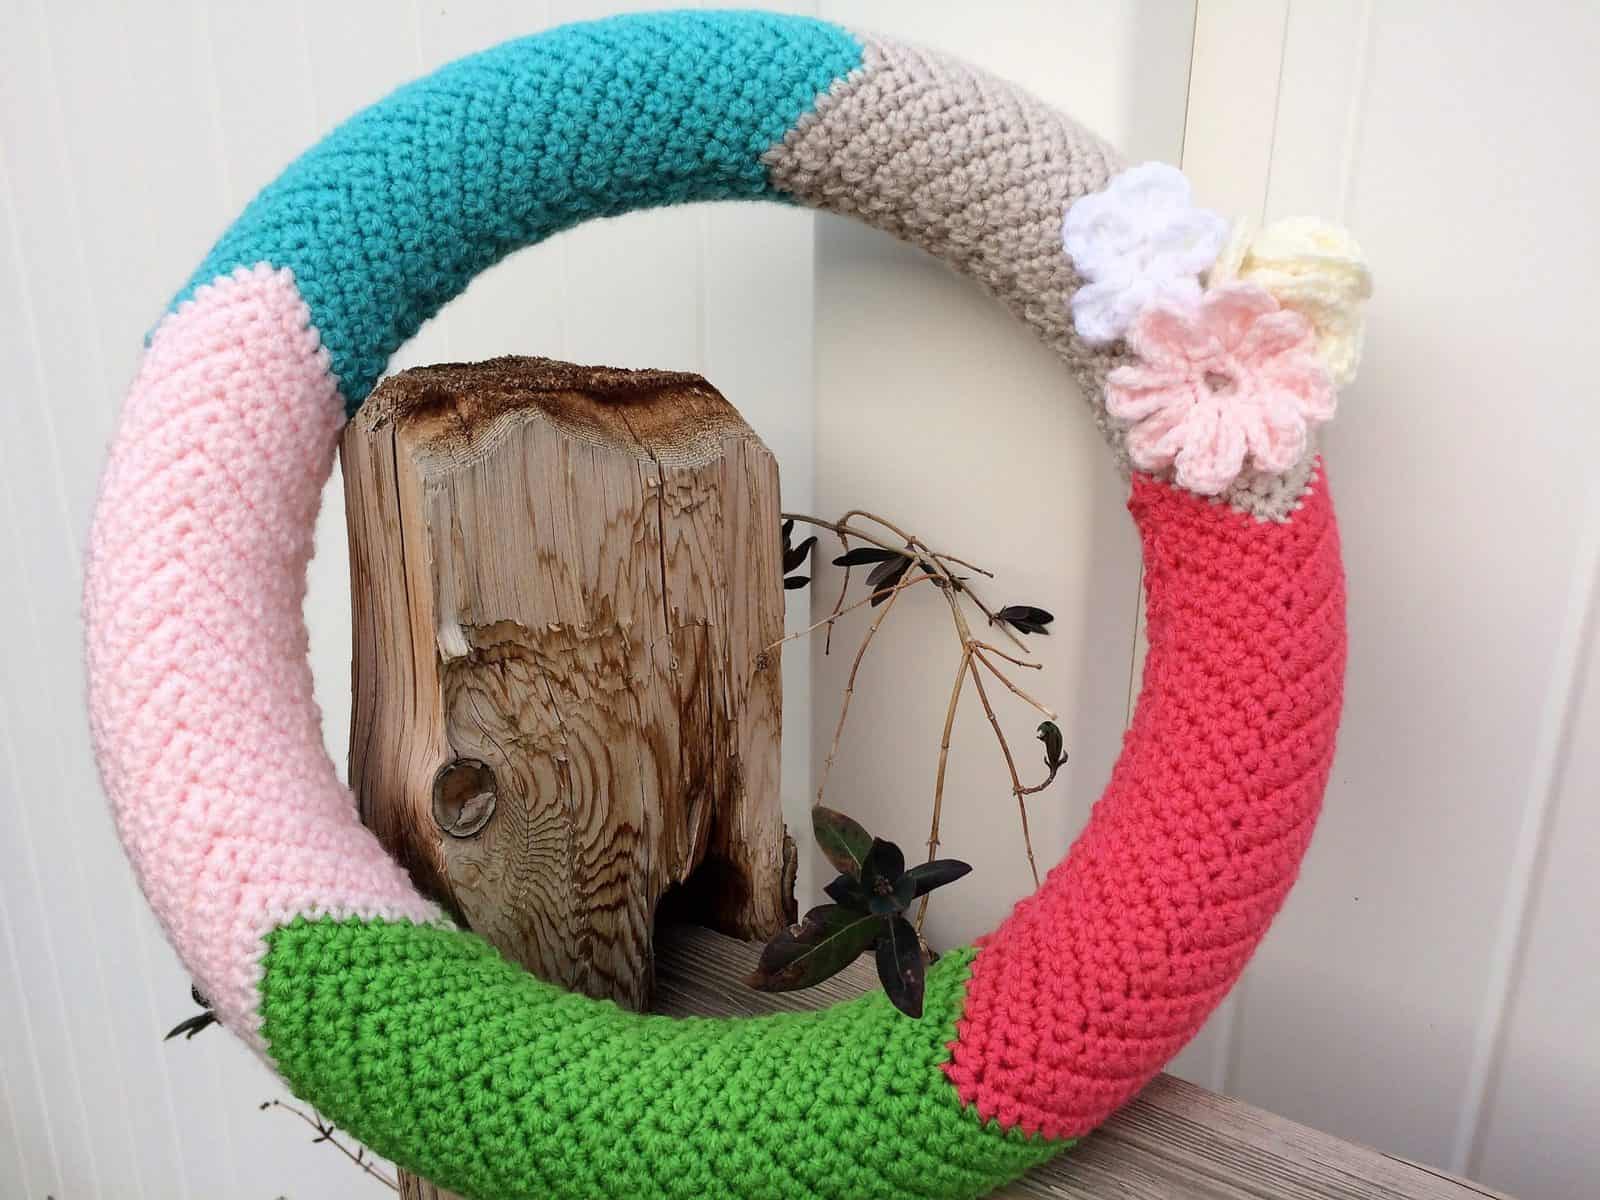
I love the look of it, and long fringe can even add length to a shorter scarf. It’s an easy way to add a finishing touch to a simple scarf.
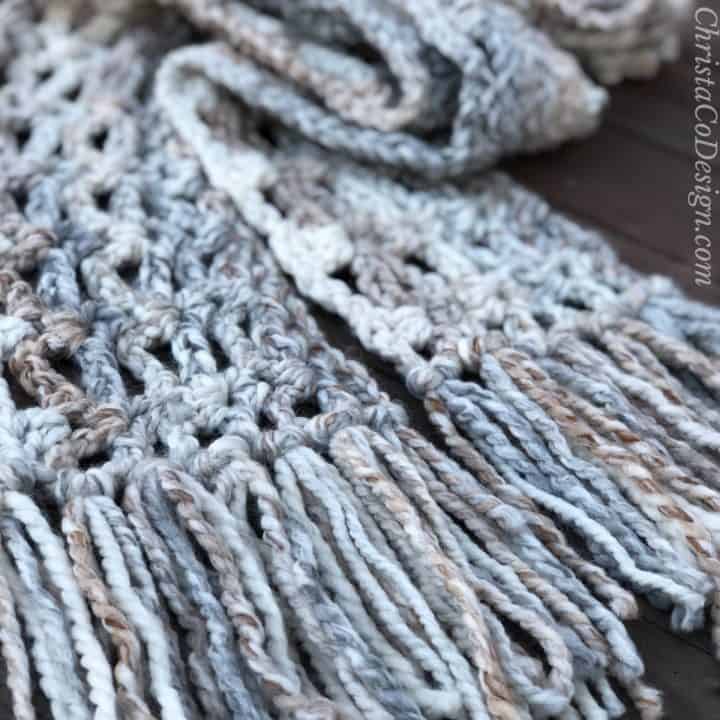
When you add crochet fringe with chunky or superbulky yarn, you’re also adding more warmth.
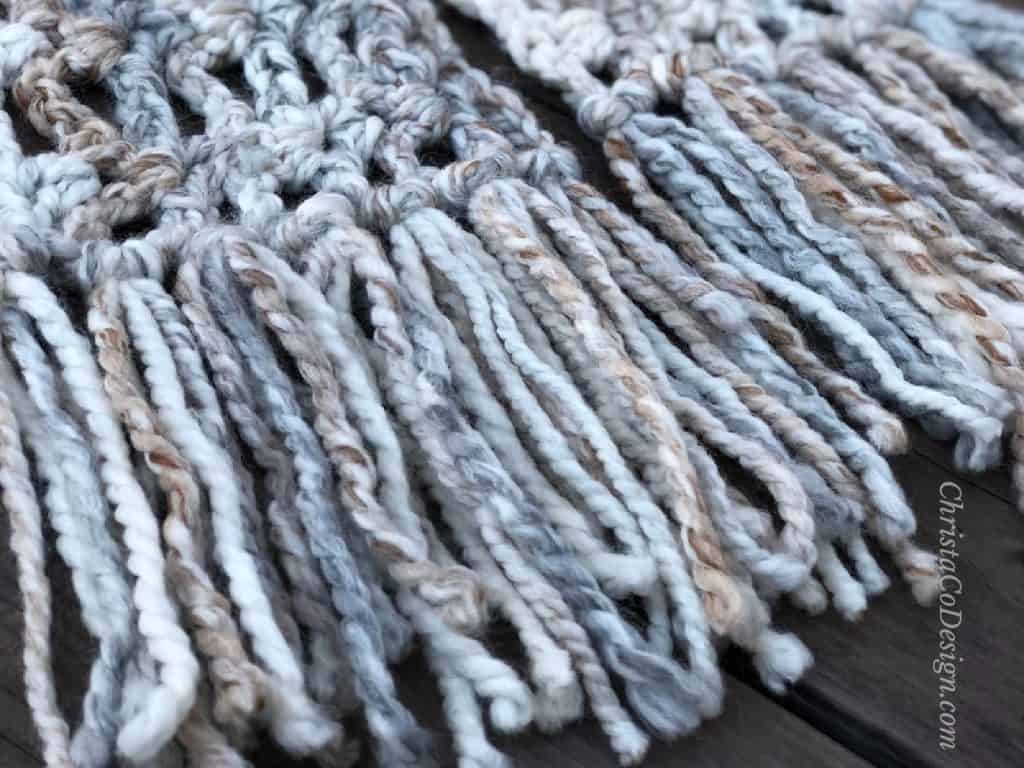
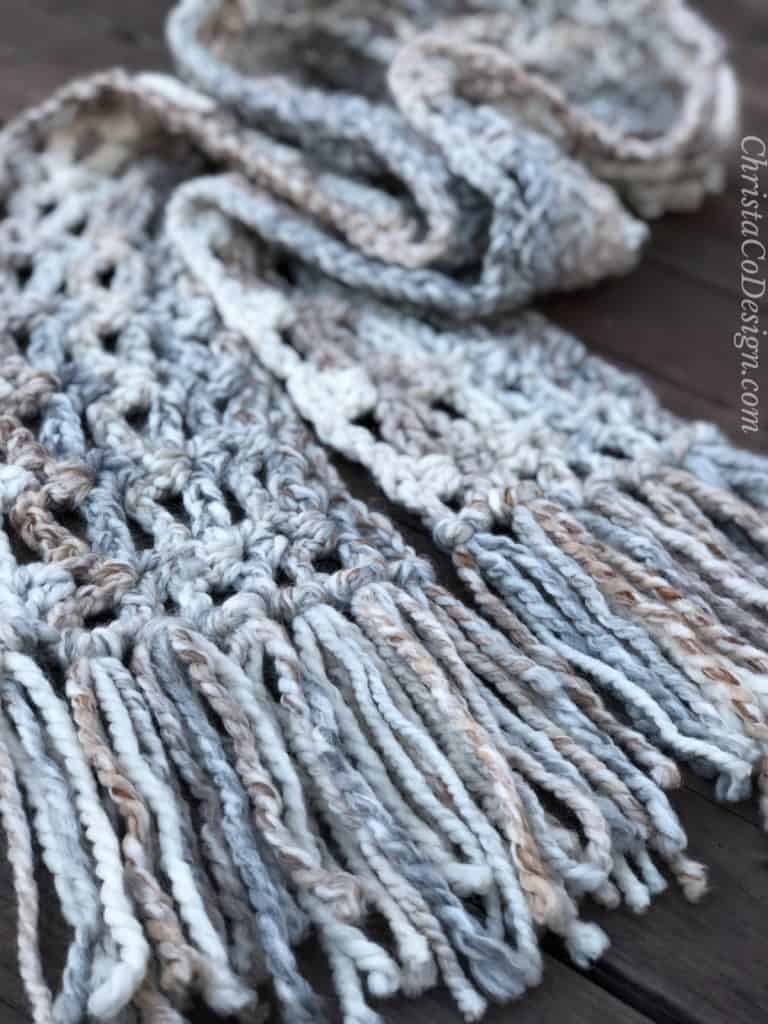
The chunky fringe on this scarf is a good way to add extra coverage on my legs when I’m sitting.
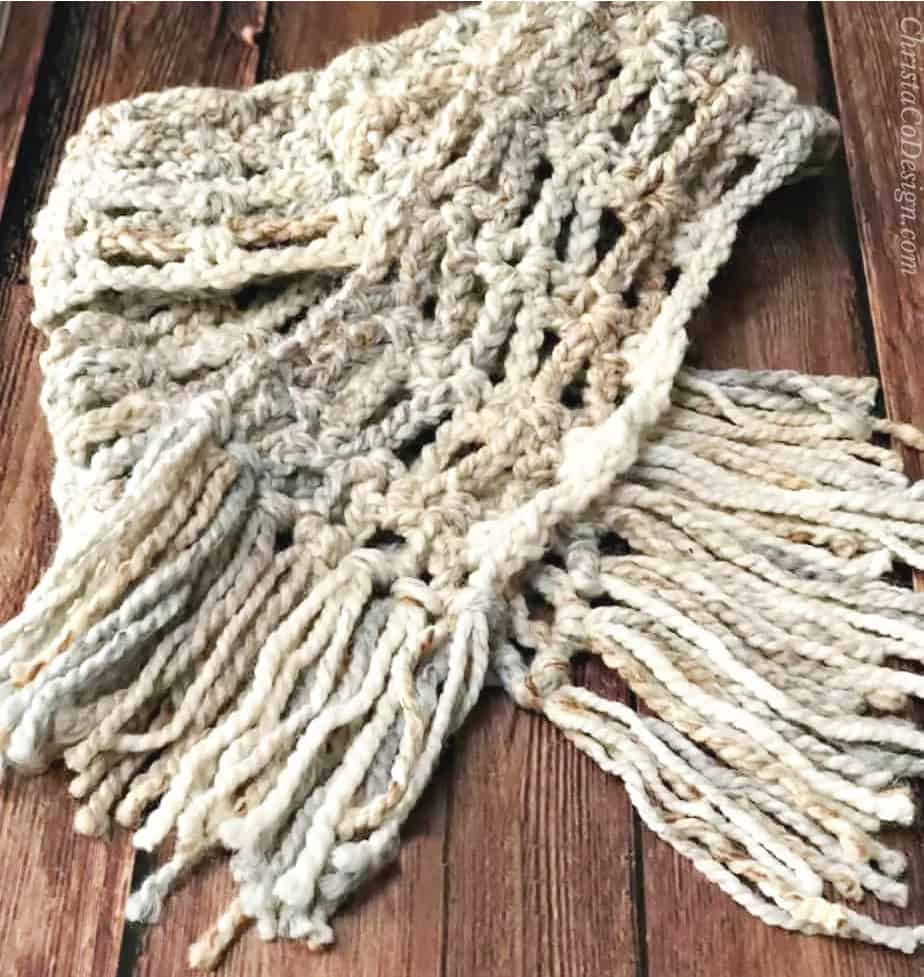
The crochet scarf I use in this tutorial is the Veneto Chunky Crochet Scarf. It’s a free pattern right here.
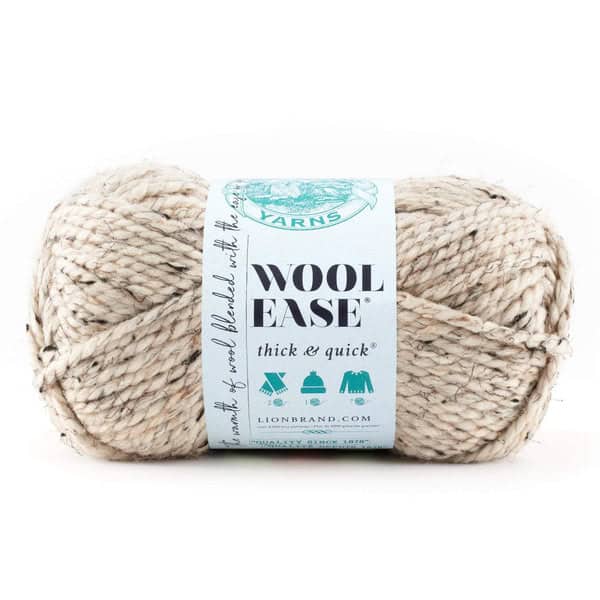
This fossil colorway from in Lion Brand’s Wool Ease Thick & Quick is just my favorite. There’s also a matching chunky crochet hat pattern in all sizes.
Fringe isn’t just for chunky yarn though. You can go for different looks based on your style.
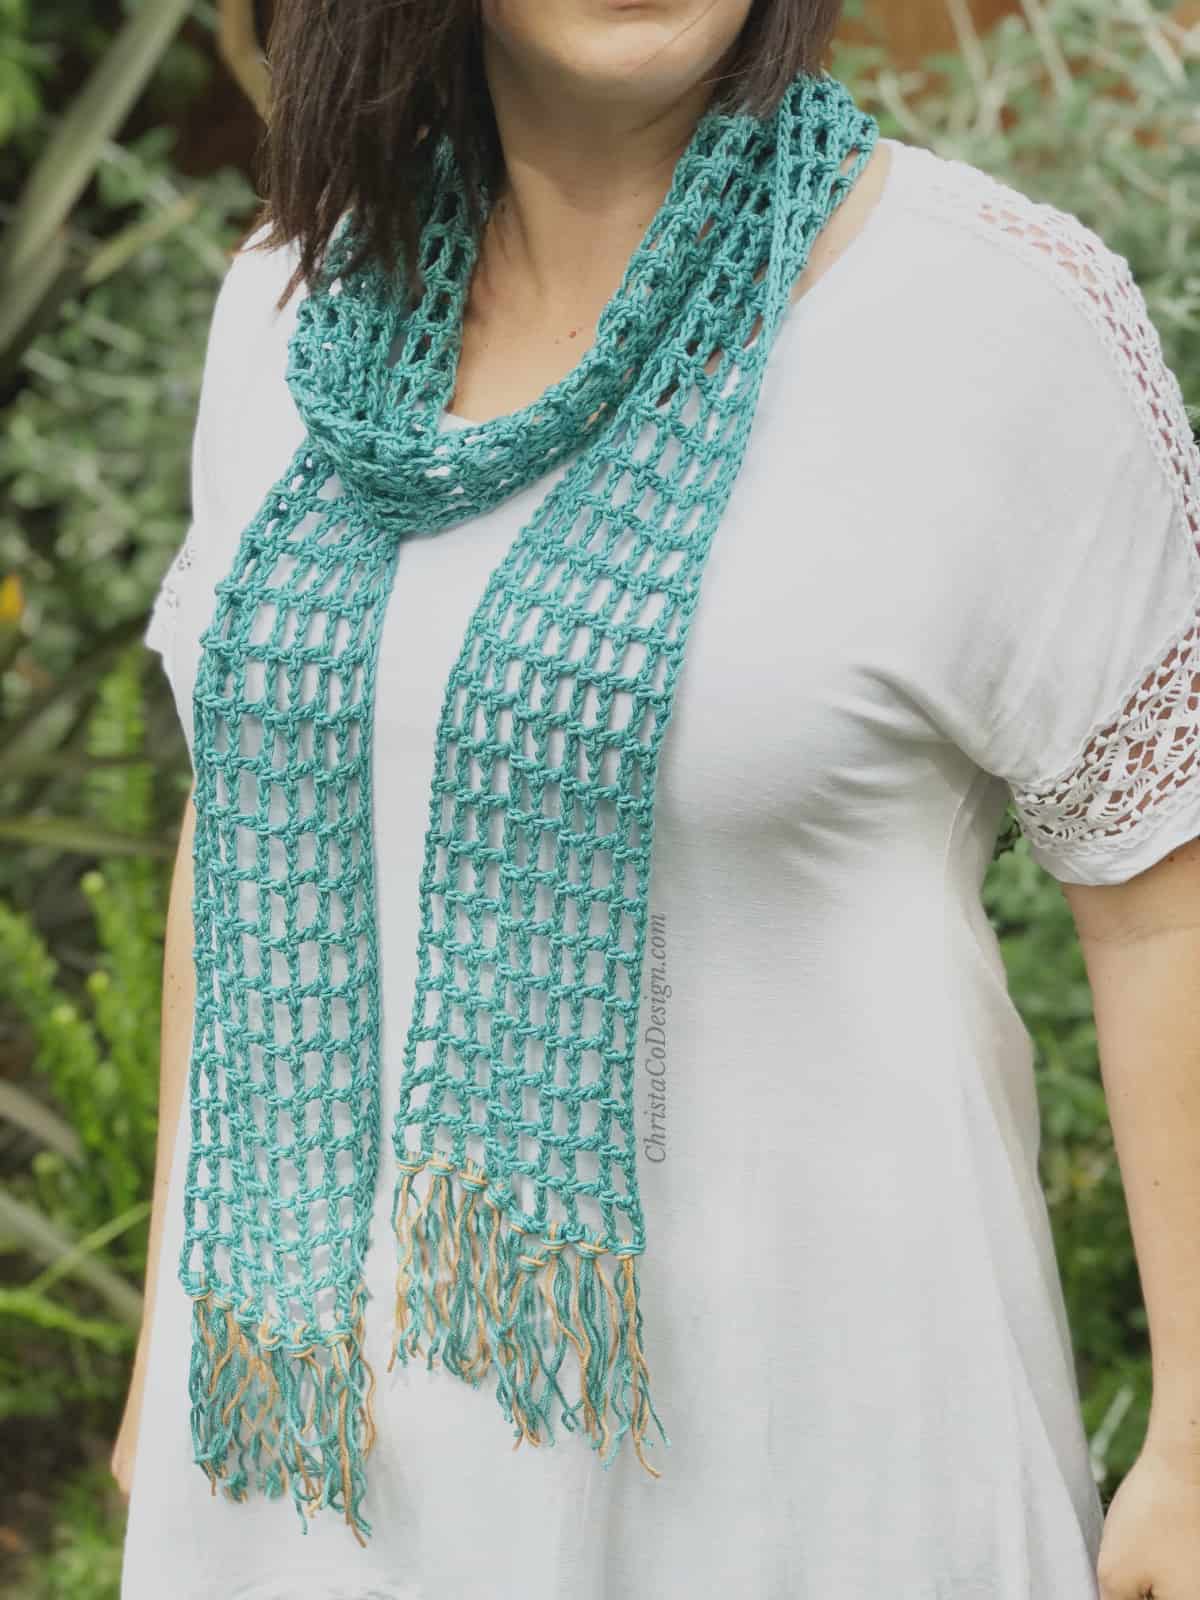
I add shorter, lighter fringe on the teal Skinny Summer Scarf crochet pattern. I even used two colors in this fringe.
Use a different weight yarn, cut longer fringe, or shorter fringe. There are so many ways to customize it to your yarn projects.
Yarn
This 24/7 cotton yarn is another fav, especially in summer. One ball has just enough yardage to make a cowl or scarf that’s light and lacy!
Materials
- 10-30 yds of yarn, I use Lion Brand’s Wool-Ease Thick & Quick in Fossil* here, usually the yarn will match the project, but of course that’s up to you.
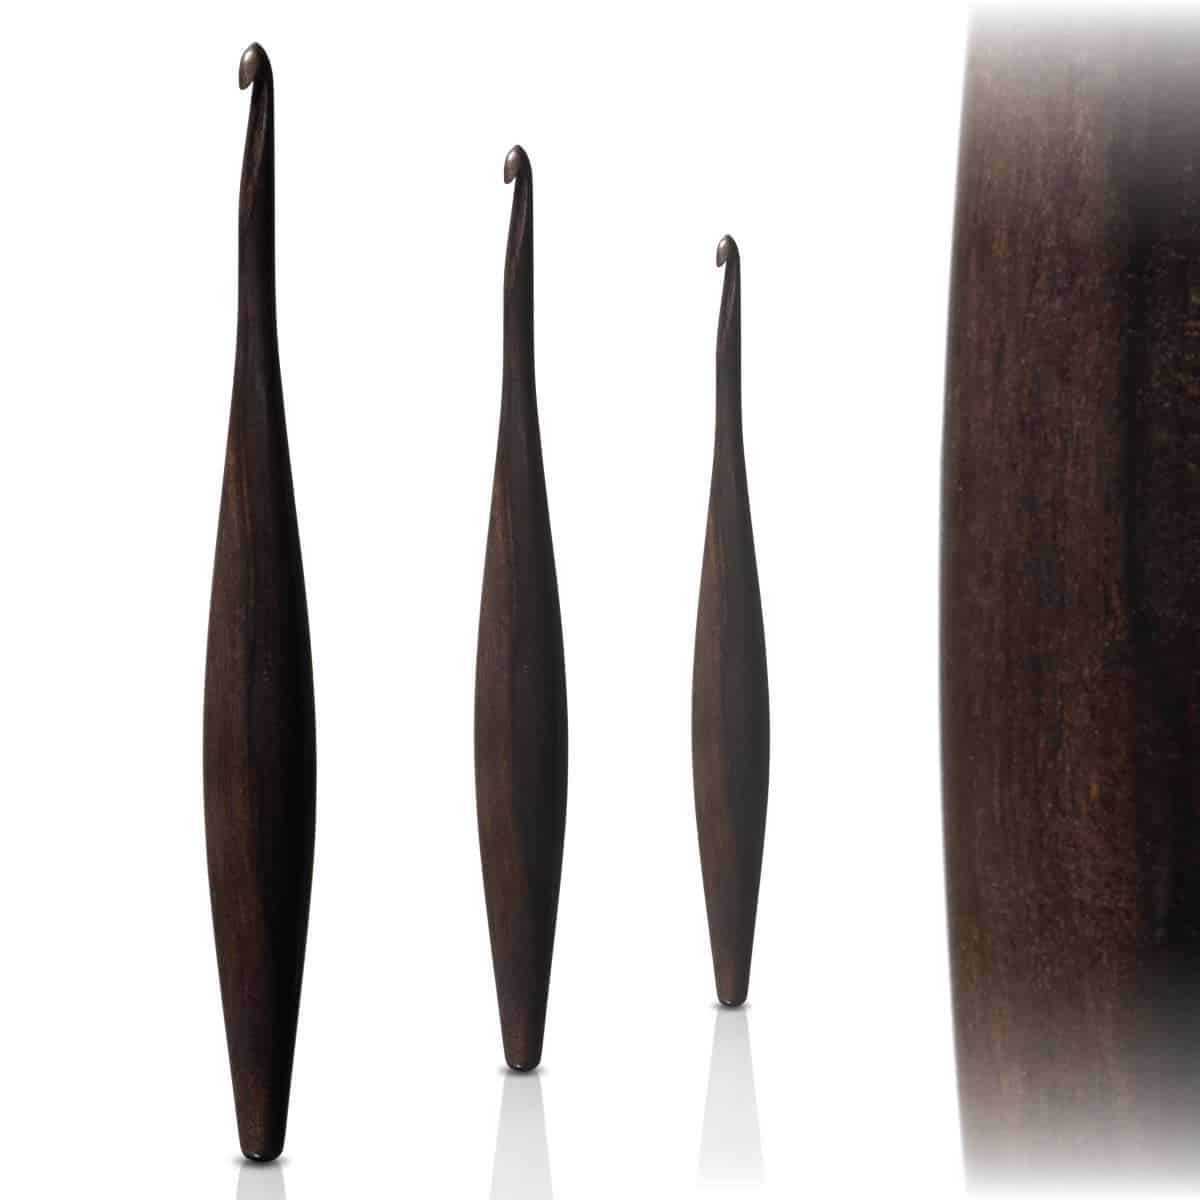
- You can use a crochet hook or your fingers to pull the fringe through.
- measuring tape
- scissors
Skill Level
Easy
Fit/Adjustment
Fringe must be doubled over to be secured to the end of your scarf.
This means if you want 8″ of fringe hanging from the end of the scarf, you will need to cut a length of yarn that is at least double that (16″) and then I add extra length of 1-2″ to account for the looping of the fringe.
So for 8″ fringe, cut 17″ lengths of yarn.

How to Add Fringe to the End of a Scarf
How to Add Fringe to a Scarf
Learn how to make fringe and add it to your handmade scarves.
Materials
- 10-30 yds of yarn, I use Lion Brand’s Wool-Ease Thick & Quick in Fossil*
- Usually the yarn will match the project, but of course that's up to you.
Tools
- Crochet hook to match your yarn weight. I'm using my 9 mm crochet hook, or your fingers can be used.
- measuring tape
- scissors
Instructions
- Optionally you may add a row of single crochet to the ends of your project to give you and easy stitch count and place to add your fringe.
- Decide how many pieces of fringe you will need. For this scarf, I cut 42 pieces. I calculated the number of strands based on the number of spaces on the ends of my scarf. There are 7 spots across the short end of my scarf that I want to add fringe to. This number will vary based on the yarn and width of your scarf. I'm adding 3 pieces per space for 7 spaces on both ends, so 3 x 7 = 21 and 21 x 2 = 42 pieces.
- Then determine the length of your yarn. I cut 14″ pieces of yarn.
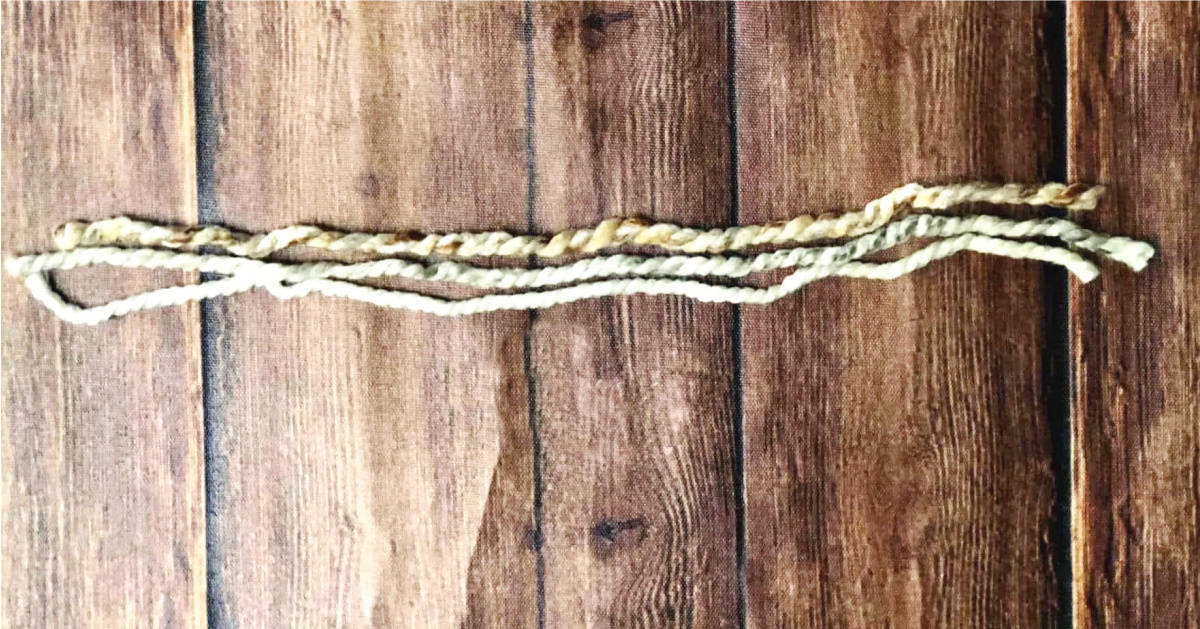 This length will yield about 6" of fringe hanging. To customize the length, you'll want to decide on a finished length first. Then double that number, and add 1-2" for knotting it on the scarf.
 - Group your pieces together. Here I chose 3. The number of pieces you group together is up to you. The more you add, the more full your fringe will look. For a skinny, summer scarf I might only add 1-2 pieces at a time. Try a few spots and see how you like the look.
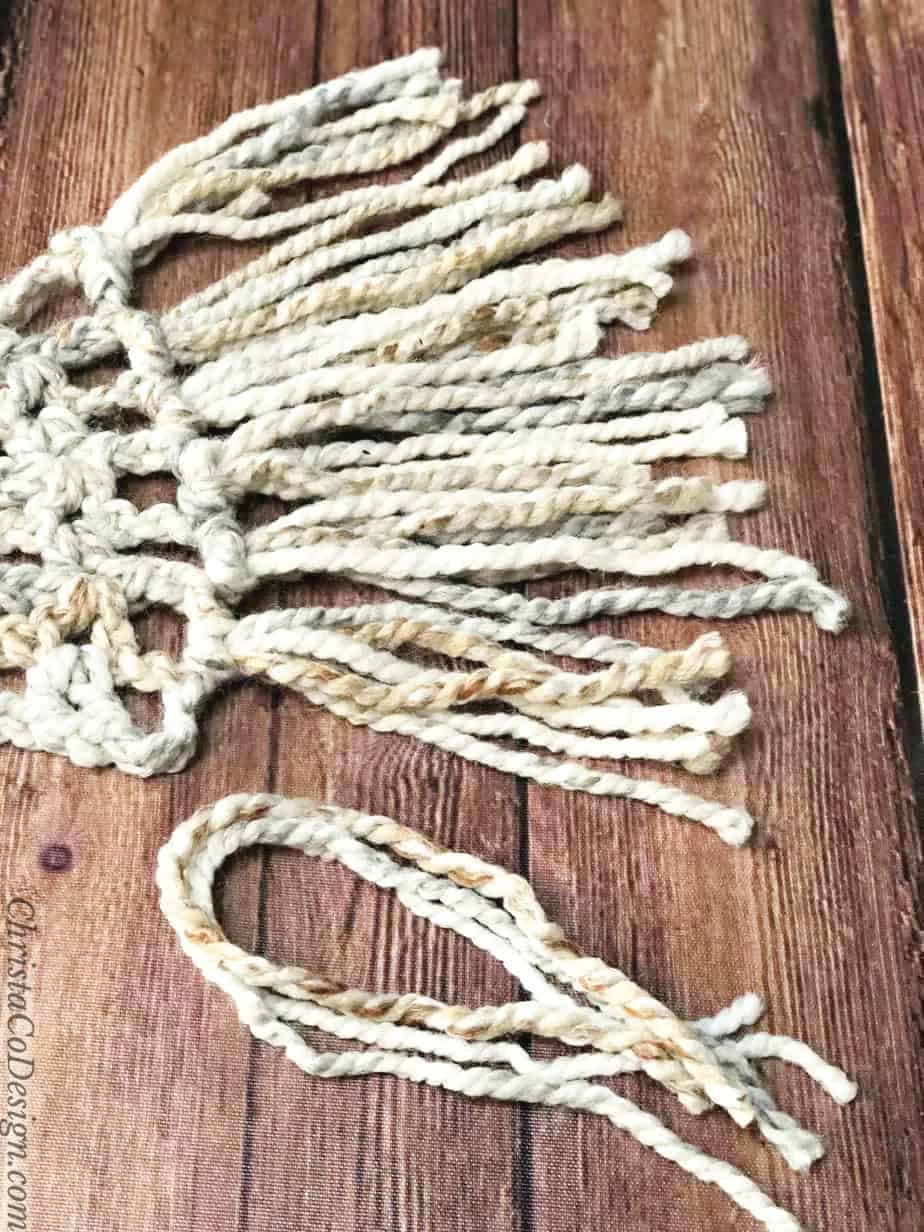
- I want the straight bar of the fringe to be on my right side so I'm working on the wrong side.
- Fold them in half.
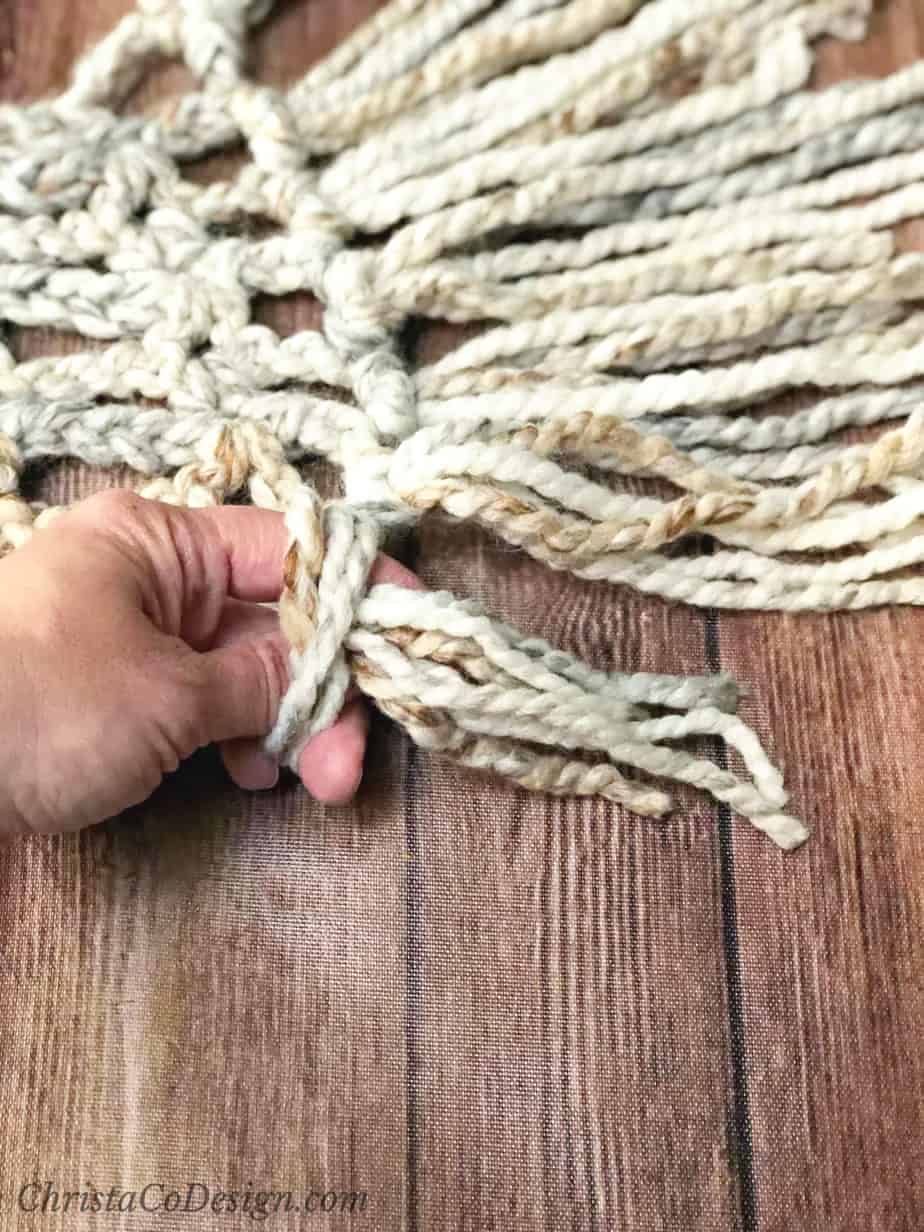
- Insert hook (or your fingers) into the stitch (or space) and grab the folded end, pull it through and up creating a loop.
- Aim to have the fringe fill the space, usually every stitch, or every other stitch works well.
- Push your fingers through the folded loop, grab the fringe ends and pull through.
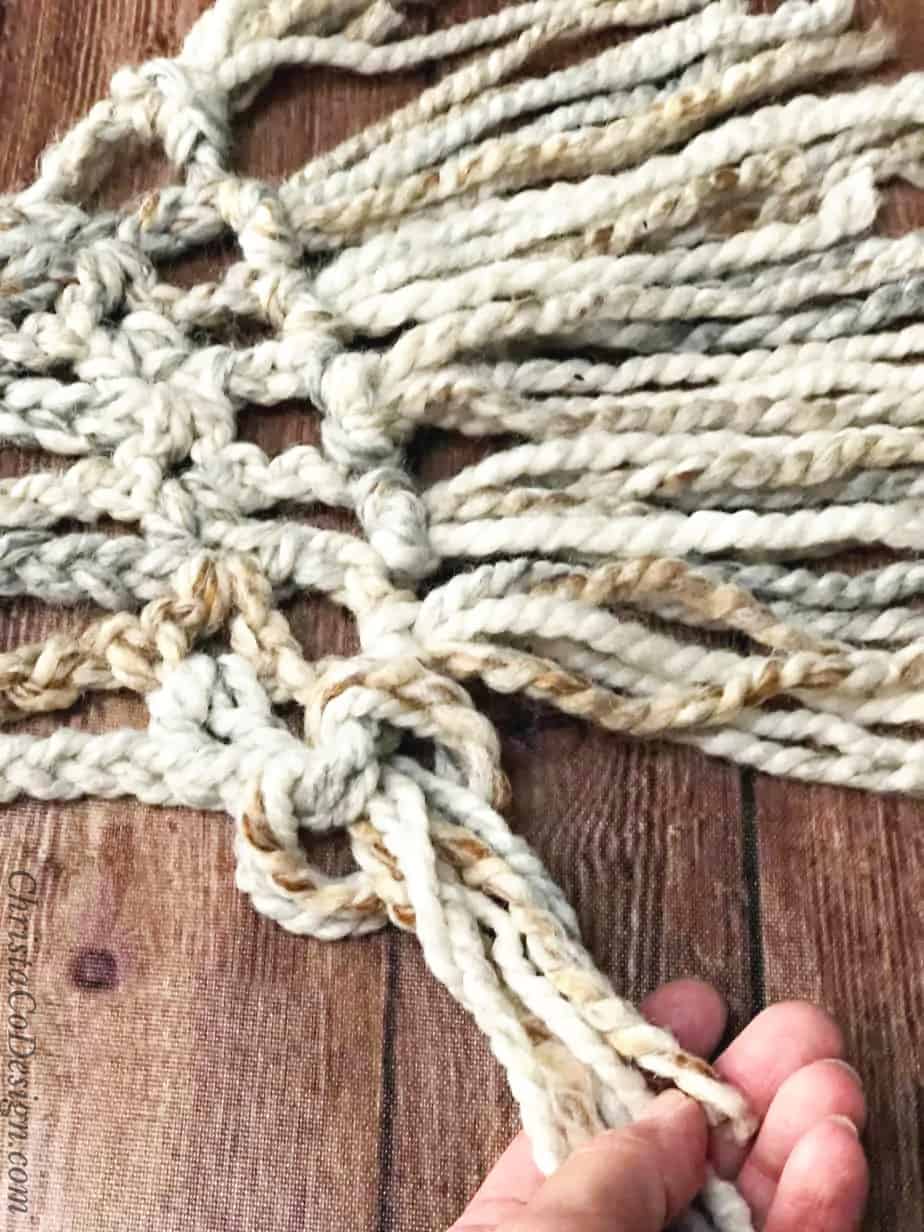
- Pull snug.
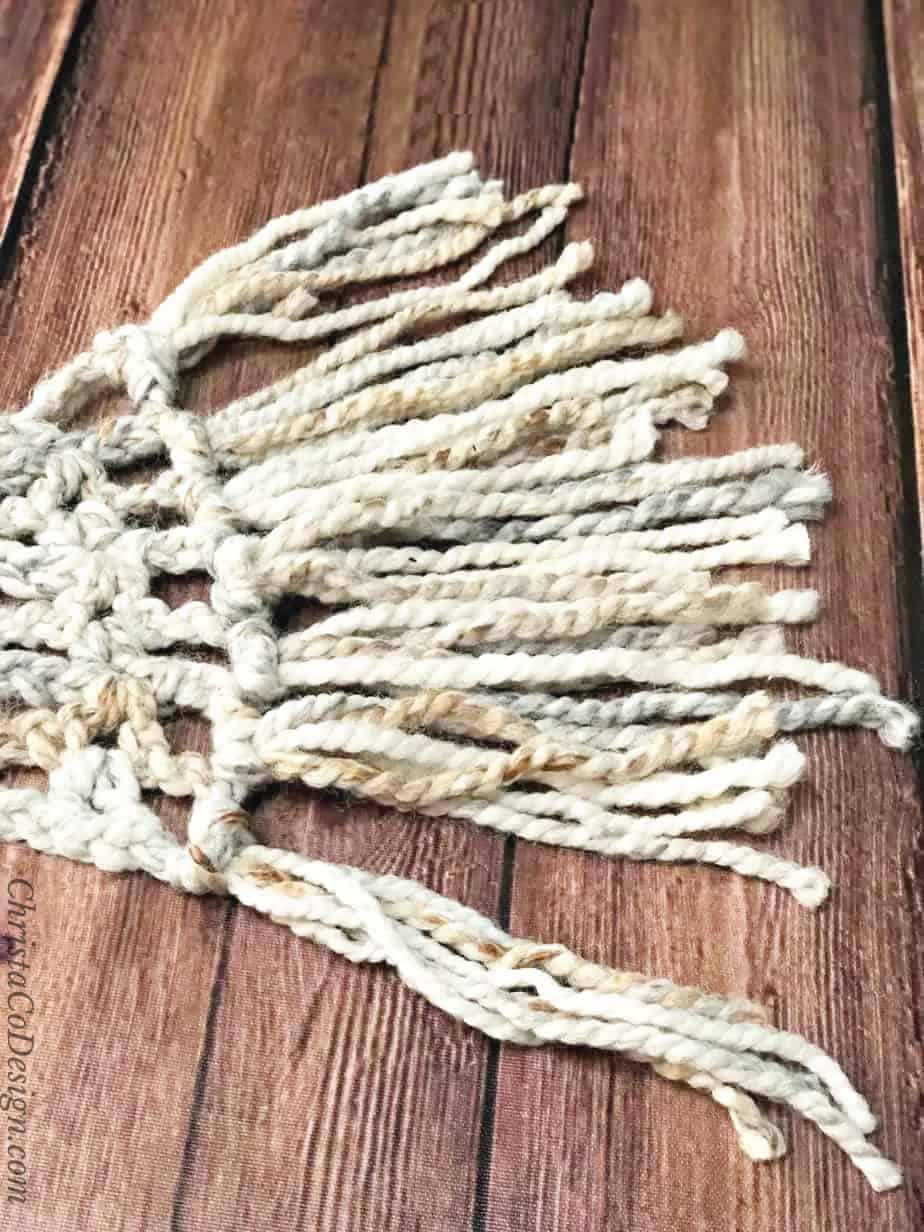
- Repeat steps 4 - 10 for the rest of the fringe.
- Repeat on both ends of the scarf.
- Trim fringe length.
- If you prefer knotted fringe then you can use a simple overhand knot on the finished fringe at the base of where you attached it to secure it further.
Notes
If you have trouble getting your fringe even use something with a straight edge to hold it in a straight line like a ruler, table edge or book.
Recommended Products
As an Amazon Associate and member of other affiliate programs, I earn from qualifying purchases.