
How to Crochet Lemon Peel Stitch Free Tutorial: 2 Options
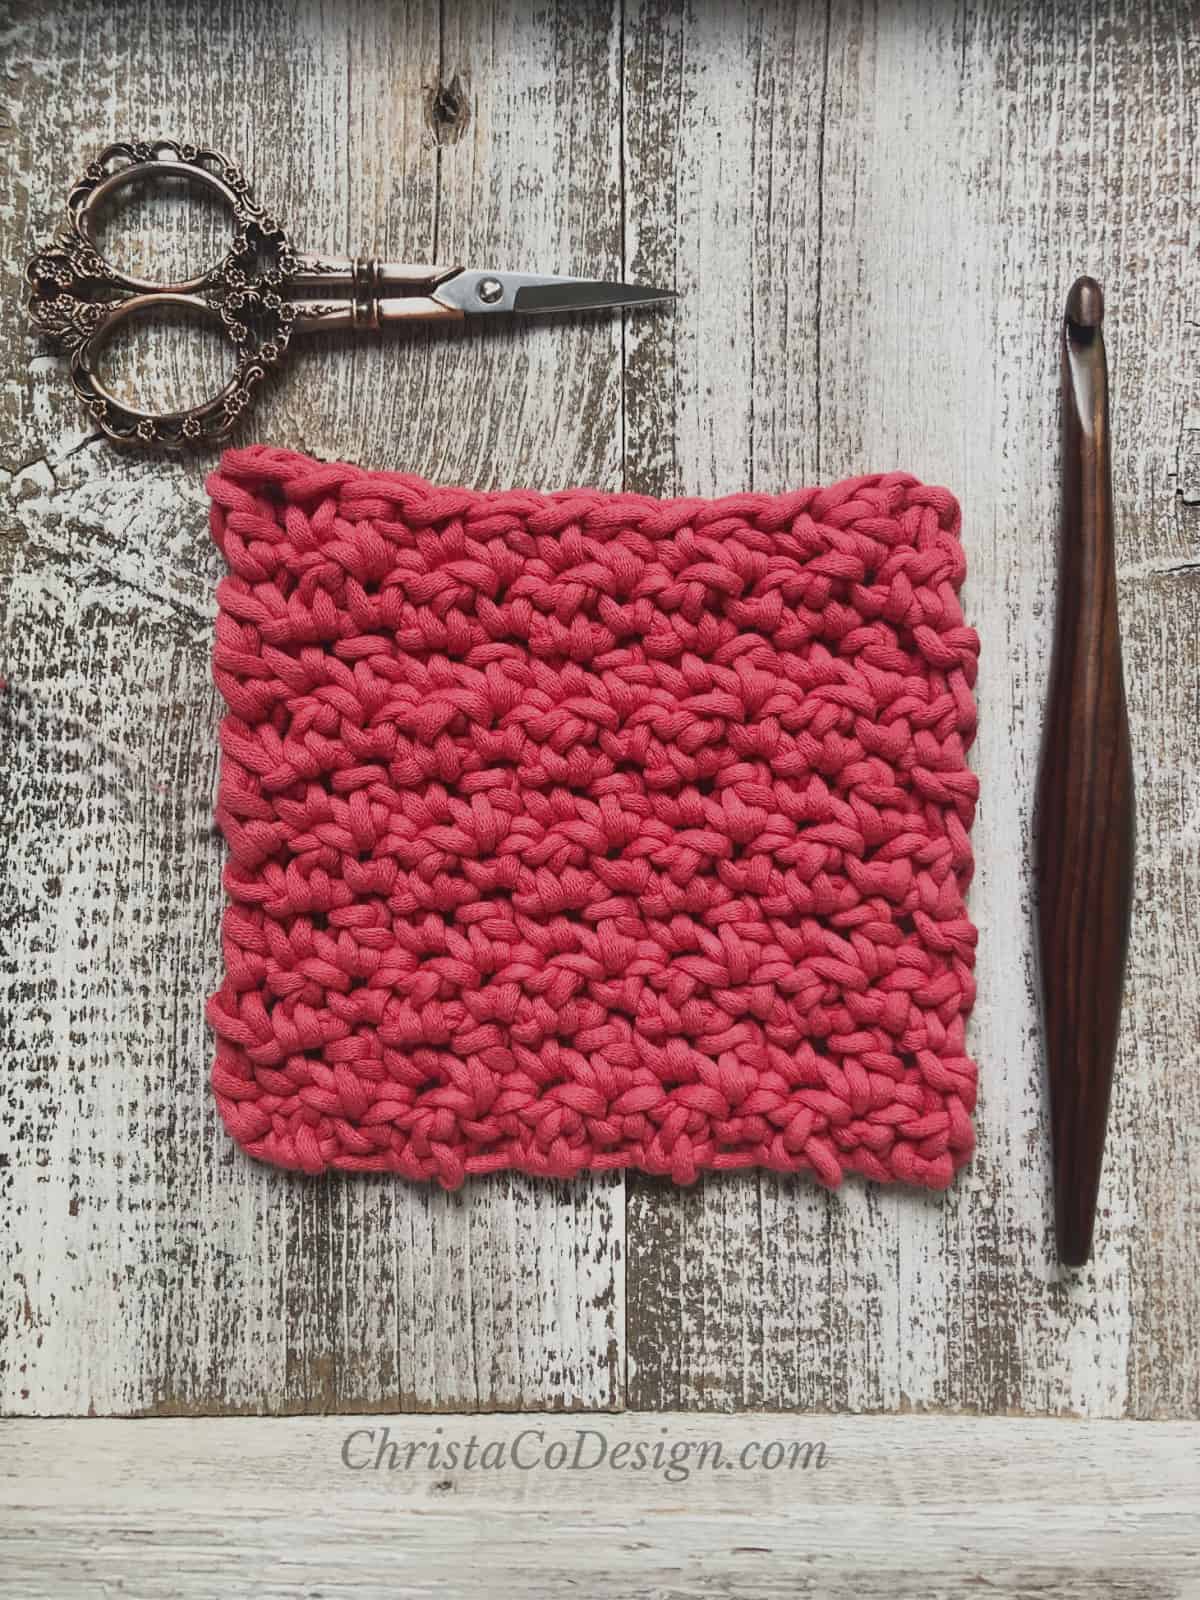
The Lemon Peel Stitch is one of my favorite crochet stitches. The texture these basic crochet stitches create is so lovely and versatile. This stitch crochets up nicely for so many projects-blankets, sweaters, bags.

This post contains affiliate links, I may earn a fee. Read more disclosure policy.
Join the ChristaCoDesign Newsletter
Never miss a pattern!
I suppose the texture created by this stitch looks like a lemon peel. When I think about the bumpy skin of a lemon I can totally see it. But this beautiful stitch looks great in many colors.
It’s also known by different names. I use it under the name Griddle Stitch in my Modern Crochet Towel Topper pattern. One of my crochet stitch books calls it Up and Down, which makes sense with the way you work the two stitches of different heights.
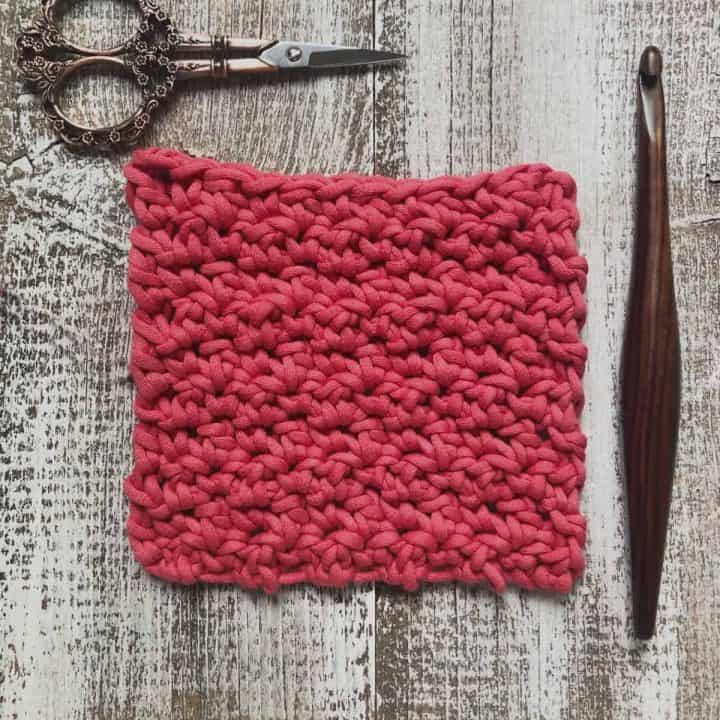
By whatever name you call it, I love it. It’s a simple pairing of basic stitches that create a wonderful texture for your crochet projects. It also creates a more “solid” fabric and for this reason it’s my go to stitch for blankets.
I’ve divided this into two photo tutorials. There are two different ways to work this one. I consider the first option the “easiset,” and the second option results in the “straightest” edges.
Free Crochet Patterns With This Stitch
Modern Crochet Striped Blanket in this one I combined two different weight yarns in large stripes and used Option 1 version of the lemon peel stitch.
Be sure to check out the Lombardy Crochet Pillow which features the easy version of this stitch. I used the same yarn as this tutorial, but in variegated. And it’s an amazing combo.
Raspberry Ridges Crochet Blanket is a combination of the extended half double crochet and lemon peel stitch. I used Option 2 for the straightest edges on this blanket.
Crochet Christmas Lights Blanket again I used the easiest to work, Option 1 for the lemon peel stitch here.
Or you might also enjoy this beautifully textured blanket from Rhelena at CrochetnCrafts. So pretty!
Materials
In this tutorial I’m using
- Bernat Maker Dec Yarn* a #5 bulky weight yarn (72% cotton 28% nylon; 250g / 8.8 oz 317 yards / 290 m) color: Woodberry. This stitch works well in any yarn weight.
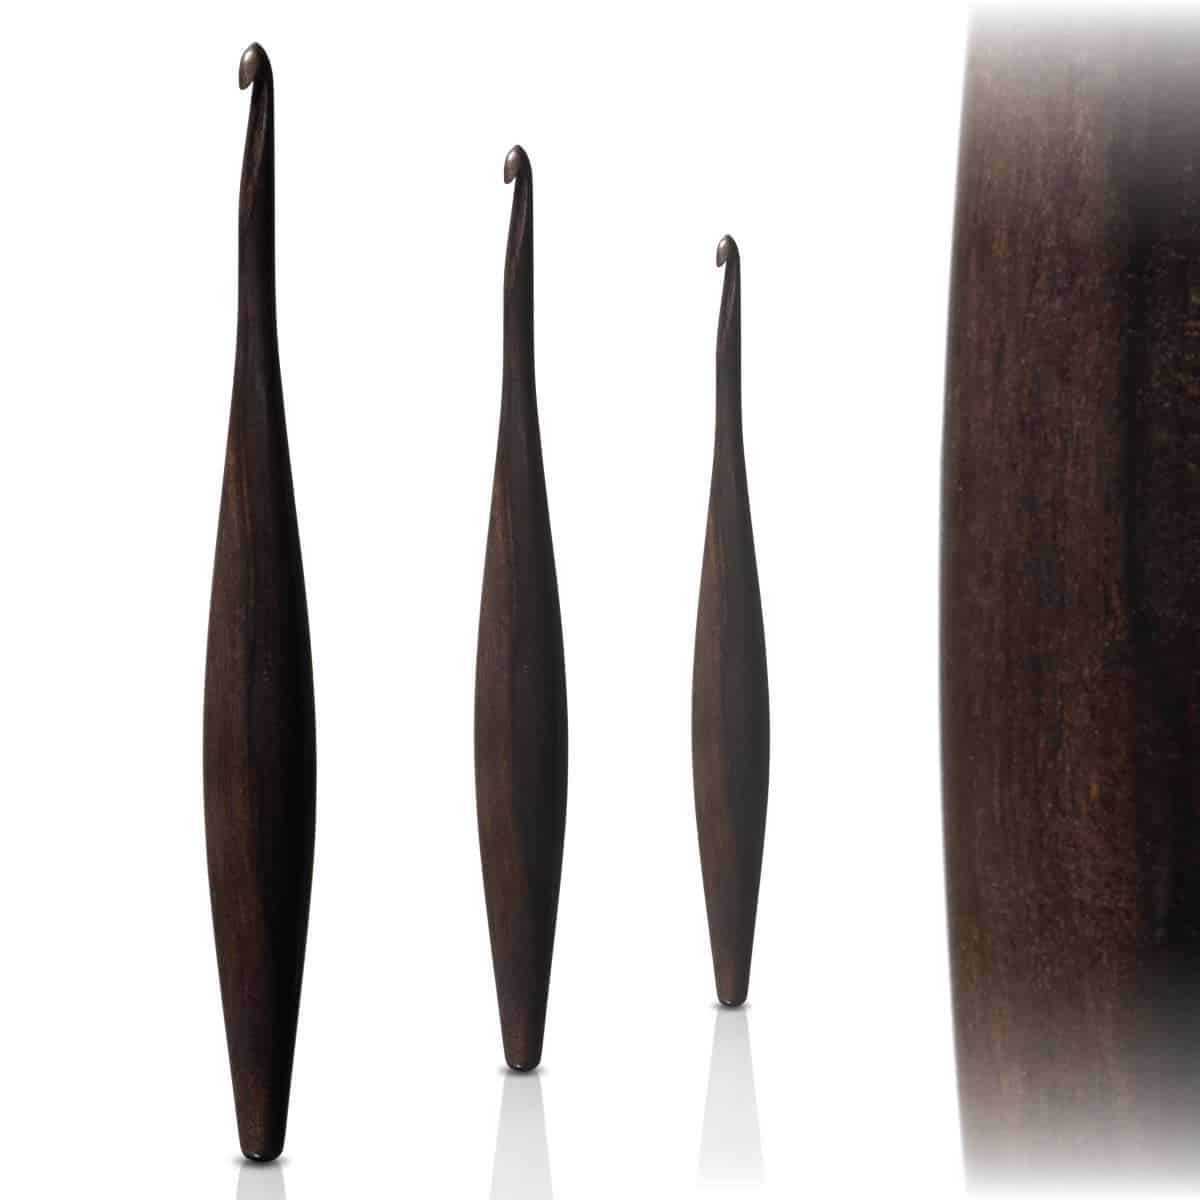
- Furls Streamline* 8 mm crochet hook in Rosewood
- Locking Stitch Markers* are helpful to keep track of the stitches at the beginning and end of the row.
Stitches / Abbreviations
US terms
ch – chain
dc – double crochet
sc – single crochet
Skill Level
Easy
Video Tutorial
Watch the full video tutorial on my YouTube channel.
Scroll down for the lemon peel crochet stitch tutorial with step by step pictures!
Instructions
How to Crochet Lemon Peel Stitch Tutorial
Learn how to crochet the lemon peel stitch, which makes this easy texture stitch.
Materials
- Bernat Maker Dec Yarn* a #5 bulky weight yarn (72% cotton 28% nylon; 250g / 8.8 oz 317 yards / 290 m) color: Woodberry.
Tools
- Furls Streamline* 8 mm hook size in Rosewood
- Locking Stitch Markers
Instructions
Option 1: The Easiest
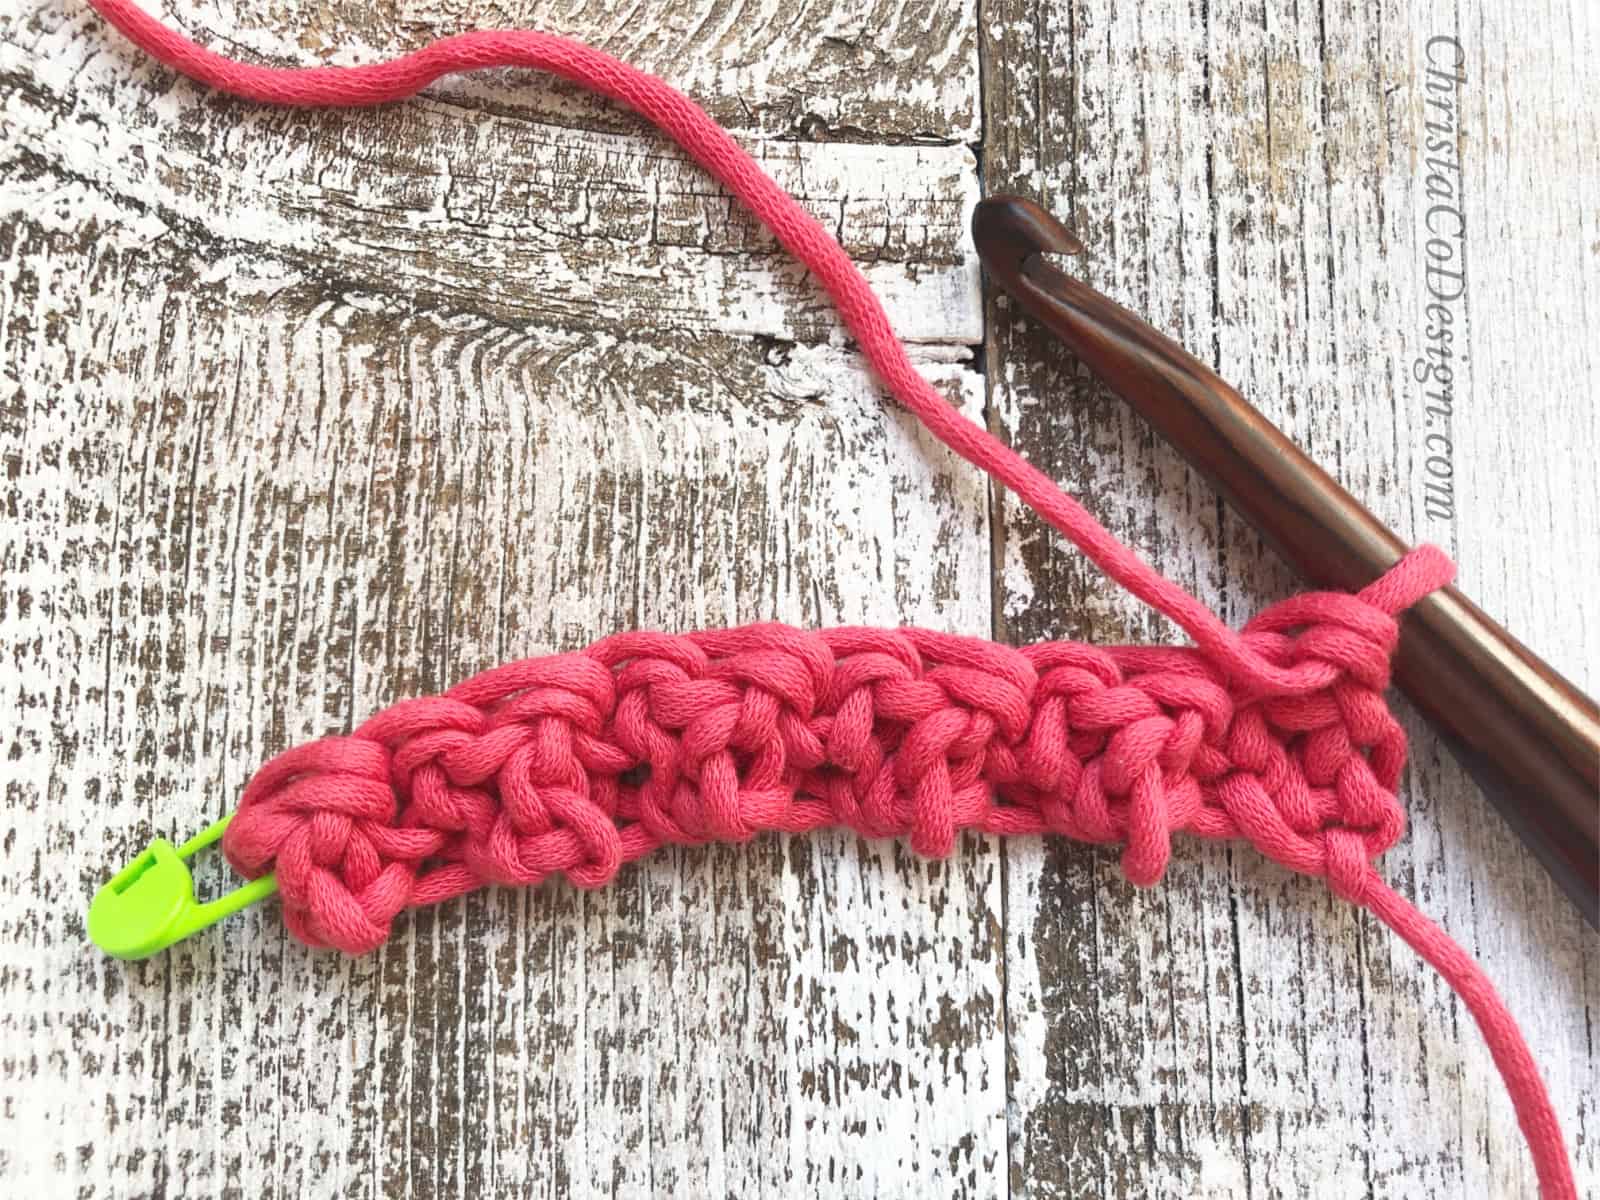
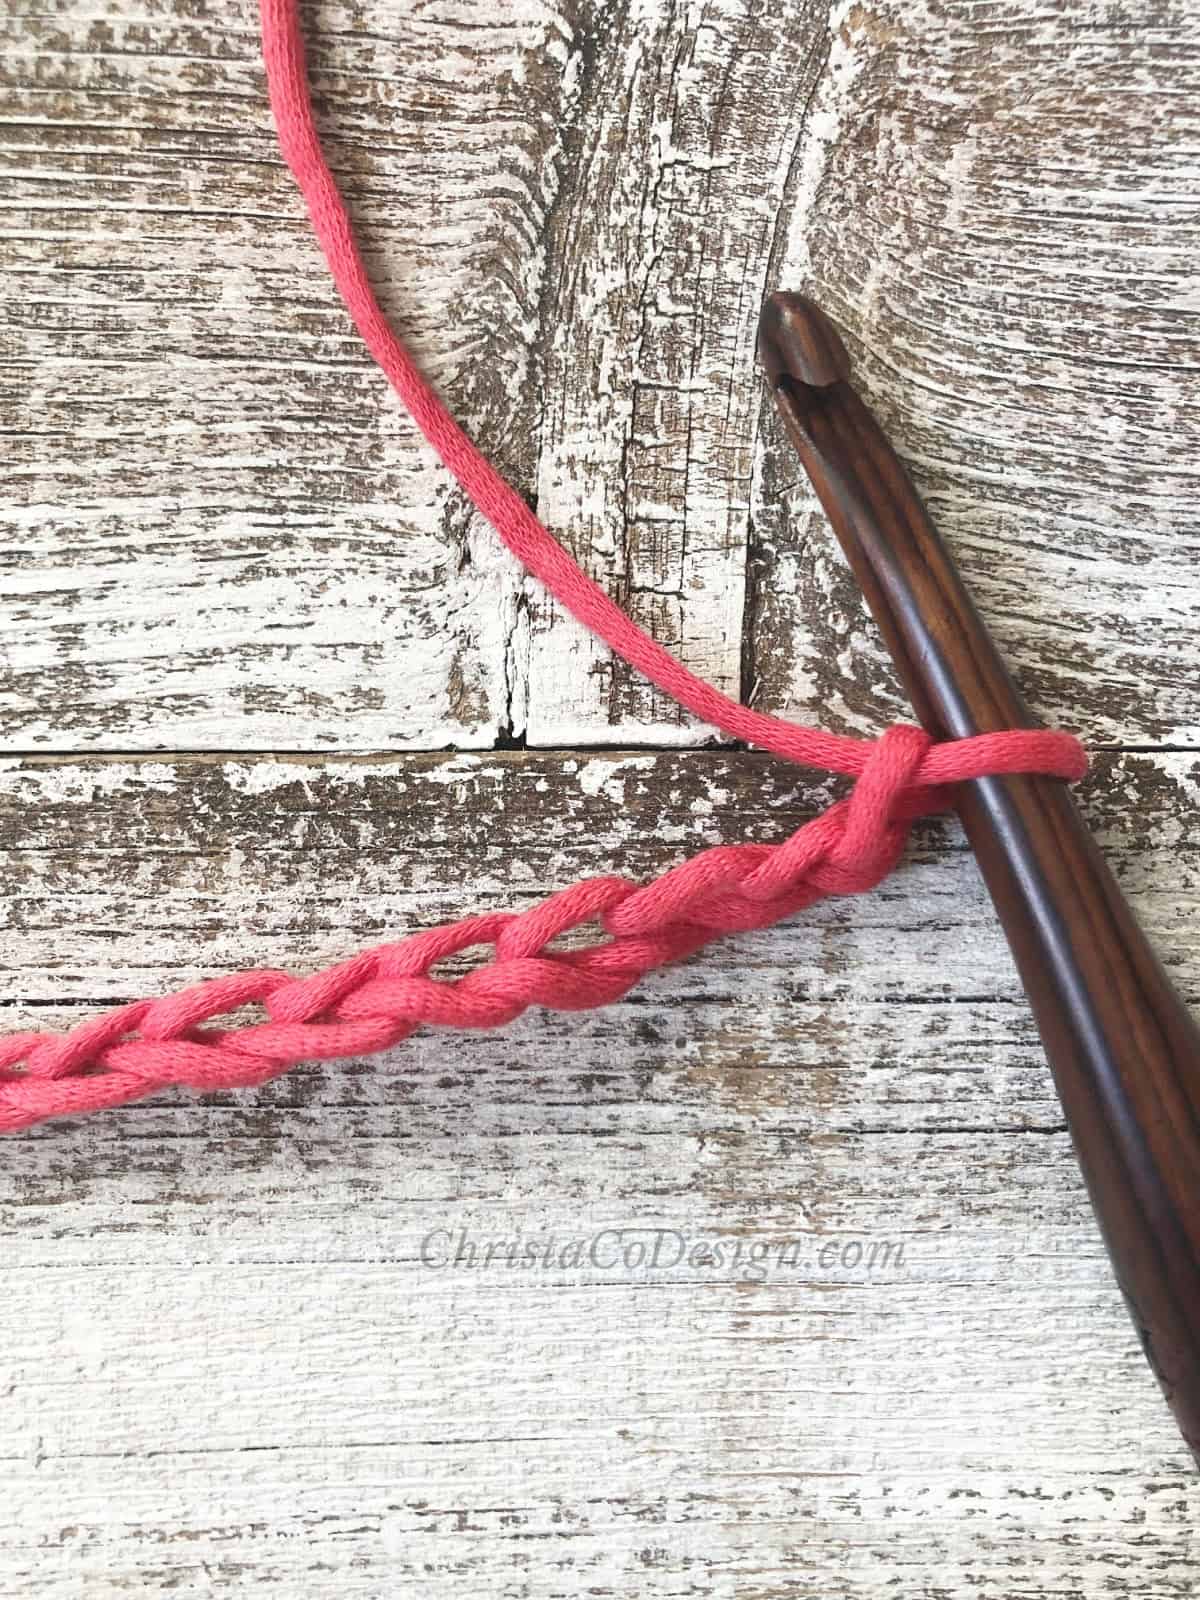 For this method we need an even number of stitches. So we will begin with an odd number of chains for our foundation row. Here I chain 13.
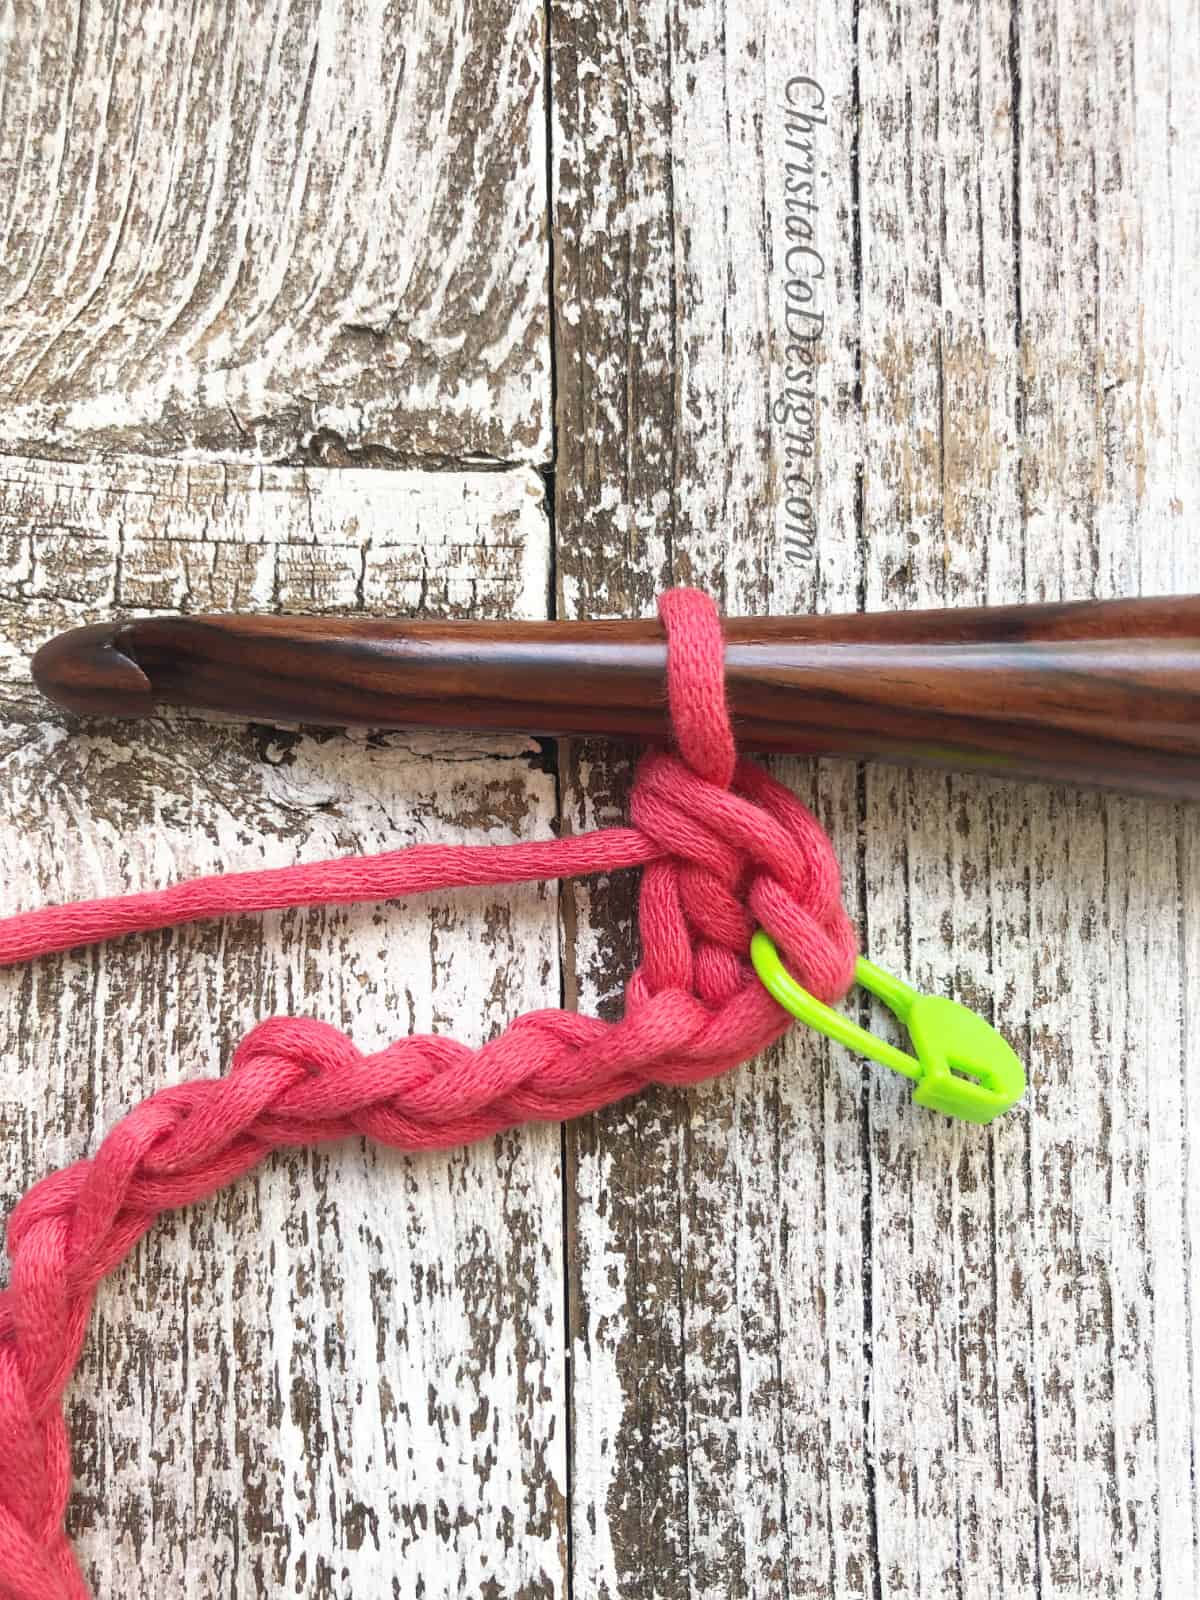
 Skip the first chain and work into the 2nd ch from your hook, marked by the lime green stitch marker here.
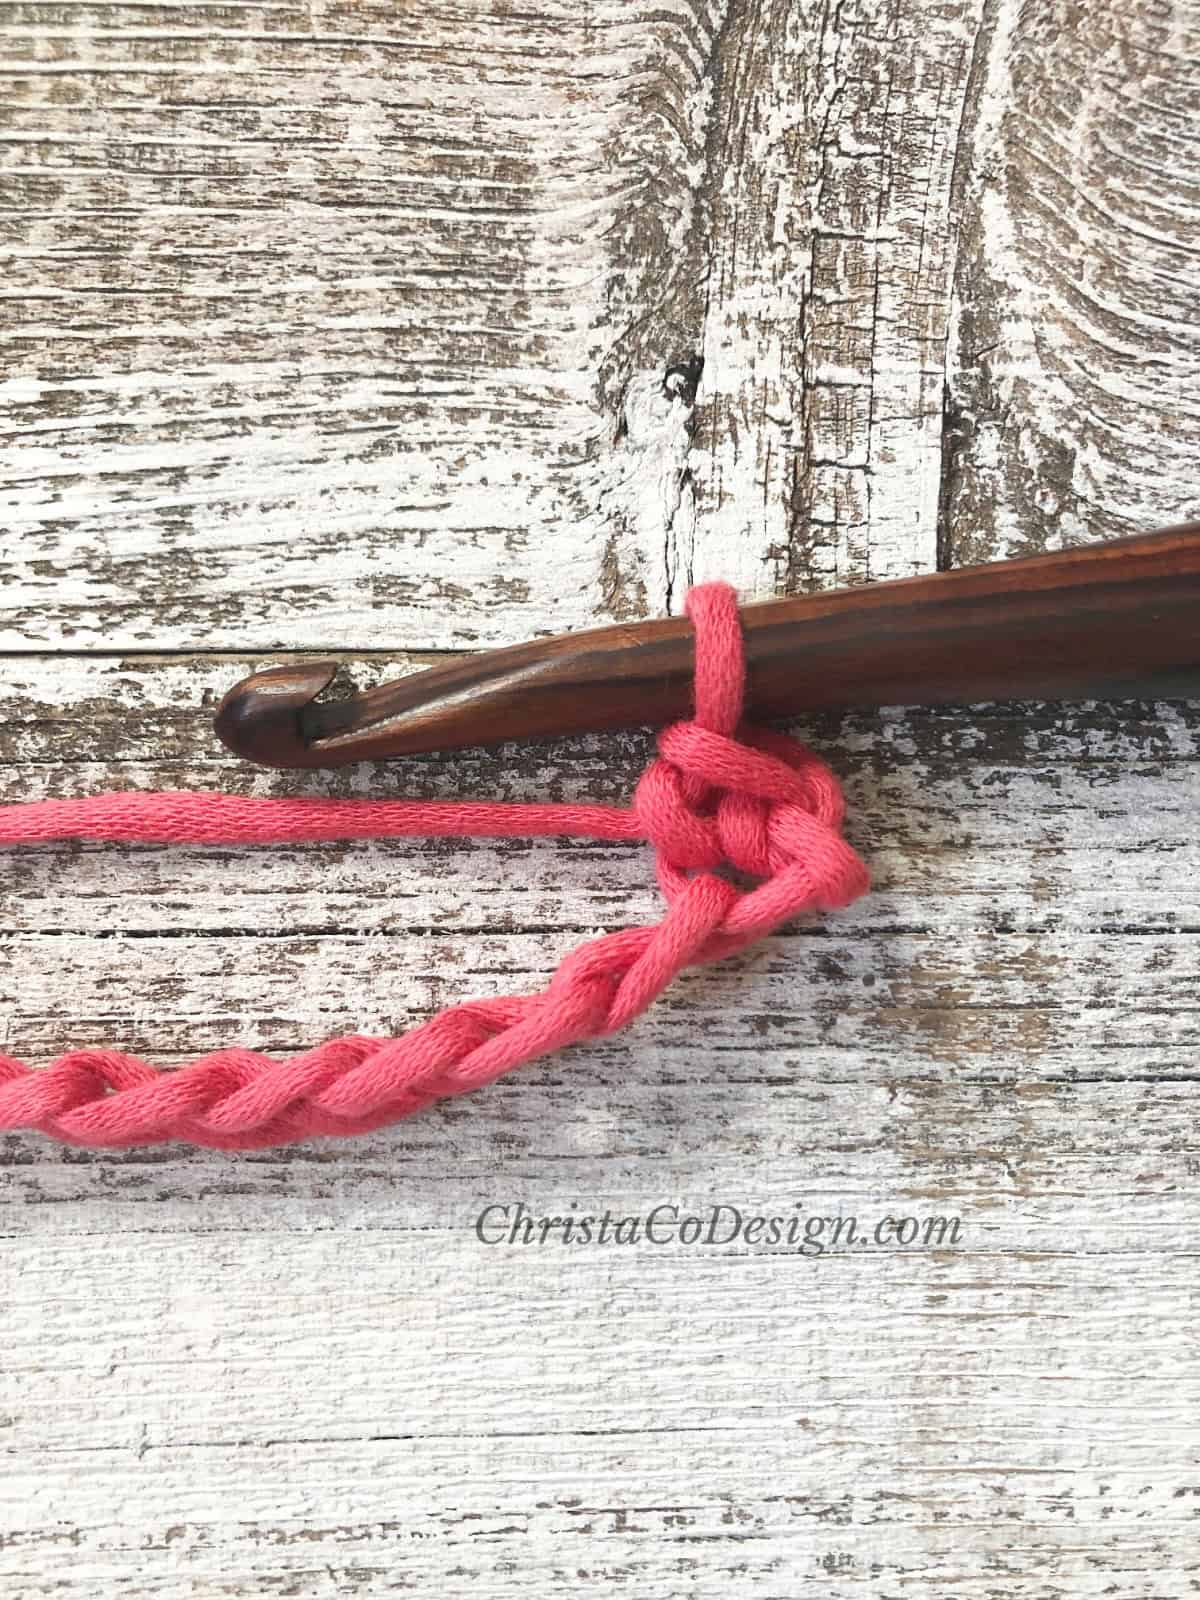 Single crochet into the 2nd chain.
 Double crochet into the next ch.
 Single crochet into the next chain.
 Double crochet into the next chain.
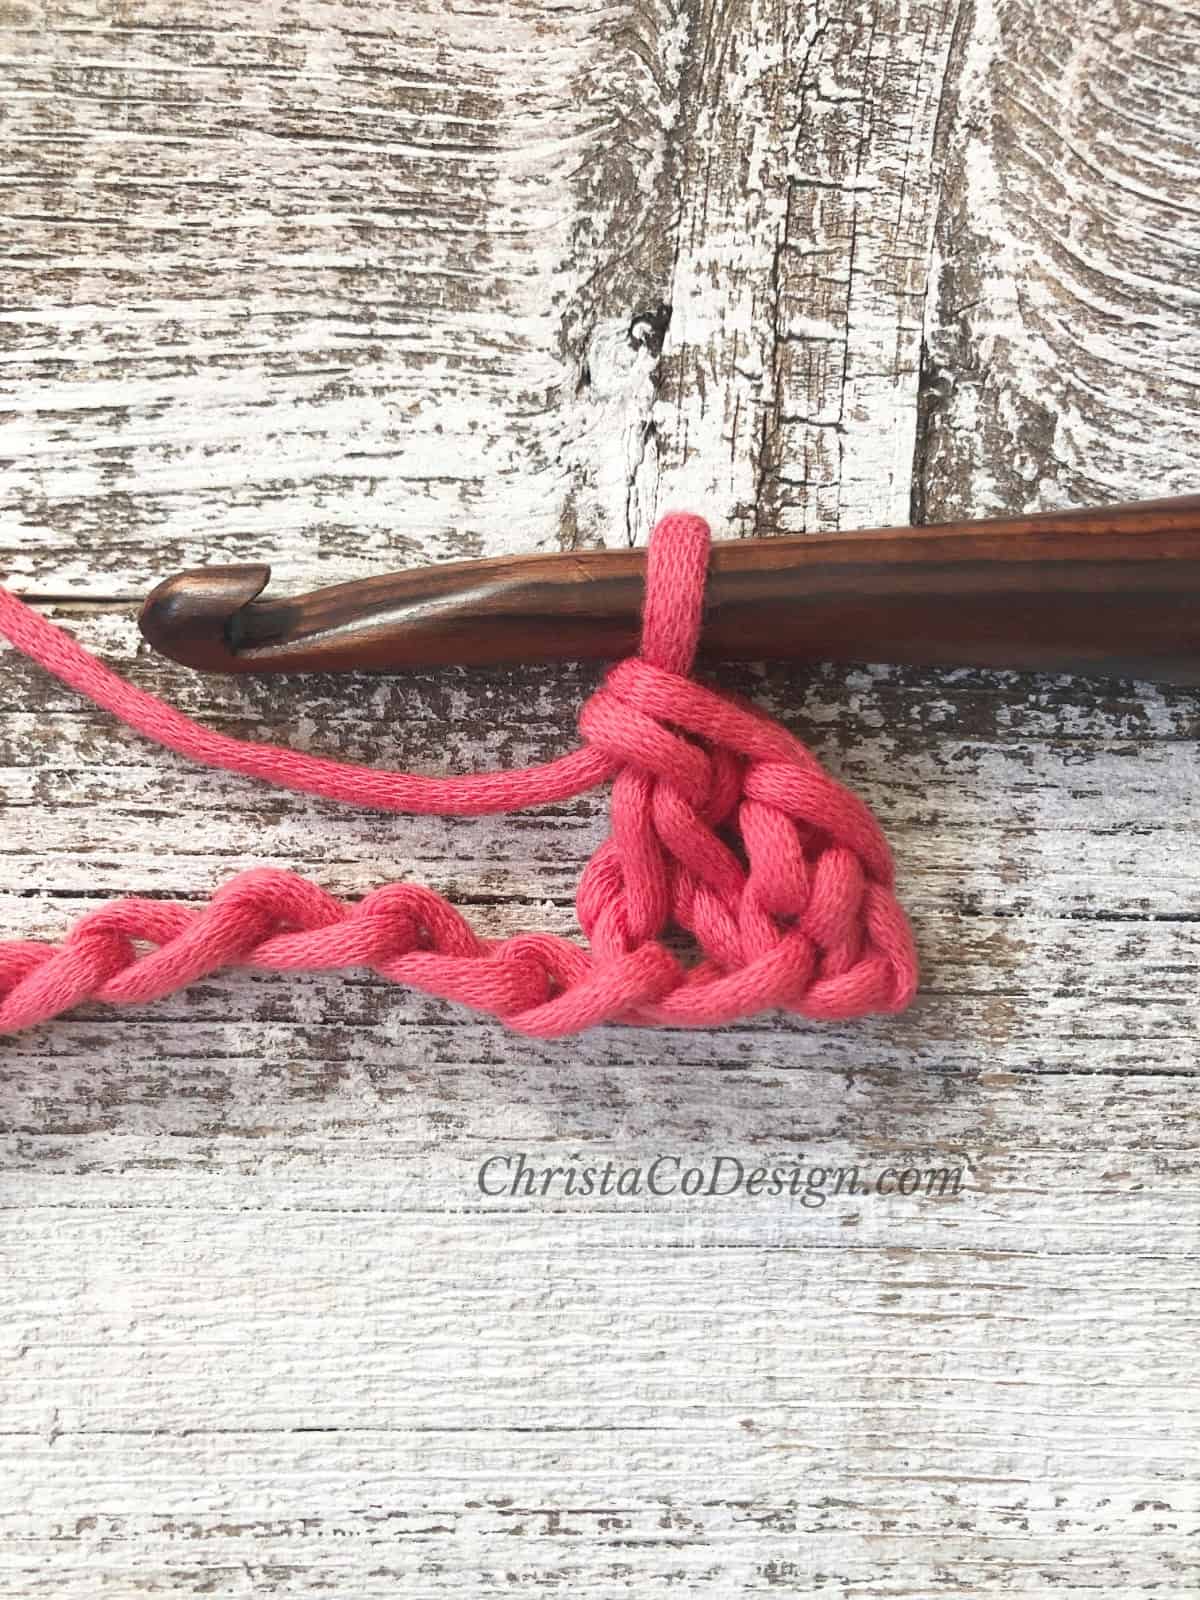
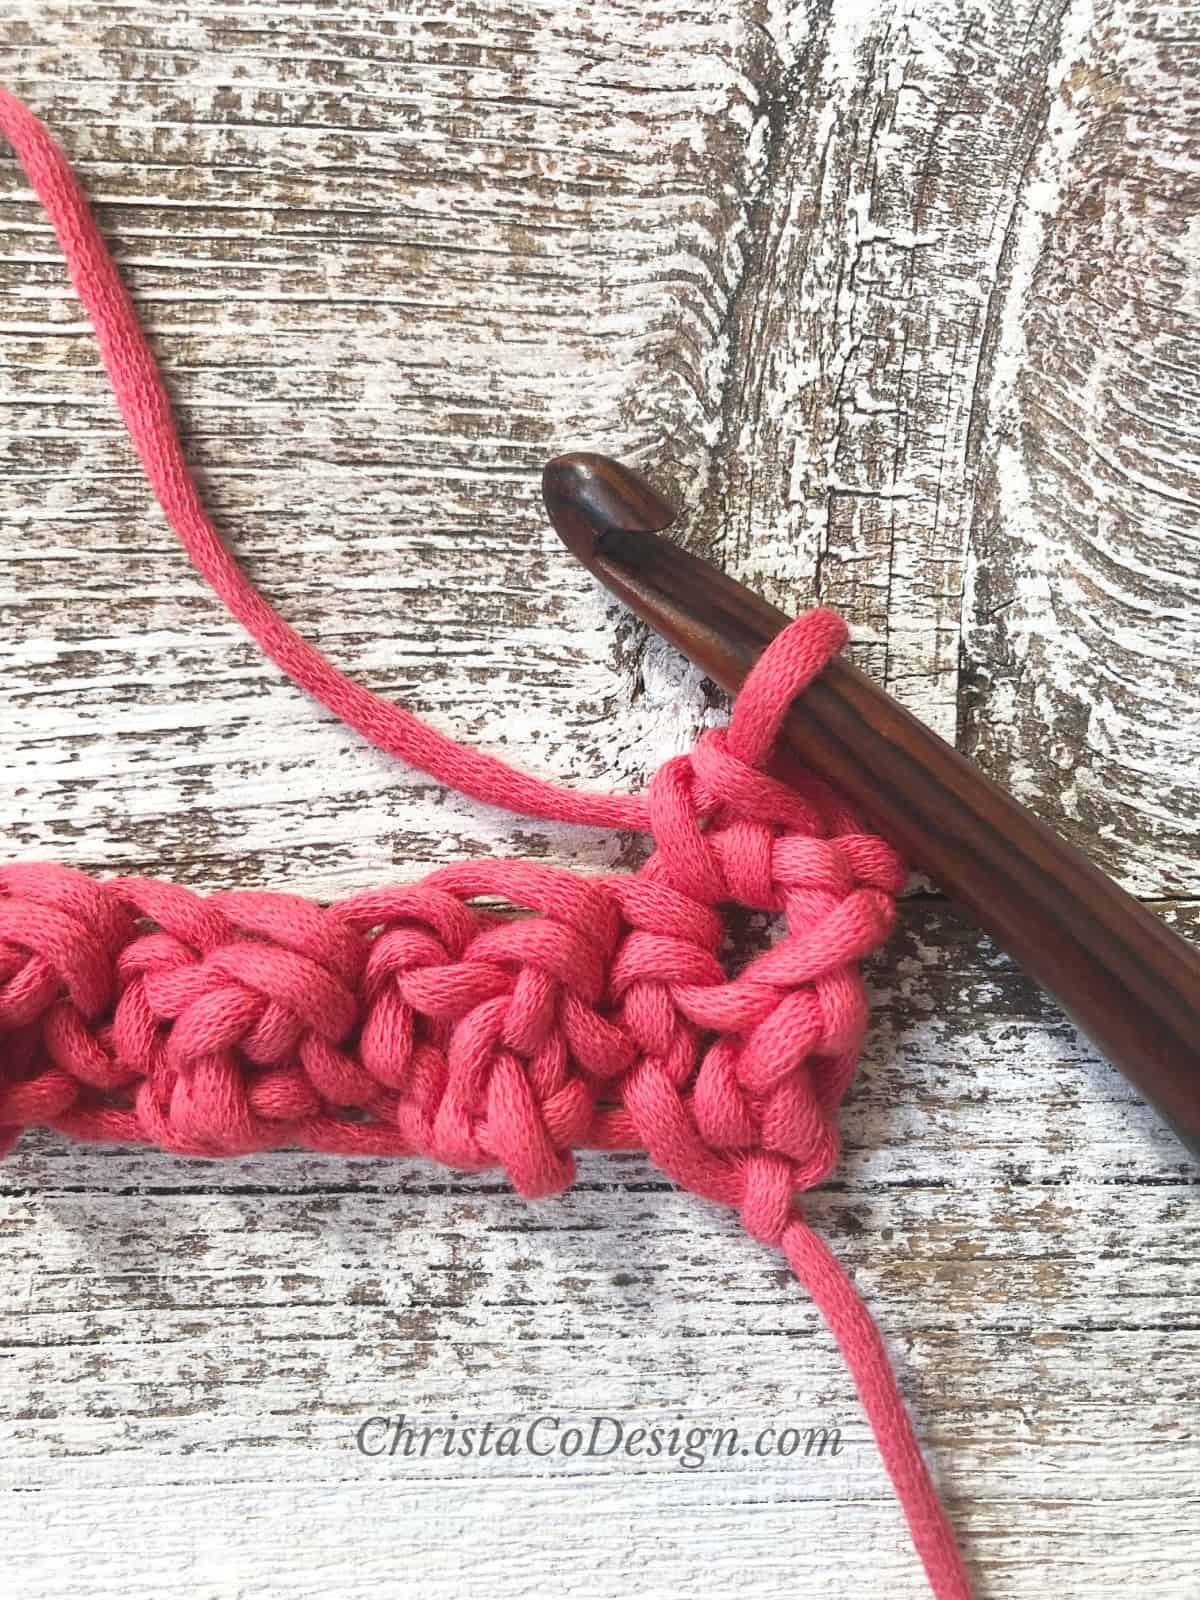
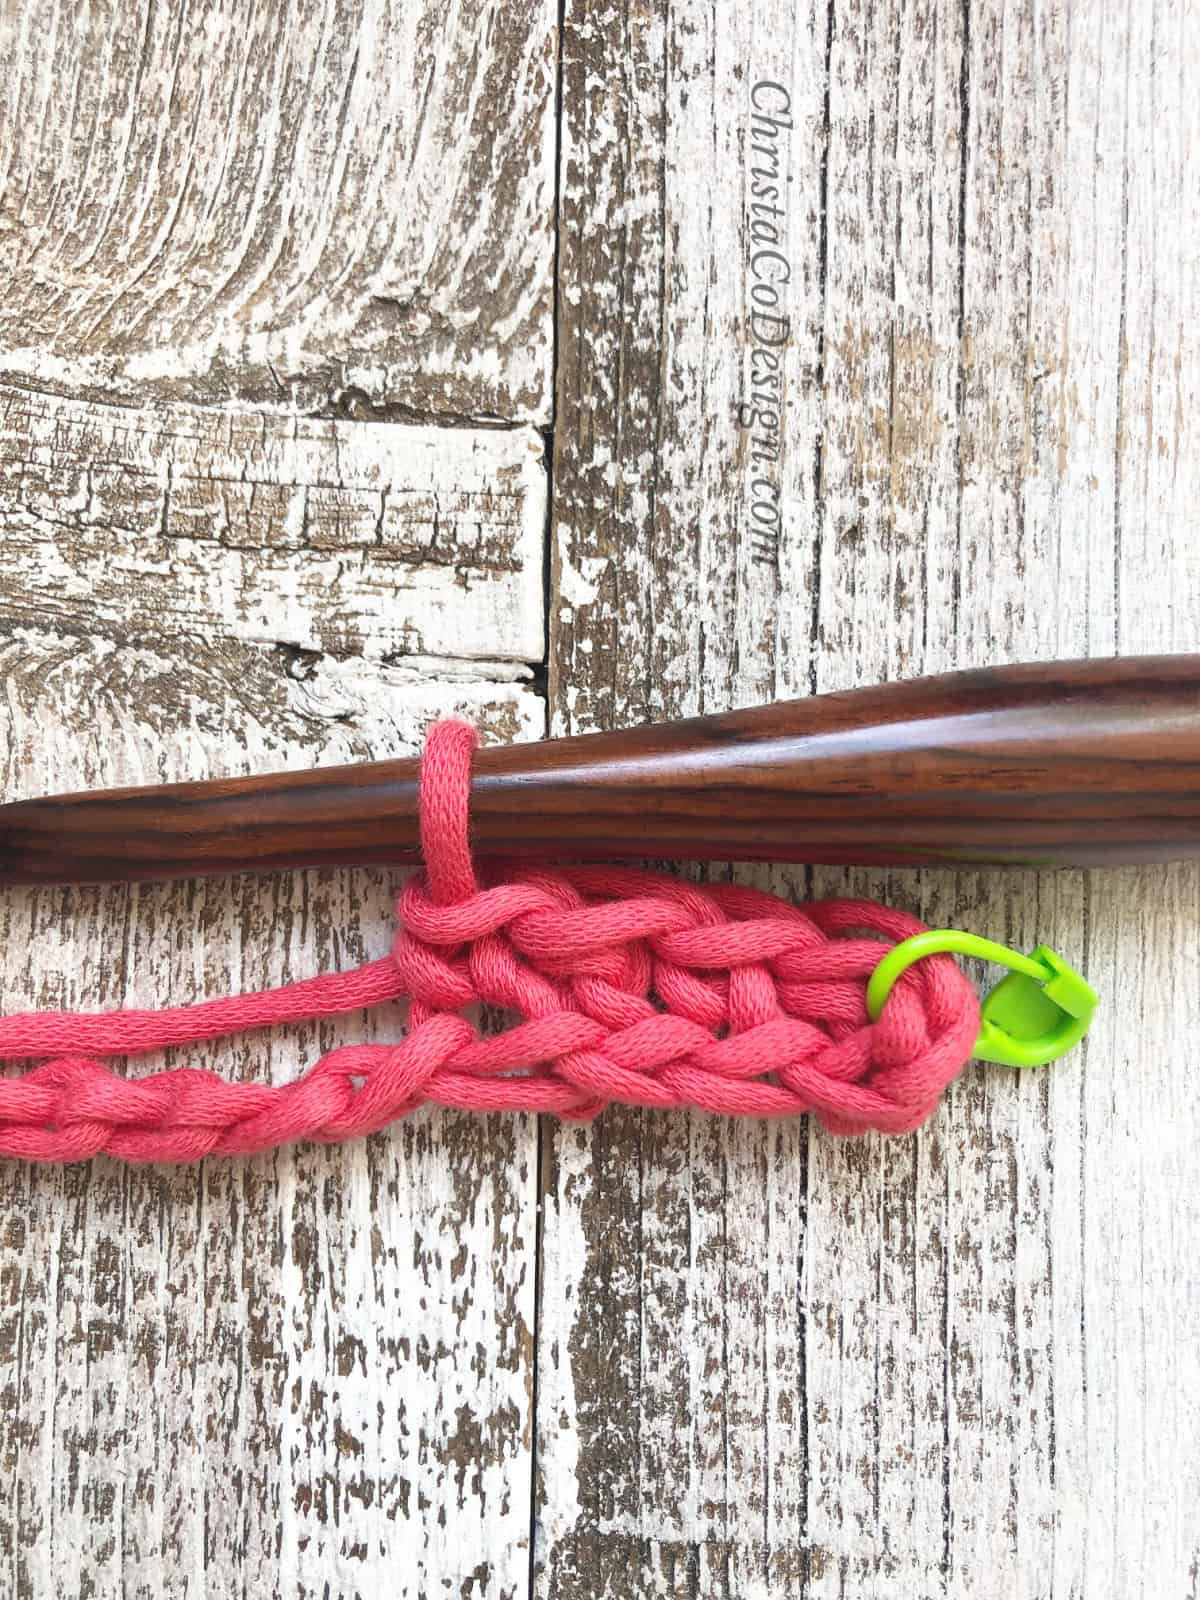
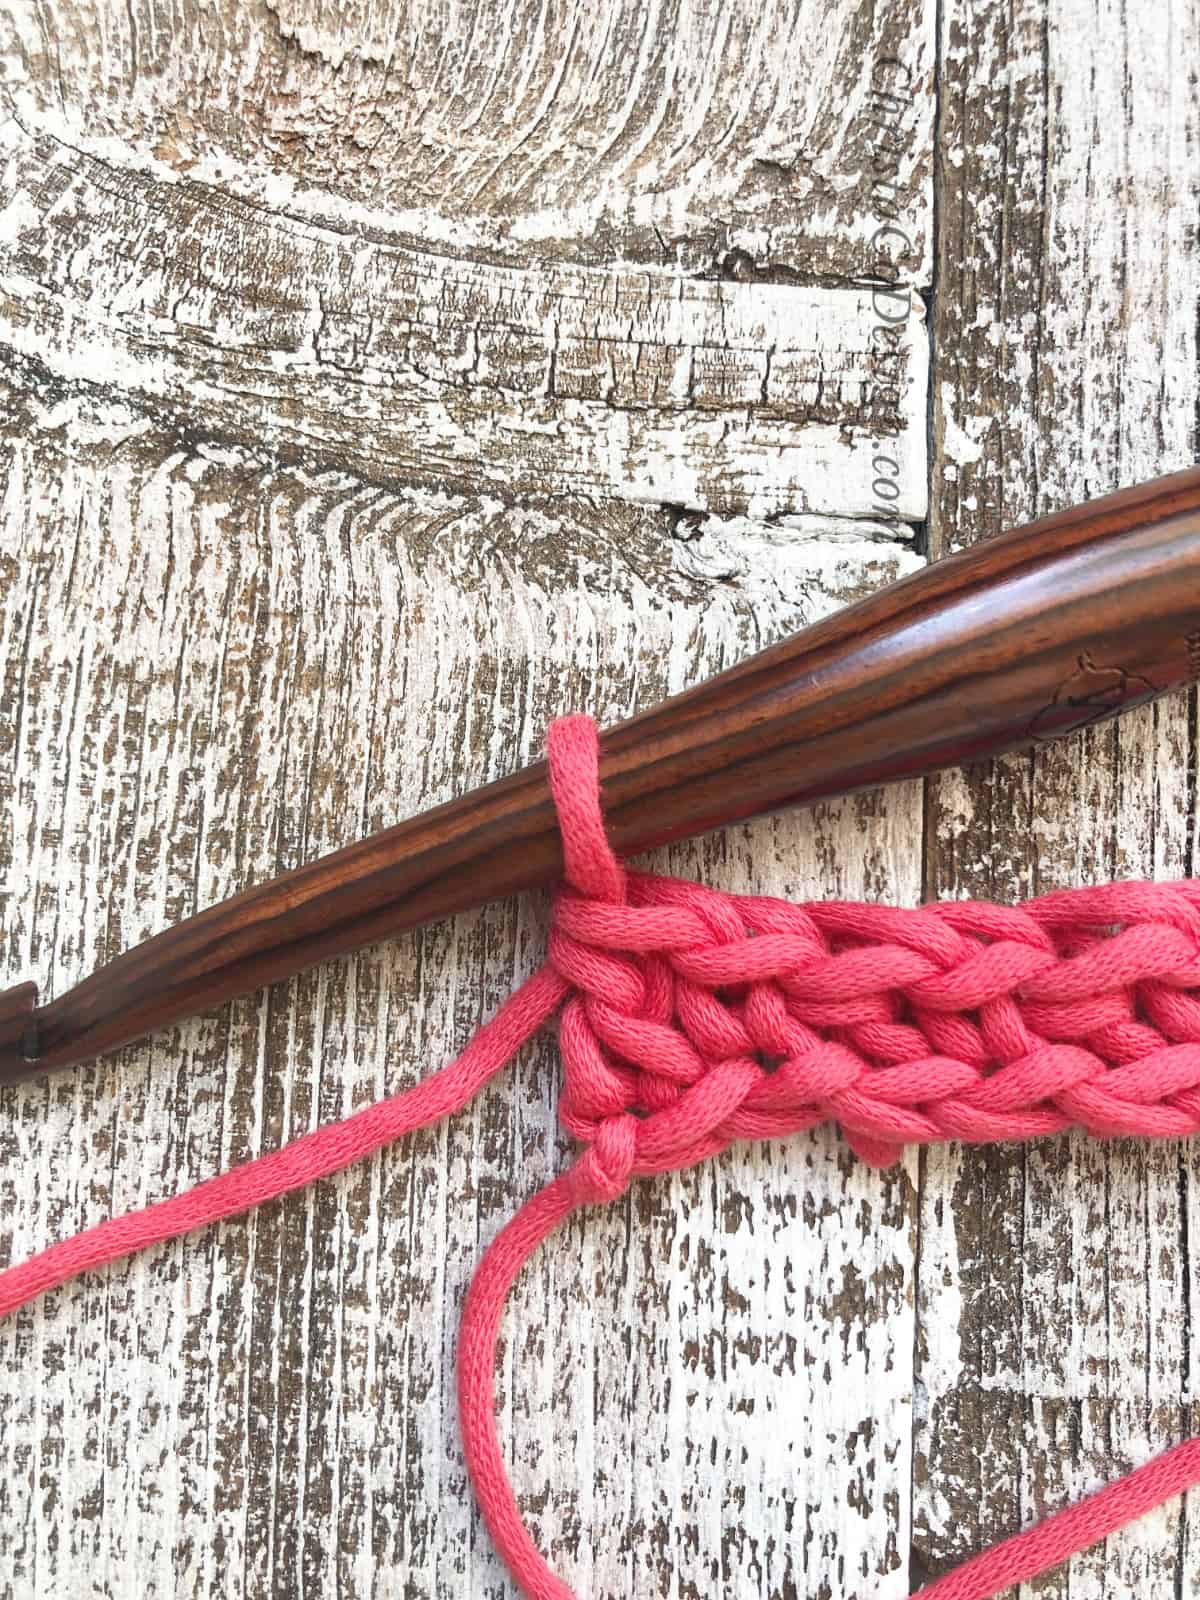
 Continue to repeat *{sc in next ch, dc in next ch} across the row. End on a double crochet in the last chain.
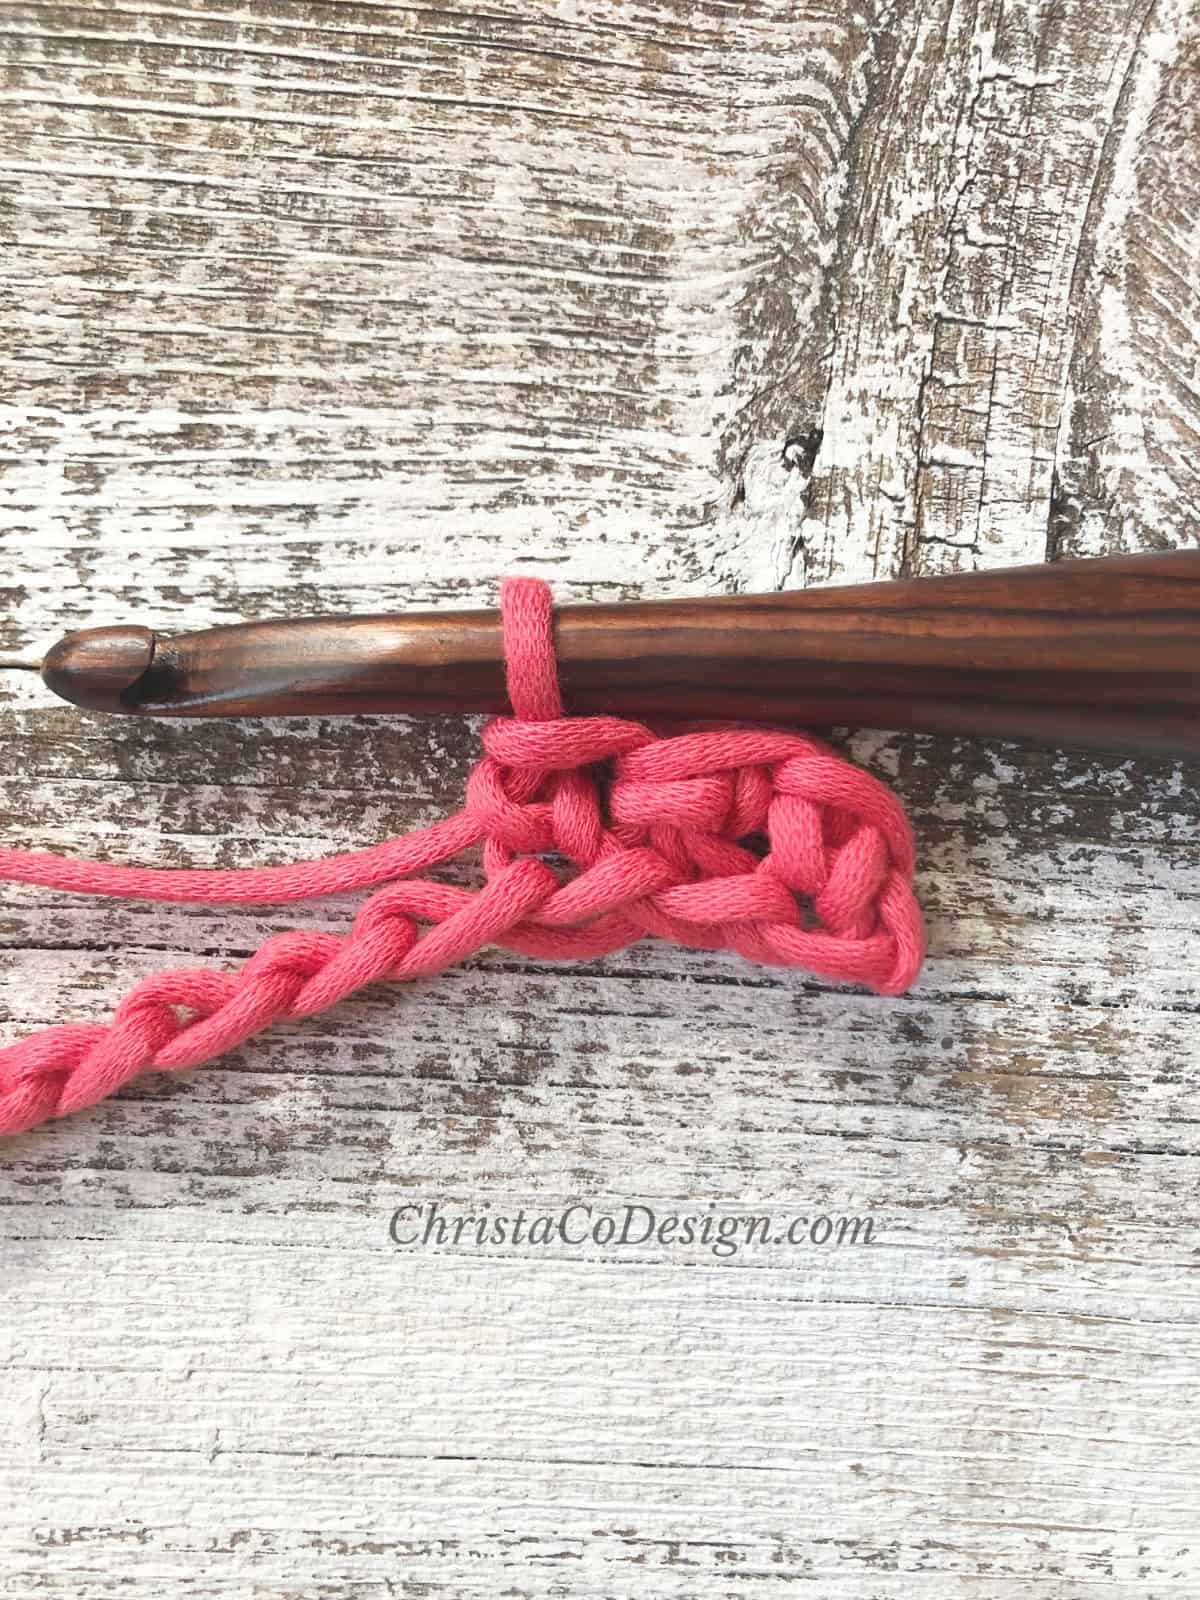
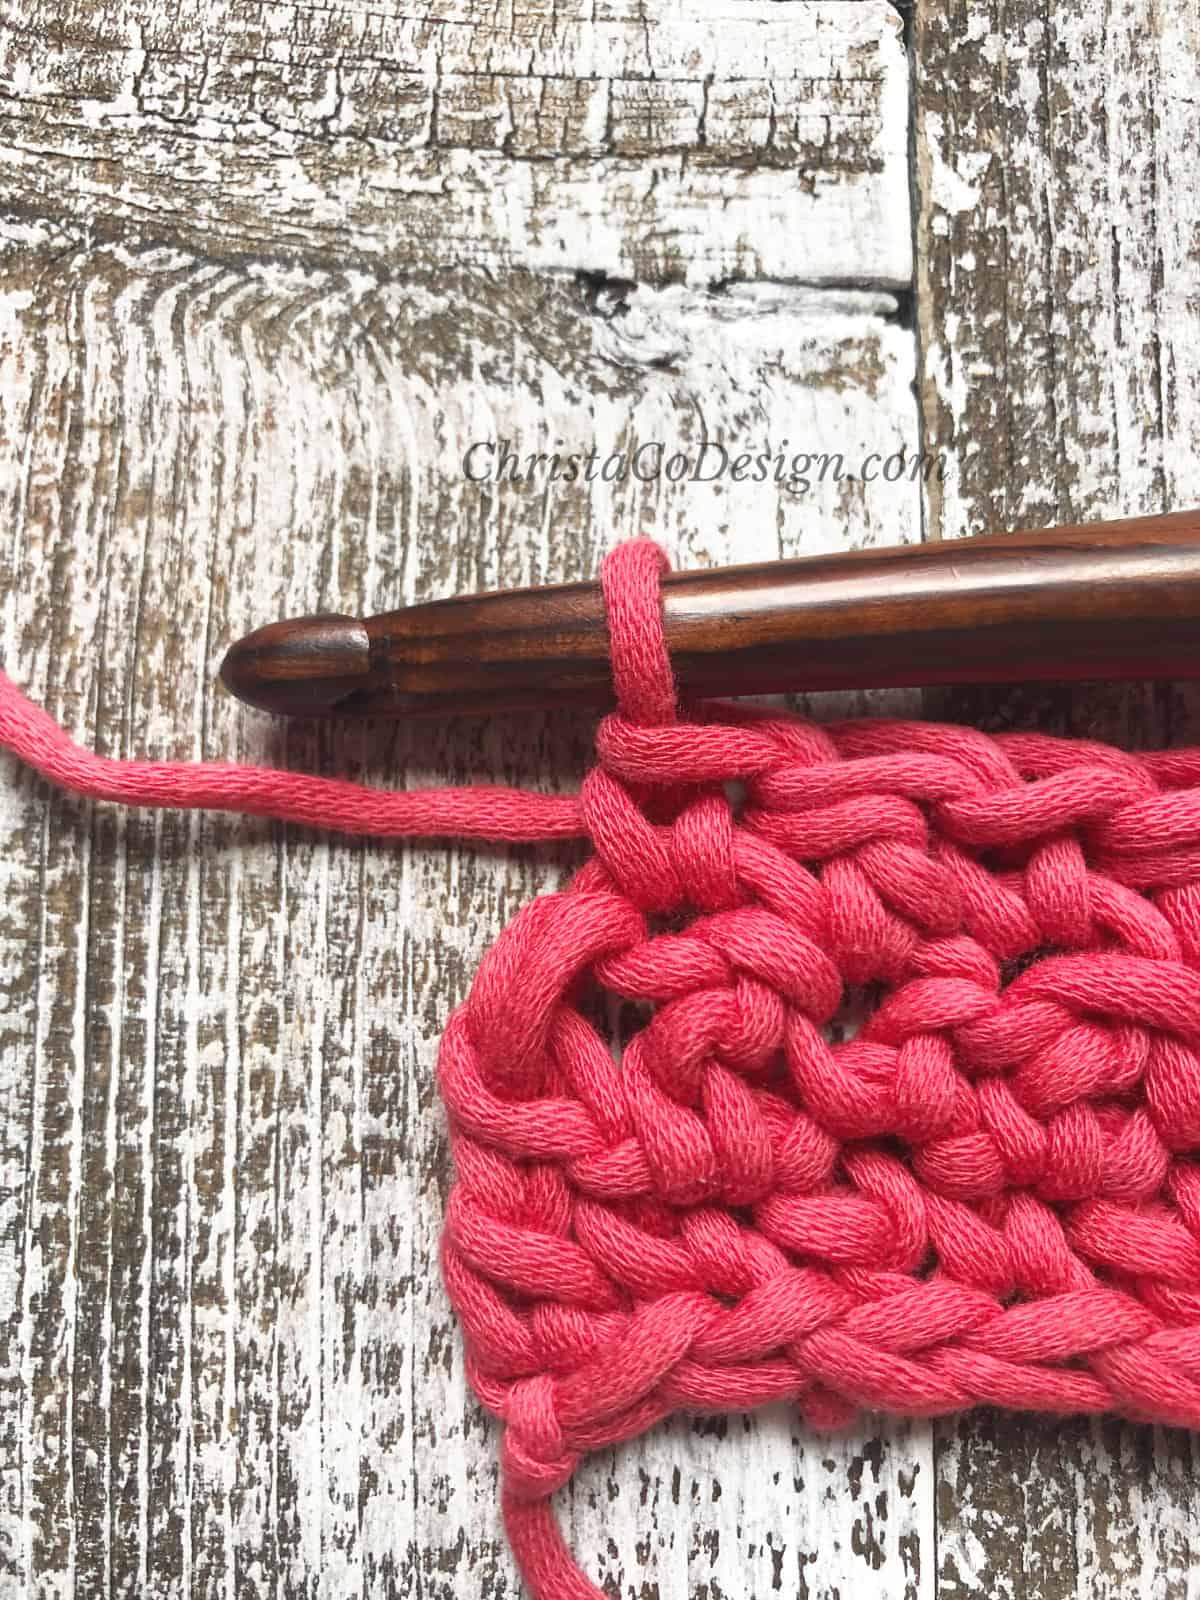
 Chain 1 to start the next row.
 Single crochet in the same stitch.
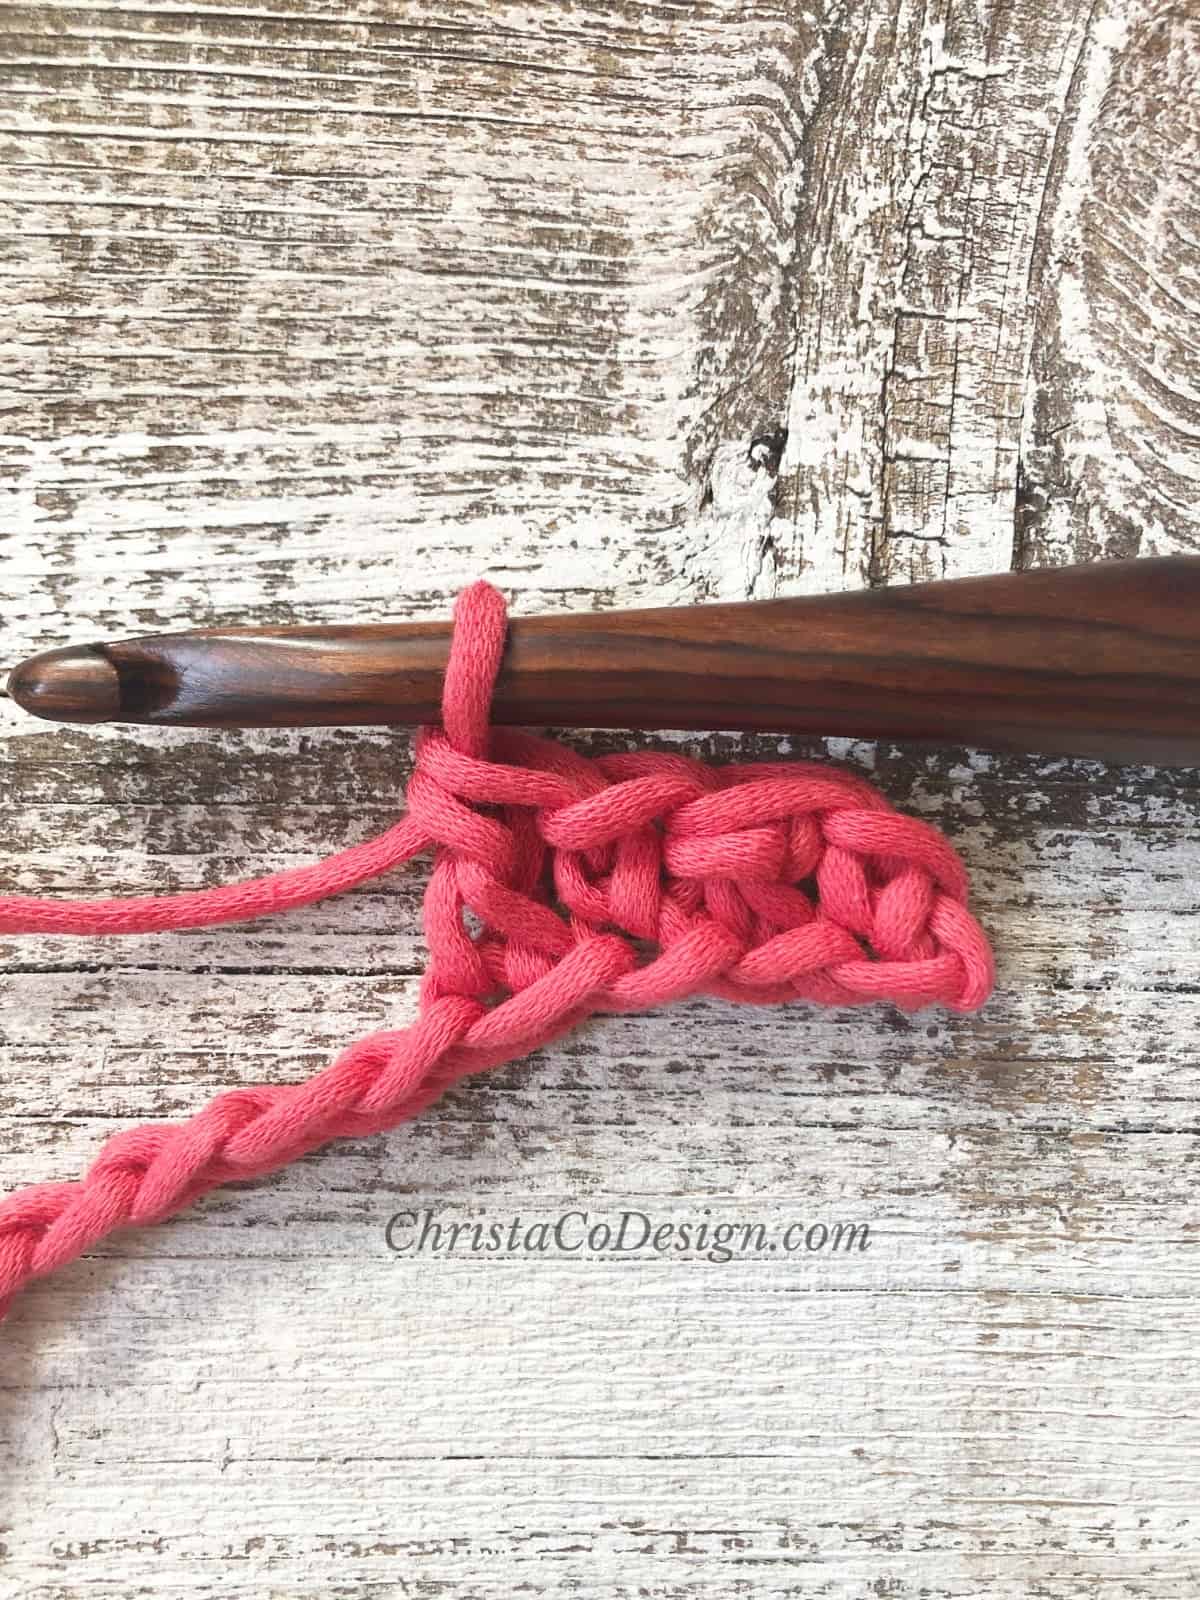
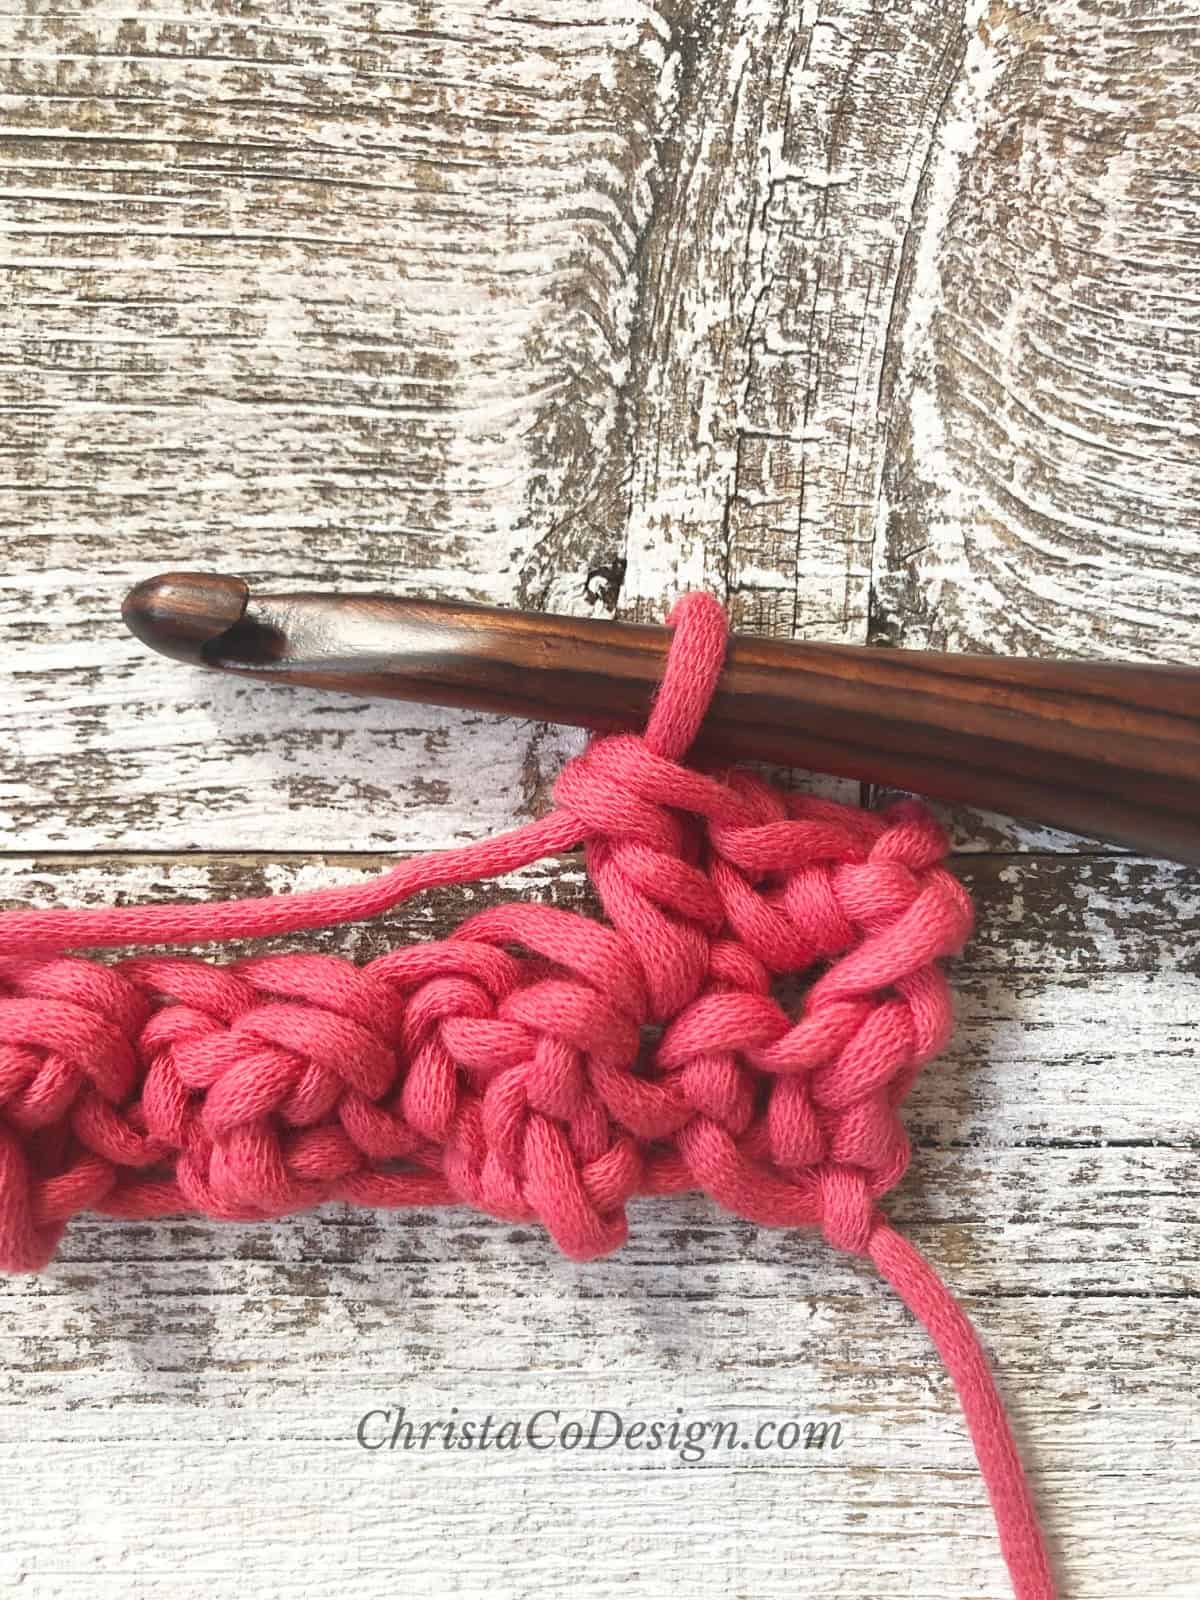 Double crochet in the next stitch.
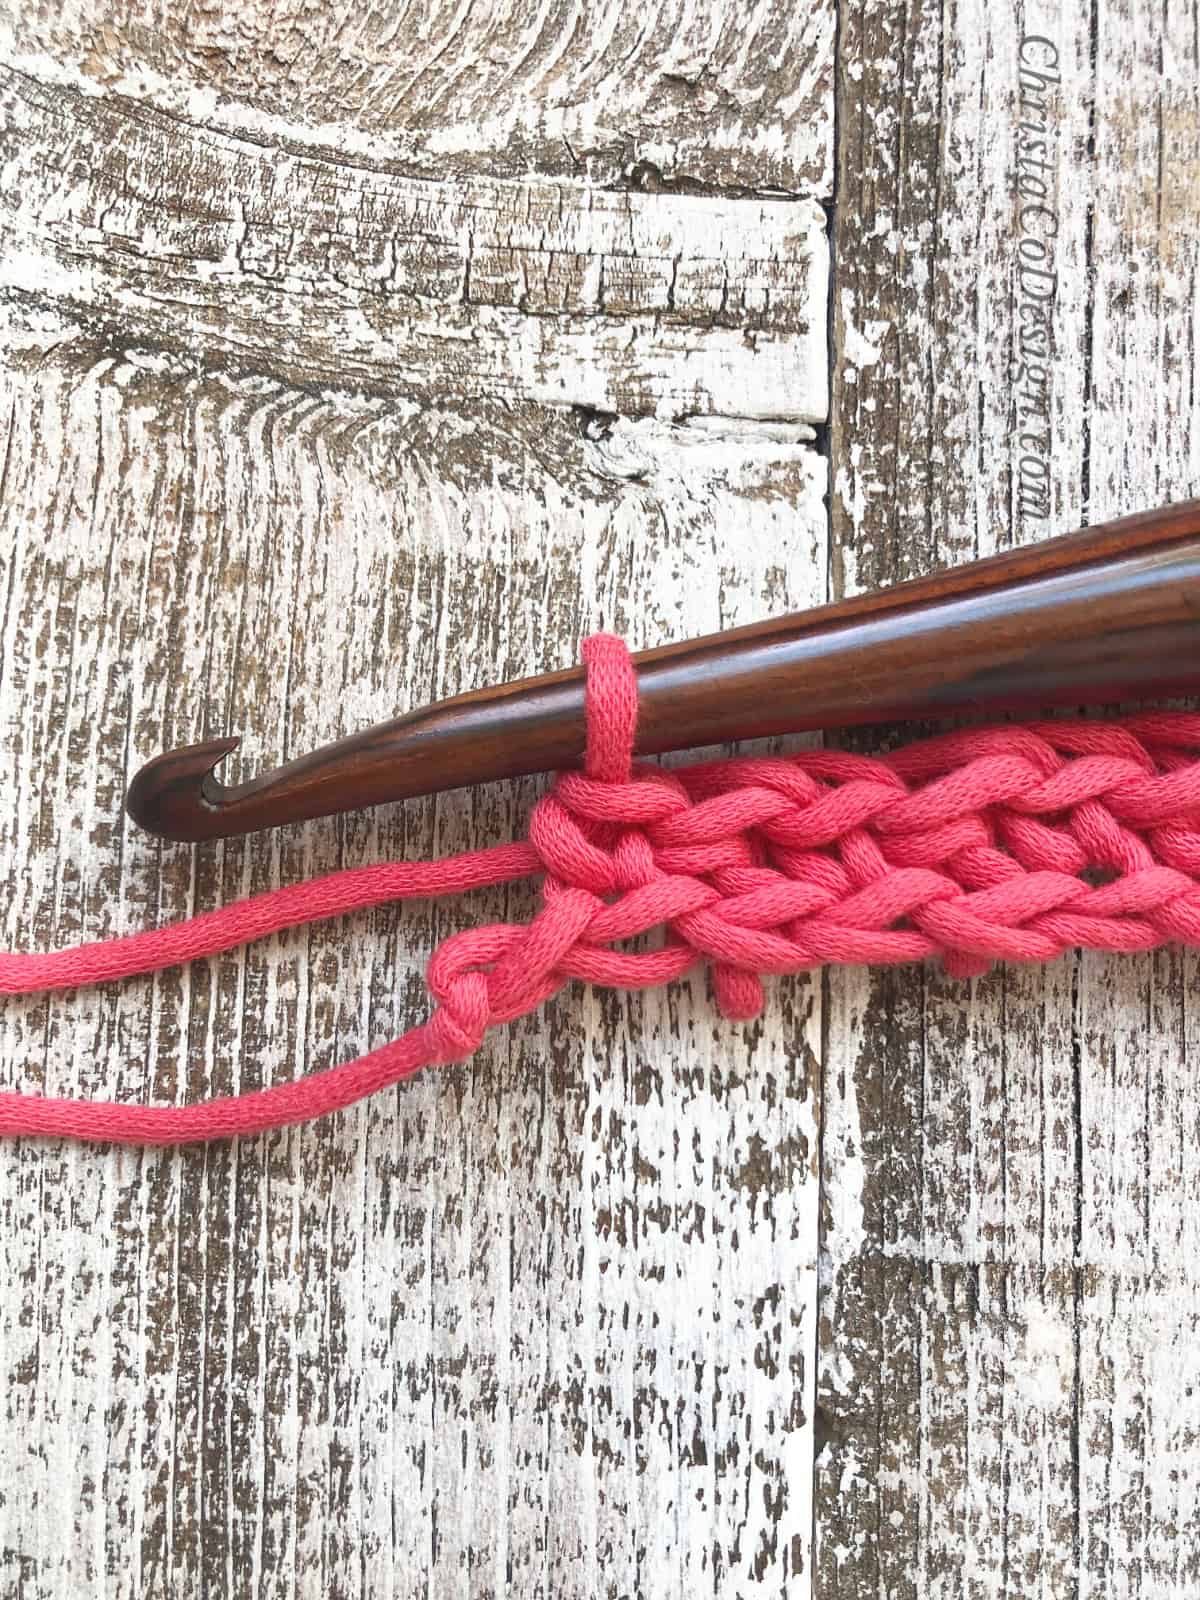
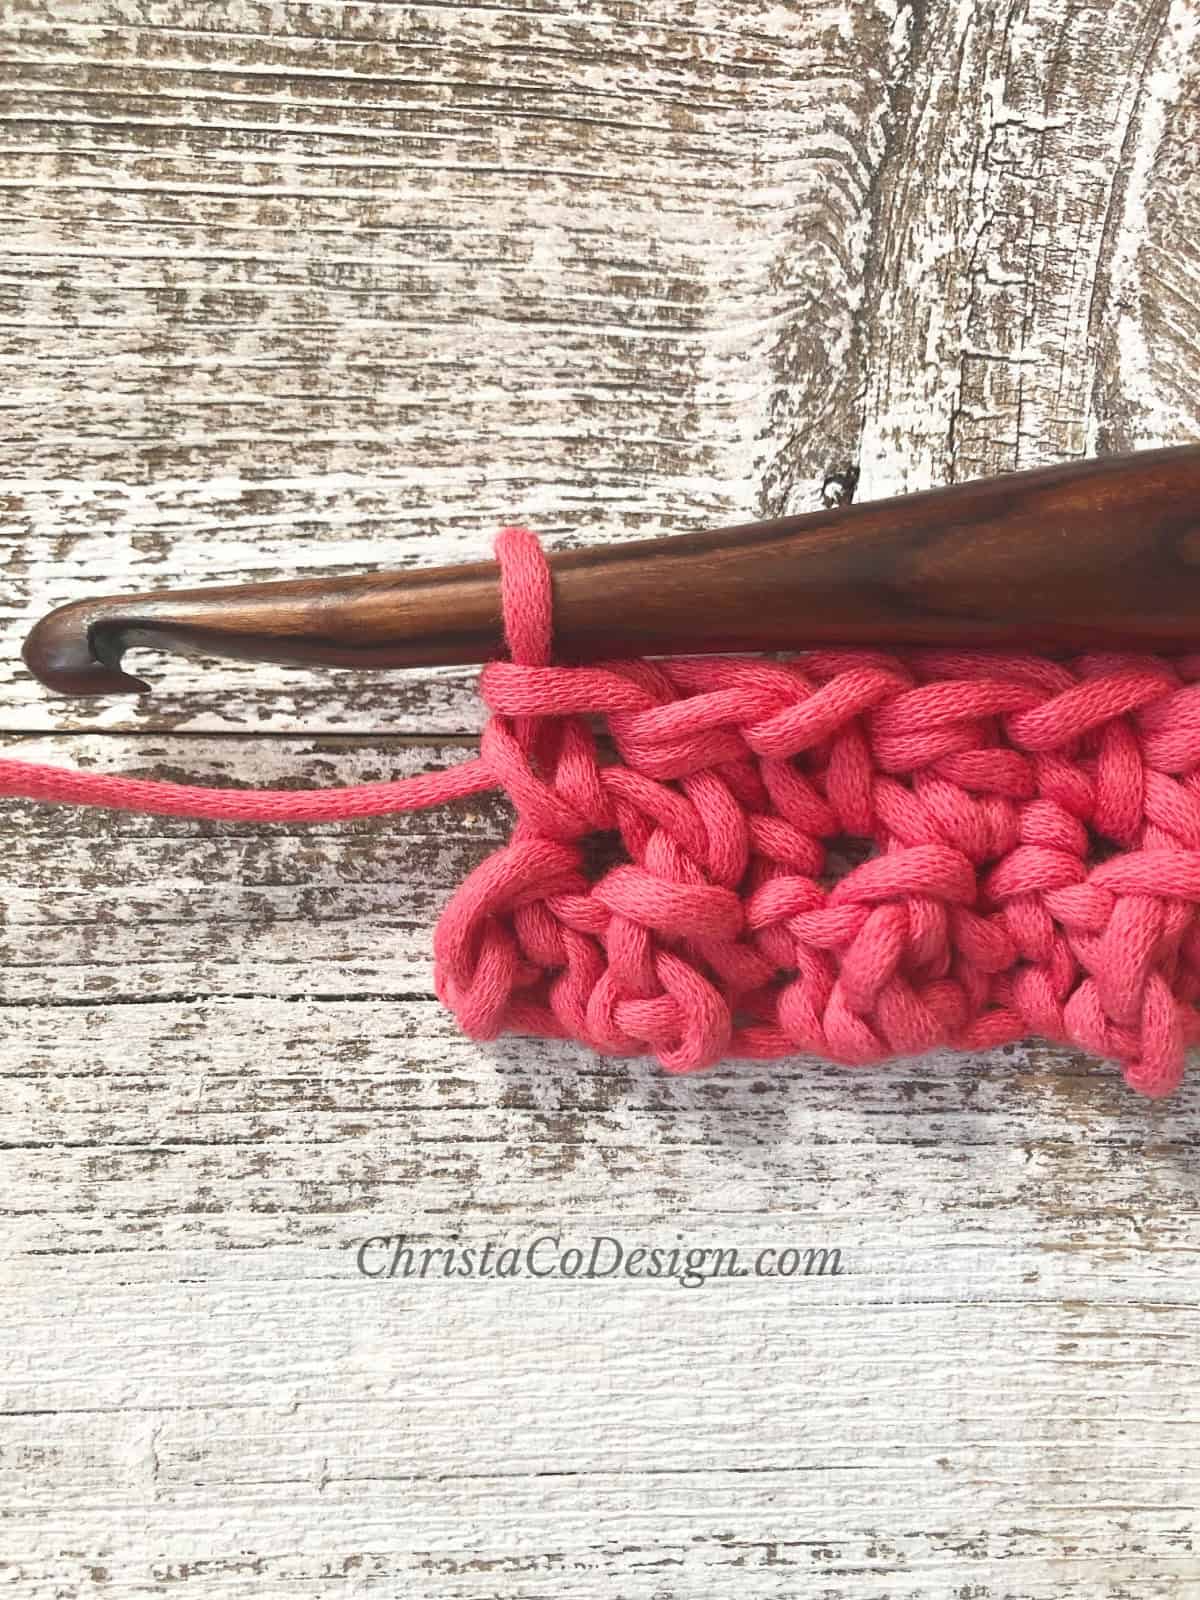 Keep repeating *{sc in the next st, dc in the next st} across the row.
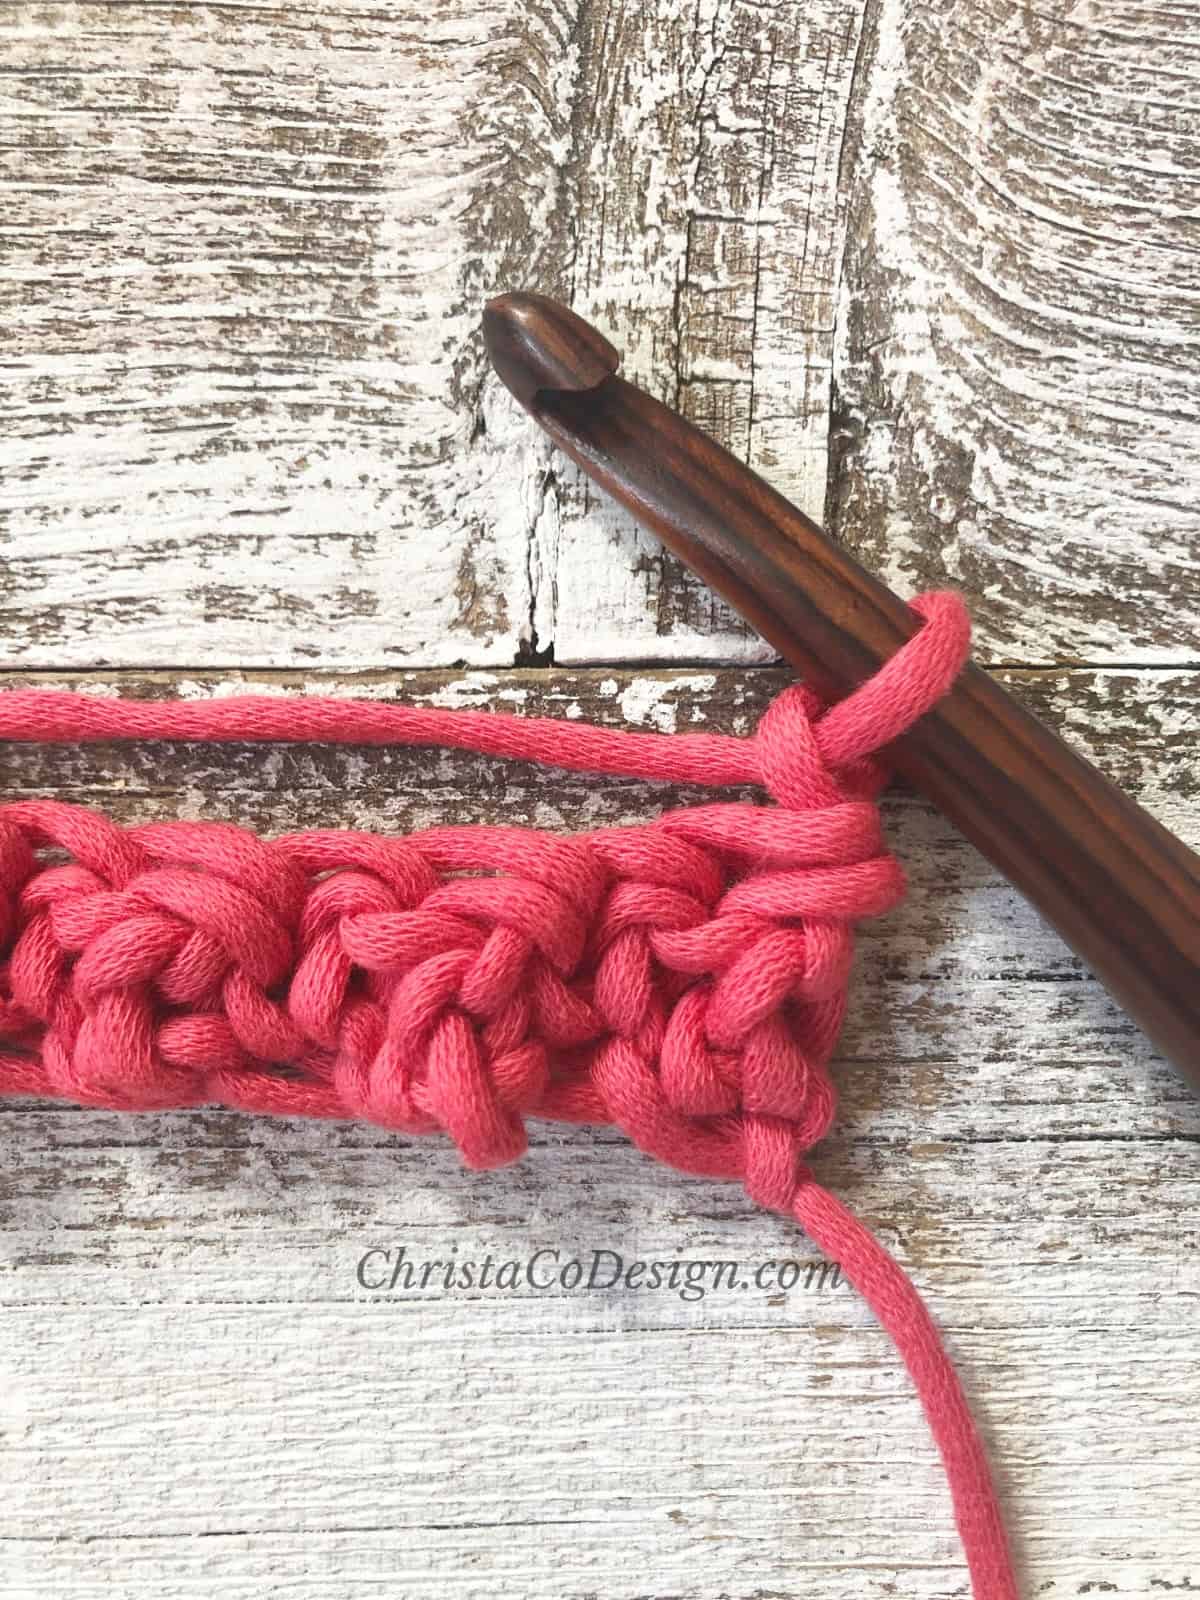
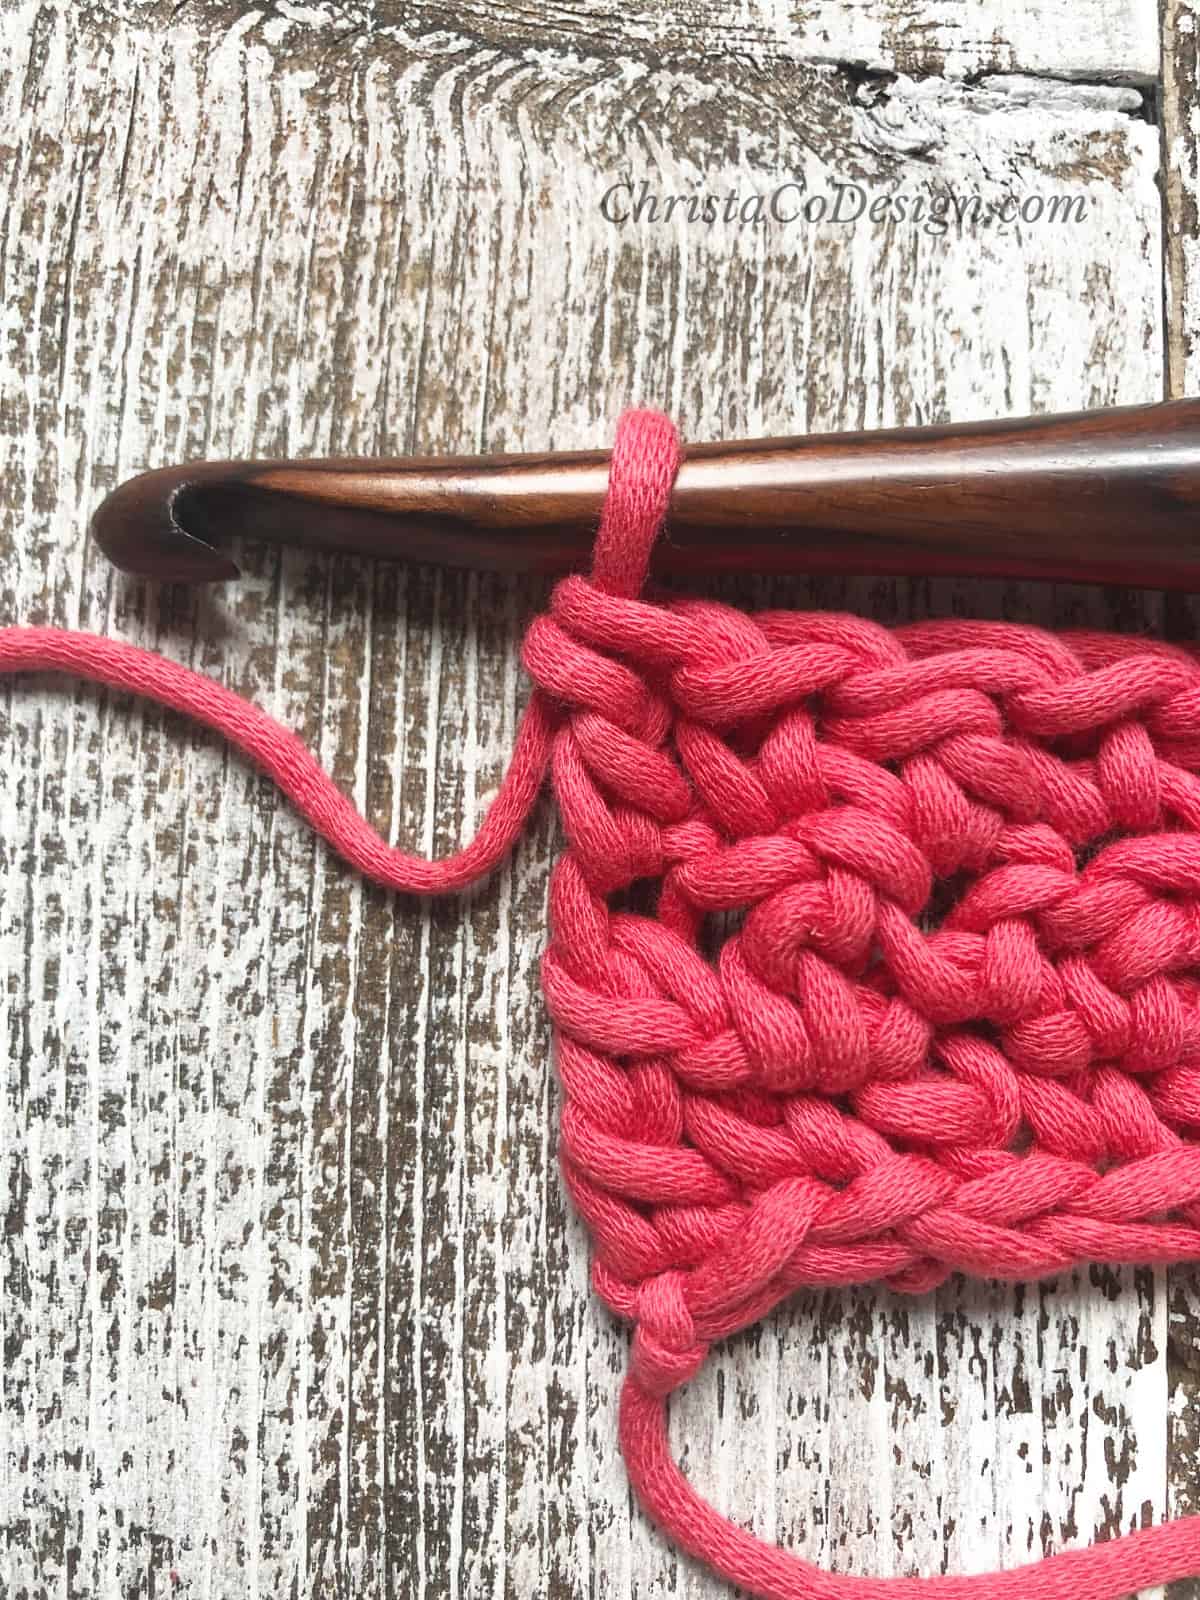
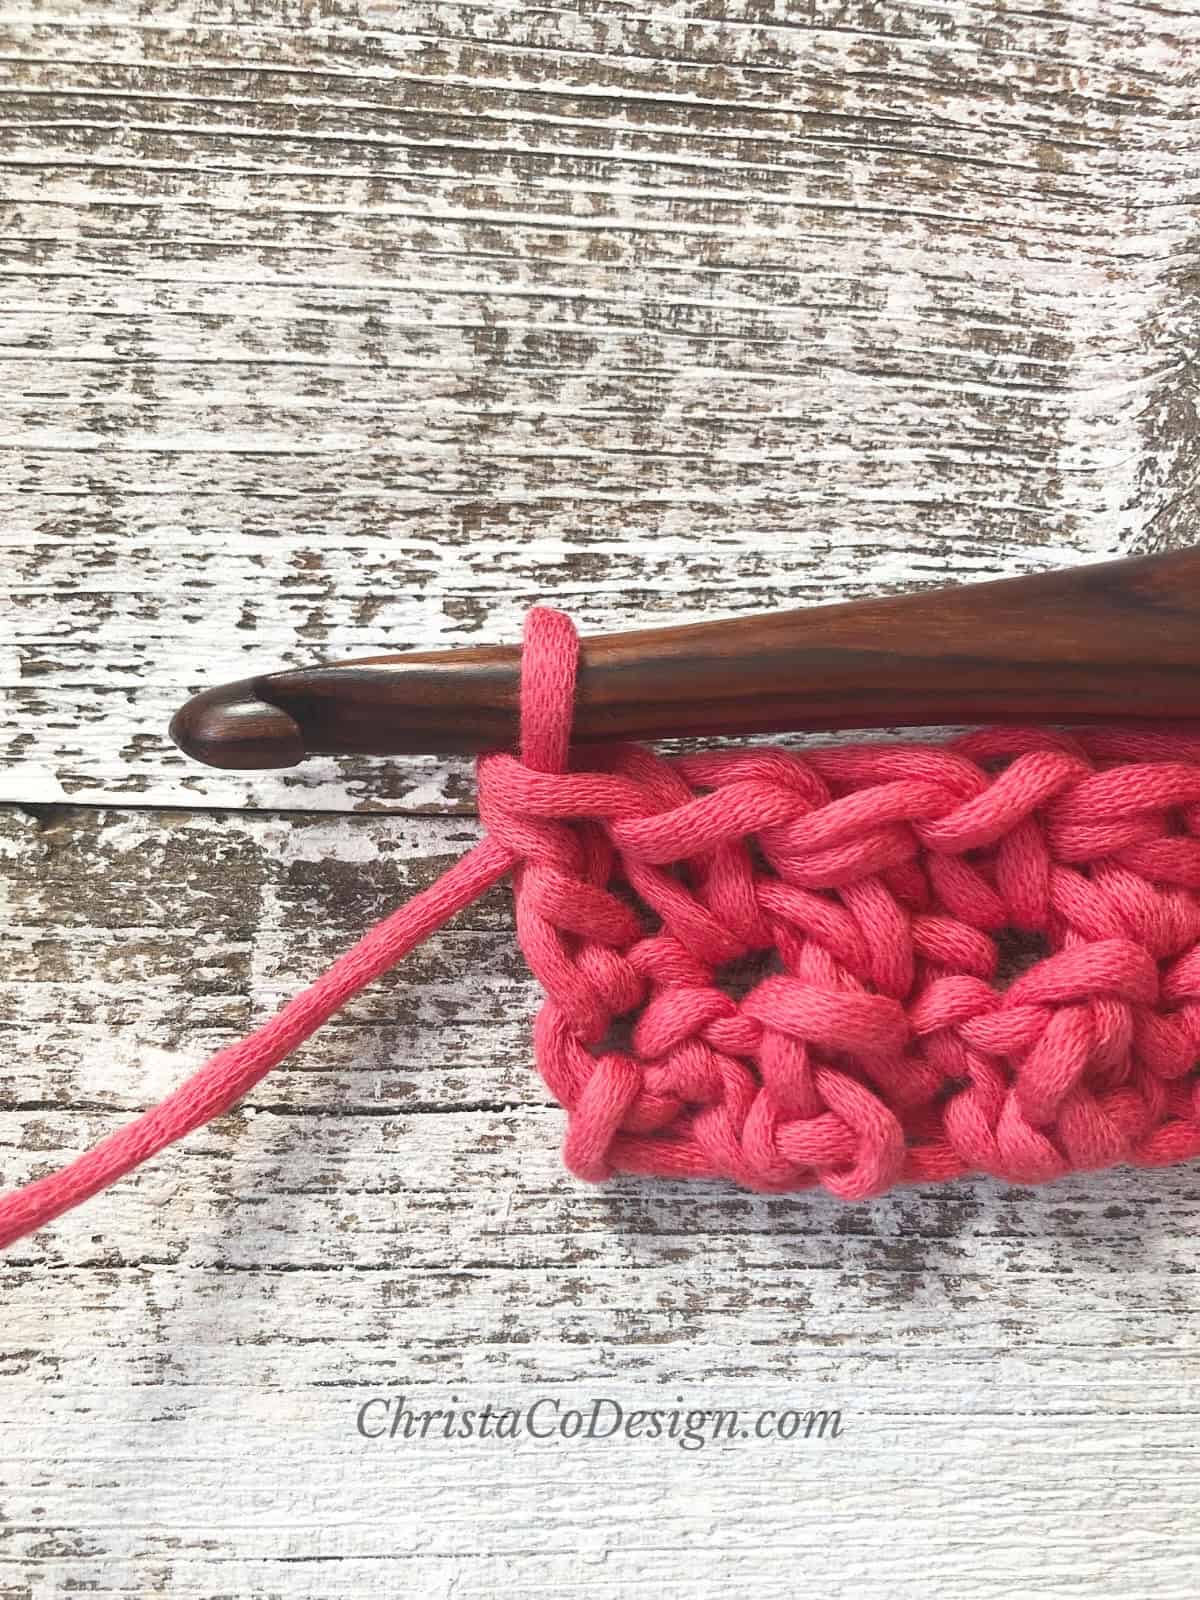 You’ll end the row with a double crochet in the last stitch.
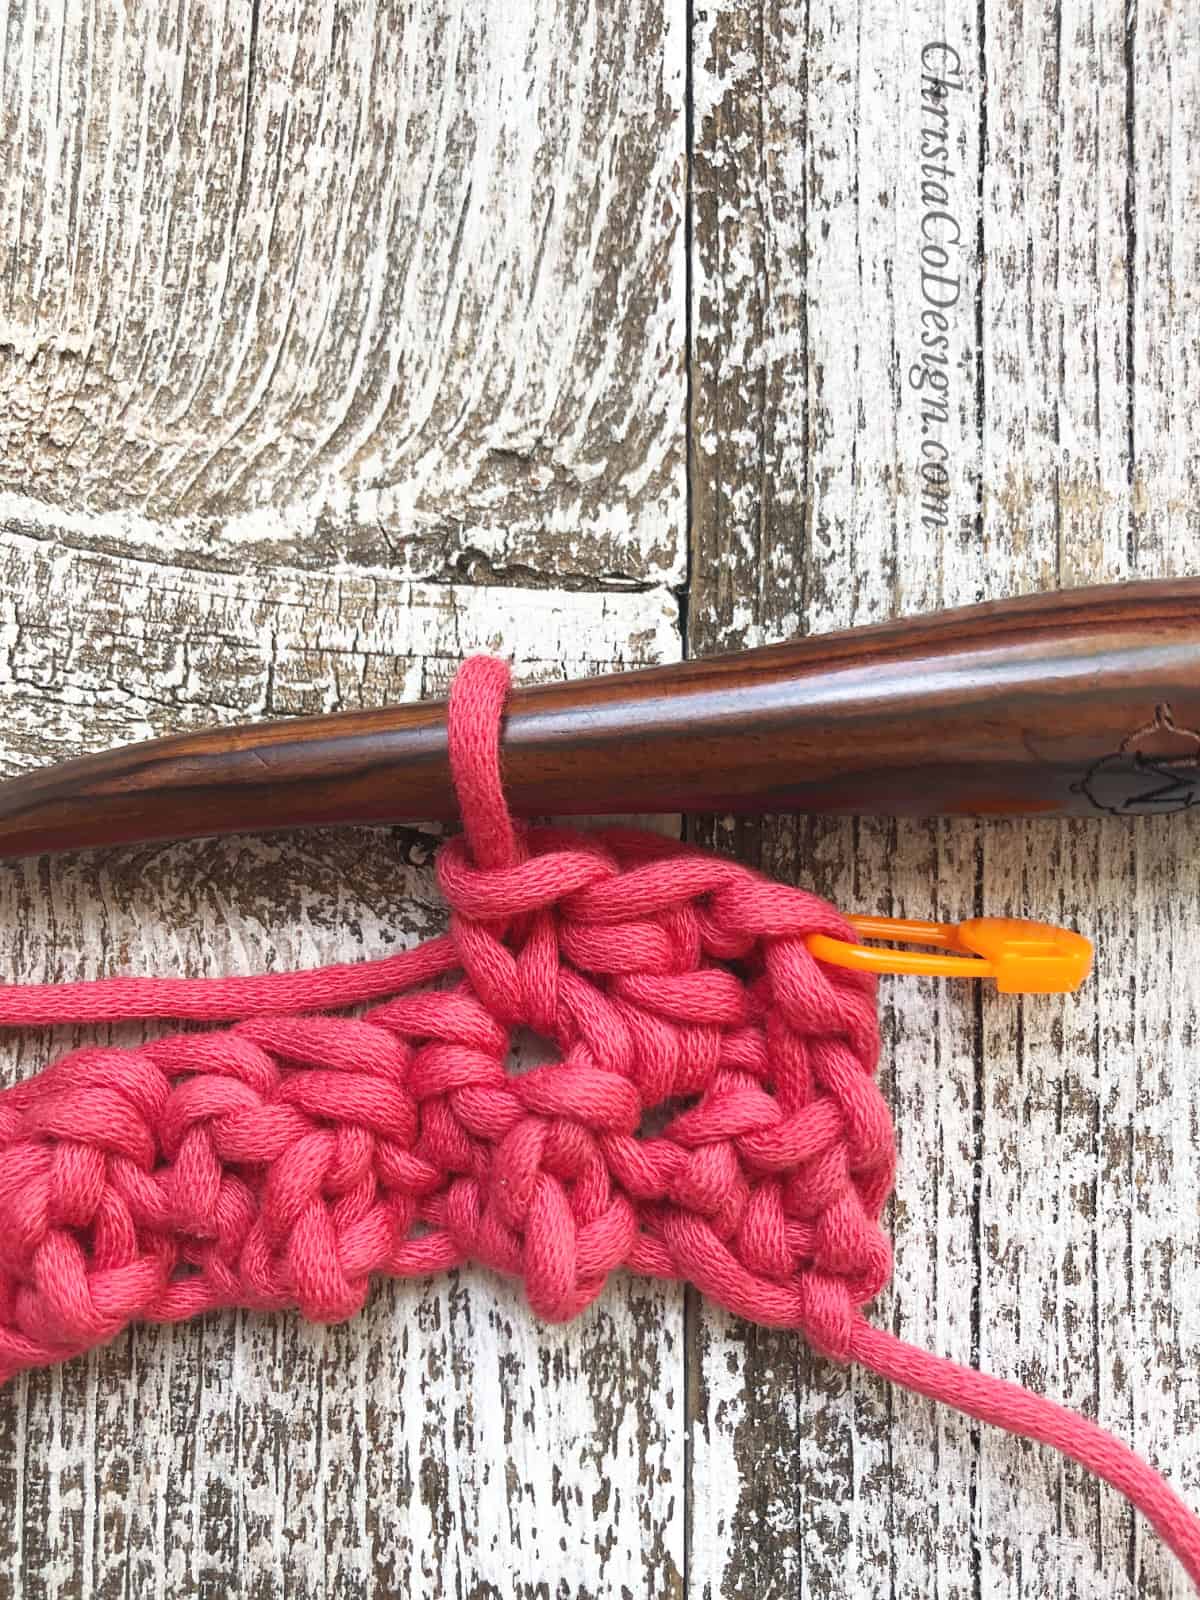
For Row 3 and on Ch 1, in same st sc, dc in the next st, *{sc in the next st, dc in the next st} rep from * to end, turn.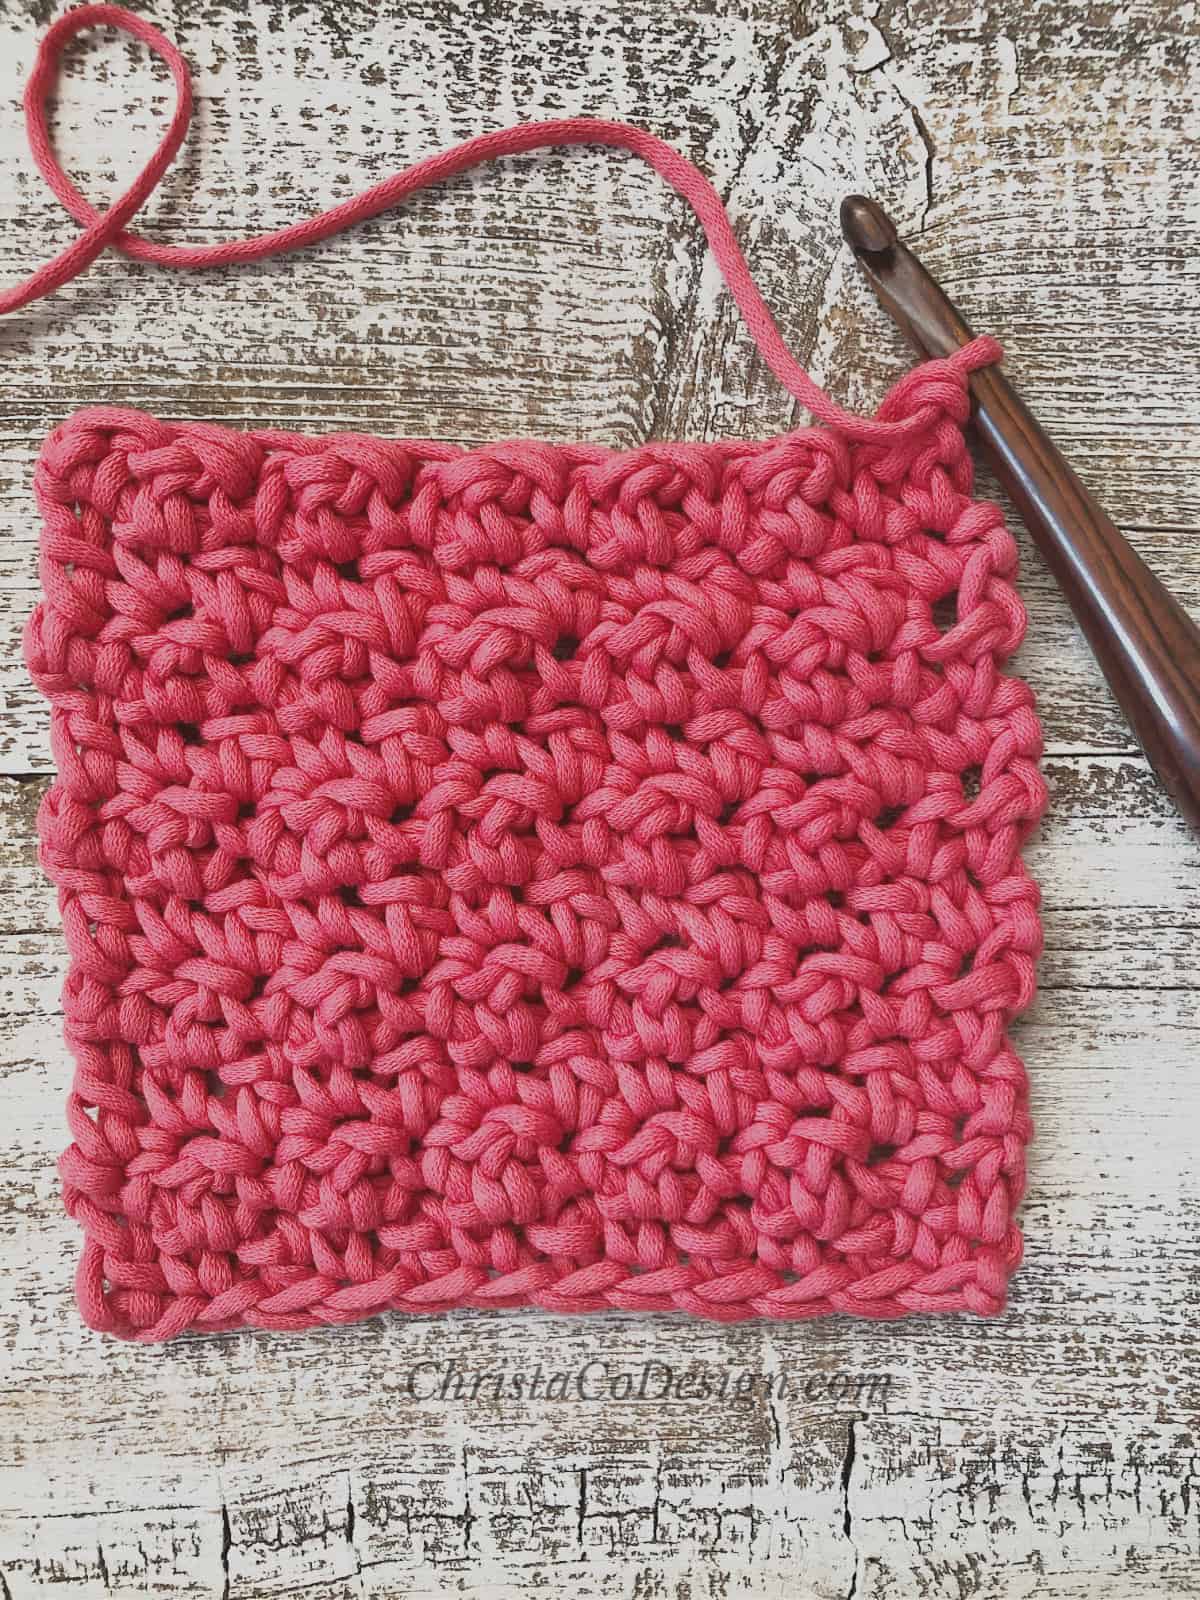
Option 2: Straight Edges
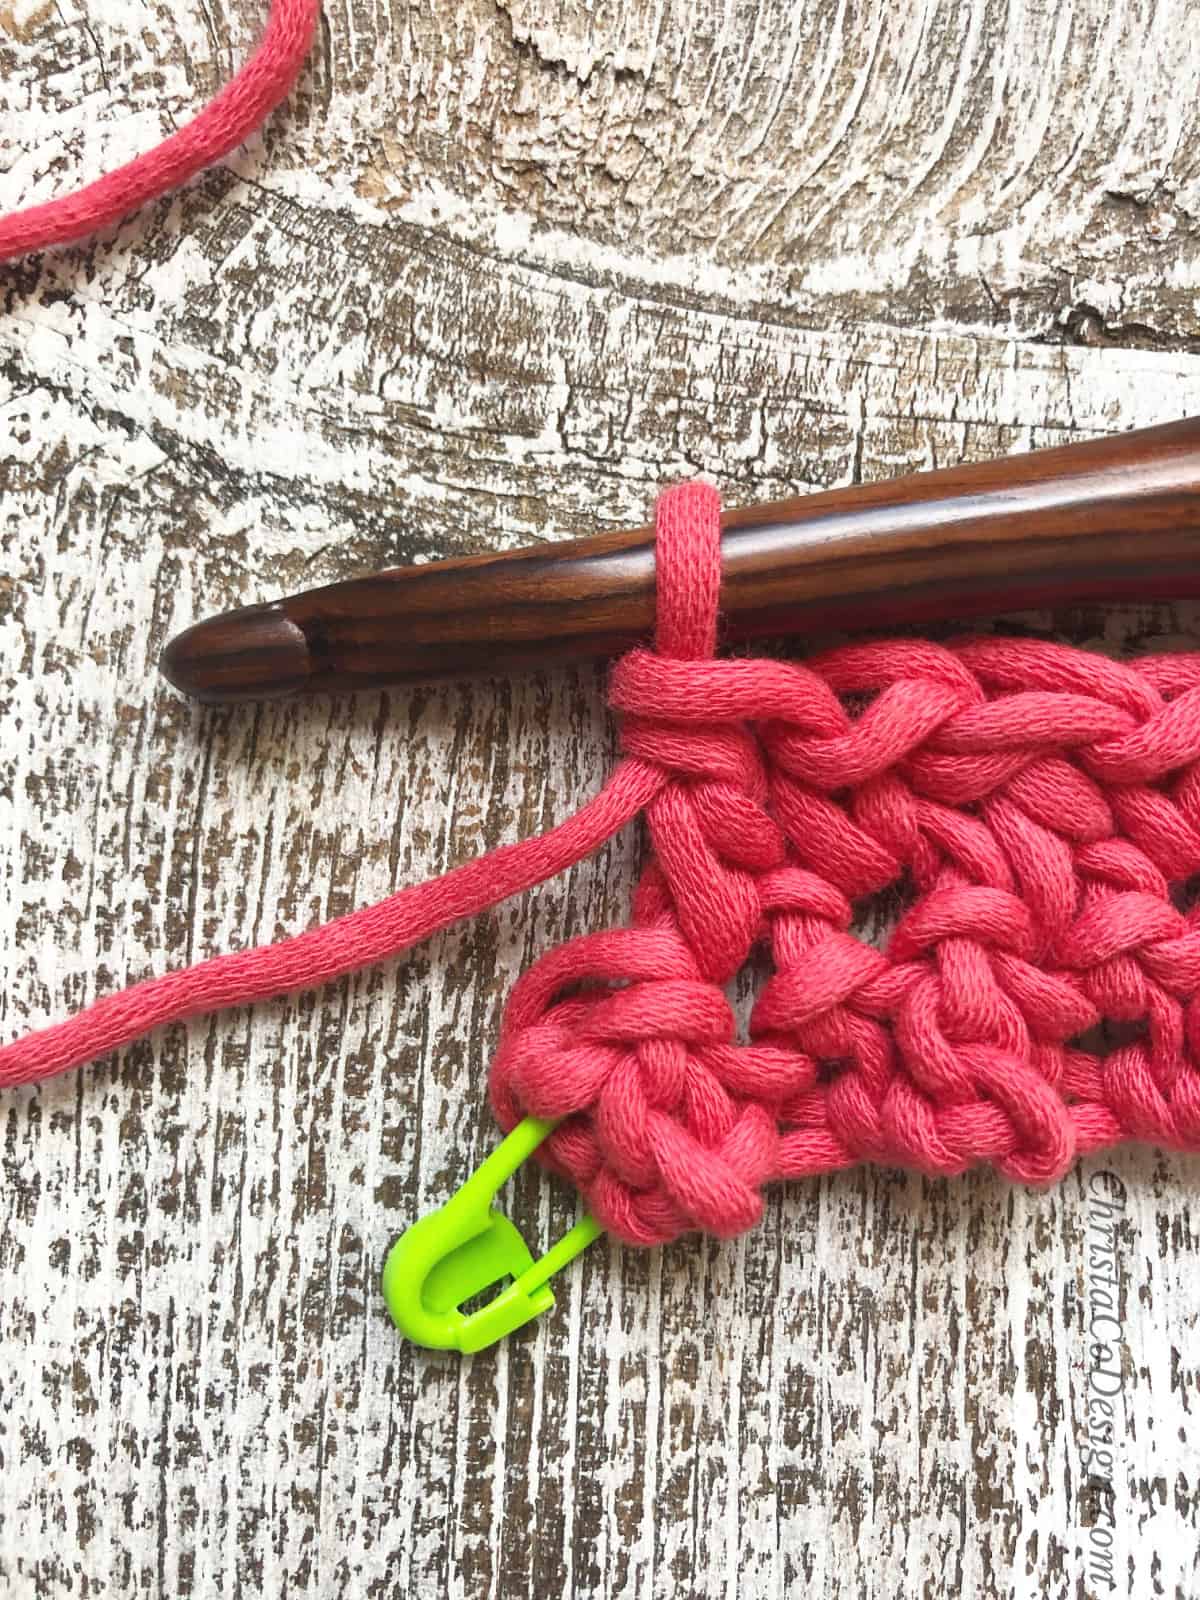
For this method we need an odd number of stitches. Begin with an even number of chains, you’ll work into the second chain which is marked by the lime green stitch marker.
Begin with an even number of chains, you’ll work into the second chain which is marked by the lime green stitch marker.
 Double crochet into the second chain from your hook. Place a stitch marker in the chain you skipped. This will make it easy to find on Row 2.
 Continue to repeat double crochet in the next chain, single crochet in the next chain.
 Repeat *{sc in next ch, dc in next ch} across the row.
 End with a double crochet in the last chain.
 Turn your work.
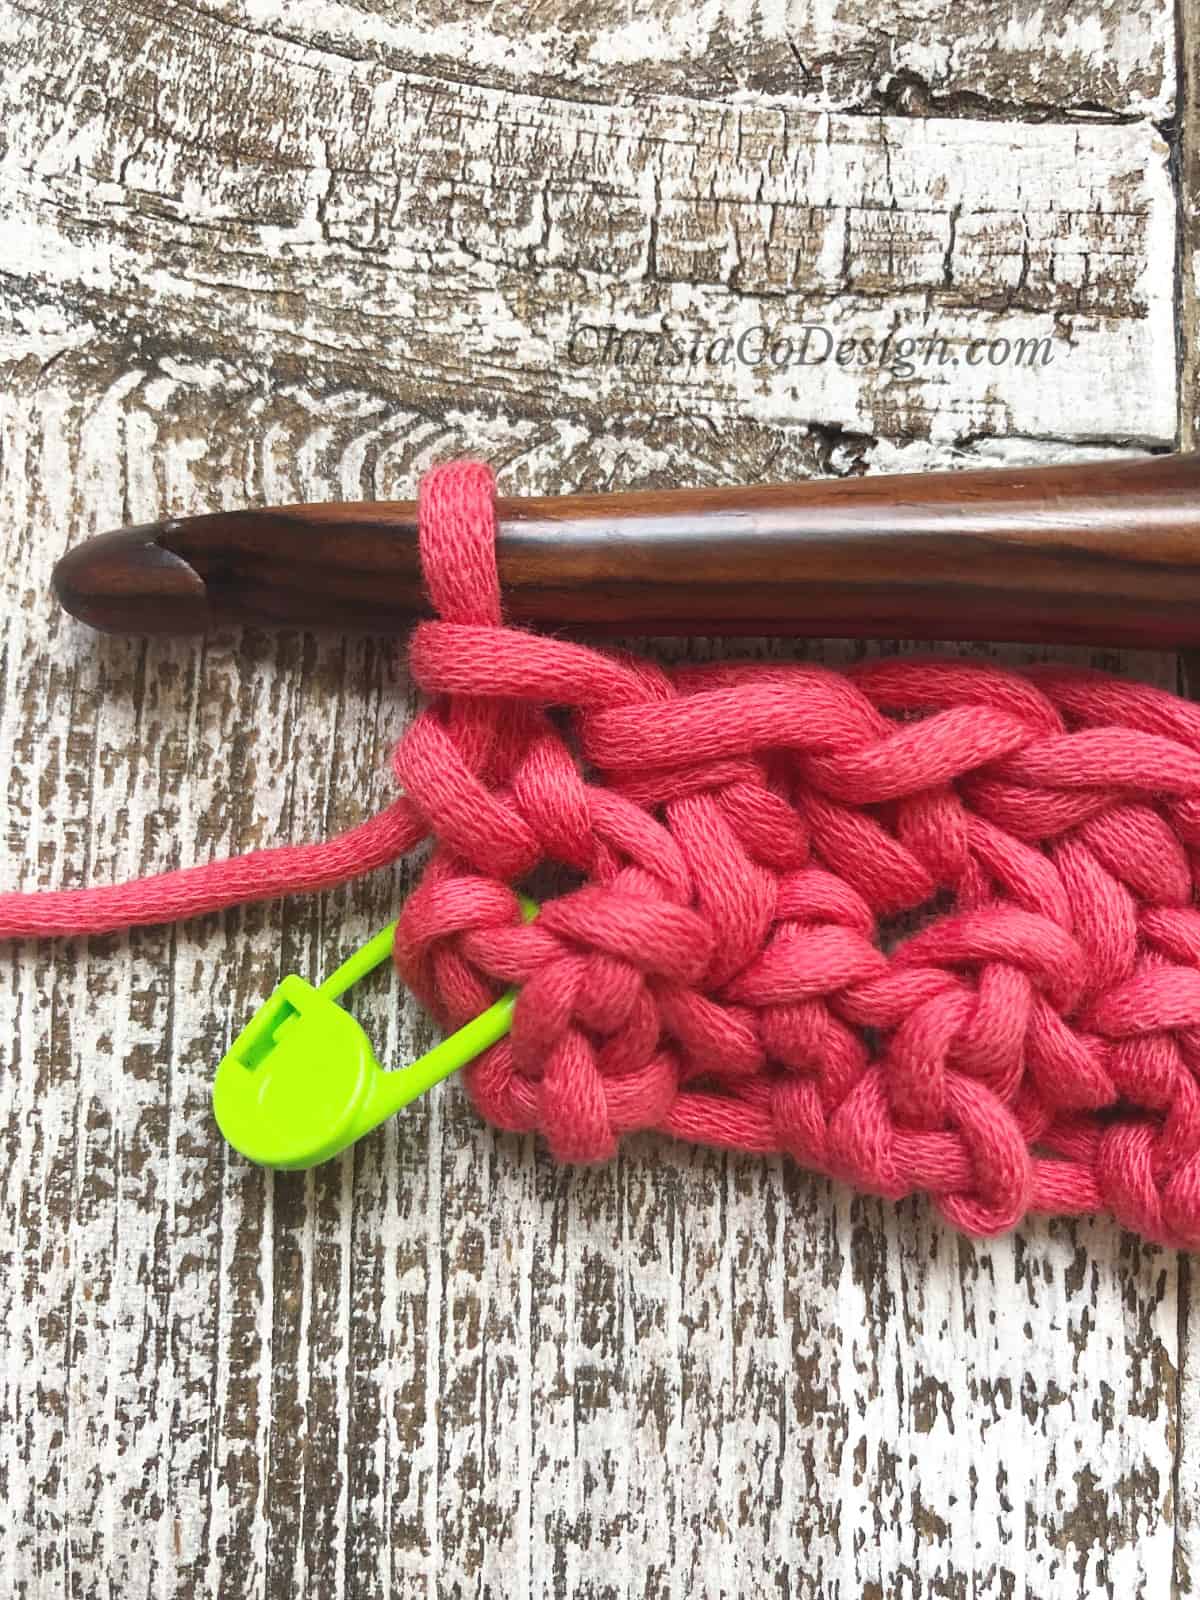
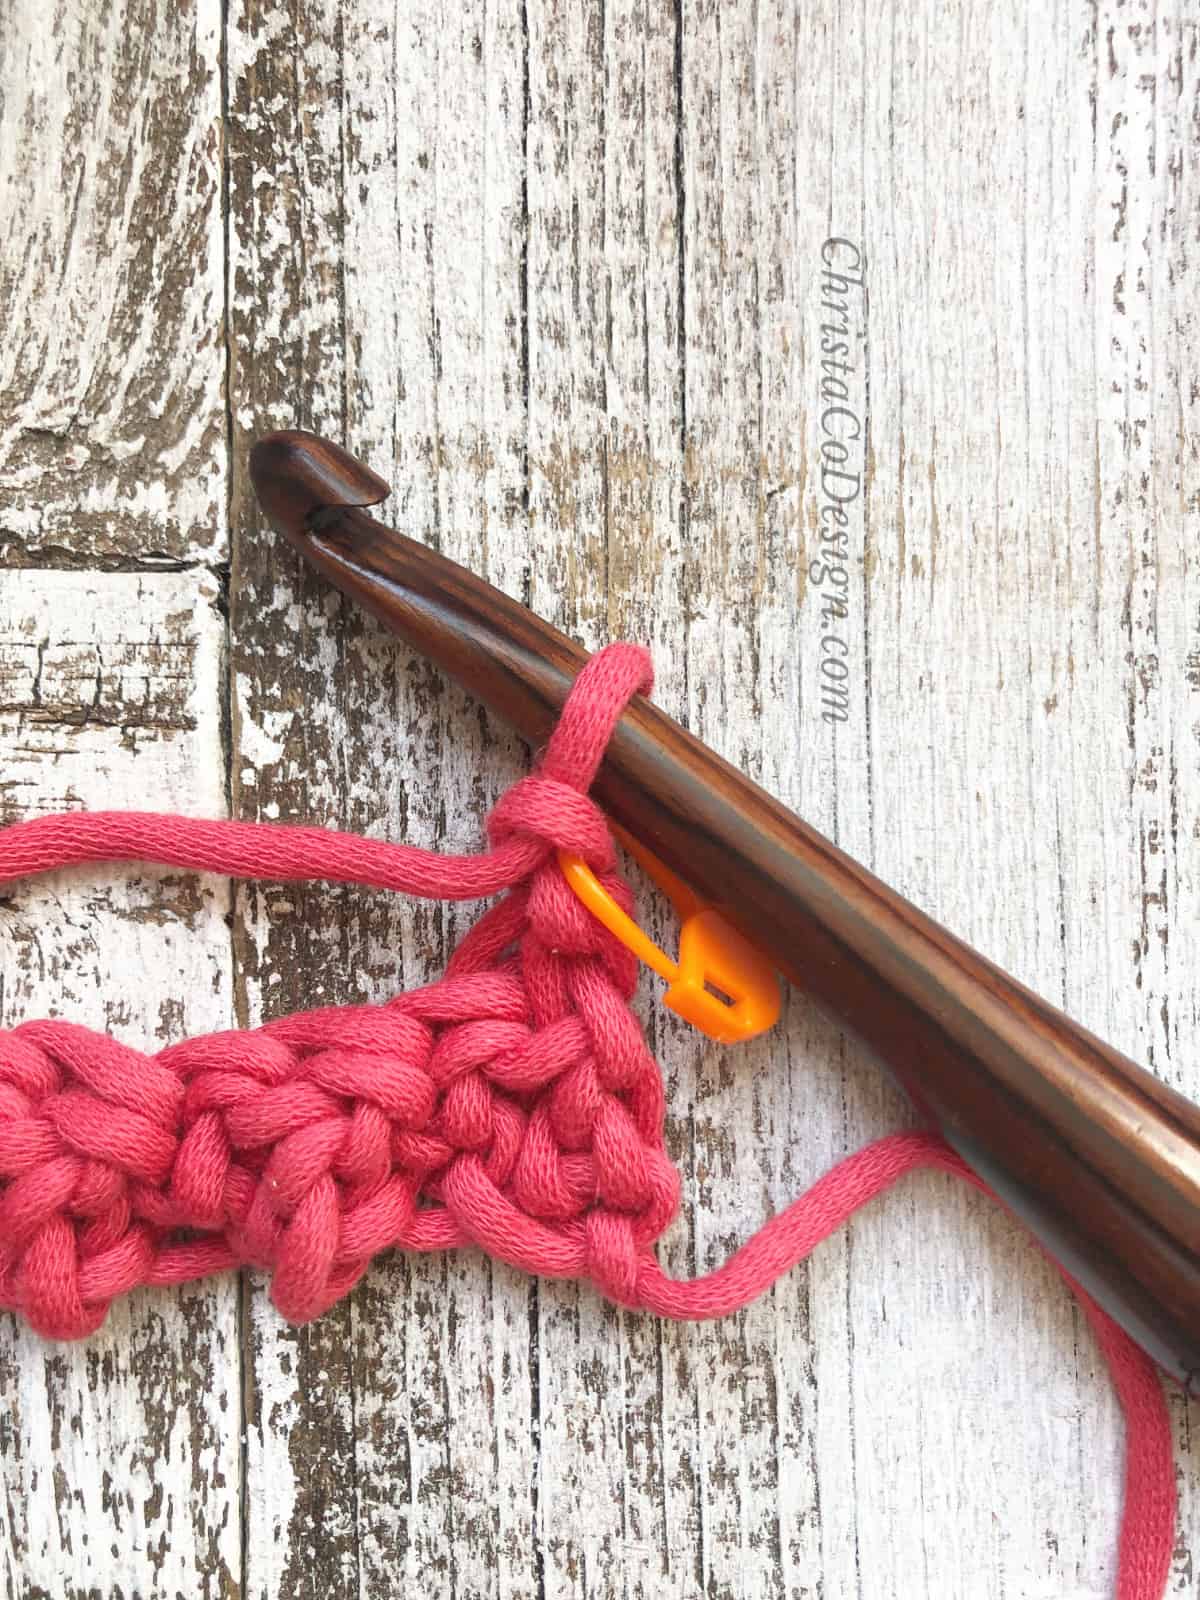 Chain 1, and mark it with a stitch marker- a piece of spare yarn or bobby pin work too!
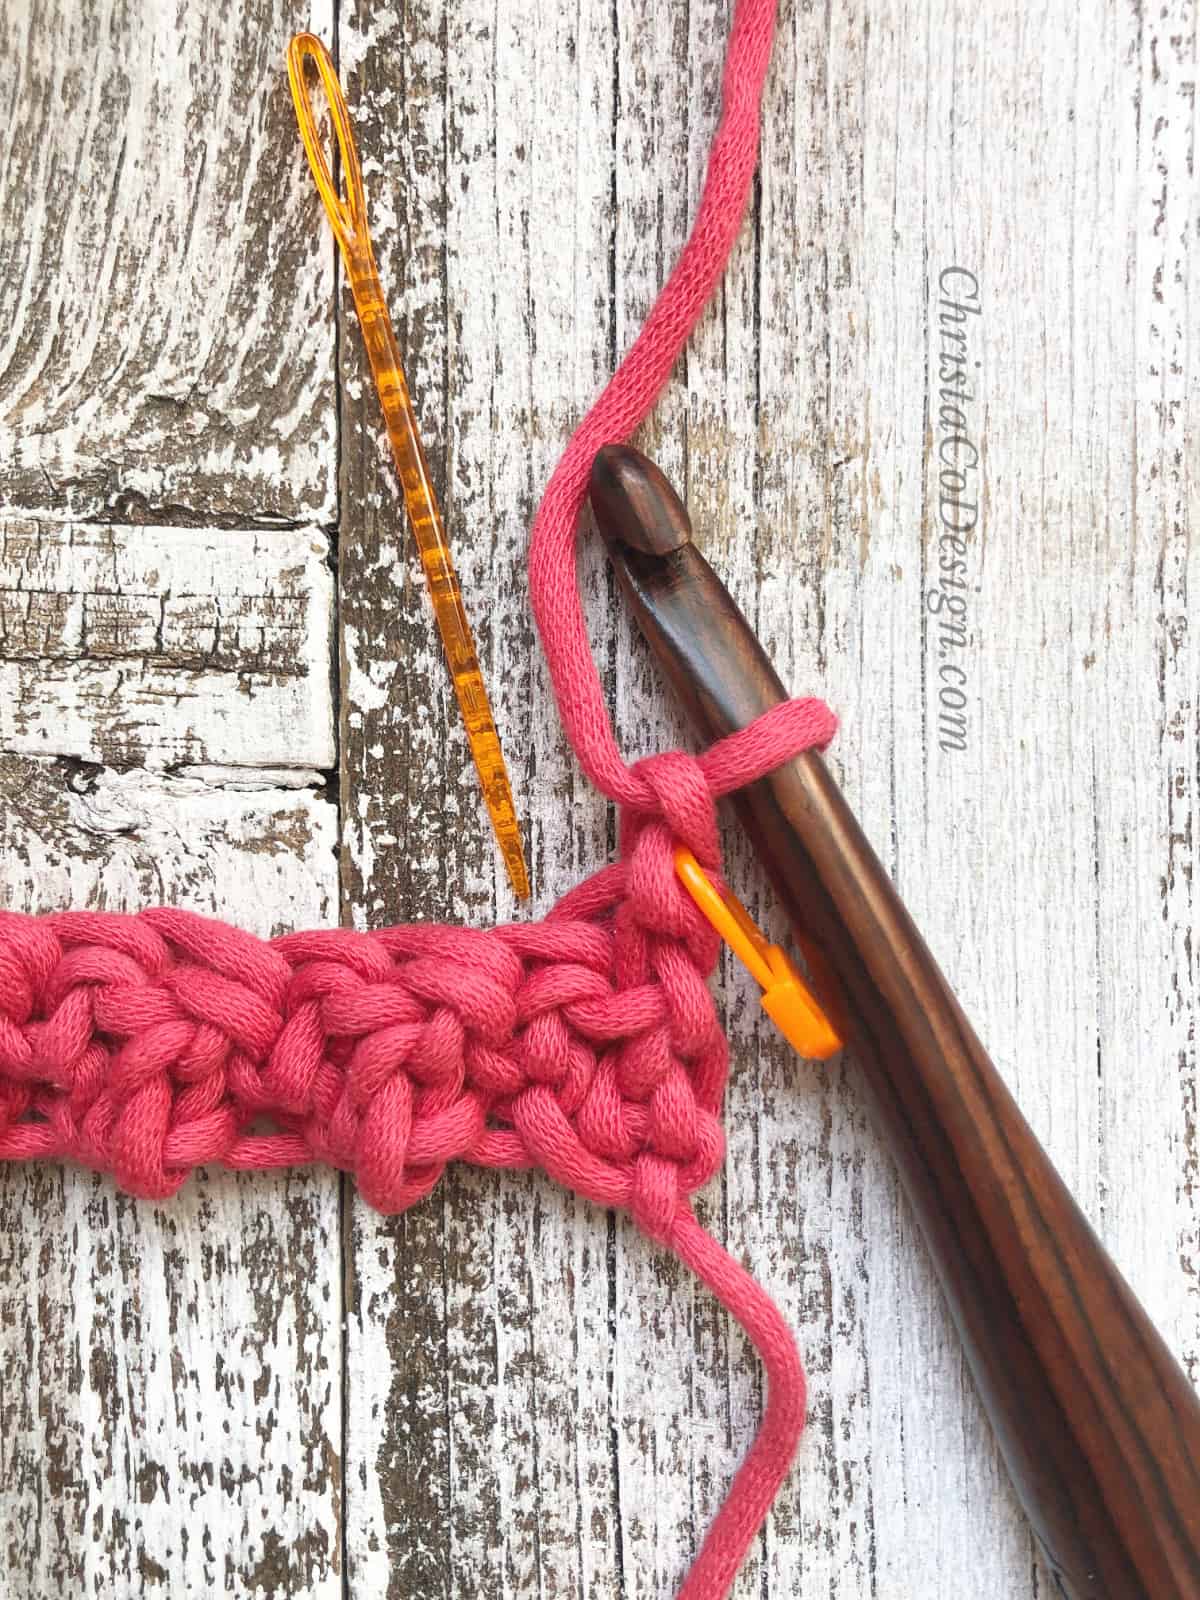 You’ll skip the very 1st stitch (which is the last dc you made) and work into the second stitch, marked her by the yarn needle above it. Double crochet into the second stitch.
 Single crochet in the next stitch.
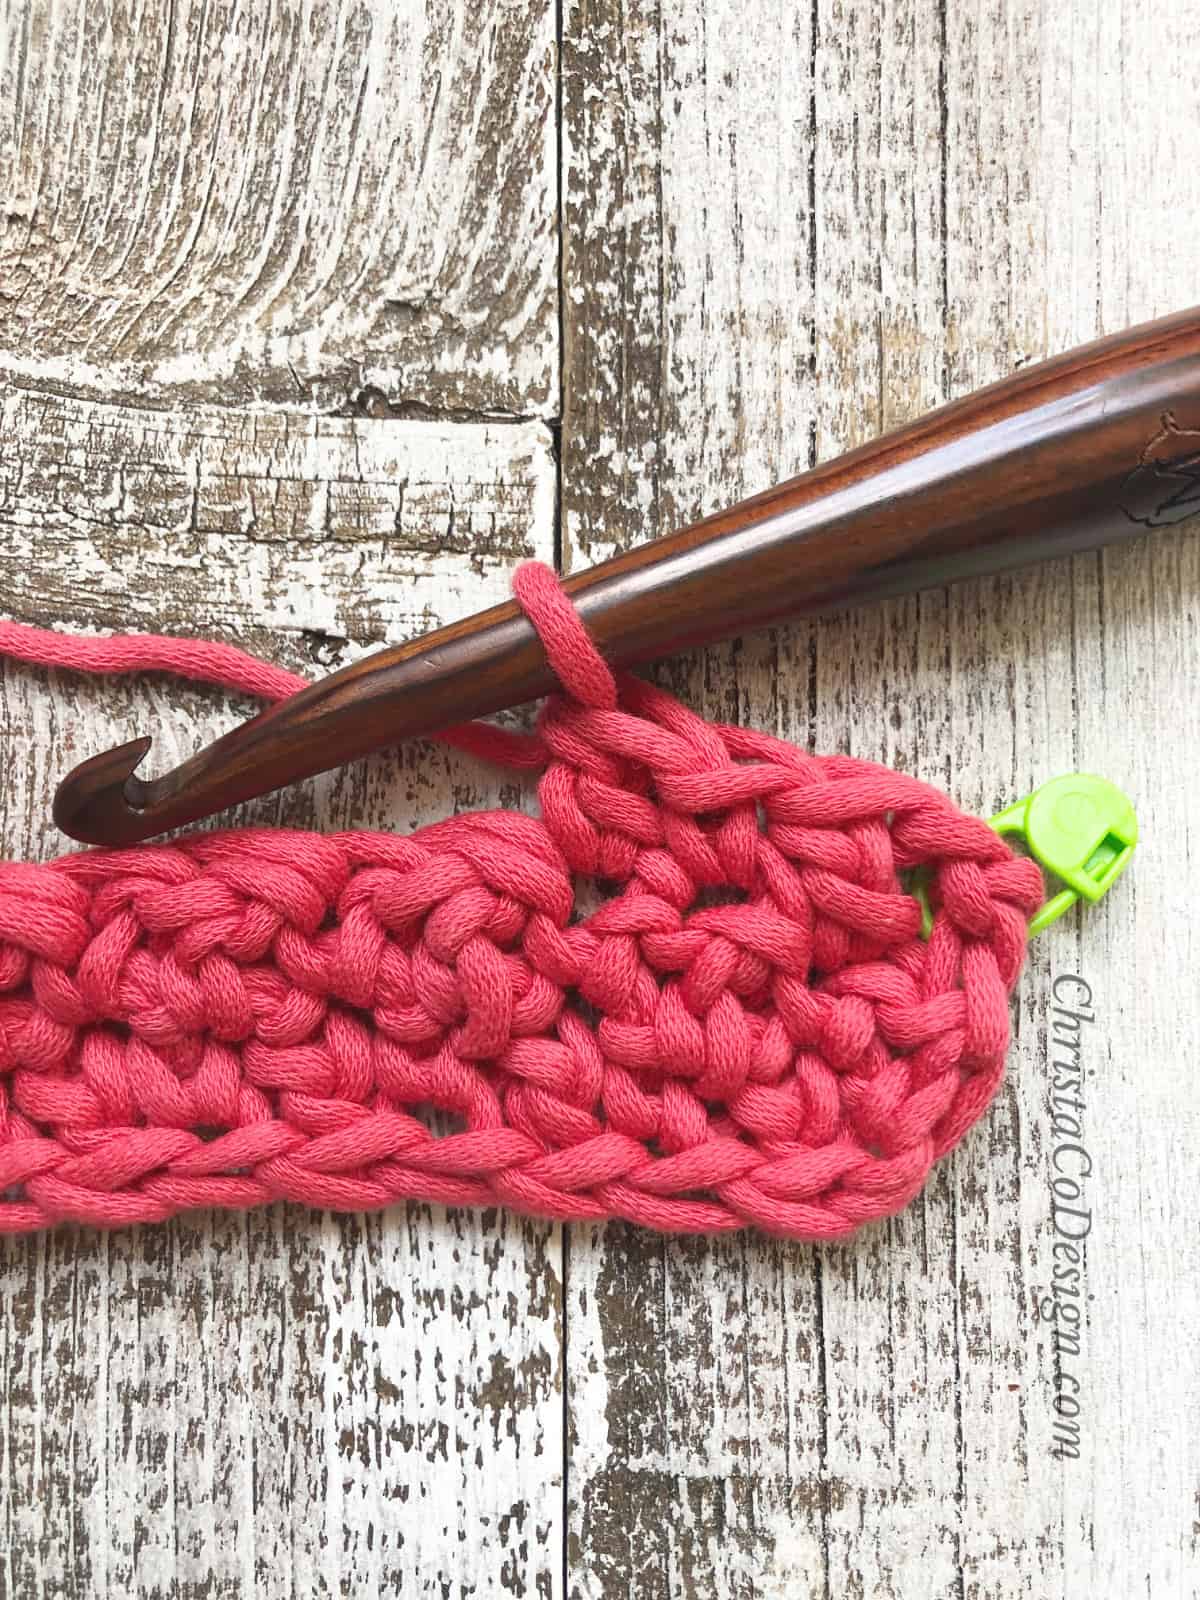
 Continue to repeat *{dc in next st, sc in next st}. At the end of your row you’ll have one stitch left, and the ch 1-marked by the green stitch marker.
 Single crochet in the next stitch.
 Double crochet in the ch 1.
 Row 3 and on: Ch 1, this counts as a sc, mark it with a stitch marker to easily find it, sk the first st, *{dc in the next st, sc in next st} rep from * across the row.
 Double crochet in ch 1, turn.
 Repeat row 3 for the rest of the rows: Ch 1, sk first st, *{dc in next st, sc in next st} rep from * across the row, end with a dc in ch 1, turn.
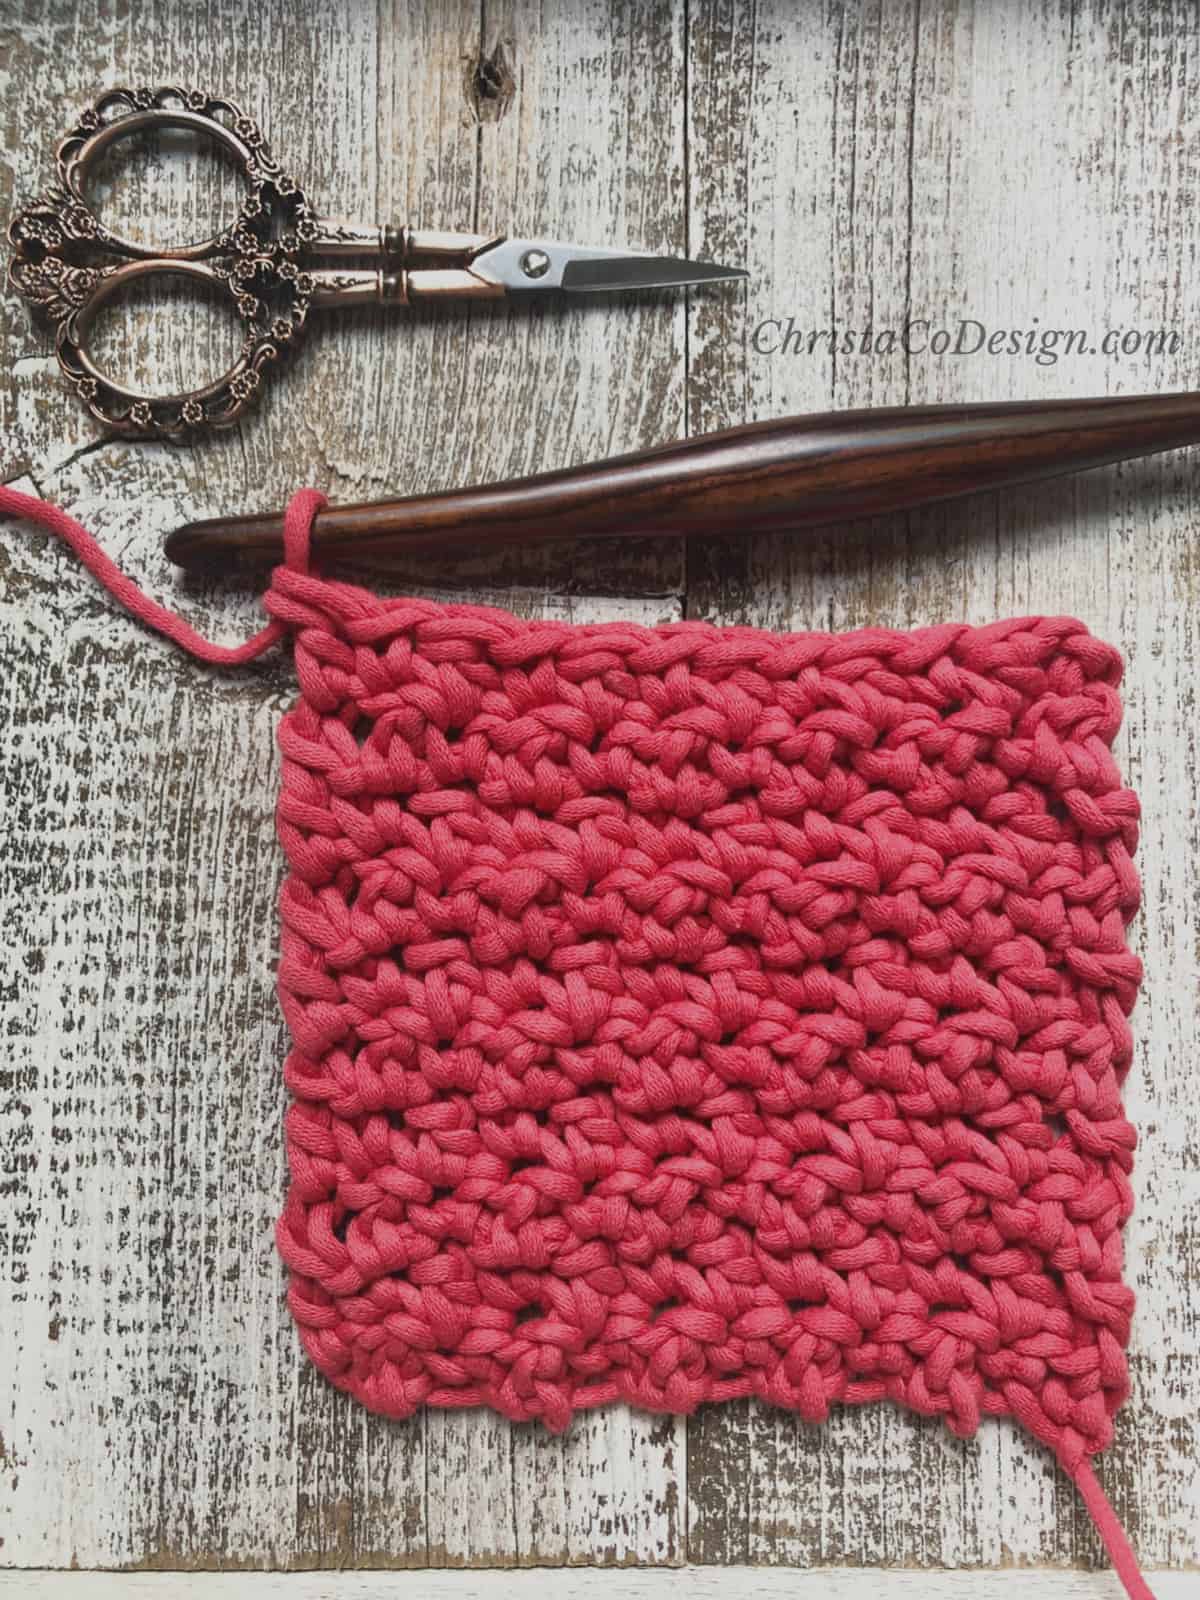
Recommended Products
As an Amazon Associate and member of other affiliate programs, I earn from qualifying purchases.


This is one of my favorite stitches! My daughter liked it for baby blankets because it left no holes or gaps for tiny fingers or toes to poke through. I’ve used it for scarves, with and without pockets at the ends. I crocheted a peach-colored blanket when my granddaughter was a newborn, and now that she is eleven, she uses it as a lap blanket. I was interested to see the two different methods. I always used the first method, but might try the second next time. Thank you!
That’s why I love it too-definitely want a solid blanket for babies. So sweet. That’s so special that she has kept it.