How to Crochet the Picot Stitch With Video Tutorial


Learn the crochet picot stitch in this easy tutorial. Add picot edging to the borders of your crochet projects for a beautiful design.

Join the ChristaCoDesign Newsletter
Never miss a pattern!
The Picot Stitch is one of my favorite crochet techniques. I love the little detail it can add to an otherwise simple fabric.
The picot is a number of chains that are then slip stitched together. Usually a picot is written as chain 3, slip stitch to first chain made.
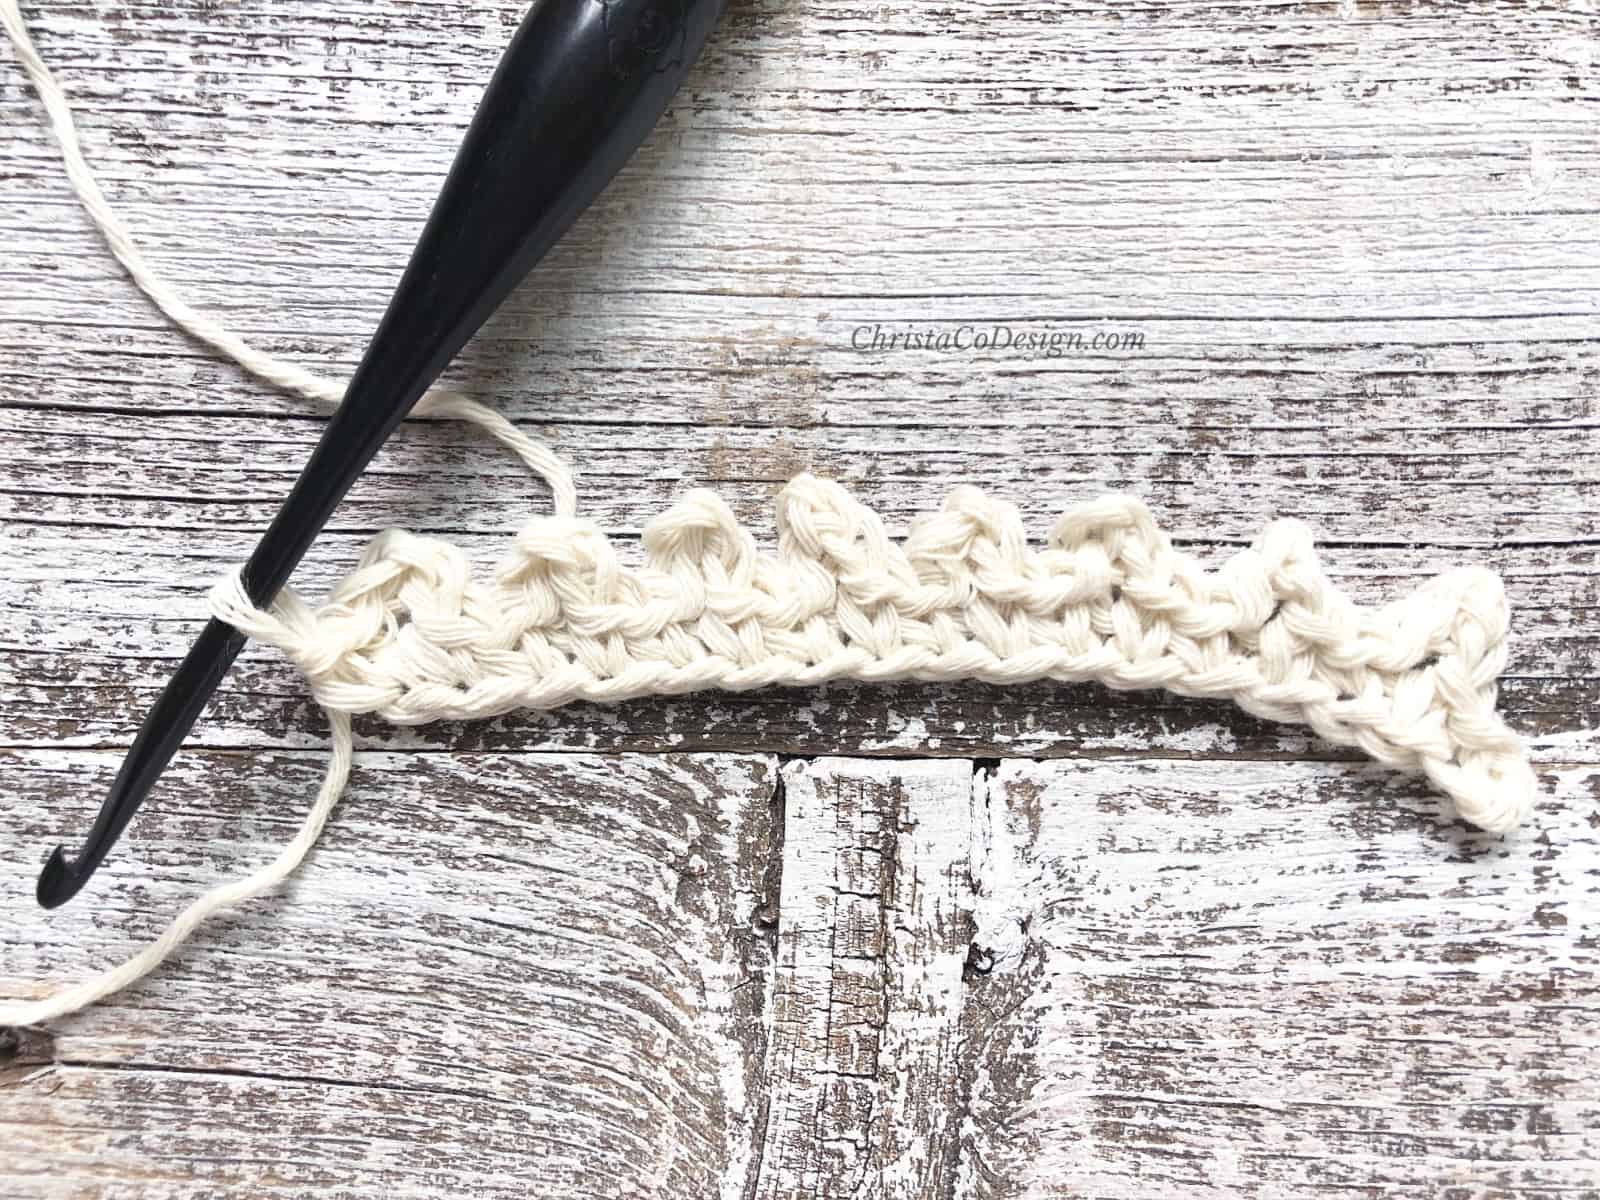
This forms a little bloop, bump, bobbly thing. You get the idea. It’s much prettier in practice than any of those words might have you think.
Sometimes I like to change up the number of chain stitches for a large picot. But the standard is 3.
Designs that use the Picot Stitch
There is a picot stitch edging on the Merletto Crochet Poncho. I love the little detail especially on this one since it’s a rectangle poncho. This free poncho pattern includes multiple size for children and adults.

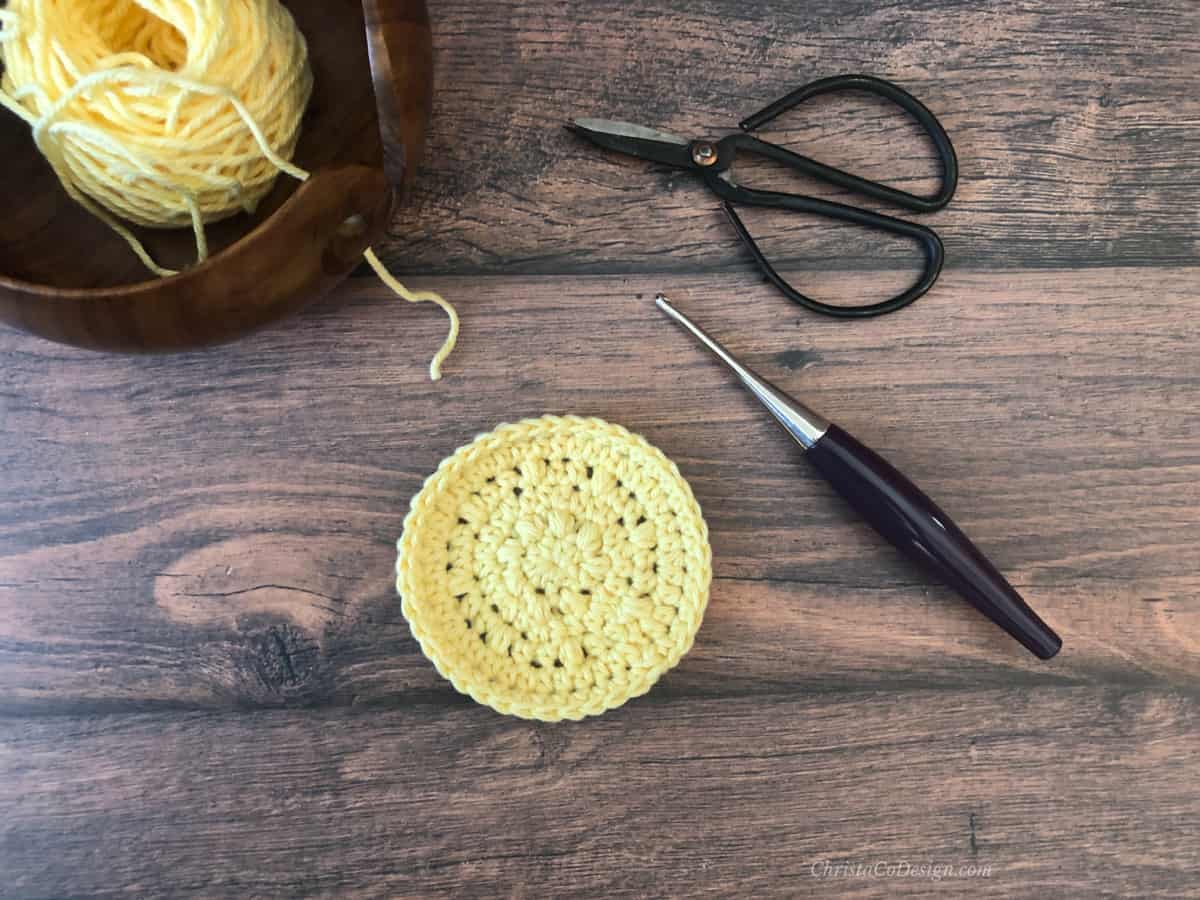
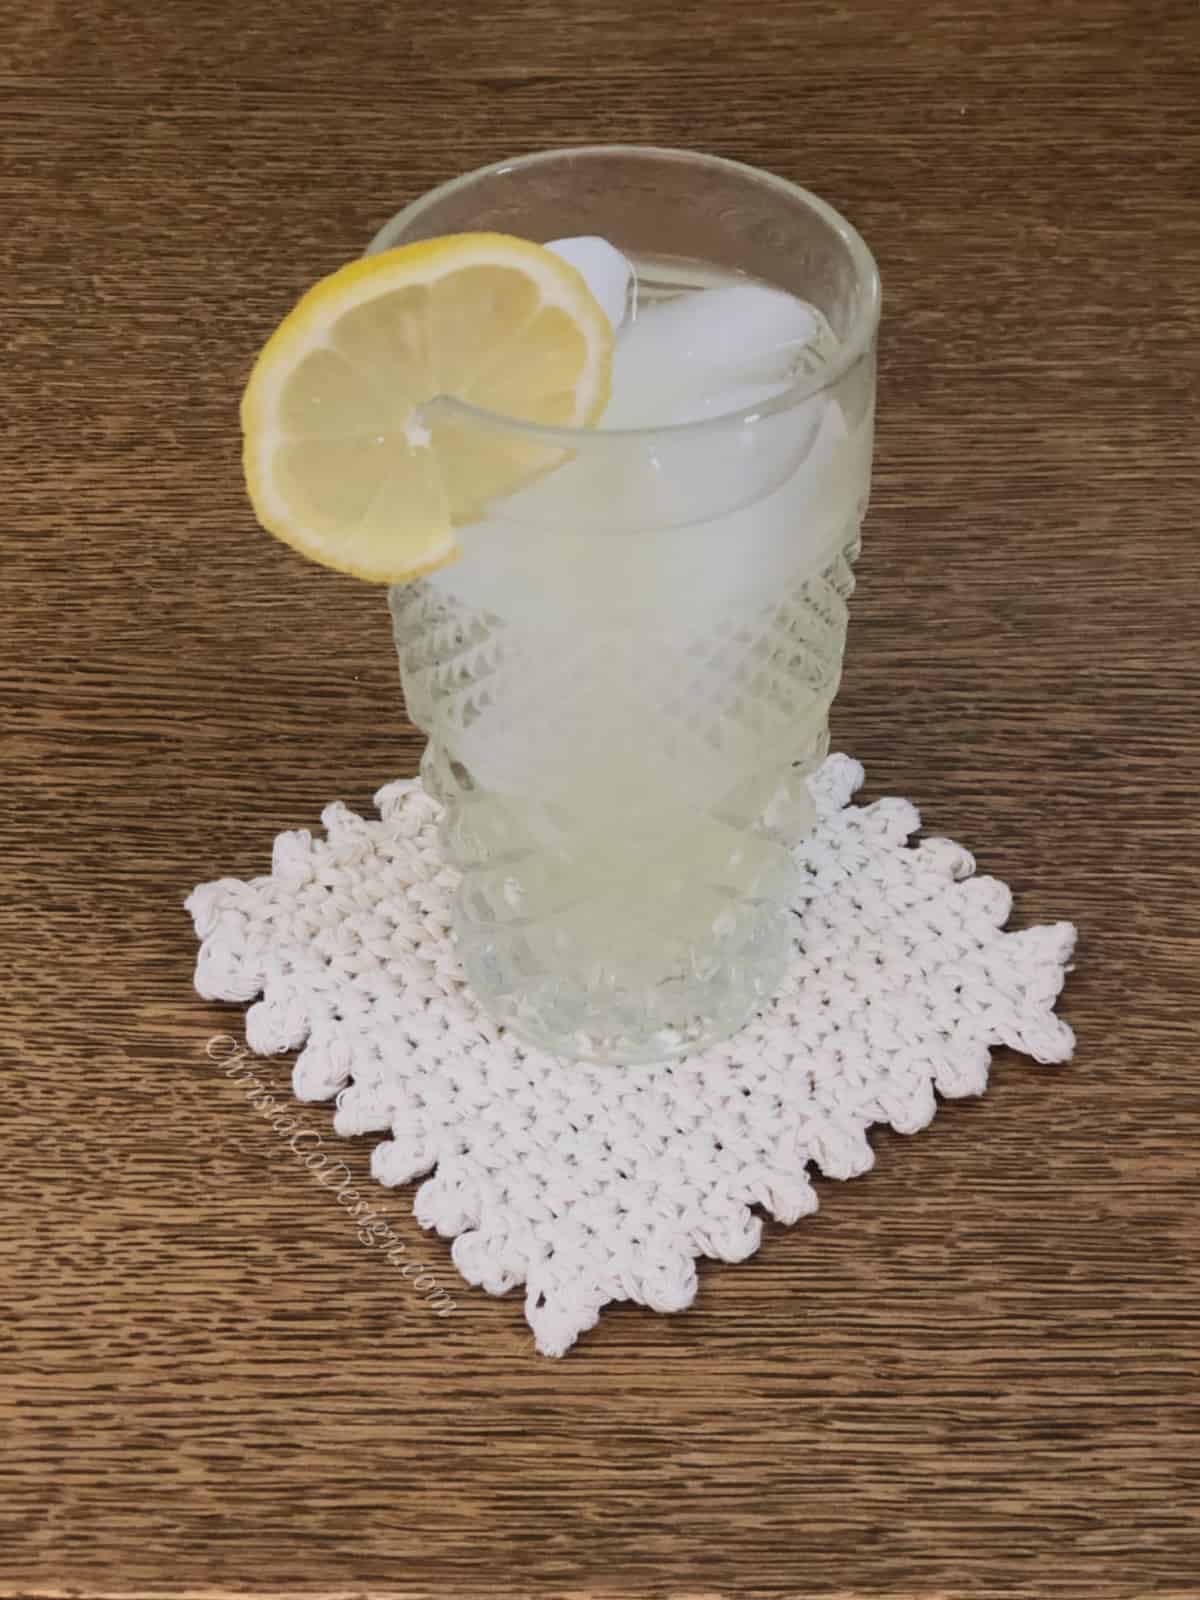
The Juliet Crochet Coaster Pattern has a picot edge that really adds to these simple single crochet stitches of this coaster. My favorite part about these coasters is that the picot border is worked at the start of each row. So when you’re finished, so is the border!
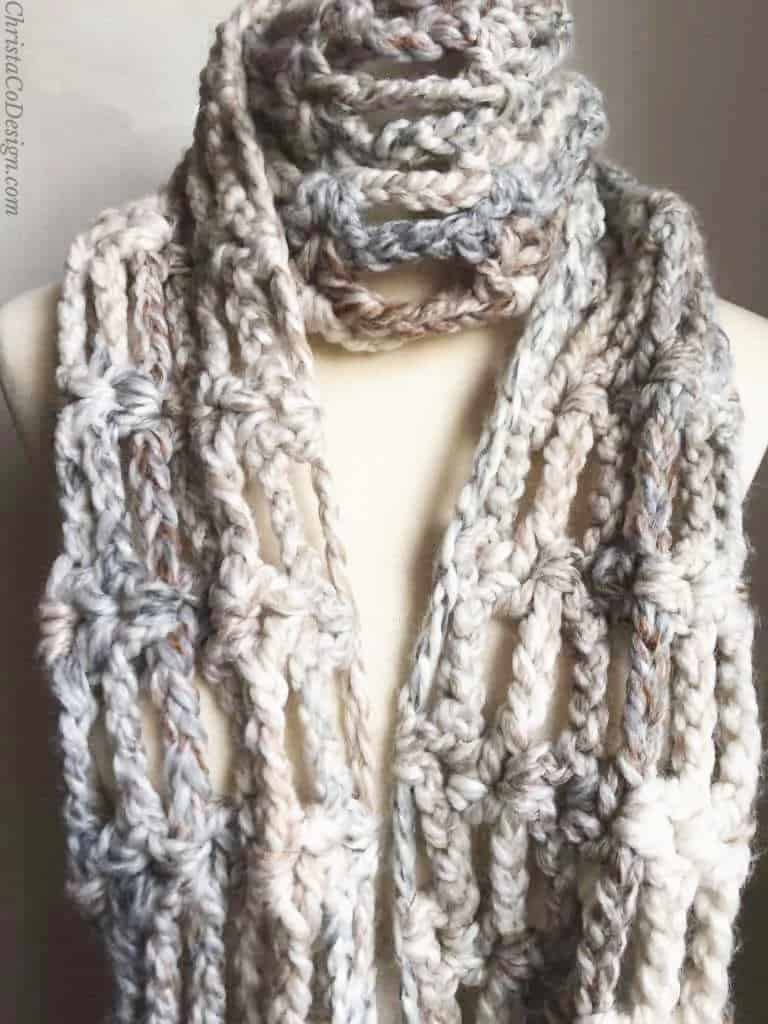
You might also enjoy this lovely one skein lace scarf from Annie Designs. I love her shawls and scarves. They’re all so pretty!
Yarn
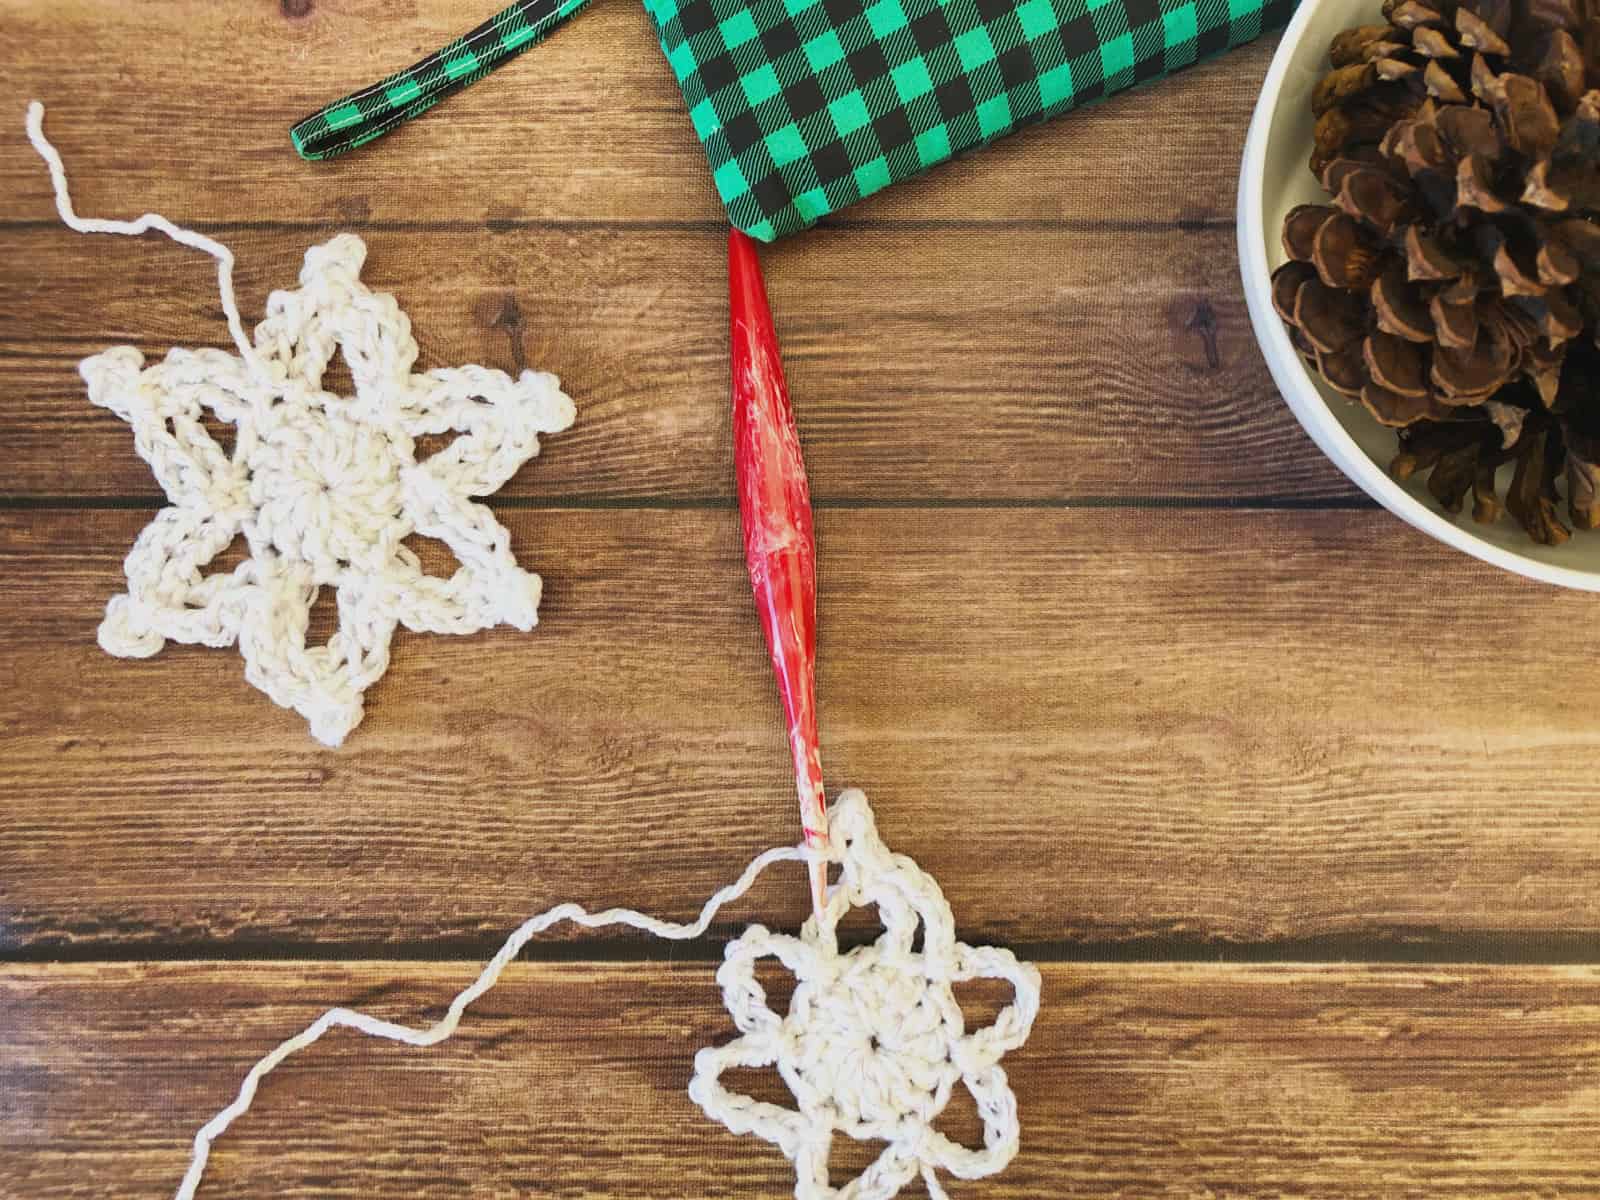
In this tutorial I’m using Loops n Threads Impeccable Glitter. The color is Ice Queen White. You can crochet the picot stitch in any weight yarn and compatible hook.
Materials
- any weight yarn, pictured in Loops and Threads Impeccable Glitter*
- in this tutorial I’m using my 6mm ergonomic Furls’ Streamline* Swirl in Cherry
Level
Easy
Stitches/Abbreviations
(US Terms)
ch(s)-chain(s)
sl st-slip stitch
The basic picot stitch is written in crochet patterns as:
picot = ch 3, sl st back to first ch
Variations
The picot stitch can be used different ways. Try making it with extra chains, for a different look. Your pattern will tell you the specifics. And if it doesn’t, assume it’s the regular version.
You can use picot stitch after a single crochet, a double crochet, or really any stitch. Again look to your pattern for the details.
Our Favorite
Free Crochet Patterns
Video Tutorial
Watch the video on my YouTube channel.
Pattern Instructions

How to Crochet the Picot Stitch
Learn how to crochet picot stitches.
Materials
- any yarn, for this tutorial I'm using #4 medium worsted weight
Tools
- hook compatible with your yarn, I'm using a 6mm here
Instructions
- Ch 3

- Insert hook in the 3rd ch from your hook, yarn over and pull the loop through the chain and the loop on your hook.
 One picot stitch made. And that 's it, you're done!
Notes
Give it a try as a lacy edging on your next crochet project!
Recommended Products
As an Amazon Associate and member of other affiliate programs, I earn from qualifying purchases.