How To Hold Your Yarn When Crocheting a Tutorial
Learn how to hold your yarn when crocheting in this step by step tutorial. Here I include pictures of how to hold the yarn.

This post contains affiliate links, I may earn a fee. Read more disclosure policy.
Join the ChristaCoDesign Newsletter
Never miss a pattern!
The important thing to do is to try a few different ways of holding the yarn. With practice you will find the best way to hold your yarn.
There are a few ways to hold your yarn for crocheting. It’s most common for crocheters to hold their yarn with their non-dominant hand.
Holding the Crochet Hook
The first thing you will likely work out is how to hold your crochet hook. I am right handed, so I hold my crochet hook in my right hand. My left hand holds the yarn.
There is no wrong way to hold your crochet hook. The two most common ways to hold the hook are the pencil grip and the knife hold.
The pencil grip means you hold the hook like you would a pencil. The knife grip is holding the crochet hook like you would when cutting with a dinner knife.
Many crocheters work out a combination method, or unique way to hold the hook.
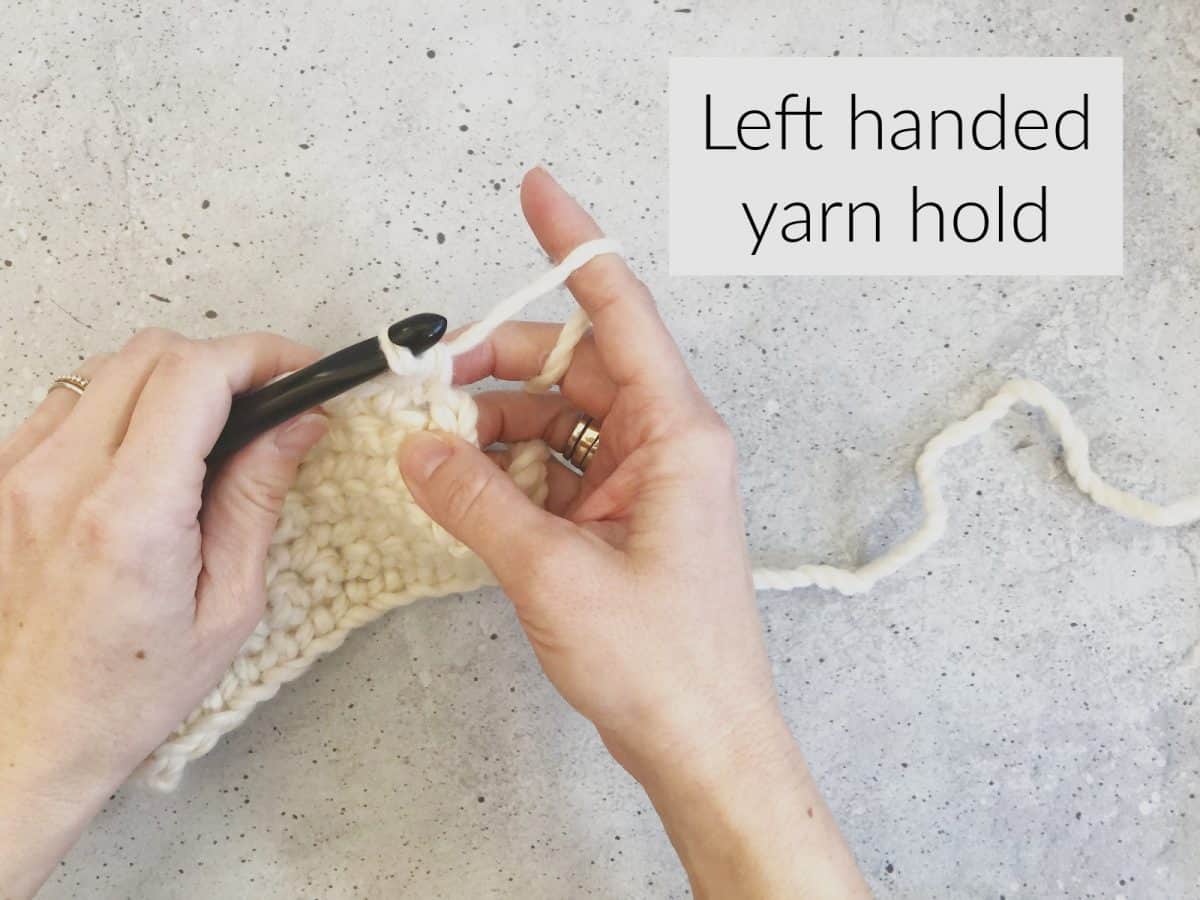
A Note for Left Handed Crocheters
In this tutorial, I’ll show you how to hold the yarn so you can crochet with it. While I am right handed, left handed crocheters hold their yarn in the same ways, just with the opposite hand.
You might like to check out Jo’s Crafty Hook, as she is a left handed designer. She has a new YouTube channel and you can see some of her videos there.
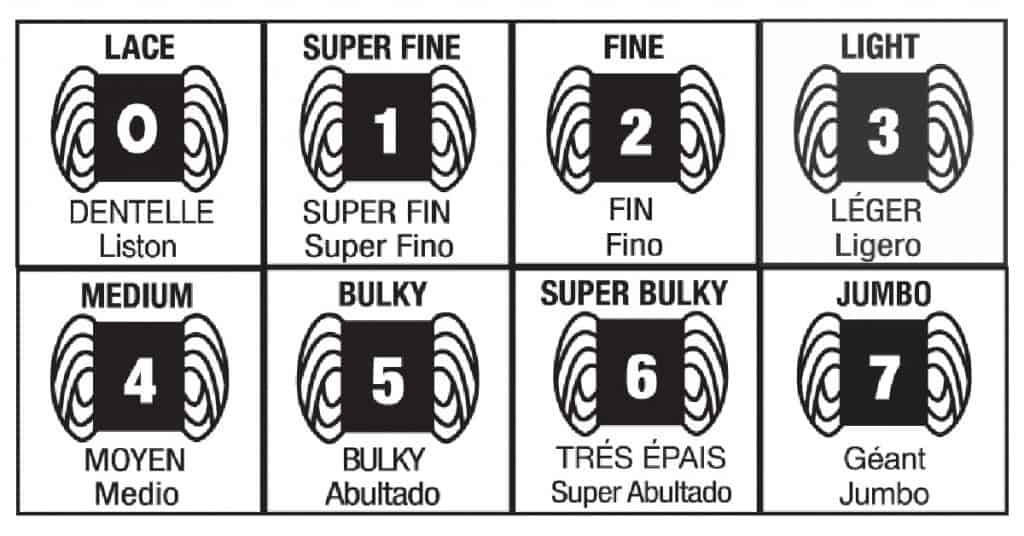
How does the yarn weight effect how you hold it?
I will adjust how I am holding the yarn according to the yarn tension. This is because thick yarn catches more on my fingers, which creates more tension on the yarn. And thin yarn glides more easily.
If I am working with a thicker, #6 super bulky weight yarn there’s naturally more tension on it. So I may only wrap it once around my pinky finger.
A lighter, #3 dk weight yarn is thinner and glides more easily through my fingers. In this case, I might wrap it an extra time around my pointer finger.
Many beginners find they crochet with a tight tension. This can be hard on your hands, so try to relax.
Head down to the tutorial to see a variety of ways to hold the yarn.
Stitch
In crochet how we hold the yarn is not usually effected by the stitch we’re using.
However, in knitting it’s more common to need to change how you’re holding the yarn, according to the stitch. To make a knit stitch you hold the yarn in the back of your work. When purling, you bring the yarn to the front.
Continental knitters hold the yarn the same way that crocheters do. This is one reason many crocheters learn to knit continental.
Materials
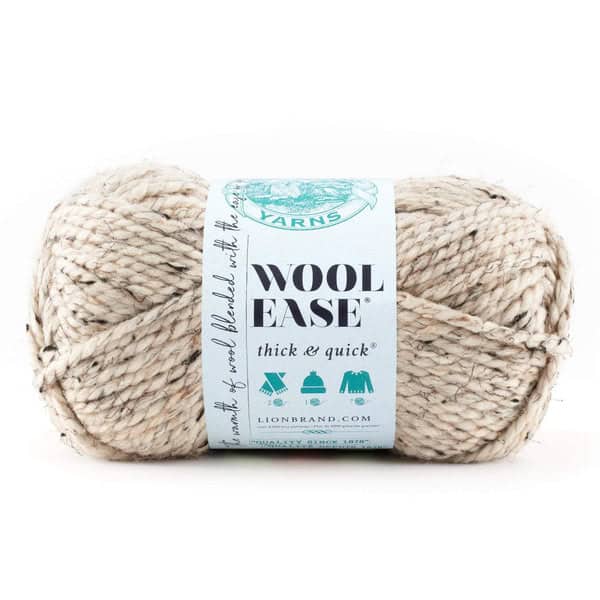
Any yarn + hook will do. #4 medium worsted weight yarn is a common size that beginners use the first time they crochet. You can pair this weight yarn with a 5mm US Size H-8 crochet hook.

Skeins or Balls of Yarn
How your yarn is wound will affect how you work with it. I find caked yarn, pulled from the outside to be the easiest on my hands, because there’s the least amount of tension coming off the cake.
Mosts yarns come in skeins or balls that can be started from the outside. Some will include pull from the inside, which is often easier, as it pulls straight out, not tumbling the yarn all over the place.
But anyone who has had “yarn vomit” knows that center pull yarn skeins are not perfect. They have a pension for getting tangled inside and eventually you pull out a giant knot.
I use this yarn winder* from Knit Picks to wind my leftover bits of yarn, my fancy yarn that comes in hanks, and to frog large projects likes sweaters or blankets… as sad as that makes me.

Notes
When you’re first learning a new skill it often feels awkward. The best thing you can do as a crochet beginner is to keep practicing.
Stitches/Abbreviations (US Terms)
Learning to crochet also includes learning a new language (practically). There are many commonly used abbreviations and terms that written crochet patterns use. Here are a few:
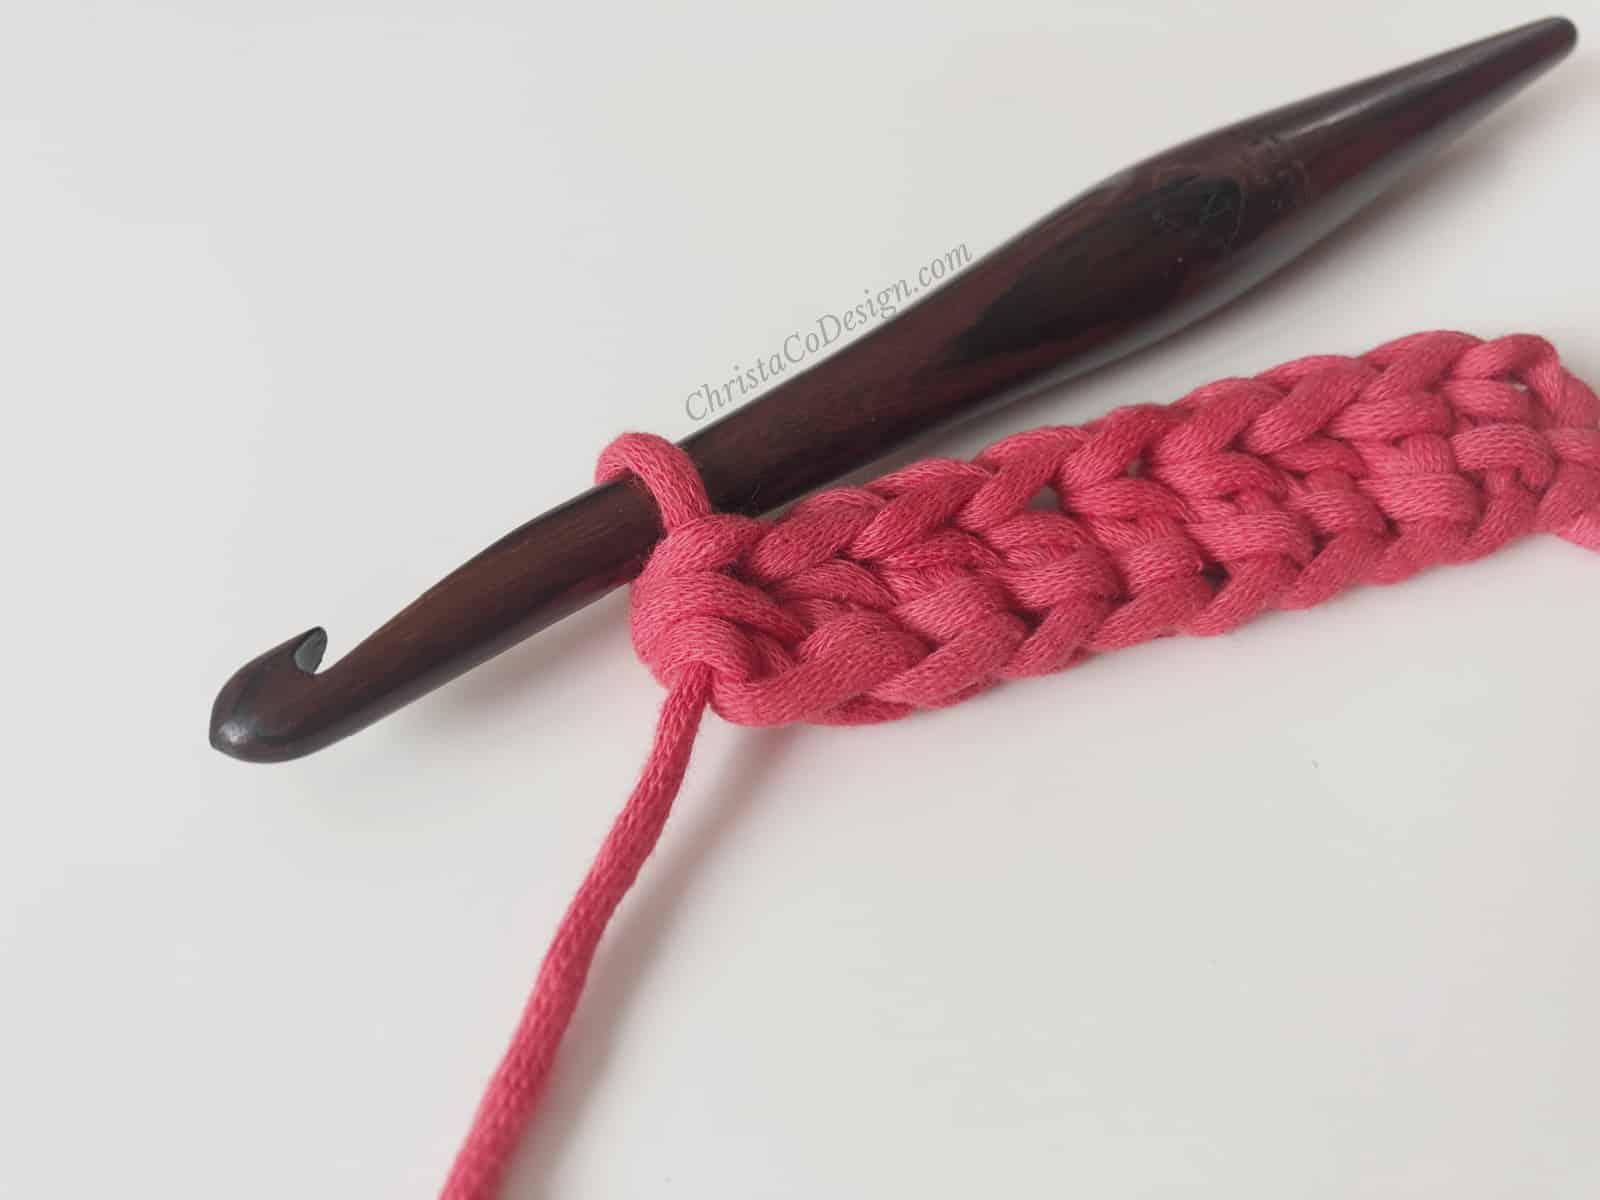
ch – chain stitch The next step is to learn how to make a foundation chain.
rep – repeat
sk – skip the indicated stitch
st(s) – stitch(es)
Slip Knot – most patterns and tutorials will assume you know to start with a crochet slip knot on your hook.
working yarn – the yarn you use to crochet that’s attached to the ball.
yarn tail – the tail end of the yarn, usually left after you begin with your slip knot.
yo – yarn over
Beginner Stitches
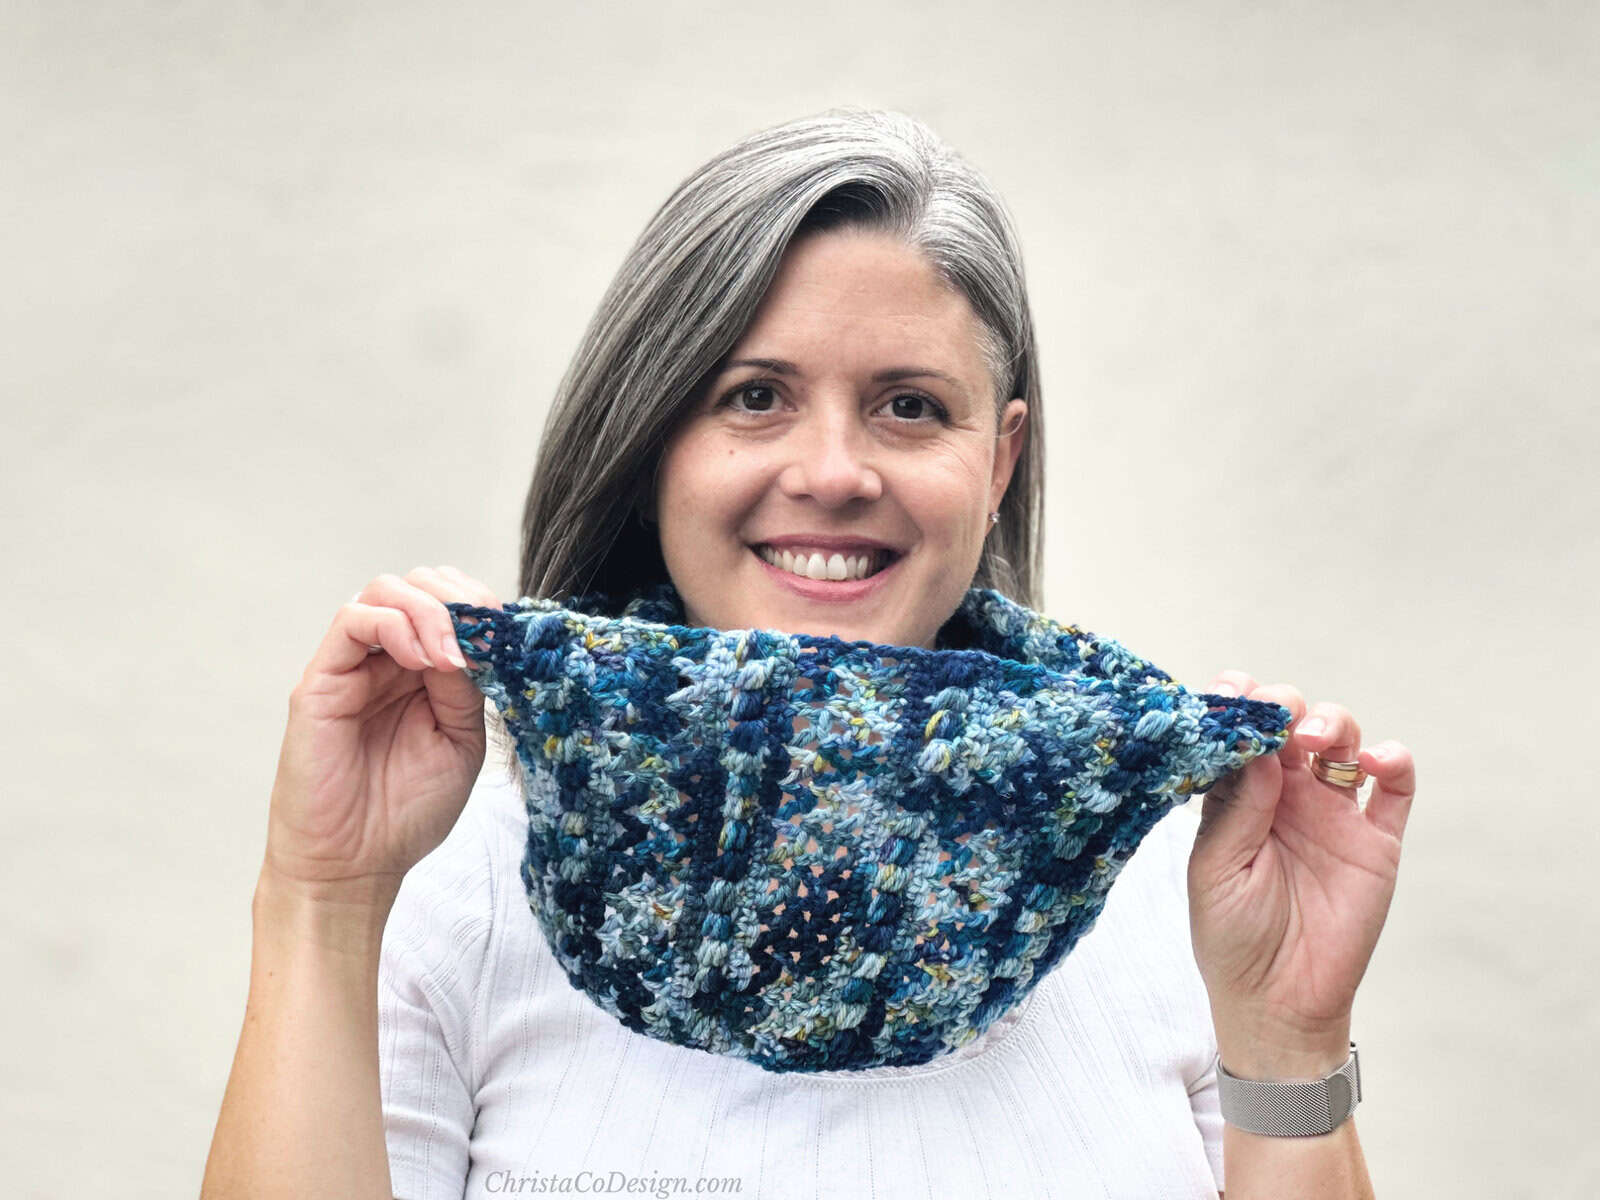
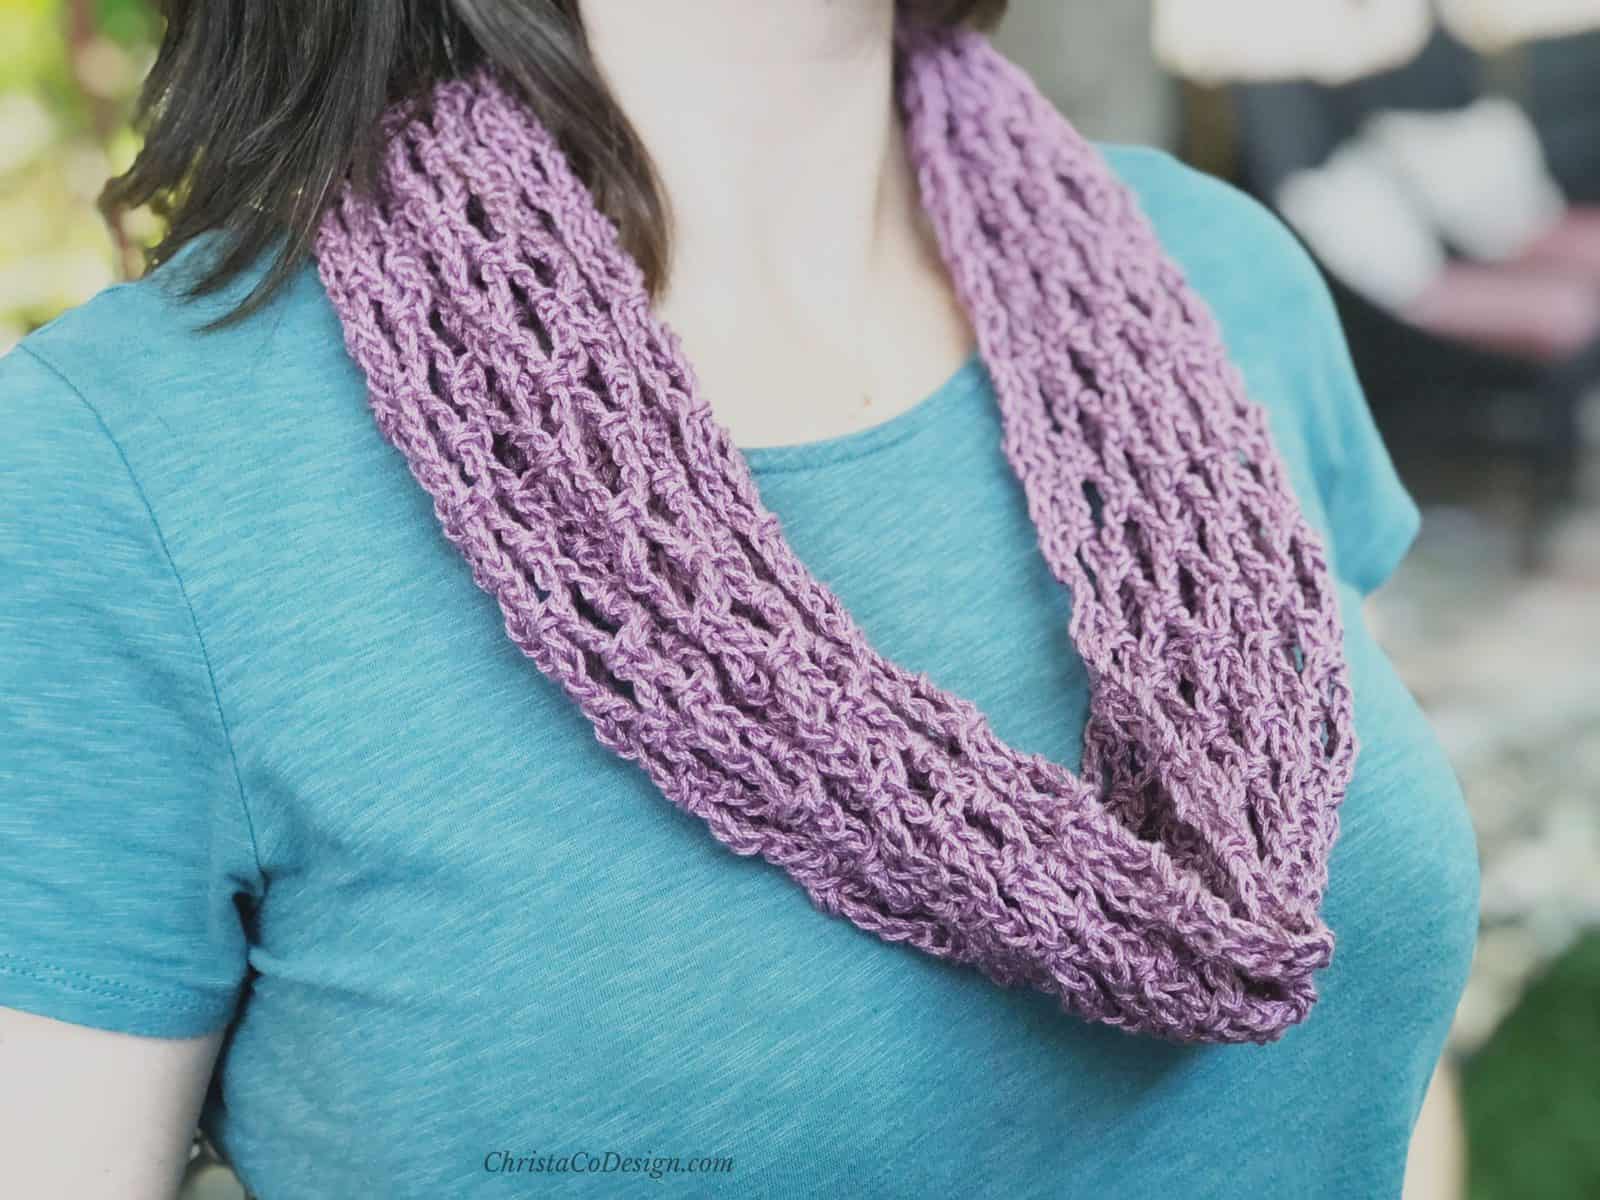
When you’re ready you can check out some basic stitches, like single crochet, half double crochet and the double crochet stitch.
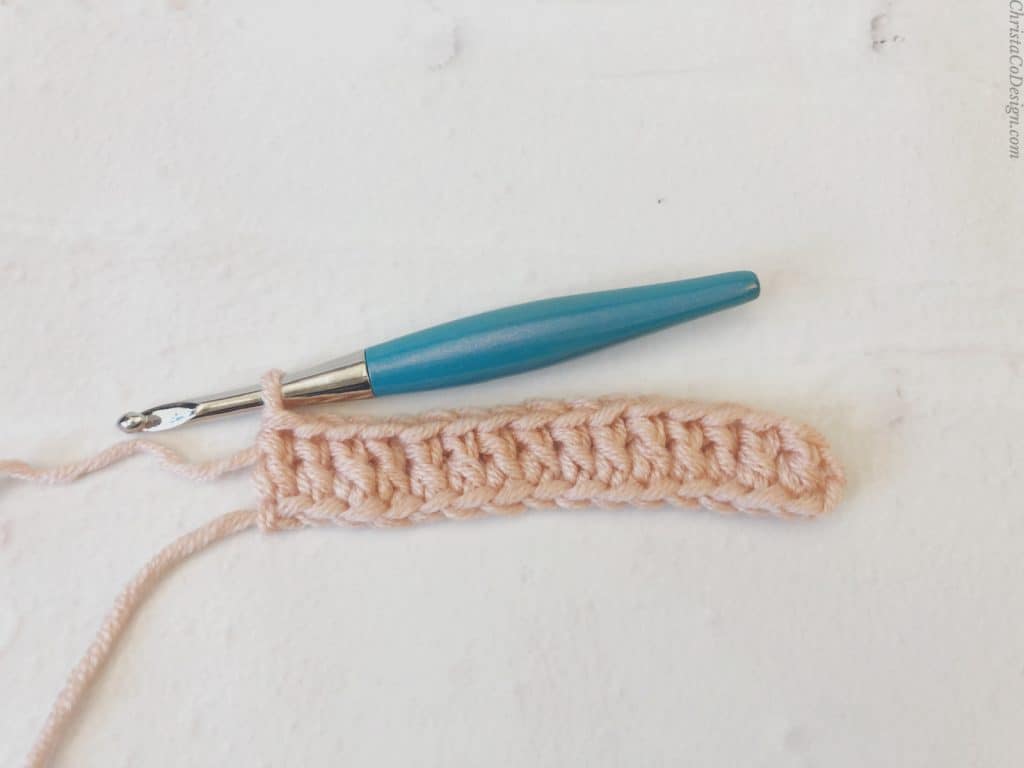
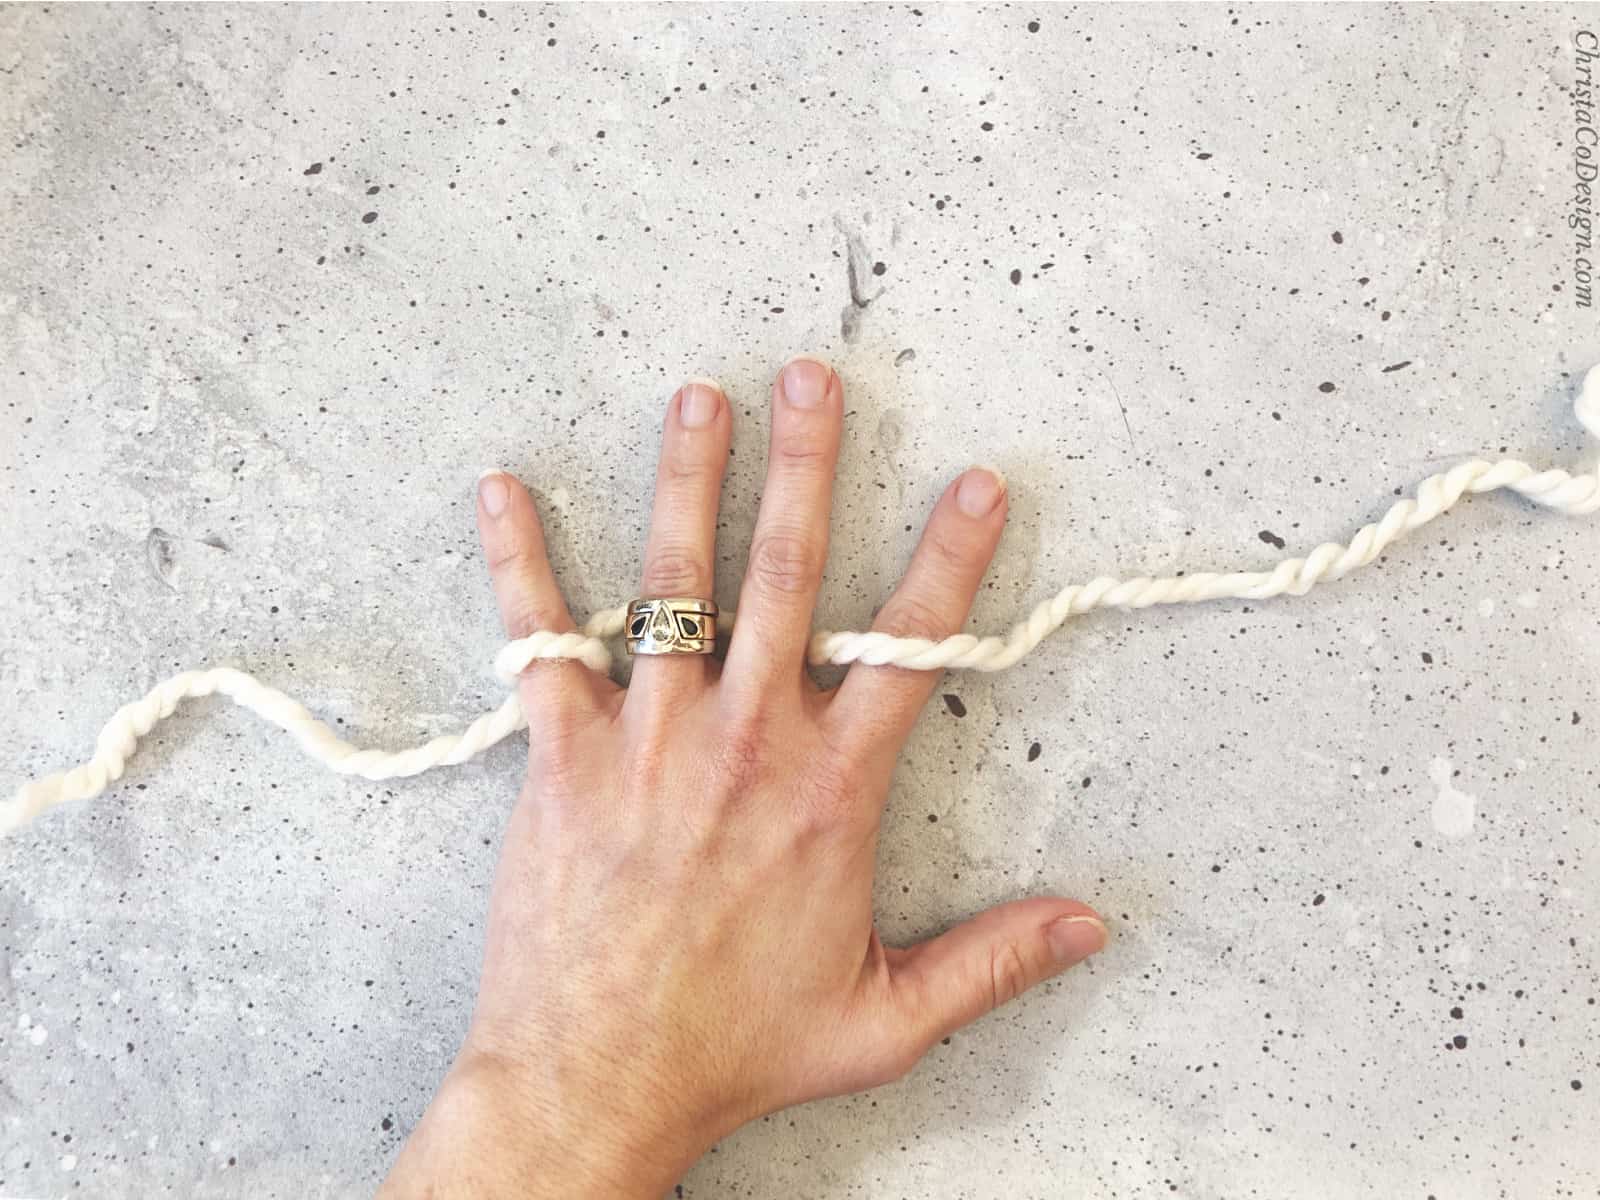
Here’s a picture of how I position the yarn to work with it.
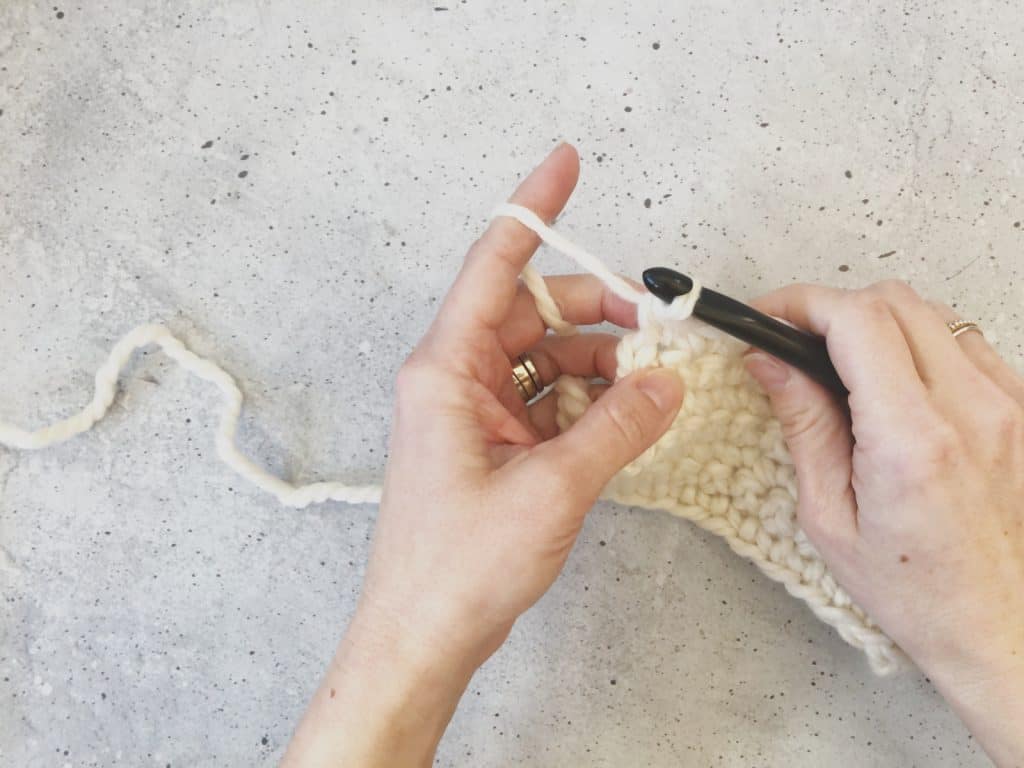
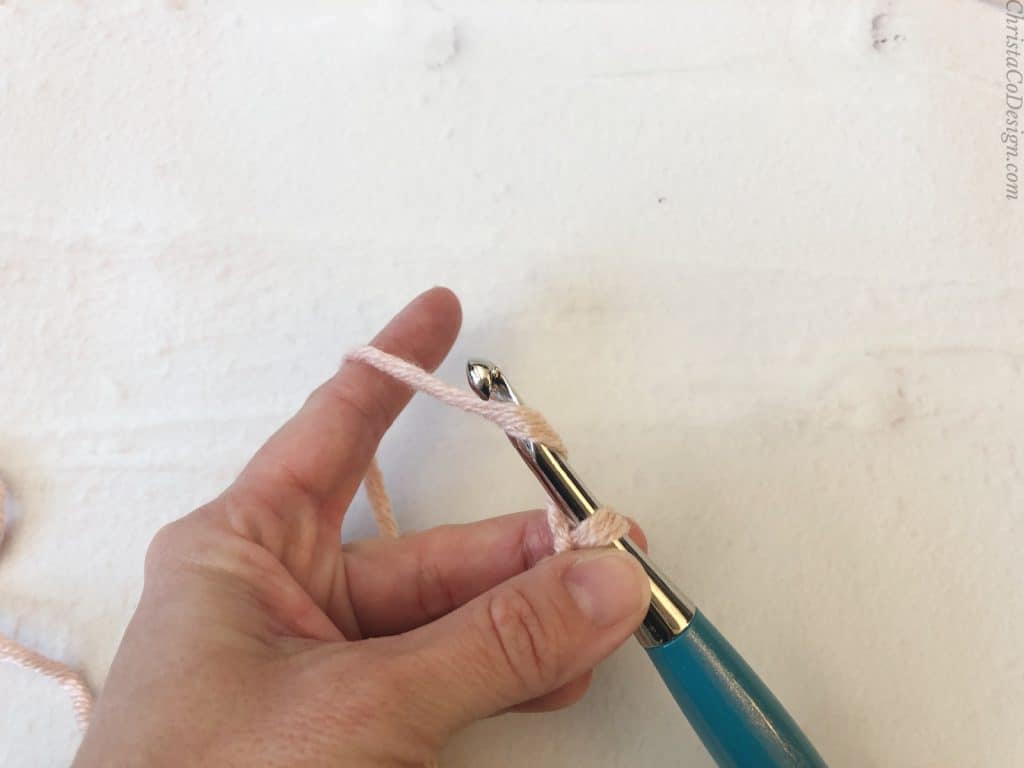
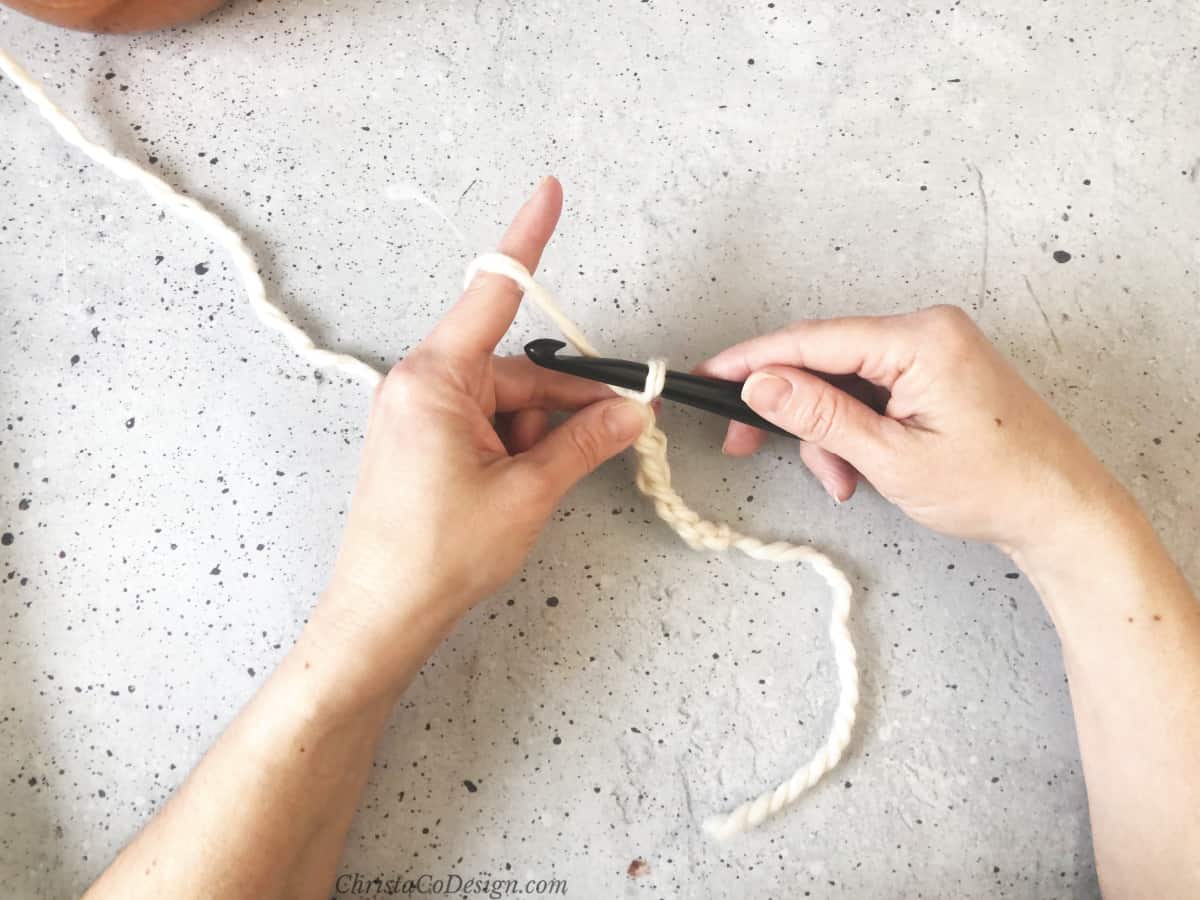
In the picture below I am demonstrating a yarn over. A yarn over abbreviates as ‘yo’.
As I crochet, I will hold my stitches between my middle finger and thumb. The working yarn (which is the yarn that attaches to the ball of yarn) goes over my first finger.
Video Tutorial on How to Hold Your Yarn
Check out my video on how to hold your yarn to crochet. You can also watch this video on my YouTube Channel.
How to Hold Yarn When Crocheting Tutorial
How to Hold the Yarn when Crocheting
Learn how to hold the yarn when crocheting in this easy step by step tutorial for beginners.
Materials
- Any weight yarn works for crocheting. I'm using a #6 superbulky yarn here.
Tools
- Choose a crochet hook to match your yarn. Your yarn label can help you decide. For a #6 yarn I'm using a 10mm US Size P crochet hook.
Instructions
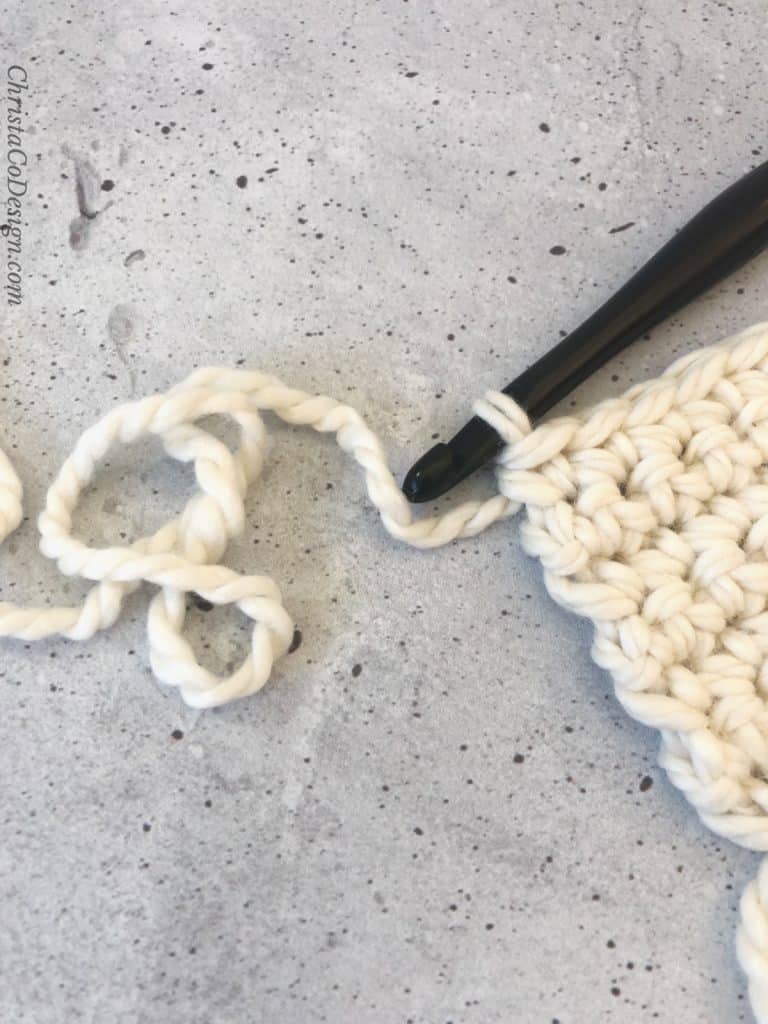
- Pull a length of yarn from the ball to work with. Start with a slip knot on your hook.
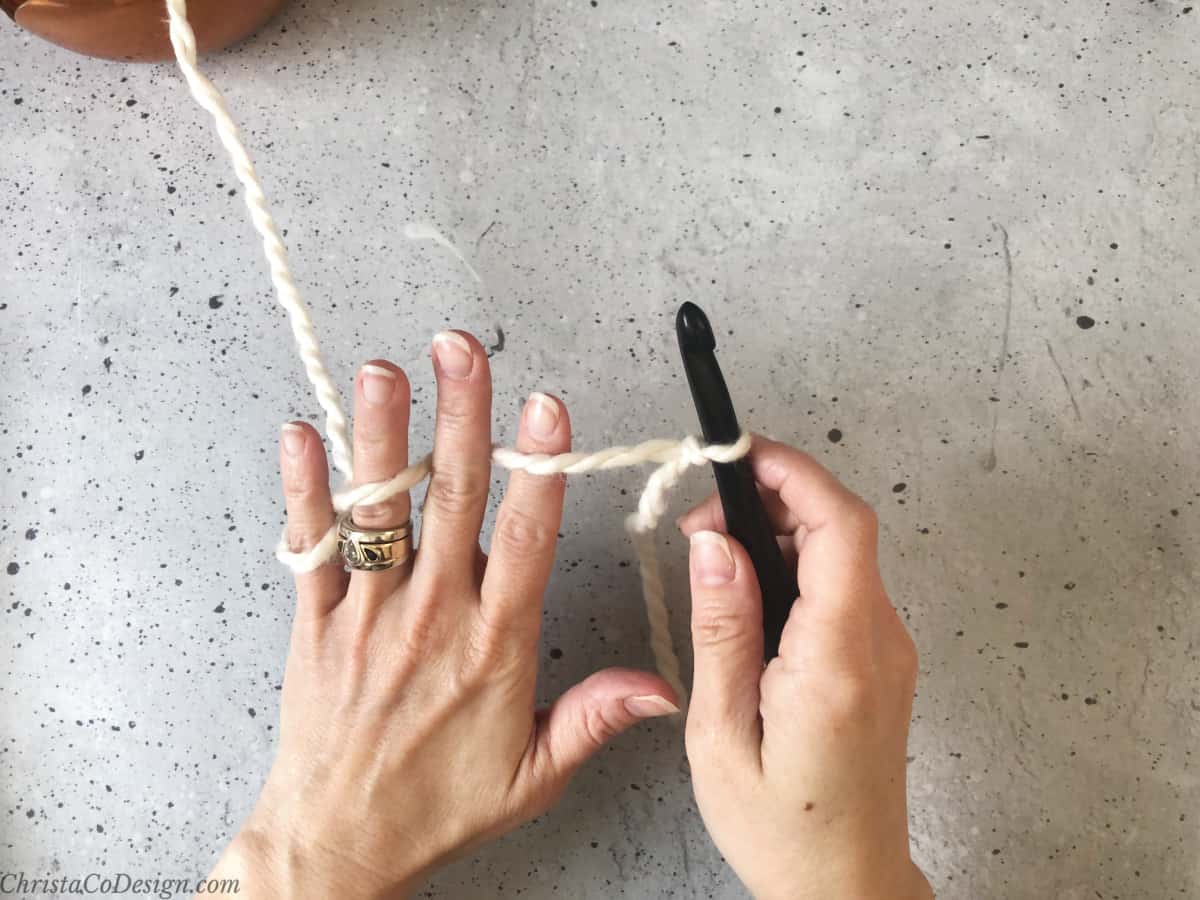
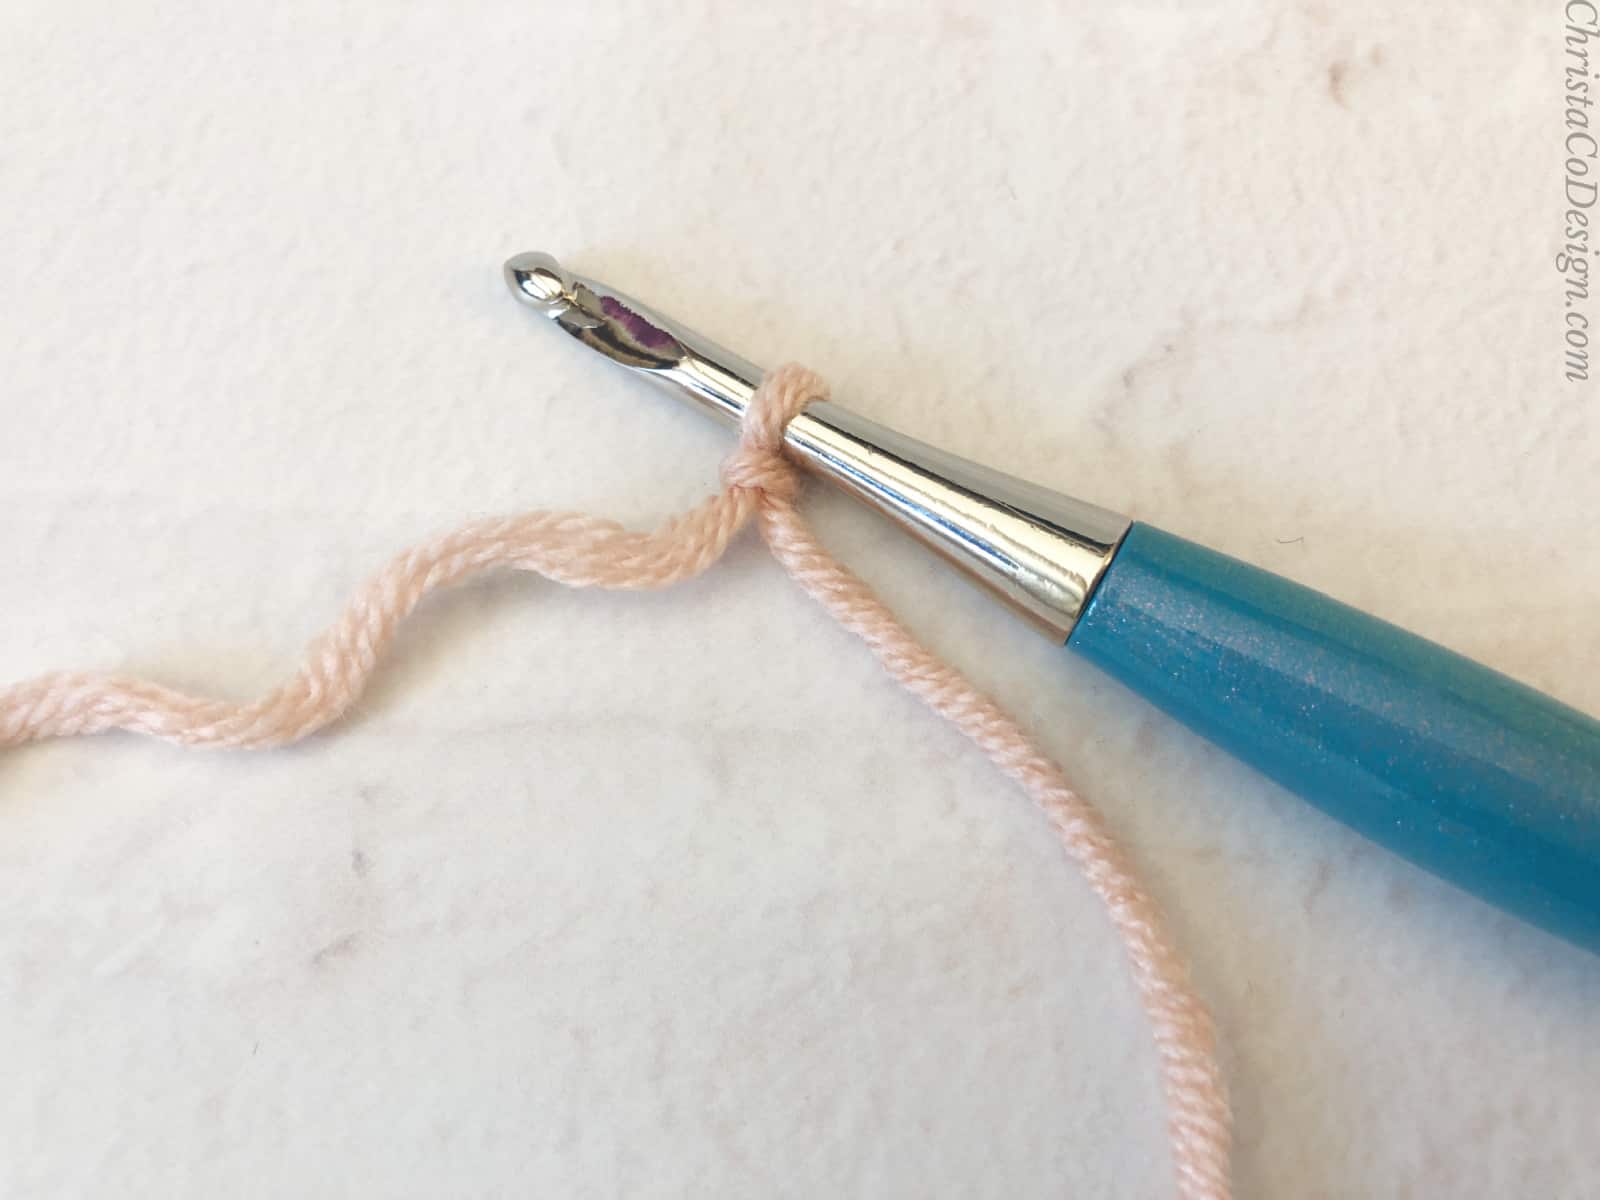 The short end of the yarn is the tail of the yarn. It's on the right side. The yarn connected to the ball is the working yarn. It's on the left in this picture. You will thread this yarn through your fingers to control your tension.
 - You may practice just threading the yarn through your fingers first. Once you're comfortable with the motion, add your yarn to your hook.
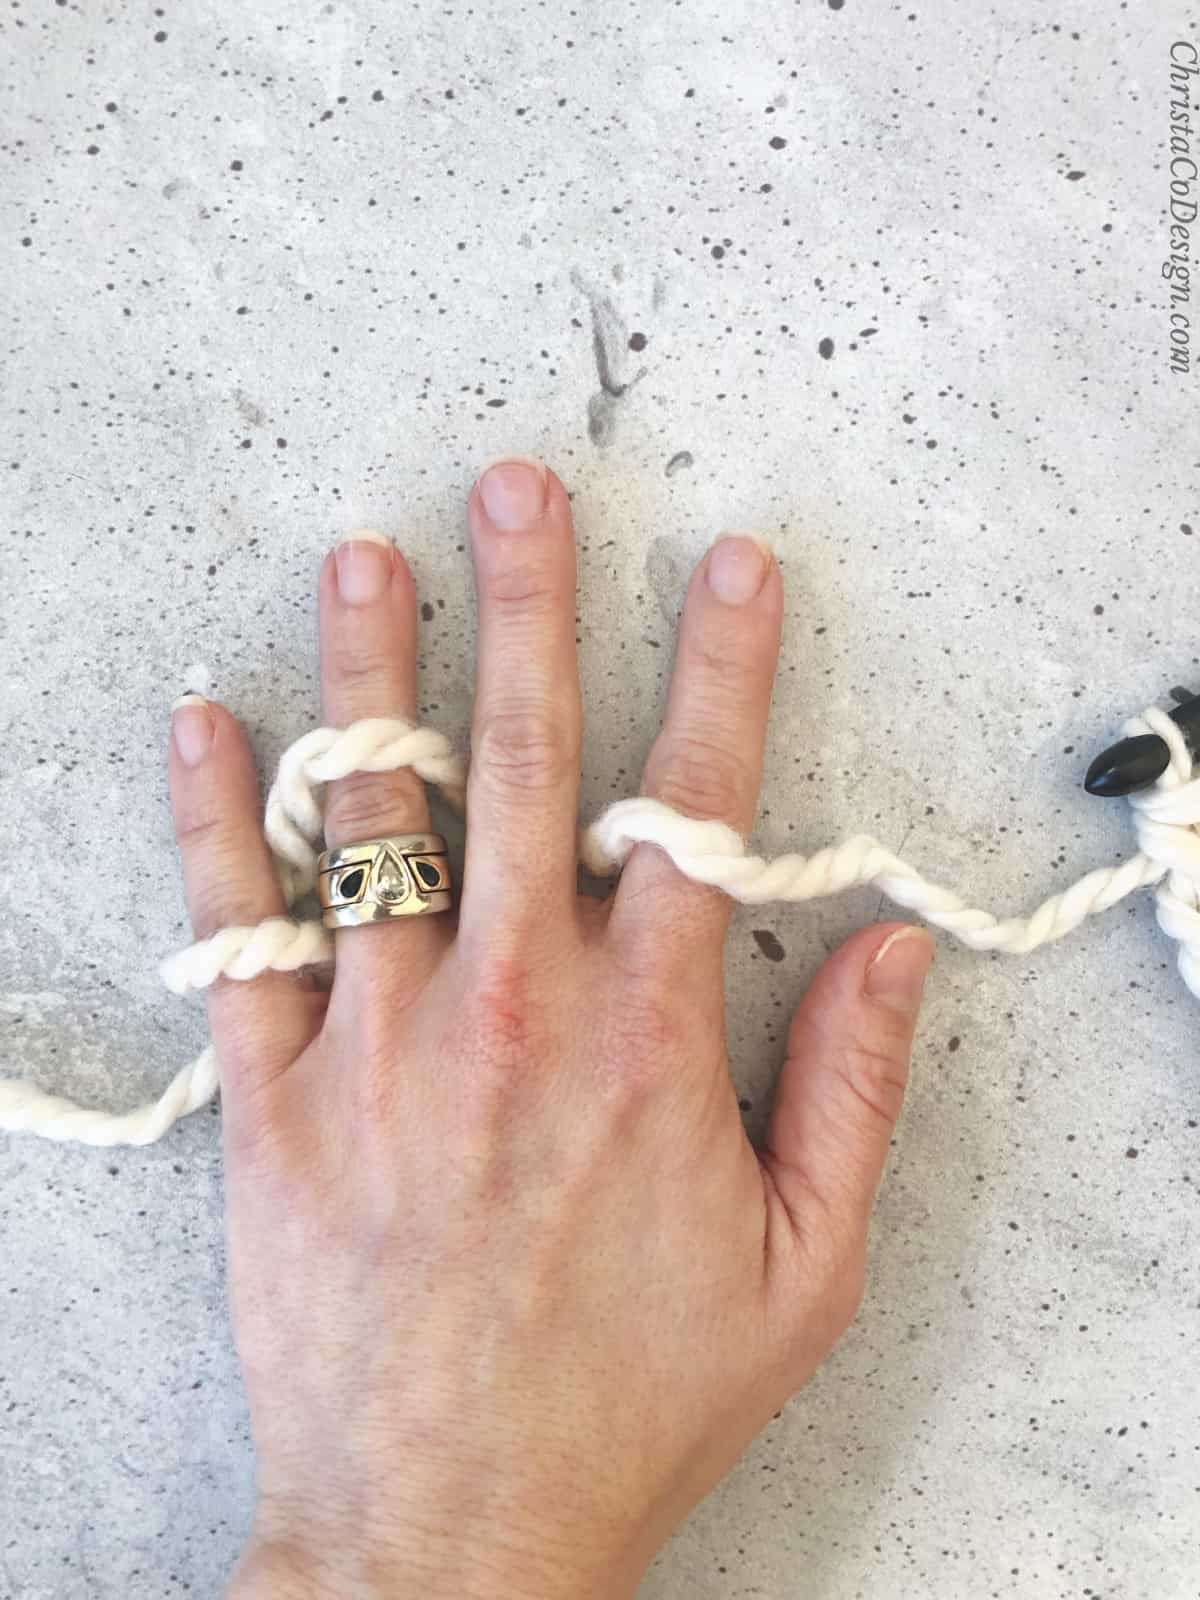
- You'll pull the yarn through your hand from the pinky finger side to the top of your index finger side.
- With your non dominant hand, loop the yarn over the top of your little finger, and all the way around it.
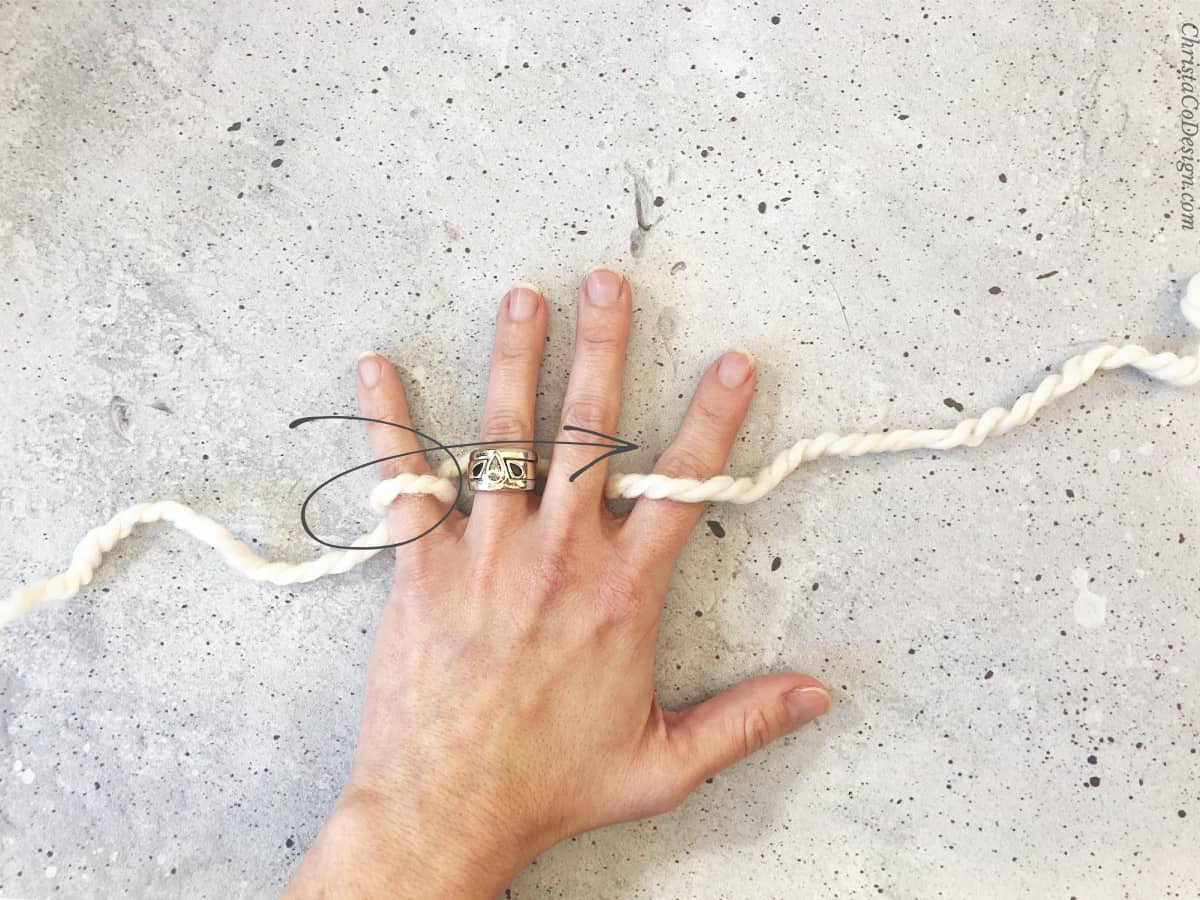
- Lead the yarn under your two middle fingers.
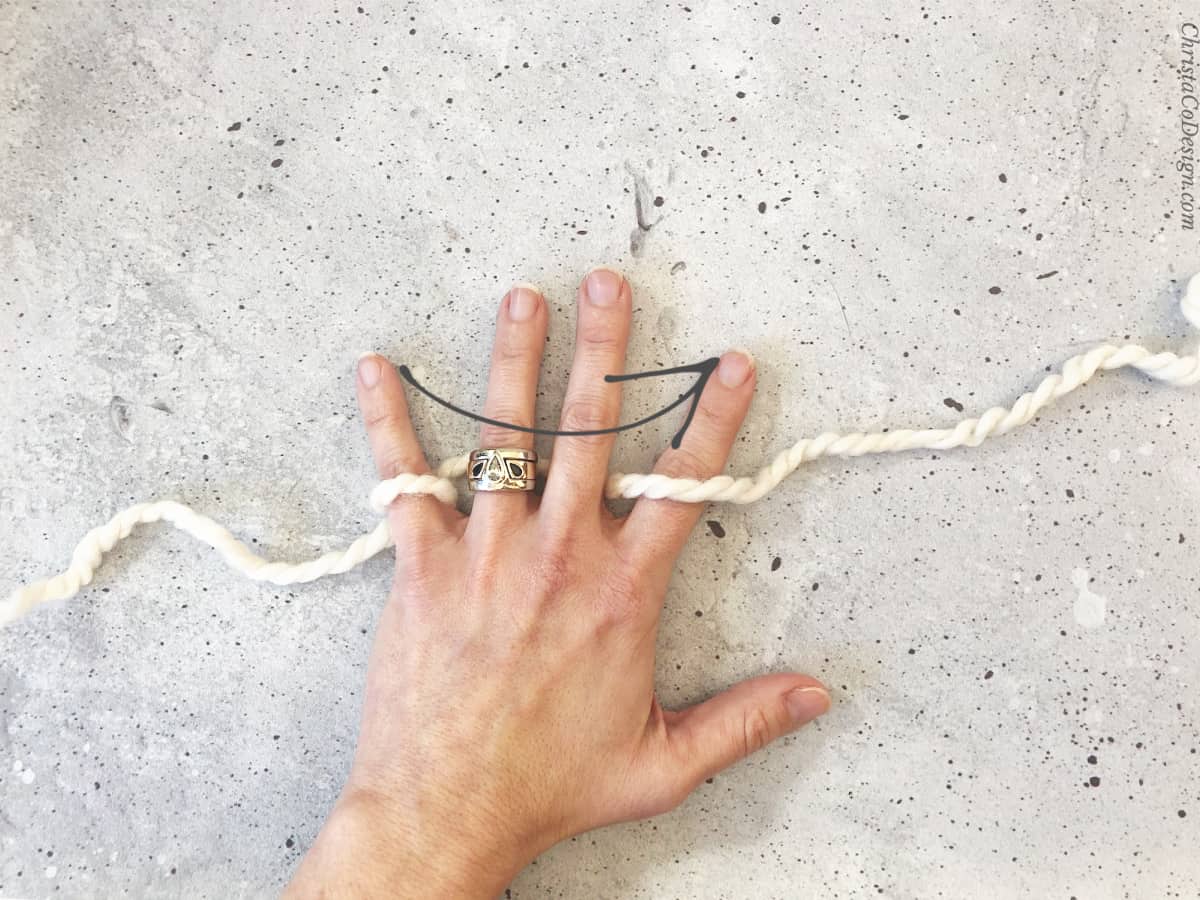
- And up, over the top of your first finger.
- Now you're ready to work with the yarn. Your other hand and hook will be using the yarn as you crochet.

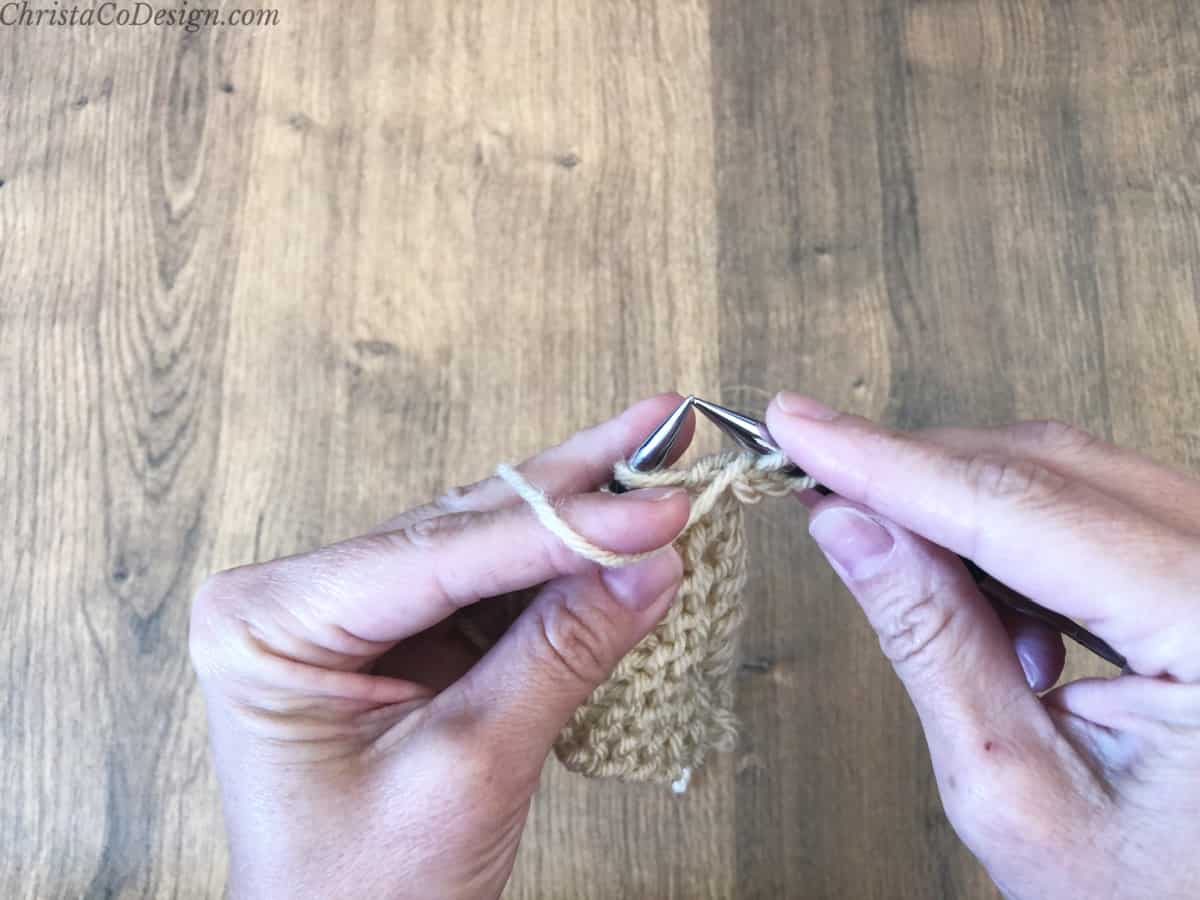
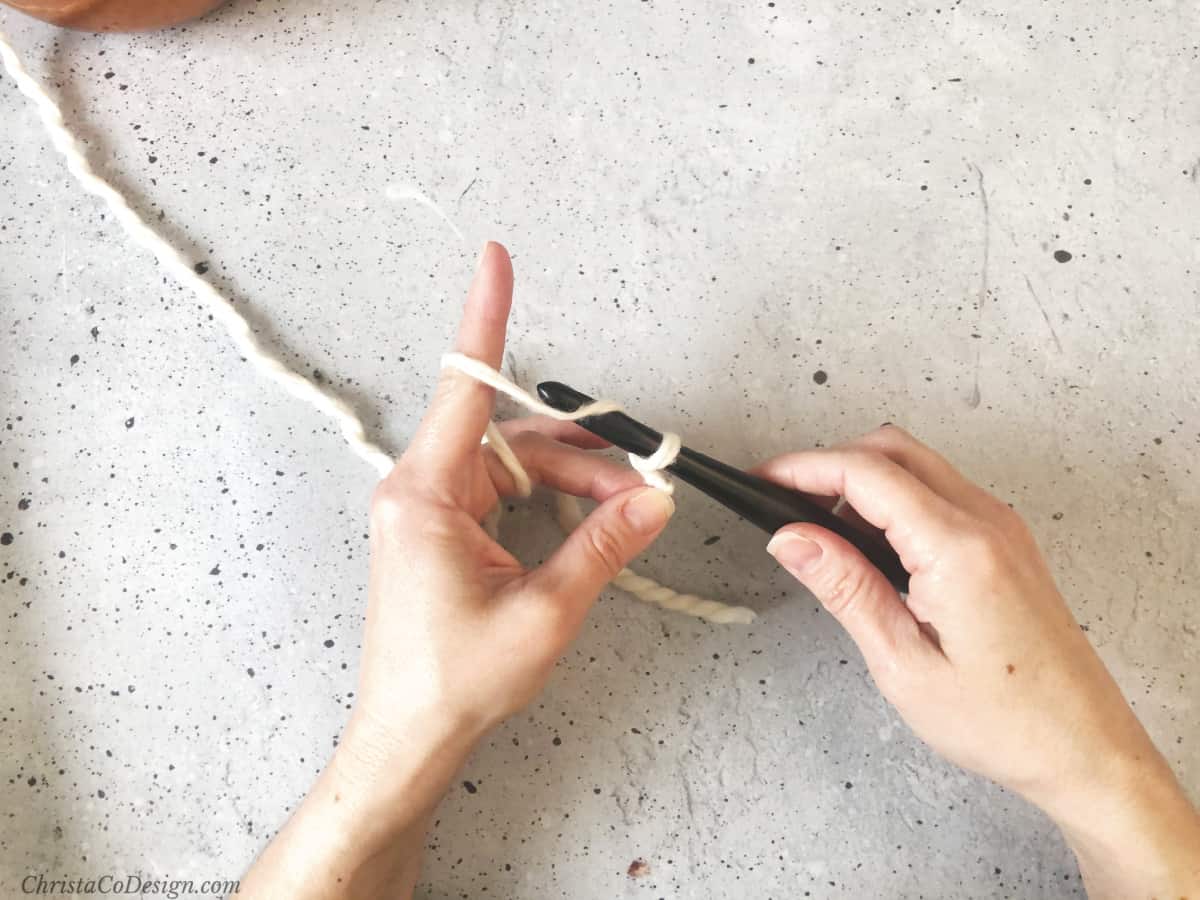
- Hold the yarn at the slip knot on your hook. The length of yarn between the hook and your first finger is where the hook will grab the yarn to crochet.
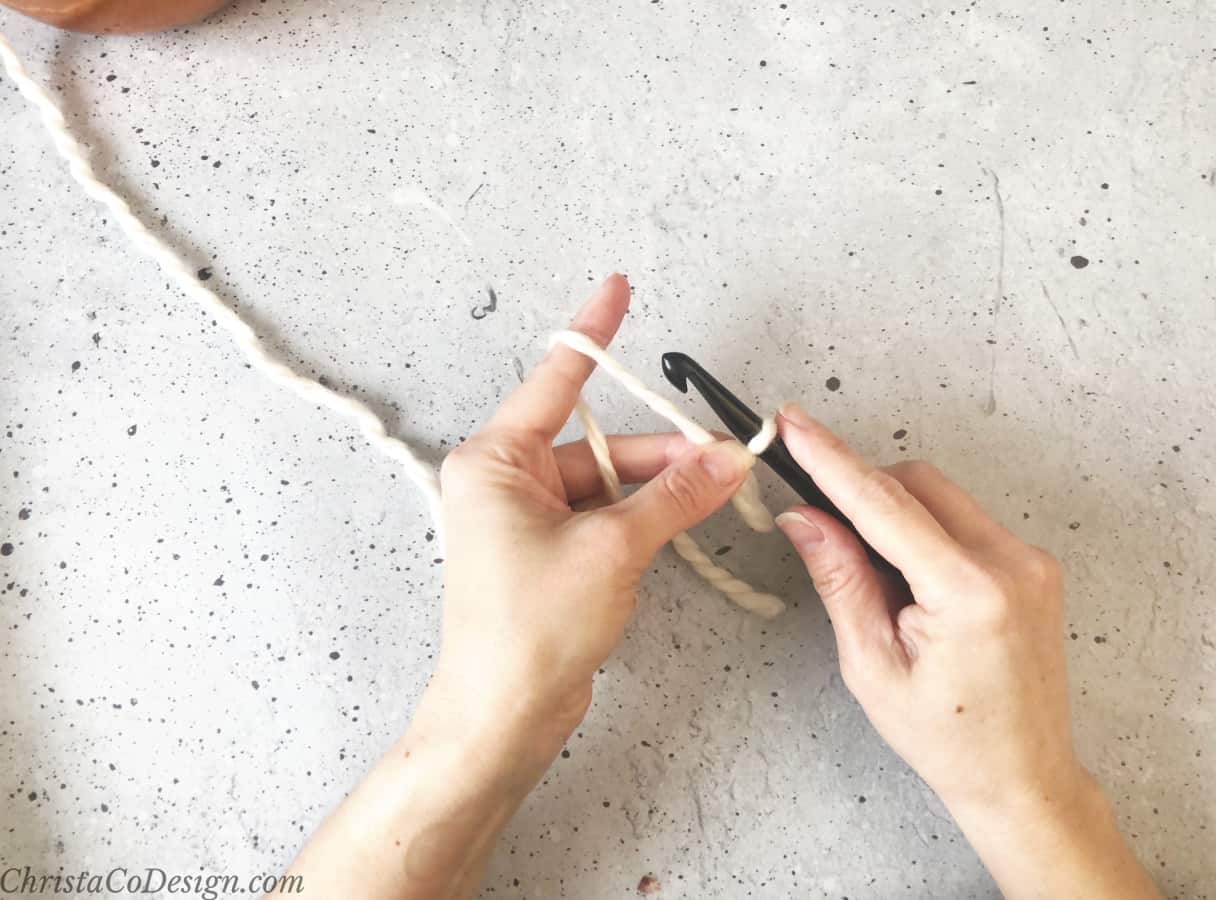
- Use the hook to grab the yarn. This is a yarn over. The yarn wraps around the back and around to the front where it is caught by the hook.
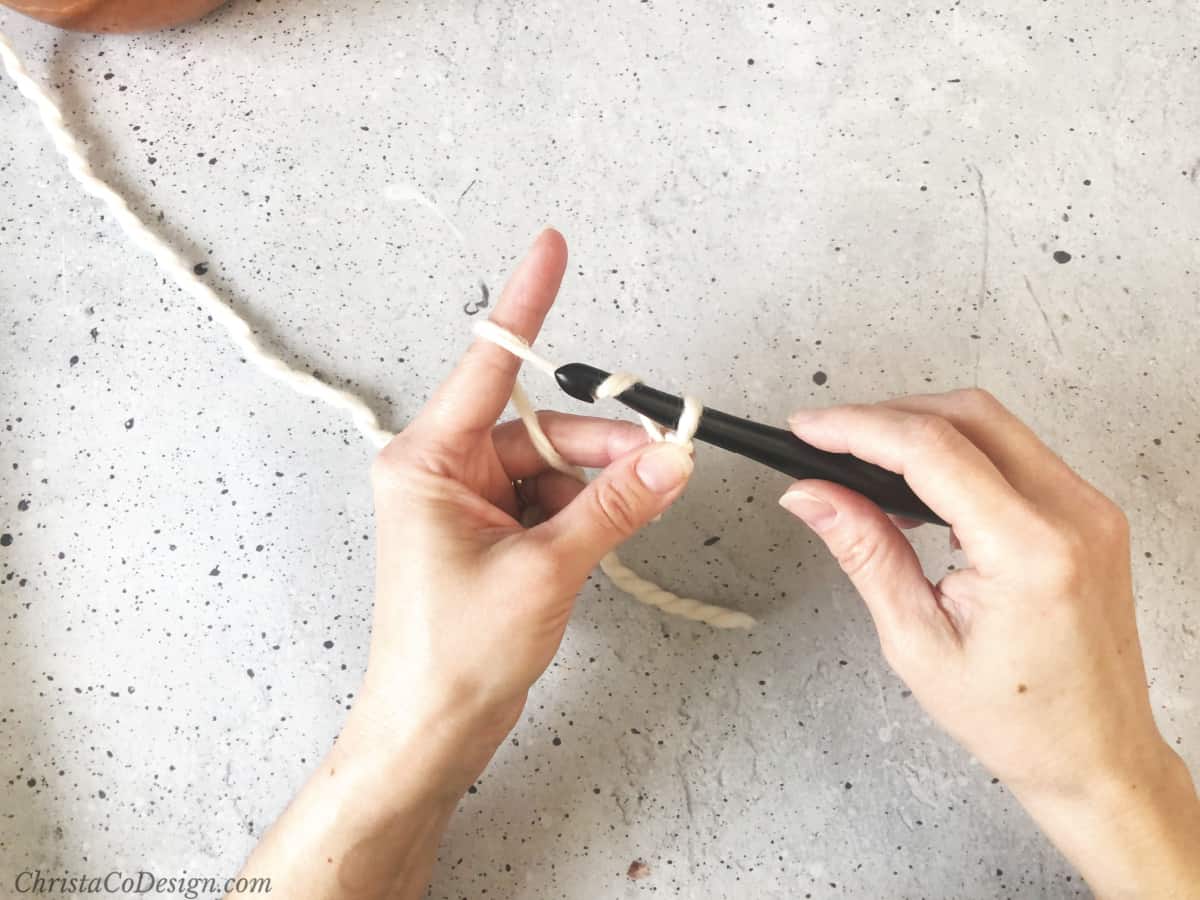 To do this I twist my hook so the hook is facing the yarn, catch the yarn and then twist the hook back towards me.
 - Now you can pull the yarn through the loop on your hook. This will be the first chain.
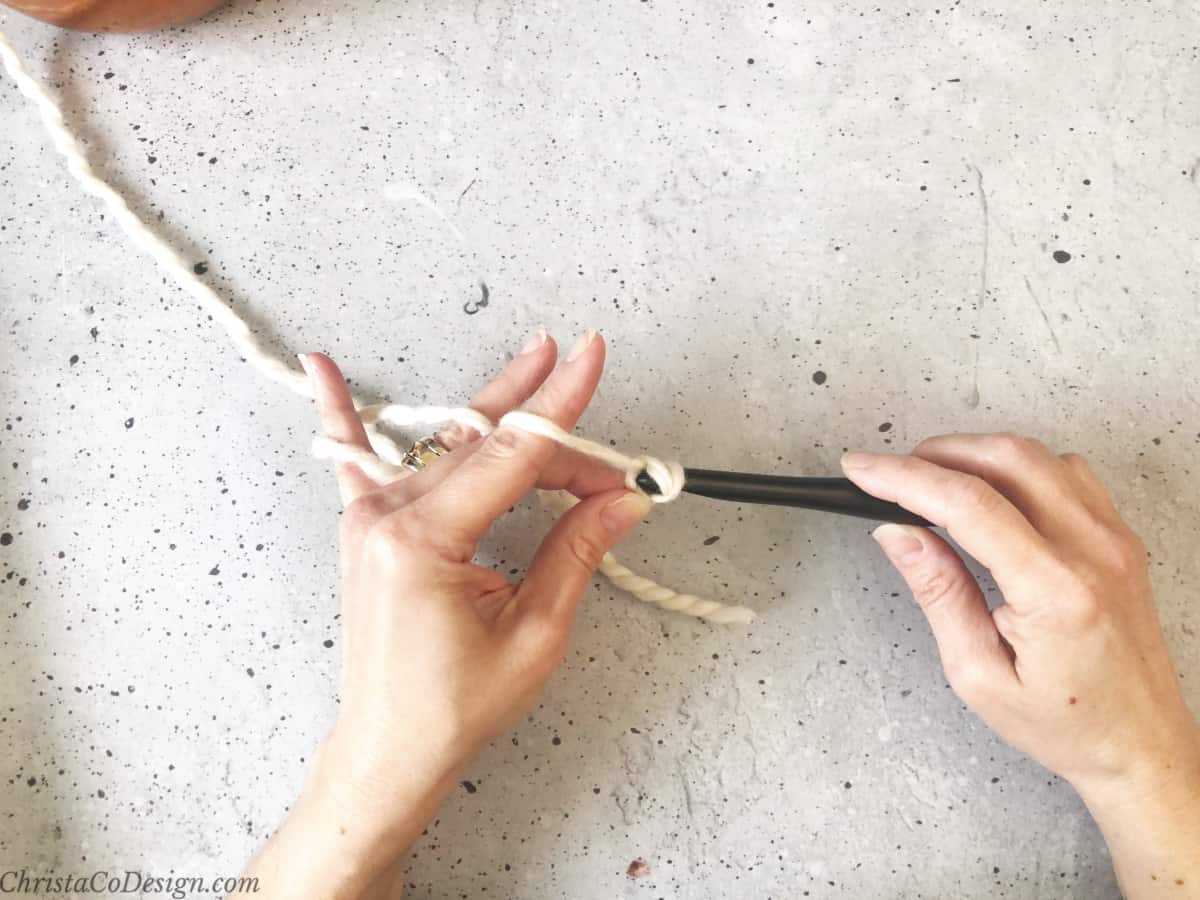
- Then return your hook to the length of yarn between your first finger and thumb.
- As you continue your crochet work will grow. Move your thumb and middle finger holding the stitch up closer to the hook as your work lengthens.
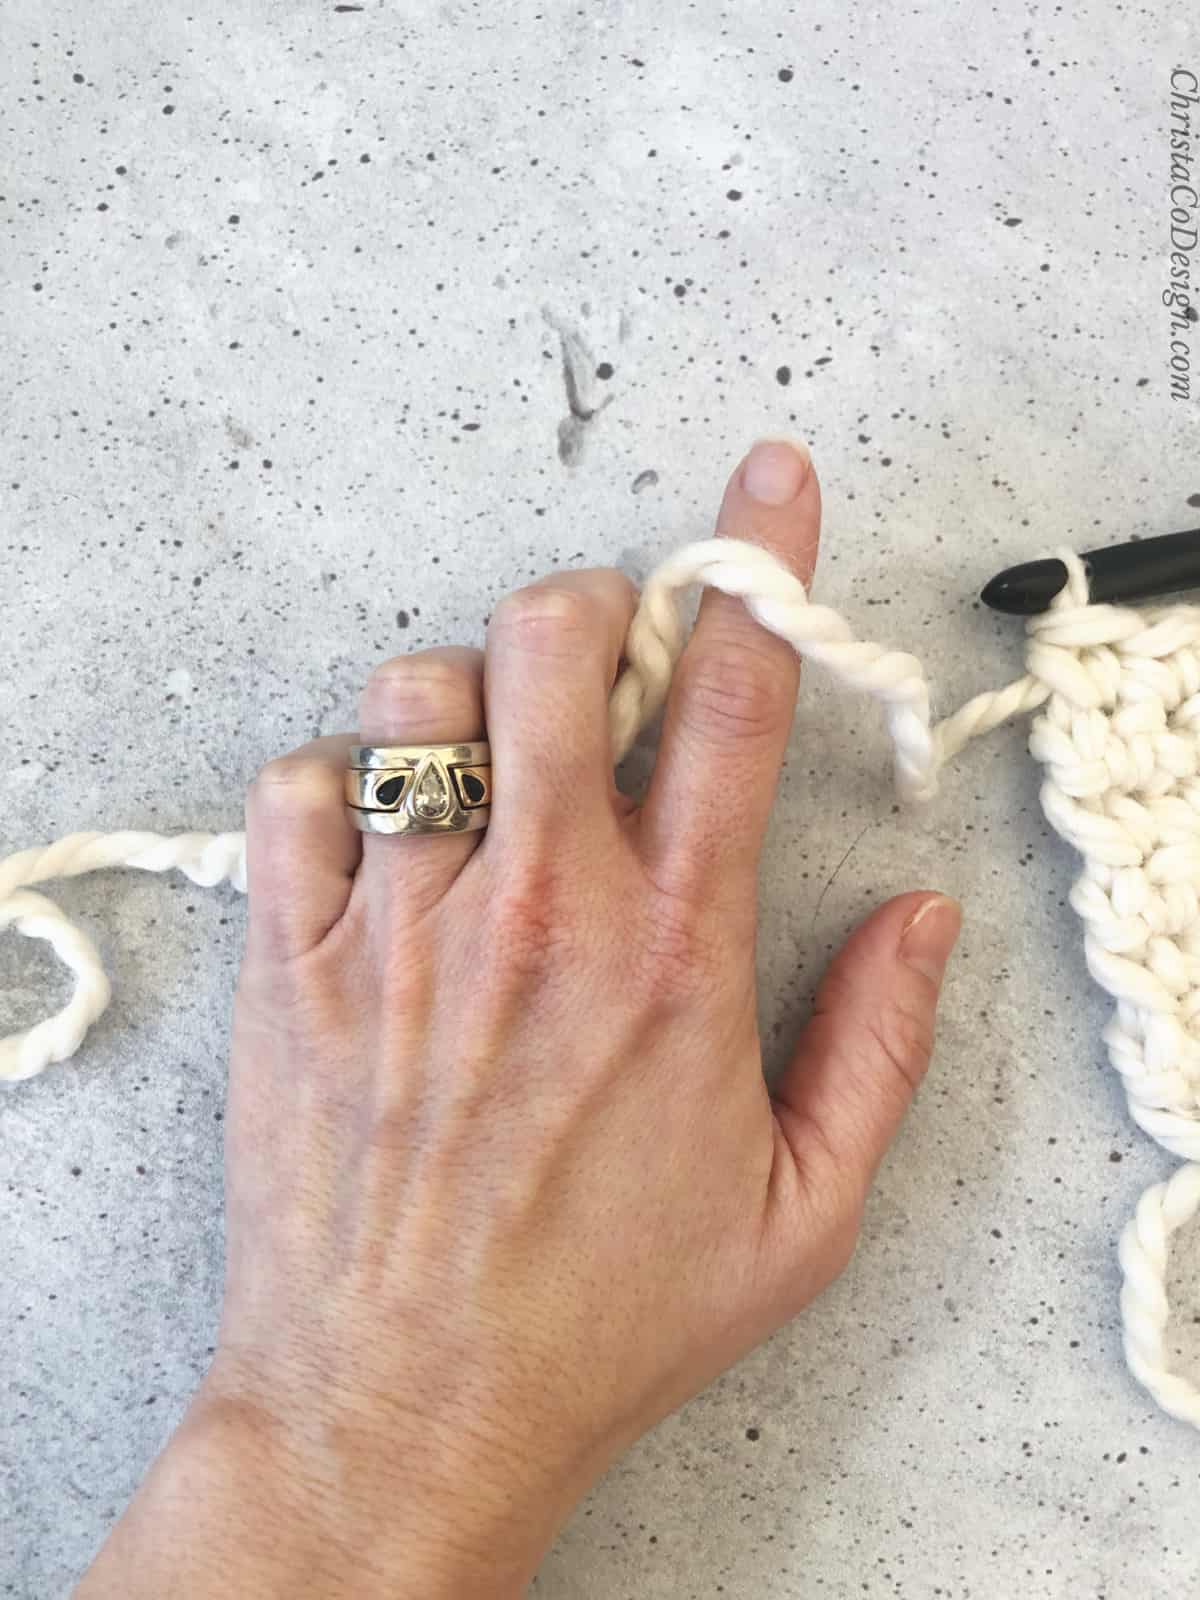
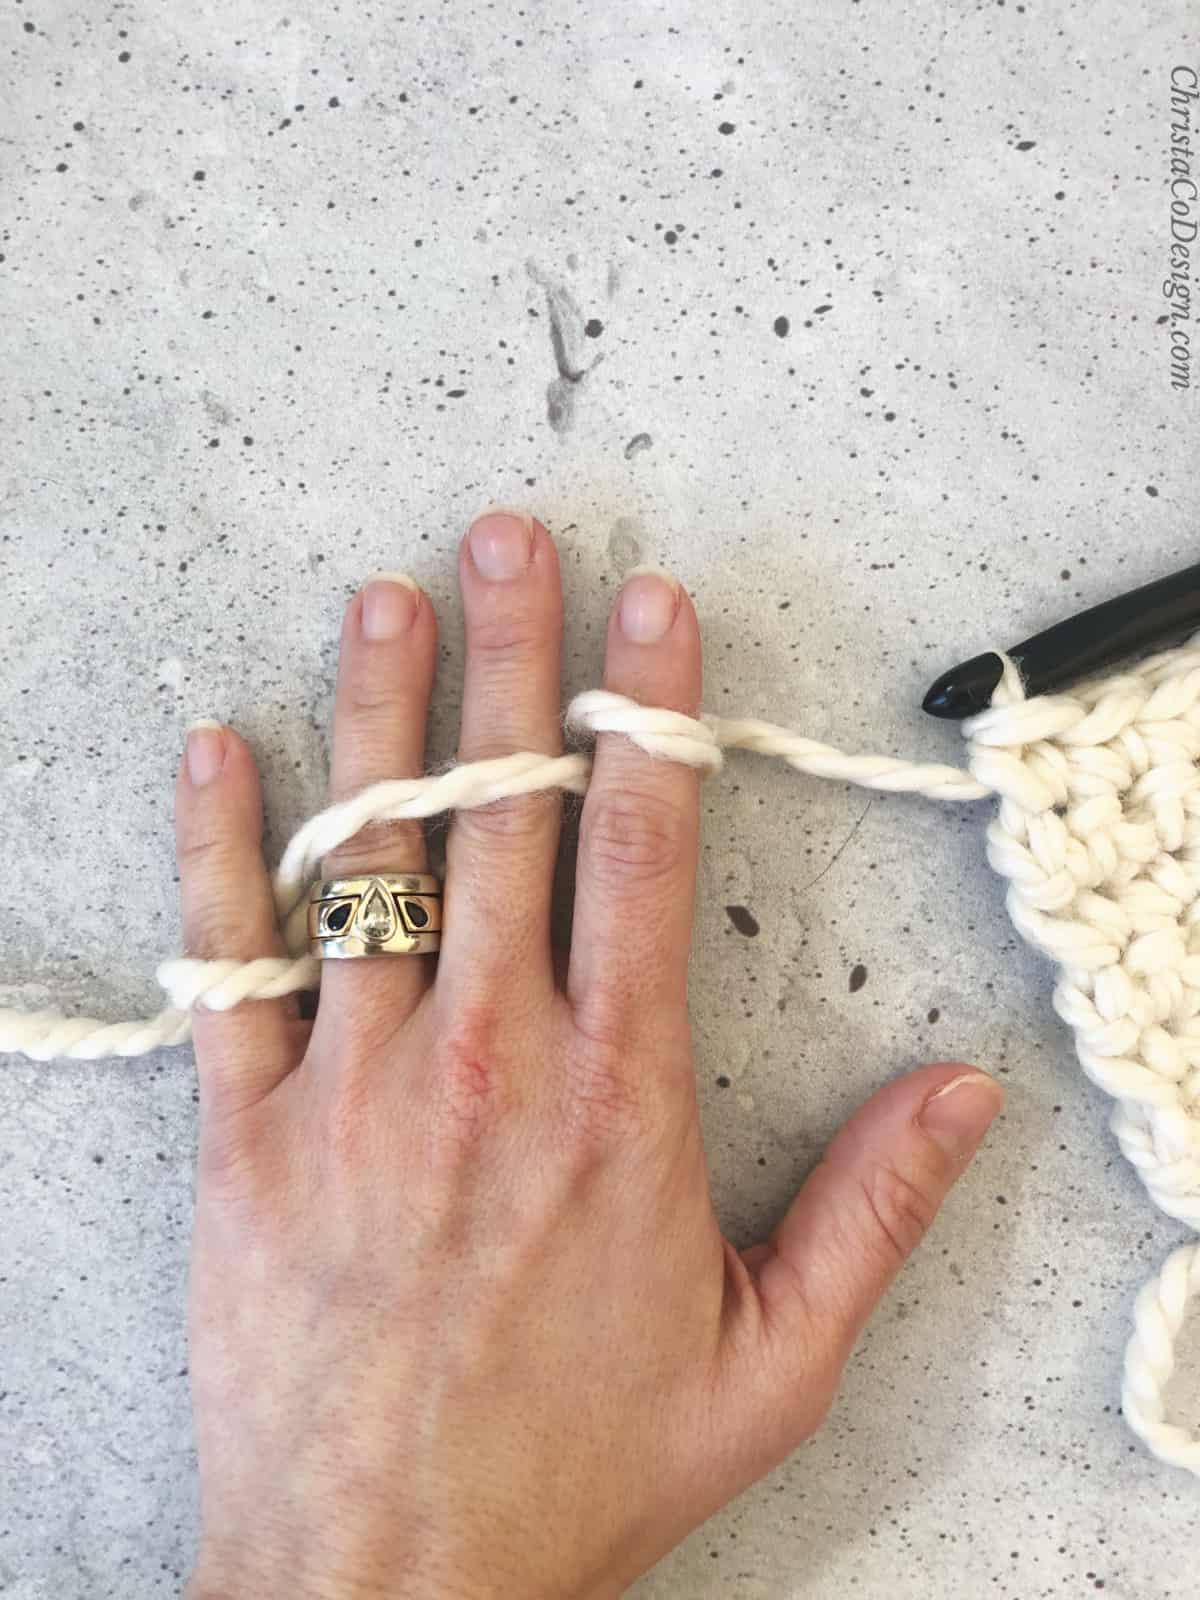
- As needed, you will open and close your fingers holding the yarn, allowing the yarn to pass through them, feeding it into your project. This is how you control the tension of the yarn.
Yarn Hold Variations
These are the some common techniques for holding the yarn. You can try a different position to find one you like.
- You can weave the yarn over your ring finger, and under your middle finger and back over your first finger.
- If you find you need to loosen your tension, then you can omit the loop around your little finger, and just hold the yarn with those last three fingers. I do this when working with thicker yarns.
- You may find that you need tighten your tension. I will wrap the yarn twice around my first finger if I need to tighten it up. And you may have guessed that this will happen with lighter weight yarns.
Recommended Products
As an Amazon Associate and member of other affiliate programs, I earn from qualifying purchases.