How to Add Crochet Ribbing to a Cardigan Hem
Crochet ribbing gives your sweaters and cardigans a polished and finished look. Learn how to add the ribbing to the hem of a sweater in this step by step tutorial.

This post contains affiliate links, I may earn a fee. Read more disclosure policy.
Join the ChristaCoDesign Newsletter
Never miss a pattern!
One way to really improve the quality of our handmade makes is by adding these little touches. Adding crochet cuffs with ribbing for a perfect fit, or finishing off that cardigan with a ribbed hem are fabulous details that really say “finished.”
For this tutorial I include a step by step photo tutorial on how to crochet the ribbing and join it to the sweater bottom. Plus there is a video tutorial so you can see how it’s done.
I use ribbing in many of my crochet patterns, whether they are hats or cardigans there are many ways to use this technique. For these tutorials I’m using two of my cardigan patterns, but you can use this tutorial to add ribbing to any project.
Yarn
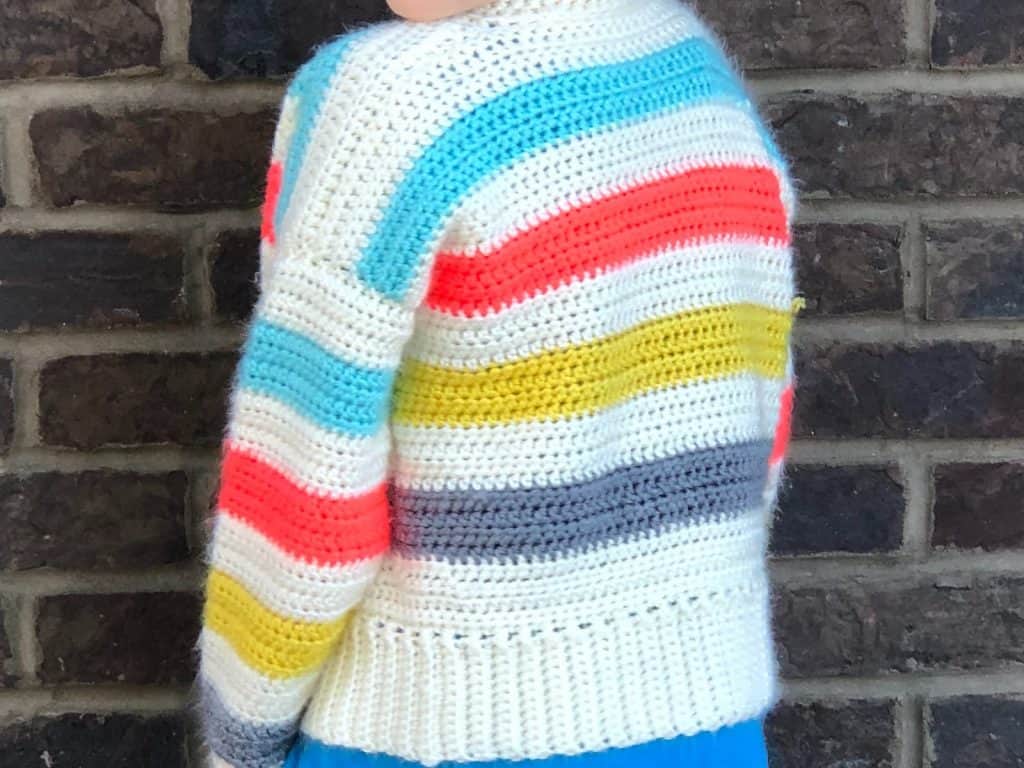
For the video tutorial I’m using the Bryce Canyon Cardigan, which is a free pattern in kids sizes. The yarn I use for that sweater is Yarn Bee Soft Secret. It’s a #4 medium yarn.
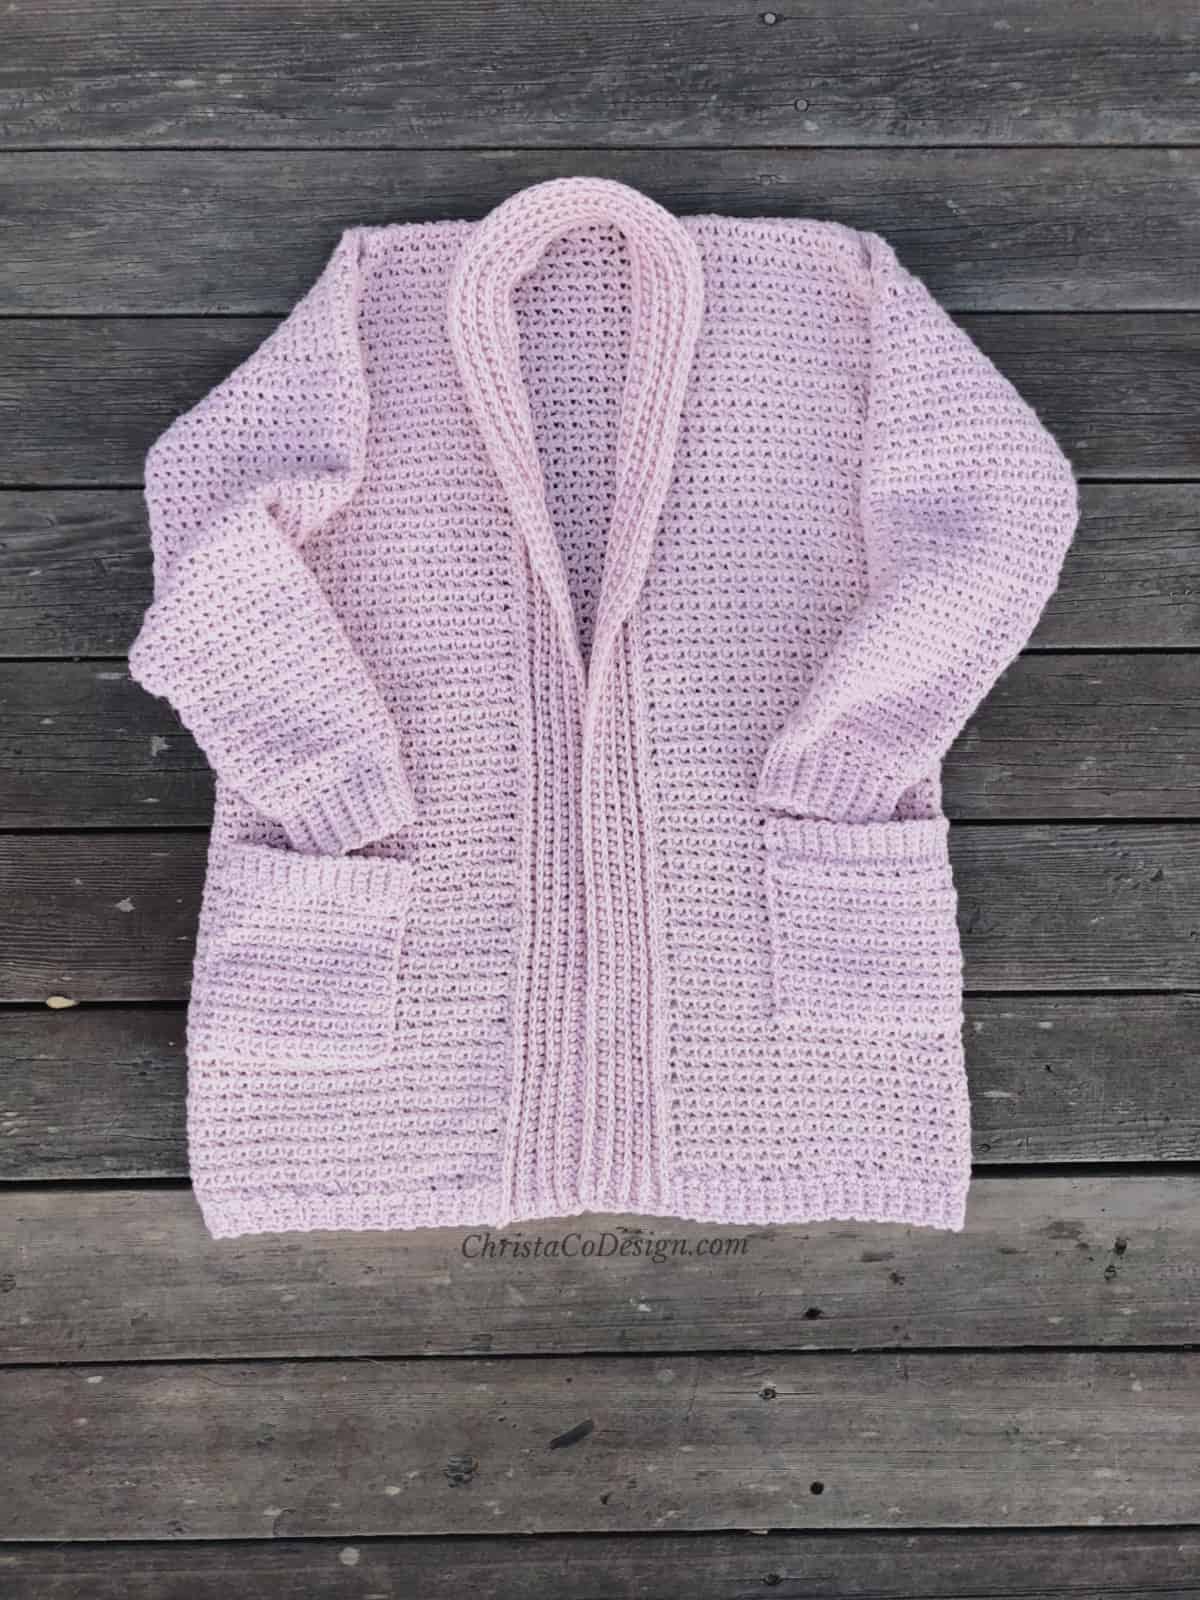
For the step by step photo tutorial I’m using the Hygge Homebody Cardigan pattern. This sweater uses Big Twist yarn which is also a #4 medium yarn. This ribbing technique will works for different yarn weights though.

Stitch
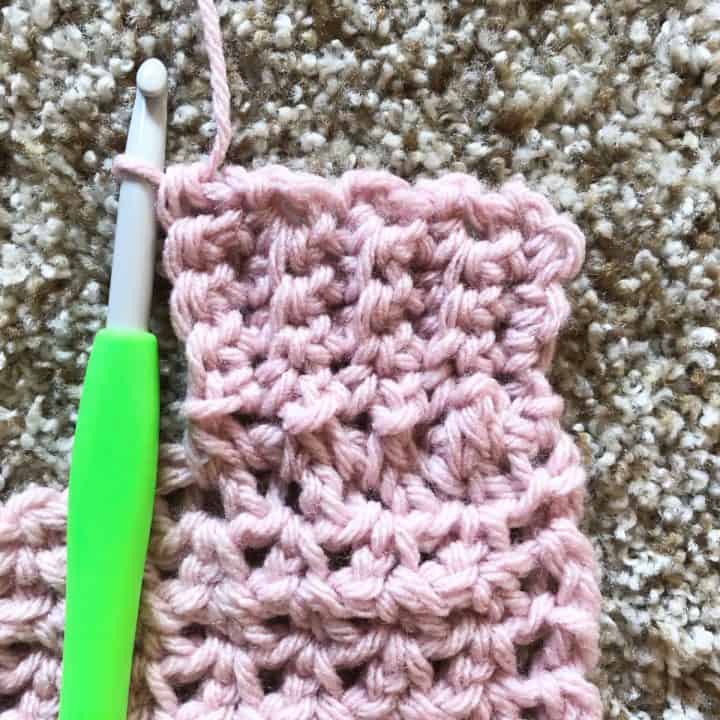
To add this crochet hem to the cardigan I’m using the single crochet stitch in the back loop. This creates a stretchy ribbing. I have a tutorial on how to crochet this ribbing for hats here.
The other stitch we’ll need is the sc2tog, or single crochet two together. This creates the join from the ribbing rows to the cardigan.
Materials
- For this tutorial we’re using a completed cardigan pattern.
- You’ll need matching yarn and a compatible hook for your yarn.
My favorite hooks are Furls* and Clover*!
Notes
- The sc2tog is used to join the ribbing rows to the cardigan, it does not count as a stitch-so don’t crochet into it. Checking your stitch count will help you avoid accidentally doing this.
Stitches/Abbreviations
(US Terms)
blo-back loop only
ch(s)-chain(s)
ch sp-chain space
rep-repeat
rnd(s)-round(s)
sc2tog-single crochet two together
sk-skip the indicated stitch
st(s)-stitch(es)
Level
Advanced Beginner-Intermediate
Ribbing Tutorial
How to Attach Crochet Ribbing to a Cardigan Hem
Learn how to add single crochet ribbing to a finished cardigan edge. This step by step tutorial shows you how to crochet ribbing along a finished edge.
Materials
- Finished crochet cardigan, or sleeve. For this tutorial I'm using the Hygge Homebody Cardigan pattern.
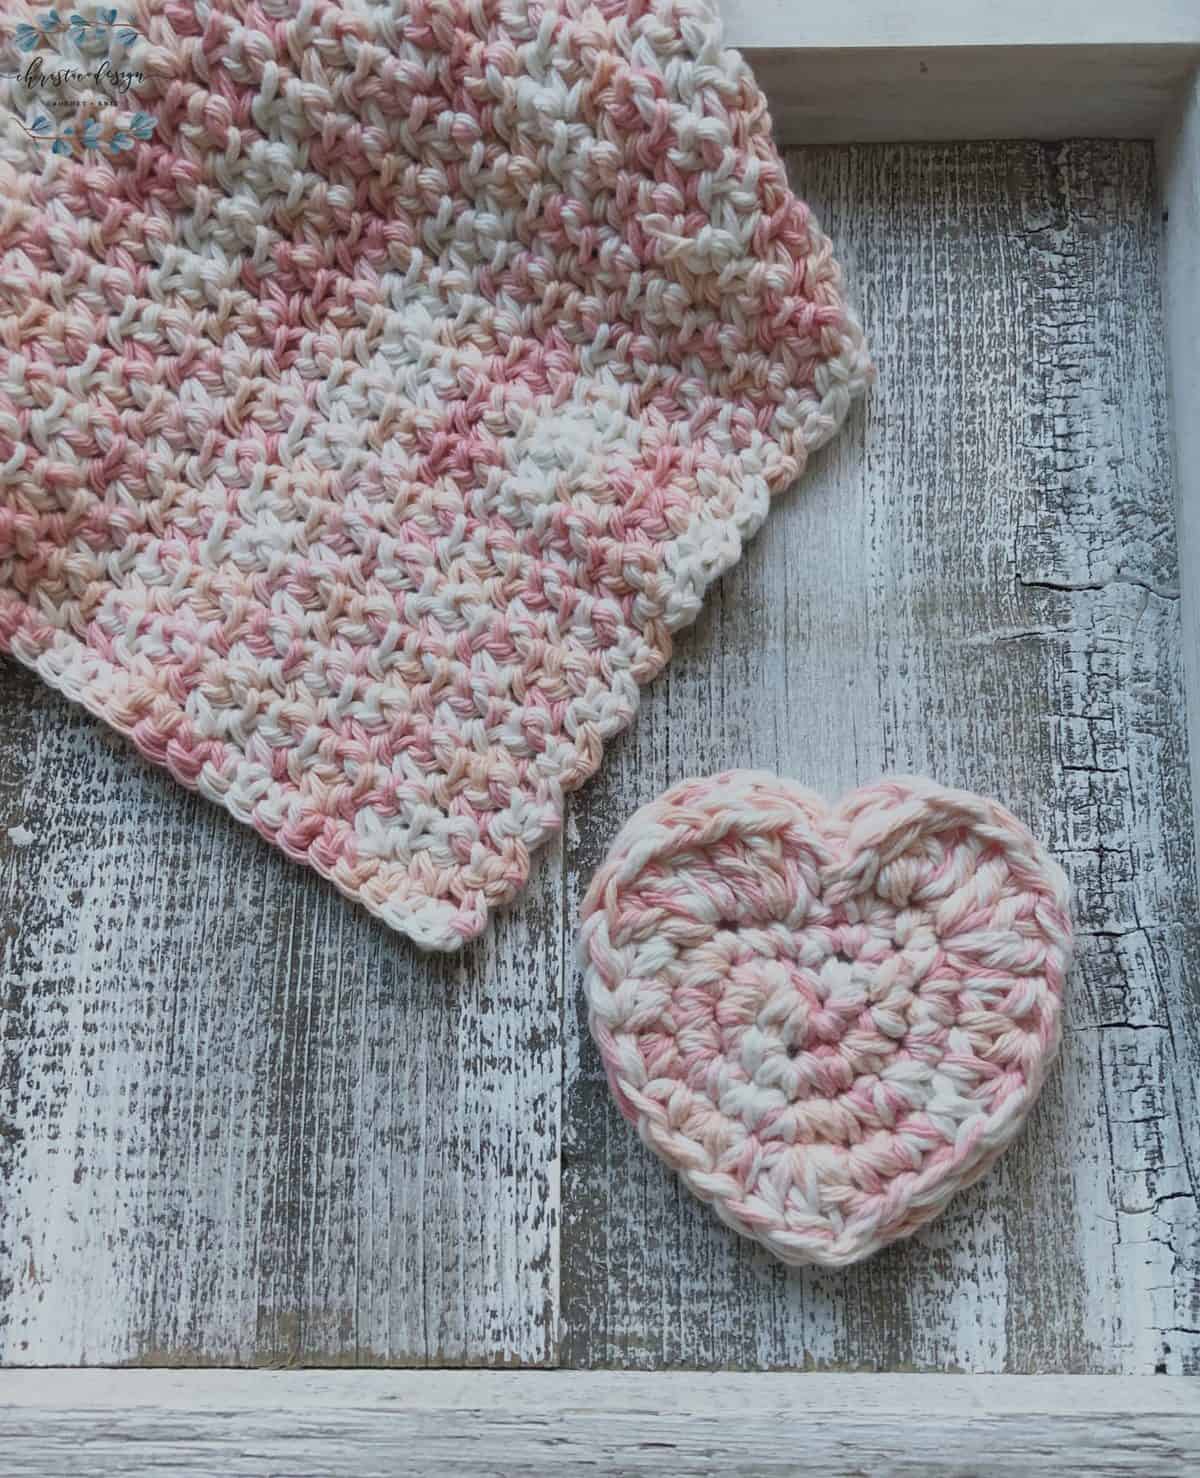
- I'm using a #4 medium worsted weight yarn, Big Twist Value in Light Rose.
Tools
- I'm using a 6.5mm crochet hook for this tutorial. Use a hook size that is compatible for your yarn, or the size your pattern calls for.
- Scissors and yarn needle for weaving in ends.
Instructions
- Lay out your cardigan, position yourself at the neck, join yarn with a sl st to the corner of the bottom of the front panel on your left.
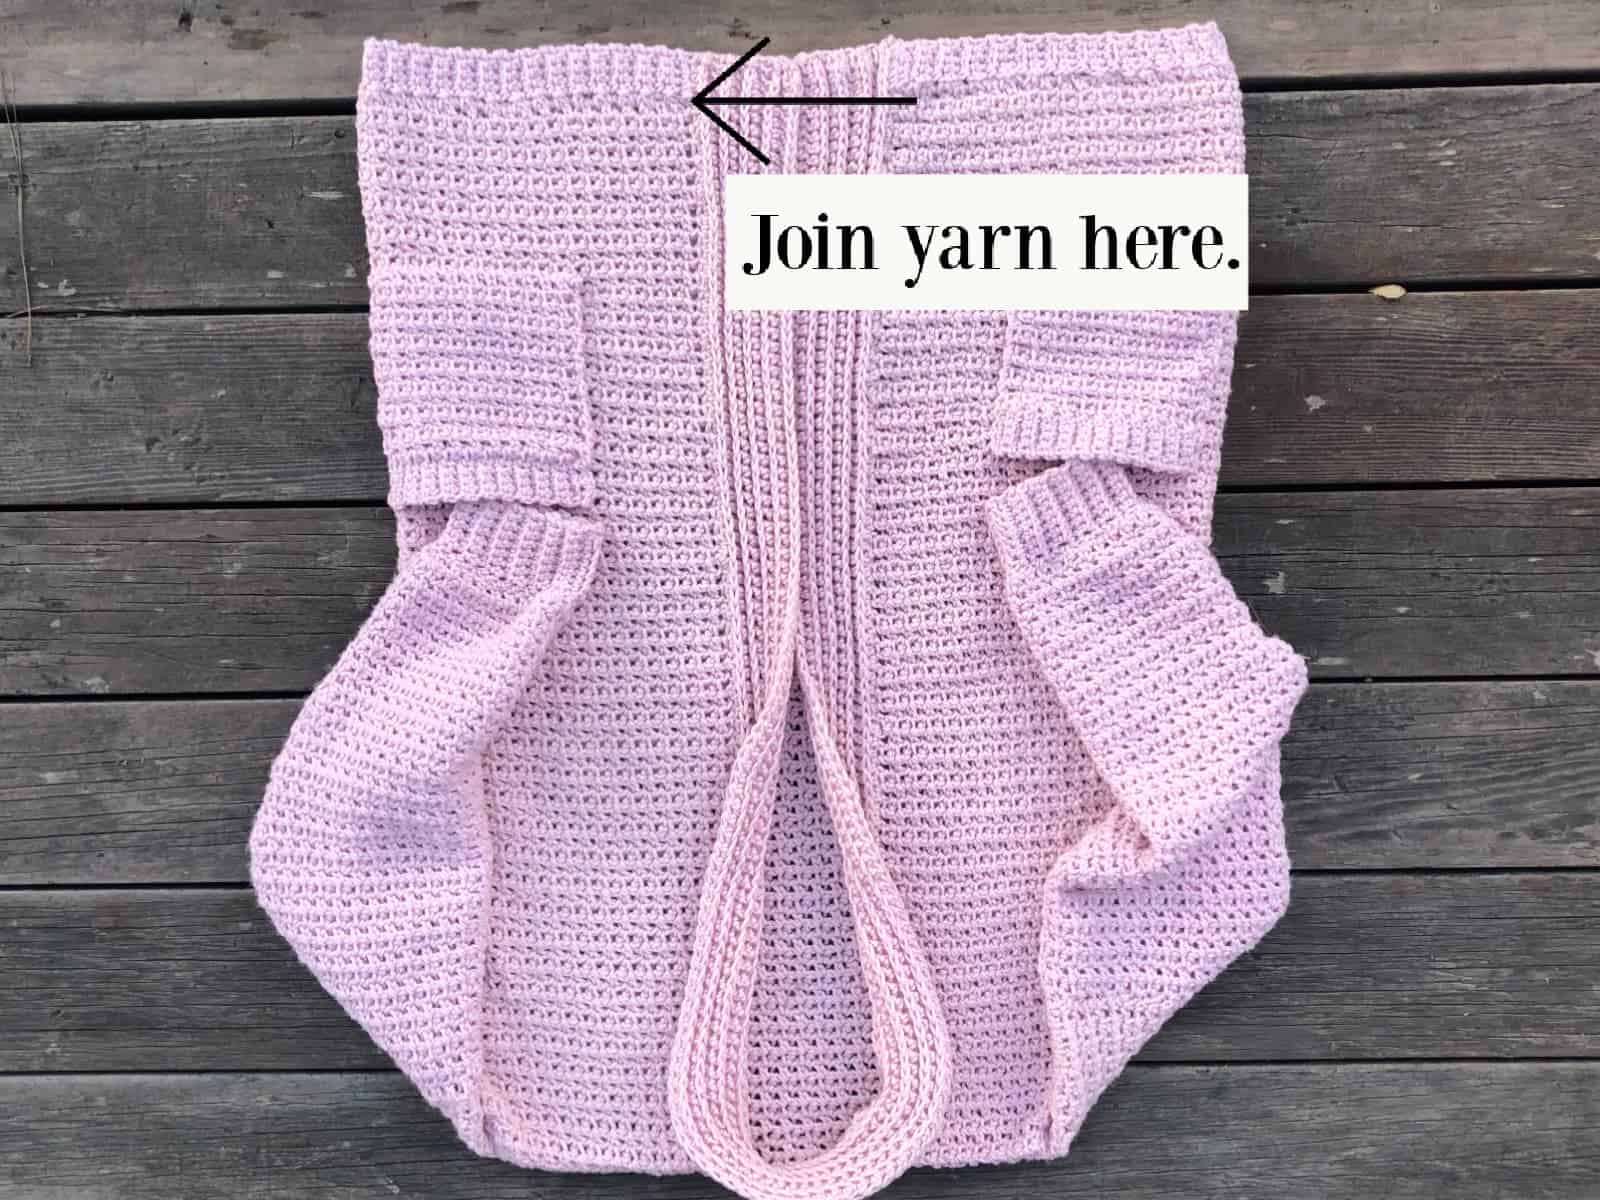 You will work in the same direction as the arrow.
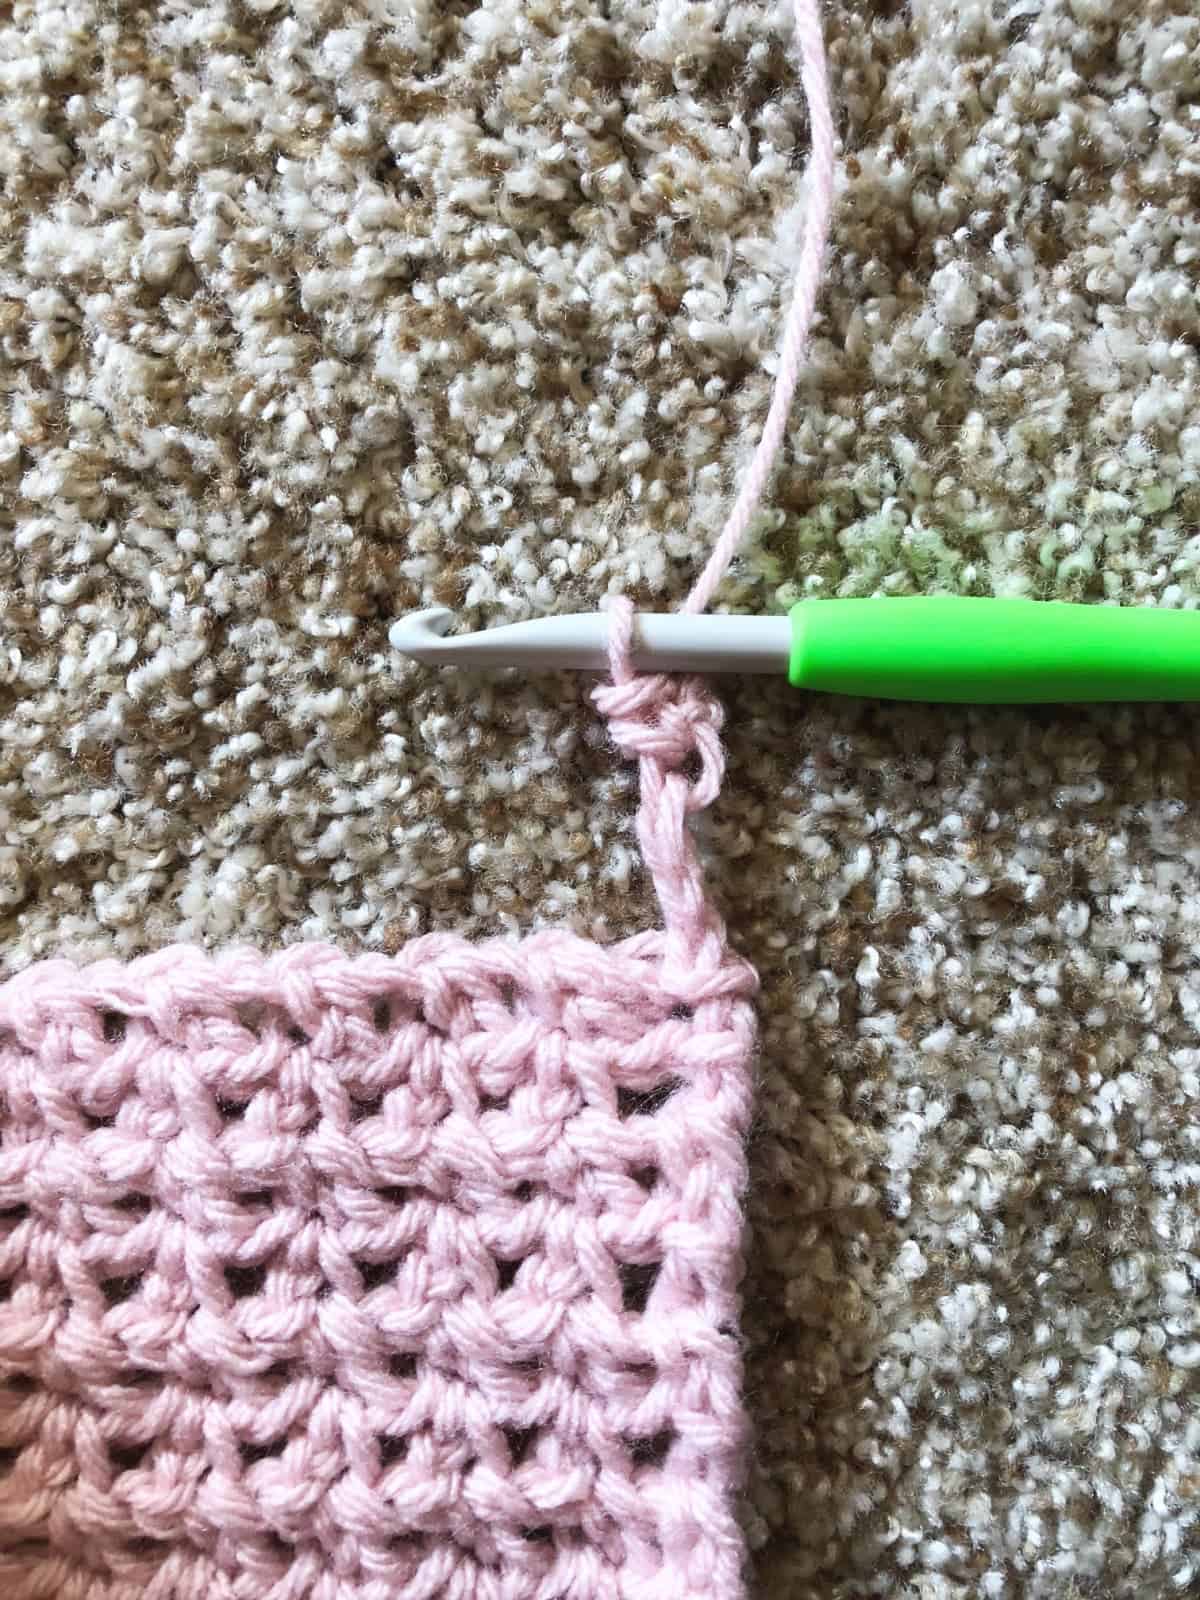
 - Ch 5. Row 1. Sc in 2nd ch from hook and in each ch across. (4 sts) For this tutorial I ch 5, but you can ch any number. Keep in mind that one chain is skipped for the turning chain.
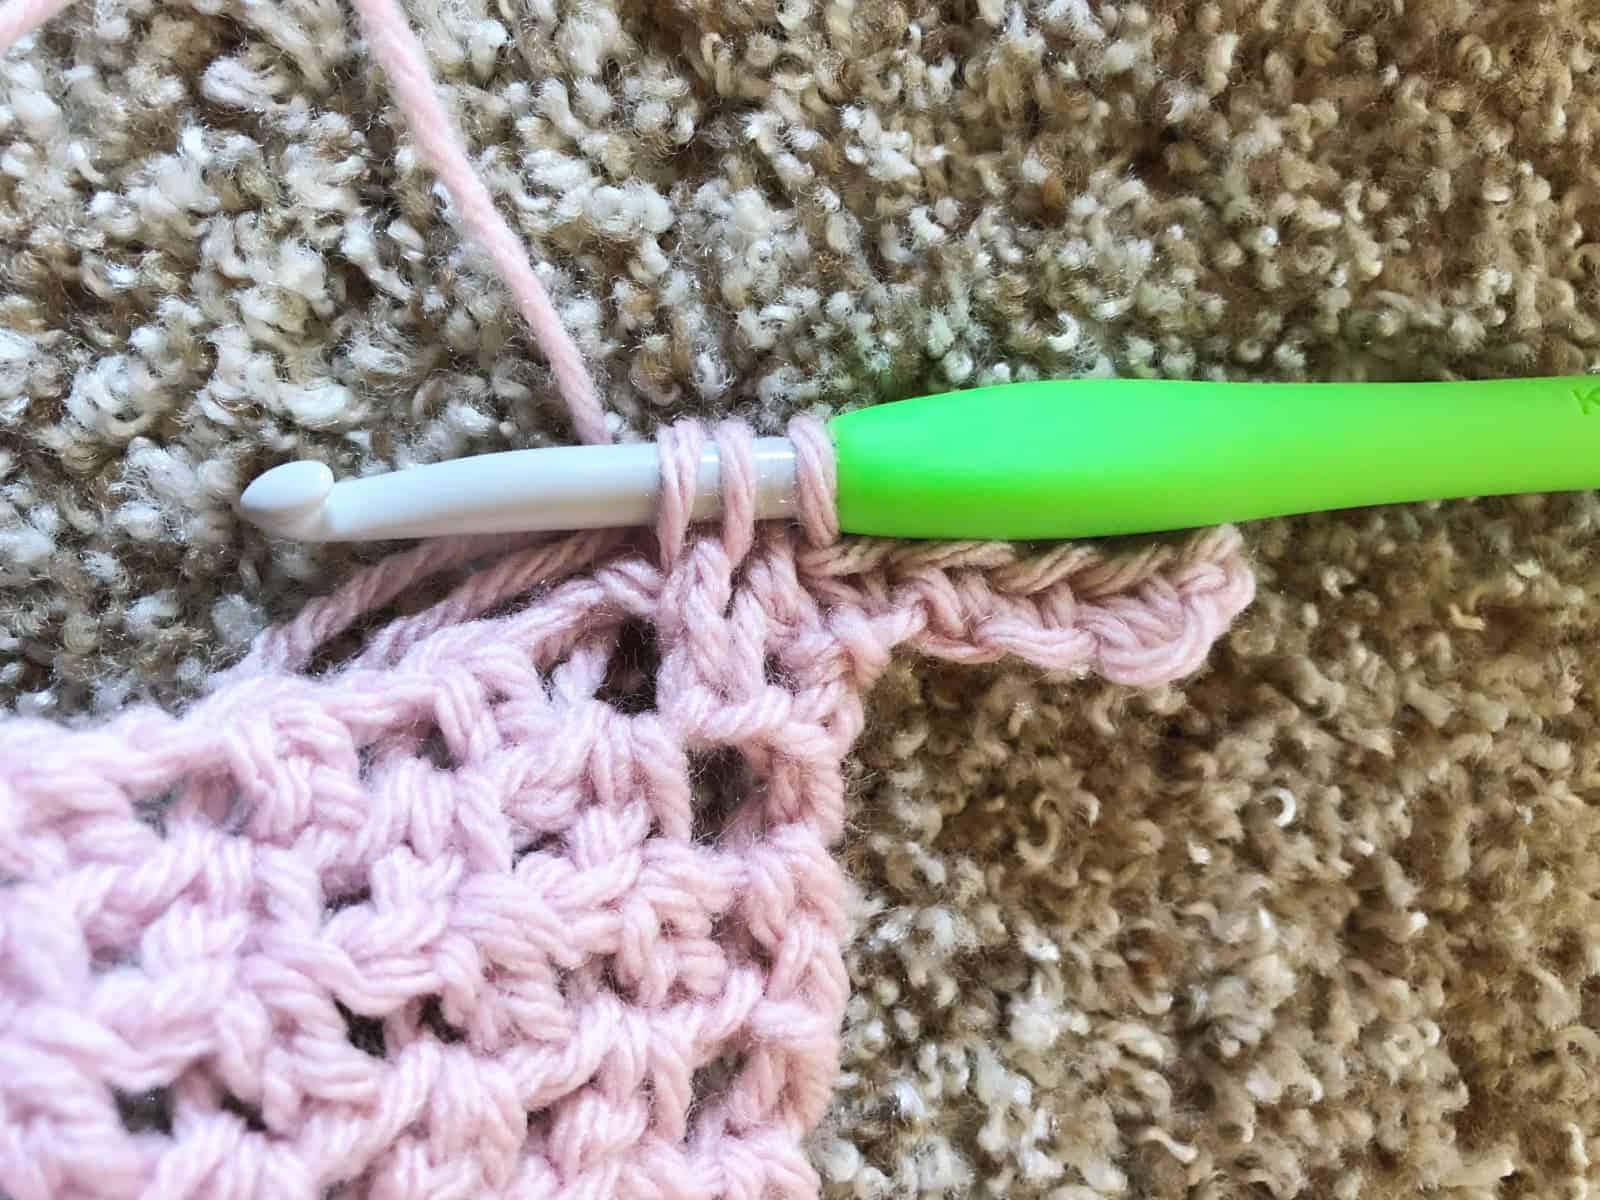
- Row 1 continued: When your sc row brings you back to the cardigan bottom, insert your hook in the stitch of that row, yo & pull up a loop.(2 loops on hook)
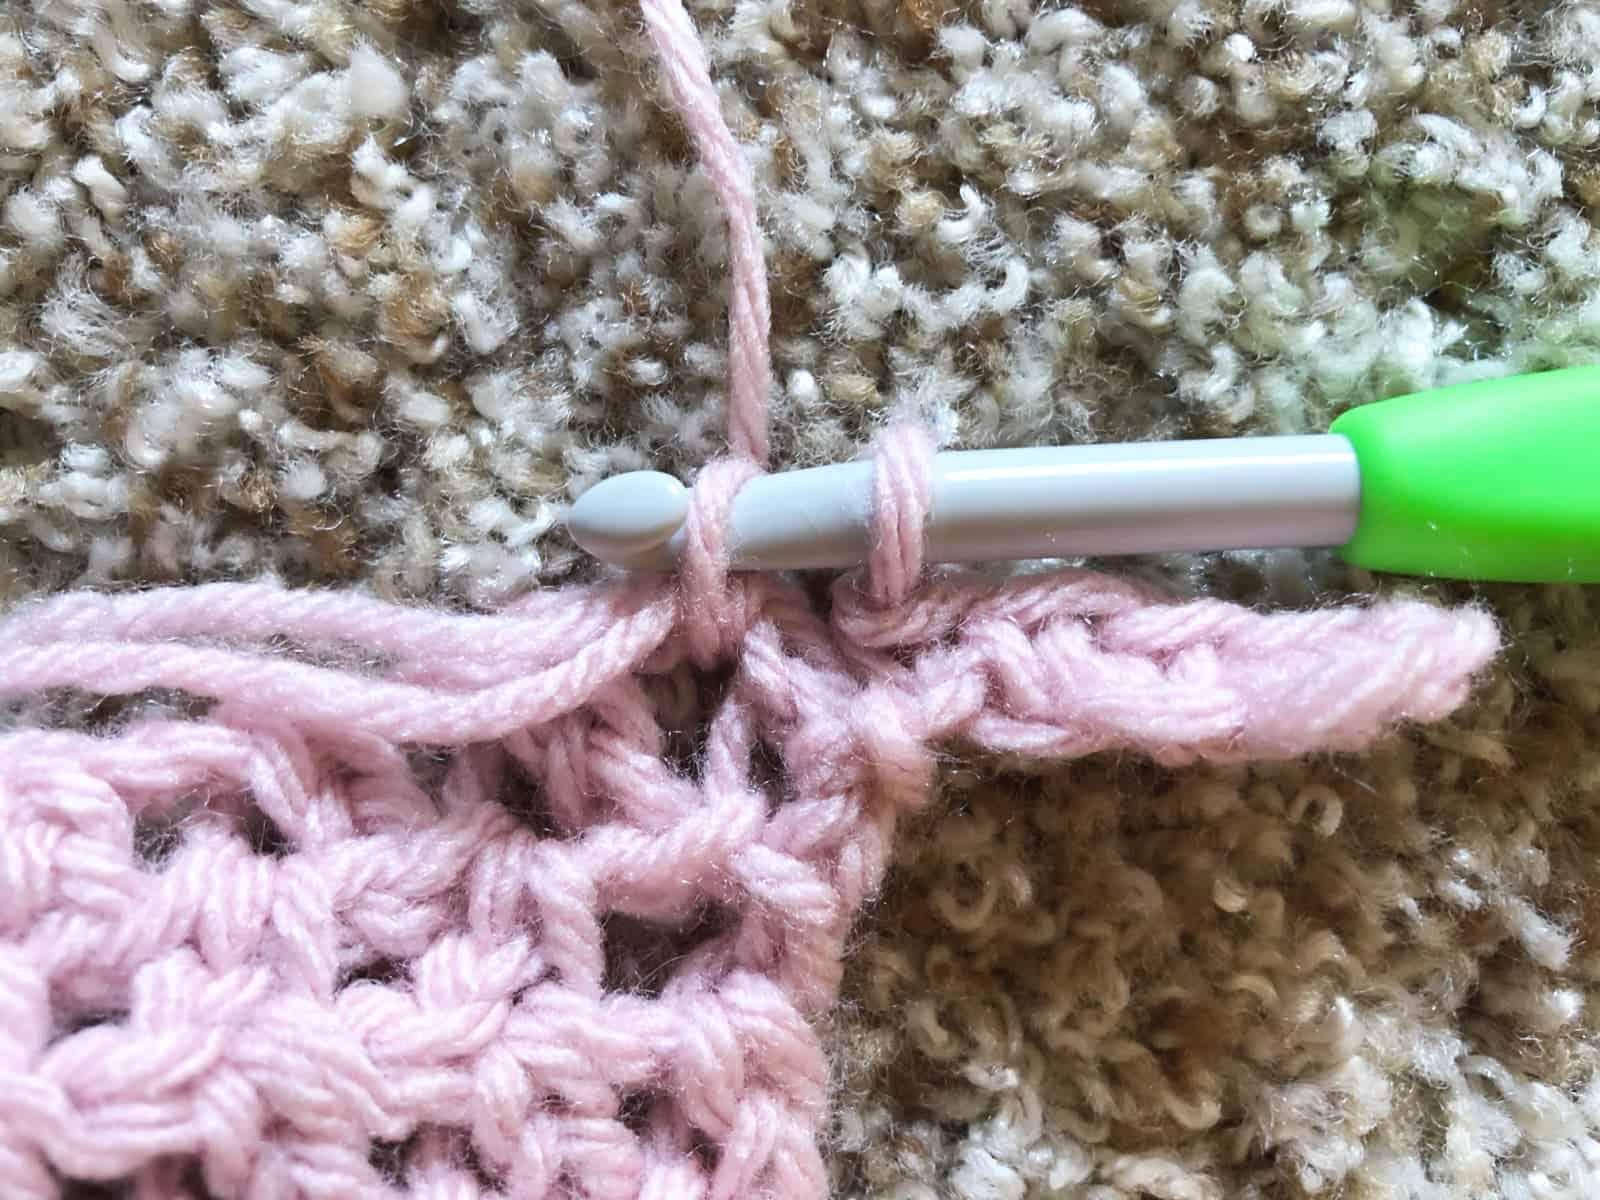
- Row 1 continued: Then insert your hook in the next row’s stitch, yo and pull up a loop (3 loops on hook).
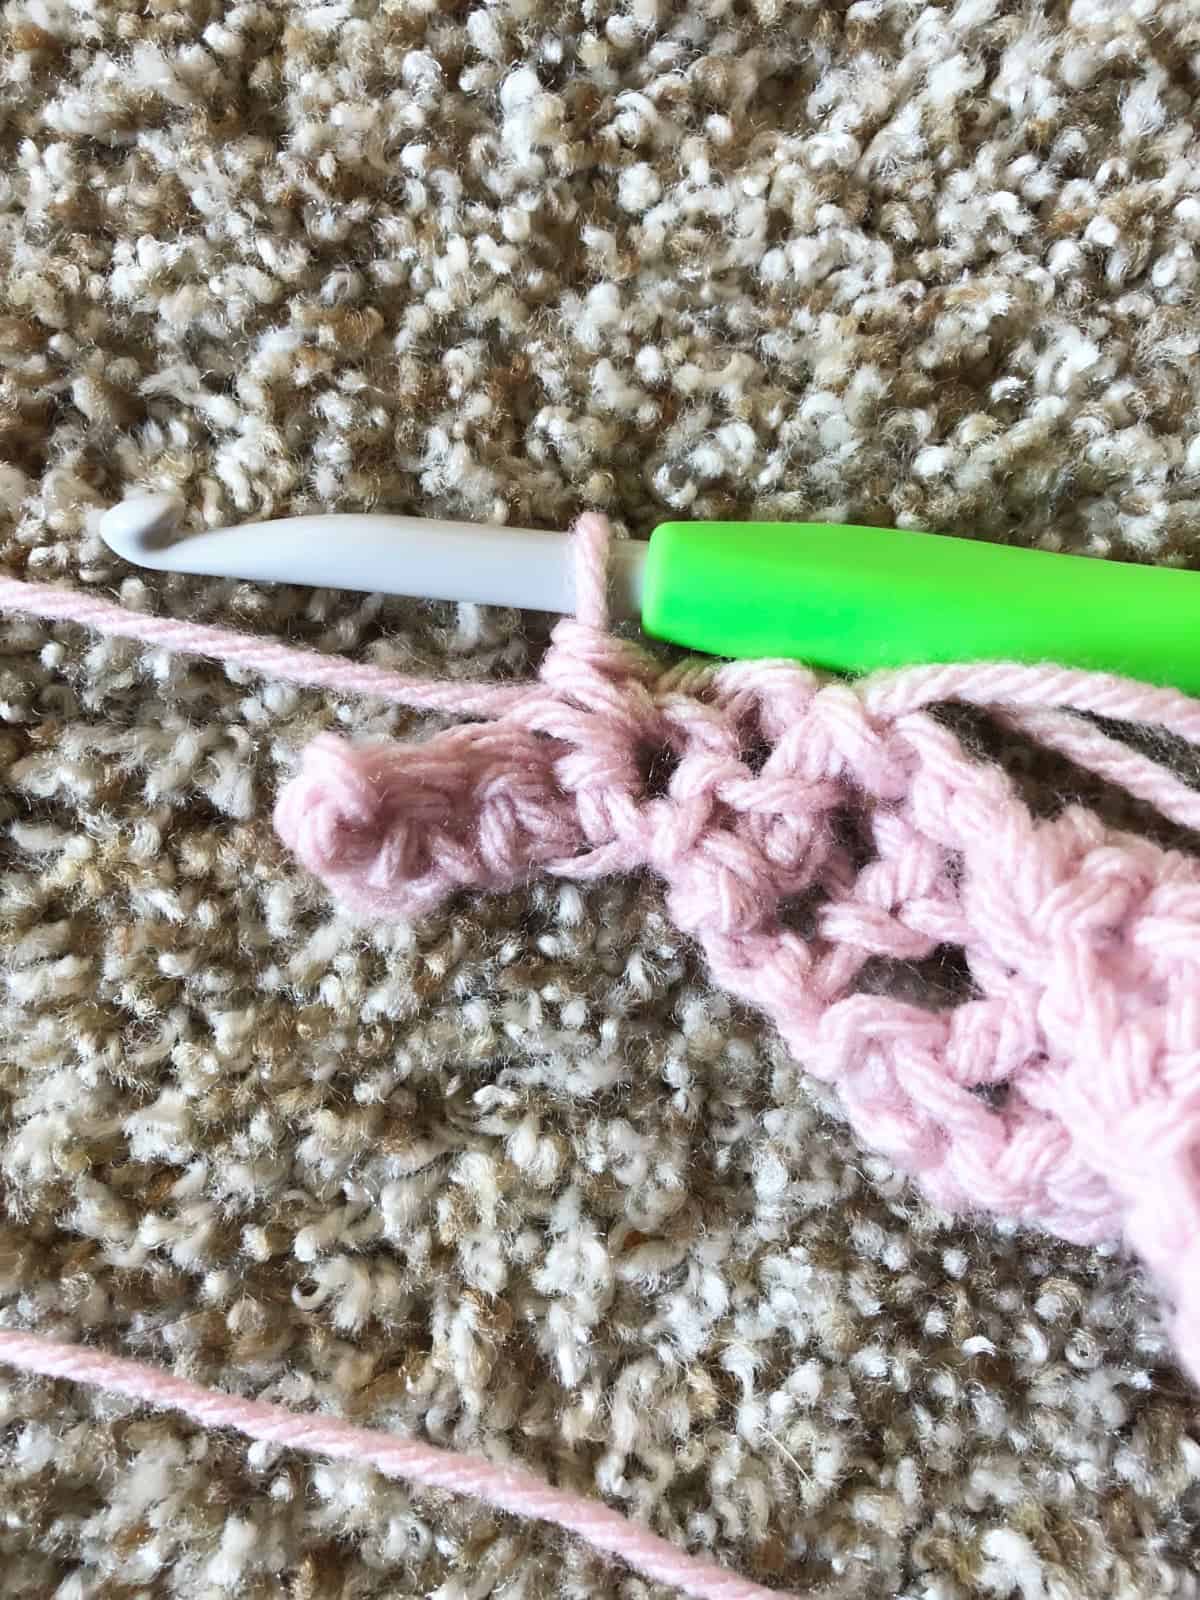
- Row 1 continued: Now yo, and pull through all 3 loops on your hook, ch 1.

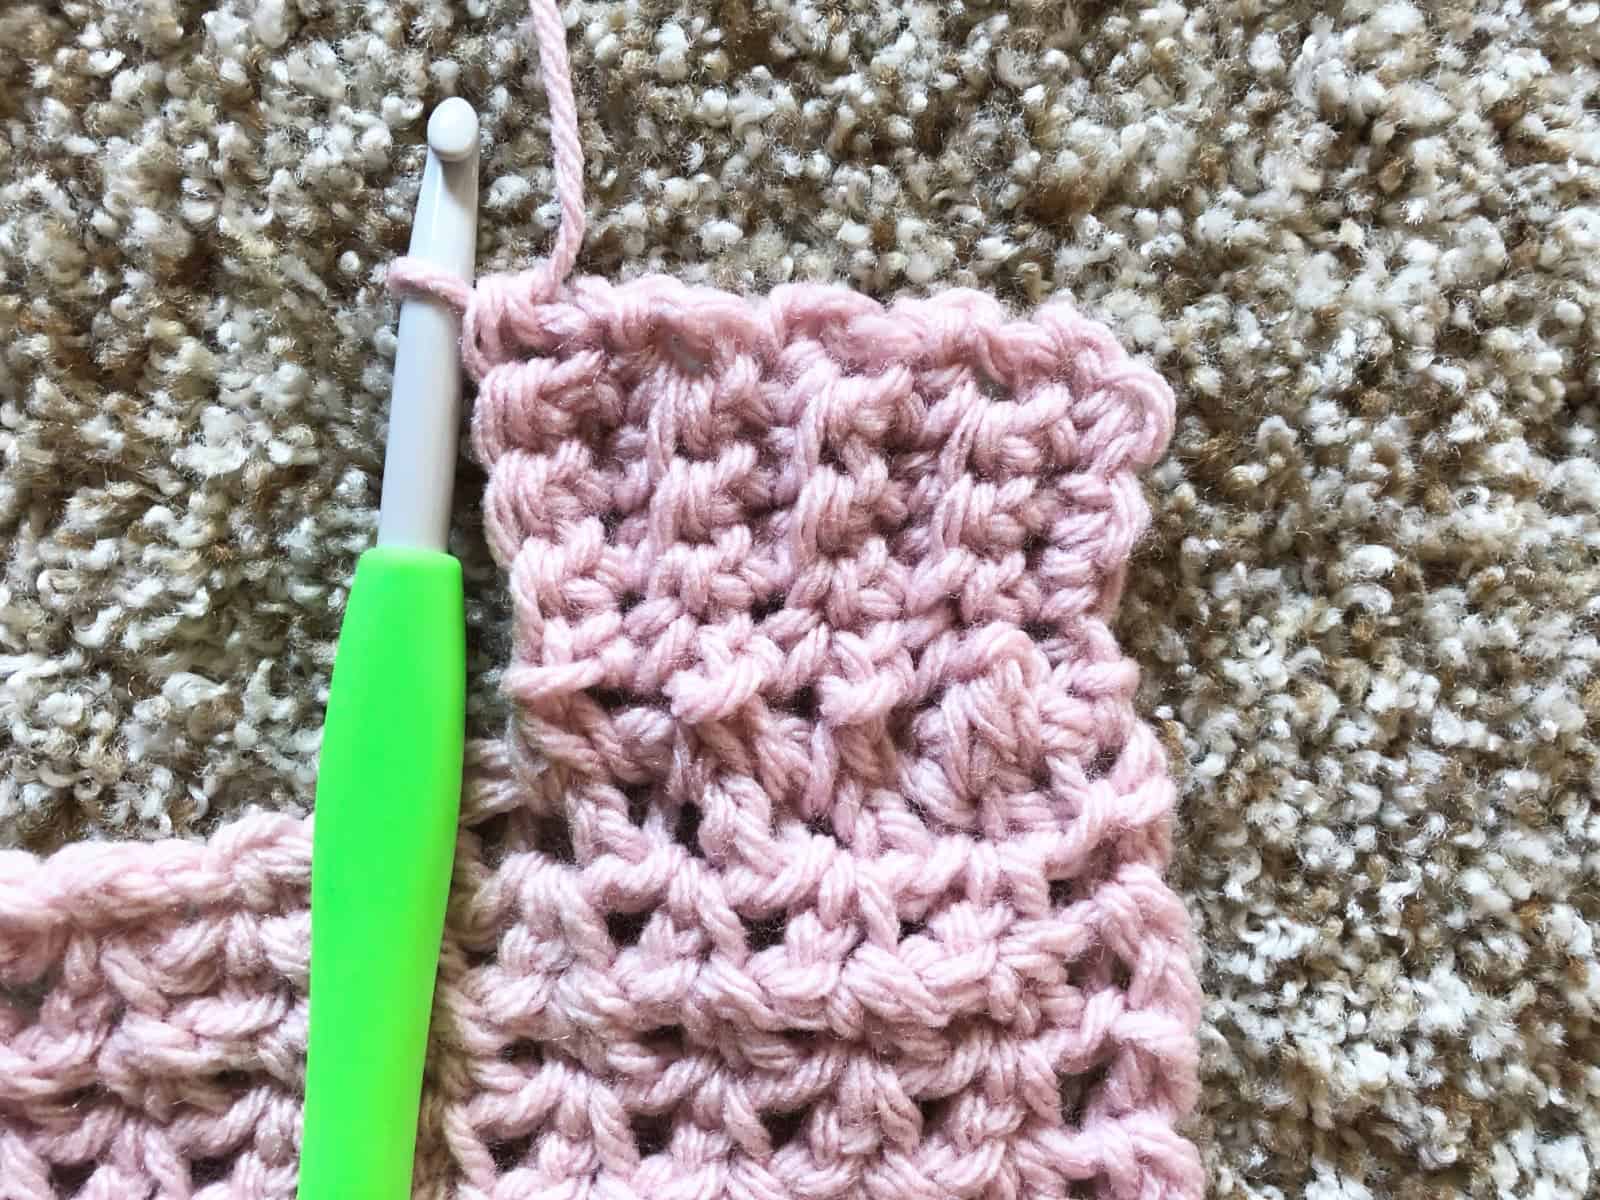
- Turn, Row 2. Sc in last sc from 1st row,
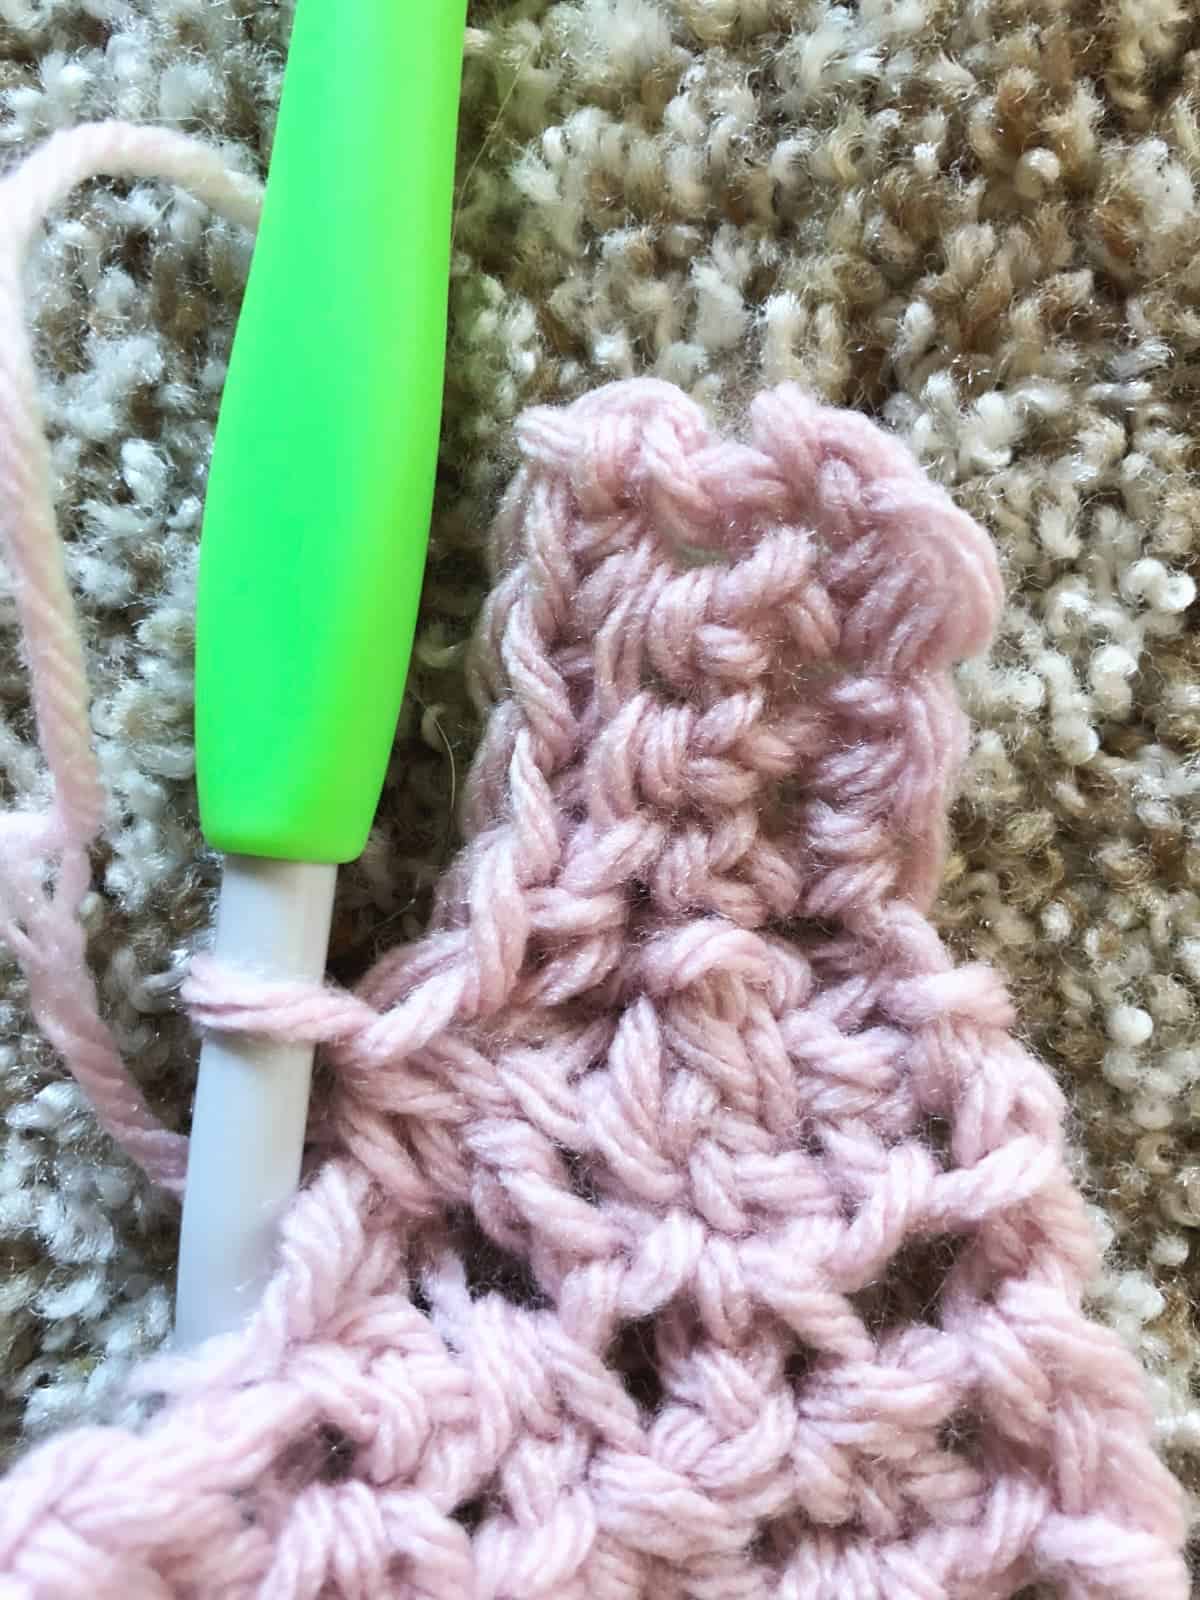
- Row 2 continued: Sc in blo of next 2 sts,
- Row 2 continued: sc in last, turn. (4 sts)
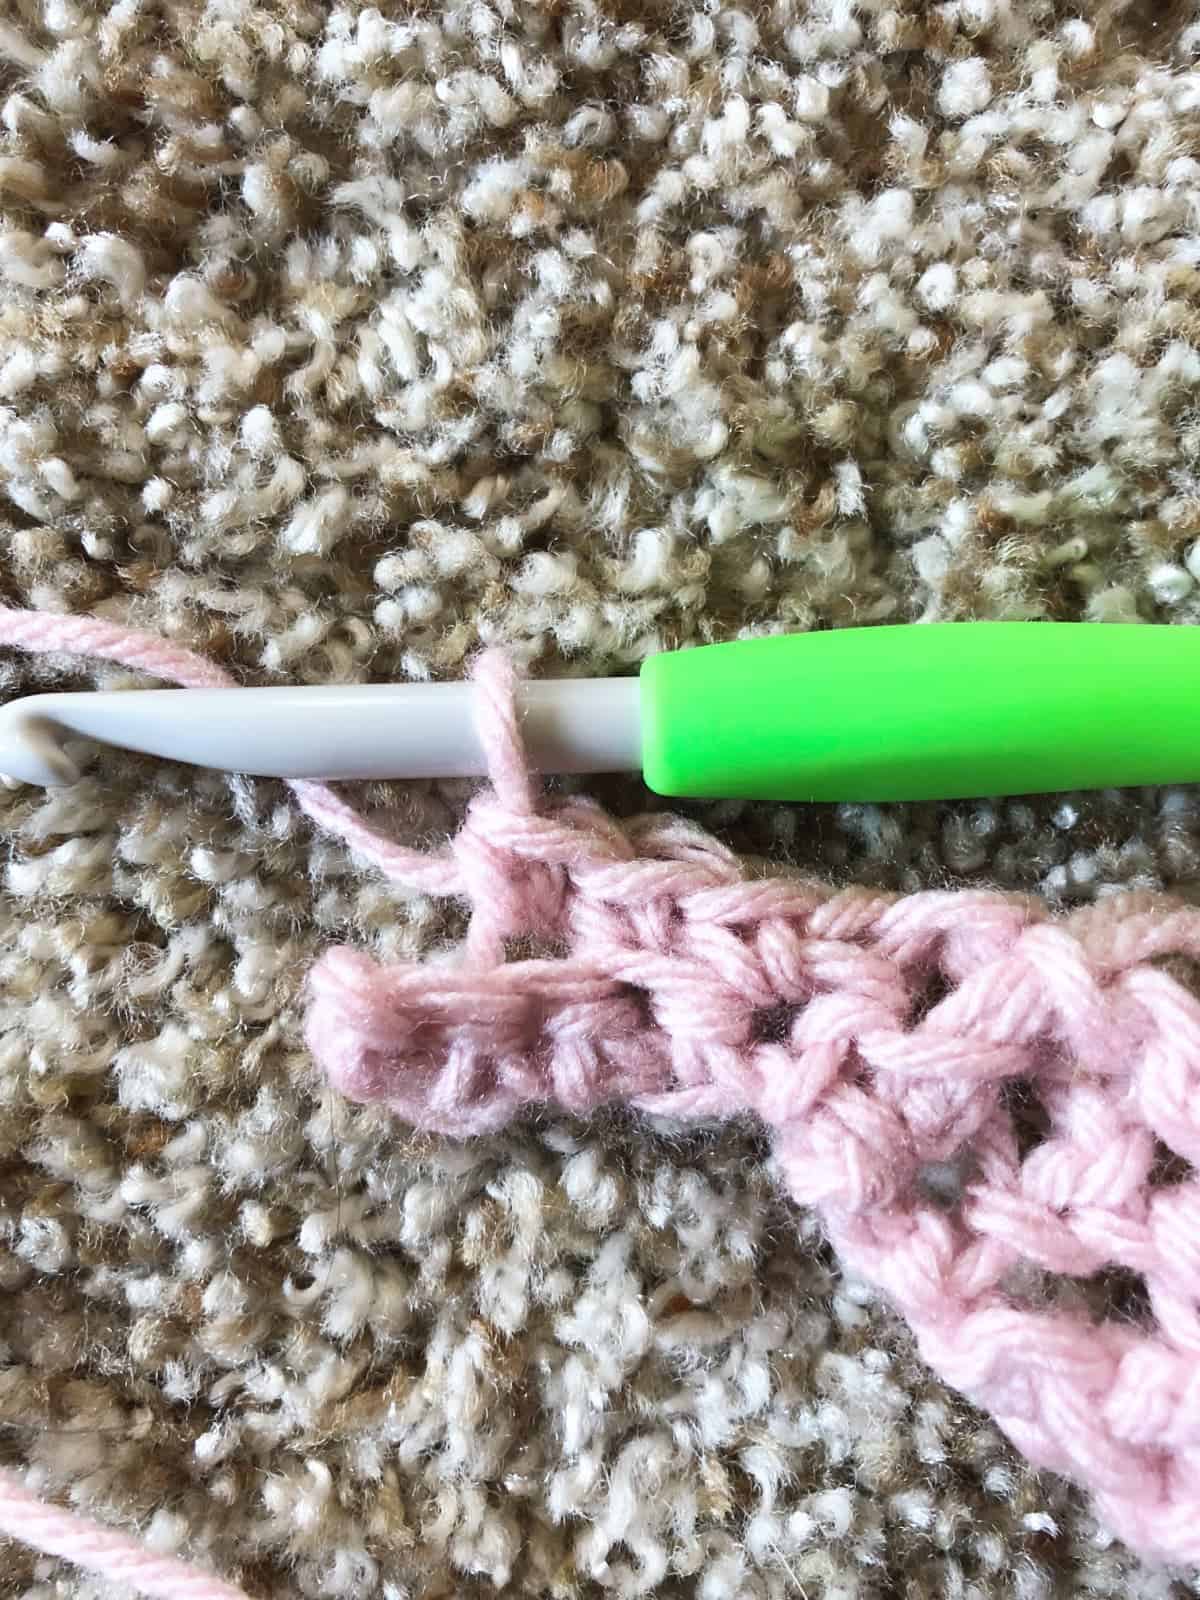
- Row 3. Ch 1, sc in first sc, sc in blo of next 2 sts, sc in last st, attach to next two cardigan rows with sc2tog, turn. (4 sts)
 Sc2tog does not count as a st.
 - Rep Rows 2: Ch 1, sc in fist sc, sc in blo of next 2 sts, sc in last st, turn. (4 sts)
- Rep Row 3: Ch 1, sc in first sc, sc in blo of next 2 sts, sc in last st, attach to next two cardigan rows with sc2tog, turn. (4 sts)
- Rep Rows 2 and 3 around, attaching the edging as you go with a sc2tog.
- Cut yarn and weave in ends.
Notes
This same technique can be useful for adding crochet ribbing to sleeve cuffs also. However, you will need to seam the cuff together at the end to form a circle. You can cut a long tail and use this to seam when your cuff is complete.
Recommended Products
As an Amazon Associate and member of other affiliate programs, I earn from qualifying purchases.