
How to Crochet a Magic Circle Crochet Tutorial + Video
Learn how to crochet magic circle to start your crochet project in the round. The magic circle technique is sometimes referred to as the magic ring, or magic loop. Whatever you call this method, it allows you to close up the hole when crocheting in the round.

This post contains affiliate links, I may earn a fee. Read more disclosure policy.
Join the ChristaCoDesign Newsletter
Never miss a pattern!
Your top down crochet beanies will look amazing when you use the magic circle to start your hats. When I first learned the crochet magic ring technique I had to wonder how I hadn’t learned it sooner!
Being able to cinch up your circle with just a pull of the yarn is so cool. The magic circle lends a more”polished” look to your crochet projects.
Like most of us, I learned to start a crochet hat with a specific number of chains, usually three to five. Then to join them, slip stitch the last chain you made to the starting chain to make a circle. Finally, you begin crocheting into the center of the circle you created.
The magic circle is an essential technique for crocheting in the round. It gives you an adjustable ring that closes tightly with the pull of a string.
The advantage of the magic ring method is that there are no more unsightly holes. And you don’t have the difficult task of trying to weave the end of your yarn in to cover it up.
You can use the magic circle with any stitch. In this tutorial I’ve used it with double crochets. To use it with single crochet or half double crochet, just use one chain before you start crocheting them.
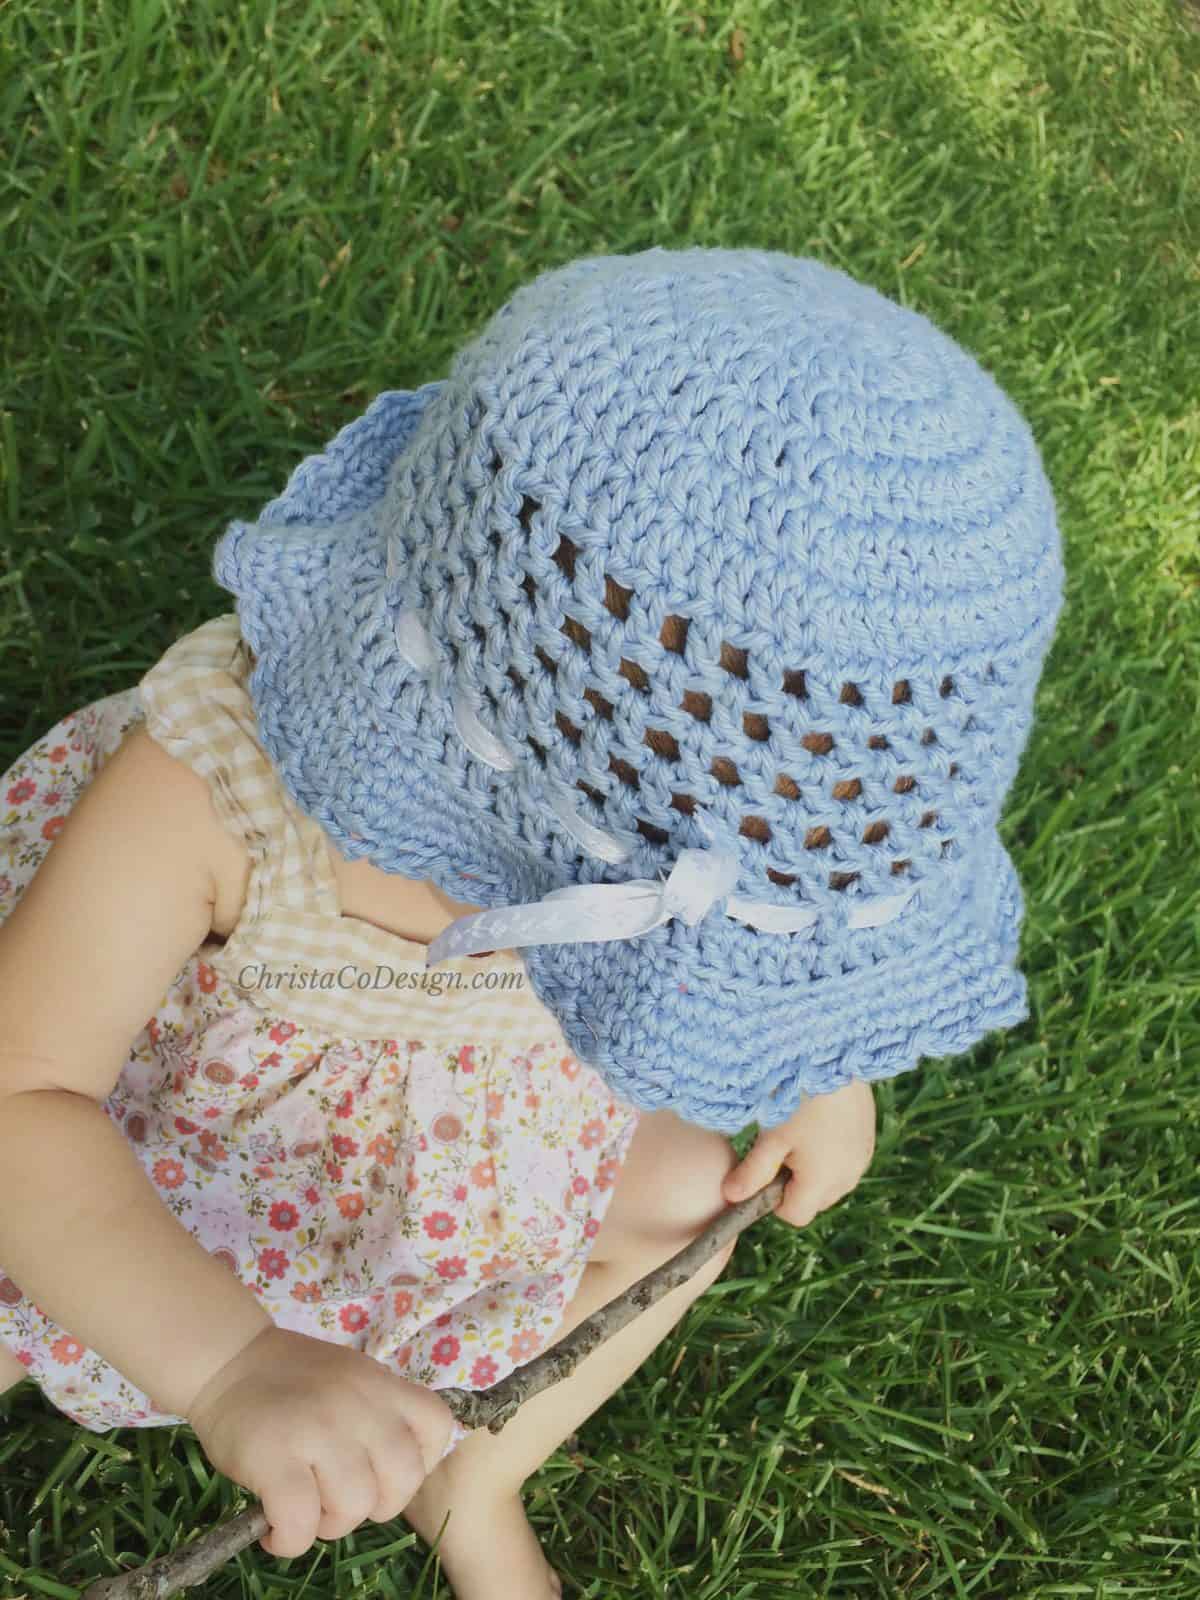
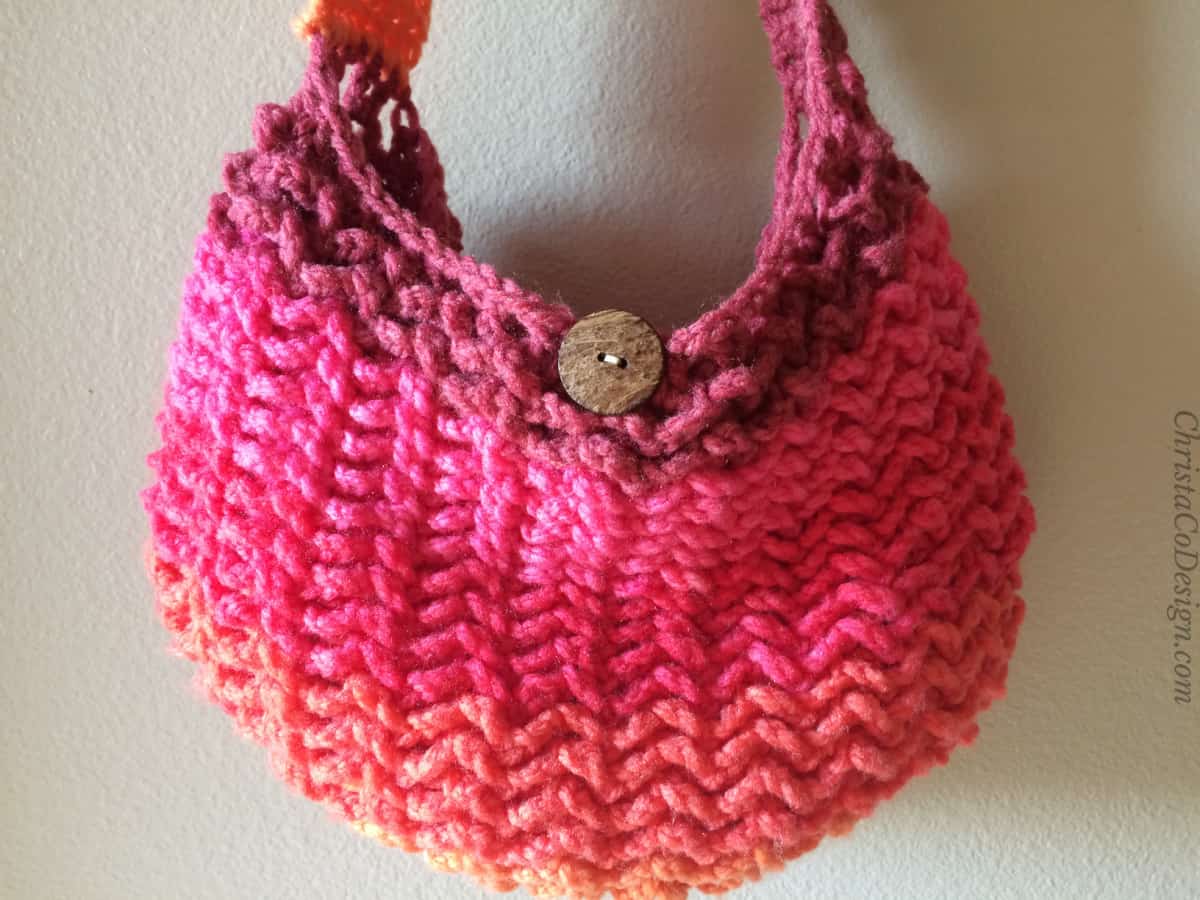
You can get a peek at the little Toddler Sun Hat I crocheted for my youngest. I used the magic circle, it’s my favorite way to start a hat.
I definitely didn’t want even a small hole at the top of her head.
Free Crochet Patterns
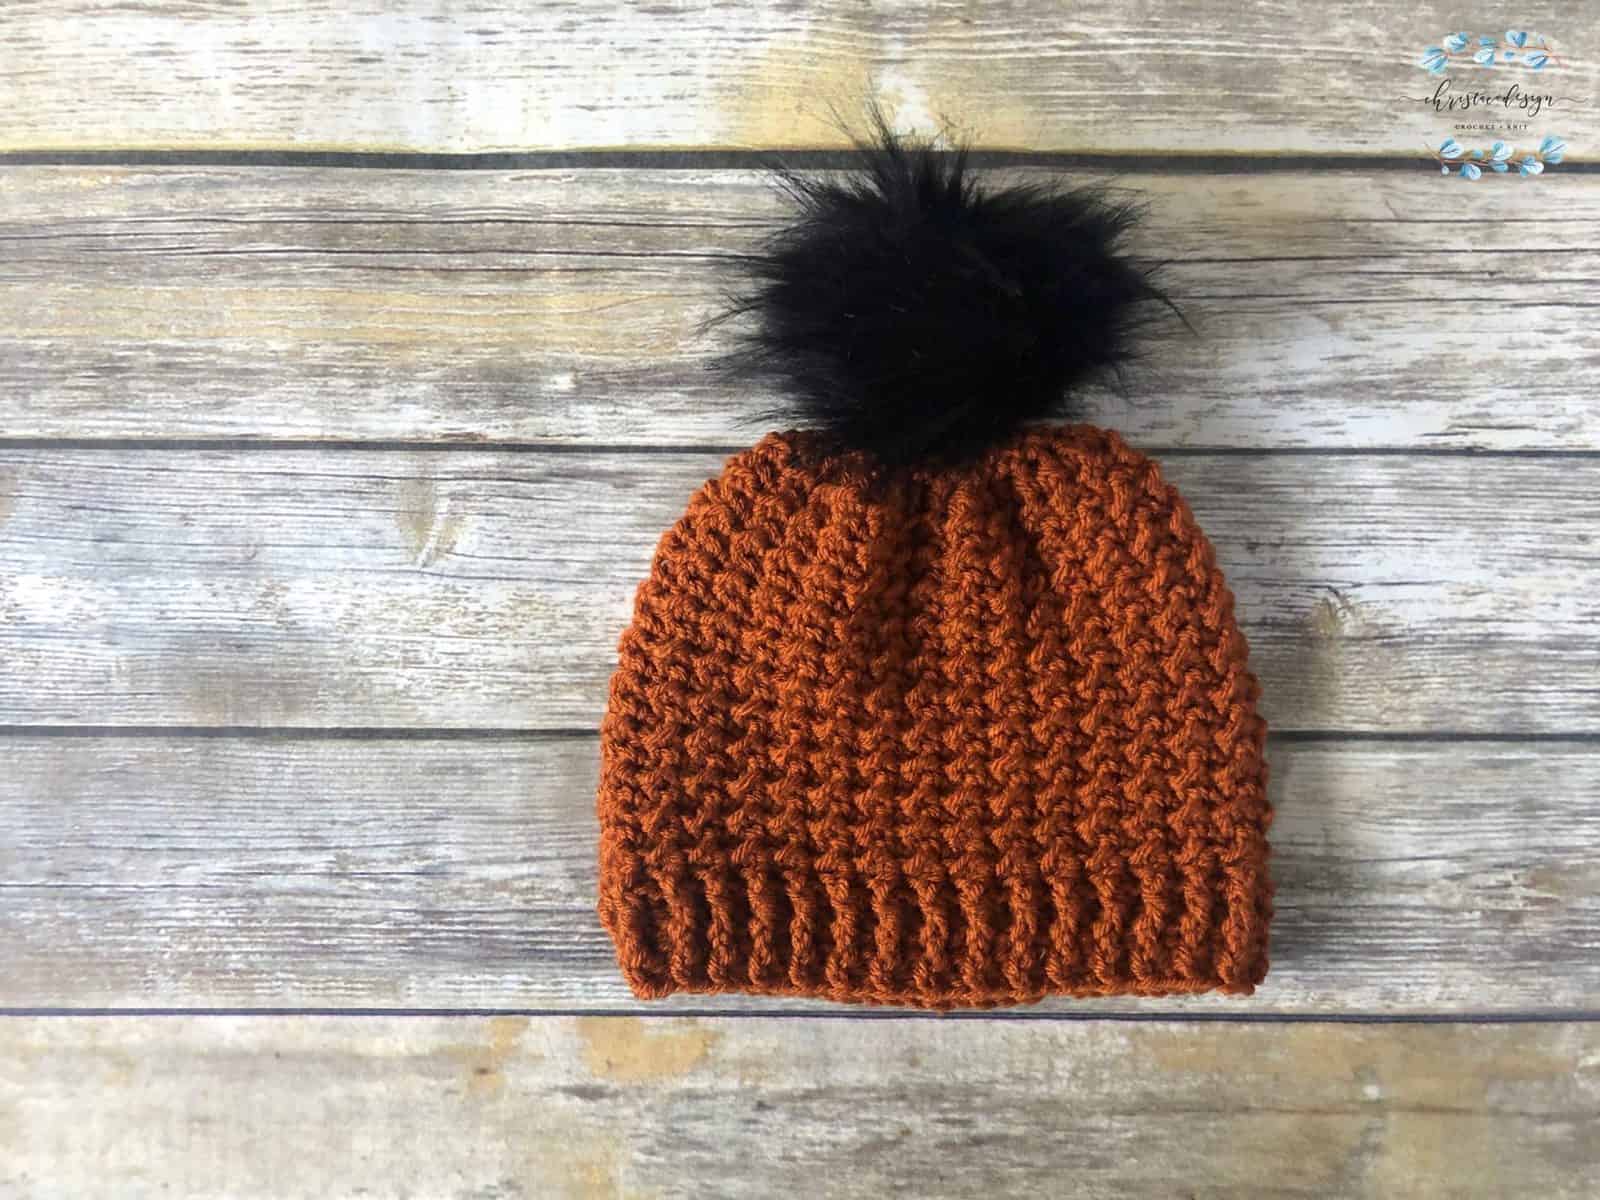
Here are some more Top Down Crochet Hat Patterns to practice your magic circle method.
You can practice the magic circle, on the Chunky Bear Beanie pattern.
The texture and color work are an amazing combo in the Pebbled Heart Beanie, another top down hat pattern.
The Matteo Beanie pattern packs in the texture too!
Materials
You can use any weight yarn and compatible crochet hook. Shown in the photo tutorial is #4 medium worsted weight yarn* and size 4mm (G) crochet hook.
For this video tutorial I used:
I Love This Cotton yarn in periwinkle
5mm crochet hook, I love Furls ergonomic crochet hooks!*
Yarn needle to weave in ends when you finish.
Magic Circle Crochet Video Tutorial
You can watch exactly how it’s made, check out the Magic Circle Video Tutorial below.
Written Step by Step Instructions for Magic Circle
(scroll down for the photo tutorial)
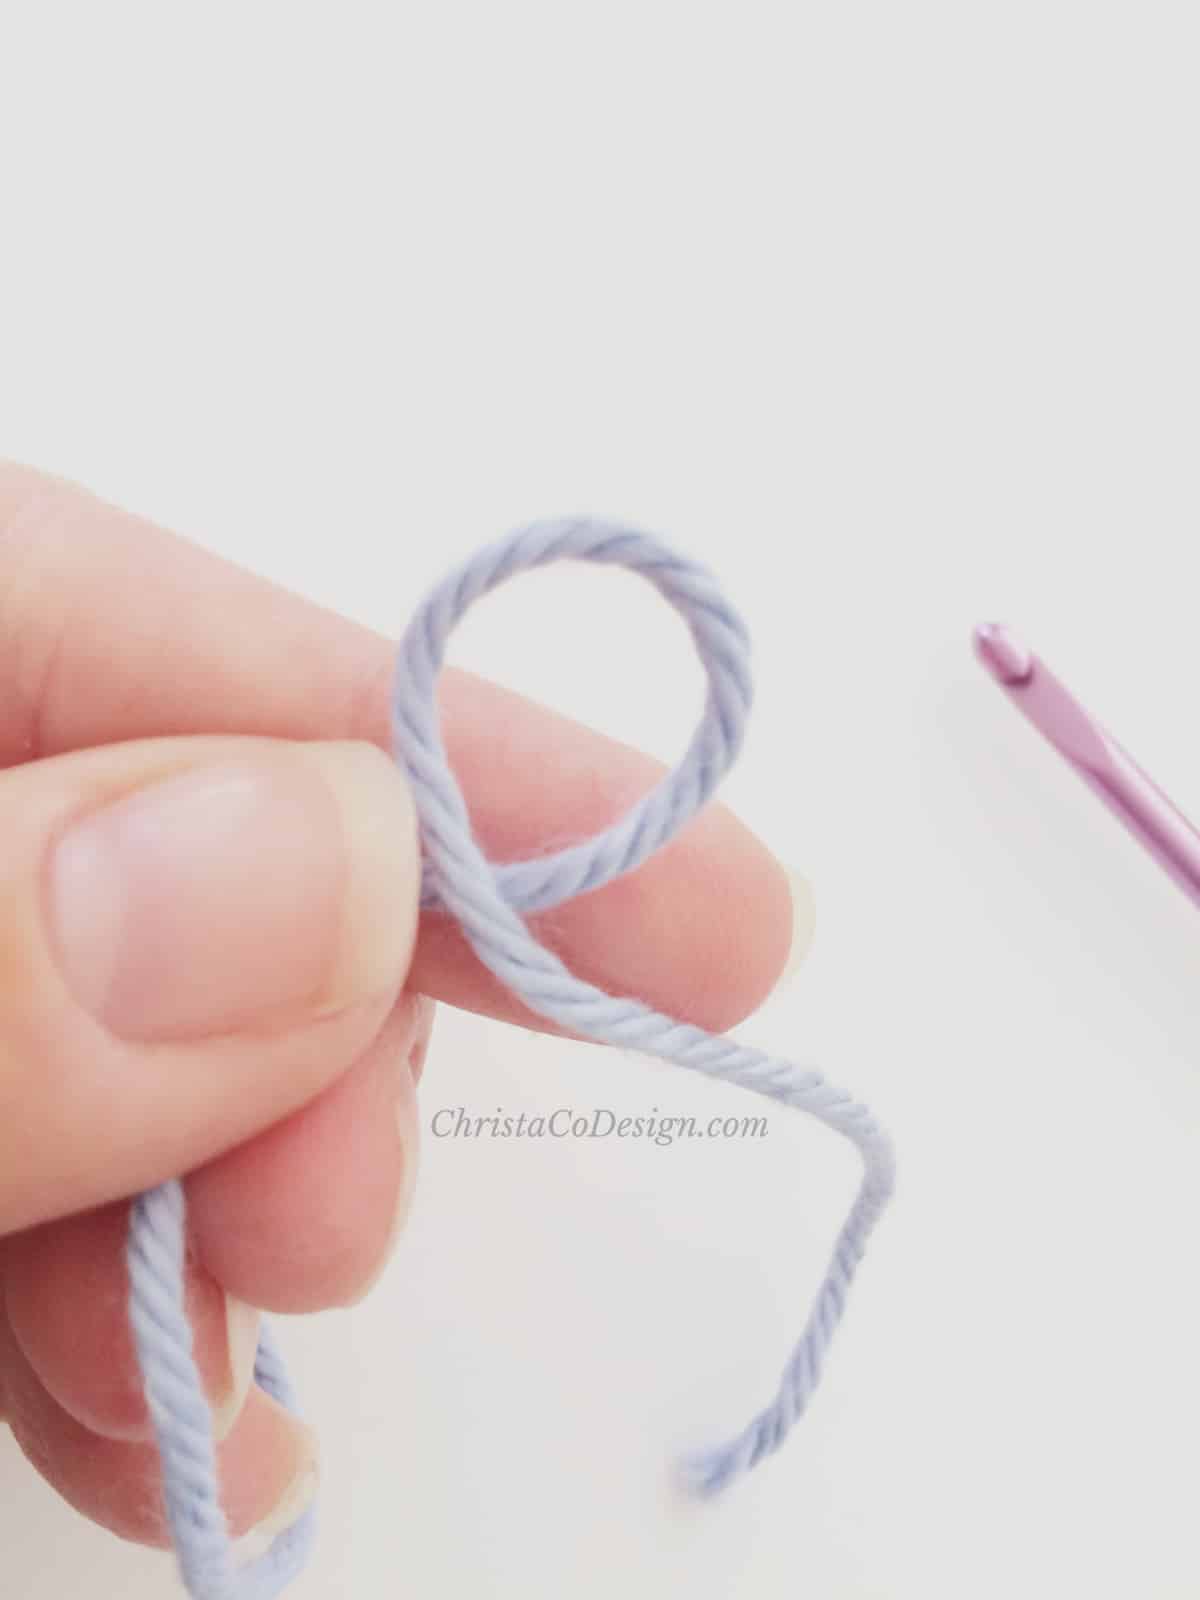
Wrap the yarn counterclockwise around your middle finger.
Pinch the circle together with your fingers, and slide the loop off your finger.
Keep the circle pinched together, insert your hook into the center of the ring, and yarn over.
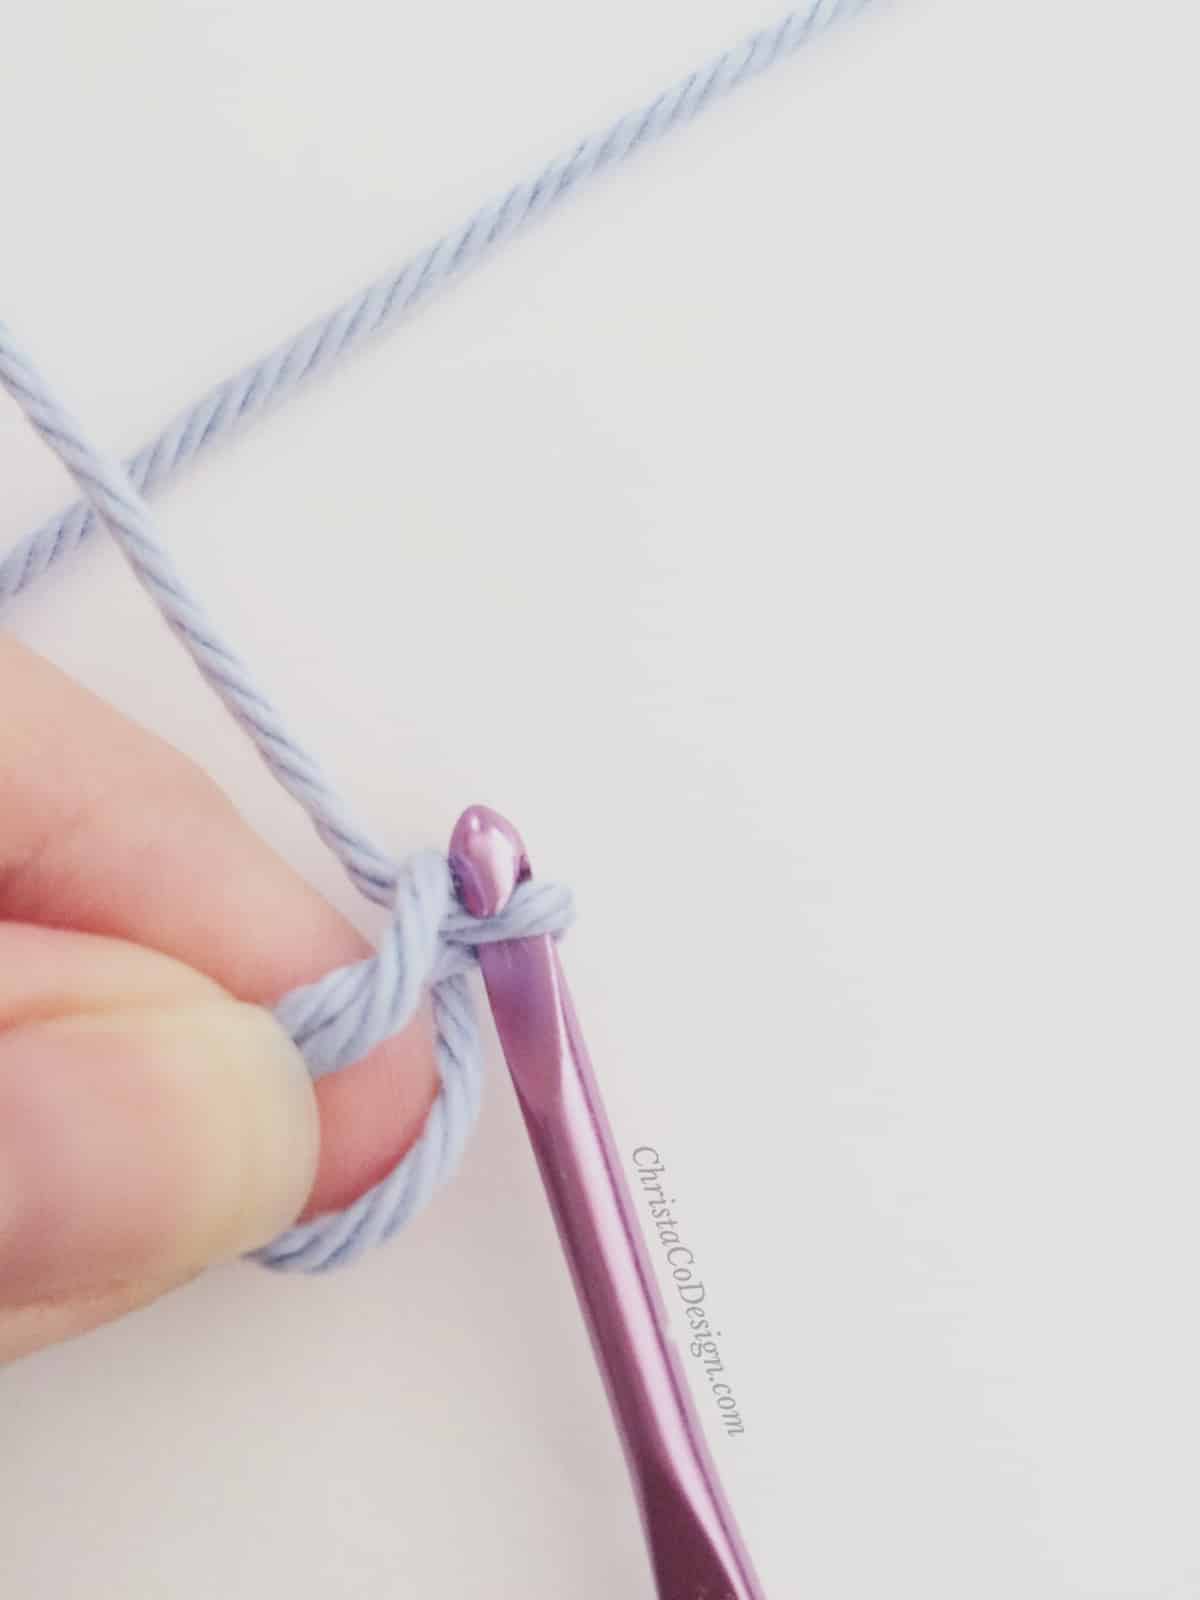
Pull up a loop through the circle. Until you have several stitches in the circle you’ll need to hold it together.
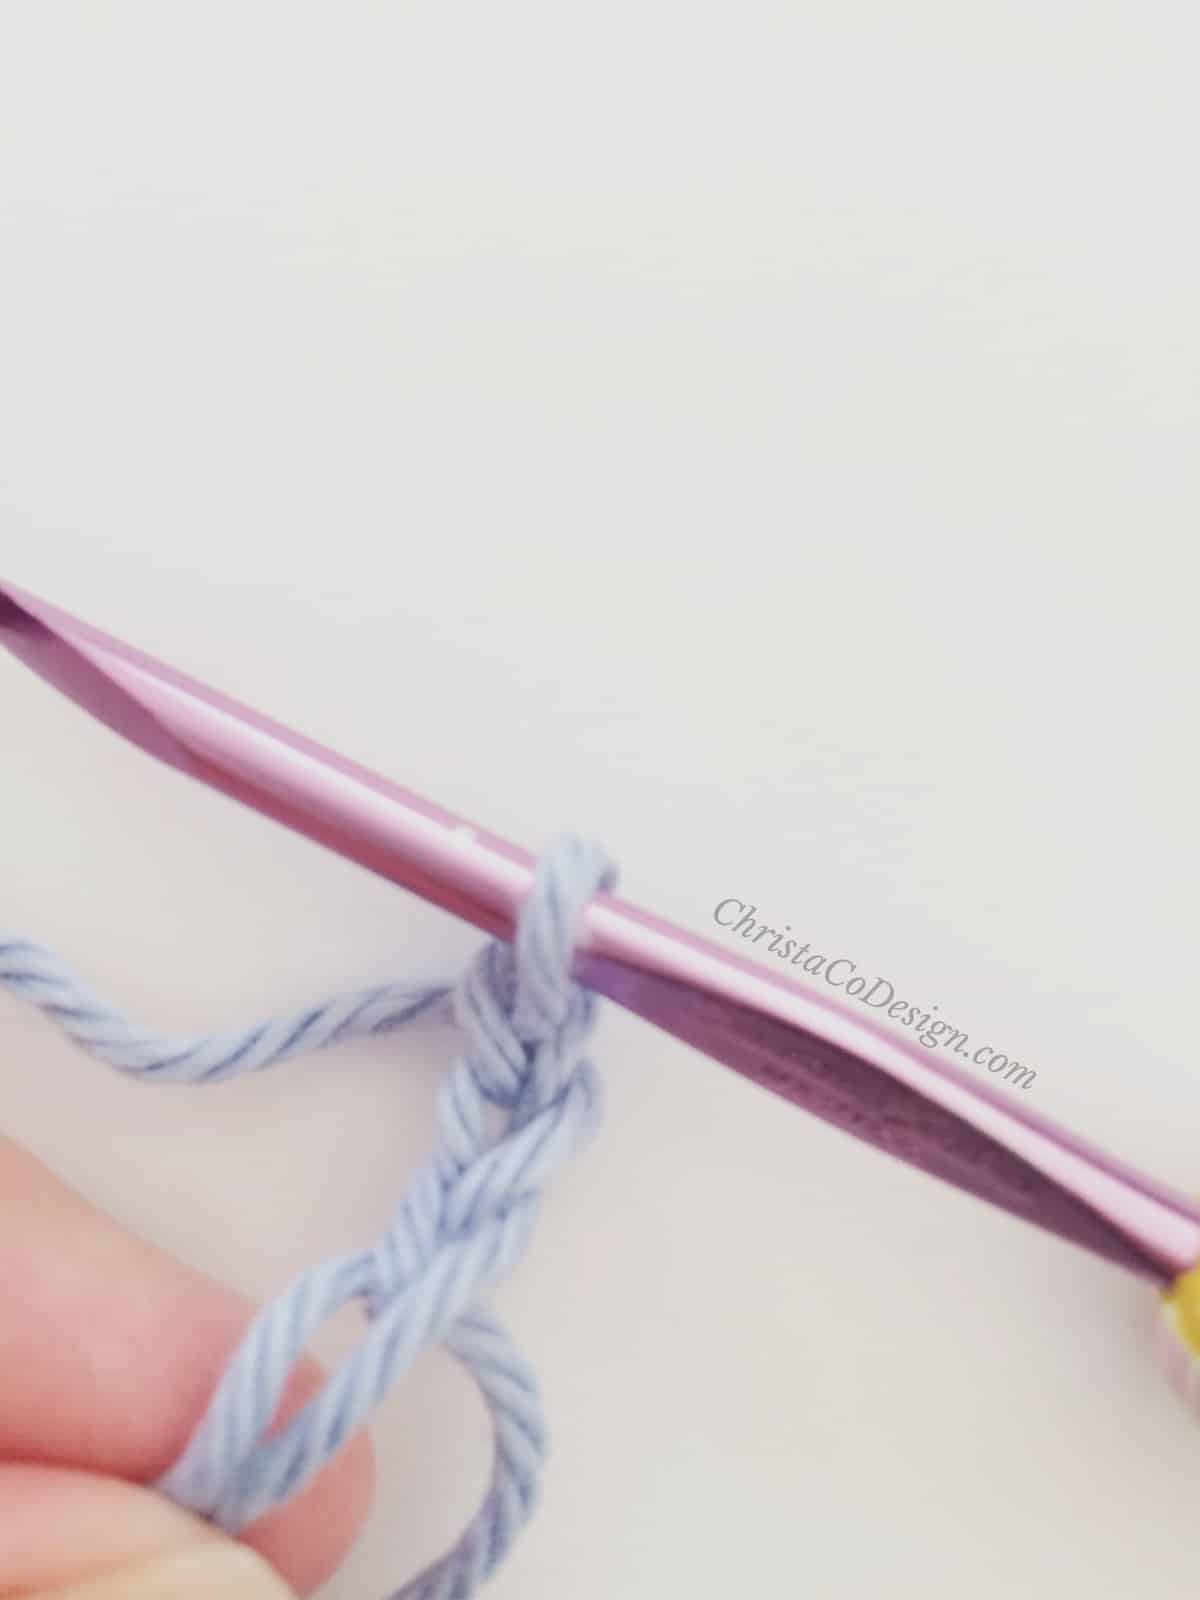
Chain 2, this counts as a turning chain.
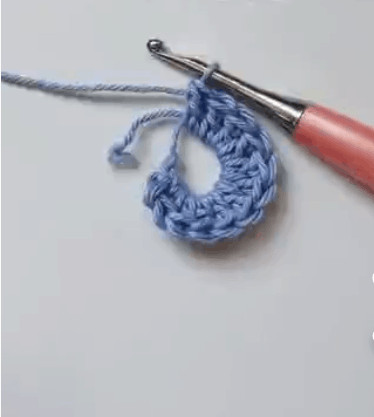
Now insert hook back into the circle and make double crochet. Be sure to work over both the tail end of your yarn and the working end of the yarn as you crochet.
Continue to work the number of double crochet stitches needed.
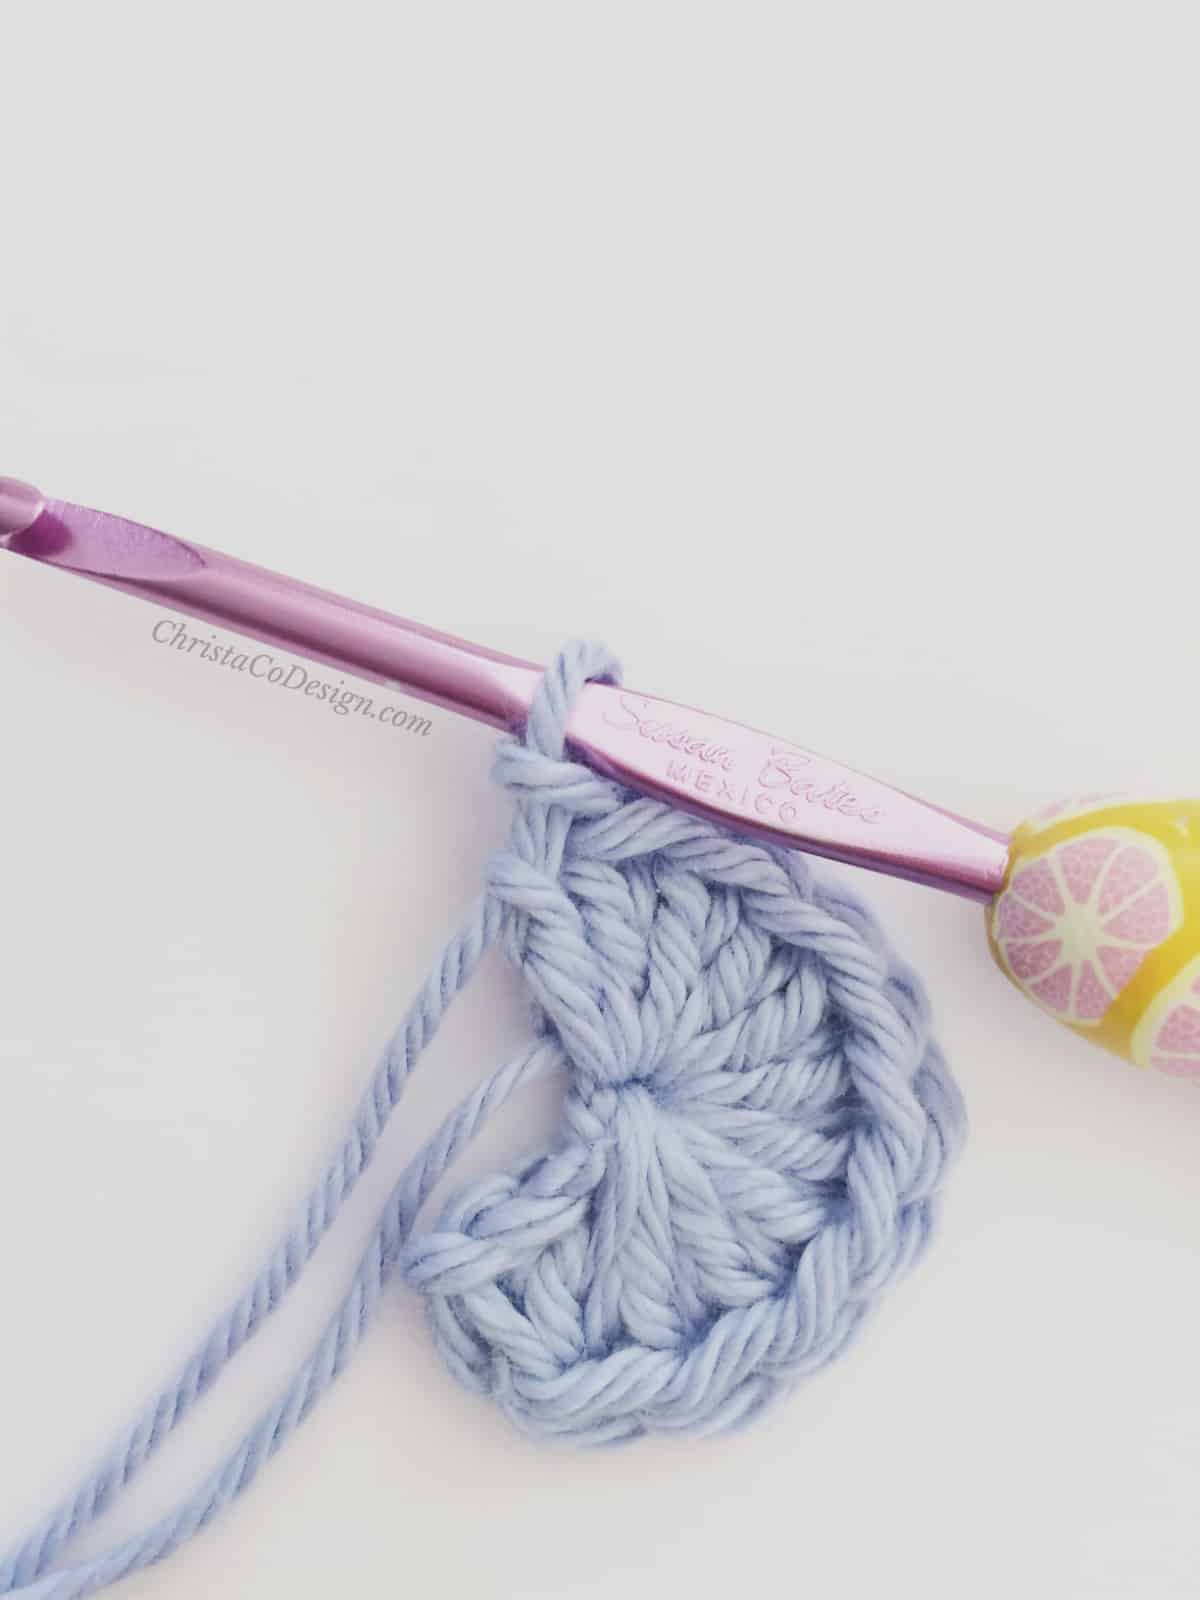
Pull the tail to close the circle tightly.
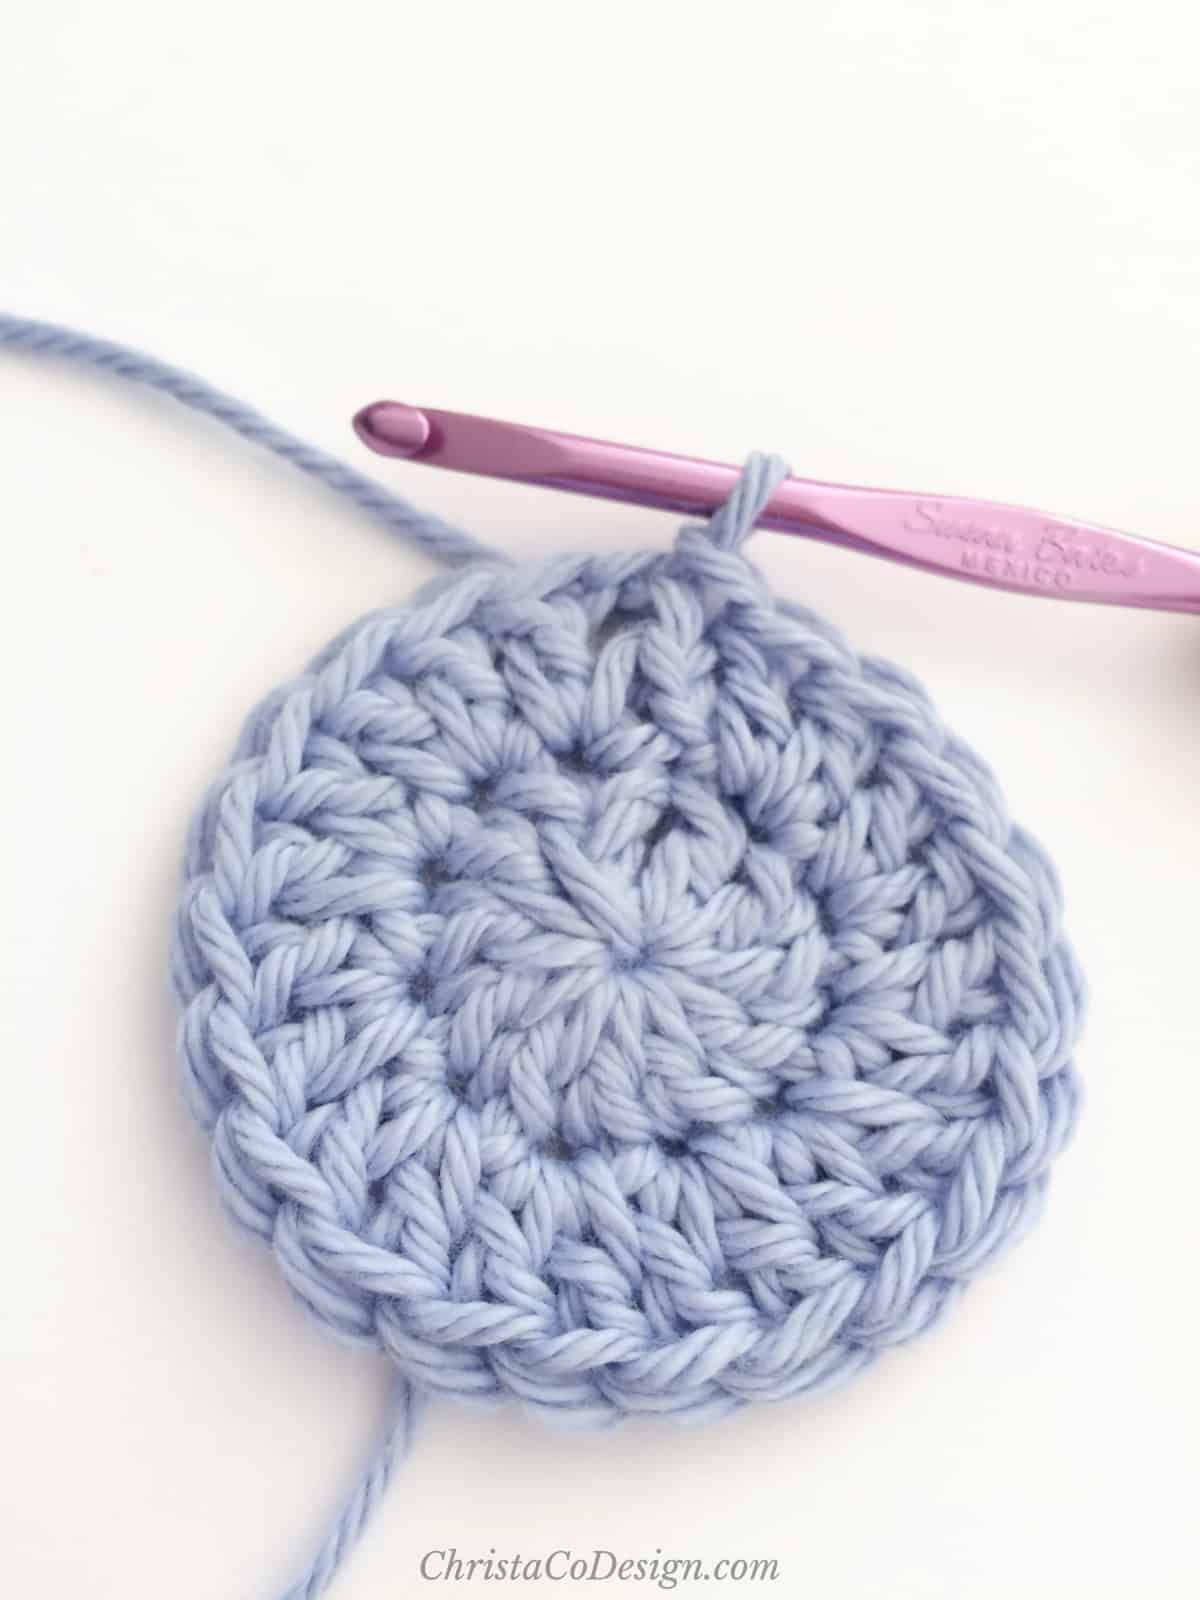
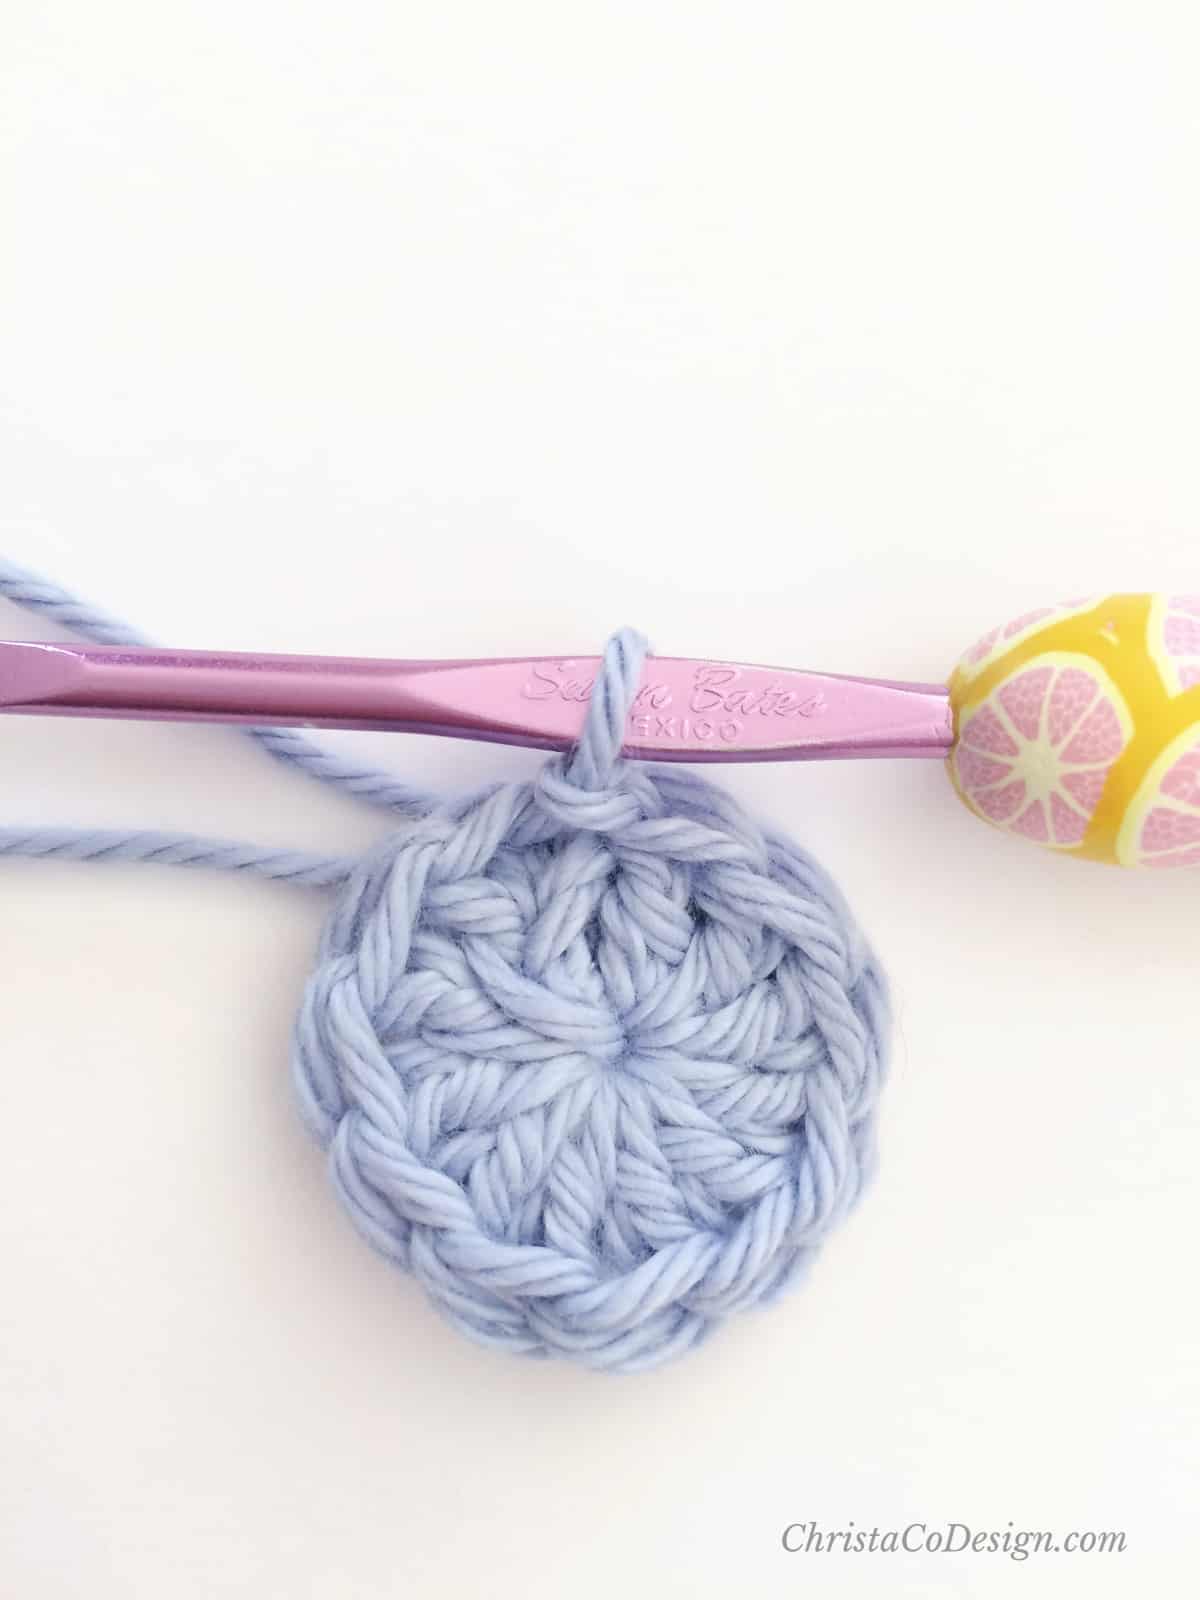
Join the round with a slip stitch to the top of the first double crochet stitch.
Scroll down for the Crochet Magic Circle Tutorial with with Step by Step Pictures!
How to Crochet a Magic Circle Photo Tutorial
Magic circle is a crochet technique for starting your hats in the round.
Materials
- any weight yarn, I'm using a #4 medium worsted weight yarn
Tools
- crochet hook compatible with your yarn, I'm using a 4mm (G) hook here. 4-6mm hook is usually a good match for #4 yarn.
Instructions
- Wrap the yarn counterclockwise around your finger.
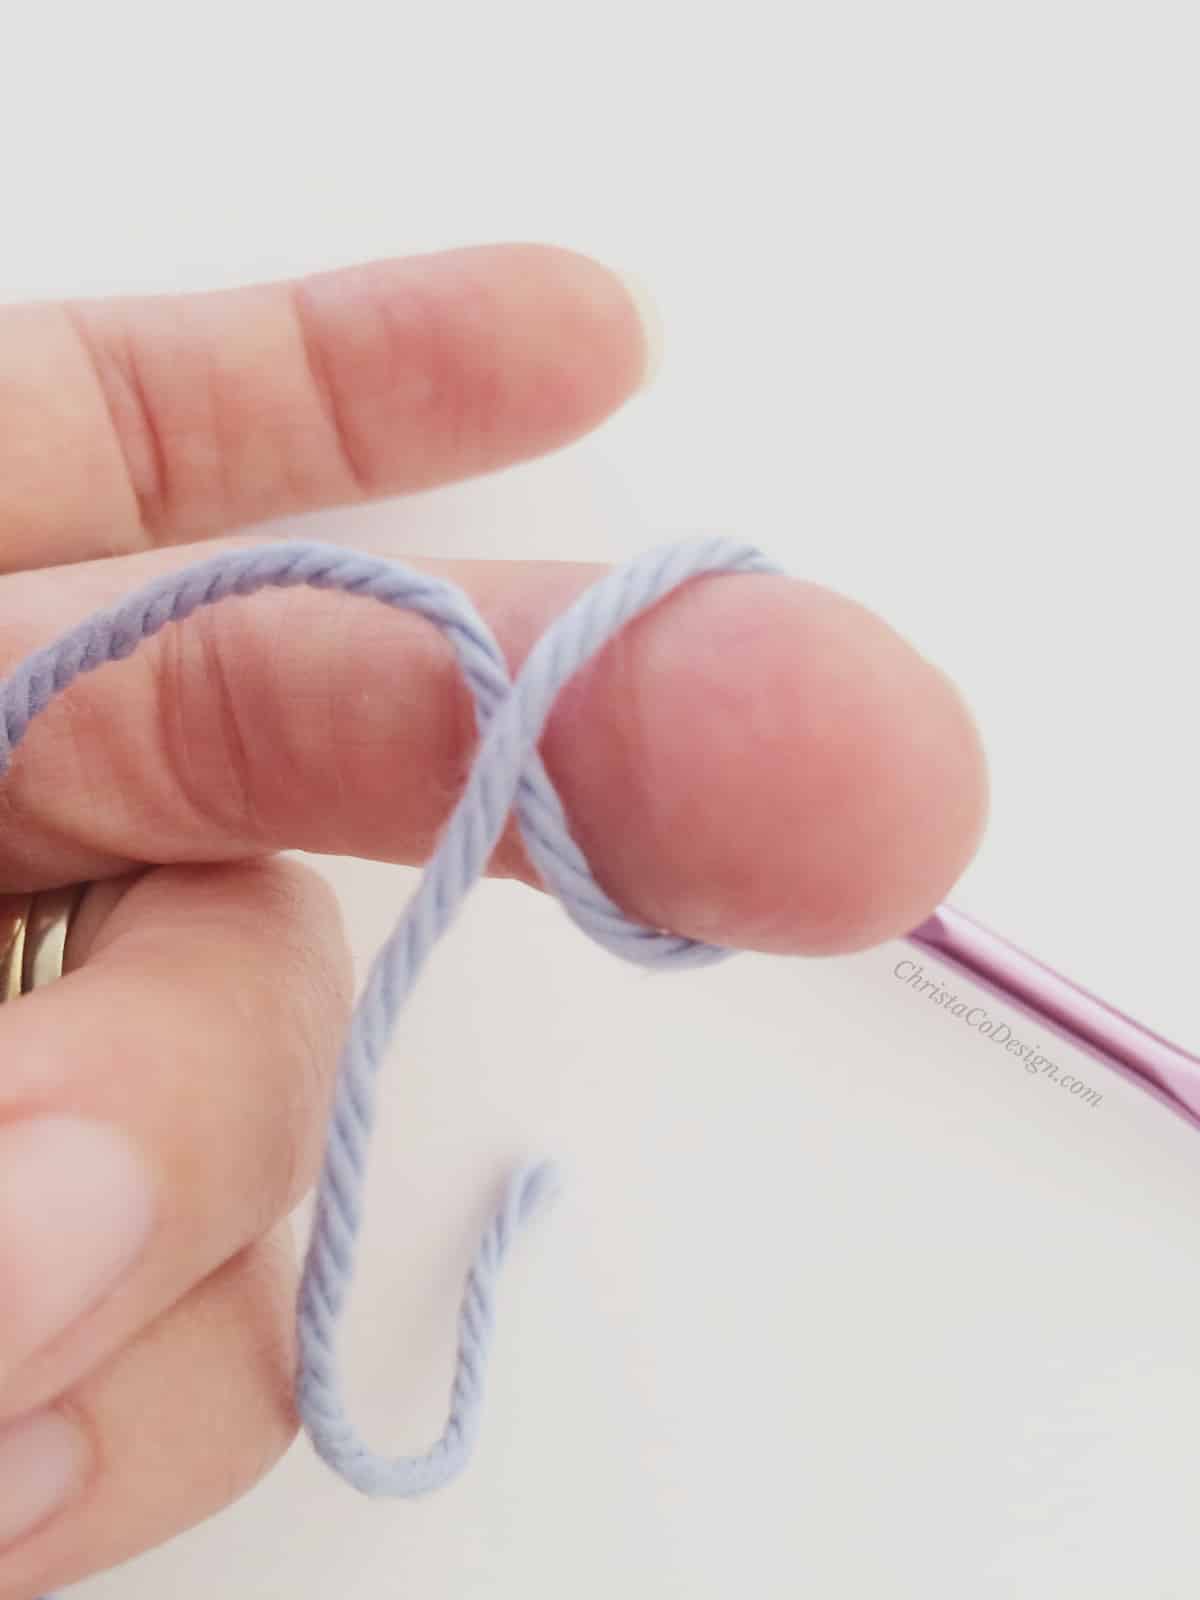
- Pinch the yarn end with your fingers to keep the circle tighter. Then, slide the loop off your finger.
- Next, insert your hook into the center of the ring and yarn over. Be sure to keep circle pinched together while wrapping yarn over hook.
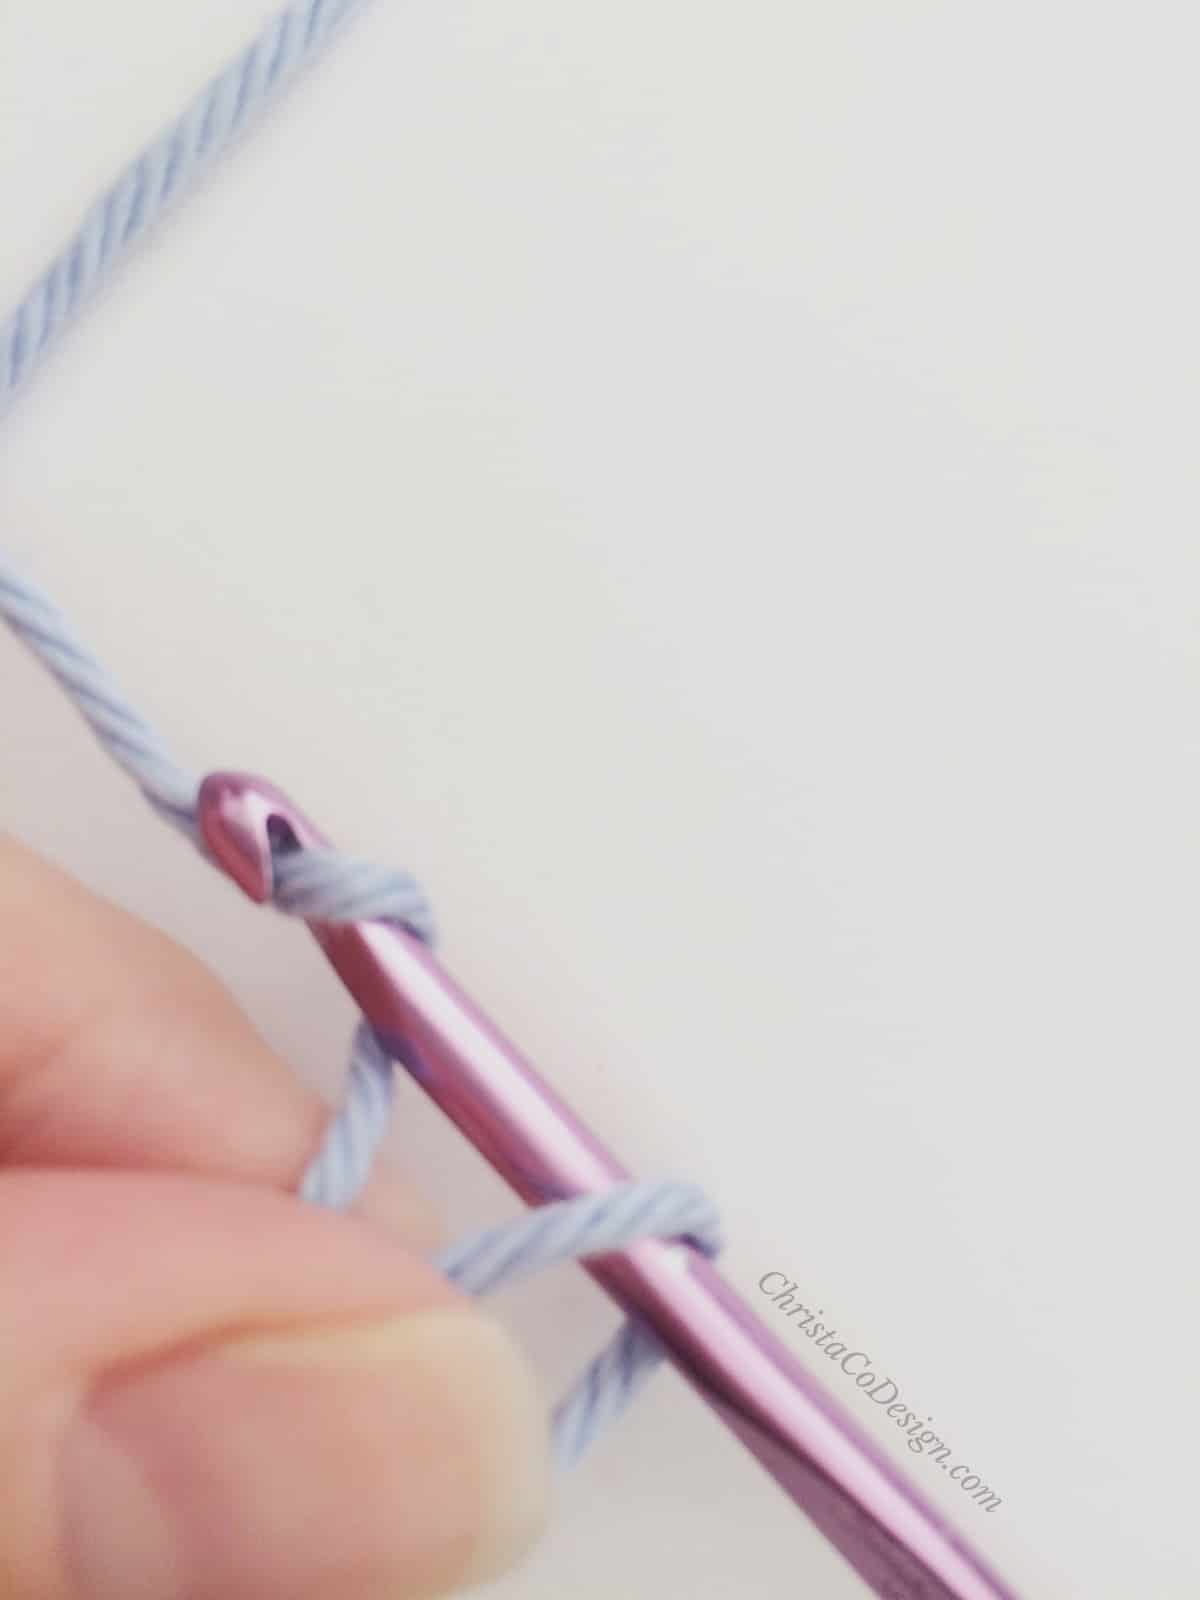
- Pull up a loop through the circle. You'll need to keep holding the two strands of yarn together and work over both of them. This is what makes our adjustable loop.
- Make a couple of chains by yarning over and pulling through 2X. I made two here, because I’ll be using double crochet stitches. This first chain 2 does not count as a stitch. The number of chains you make depends on the stitch you are using. You can make 1 chain for single crochet stitches and 1-2 for half double crochet. I prefer only 1 for hdc.
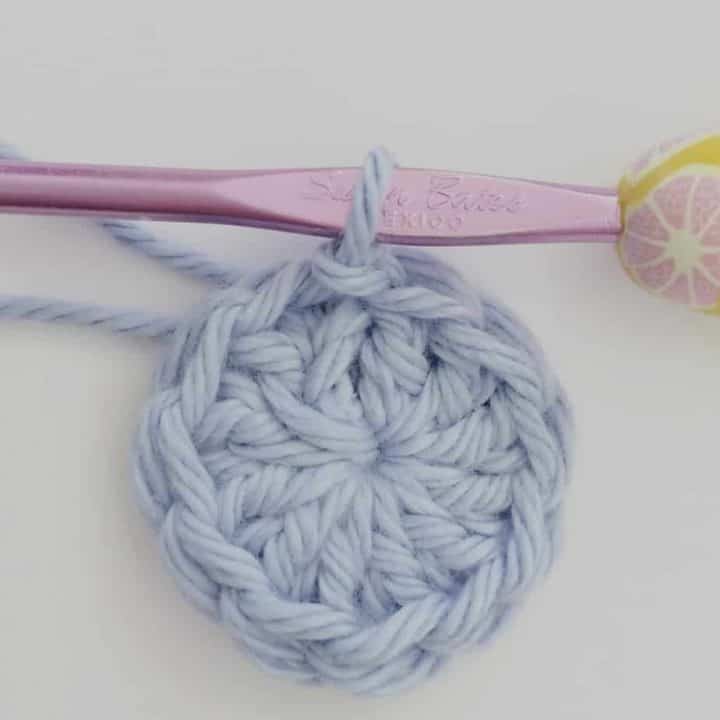
- Now insert your hook into the circle and double crochet. Be sure to work over both strands of yarn as you crochet. Rep for number of dc needed. Here I use 11 dcs. The number of stitches you add will depend on your pattern.
- You can see the small hole, now pull the tail end of the yarn to close the circle tightly.
- Join the first round of stitches with a slip stitch to the top of the first stitch.
 This is a great way to start top down hats!
Notes
Finishing
When you weave in ends, be sure to go back and forth, up and down and every which way. This will help secure it and keep the circle from sliding open.
I hope this is a helpful tutorial on a very useful crochet technique that you can use on your handmade projects!

I have been doing it right lol
Hello, I am just about to start your “Women’s Beret Crochet Pattern” but I can only find the gauge that refers to the scarflette/neck tie that goes with it. That uses a different size hook. Please could you confirm if the gauge is the same. I want to use a different yarn, but I think I can make the adjustments, once I know what the gauge is supposed to be. Thank you!
Hi, the beret gauge is 7 hdc x 5 rounds of hdc in 2”. I hope that helps!