Easy Hanging Kitchen Dish Towel Crochet Pattern
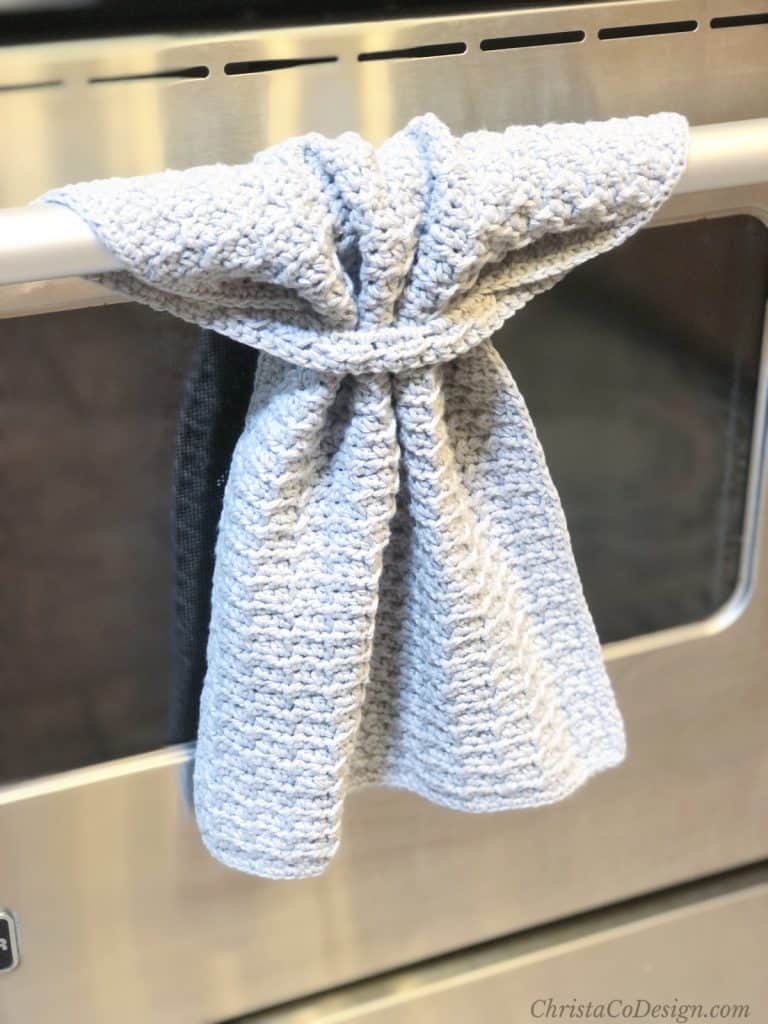
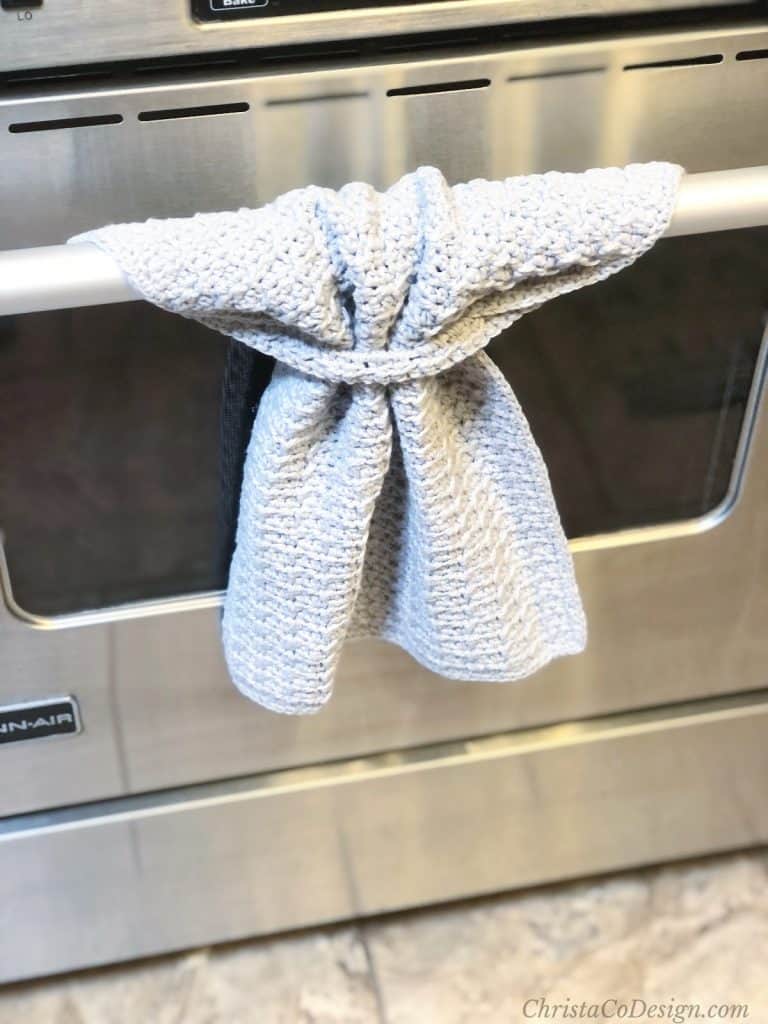
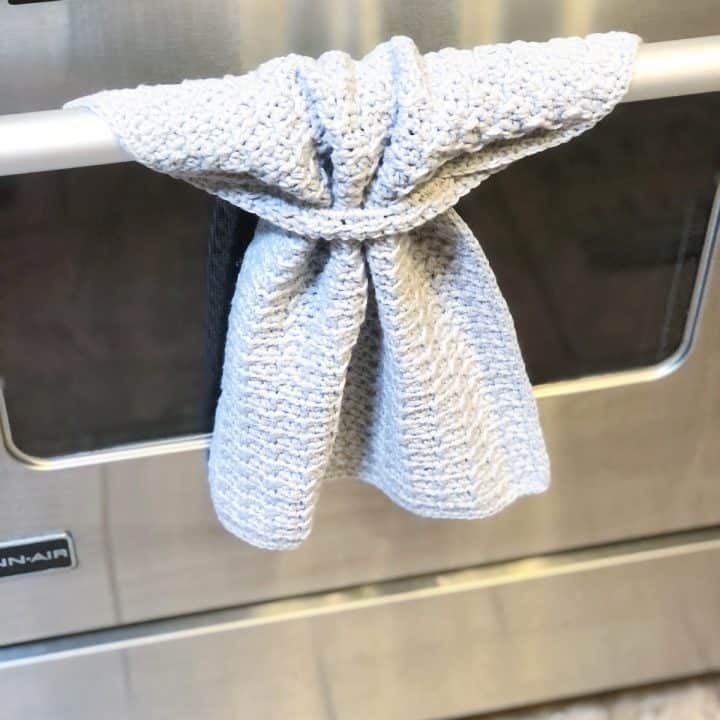
The Buco Towel is an easy kitchen towel pattern that you can hang on the oven handle. This textured crochet dish towel features a simple design that can be threaded through itself to hang neatly (and never fall on the floor)!
Our oven handle is very cylindrical and our own towels always slip off. This crochet hand towel stays in place, right where we need it.
And if you’re looking for a simple crochet dishcloth pattern then this free crochet pattern works too. You can easily crochet the dishcloth as a simple rectangle, if you prefer.

This post contains affiliate links, I may earn a fee. Read more disclosure policy.
Purchase the ad-free, well formatted printable PDF Pattern from my shop. Scroll down for the free pattern!
You Can Purchase My Ad-Free PDF Patterns Here:
The Yarn
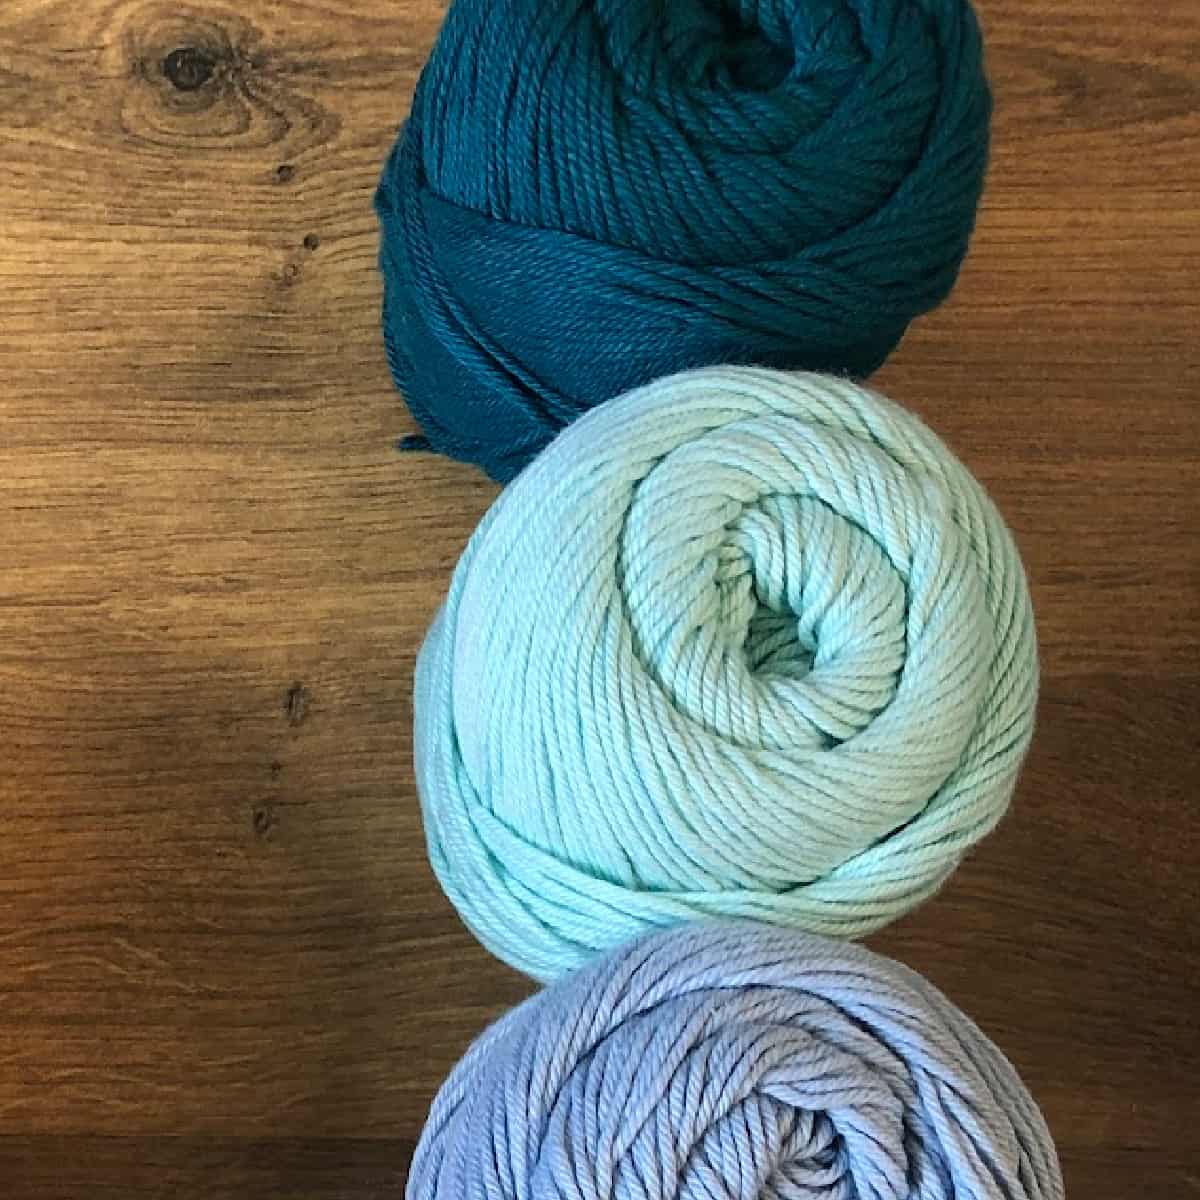
The grey towel is Big Twist Cotton which is a #4 medium worsted weight yarn. It’s a cotton and polyester blend. A worsted weight cotton yarn is the best.
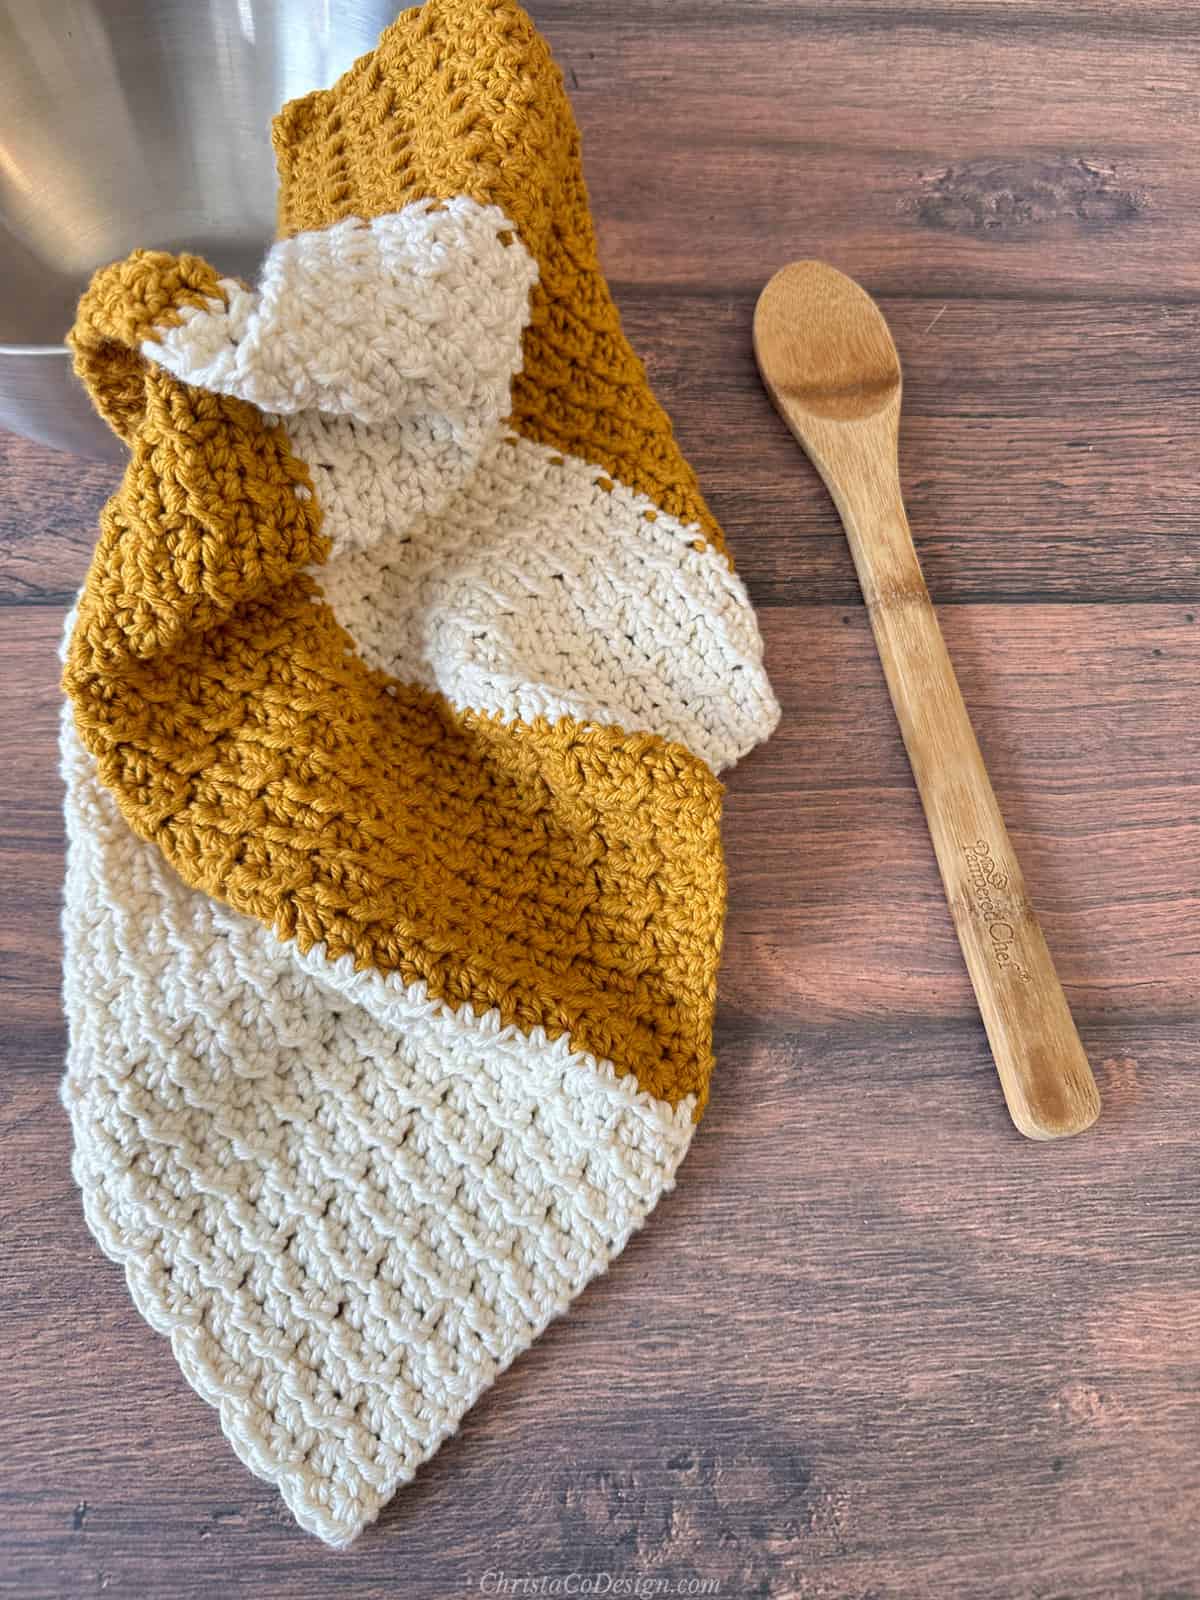
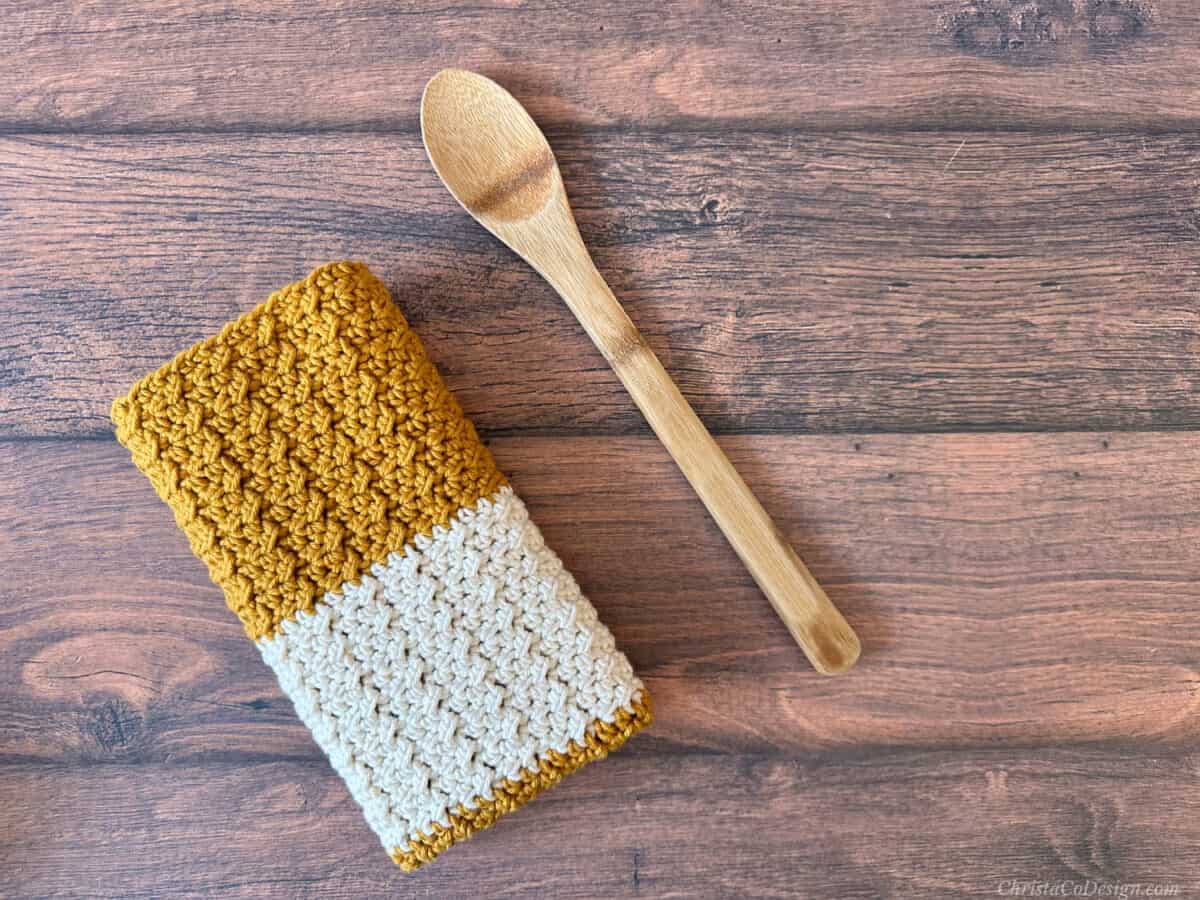
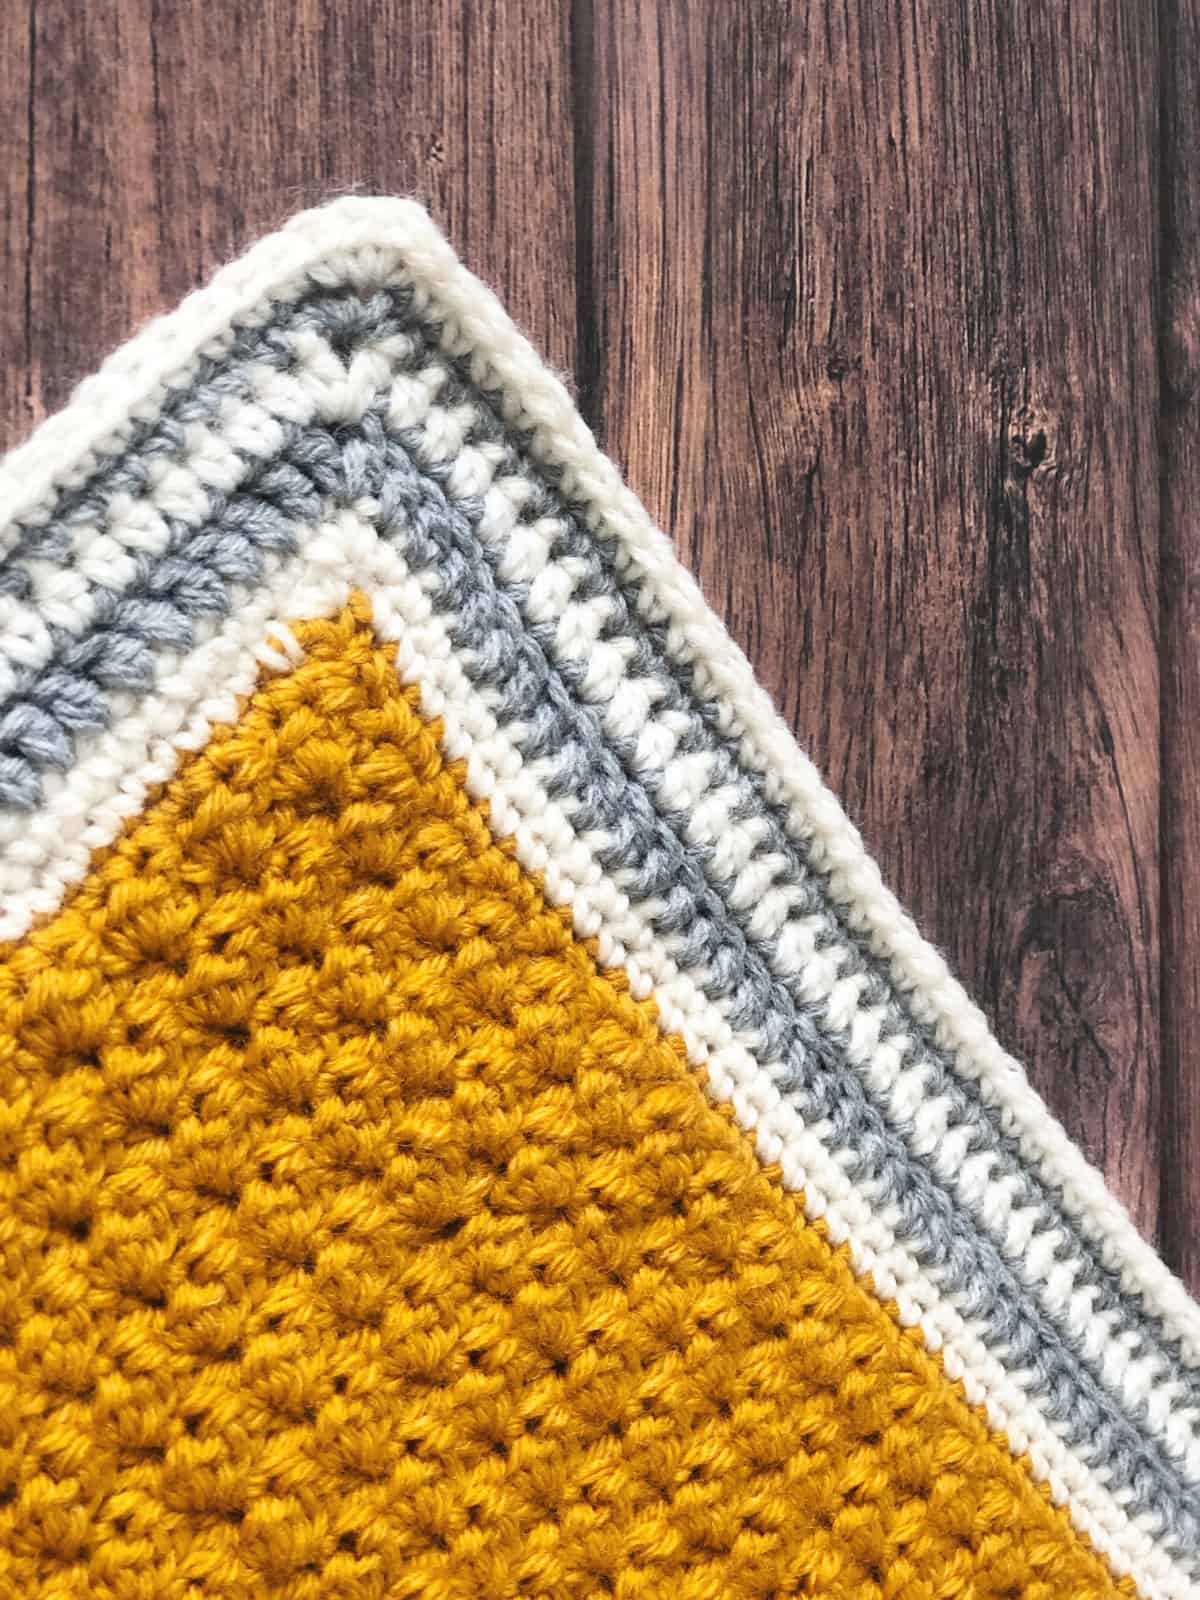
I chose a solid color for the original crochet towel pattern. But I knew the simple stitches would look great in stripes so chose two colors for the next one. The striped gold & cream yarn is Dishie from WeCrochet.*
You can substitute a comparable #4 yarn. I do recommend using cotton, as you want your kitchen towels to be absorbent.
These towels make great gifts. I love a quick project and this one makes the perfect gift that’s so useful. The Buco is my favorite dishcloth pattern, but I have a few more too.
MORE
Crochet Towel Patterns
Check out the knit version of the self hanging crochet tea towel!
Save your favs!
Add this pattern to your Ravelry queue.
Materials
- Cream & Gold Stripes: 380 yds of WeCrochet’s Dishie,* a #4 medium weight yarn (100% cotton, 190 yd (174 m) per 100 g skein) in shade Swan — 1 skein, and Butterscotch — 1 skein.
- Grey: 393 yds of Big Twist Cotton, a #4 worsted medium weight yarn (85% cotton, 15% polyester, 131 yd (120 m) per 75 g ball) in shade grey — 3 balls.
- 4mm US size G/6 hook,* or hook needed to meet gauge.
- yarn needle, measuring tape, scissors
Notes
- Please read through all notes and pattern before you begin.
- Work up a gauge swatch using the provided gauge information. If your gauge matches great, continue on. If not, change your hook size and swatch again. If your stitches are smaller, go up a hook size, if they’re larger, go down a hook size.
- Ch 1 at beginning of the row does not count.
- Stitch multiple is 3, plus 1.
Stiches/Abbreviations (US Terms)
ch(s) – chain(s)
hdc – half double crochet stitch
rep – repeat
RS – right side
sc – single crochet stitch
sk – skip the indicated stitch
sl st – slip stitch
st(s) – stitch(es)
Finished Dimensions
16.5” / 42 cm x 12” / 30.5 cm, unblocked
Gauge
4” / 10 cm x 4” / 10 cm = 16 sts x 14 rows in pattern, unblocked
Skill Level
Easy
Adjustments
To crochet a wider or narrower towel, add or subtract to my starting chain in 3s.
This easy stitch pattern has just one repeat row. Increasing or decreasing length is a simple matter of repeating more or less rows.
The hole for hanging the towel is made over the last 1″/2.5cm or last two rows.
Video
Video tutorial on my YouTube Channel.
Scroll down for the free crochet kitchen towel pattern!
Pattern Instructions
Easy Crochet Hanging Dish Towel Pattern
The Buco towel pattern is easy with beautiful texture and self hanging so it stays in place!
Materials
- 380 yds #4 medium weight yarn in 1 -2 colors.
Tools
- 4 mm crochet hook (US size G/6 hook), or hook needed to meet gauge.
- yarn needle
- measuring tape
- scissors
Instructions
Start with Butterscotch.
Ch 49, you can add or subtract 3 to adjust the starting chain, if you would like to make a different size.
Row 1. Hdc in 2nd ch from hook, hdc in next ch, sl st in next ch, *{hdc in next 2 ch, sl st in next ch} rep from * across, turn. (48 sts)
Row 2. (RS) Ch 1, hdc in same st, hdc in next stitch, sl st in next st, *{hdc in next 2 sts, sl st in next st} rep from * to the end of row, turn. (48 sts) Your last stitch will always be a sl st.
Rep Row 2 until you have 16 rows total, or about 4".
Change to Swan and rep row 2 for 16 rows.
Change to Butterscotch and rep row 2 for 16 rows.
Change to Swan and rep row 2 for 16 rows.
Hanging Loop
On next RS row.
Continue in same color.
Row count starts over.
Row 1. (RS) Ch 1, hdc in same st, hdc in next st, sl st in next st, *{hdc in next 2 sts, sl st in next st} rep from * until you have made 18 sts, then ch 12, sk 12 sts, and continue to rep from * to the end of the row. (48 sts)
Row 2. Rep Row 1, working 12 sts into the ch 12 sp.
Row 3: Rep row 1.
Do not cut yarn.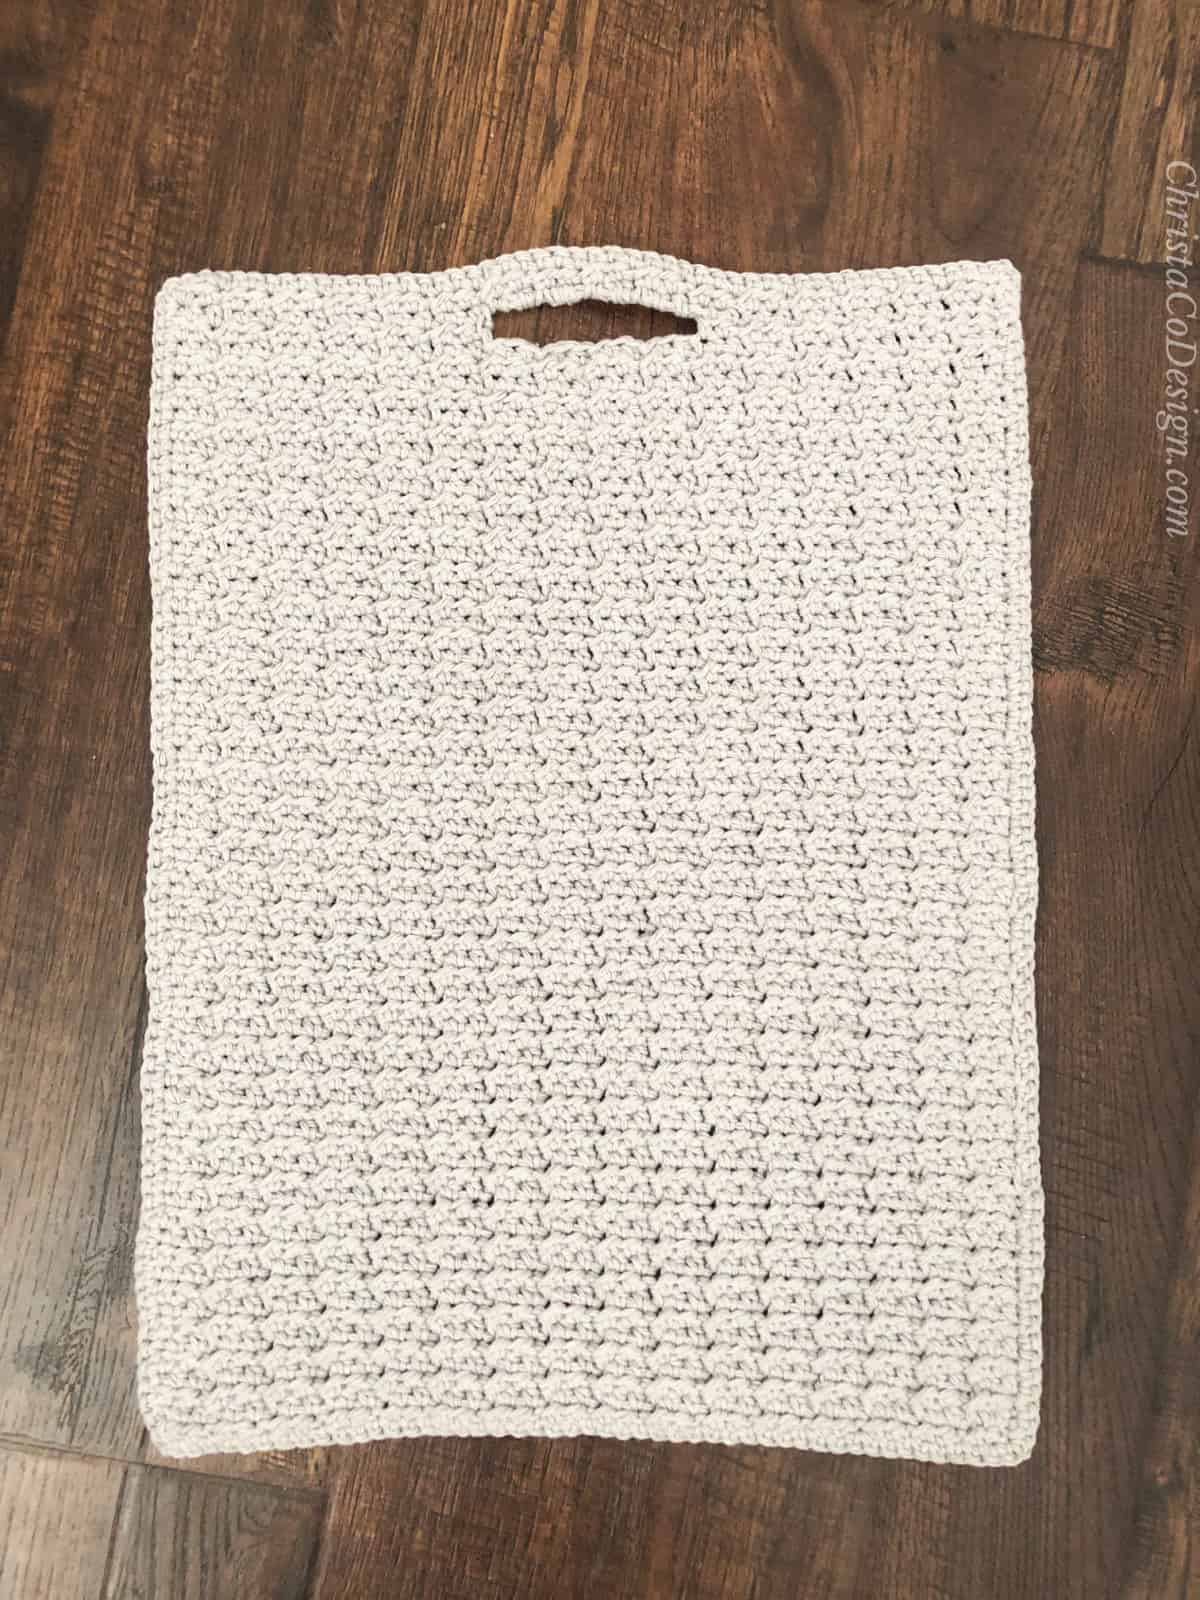
Finishing
If you worked a solid color and want to add a single crochet border you can do that now. For the striped version I did not add a border and it still has nice straight edges.
Continue for border from where you are.
Ch 1, turn corner and sc evenly along edges, placing 1 sc per row edge and (sc, ch 1, sc) in each corner, sl st to first sc.
Cut yarn and weave away ends.
How to hang
First drape the hanging towel over the oven handle with the hole on the front side, at the bottom.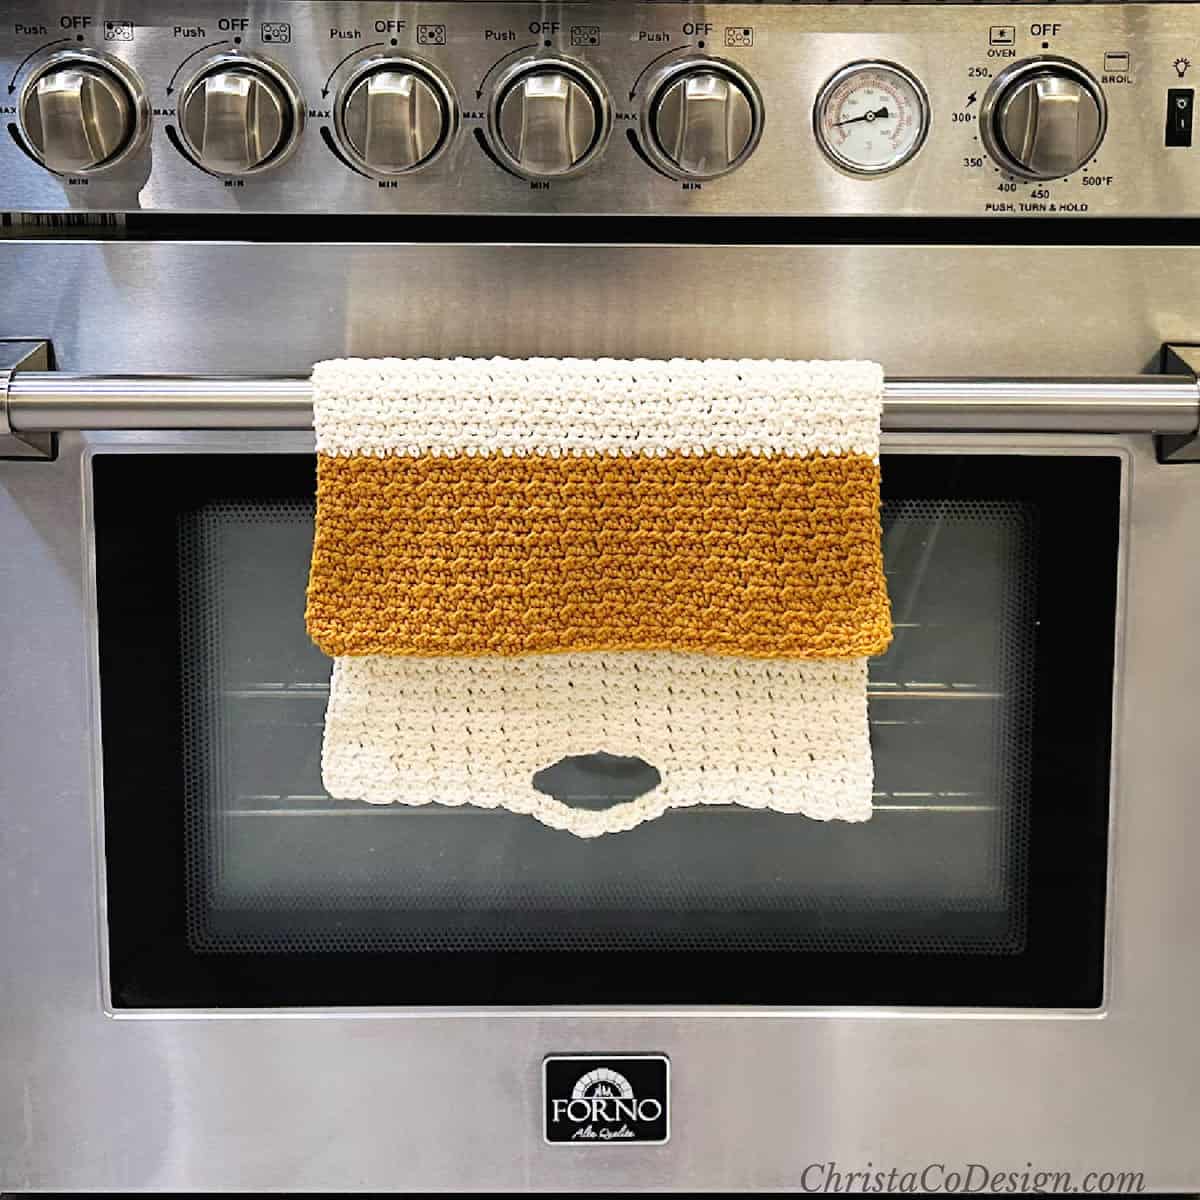
Next take the solid end and thread it through the hole.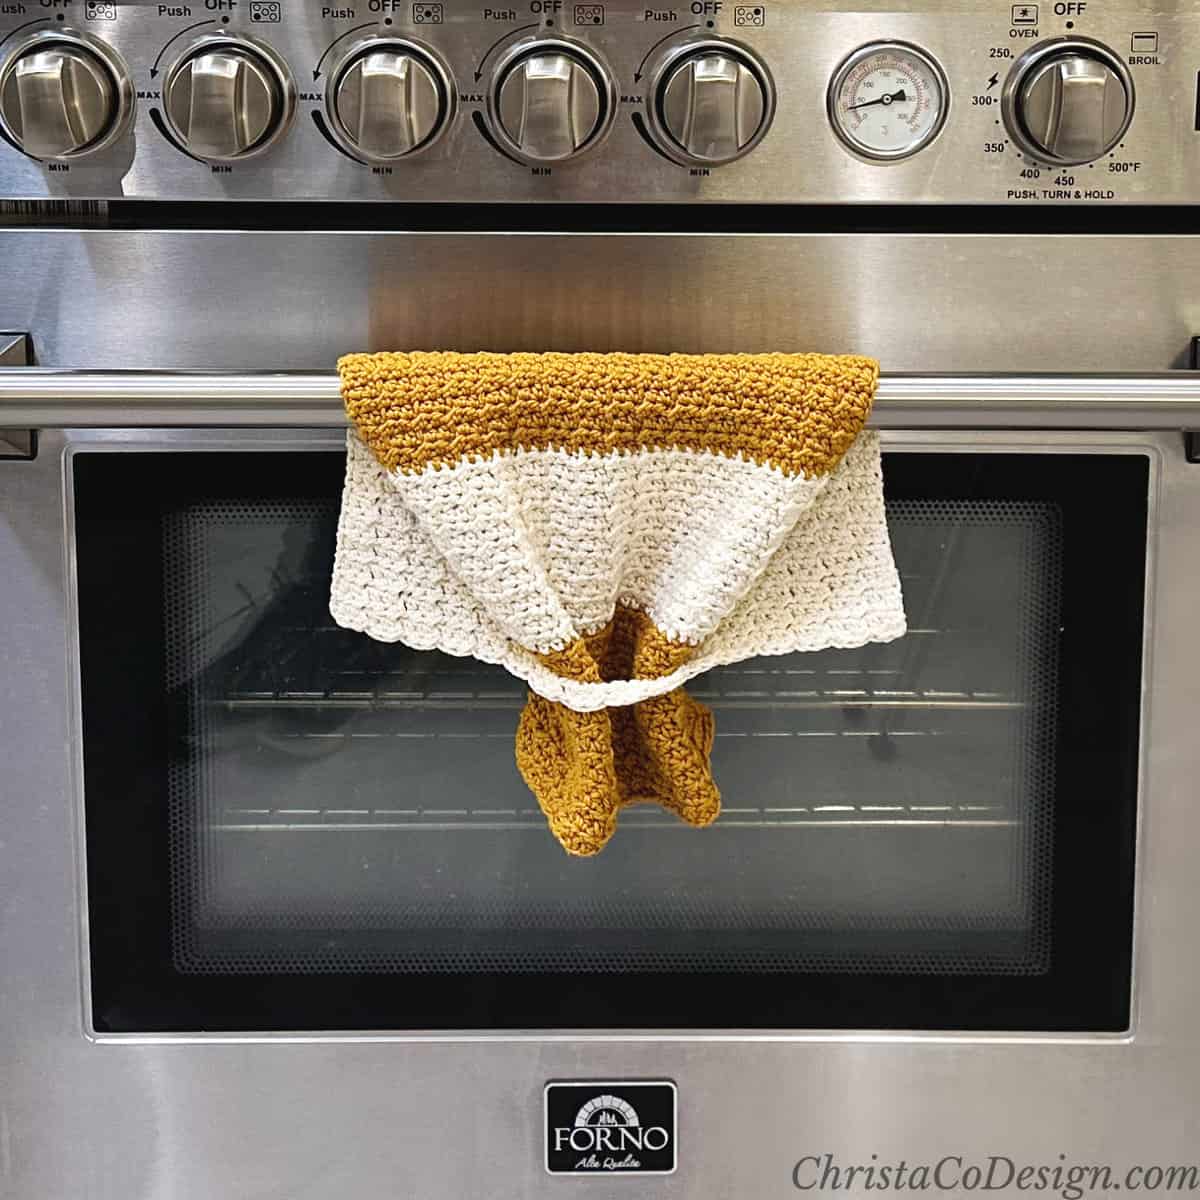
Pull it all the way down and through.
Recommended Products
As an Amazon Associate and member of other affiliate programs, I earn from qualifying purchases.

What a brilliant idea! And the texture is beautiful!
I can’t wait to make this towel. It’s genius and will stop by German Shepherd from stealing and eating my kitchen towels!Thank you!!
Thank you! This does make me laugh a little, silly dog! I hope it helps 🙂
I love this pattern. I made a pale green one to hang from my knee cart. Very handy. I think they will make great Christmas gifts.
Thank you Rhonda, I’m glad you like it so much!
Awesome thank you for sharing
I absolutely love this easy pattern! Thanks so much!! I see this as Christmas gifts this year. No more towels falling off my oven handle.
Thank you! I love it too for this same reason.
I made this pattern yesterday and it stitched up quickly and is the perfect addition to the kitchen. The loop-through hole is rather ingenious. Like you said, no more towel slipping off and onto the floor; after all, we are trying to keep a clean kitchen and there’s nothing clean about a towel that spends any amount of time on a kitchen floor. Thanks for your brilliant pattern.