
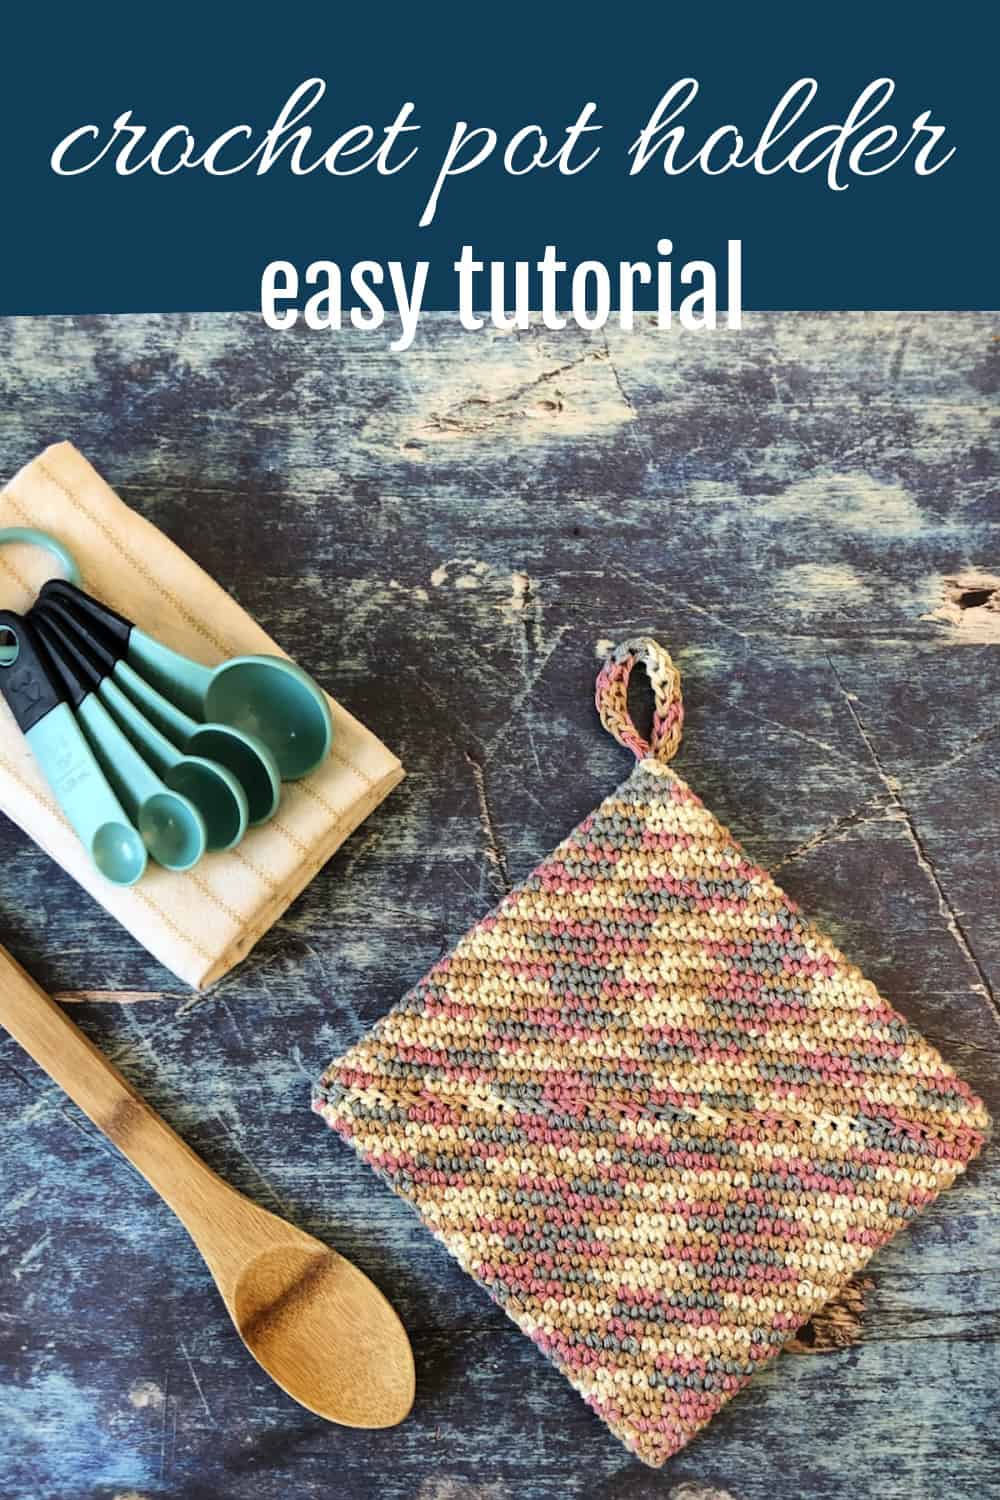
How to Crochet a Pot Holder Step By Step Tutorial
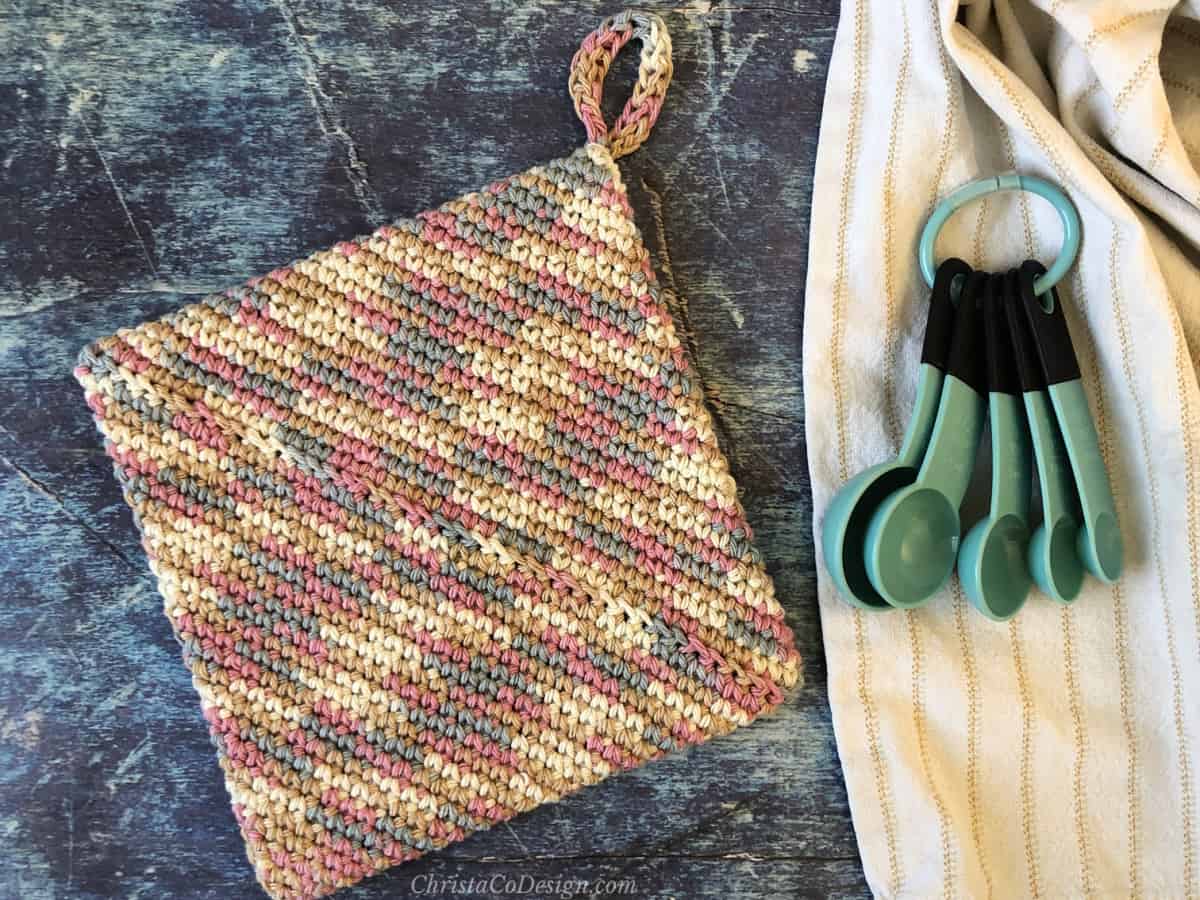
Learn how to crochet a pot holder in cotton yarn. This hot pad pattern is a great project to add a little handmade flair in your kitchen. You can crochet pot holders in a variety of colors, or even use variegated yarn.

This post contains affiliate links, I may earn a fee. Read more disclosure policy.
Join the ChristaCoDesign Newsletter
Never miss a pattern!
Thick crochet potholders make great gifts. This variegated yarn works up beautifully in a plain old potholder. If you want to use different colors for stripes that’s a great way to use up stash yarn.
Purchase the ad-free, well formatted printable PDF Pattern from my shop. Scroll down for the free pattern!
Purchase My Ad-Free PDF Patterns In Your Favorite Shop Here:
This double-thick crochet potholder pattern will protect the kitchen counter from hot dishes.
This tutorial includes step by step photos. Plus I show you how to add the hanging loop in the free pattern below.
This easy pattern is a simple idea for any beginner crocheter to make.

What yarn to use for pot holders?
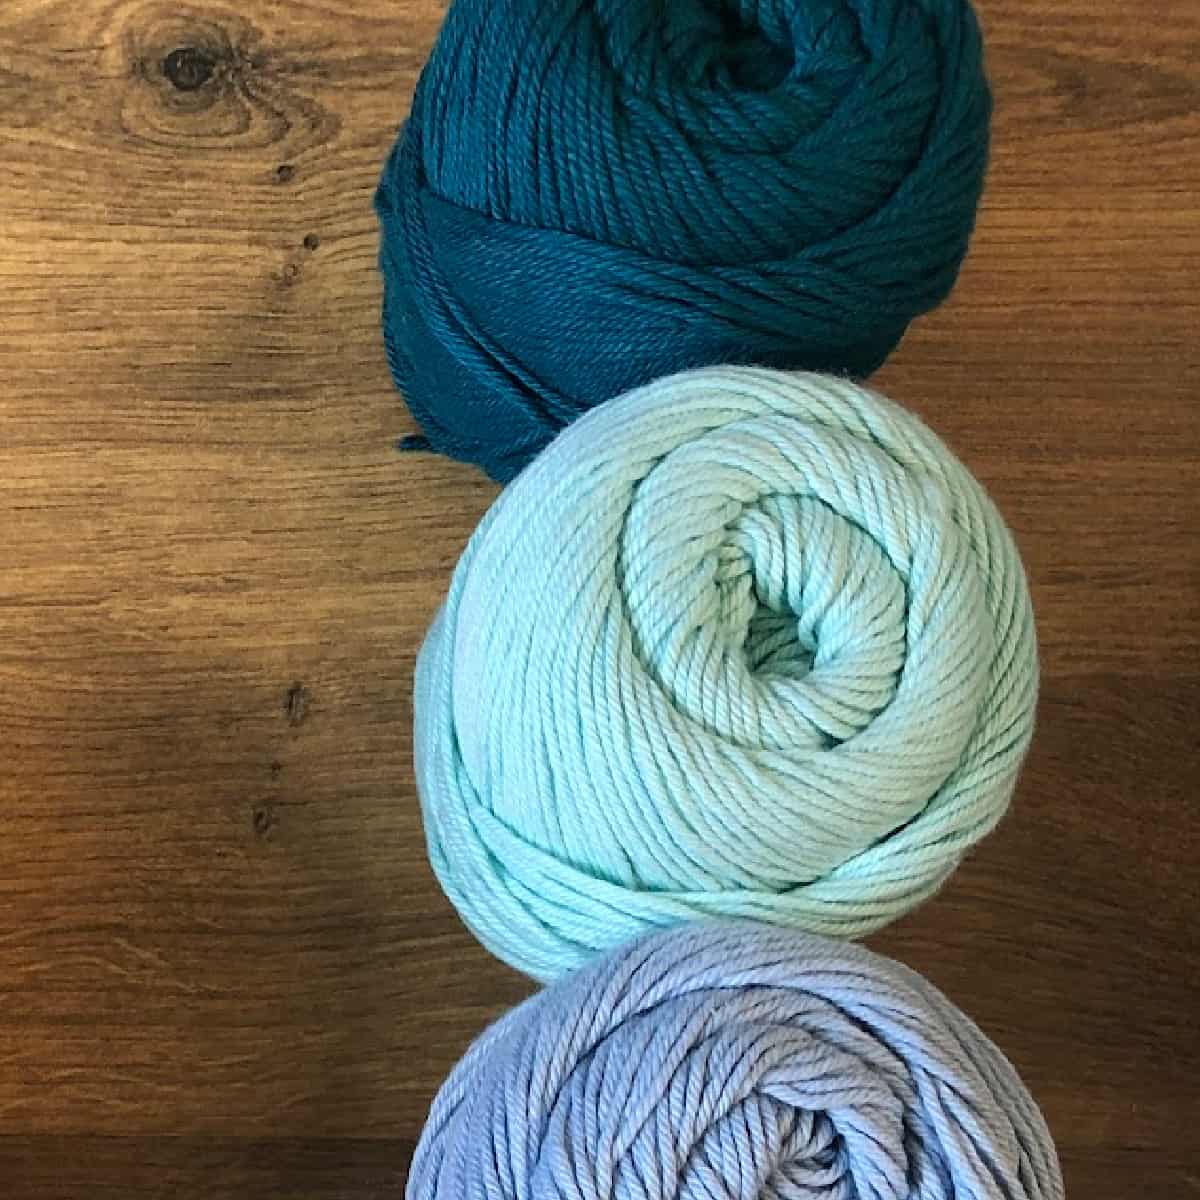
The important thing to remember about crocheting for the kitchen is to use the right yarn. If you’re planning to set hot pots on a pot holder then it needs to be crocheted with cotton yarn.
Acrylic yarn is not a natural fiber so it will melt under heat. Do not use it for hot pads. Use a cotton, or cotton blend if you plan to set a hot pan it.
And if you’re crocheting dishcloths don’t use acrylic either. Use cotton yarn because it’s absorbent and acrylic is not. The Cara is an easy crochet pattern for a dishcloth.

Materials
- 4 medium worsted weight cotton yarn,* pictured in Joann’s Big Twist Cotton (85% cotton, 15% polyester, 96 yd / 88 m, 1.94 oz / 55 g) color: Multi Rosy Cheeks, (2) balls, or 192 yd of comparable yarn.
- 5 mm US Size H-8 crochet hook,* or hook size needed to meet gauge.
- yarn needle, measuring tape, scissors
Notes
- Pattern is worked continuously in the round. Do not join or turn.
Gauge
16.5 sts x 19 rows (after blocking) to 4” (10 cm) measured in sc.
Gauge is not terribly important for this pattern, but your sizing may vary.
Skill Level
Beginner
Stitches / Abbreviations (US Terms)
ch – chain
sc – single crochet
sl st – slip stitch
More Crochet Patterns for Cotton Yarn
- The Juliet Coaster is simple single crochet coaster pattern with a beautiful trim.
- The Bria Washcloth features a simple textured stitch that’s easy enough for a new crocheter.
- The Library crochet tote bag has a similar construction to this pot holder pattern.
- Looking for a bigger project? Check out one of this cozy crochet baby blankets from Crochet Dreamz.
Pin It
Purchase the ad-free, well formatted printable PDF Pattern from my shop. Scroll down for the free pattern!
Scroll down for the free crochet pattern!
Pattern Instructions

How to Crochet a Pot Holder
Crochet a simple, double thick pot holder in this step by step tutorial!
Materials
- #4 medium worsted weight cotton yarn. I use Joann's Big Twist Cotton (85% cotton, 15%polyester, 96 yd / 88 m, 1.94 oz / 55 g) color: Multi Rosy Cheeks, (2) balls, or 192 yd of comparable yarn.
Tools
- 5 mm US Size H-8 crochet hook
Instructions
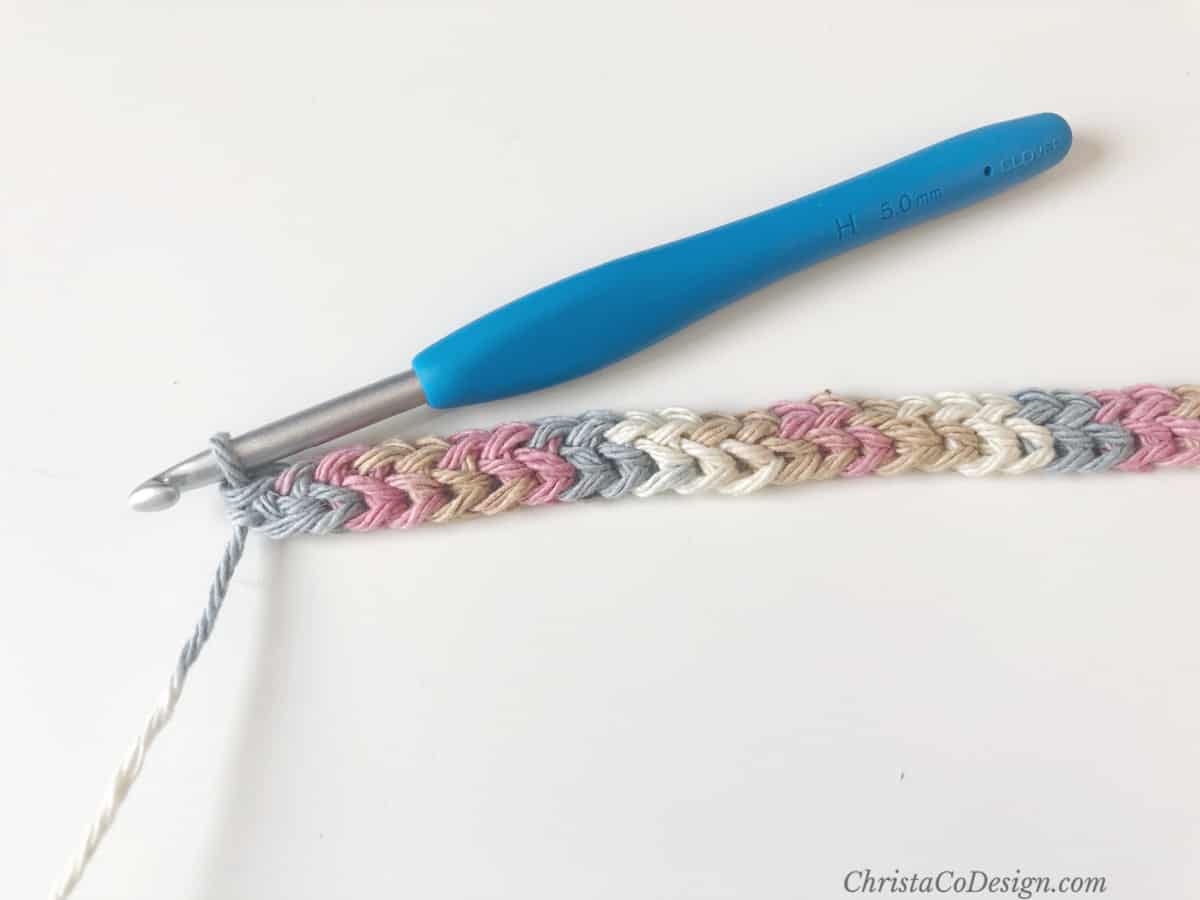
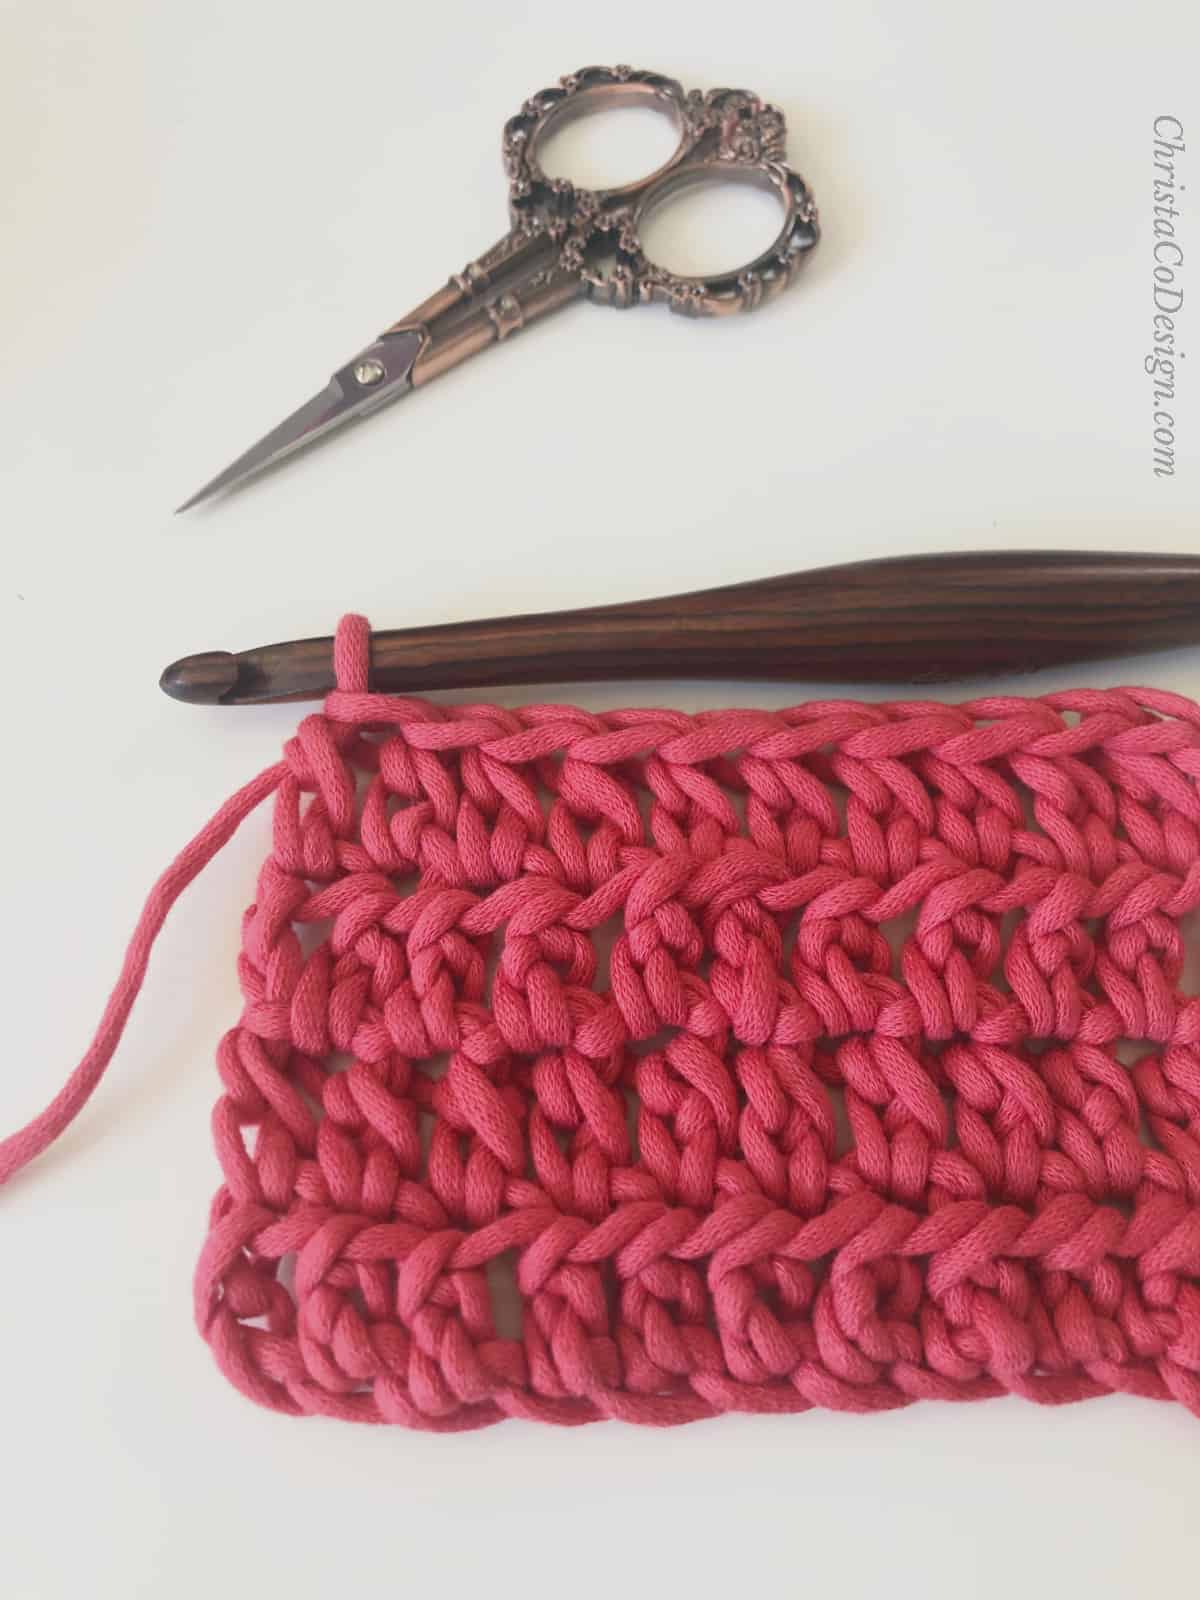
- Start with a slip knot on your hook.
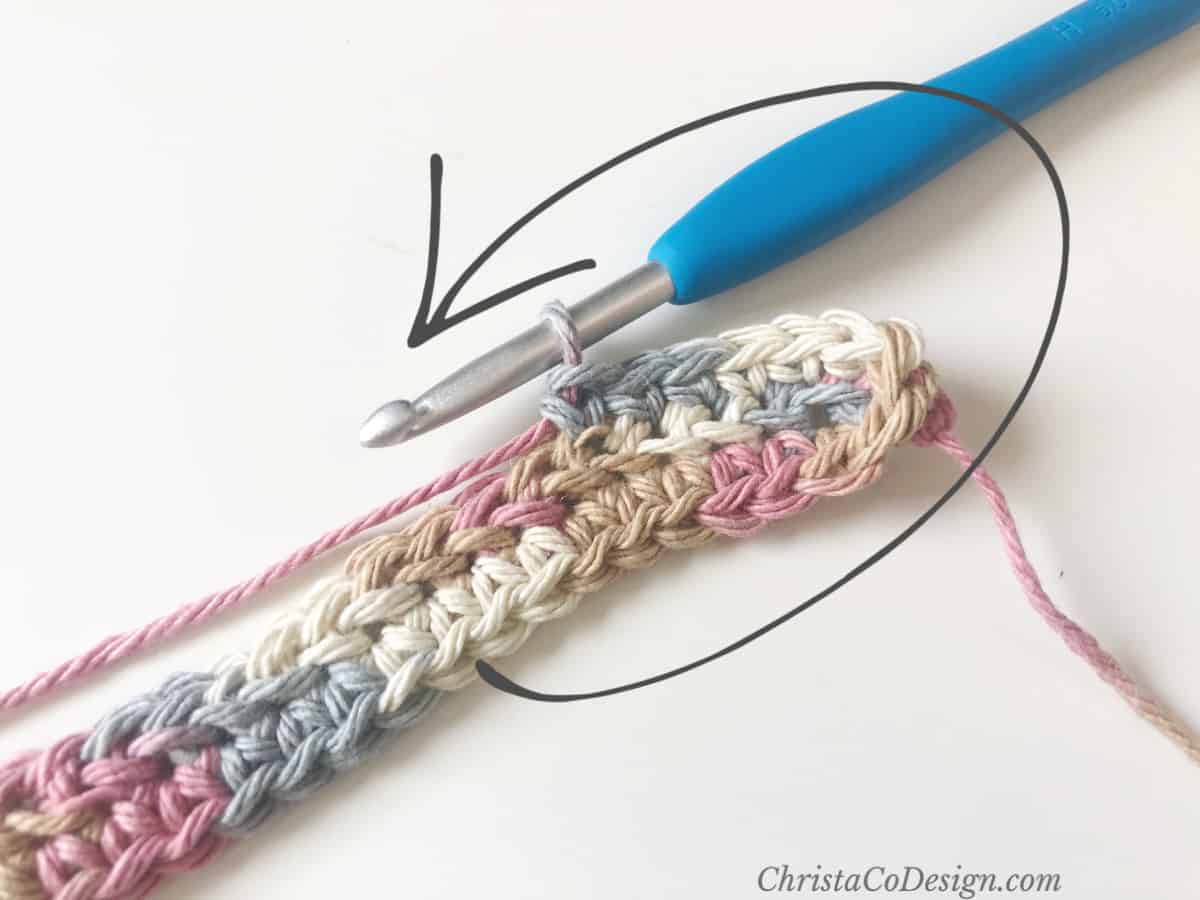
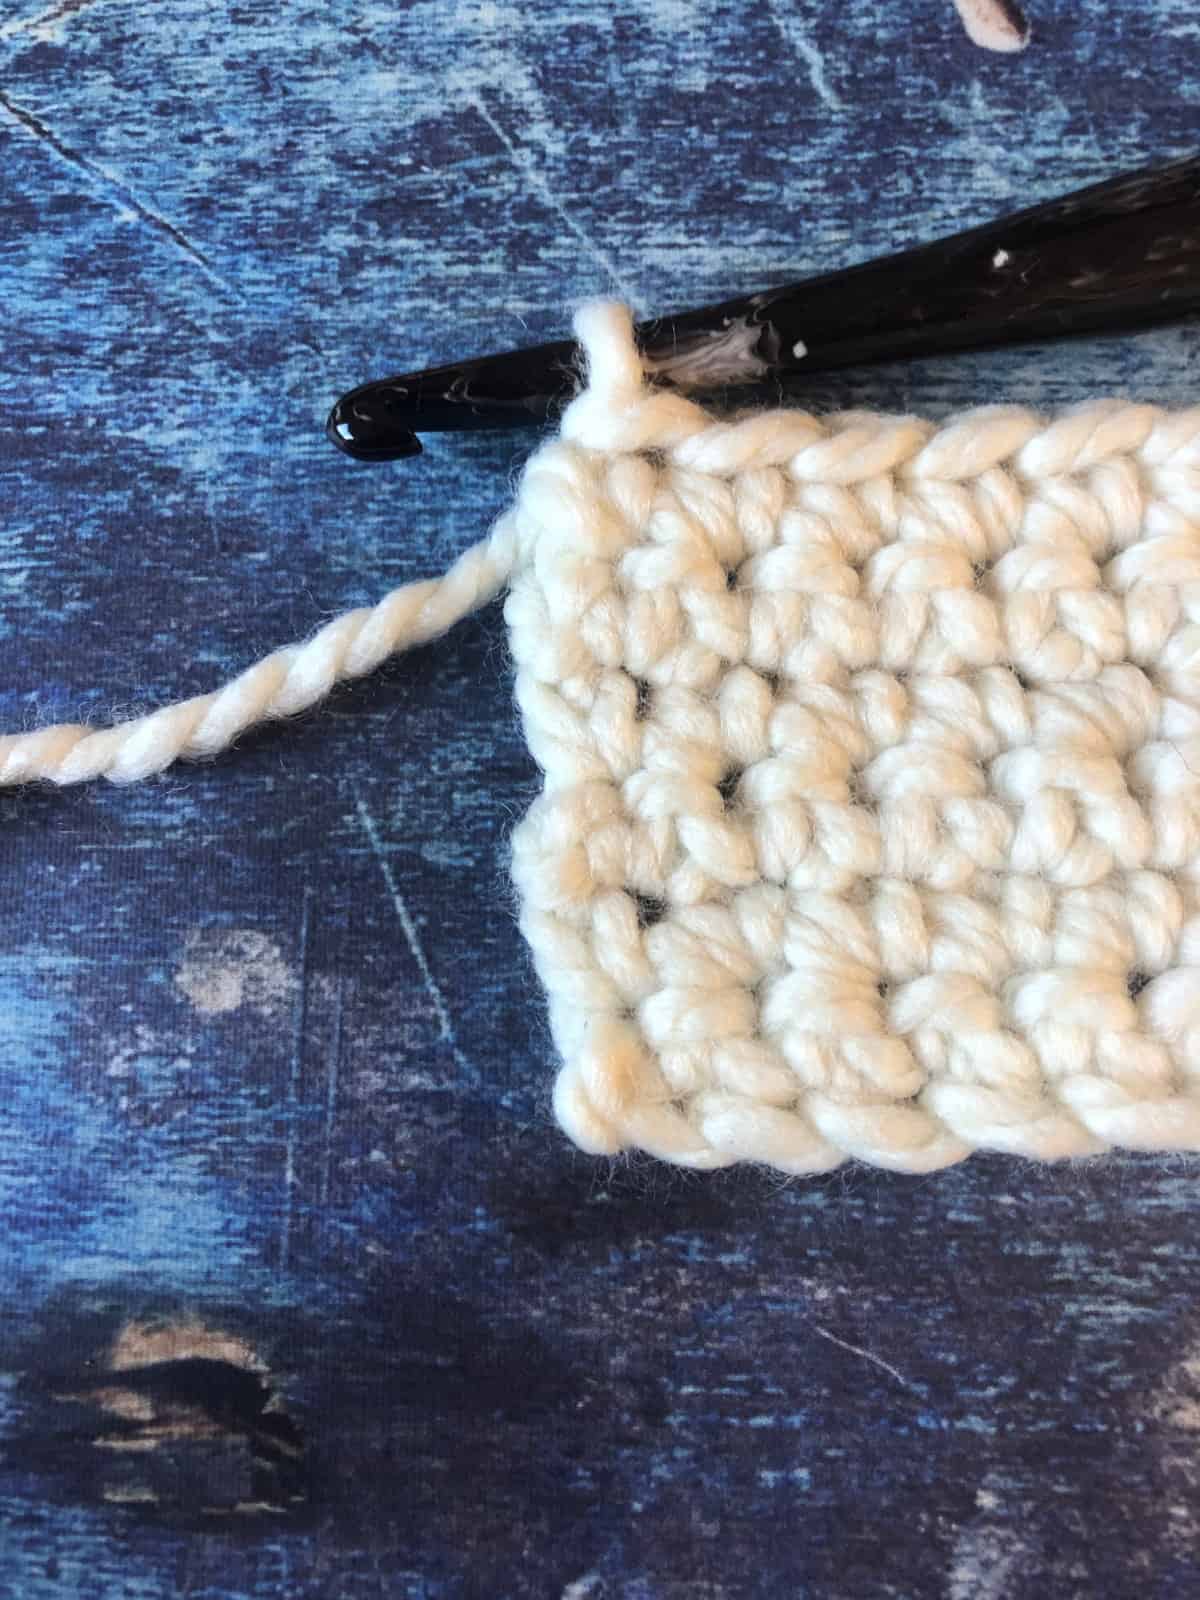
- Fsc 41, or if you are unfamiliar with foundation stitches, you can chain 42 and single crochet in the 2nd ch from your hook, sc in the next st and in each st across. (41 sts) You can adjust the number chains here to your liking. This will be the corner to corner length of your pot holder.
- Now we're going to work on both sides of the foundation row, so that we can crochet around and around.

- Continue around the end of the row, single crochet in each stitch across the bottom of the foundation row.
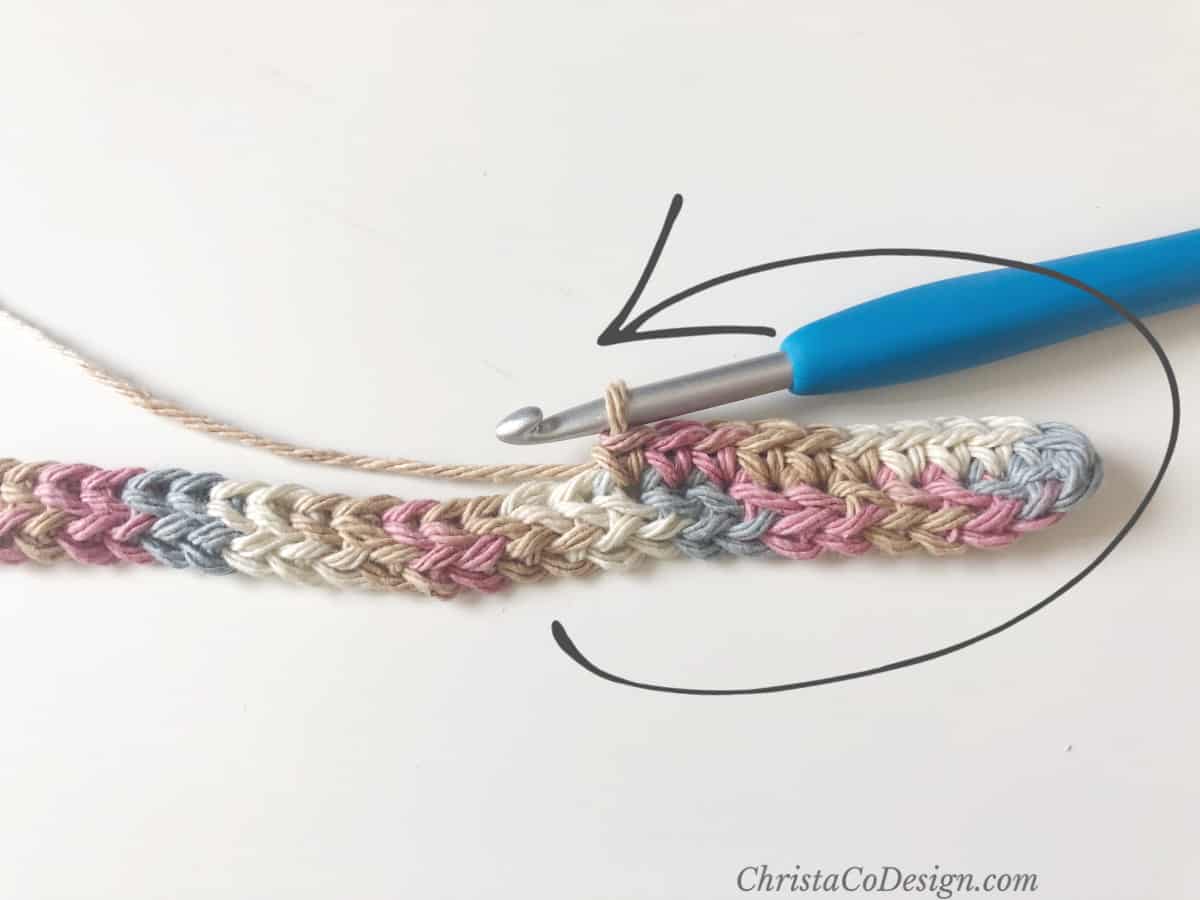 After the last sc, don't add extra stitches on the end. This will allow our work to curl and cup up, which is what we want.
 - Here the first two rows are complete. You can see they mirror each other.

- Now on Round 3, just continue to single crochet in each stitch around. You can see that on this round the edges start to cup up.
- Continue to repeat Row 3: sc around for 23 rounds total (= 5" tall),
 or until your edges meet when you fold them in on the diagonal.
 - To fold, bring the edges together in the center.
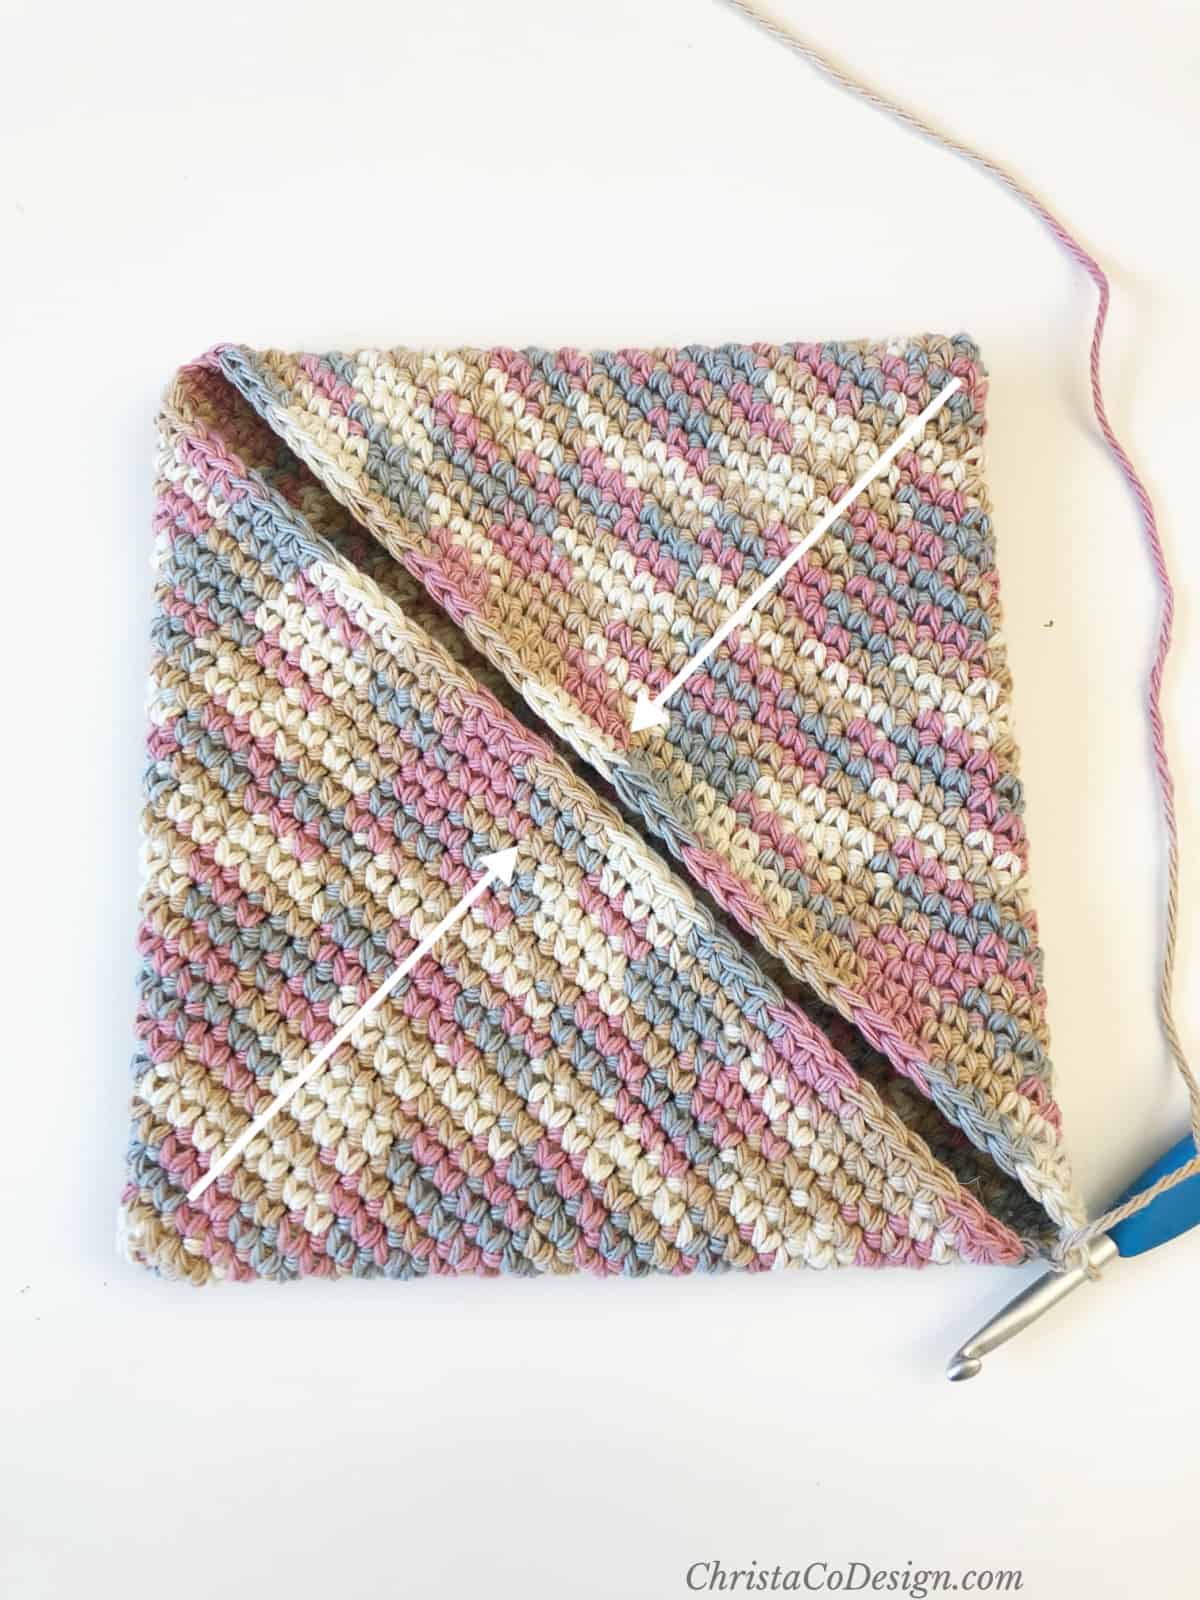
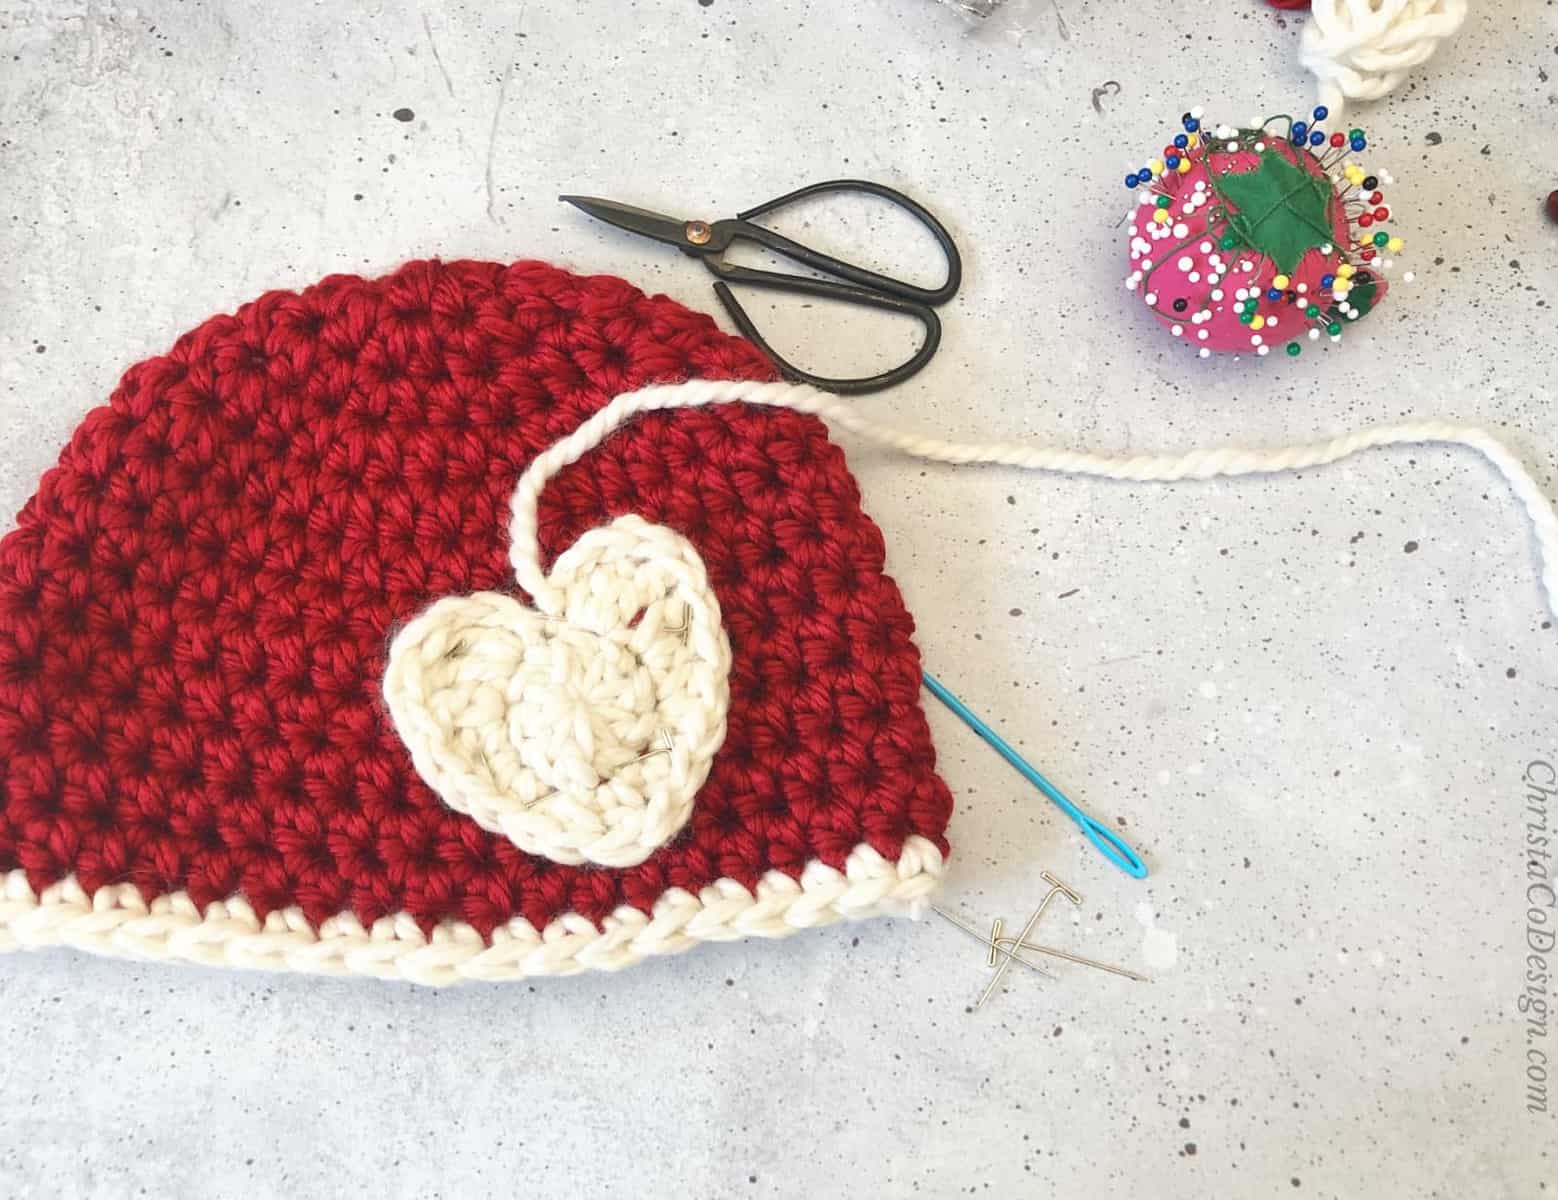
- Once you have worked enough rows of single crochet the edges will touch. Now you are ready to slip stitch your pot holder together. Optionally, you can sew the edges together with a yarn needle. The whip stitch or mattress stitch are both good choices.
- If you would like to add loop for hanging, fsc 14 and sl st it back to the same corner. You can adjust the length of the loop with more or less stitches.
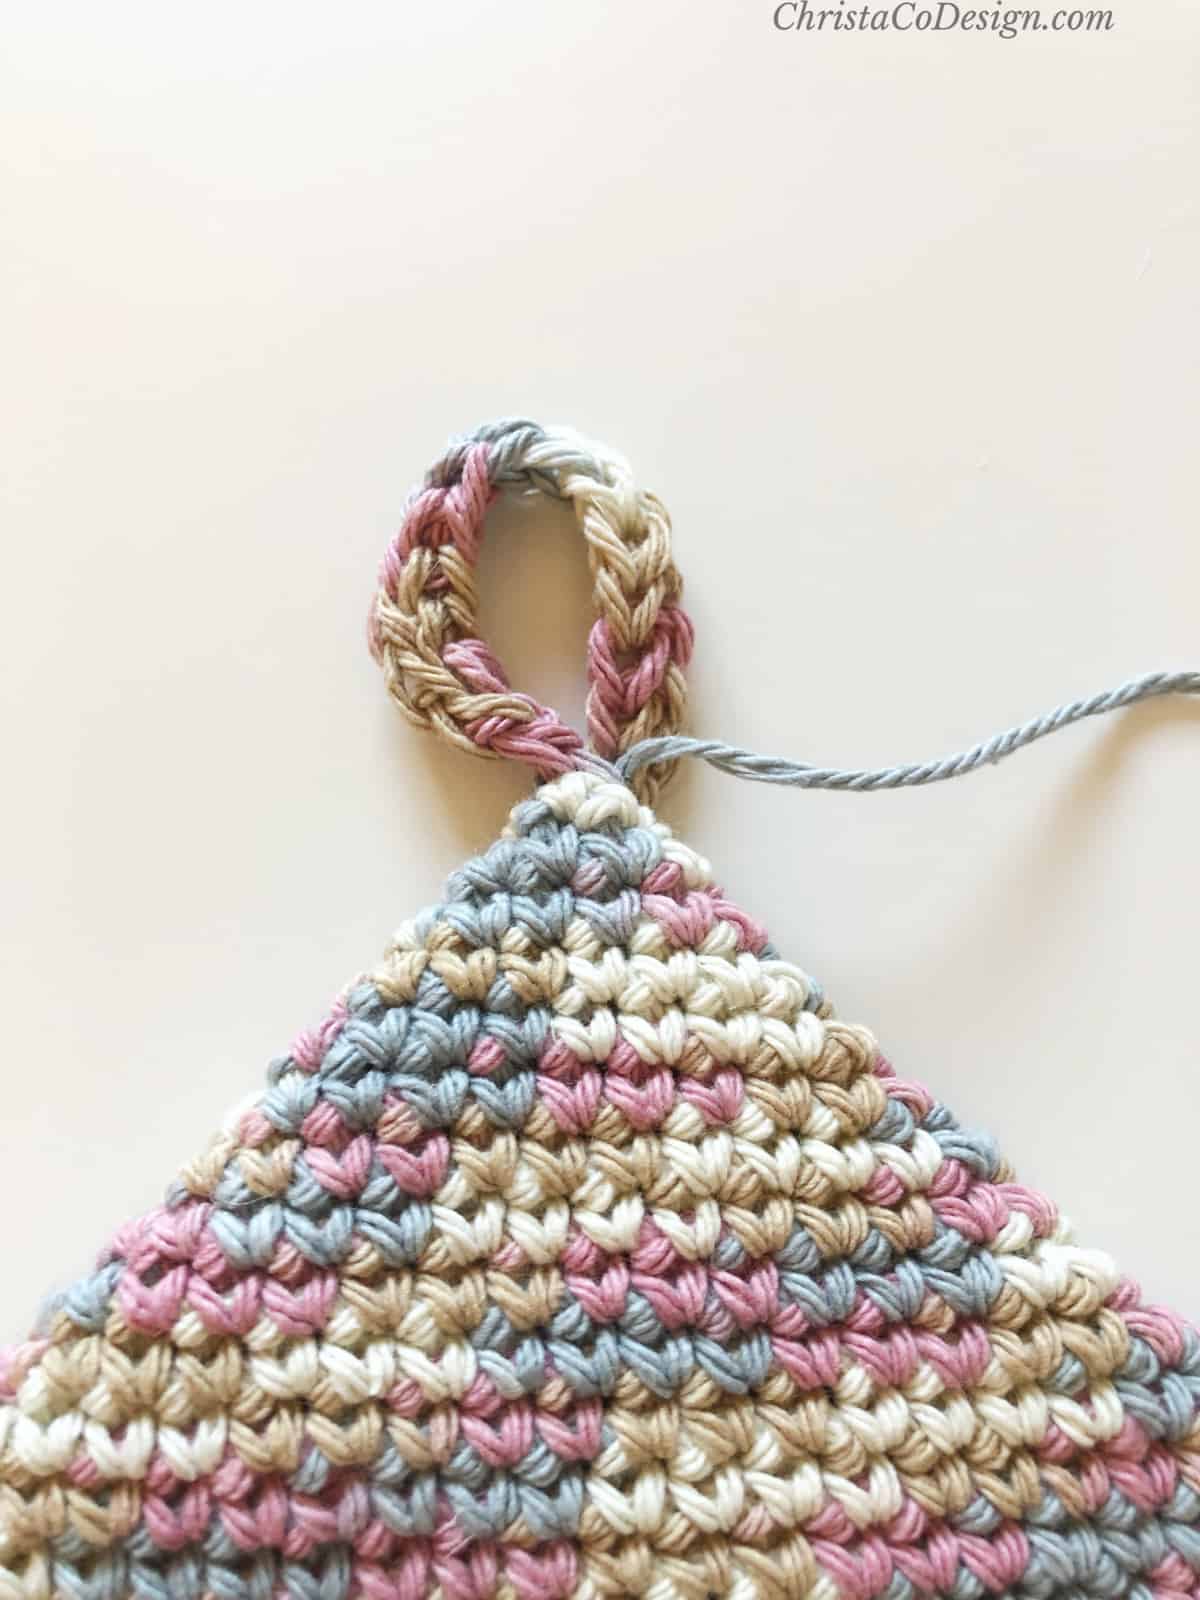
- Cut yarn and weave in ends.
- I hope you enjoy this easy crochet potholder pattern!
Recommended Products
As an Amazon Associate and member of other affiliate programs, I earn from qualifying purchases.


This is a really neat pattern. May I print it out? I like to mark and print the patterns that I intend to use. Maybe I can get busy and do these for Christmas. Right now I am working on a baby blanket for my great grand son. Love your patterns.
Hi Joan,
Thanks! You can purchase the printable PDF Pattern here https://www.etsy.com/listing/1226023979/crochet-pattern-pot-holder-label
I hope your baby blanket turns out great!
Crystal