How to Crochet a Cone: Step By Step Tutorial
Learn how to crochet a cone in this step by step tutorial. In this blog post you’ll learn how to crochet a cone shape from the top down. Plus how to shape your cone to fit your crochet project.

This post contains affiliate links, I may earn a fee. Read more disclosure policy.
Join the ChristaCoDesign Newsletter
Never miss a pattern!
When working with amigurumi type patterns you want to be sure to use a crochet hook and yarn that will give you tight, even stitches.
Crochet cones can be used for an ice cream cone, a Christmas tree, or gnome hats – or witch hats, or any number of pointy hats.
Since we tend to crochet people and animals in the amigurumi style, learning to crochet a cone to add as a hat is quite useful!
Get 33 gorgeous patterns in this crochet pattern bundle!
When creating shapes most often we’ll use the single crochet stitch. Since it’s the smallest and tightest stitch it will give us the best shape.
The double crochet might work up quick, but it doesn’t offer the structure we need to create shapes. Unlike when we crochet a flat circle for hats, we’ll use less increases for creating the cone.
Learning how to crochet these basic shapes like circles and cones really gives us a good understanding of how increases and decreases work.
More Free Crochet Patterns
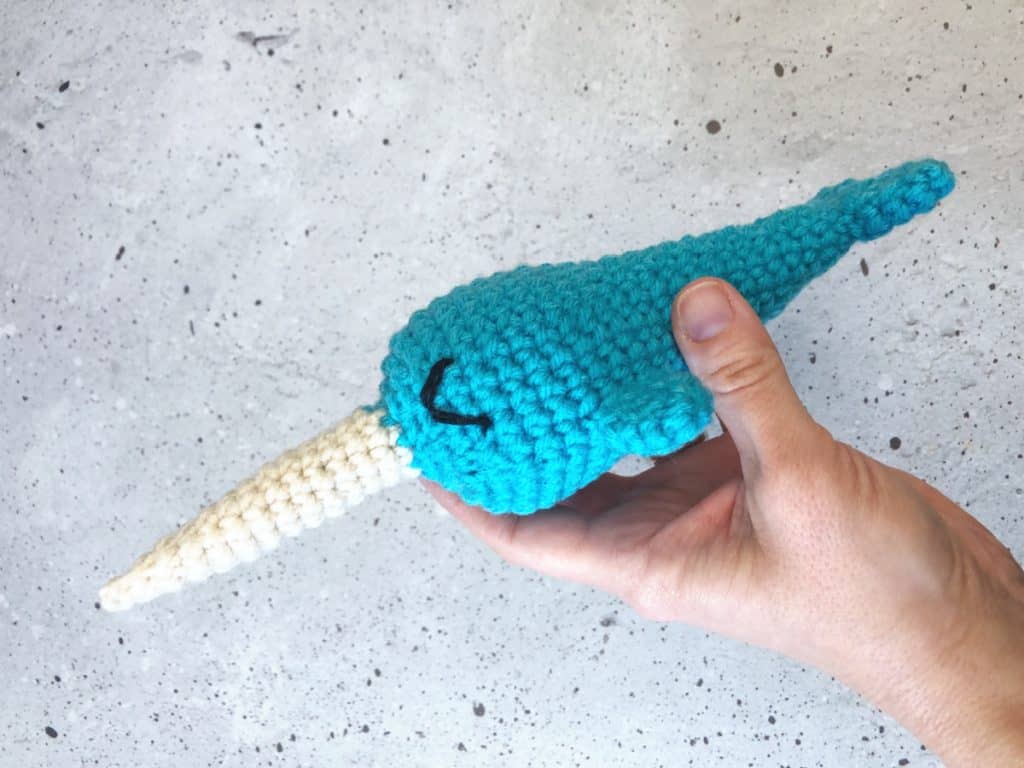
This little narwhal crochet pattern is quick and cute and features a crochet cone for his tooth. He is crocheted in Red Heart Super Saver yarn. The white yarn for his long tooth is aran and his body is turquoise.
You might also enjoy these baby blankets from some of my own patterns. If a small piece is more your style, my little lady adores her crochet kitty lovey which is another simple amigurumi pattern.
Nana’s Crafty Home has so many fabulous crochet gnome patterns that also use a crochet cone shape. I love how Made by Gootie use the cone for this crochet Christmas tree pattern.
Materials
#4 medium worsted weight yarn, I’m using Red Heart* with Love.
3.75 mm US Size F crochet hook, I’m using my Clover,* which I love for amigurumi.
stitch marker, scissors, yarn needle, measuring tape
Stitches + Abbreviations in US Terms
ch – chain
inv dec – invisible decrease
sc – single crochet
sl st – slip stitch
st – stitch
Notes
- This pattern is worked in the round continuously. This means you will not join the rounds, but continue working in the same direction.
- Please mark the first stitch of every round with a stitch marker. If you do not have a locking stitch marker, a bobby pin is a good substitute.
Scroll down for the free pattern!
Pattern Instructions
How to Crochet a Cone Step by Step Tutorial
Learn how to crochet a cone in this step by step tutorial. In this blog post you'll learn how to crochet a cone shape from the top down. Plus how to shape your cone to fit your crochet project.
Materials
- Any worsted weight yarn works for this cone pattern.
Tools
- 3.75mm crochet hook
- yarn needle
- scissors
- measuring tape
Instructions
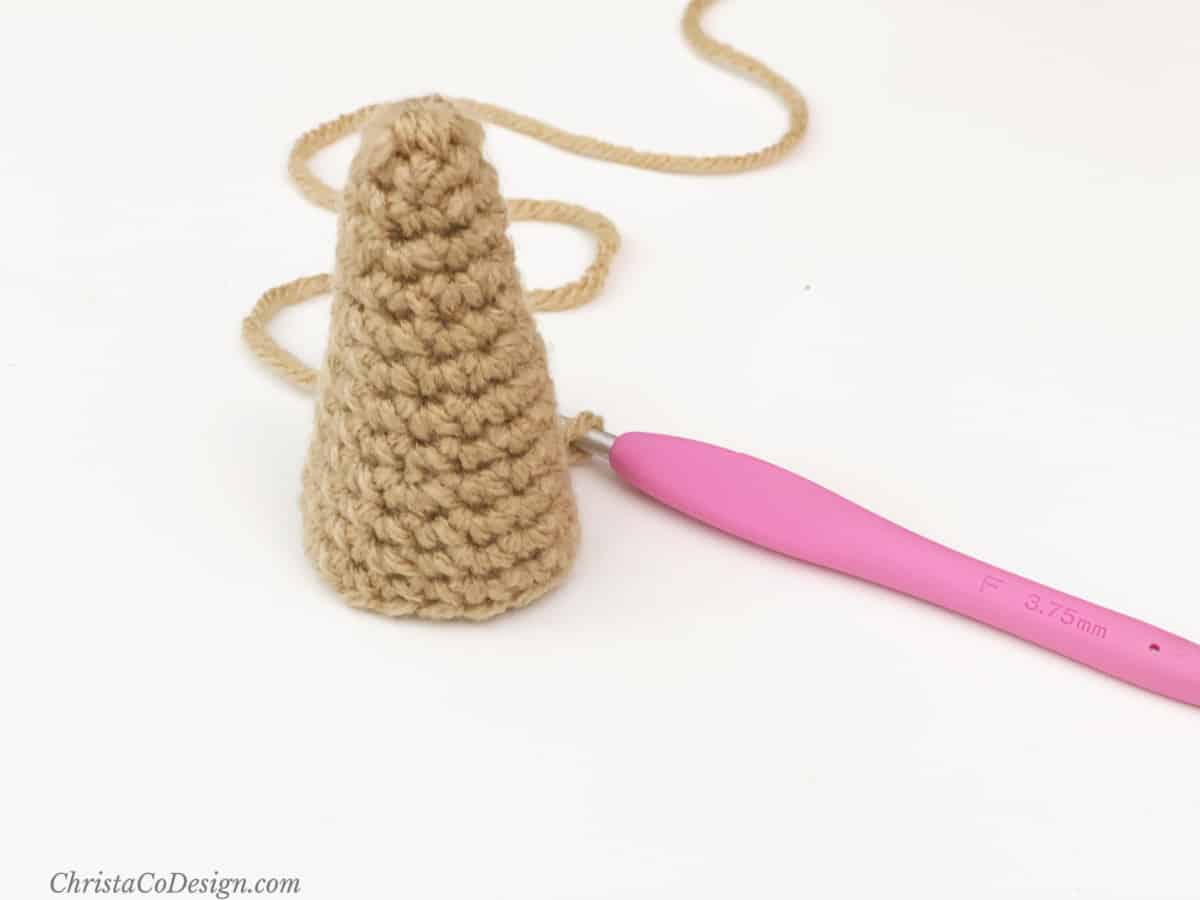
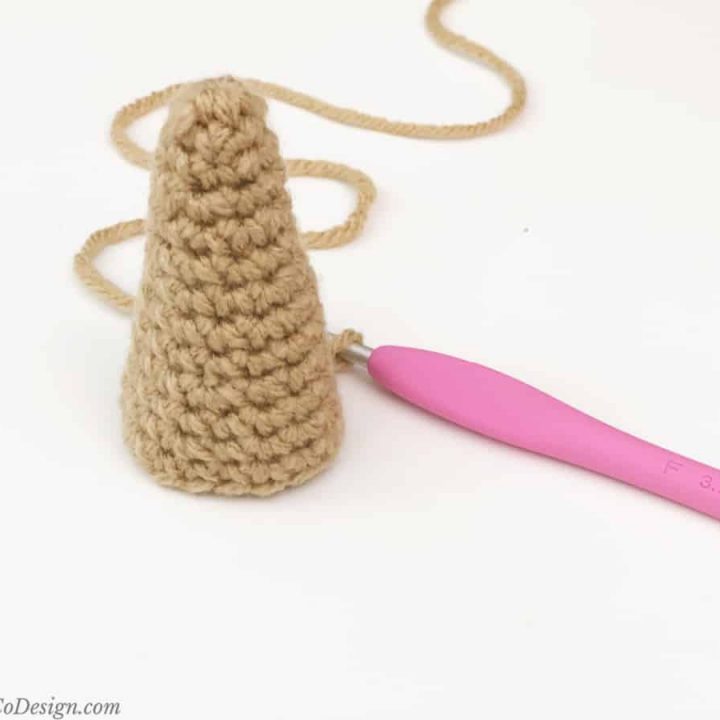
To crochet a top down cone, like an ice cream cone or hat:
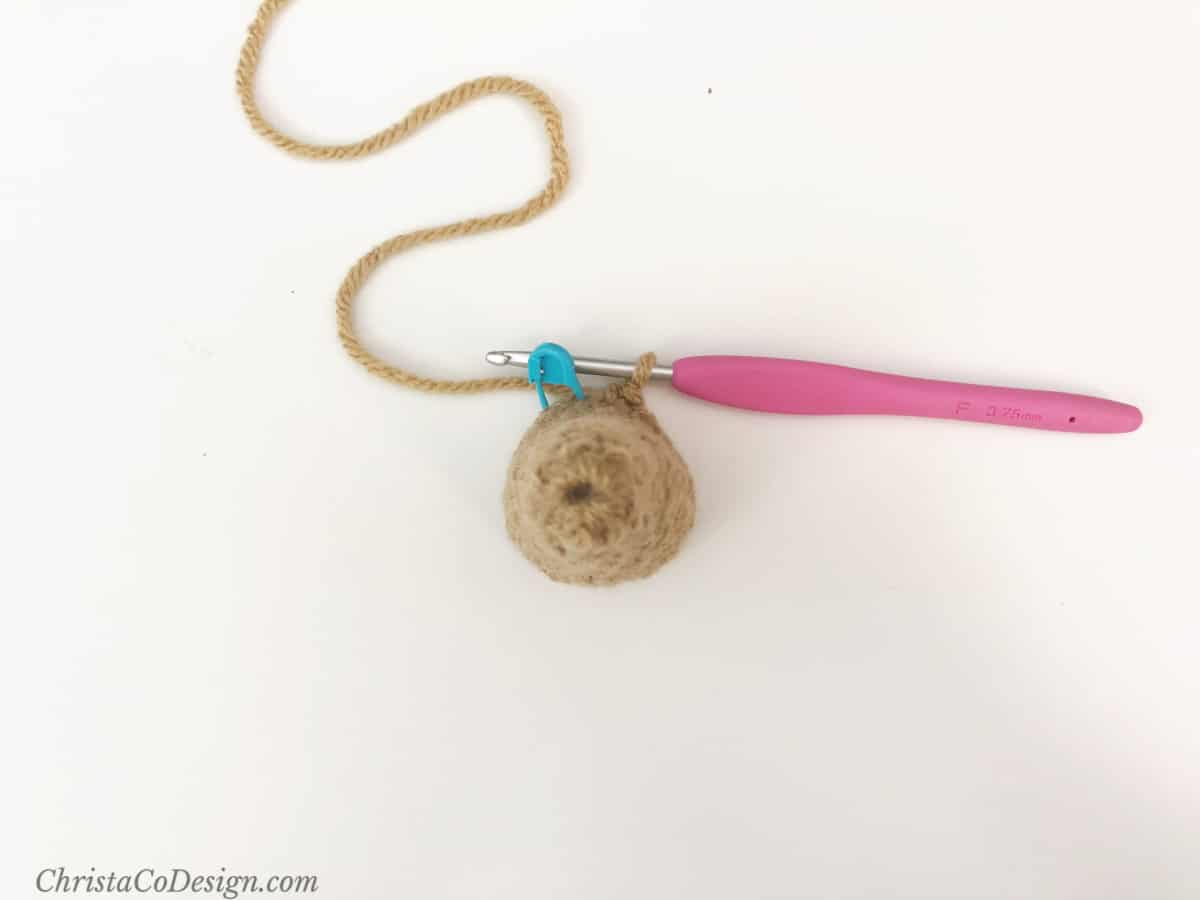 Start with a magic ring.
Rnd 1. Place 6 sc in the circle and pull to close. Place a stitch marker through back loop of the first single crochet.
Rnd 2. Sc in each st until there is one st left, place 2 sc in the last st. Move the stitch marker up to the first sc of every round. (7 sts)
Rnd 3. Sc in 3 sts, 2 sc in next stitch, sc in last 3 sts. (8 sts)
Rnd 4. Sc in first st, 2 sc in next st, sc in each st around. (9 sts)
Rnd 5. Sc in 4 sts, 2 sc in next st, sc in each st around. (10 sts)
Rnd 6. Sc in first st, 2 sc in next st, sc in each st around. (11 sts)
Rnd 7. Sc in 5 sts, 2 sc in next st, sc in each st around. (12 sts)
Rnd 8. Sc in first st, 2 sc in next st, sc in each st around. (13 sts)
Rnd 9. Sc in 6 sts, 2 sc in next st, sc in each st around. (14 sts)
Rnd 10. Sc in first st, 2 sc in next st, sc in each st around. (15 sts)
Rnd 11. Sc in 7 sts, 2 sc in next st, sc in each st around. (16 sts)
Continue repeating the increase sequence like this until your cone is as tall and wide as you like.
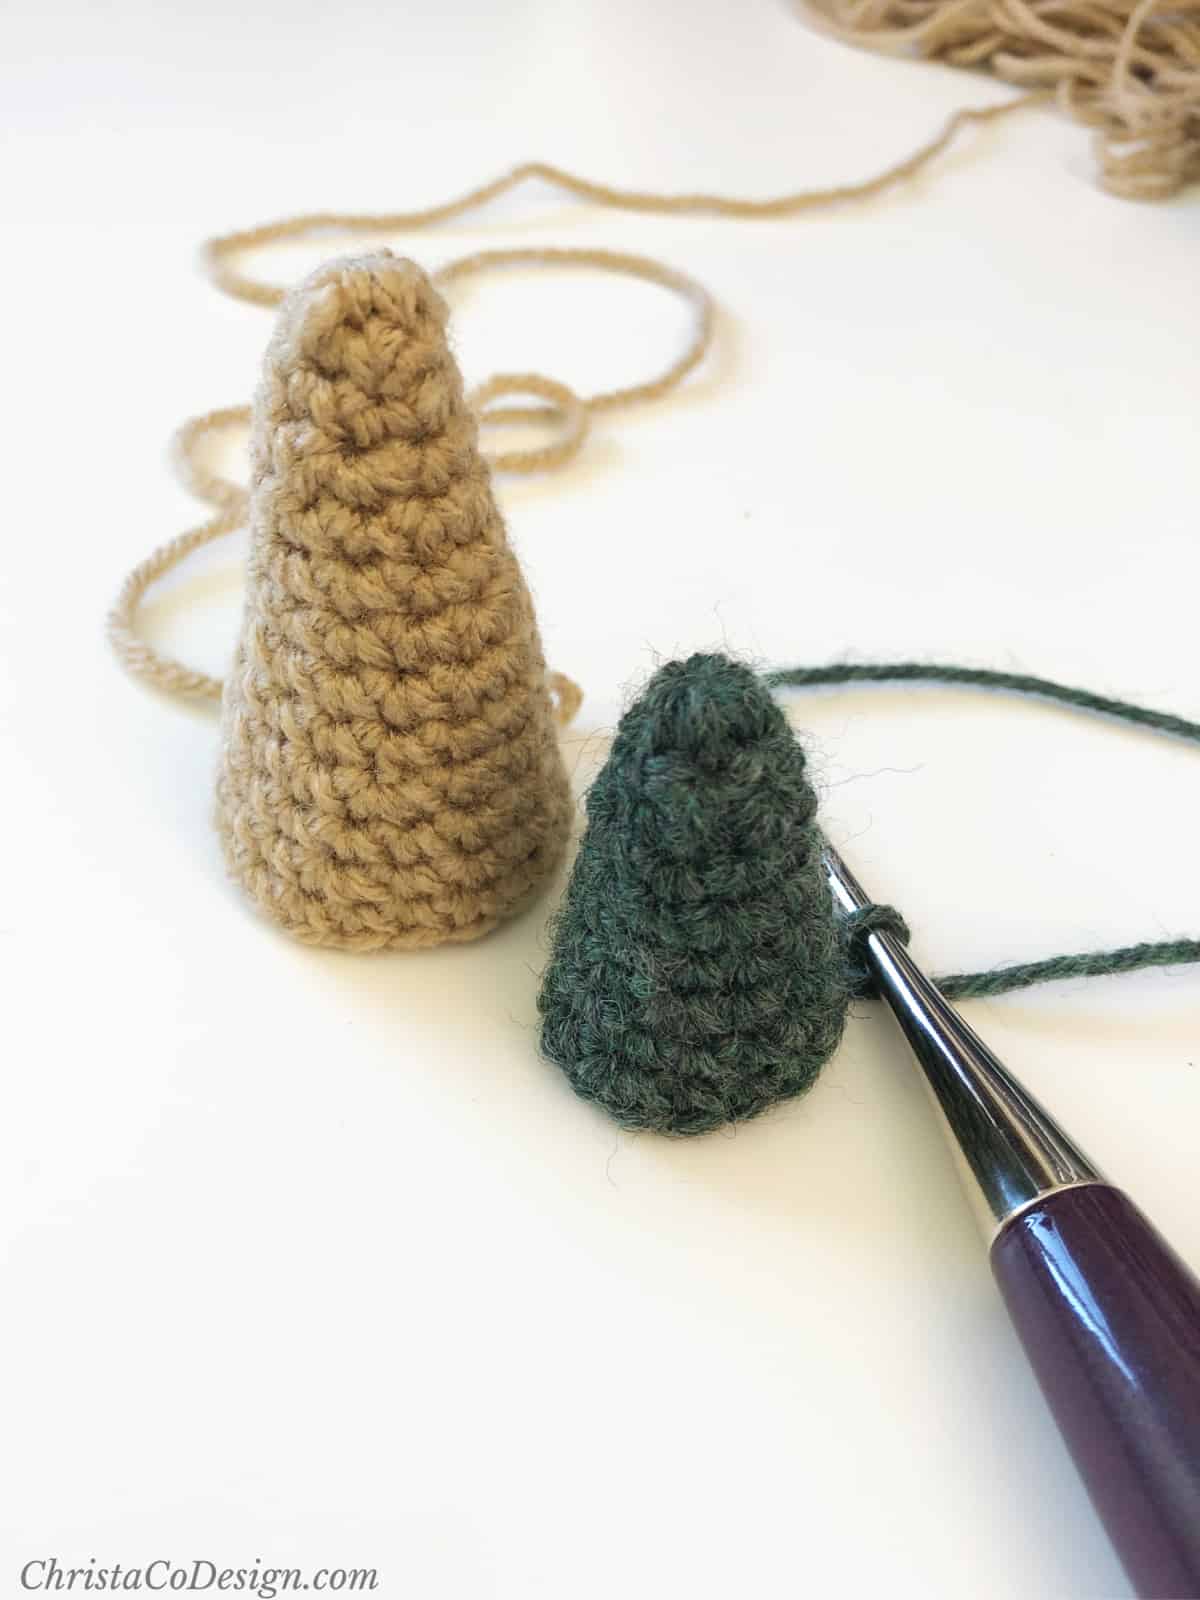
To adjust this crochet cone pattern you can add more increases per row to make it wider, faster.
If you're making a crochet cone tree, you'll likely want a taller tree so keep increasing. You can also work a round of sc with no increase in between so that it works up narrower.
To crochet a narrow, buttom up cone, like a narwhal or unicorn horn:
Ch 9, and begin careful not to twist, sl st to join into a circle.
Rnds 1-3. Sc in the 2nd ch from your hook and in each ch around. (8 sts) If you plan to, stuff as you work.
Rnd 4. *Sc in next 6 sts, inv dec; rep from * around. (7 sts)
Rnd 5. Sc in each st around. (7 sts)
Rnd 6. *Sc in next 5 sts, inv dec; rep from * around. (6 sts)
Rnd 7. Sc in each st around. (6 sts)
Rnd 8. *Sc in next 4 sts, inv dec; rep from * around. (5 sts)
Rnd 9. *Sc in next 3 sts, inv dec; rep from * around. (4 sts)
FO. Gently weave in end by going through the tip of the cone and then weave away to inside.
To vary the size of this crochet cone, start with more or less chains and keep in mind that the first one is skipped.
Once you're ready to finish off, you can use an invisble join which makes a nice clean edge. But first, I recommend to slip stitch over two stitches. This helps even out the last round since we're working in a spiral.
If you need to sew this cone on to another piece, remember to leave a long tail for seaming.
Recommended Products
As an Amazon Associate and member of other affiliate programs, I earn from qualifying purchases.