
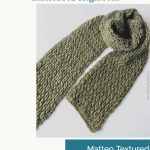
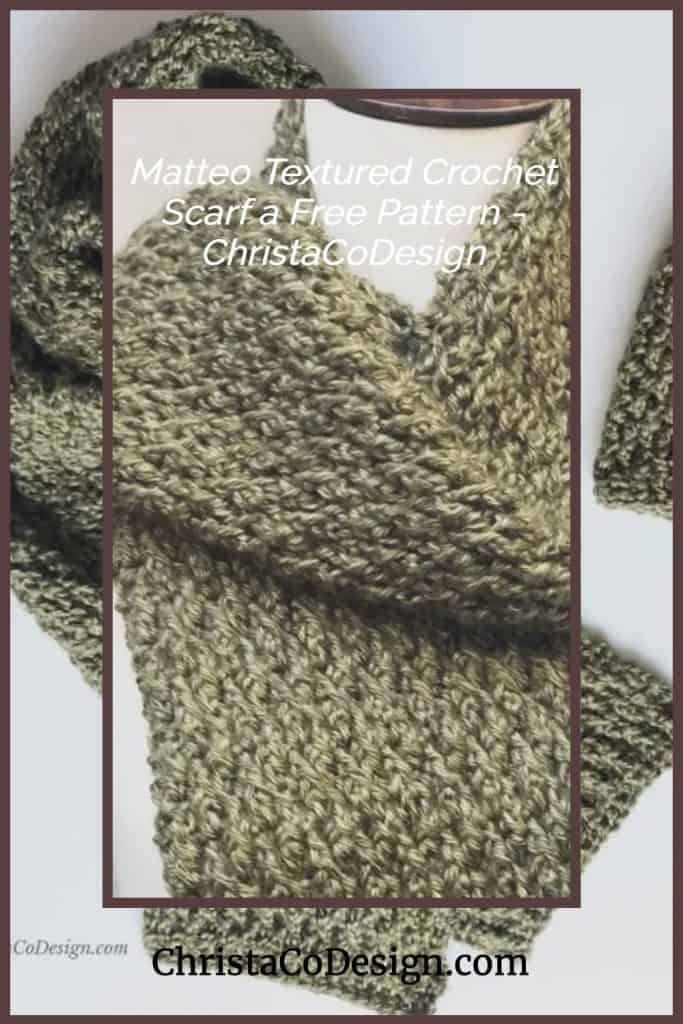
Textured Crochet Scarf Pattern | Matteo Scarf
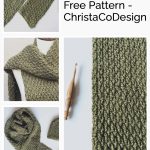


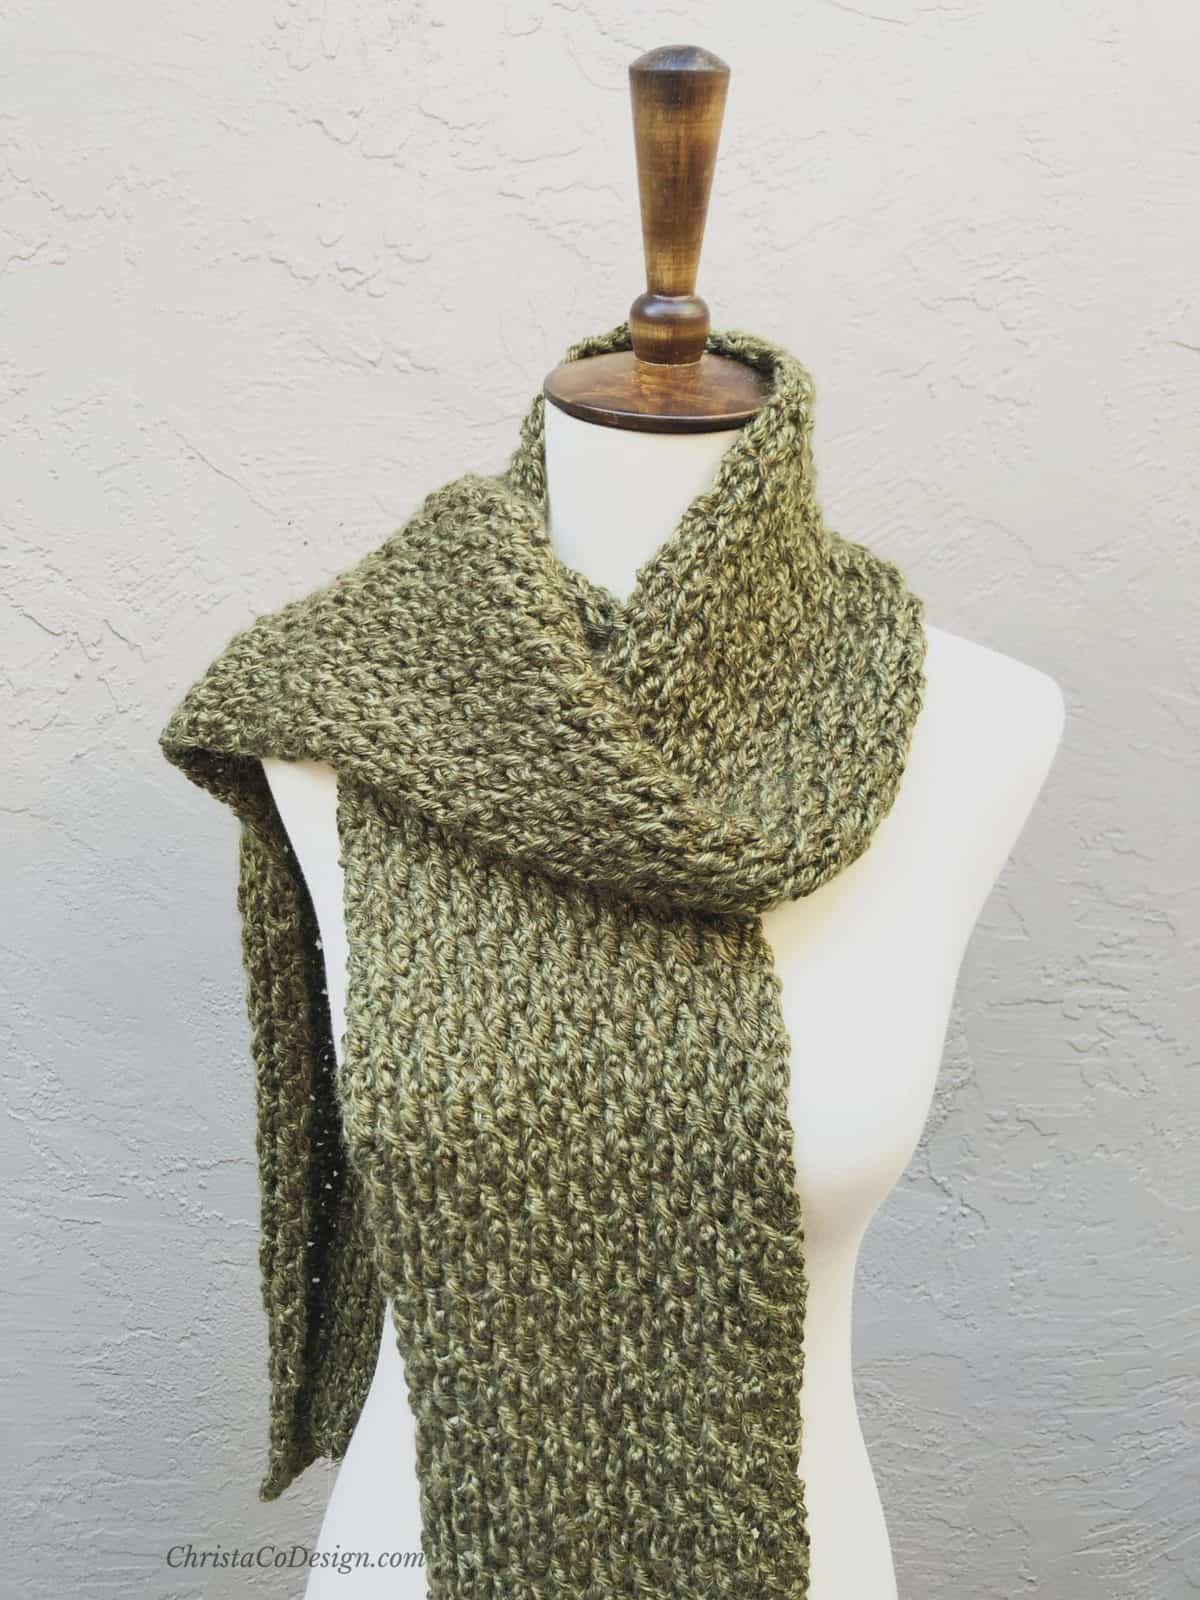
The Matteo is a highly textured crochet scarf pattern. This free scarf pattern is perfect to crochet in neutrals, or single color yarn, as the interest comes with the textured stitch.

Join the ChristaCoDesign Newsletter
Never miss a pattern!
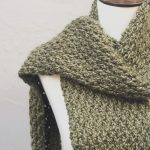
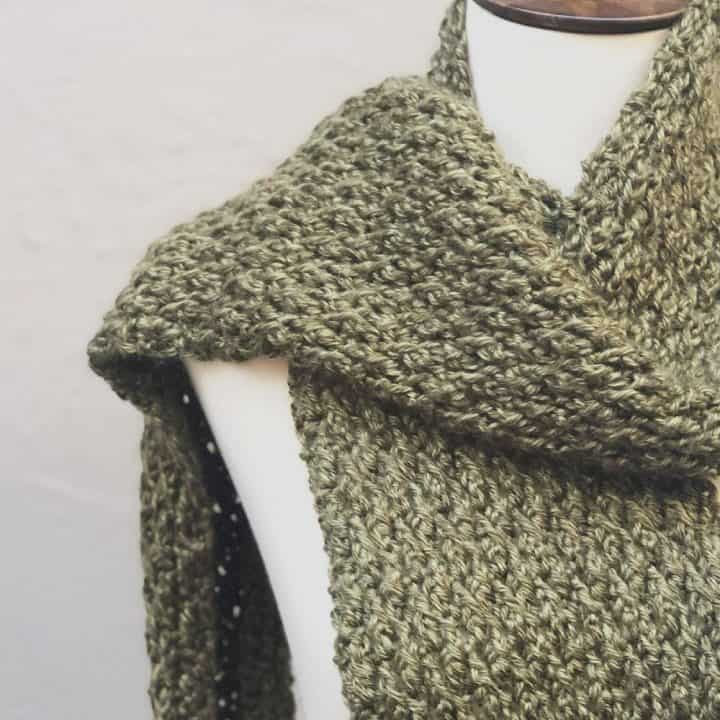
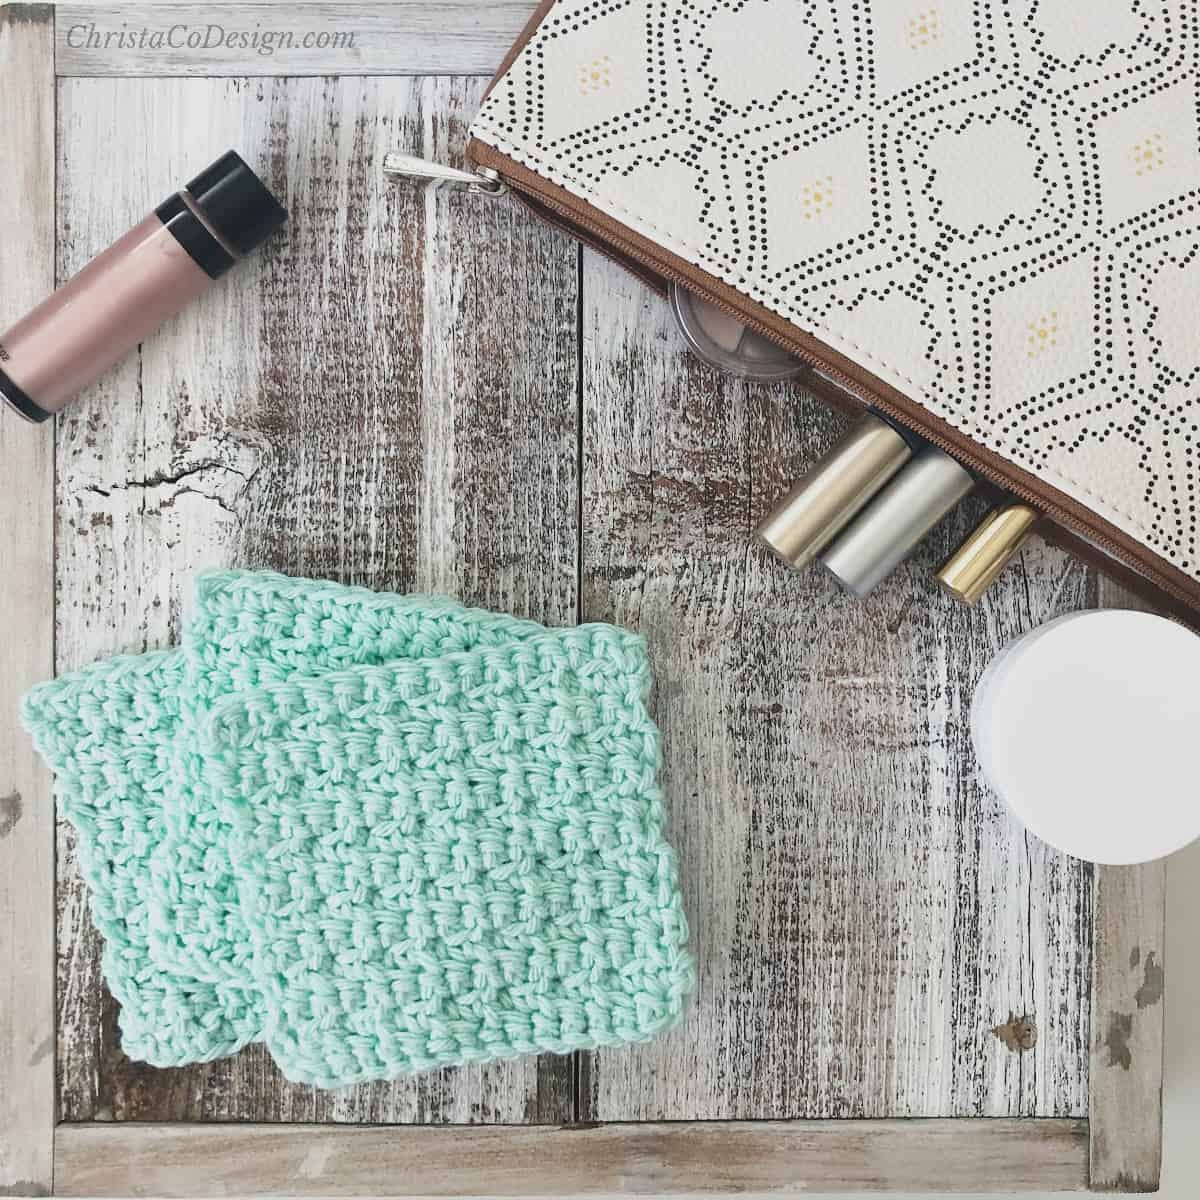
The Matteo scarf is a suitable crochet scarf for men or women. It’s a versatile pattern that makes great gifts.
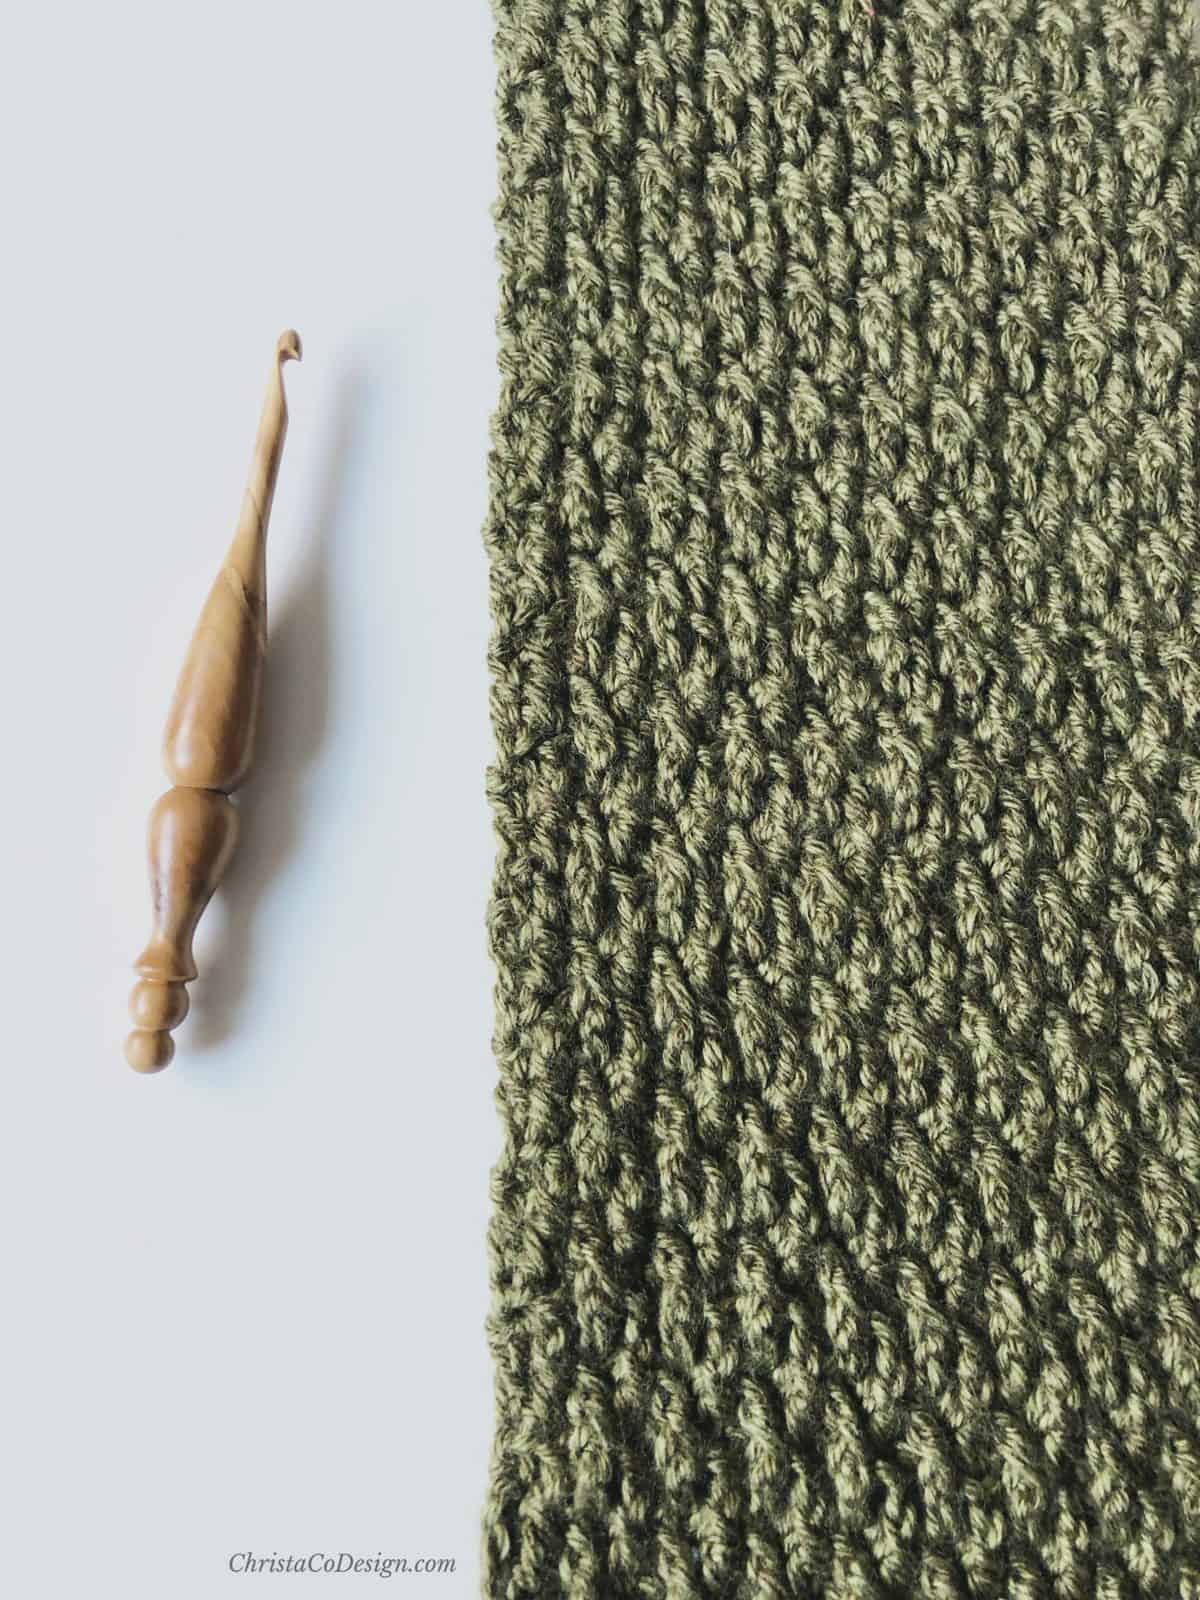
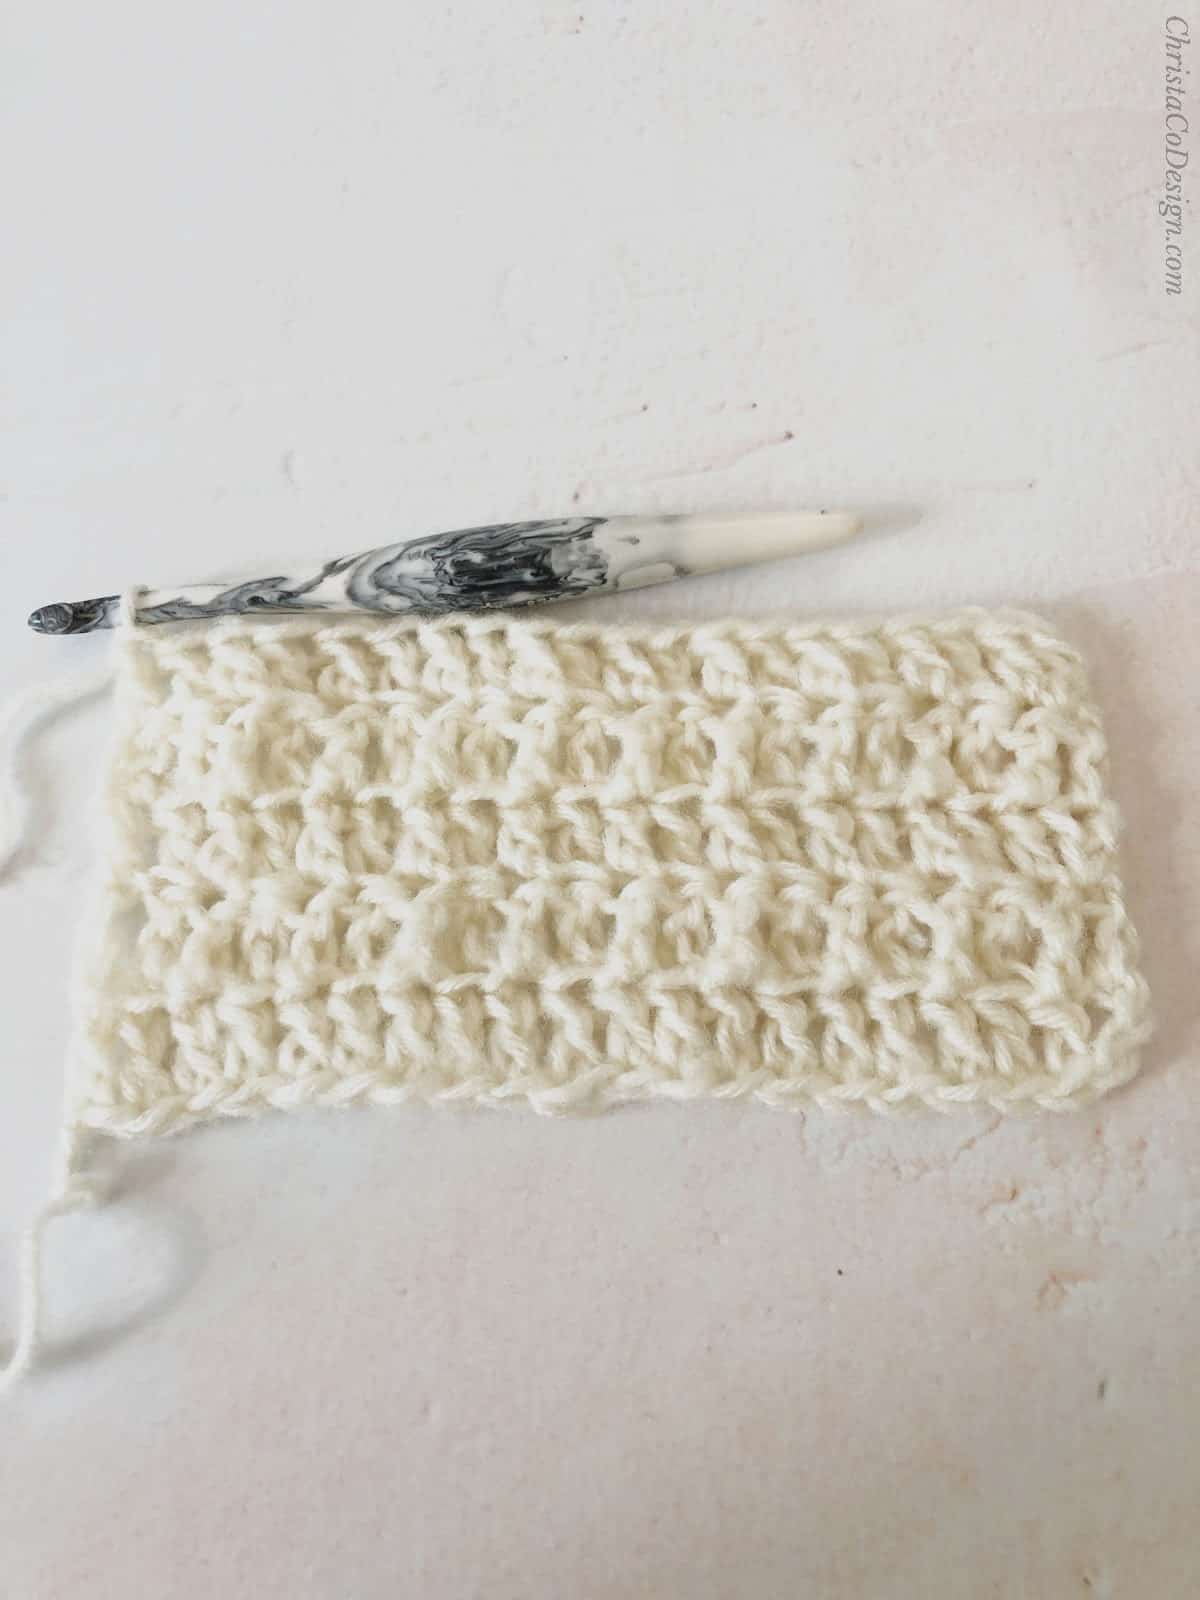
All this texture comes from the post stitches in the pattern. This scarf crochets up beautifully in worsted weight yarn.
Purchase the ad-free, well formatted printable PDF Pattern from my shop. Scroll down for the free pattern!
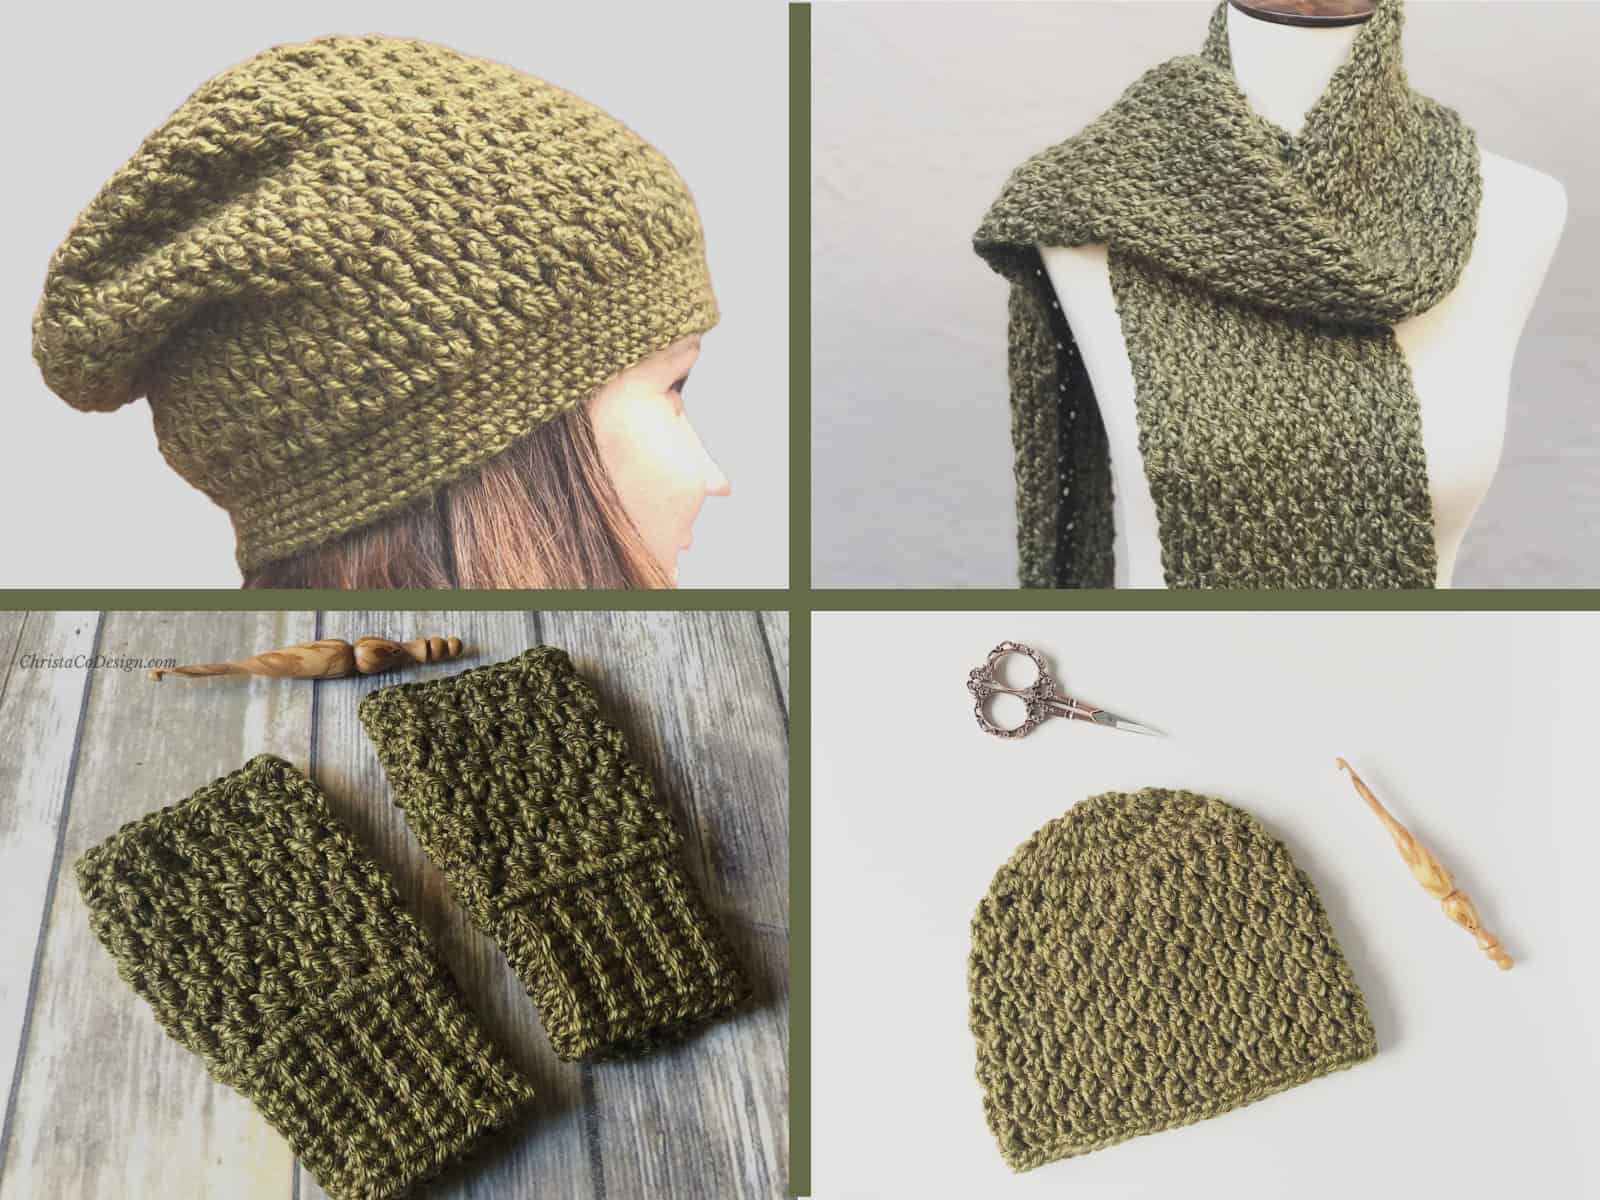
Get all 3 crochet patterns and complete the Matteo Set!
- Make the Matteo Beanie a textured top down hat in all sizes.
- Matteo Fingerless Gloves make the set complete in the same texture.
- Matteo textured crochet scarf – this pattern, scroll down!
01
Get our most popular patterns
Matteo Set
This ebook includes our top reader favorite crochet patterns that you are sure to enjoy as well! Download our beautiful, easy to read, matching crochet pattern ebook!
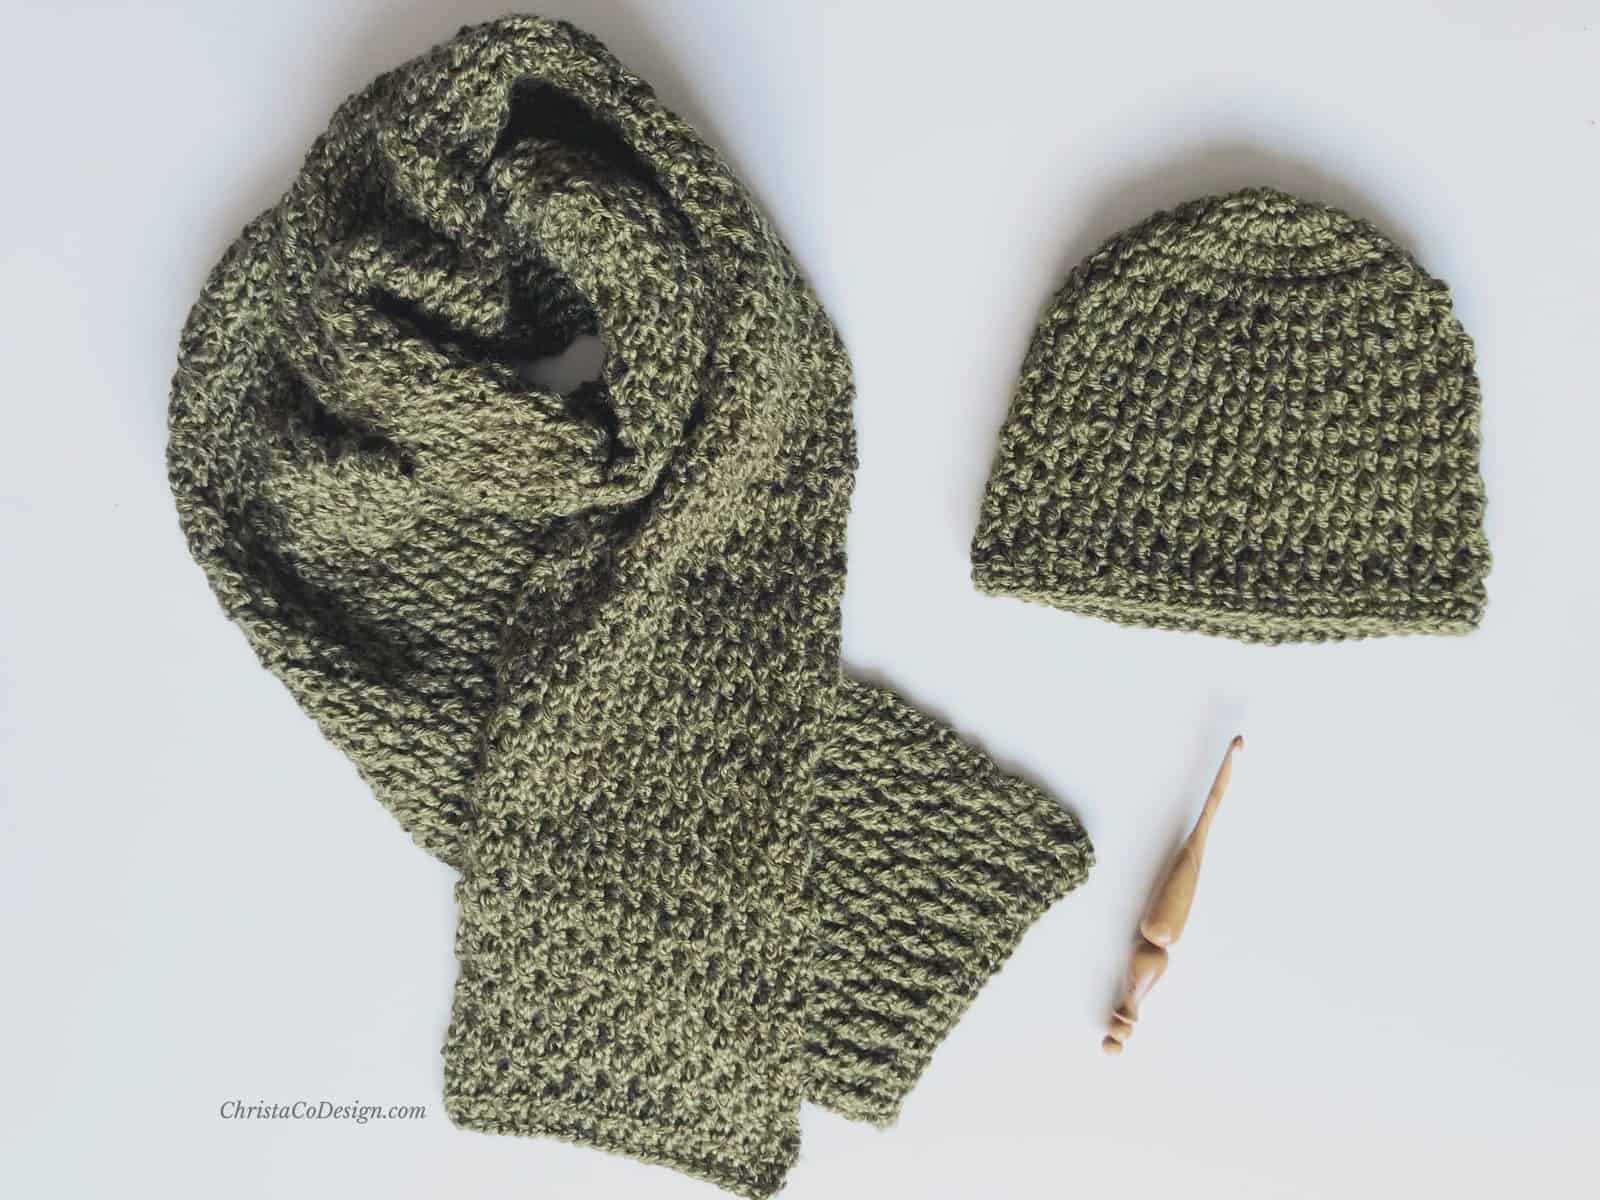
The free crochet scarf pattern to the matching Matteo Beanie is here! The friend to whom I gifted the original Matteo hat requested a matching scarf with the same great texture.
Isn’t that the best? When a recipient of your handmade gift uses it. And adores it, and even asks for more?! How could I refuse?
Get 33 gorgeous patterns in this crochet pattern bundle!
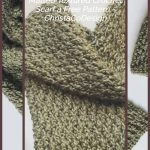
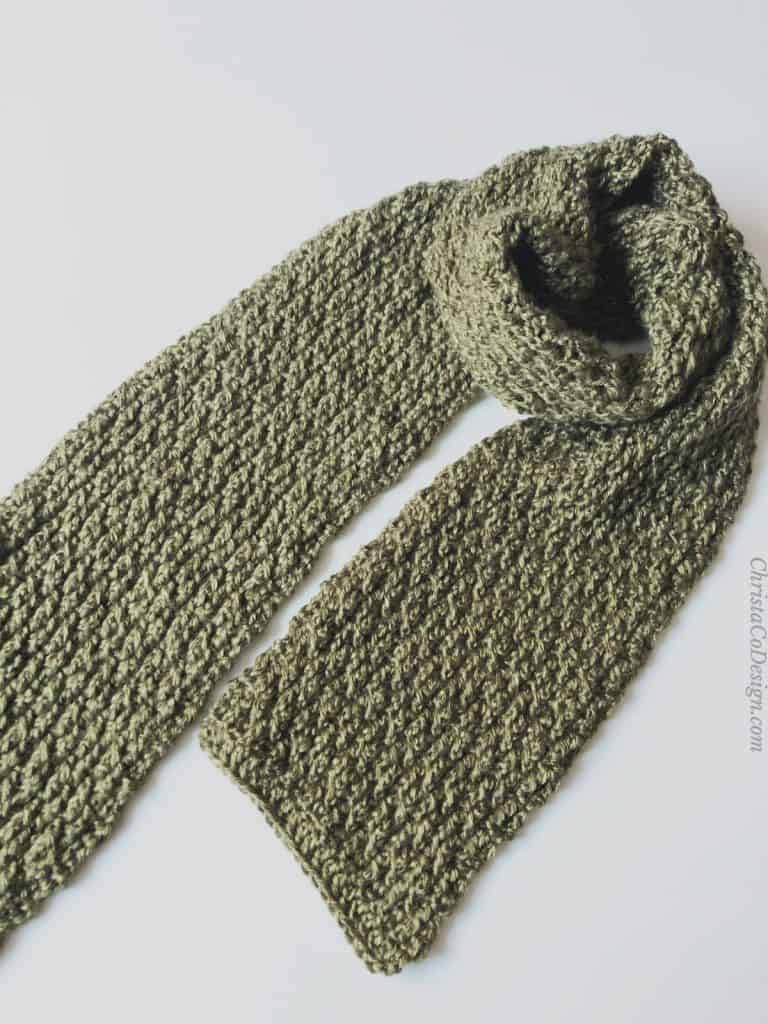
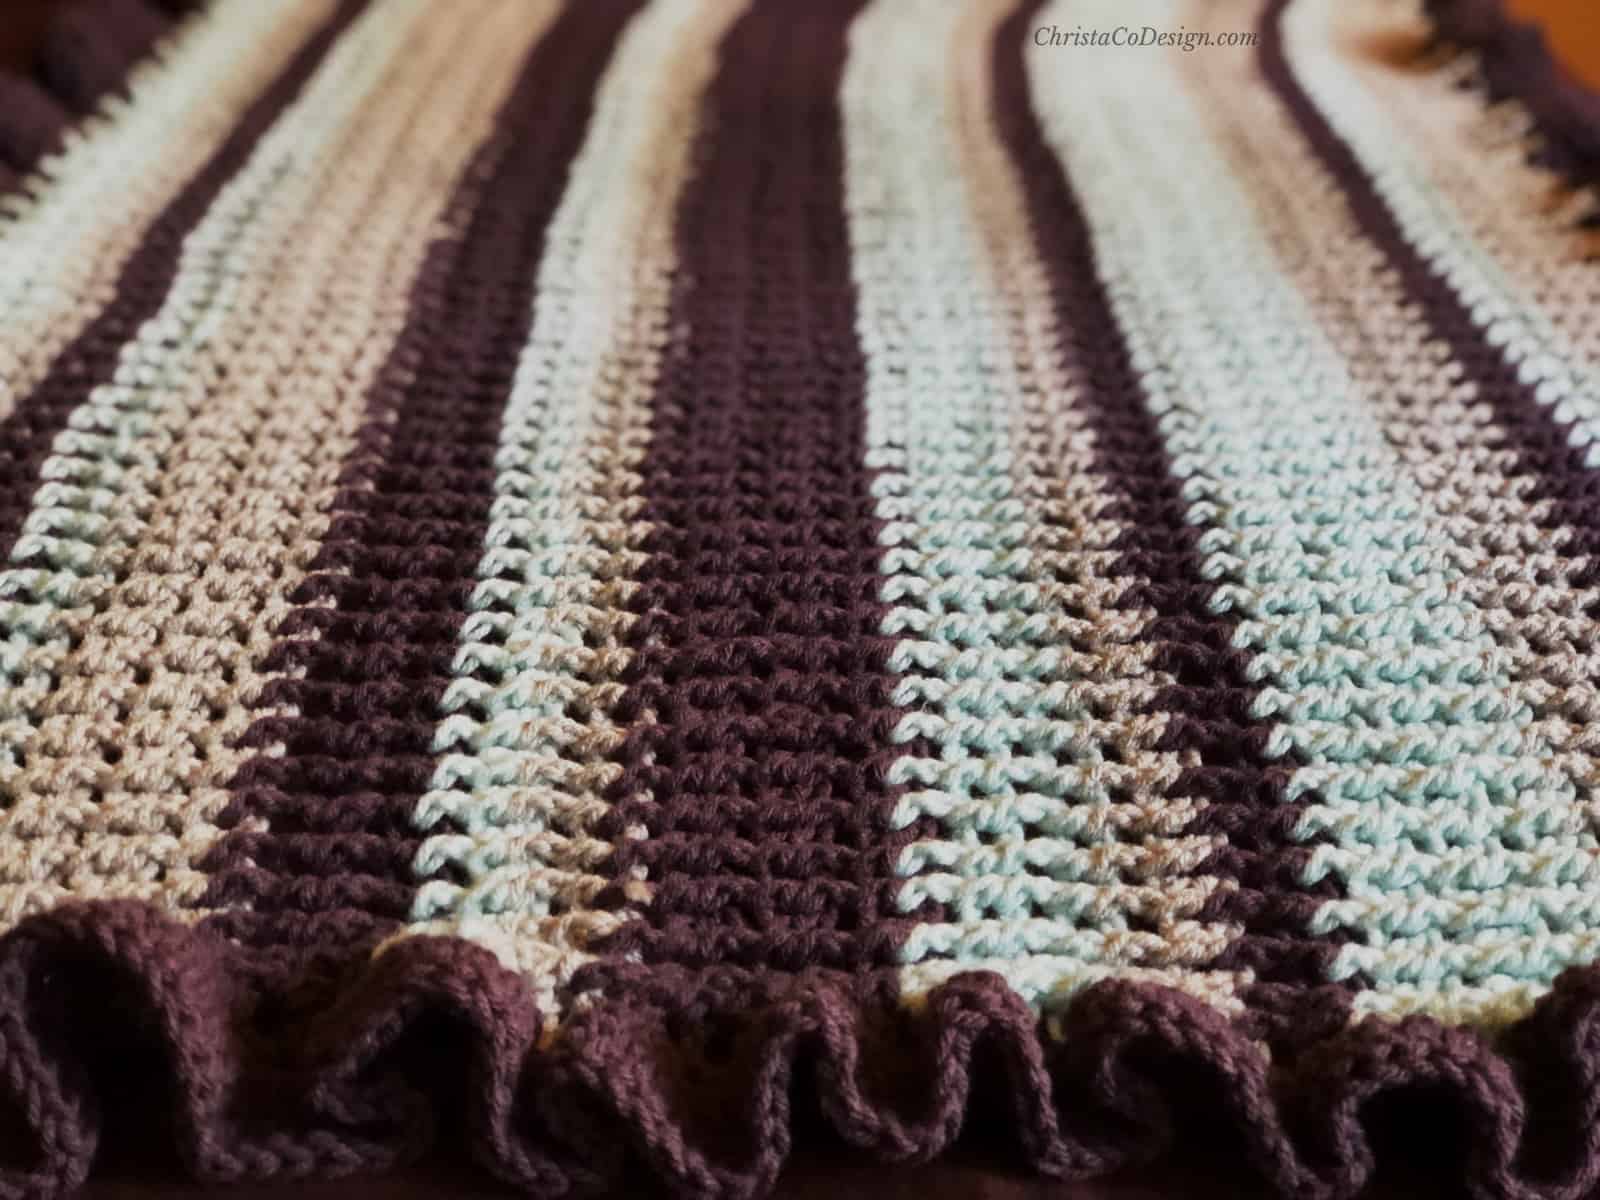
Just like the beanie the scarf has that same texture of alternating post stitches with double crochets. Since the scarf is worked flat, we’ll be adding the back post double crochet as well. But it’s still a simple two row repeat once you get going!
Add this pattern to your Ravelry queue.
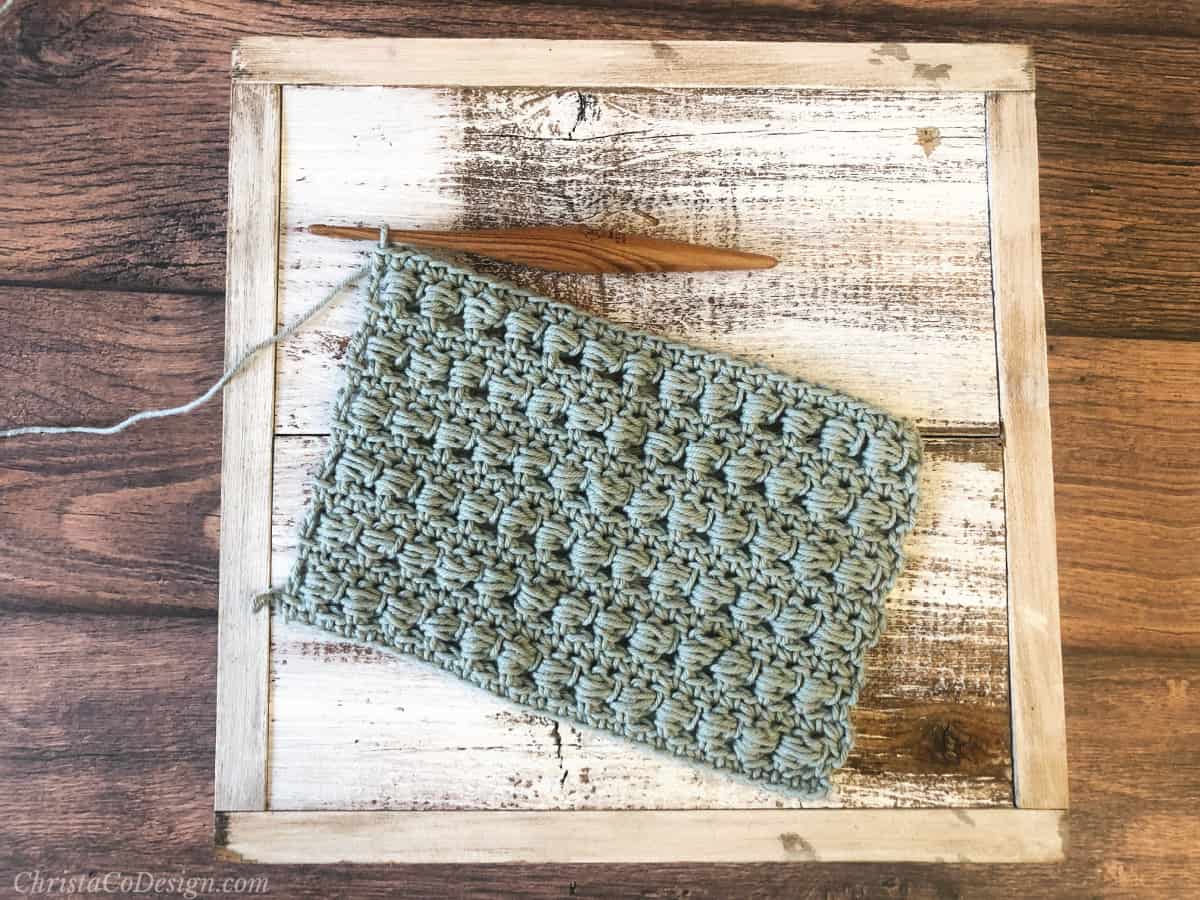
I decided on a 6″ width for this scarf but you can make yours as wide or narrow as you like. You’ll need to keep an odd stitch count if you make any adjustments, but that’s it.
I could just gaze into this crochet texture all day. Really, it’s mesmerizing. Lion Brand’s Heartland has just enough subtle color variance in it.
This medium weight yarn works up great in this pattern. When there is that much texture a neutral color definitely pops more than usual.
More Free Pattern for Crochet Scarves
Beginner crocheters may enjoy one of these simple patterns. While these are easy patterns, advanced crocheters will also like them.
The Nebbia is a totally easy textured crochet scarf that’s a great beginner crochet project.
Full of coziness, the Alza uses one skein of Scarfie and basic crochet stitches for a beautiful and easy crochet pattern.
The Tuna is a super scarf full of simple half double crochet stitches for an easy make that is a great way to use that jumbo yarn.
A cozy crochet cowl is another great pattern that makes for quick projects to gift.
Materials
- 502 yd / 459 m of #4 medium worsted weight yarn, I used 2 balls of Lion Brand’s Heartland* in Joshua Tree; add another ball or 2 for a wider or longer scarf.
- 5.5mm, US – I/9 crochet hook size. I used my Alpha Ergonomic hook.*
- yarn needle
- measuring tape
- scissors
Notes
- Stitch multiple is an odd number.
- Ch 3 counts as a stitch, I highly recommend using a ch 3 alternative, here’s my favorite.
Stitches/Abbreviations (US Terms)
ch(s) – chain(s)
dc – double crochet
rep – repeat
WS – wrong side
RS – right side
yo – yarn over
Special Stitches
BPdc-back post double crochet: To crochet back post double crochet stitches, abbreviated here as BPdc, yo, insert your hook from the back to the front around the post of the stitch, yo pulling the yarn across the post of the st and up on the front, yo, pull through 2 loops, yo, pull through 2 loops.
FPdc-front post double crochet: To crochet the front post double crochet, abbreviated here as FPdc, yo, insert your hook from the front to the back around the post of the next st, yo pulling the yarn across the post of the st and up on the front, yo, pull through 2 loops, yo, pull through 2 loops.
Skill Level
Intermediate
Gauge
4” / 10 cm x 4” / 10 cm= 13 sts x 8.5 rows in the pattern
Gauge is not terribly important for working this scarf pattern, but if you need help adjusting your gauge check out this post.
Finished Scarf
The size of this scarf is 6.5” / 16.5 cm wide x 73″ / 185 cm long. There is no required size for a regular style scarf. They can range from 60″ – 85″ in length for adults.
The construction of this scarf
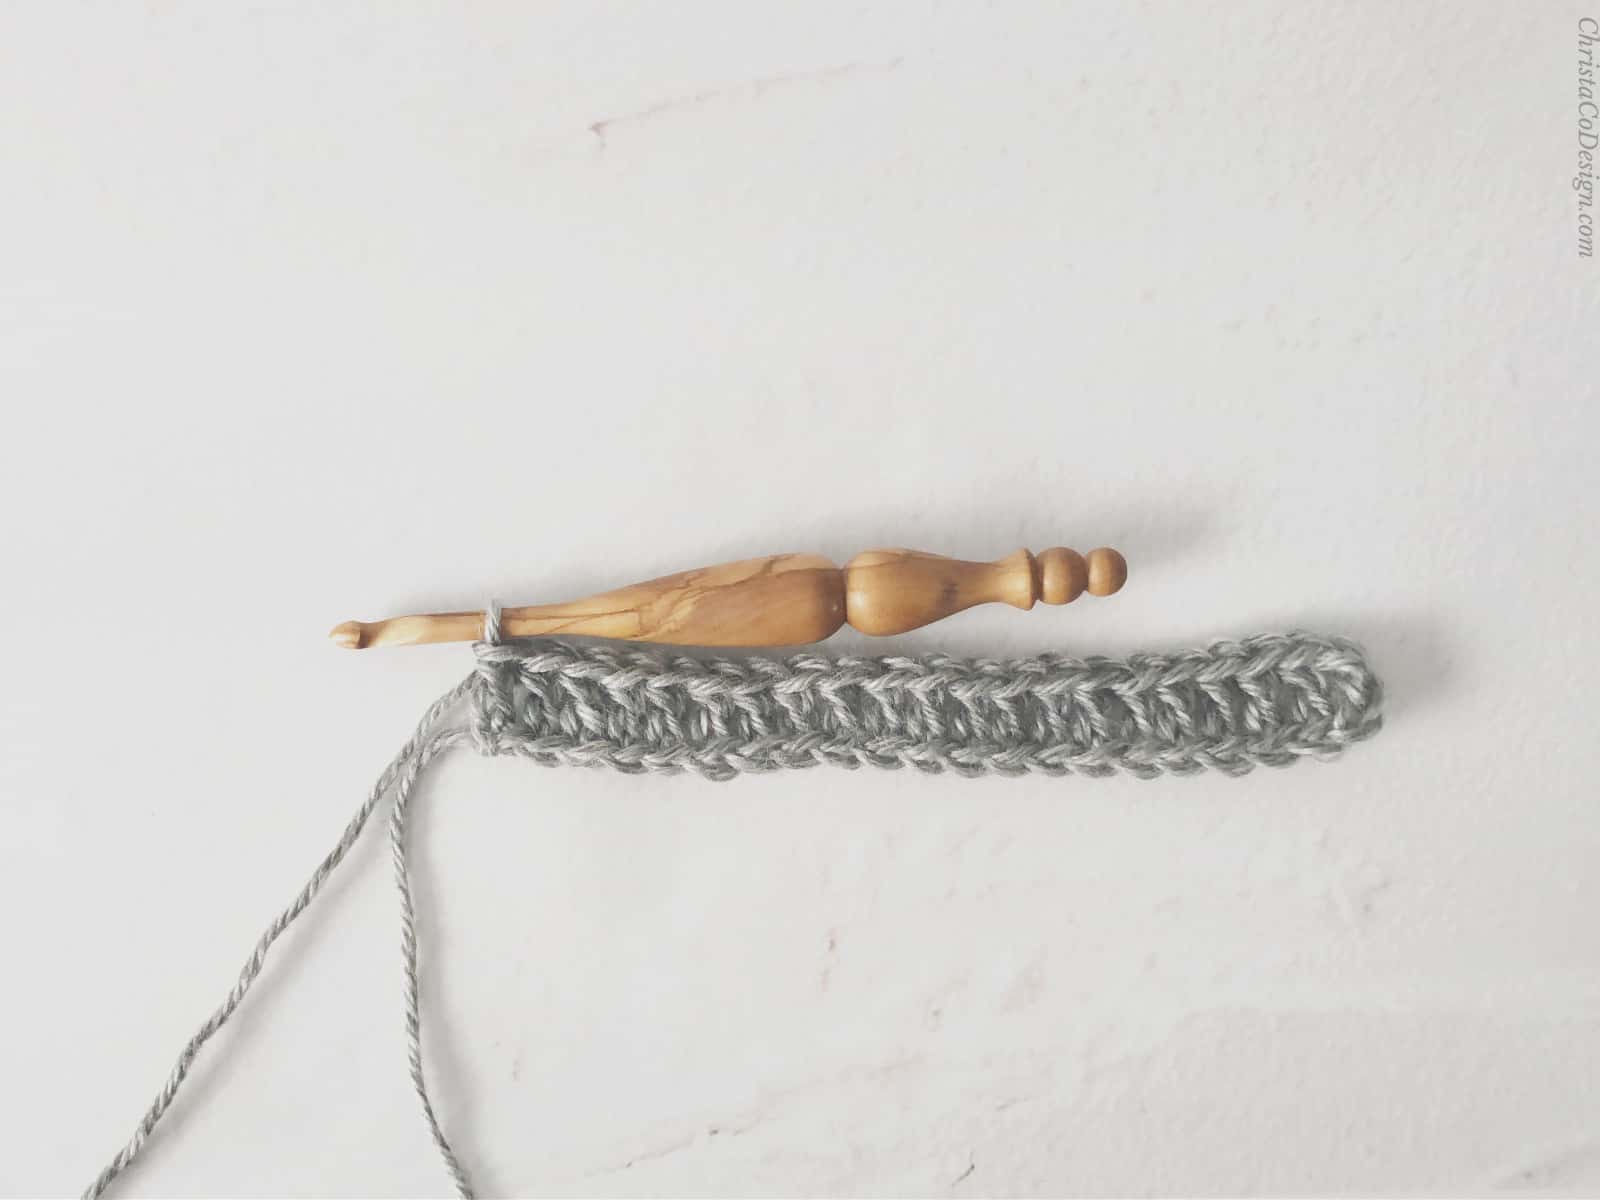
This scarf is worked on the short end. So you will start with the width of your scarf and crochet to the length.
Fit/Adjustments
To adjust the width of your scarf, you need an odd number. As written, this scarf works up at 6.5″ / 16.5 cm wide.
To lengthen the scarf, just continue the two row repeat until you’ve reached your desired length. As written, scarf works up to 73″ / 185cm long. I gifted this one to a 6 ft tall man and I would say it’s a small scarf on him. Not too long, so it’s easy to wear and doesn’t get in the way.
If you want a shorter scarf, stop the repeat earlier. Just be sure to stop after a Row 4 repeat.
To make this scar into a crochet infinity scarf, just seam the ends together to form a long loop.
Any changes will effect the amount of yarn used, so plan accordingly.
Pin It
Purchase the ad-free, well formatted printable PDF Pattern from my shop. Scroll down for the free pattern!
Video Tutorial
Watch the video tutorial on my YouTube.
Scroll down for the free textured crochet scarf pattern
How to Crochet the Textured Matteo Scarf
Learn how to crochet the highly textured Matteo Scarf pattern.
Materials
- 502 yd / 460 m #4 medium worsted weight yarn, or more for a longer/wider scarf. Depending on your changes you'll want to add another 1-2 balls of yarn or 250 yd/ 230m - 502 yd. / 460 m.
Tools
- 5.5 mm, US - I/9 crochet hook, or hook needed to meet gauge
- yarn needle
- scissors
- measuring tape
- optional stitch markers
Instructions
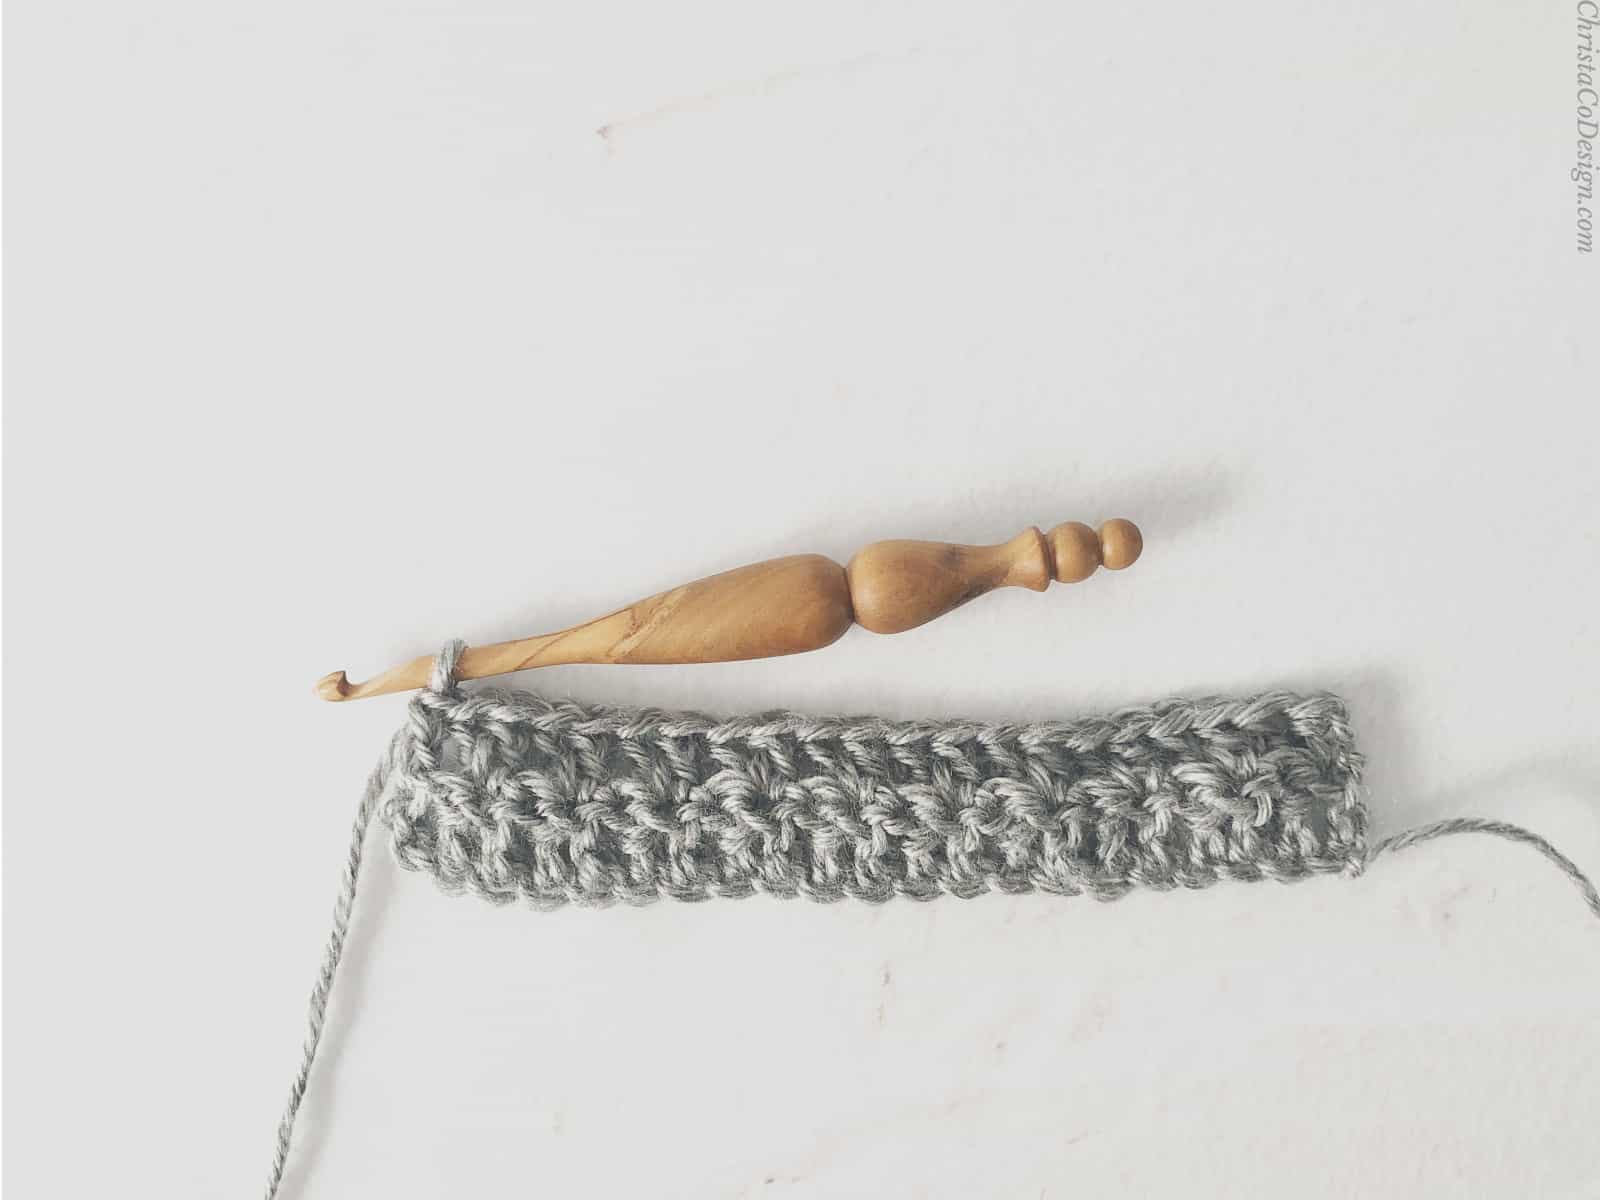
- Row 1. (RS) Fdc 21 or chain 23, dc in 4th ch from your hook (sk chs count as a dc) and in each ch across, turn. (21 sts)
- Remember to change the width you can start with an odd number of stitches, and then add two more if you are starting with a chain.
- Tip: Stitch markers can be helpful for marking the first stitch in a row (especial if it's the 3rd chain).
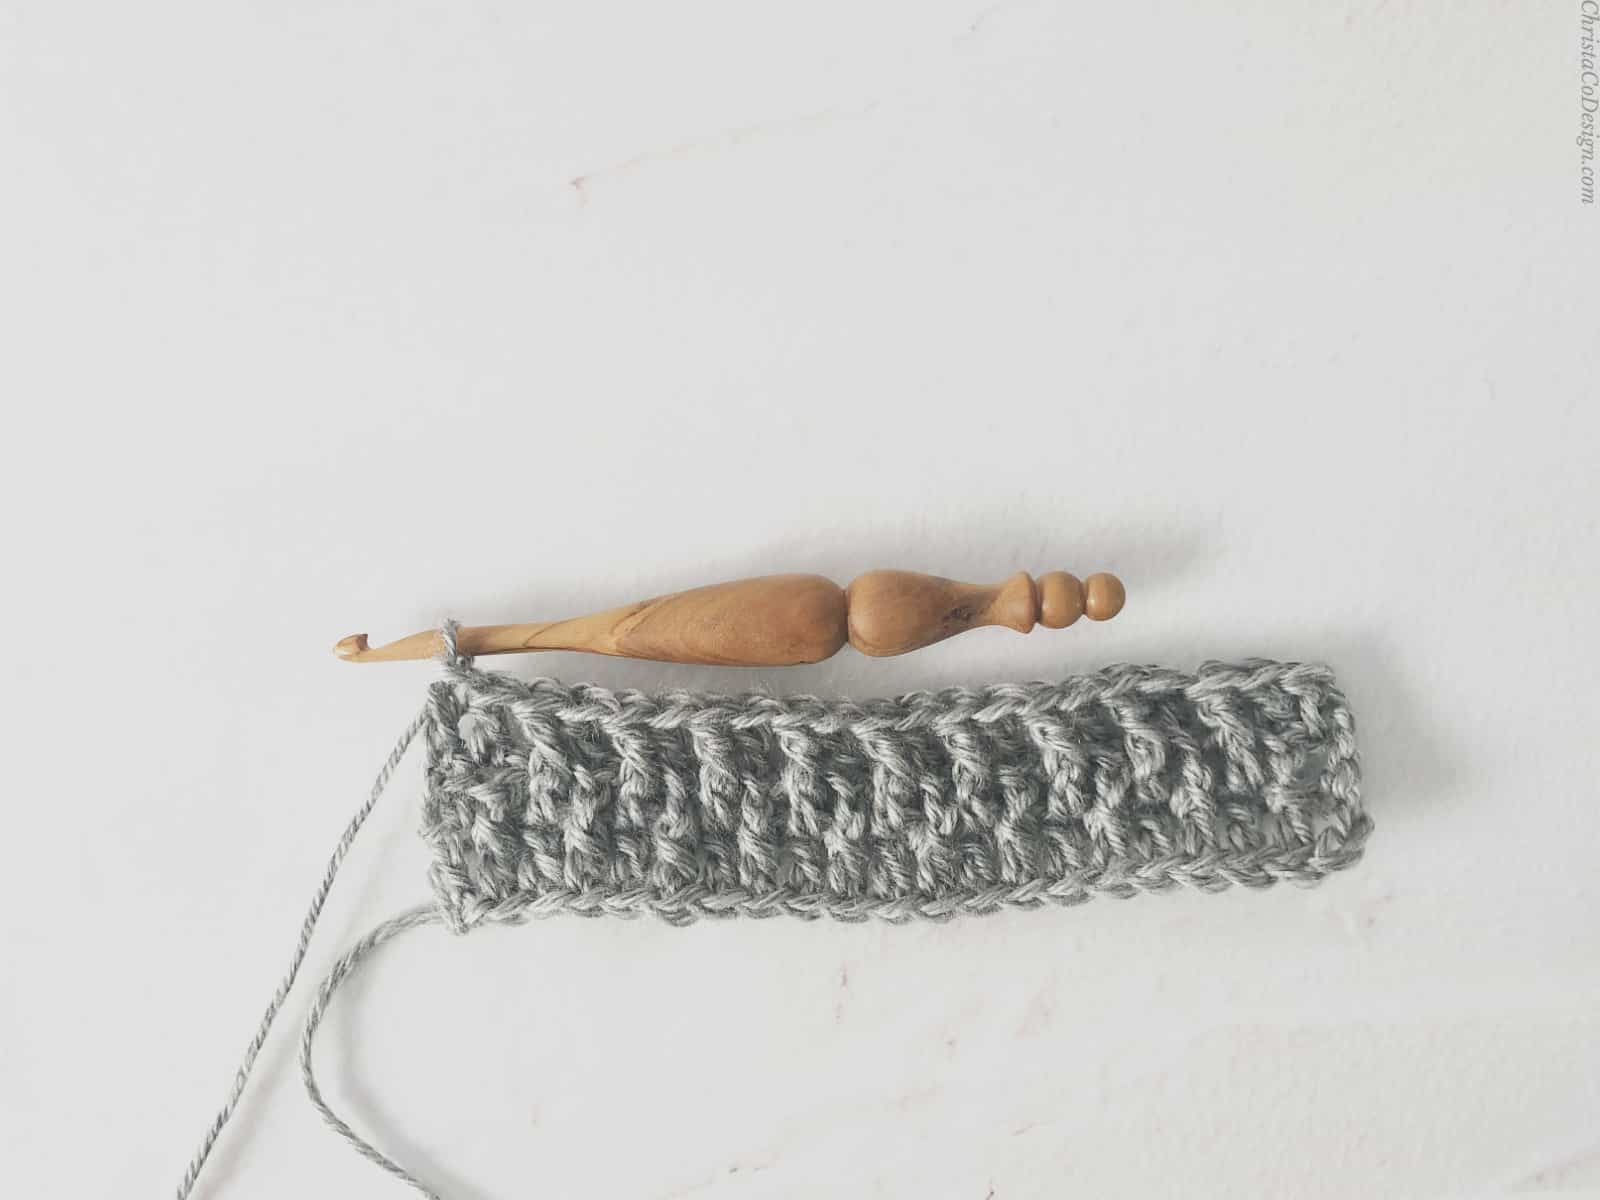
- Row 2. (WS) Ch 3 *{BPdc in next st, dc in next st} rep from * to end, turn. (21 sts)
 The ch 3 counts as the first dc in the row here and throughout.
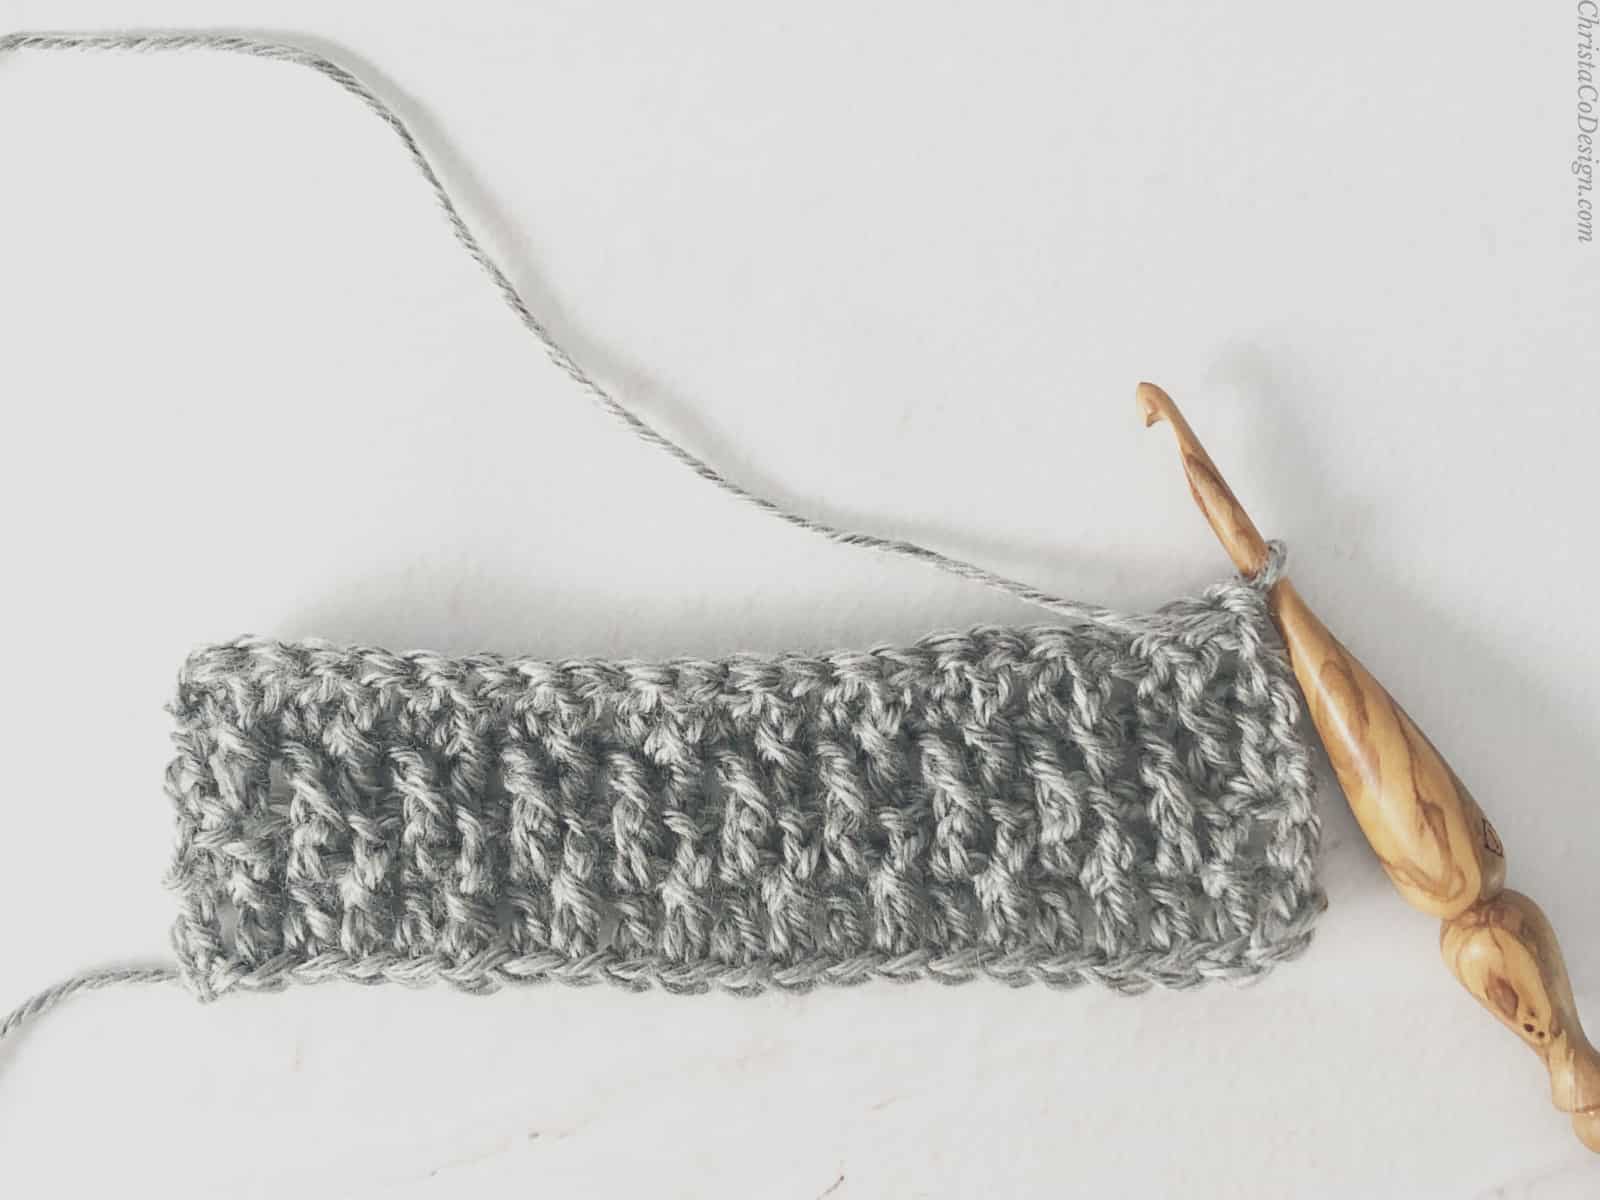
- Row 3. (RS) Ch 3, *{dc in the next st, FPdc in next st} rep from * until last 2 sts, dc in each of the last 2 sts, turn.
- Note: Row 3 starts with 2 double crochets (which includes the ch 3) and ends with 2 double crochets so that we don't have post stitches on the edges, which would make it a bit wobbly.
- Row 4. (WS) Ch 3, *{BPdc in next st, dc in next st} rep from * to end, turn.

 Repeat Rows 3-4 for 156 rows total until scarf measures 73"/185cm long or until you’ve reached your desired length.
- Once your have your length, be sure to end on a repeat Row 4, then turn so you're on the RS.
- Last row: Ch 3, dc in next st and in each st across the row.
- Optionally you can finish off both free ends of the scarf with a row of single crochet.
- Cut yarn and weave in ends.
Recommended Products
As an Amazon Associate and member of other affiliate programs, I earn from qualifying purchases.


Wish I could get the hang of this.?
Hey Melanie, is there a question I can help with?
I’m having trouble with this one. I dont understand. I have 21 stitches. So on the bpdc rows I would end with a bpdc and should end with a DC. On the fpdc rows I lose a stitch or end with 3 dc at end instead of 2. It doesn’t make sense that I’m putting and even number of stitches into and off number of stitches.
Hi Susan,
Sorry you’re having trouble, thanks for reaching out with your question. I’ll see if I can help. You should always have 21 stitches, whether it’s a bp or fp row. Are you counting the first ch 3 as your first dc? Bp rows start with a ch 3, that’s your first dc, then bpdc, then dc, keep repeating across and end with a dc stitch.
The fp rows start with 2 dc and end with 2 dc, but the stitch count is still 21 sts. You could also try just starting with a front post and ending with one. I use dcs to keep the edges straight. So if you were to do this, it would fpdc, dc across and end with another fpdc.
One mistake that is easy to make is crocheting two stitches in one spot. The post stitches being worked around the stitch instead of the top, leaves the top of the stitch open. So when I make a post stitch and then the next dc, I really have to check that I’m in the next stitch and not the same one.
You could also try marking your first and/or last stitches to be sure you’re not adding a stitch there.
I hope these help. If you still have questions, feel free to email me at [email protected]
Crystal
@Christa, thanks! I wasn’t using the chain 3. That seems to be working.
Oh good, I’m glad you got it worked out! I hope it’s smooth sailing from here!