
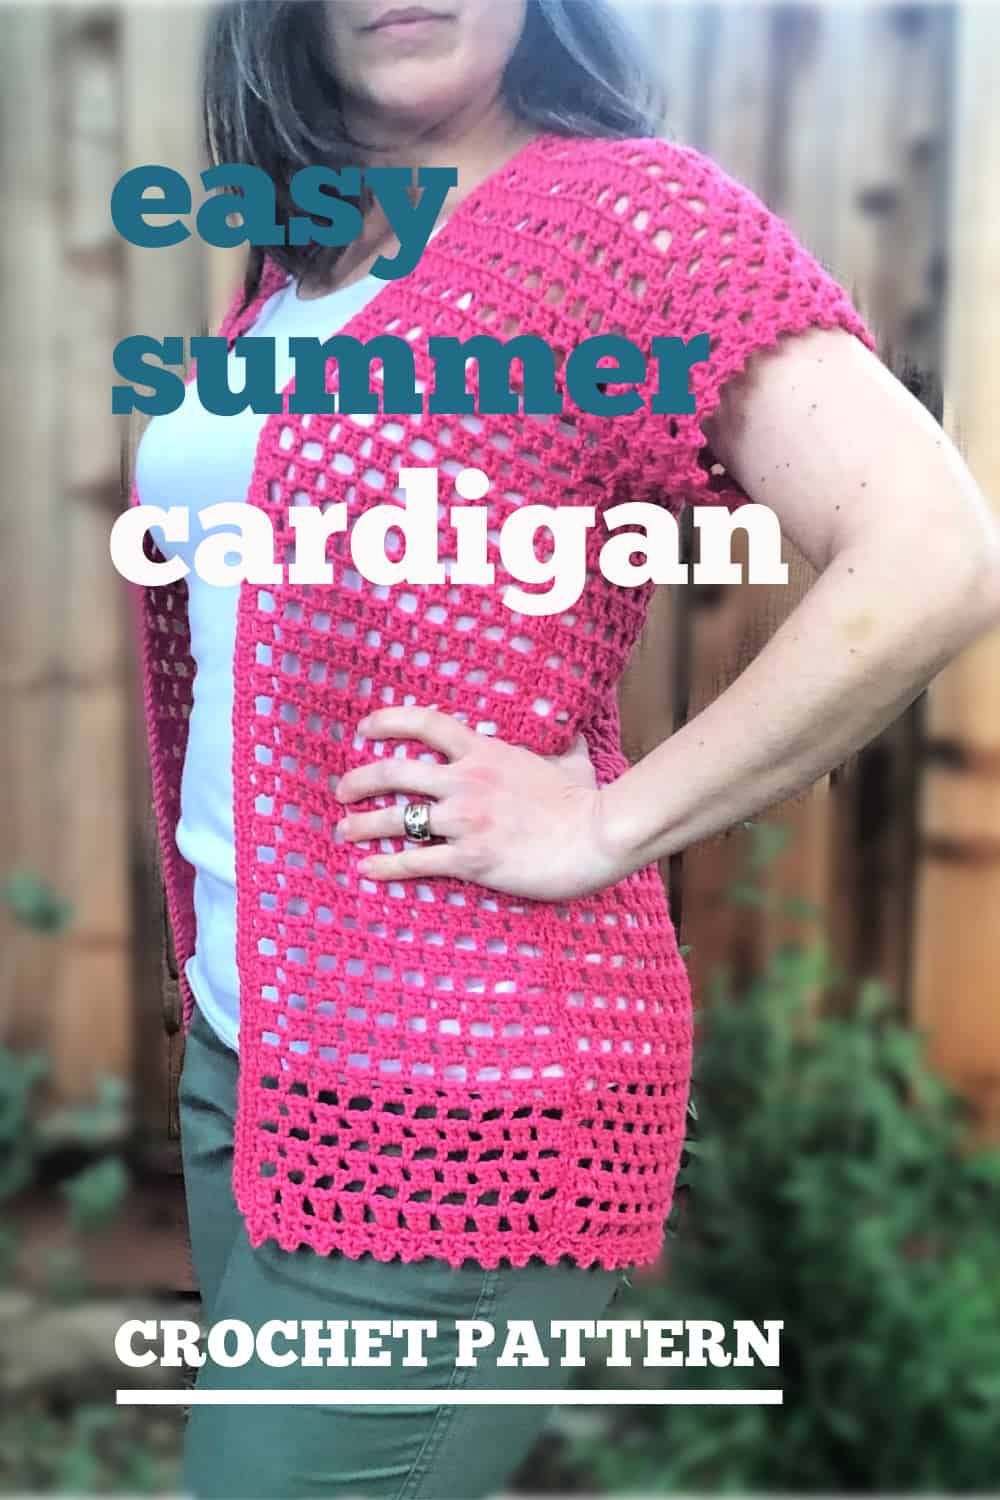
Elba Easy Lacy Crochet Summer Cardigan Free Pattern
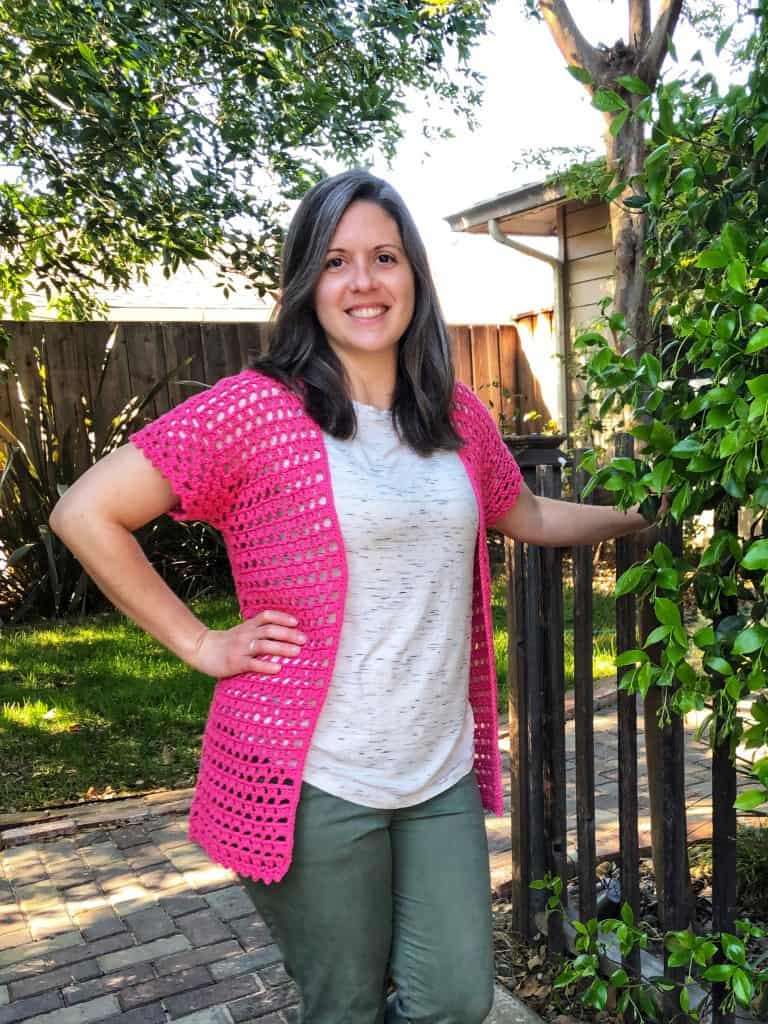
The Elba is a lacy crochet cardigan pattern that’s perfect for draping over your tank top to give you a stylish and finished look. The short sleeves and open stitch design means this lacy cardigan is great for summer.

This post contains affiliate links, I may earn a fee. Read more disclosure policy.
Join the ChristaCoDesign Newsletter
Never miss a pattern!
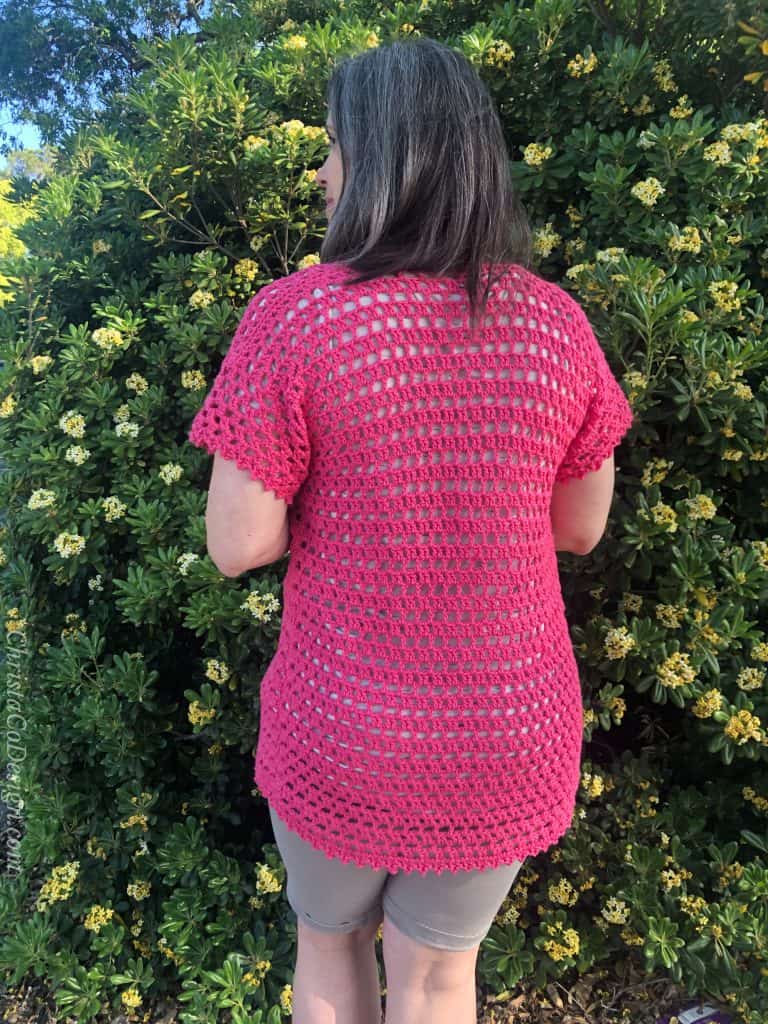
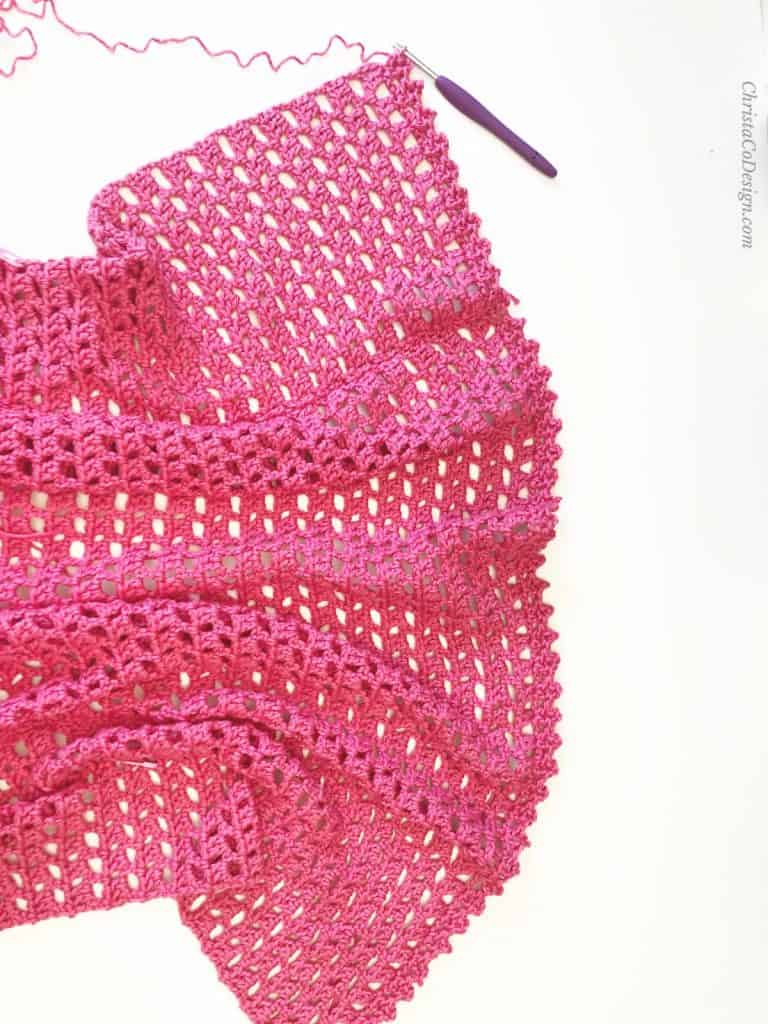
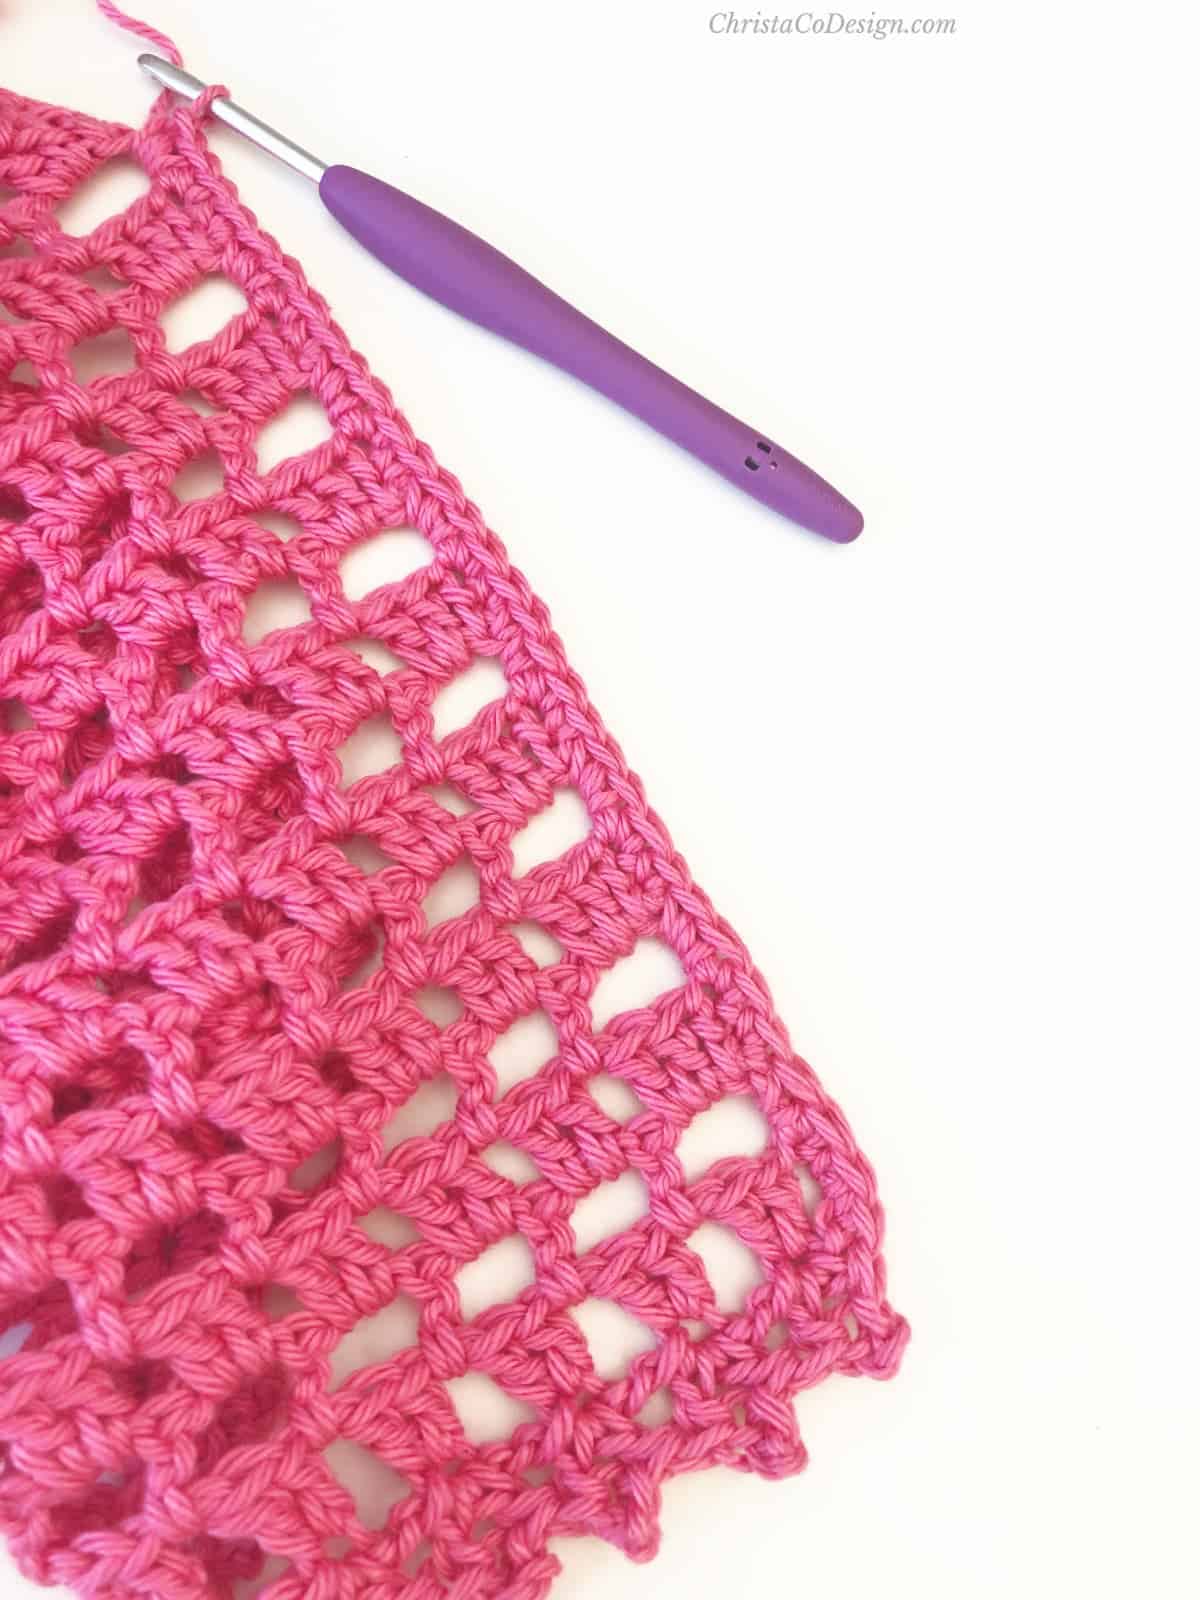
Crochet lace is made easy in a simple two row repeat of double crochets and chains. This short sleeve cardigan features is a lightweight extra layer in the summer months. My favorite features is the delicate picot stitch hem.
This free crochet pattern is made simply with many photos to support new crocheters. The pattern includes women’s sizes S (34″)-5X (62″) and is easy to customize.
Thanks to WeCrochet for sending me the yarn to make this pattern.
You can purchase the ad-free, well formatted PDF Pattern in one of my shops. Scroll down for the free pattern!
All about the yarn
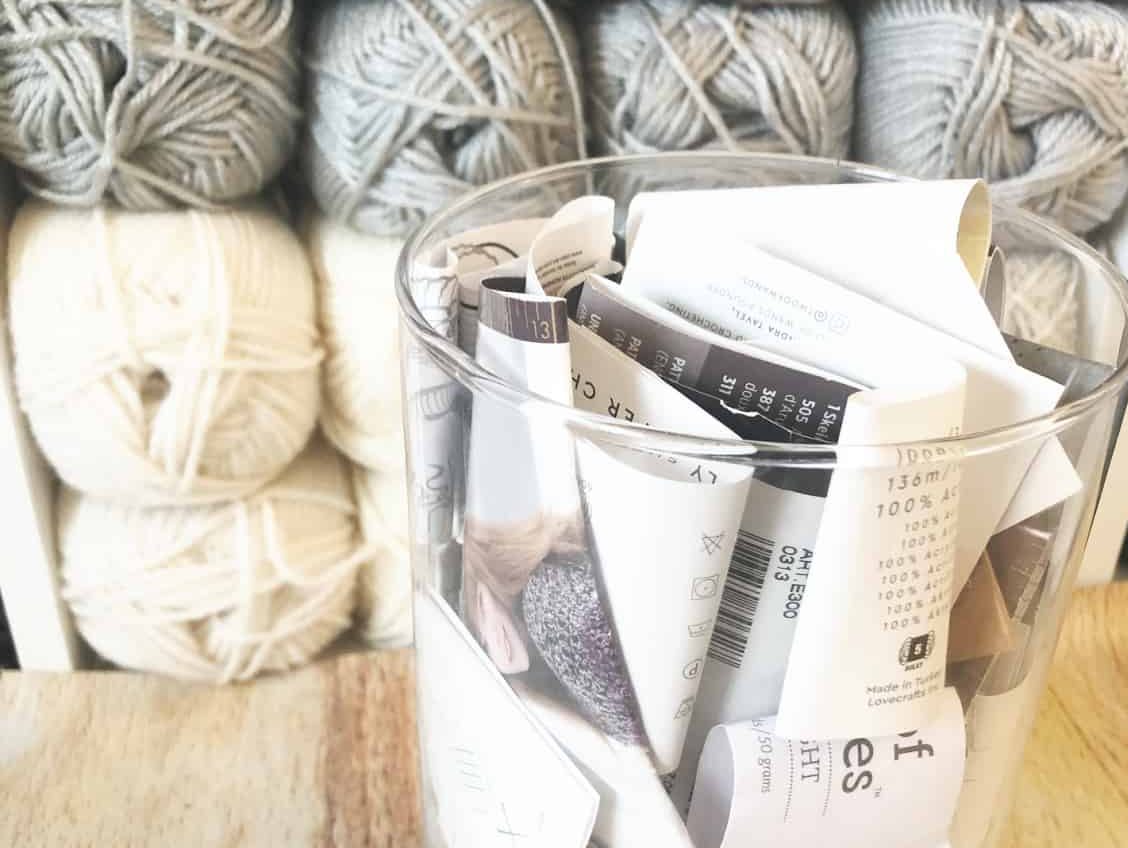
The yarn for this lace cardigan pattern was generously supplied by WeCrochet.* I was looking for a cotton yarn that is a soft yarn. I’m happy to say Comfy Worsted yarn is soft, supple and smooth.
The color selection is wonderful. My little lady loves a magenta, so I chose this bright color with her in mind. The pink is called Zinnia.
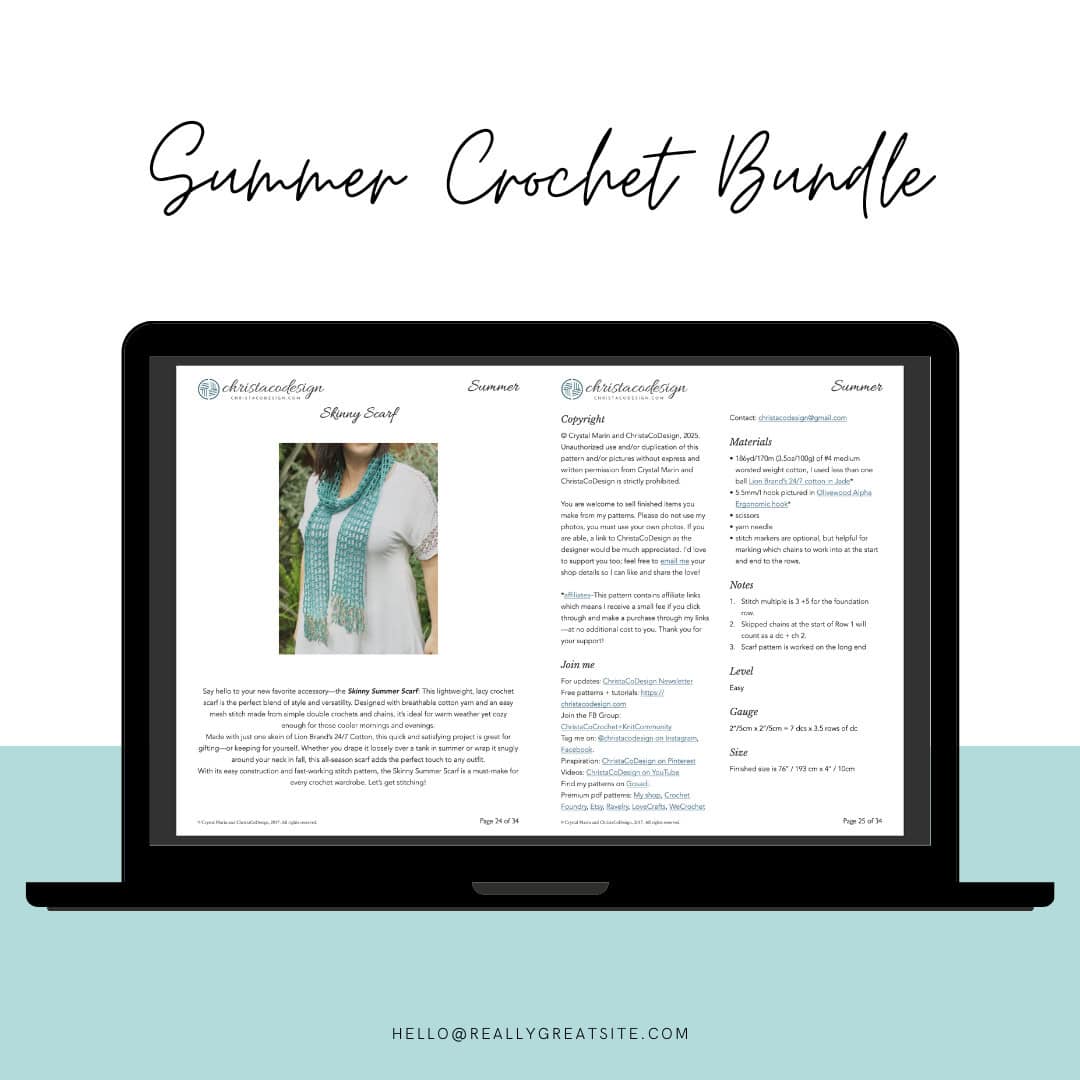
Love this pattern?
Get it plus 4 more popular summer designs all together in the complete Summer Bundle—perfect for all your warm-weather projects!
I have to be careful crocheting with cotton, so I definitely want to use yarns that glide easily and don’t add extra tension to my hands.
The Comfy Worsted was really easy to crochet with. I love the saturated color and sheen too! It’s a great choice for crocheting in warmer months.
This is a #4 medium worsted weight yarn. It’s also a blend of pima cotton and acrylic. I really like cotton blends, as they tend to be stronger.
More Free Patterns
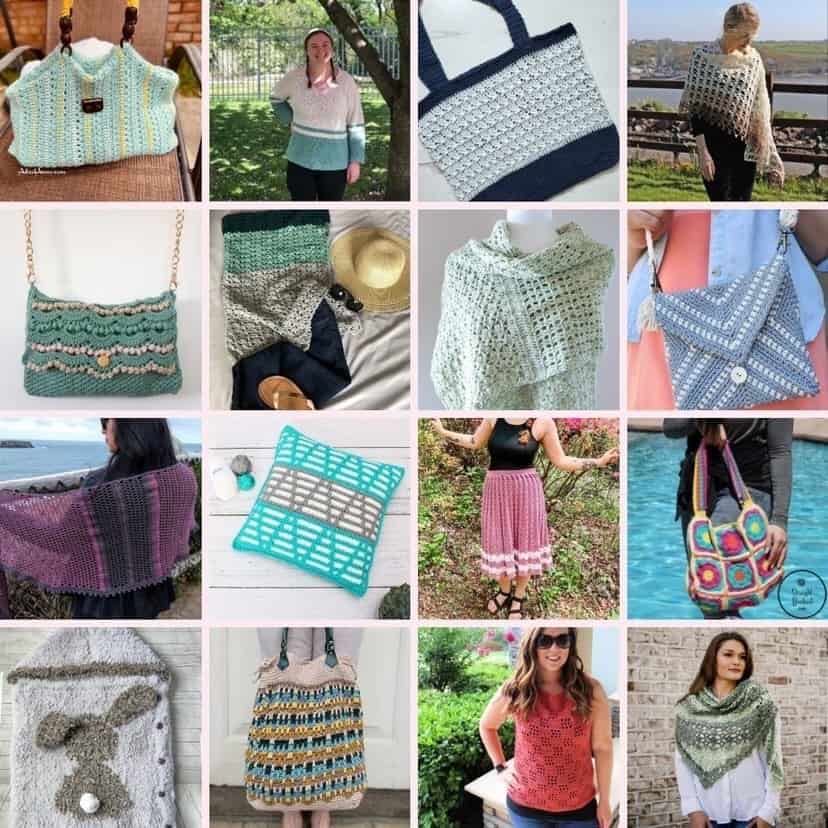
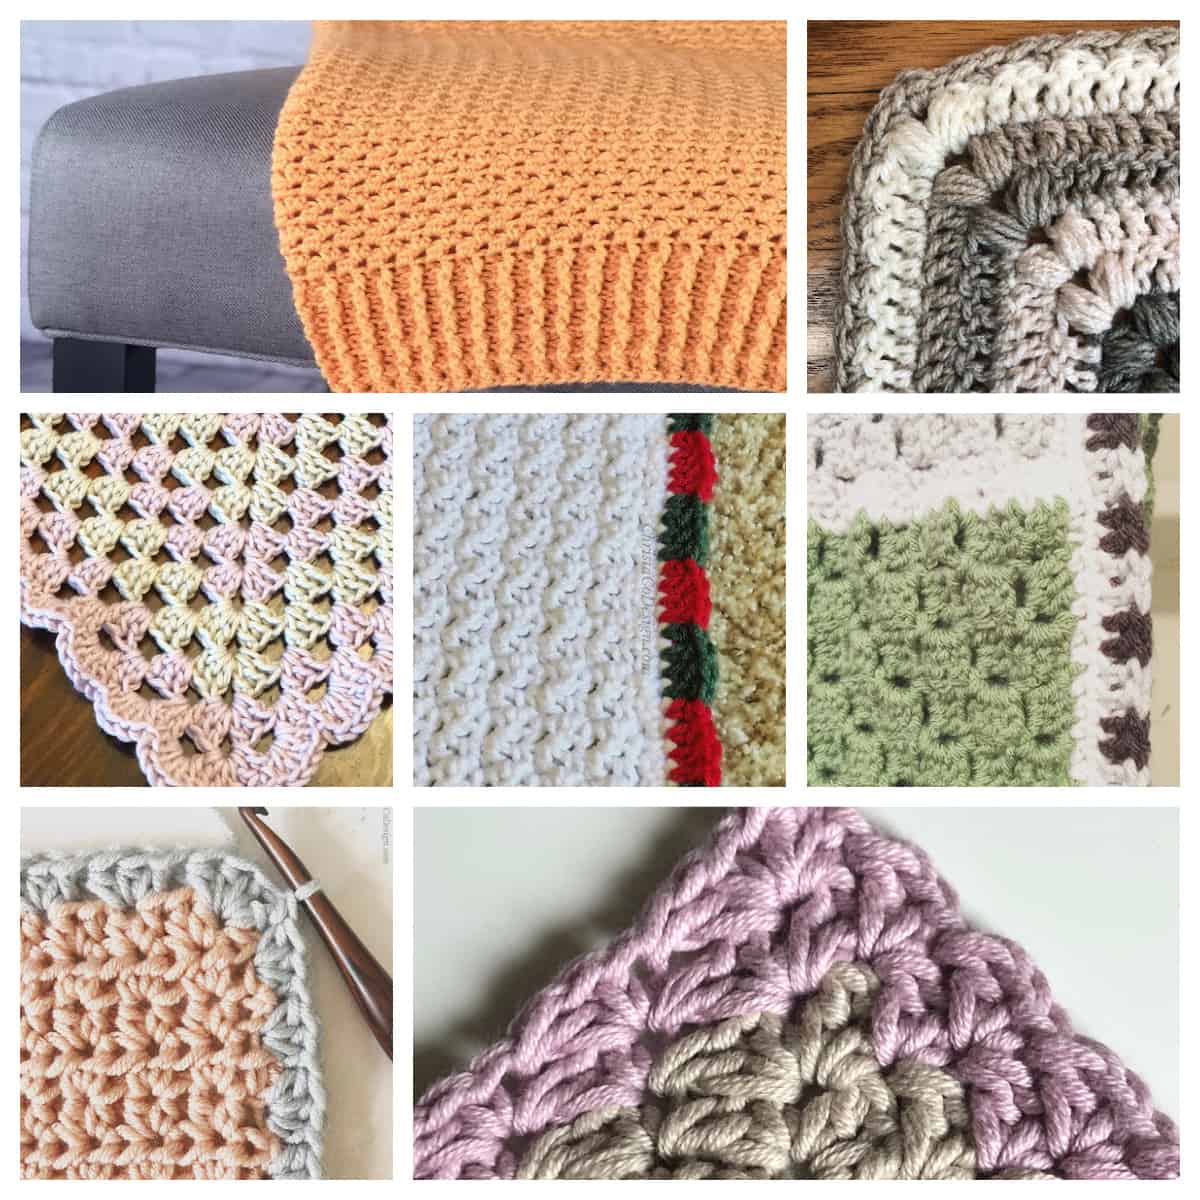
If you love lacy cardigans be sure to check out this round of lacy crochet patterns. These lacy patterns include a little bit of everything.
You might also like some of my beginner friendly crochet sweaters and free crochet cardigan patterns for colder weather.
One of my easy crochet cardigan patterns, the Mid Summer Cardigan features a longer length and 3/4 sleeves that’s great for a cover up.
Materials
- 4 mm / US size G-6 hook, or hook needed to meet gauge. I love this Clover Set.*
- Tapestry needle
- Measuring tape
- Scissors
- #4 medium worsted weight yarn, pictured in Comfy Worsted Yarn* (75% Pima Cotton, 25% Acrylic, 1.76 oz/50g, 109 yd/100m) color: zinnia; (S) 7, (M) 8, (L) 9, (XL) 10, (2X) 11, (3X) 12, (4X) 13, (5X) 14 balls.
Recommended Yarn Amounts By Size
(S) 34″ / 86.5 cm approximately 763yds / 698m
(M) 37″ / 94 cm approximately 872yds / 797m
(L) 41″ / 104 cm approximately 981yds / 897m
(XL) 46″ / 117 cm approximately 1090yds / 997m
(2X) 50″ / 127 cm approximately 1199yds / 1096m
(3X) 54″ / 137 cm approximately 1308yds / 1196m
(4X) 58″ / 147.5 cm approximately 1417yds / 1296m
(5X) 62″ / 157.5 cm approximately 1526yds / 1395m
My favorite hooks are Furls* and Clover*!
Notes
- Please read through entire pattern and create a gauge swatch before beginning
- Pattern is written for multiple sizes, where the first number given is the smallest size and the larger sizes follow in parenthesis. For example, “Ch 83 (89, 99, 105, 117, 129, 135, 144 sts)” means size small would chain 83 and size 4X chain 135. Where no size is indicated instruction apply to all.
- Stitch counts are given at the end of the instructions with all sizes within the parenthesis (82, 88, 98, 104, 116, 128, 134, 143 sts).
- Ch 3 counts as a stitch, I highly recommend using a ch 3 alternative, here’s my tutorial on standing stitches.
- The stitch multiple is 3, plus 5 for the foundation chain.
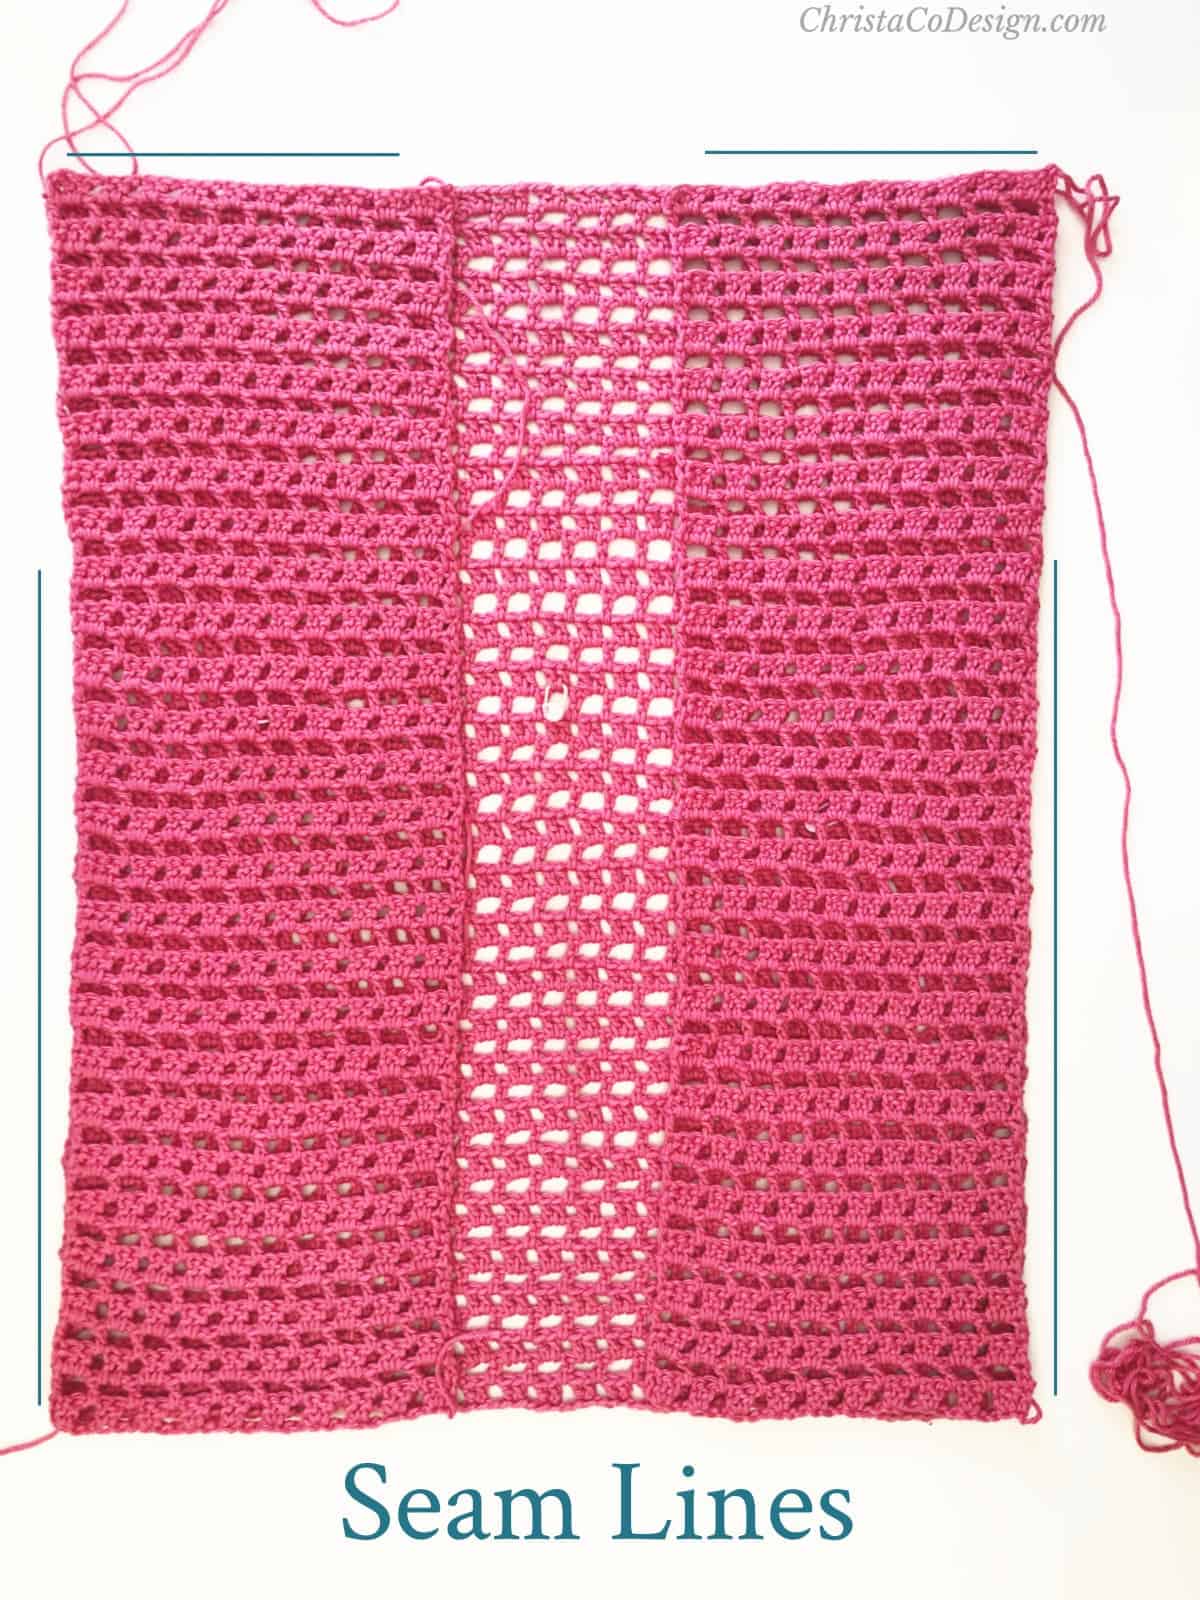
Construction
This pattern has a simple construction. It is worked in three pieces: 2 front + 1 back panel. The panels are seamed at the sides and shoulders. The sleeves, hem + neckline are added afterward.
Skill Level
Easy
Gauge
4” / 10 cm x 4” / 10 cm = 17 sts x 9 rows in pattern, after blocking, laid flat, unstretched.
To check gauge ch 20 and follow pattern from Back Panel Row 1.
Fit/Adjustments
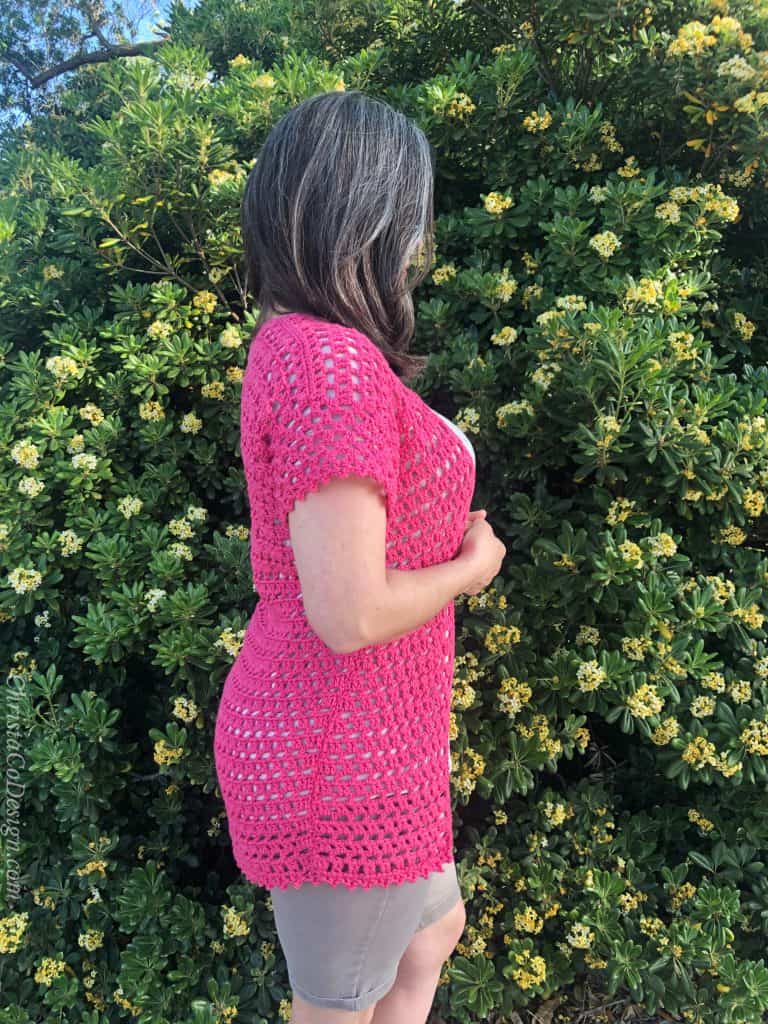
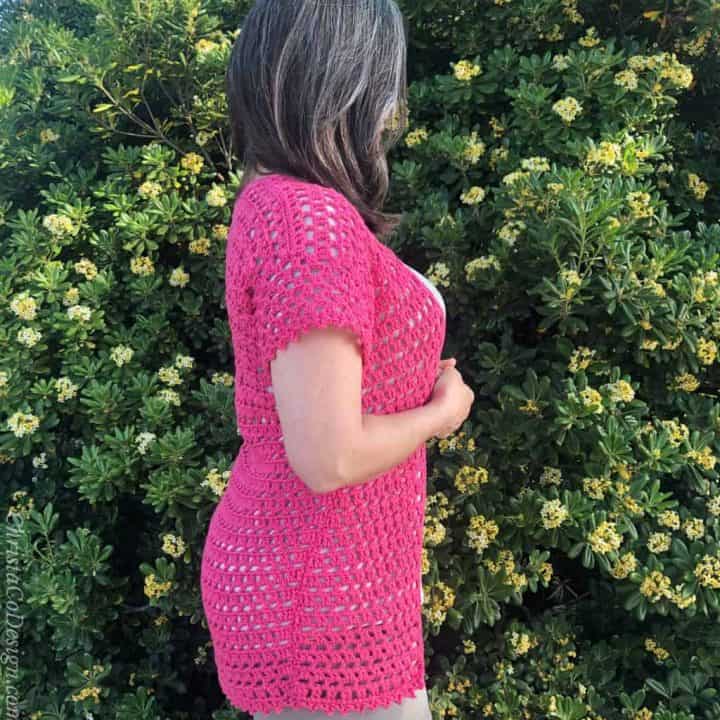
This cardigan is designed to be worn open in the front. It has a positive ease of 2” / 5 cm-3” / 7.6 cm larger than actual bust size.
For a looser fit, go up a size in the pattern or down a size for a snugger fit. Or for a more custom fit add to my starting chain in 3s.
You can easily adjust the length of this pattern by making more or less rows. If you change the number of rows be sure to make both the back and front panels the same length.
If you would like long sleeves you can simply continue the repeat row for three quarter or full length sleeves.
Remember any changes will affect the amount of yarn needed, so plan accordingly.
Add this pattern to your Ravelry queue.
To Fit Actual Bust Size
- (S) 34″ / 86.5 cm
- (M) 37″ / 94 cm
- (L) 41″ / 104 cm
- (XL) 46″ / 117 cm
- (2X) 50″ / 127 cm
- (3X) 54″ / 137 cm
- (4X) 58″ / 147.5 cm
- (5X) 62″ / 157.5 cm
Finished Bust Size
- (S) 36″ / 91.5 cm
- (M) 39″ / 99 cm
- (L) 43″ / 109 cm
- (XL) 48″ / 122 cm
- (2X) 52.5″ / 133.5 cm
- (3X) 57″ / 145 cm
- (4X) 61″ / 155 cm
- (5X) 65″ / 165 cm
Stitches/Abbreviations – US Terms
ch(s)-chain(s)
picot: chain 3, slip stitch back to 1st chain, the link includes a video tutorial.
rep-repeat
rnd(s)-round(s)
RS-right side
sk-skip the indicated stitch
st(s)-stitch(es)
WS-wrong side
Designer’s Pick for Summer Blog Hop
This pattern was featured in the blog hop on 6/13/21. If you missed the blog hop, you can still purchase the bundle and get all these fabulous crochet patterns!
Get all these gorgeous crochet patterns in one place! All 32 patterns, plus 2 bonus patterns for one price.
You can purchase the ad-free, well formatted PDF Pattern in one of my shops. Scroll down for the free pattern!
Pin it
Scroll down for the easy lacy crochet cardigan pattern!
Lacy Crochet Cardigan Pattern Free
The Elba is a lacy crochet summer cardigan that's perfect for draping over your tank top to give you a stylish and finished look.
Materials
- #4 medium worsted weight yarn, pictured in Comfy Worsted in Zinnia;
- (S) 34″ / 86.5 cm approximately 763yds / 698m
- (M) 37″ / 94 cm approximately 872yds / 797m
- (L) 41″ / 104 cm approximately 981yds / 897m
- (XL) 46″ / 117 cm approximately 1090yds / 997m
- (2X) 50″ / 127 cm approximately 1199yds / 1096m
- (3X) 54″ / 137 cm approximately 1308yds / 1196m
- (4X) 58″ / 147.5 cm approximately 1417yds / 1296m
- (5X) 62″ / 157.5 cm approximately 1526yds / 1395m
Tools
- 4 mm/US size G-6 hook, or hook needed to meet gauge.
- Yarn needle
- Measuring tape
- Scissors
Instructions
Back Panel
Make 1
Ch 83 (89, 101, 110, 122, 128, 140, 149)
- Row 1. Place 2 dc in 4th ch (sk chs count as first dc), *{ch 1, sk 2 chs, 2 dc in next ch} rep from * across until 1 st left, dc in last st, turn. (82, 88, 100, 109, 121, 127, 139, 148 sts)
- Row 2. Ch 3, *{ch 2, sk 2 sts, dc in next ch sp} rep from * across, turn. (82, 88, 100, 109, 121, 127, 139, 148 sts)
- Row 3. Ch 3 (counts), *{2 dc in ch sp, ch 1, sk 1 st} rep from * until last 3 sts, 2 dc in ch sp, dc in last st, turn. (82, 88, 100, 109, 121, 127, 139, 148 sts)
- Continue repeating Rows 2-3 until your panel is to 55 (55, 57, 57, 59, 59, 61, 61) rows long or 24”/61.5cm (24”/61.5cm, 25”/63.7cm, 25”/63.7cm, 26”/66cm, 526”/66cm, 26.8”/68cm, 26.8”/68cm) in length.
- Cut yarn, leave long tail for seaming.
*If you change the number of rows, I recommend stopping after a Row 3 repeat.
Front Panels
Make 2
Ch 35 (38, 41, 47, 50, 56, 59, 62 sts)
- Row 1. Place 2 dc in 4th ch (sk chs count as first dc), *{ch 1, sk 2 chs, 2 dc in next ch} rep from * across until 1 st left, dc in last st, turn. (34, 37, 40, 46, 49, 55, 58, 61 sts)
- Row 2. Ch 3, *{ch 2, sk 2 sts, dc in next ch sp} rep from * across, turn. (34, 37, 40, 46, 49, 55, 58, 61 sts)
- Row 3. Ch 3 (counts), *{2 dc in ch sp, ch 1, sk 1 st} rep from * until last 3 sts, 2 dc in ch sp, dc in last st, turn. (34, 37, 40, 46, 49, 55, 58, 61 sts)
- Continue repeating Rows 2-3 until your panel is equal to your back panel in length. Cut yarn, love long tail for seaming.
Block
- Block panels separately before seaming together.
Sewing your pieces together:
- Sew where indicated using a yarn needle and length of yarn. You may use either the whip stitch or mattress stitch.
- Lay panels on top of one another inside out, so front panels are on top of the back panel, and RS are touching. Line up outside edges, leaving center open for neck.
 Neck opening measures 3.4”/8.5cm (3.4”/8.5cm, 4.8”/12cm, 4”/10.4cm, 5.5”/14cm, 4”/10.4cm, 5.5”/14cm, 6.2”/15.8cm) wide.
 - Sew shoulders together.
- Sew sides together. Start at the bottom and sew up, leave unseamed the last 18 (18, 20, 22, 22, 24, 26, 26) rows = 7.9”/20cm (7.9”/20cm, 8.8”/ 22.4cm, 9.7”/24.6cm, 9.7”/24.6cm, 10.6”/26.8cm, 11.4”/29cm, 11.4”/29cm) at the top of the panels for the armholes.
Sleeves Notes
Sleeves are worked in the round, but turned after each round so you’ll work on both sides of the fabric.
For the first round work into the sides of the panel, skipping the dc blocks and working into the spaces.
Sleeves
- On RS, join yarn with a sl st under arm.
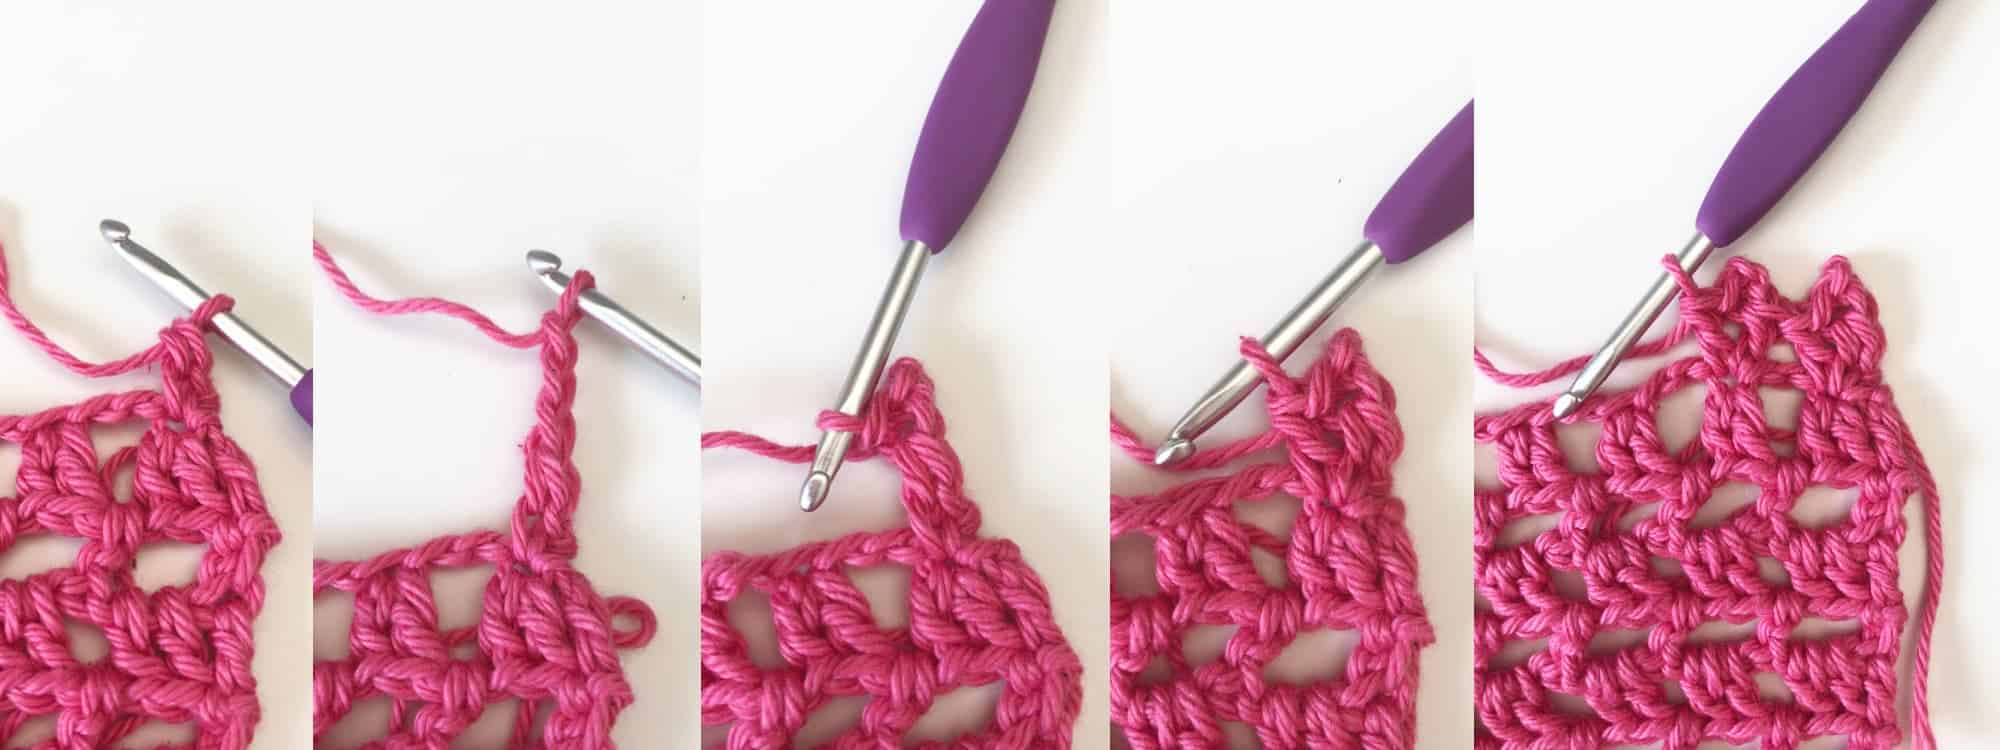
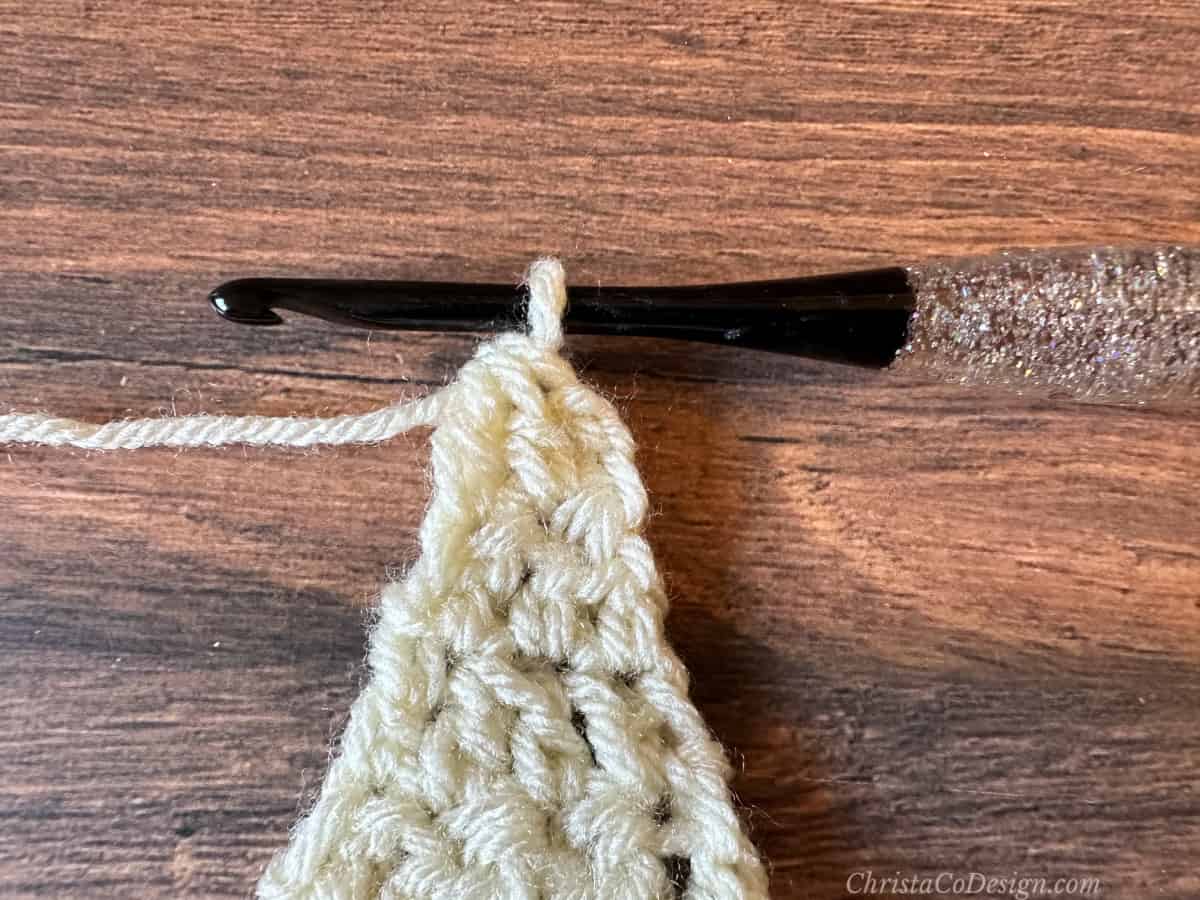
Rnd 1. In first ch sp Ch 3, dc in same, ch 2, *{sk the dc sts, place 2 dc in the next ch sp, ch 2} rep from * around, when you get to the shoulder seam add a (2 dc + ch 2) in the center and continue with the repeat, ch 2 join to first st, turn. (76, 76, 84, 92, 92, 100, 108, 108) sts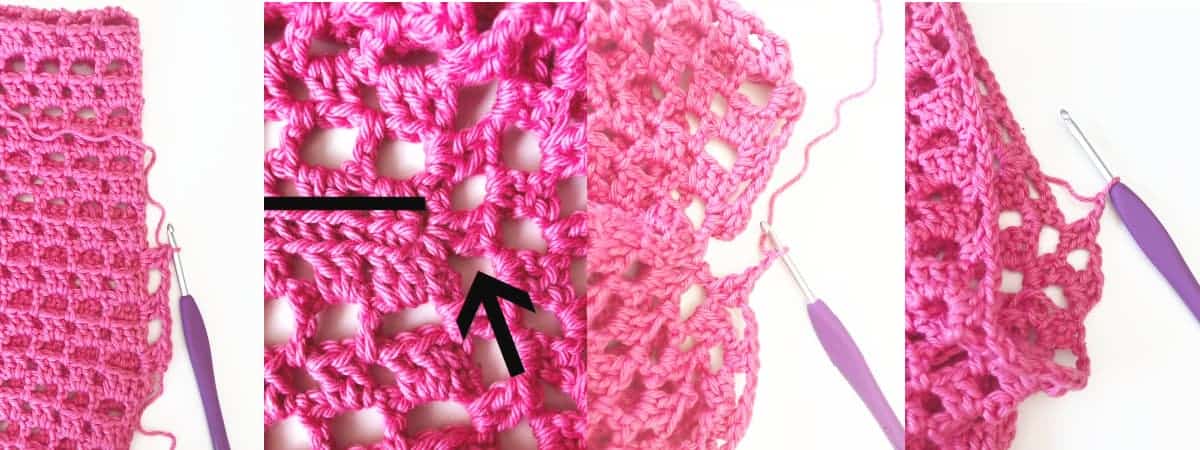 Left to right image shows: Join underarm and first few stitches of round 1. Shoulder seam with 2 dc for seeve. End round 1 ready to join. Beginning of round 2.
 - Rep Rnd 1 5 (6, 6, 7, 7, 8, 8, 9) more times, or to desired sleeve length. sleeve measures = 3.5”/9cm (4/10cm, 4/10cm, 4.5”/11.4cm, 4.5”/11.4cm, 5”/12.7cm, 5/12.7cm, 5.5”/14cm)
- Last Rnd. Ch 3, picot, dc in same st, *{sk dcs, (dc, picot, dc) all in next ch sp} rep from * around, sl st to 3rd ch of first ch 3 to join.
- Cut yarn and weave in ends. Rep on other sleeve.
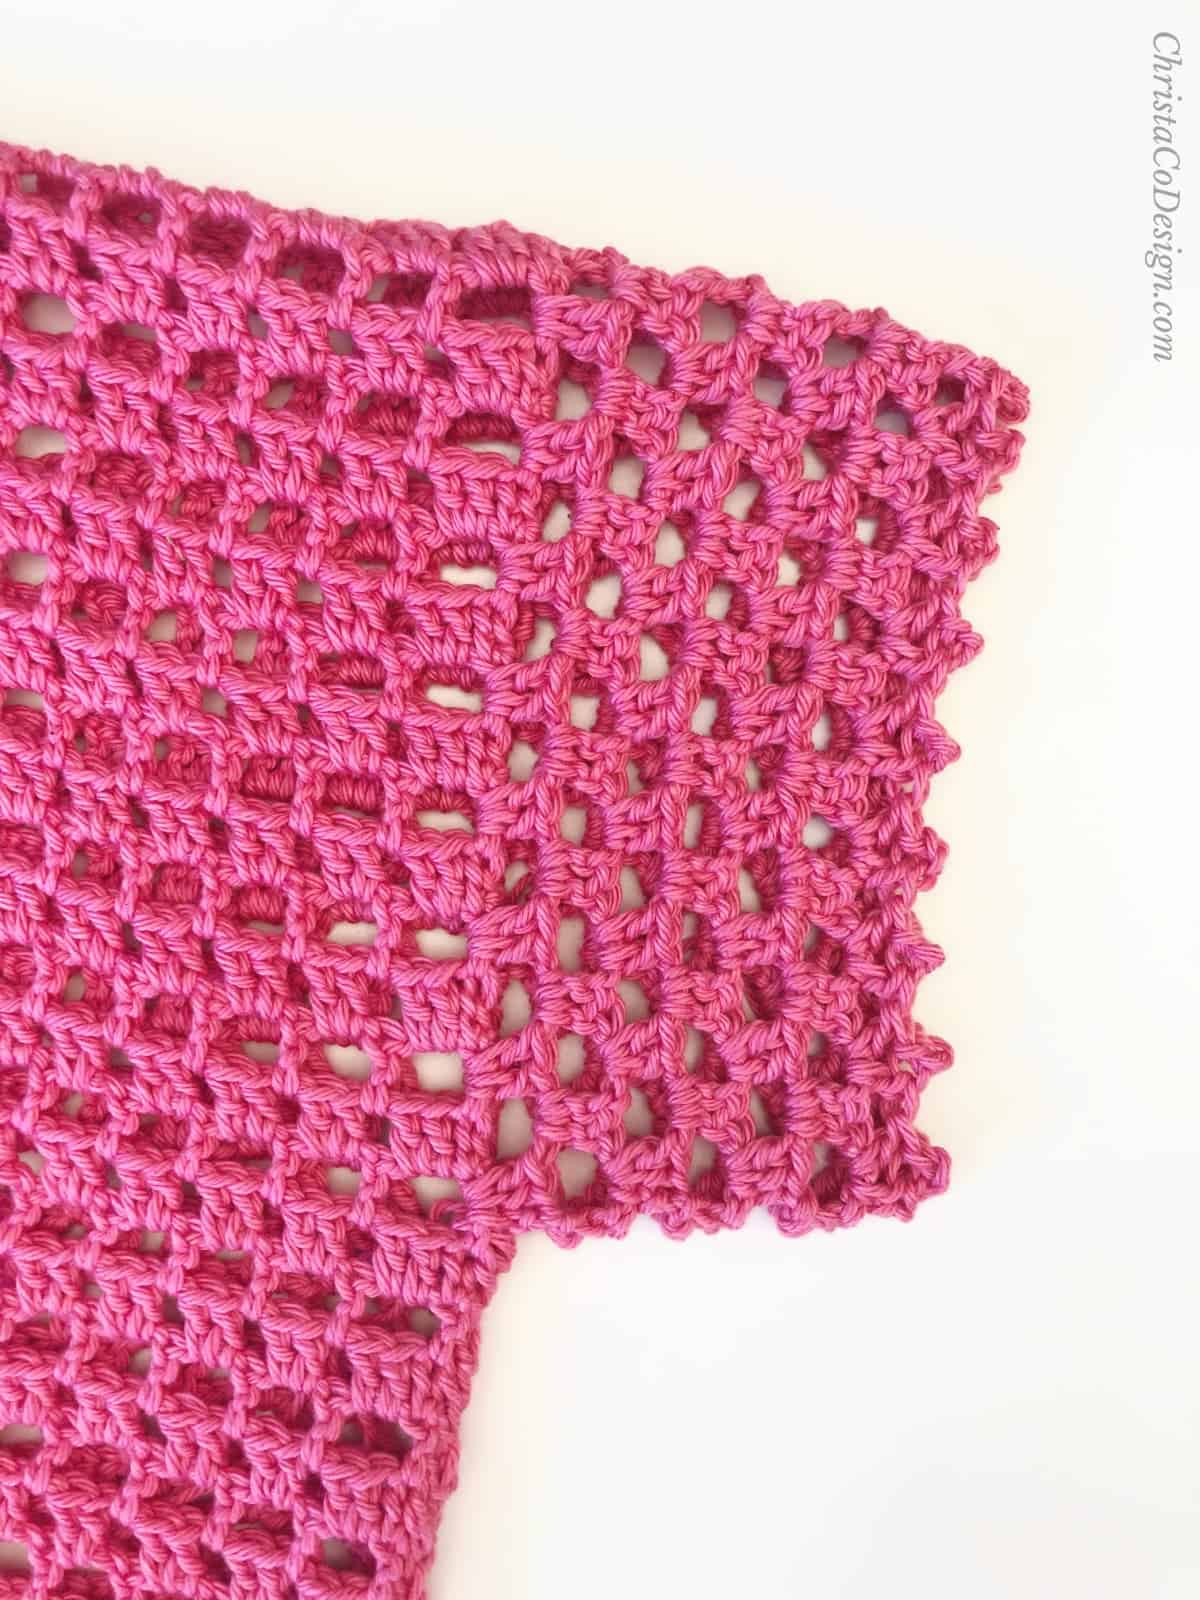
Hem
 Join on RS of bottom edge with sl st.
- Ch 3, picot, dc in same st, *{sk 2 chs, (dc, picot, dc) all in bottom of 2 dcs} rep from * across, when you come to the side seams add a (dc, picot, dc) to the center also. Do not cut yarn, continue from here.
Front edge/collar:
- Continuing from bottom hem,
Row 1. Ch 1, sc evenly (place 2 sc in side of each row to keep edges straight) up the front panel, around the neck and back down the opposite front panel, sl st to first hem st. - Cut yarn and weave in ends.
Recommended Products
As an Amazon Associate and member of other affiliate programs, I earn from qualifying purchases.


Thanks so much for this pattern. You have explained so well the entire details. I think that this will be my favorite go to for gifts and myself.
Thank you! I hope you enjoy and get to make one soon!
i love the look of the elba cardi my only comment is i would make front side panels a bit wider but that is my preference
Thank you Jackie! Yeah, I designed them to be open, but you could make the front panels in the next size up to easily make them wider.
Thank you very much for this pattern. It looks light and comphy. Can’t wait to make it. Waited for this on the blog hop. Glad I didn’t miss it.
Debbie
Beautiful design as always! I got one for me! Thank you
Thank you! I hope you enjoy making it!
Than you for your support Jo! I hope you enjoy it!
This is a lovely pattern! Looks great but the pattern isn’t complicated, and you explain things very well. I am looking forward to making this one soon!
Thank you Beth! I hope you enjoy it!
Is there a video to support this pattern? The only videos I found were photos of the project & chain 3 alternative lesson. I’m uncertain enough that I would like to watch the instructions. Thanks.
Hi Terry,
For this pattern there is not a full video tutorial, just the written instructions, photos and stitch tutorials. I hope to make a full video in future and will update here if I am able!
Thanks,
Crystal