How to Knit the Stockinette Stitch for Beginners
If I say the word knit it’s likely you automatically envision the classic flat interlocking stitches of the stockinette stitch (even if you’re not a knitter). Today I’m going to show you how to make this knitted fabric using basic stitches so you can make all the cozy knit things!

This post contains affiliate links, I may earn a fee. Read more disclosure policy.
Join the ChristaCoDesign Newsletter
Never miss a pattern!
The stockinette stitch pattern is simple to knit even for beginner knitters. In this step by step tutorial I take you through the process of knitting this classic stitch.
Abbreviation
The abbreviation in knitting patterns for stockinette stitch is st st (or St st) which cracks me up with its repeated st. I can’t help but read it as stitch stitch.
Stockinette is the stitch in which yarn labels include the given gauge. If your pattern does not specify the gauge it’s usually in stockinette.
To knit stockinette you’ll need to know how to make a knit stitch and how to make a purl stitch.
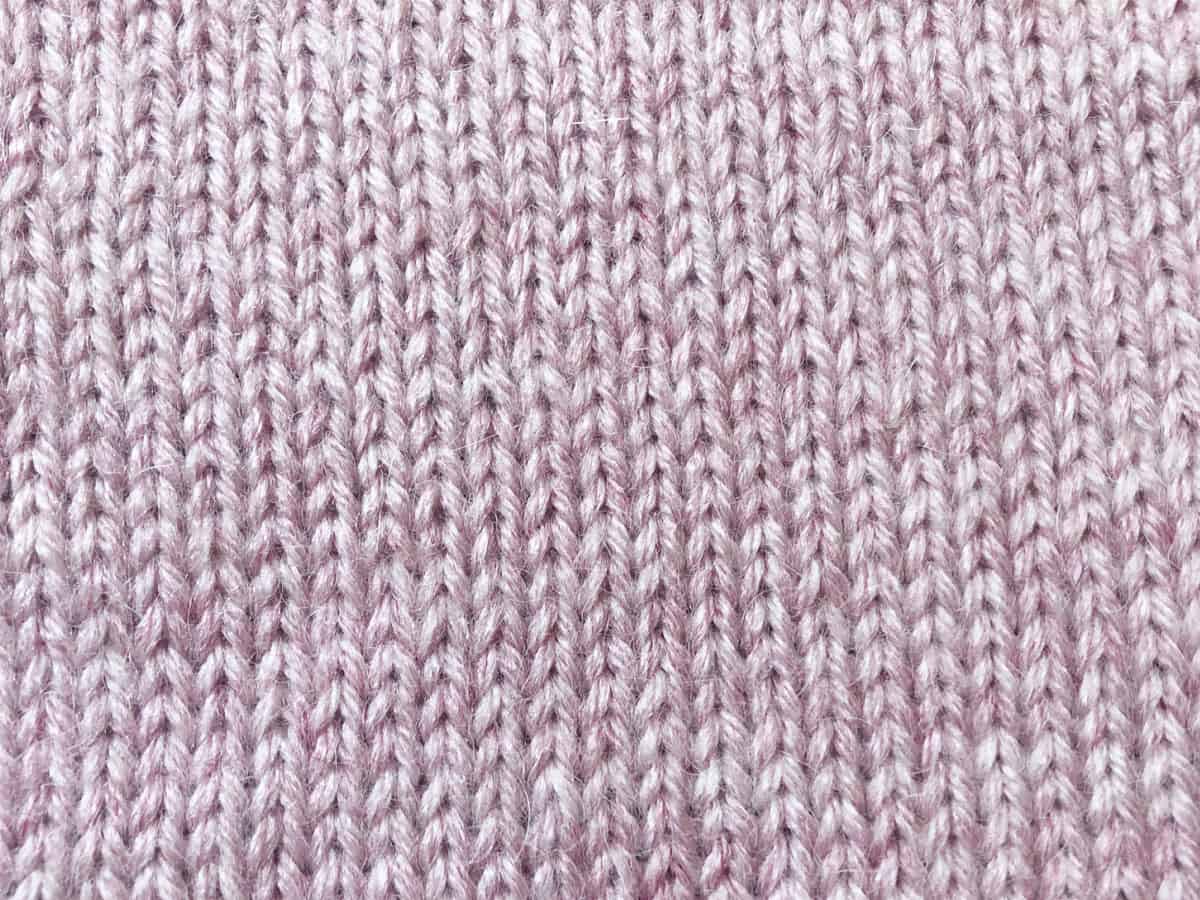
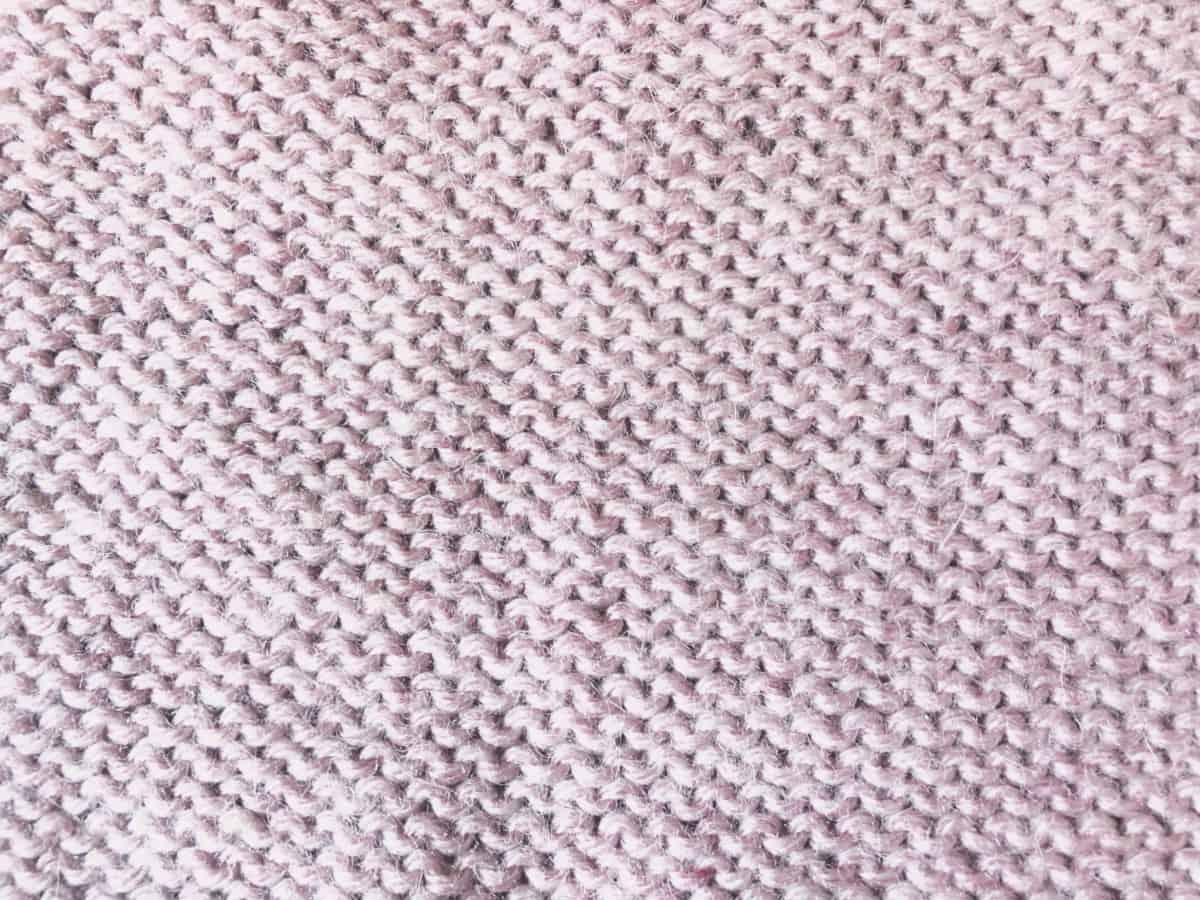
The smooth side of the fabric is the right side in stockinette and it’s made with simple knitting stitches.
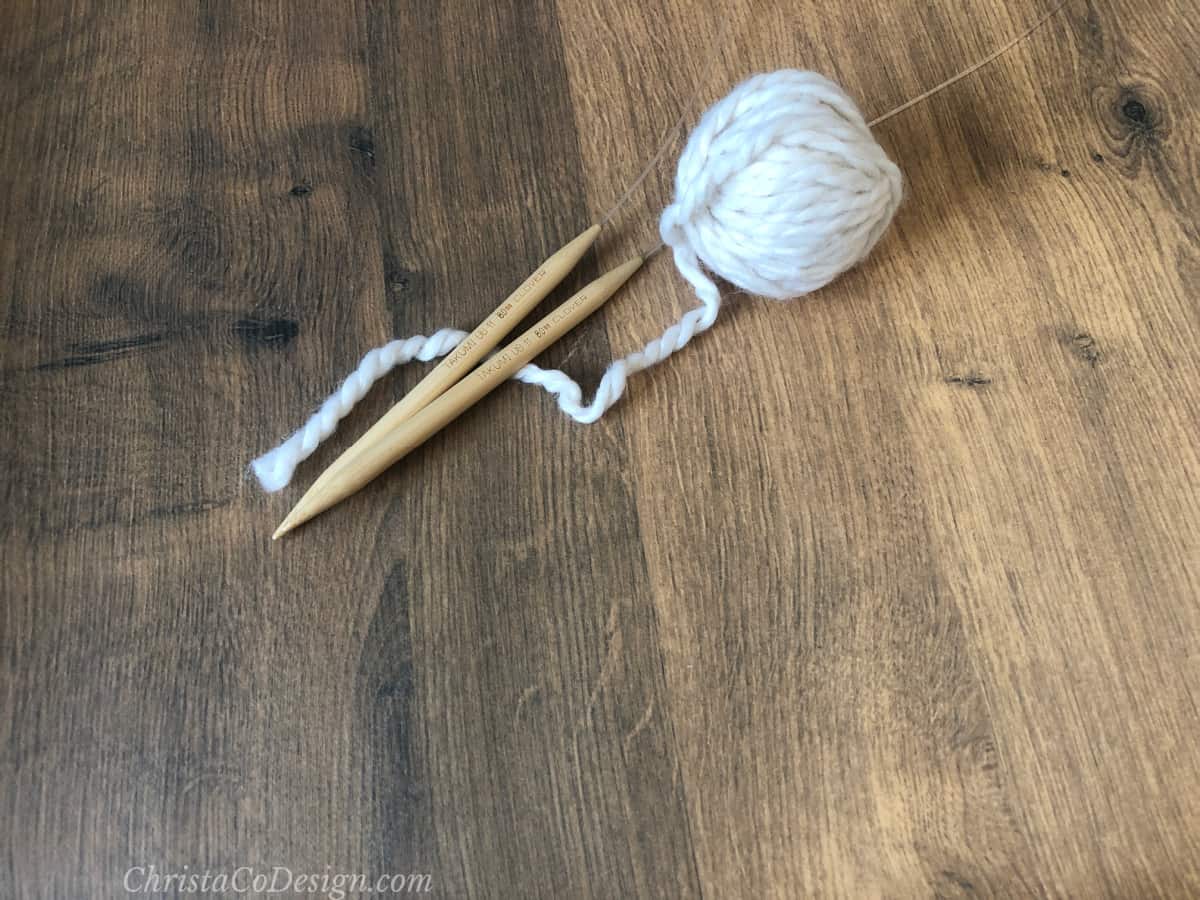
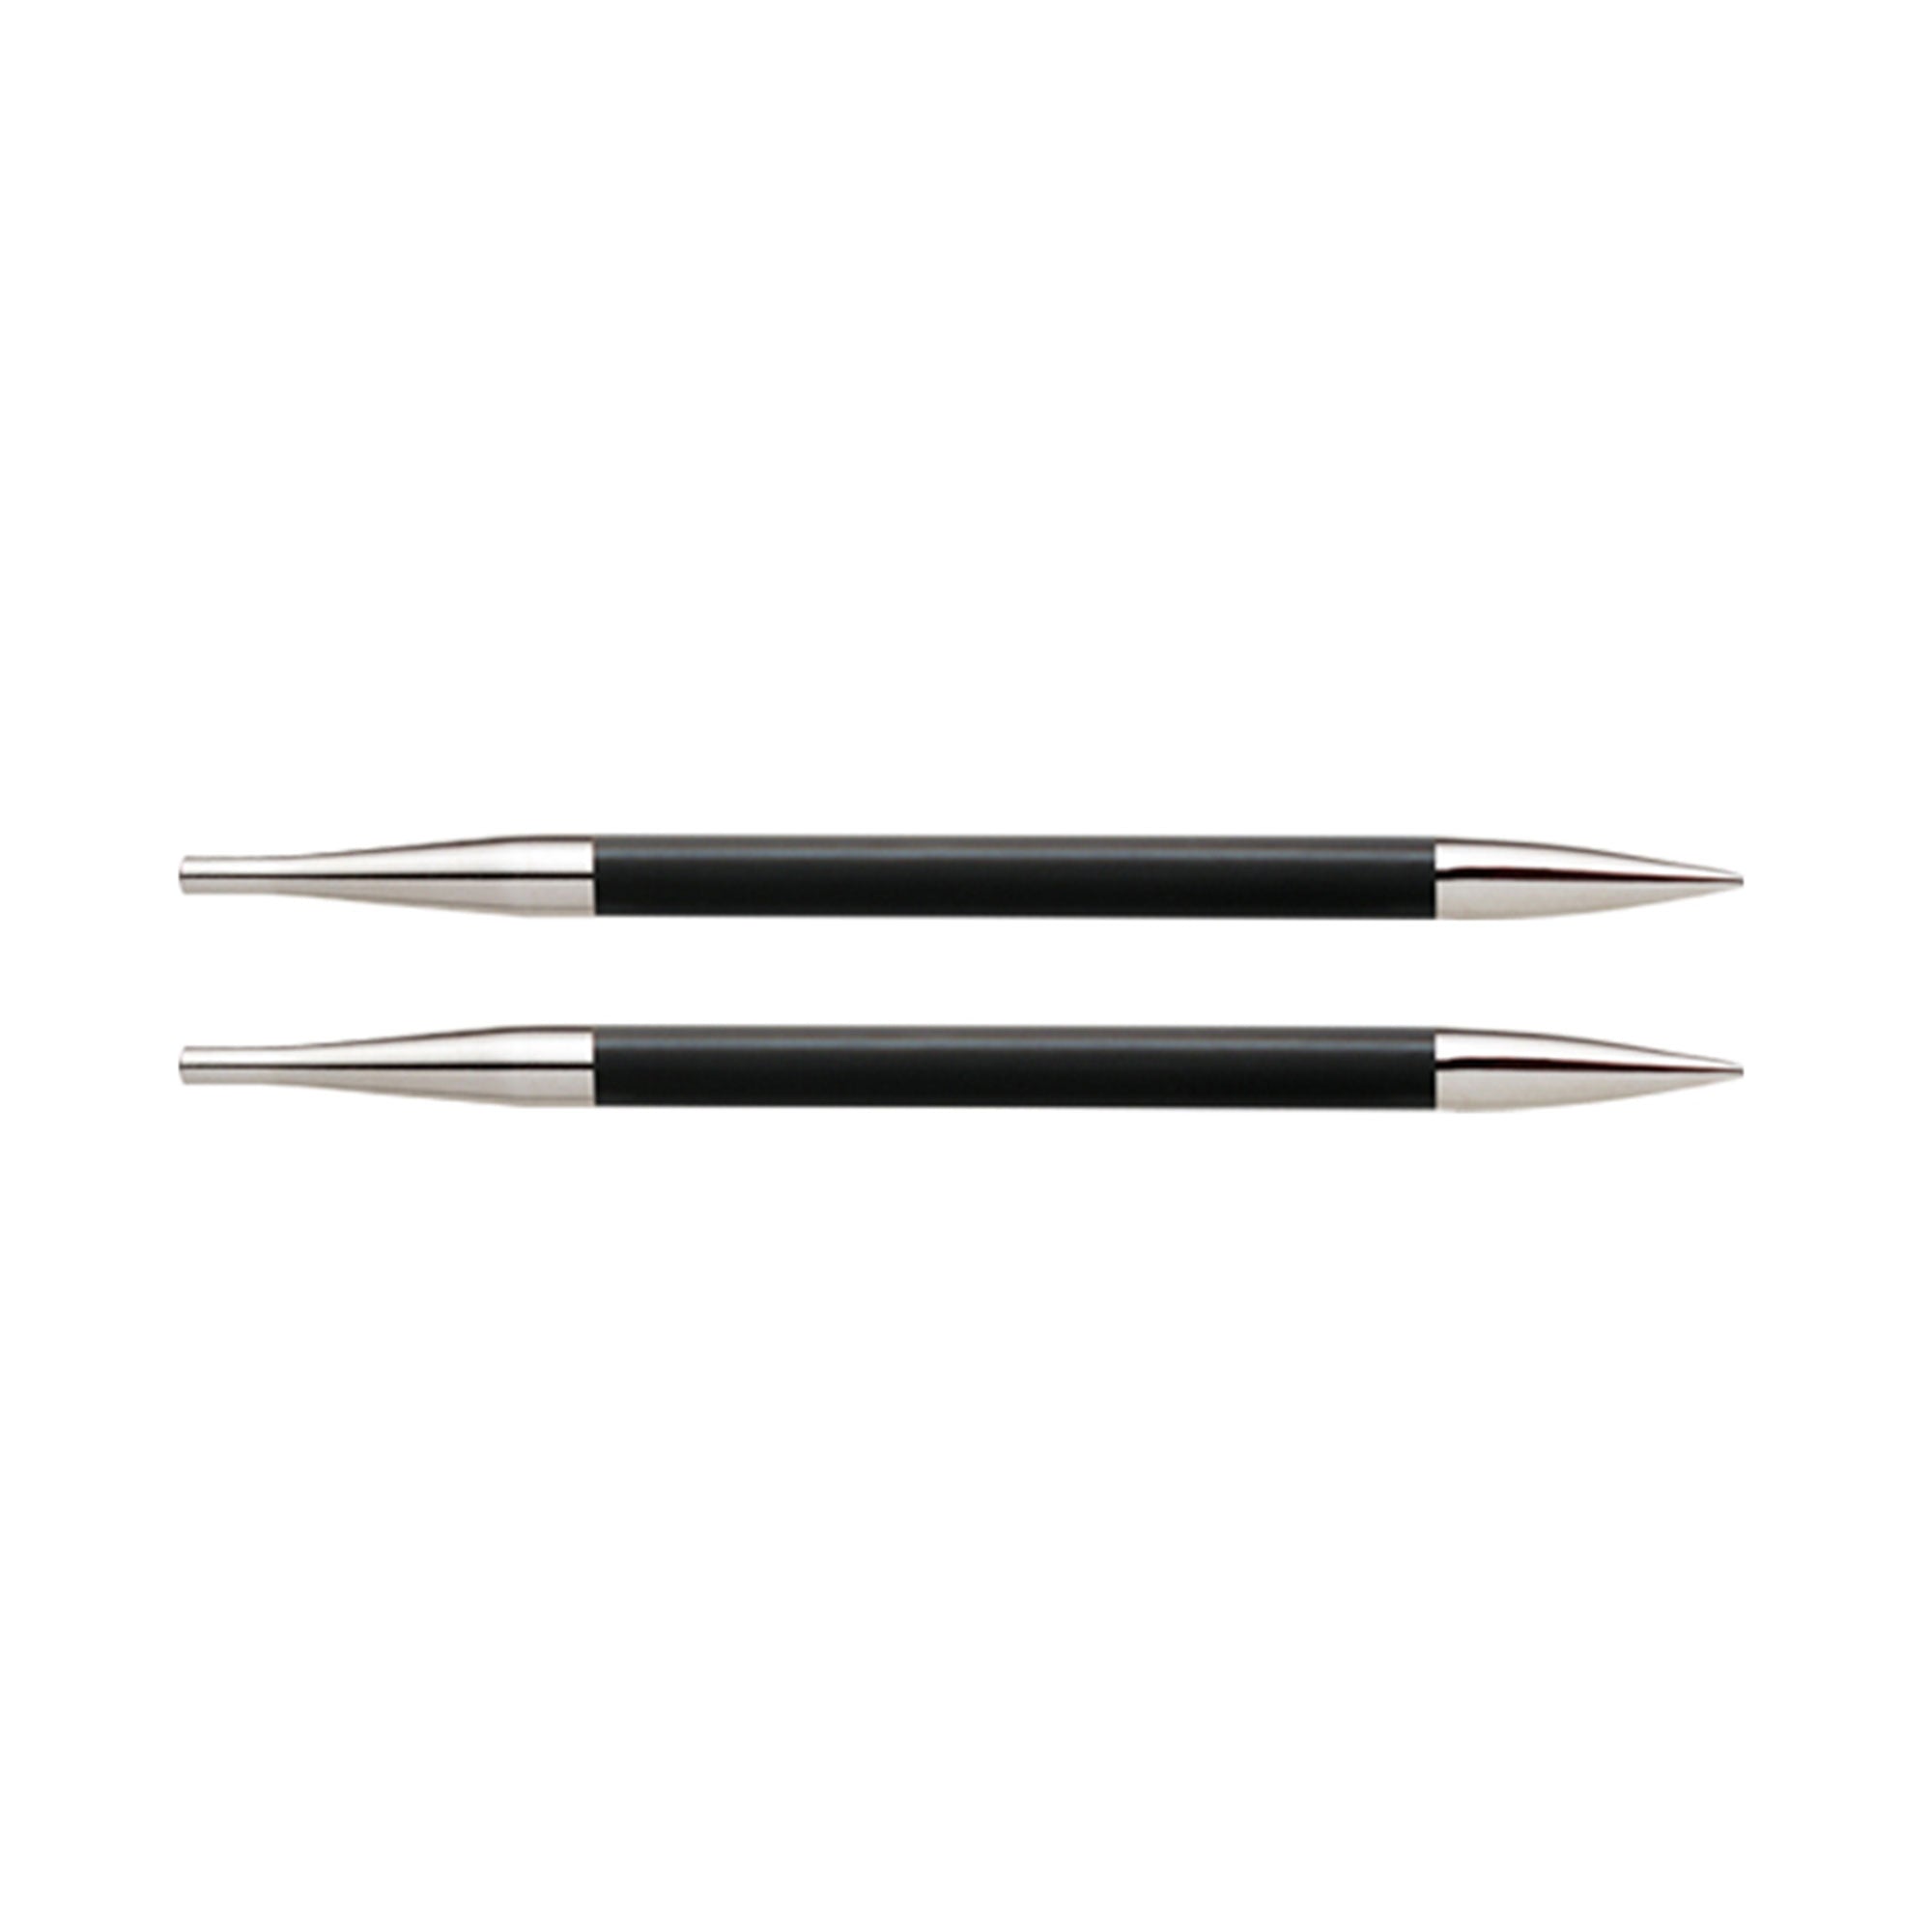
Tools You Need
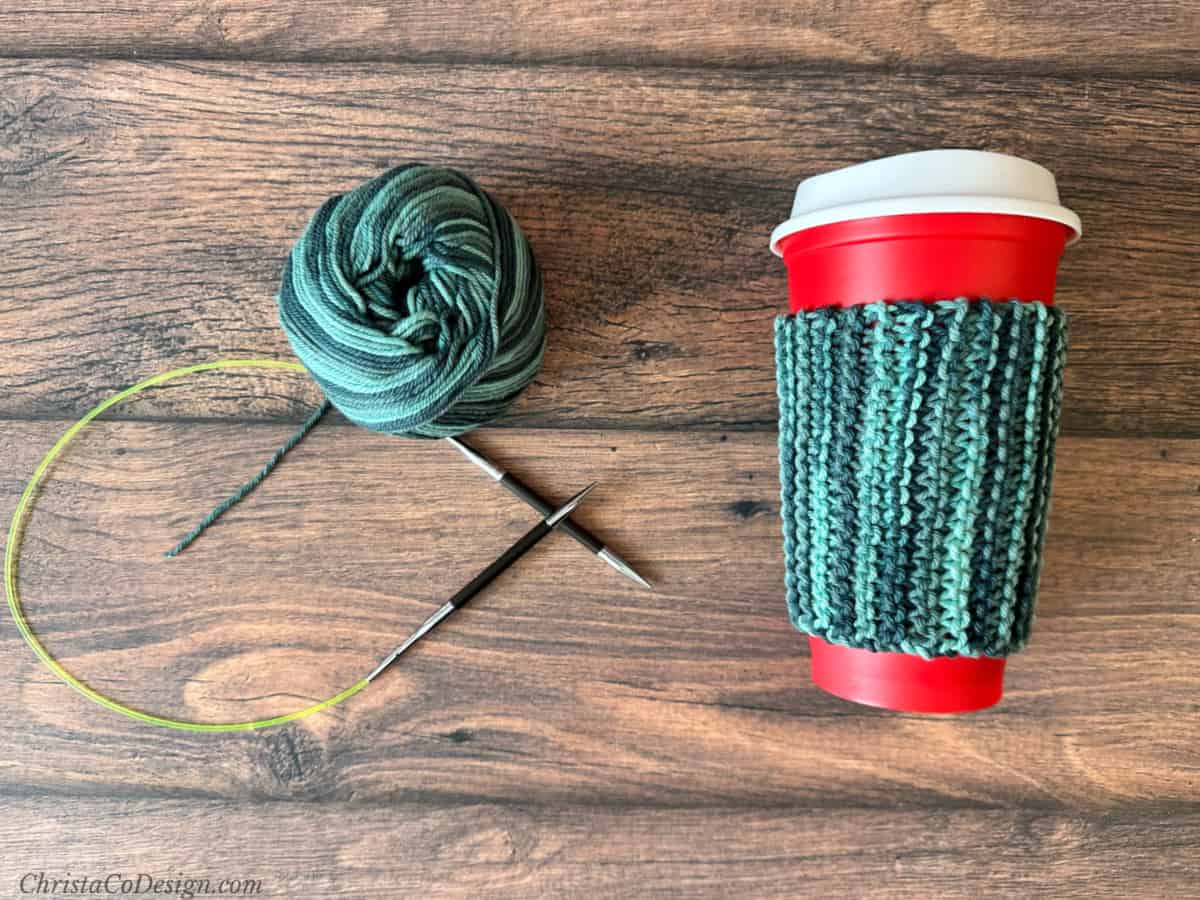
You can use any yarn and needles. I’m using a #4 medium worsted weight yarn* and 4.5 mm US size 7 circular needle* for the first sample.
For flat knitting you can use straight needles if that’s what you have. I use circulars which are good for knitting in the round and for flat projects.
I knit the stockinette stitch in the round with a #6 superbulky yarn and 8 mm US Size 11 circular knitting needles.

How to Knit Stockinette
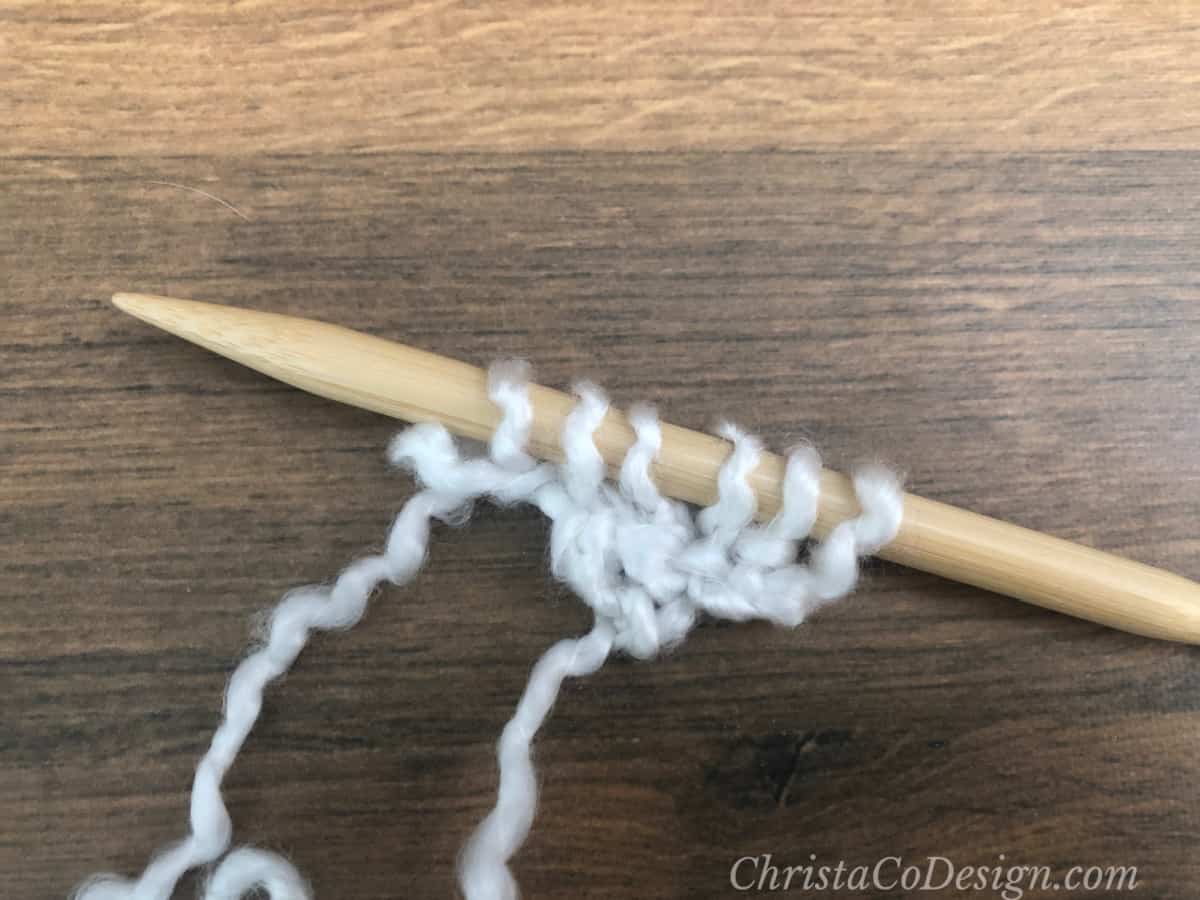
First you’ll cast on. Stockinette is not based on a stitch count so you can cast on as many stitches as you like. The long tail cast-on is an easy one.
Then you knit the first row, turn and purl the second row. Now you alternate rows with a knit row then a purl row.
Keep repeating until your project is as long as you need. Then it’s time to bind off.
The smooth side is the right side of the fabric which is all knits. The purl side is the wrong side that shows the purl bumps.
Why Is My Stockinette Curling?
Stockinette curls because there are an equal number of knits and purls, but the stitches themselves are different sizes. So it’s normal for this knit fabric to curl. The good new is that it’s easy to prevent.
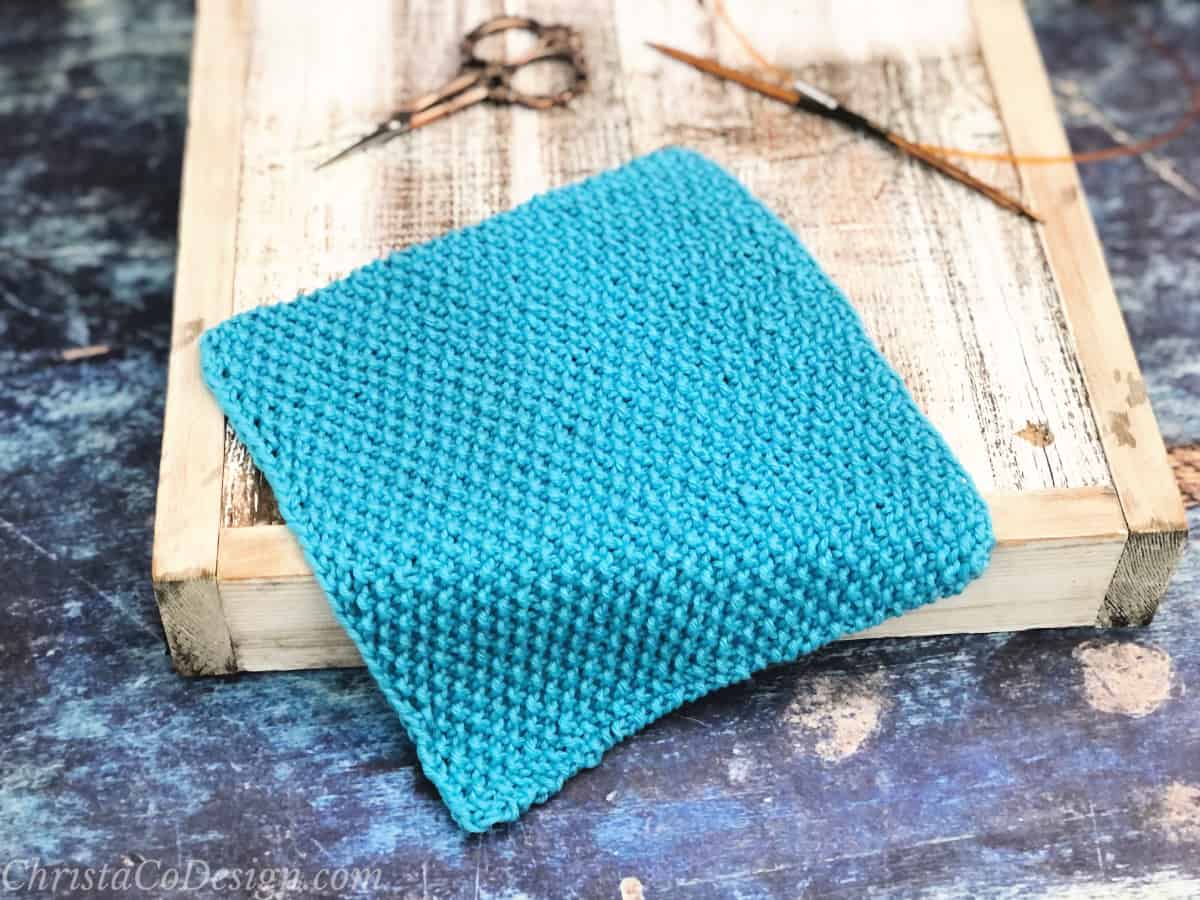
The easiest way is to add rows of knit stitches to start and finish your project. You will also add a few garter stitches to the beginning and end of each row.
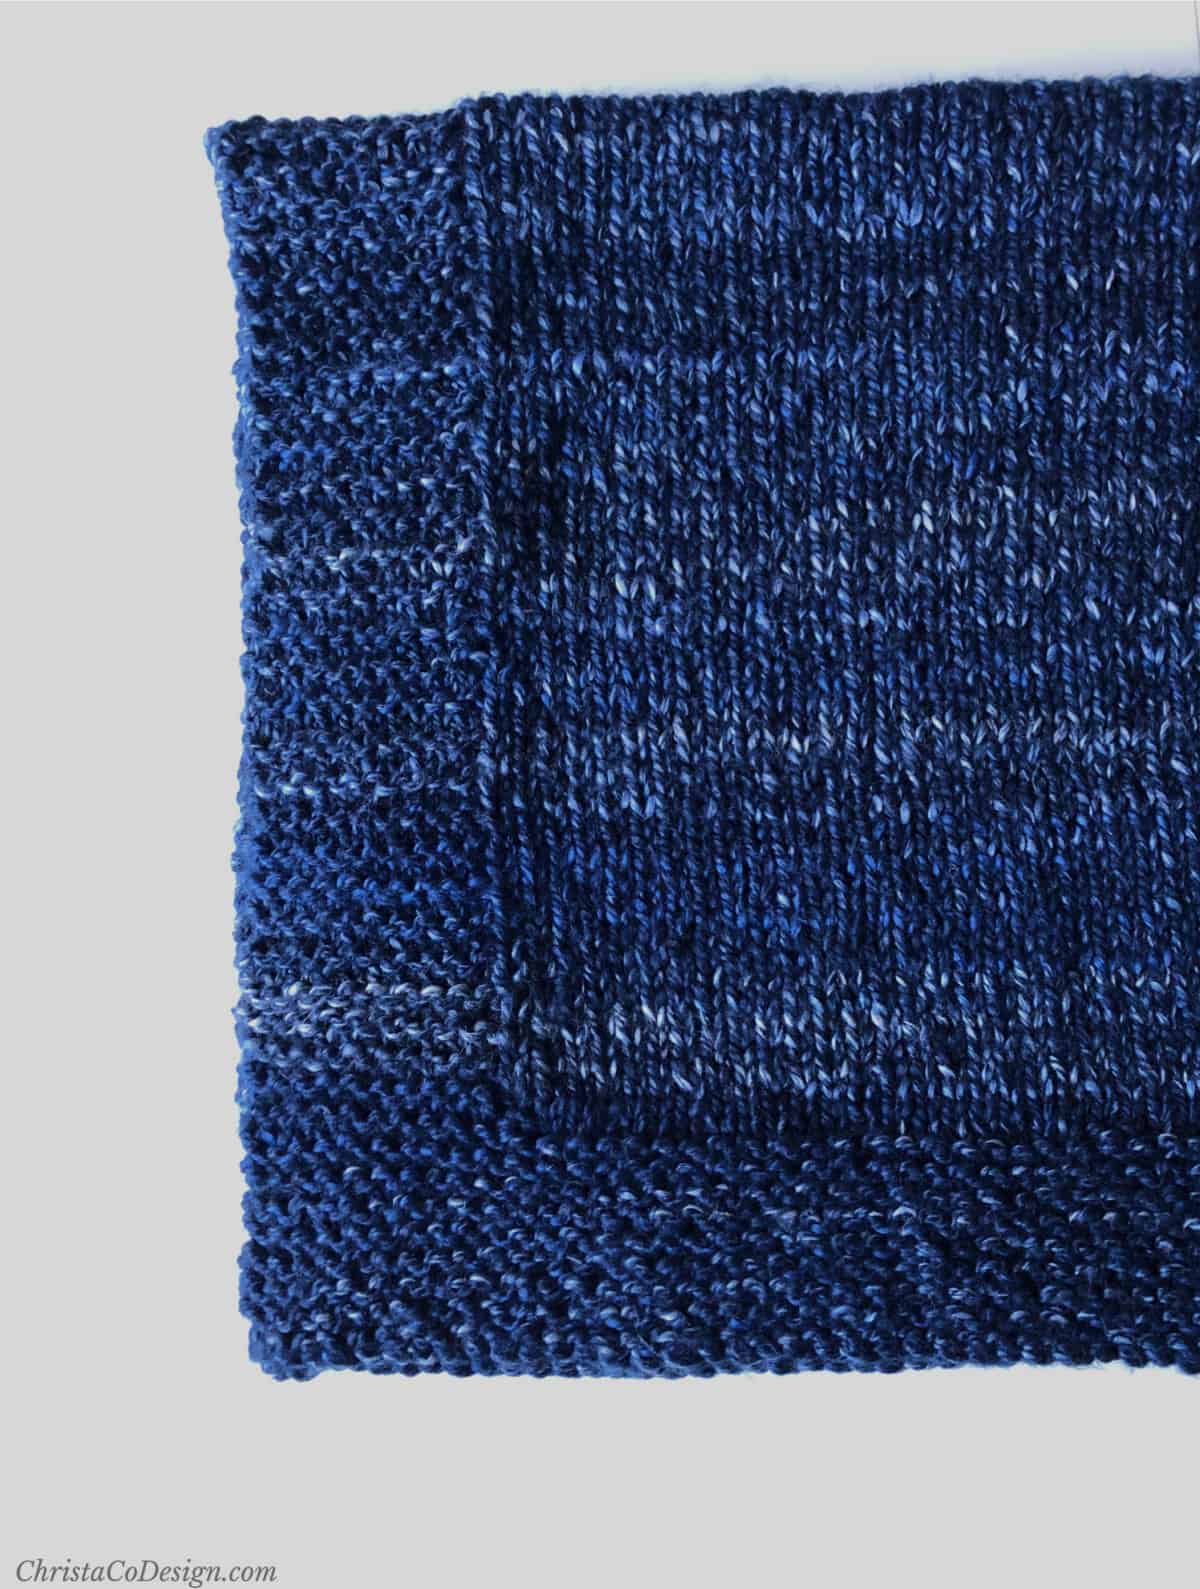
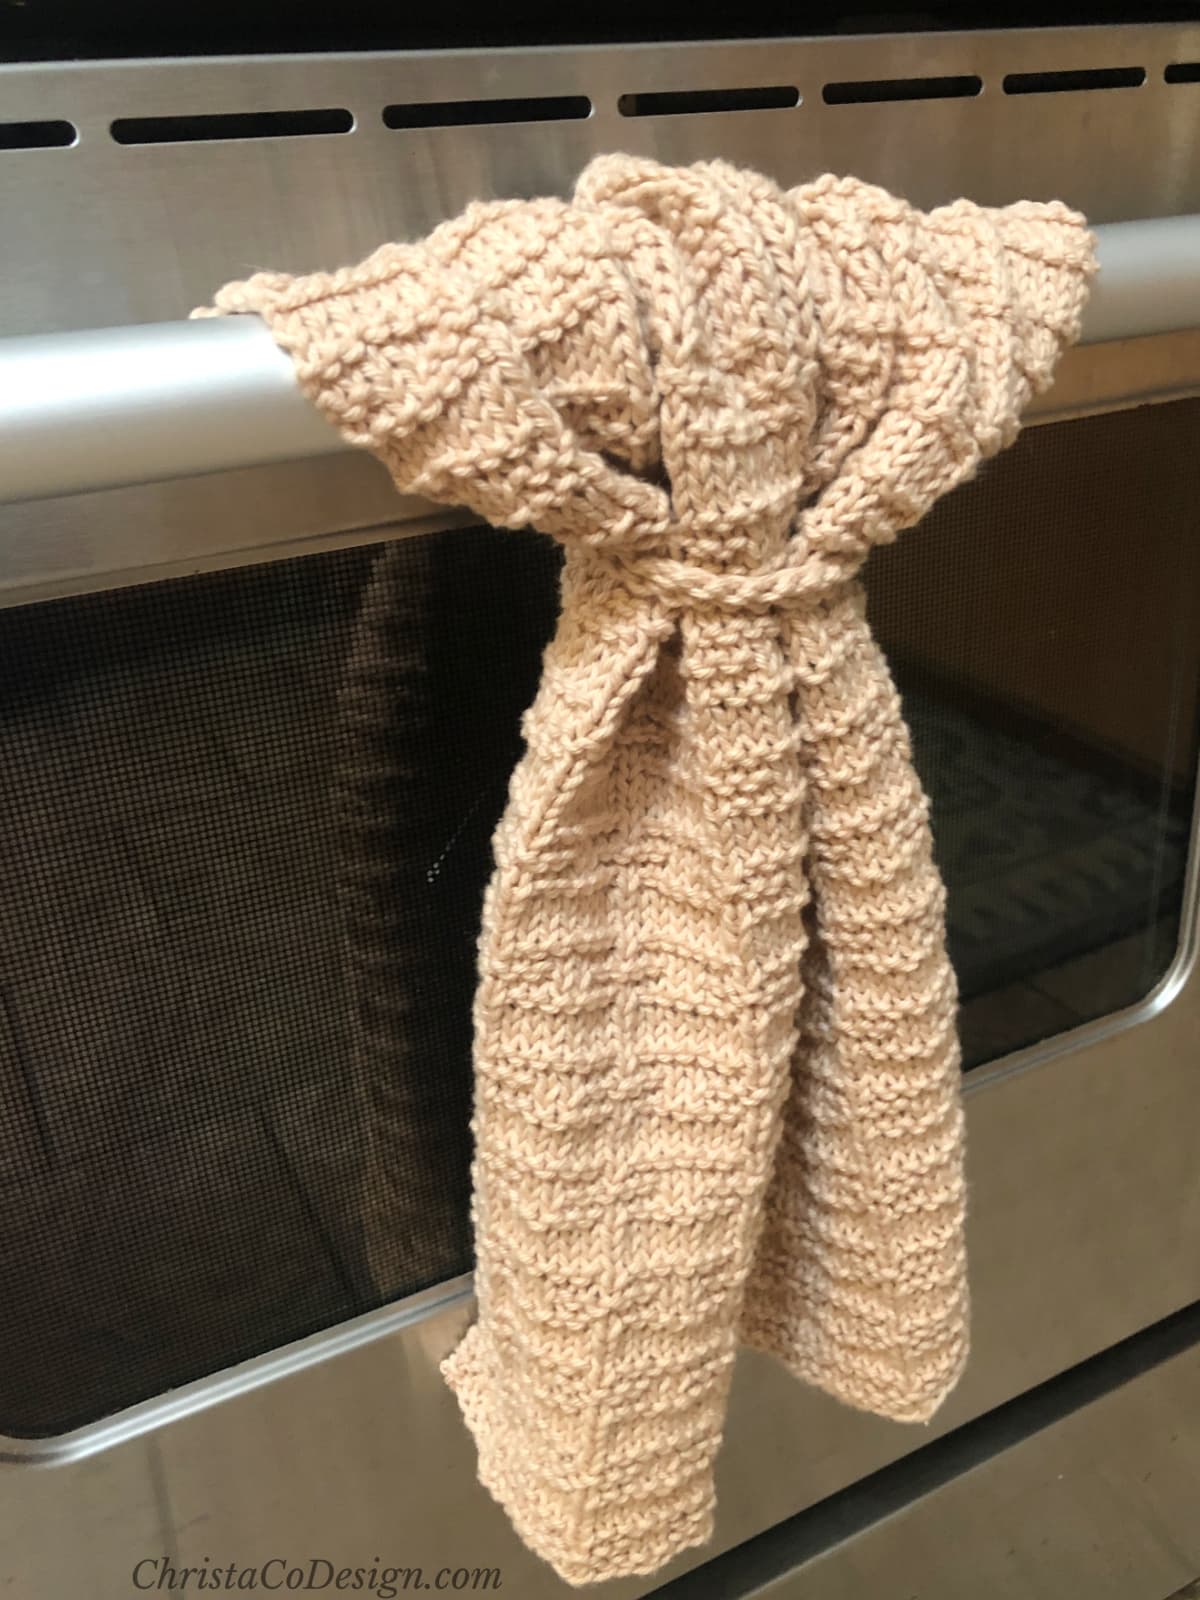
You can use the seed stitch, but for this tutorial I use the garter stitch. There are different knitting stitches that lay flat that you can use, but these are the simplest.
And for some projects you don’t need to add stitches because it’s the edge of a garment panel that will be sewn together, like my knit Elena Sweater pattern.
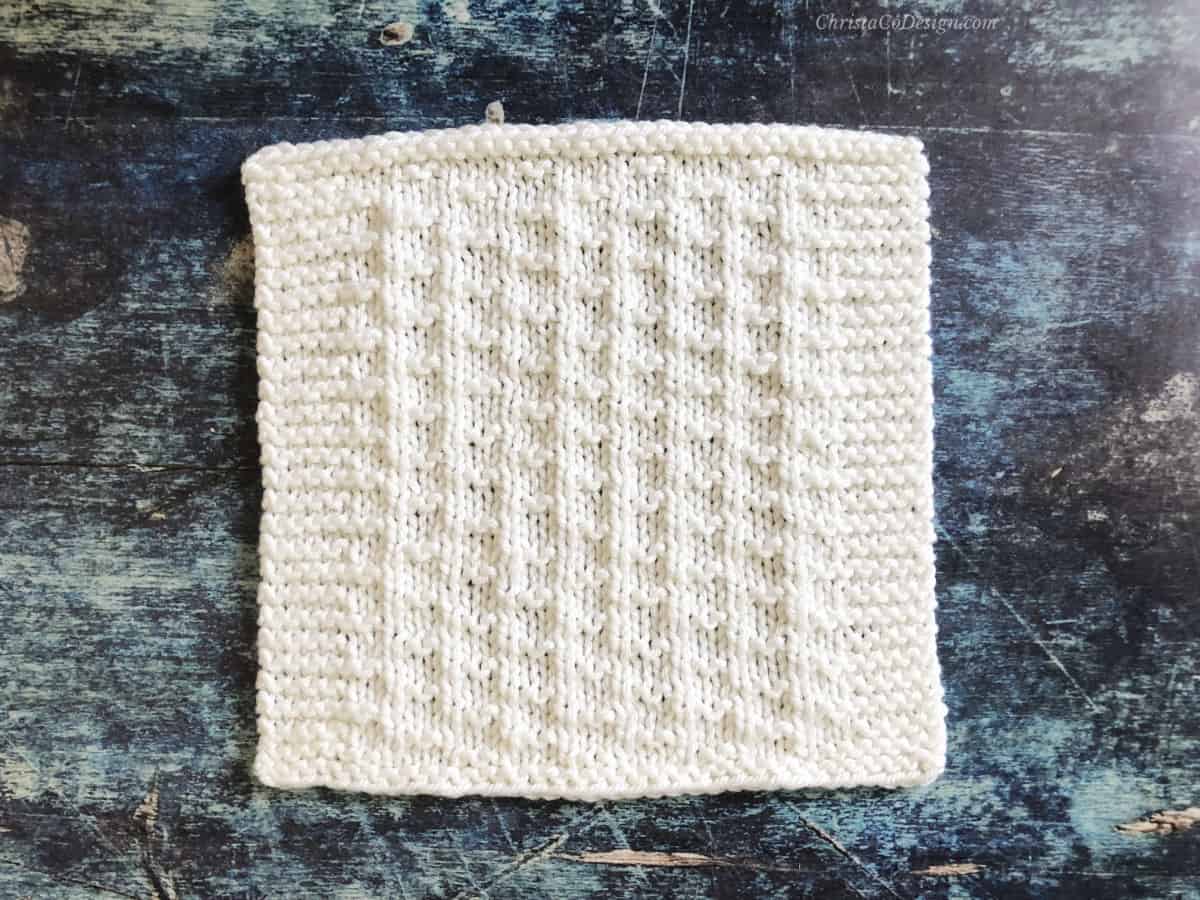
Beginner Knitting Projects
Stitches/Abbreviations (US Terms)
CO – Cast On You might like to cast on with a crochet hook or this short tail cast on.
K – knit
P – purl
rep – repeat
rnd – round
RS – right side
st(s) – stitch(es)
WS – wrong side

How to Knit Stockinette
Learn how to knit the classic stockinette stitch in this step by step tutorial for beginner knitters.
Materials
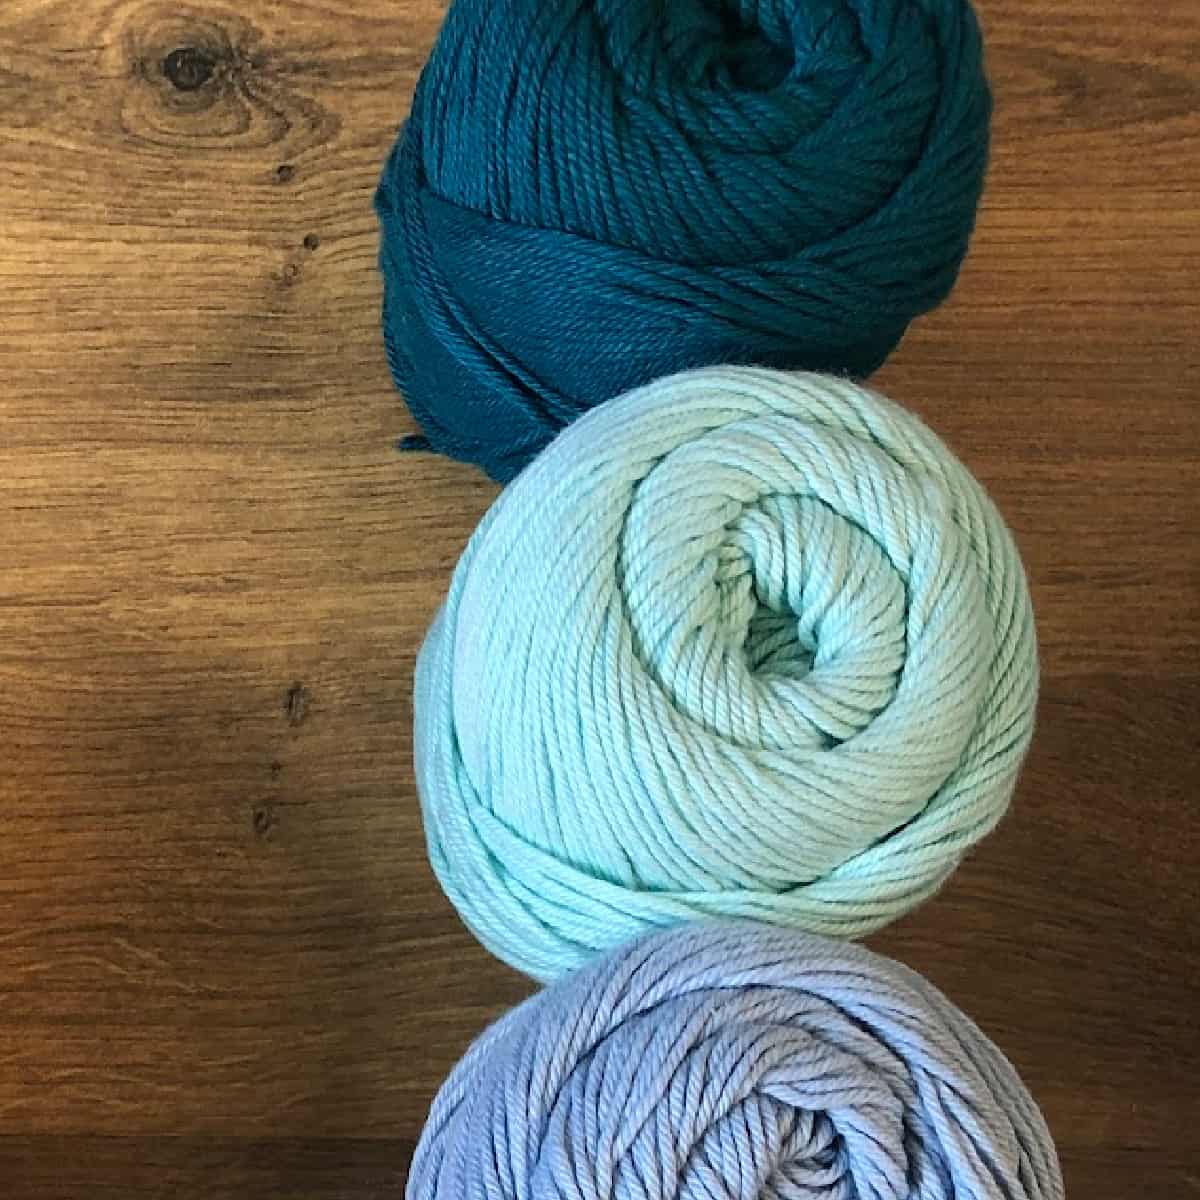
- Any weight yarn. Here I'm using Dishie Yarn (100% cotton, 190 yd / 100 g) a #4 med worsted weight yarn. This is a cotton yarn but you can use acrylic yarn too.
Tools
- Knitting needles to match your yarn. I'm using US Size 7 / 4.5 mm knitting needles.
Instructions
How to Knit Stockinette Flat
- Cast on to any number.
- Knit the right side rows.
- Purl the wrong side rows.
- Once your project is to the desired length bind off on the next right side row.
How to Knit Stockinette With Garter Stitch Edges
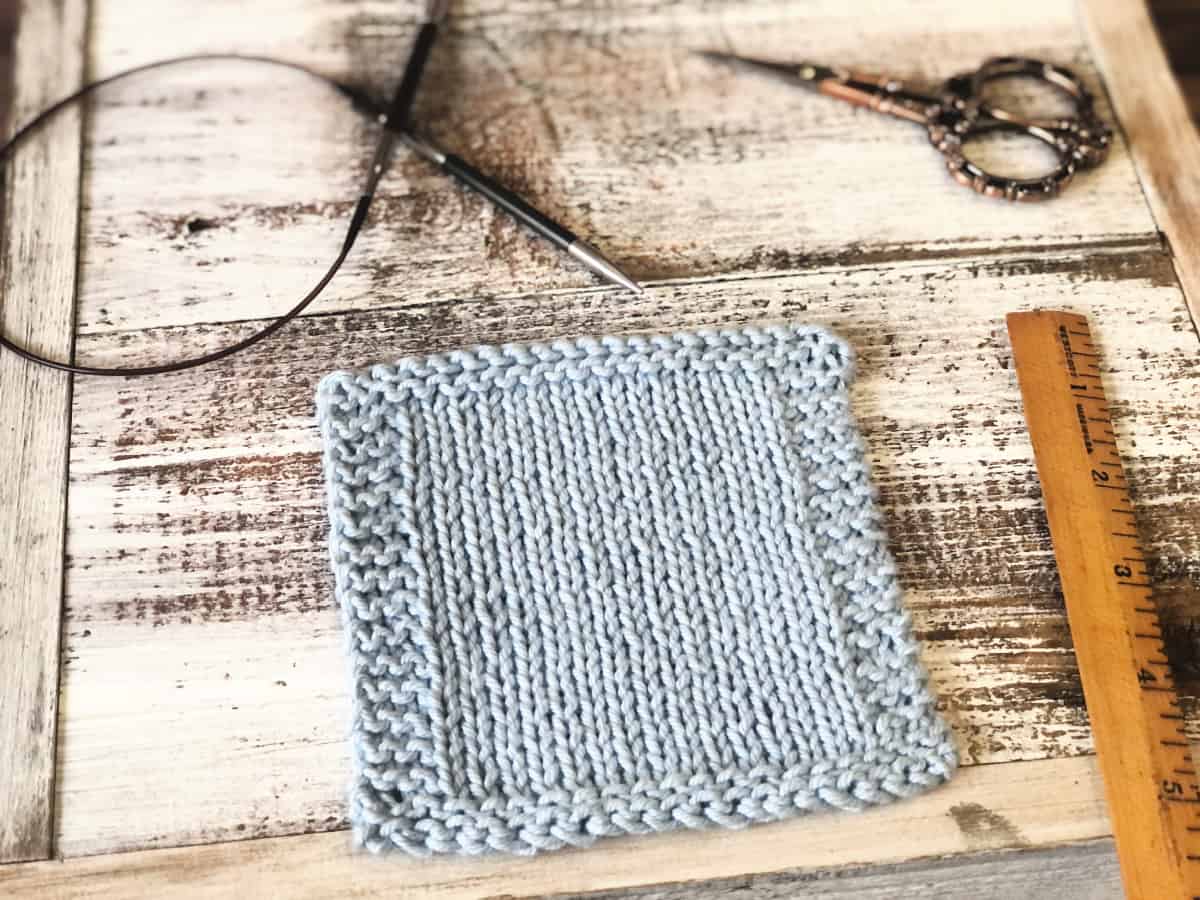
Remember stockinette does not lay flat so you will need some kind of selvedge, or edge stitches. Here I have cast on 21. You can use any cast on you are comfortable with, here are 4 easy cast ons for beginners.
- For this sample I'm using garter stitches and rows to border my stockinette so it doesn't curl.
- Rows 1 - 4. Knit all the stitches.

- Row 5. (RS) Knit all stitches.
- Row 6. (WS) Knit the first 3 stitches,
 Purl all the stitches except the last 3 stitches,
  Knit the last 3 stitches.
 This is the back of your stockinette swatch.
 - Row 7. K all.
- Row 8. K3, P until the last 3 sts, K3.
- Repeat Rows 7 - 8 for the desired length.
 Remember you will finish with garter stitch rows to match those you began with which measures about 1/2" here.
 - K all for the last 4 rows.
BO on the right side of your work.
How to Knit Stockinette In The Round
Cast on any number and join to work in the round. Here's a tutorial on how I easily join when working in the round.
Rnd 1. K all.
Rnd 2. K all.
Keep repeating around and around! 
Bind off when your project is to height.
Now just like knitting stockinette stitch flat the beginning and ending edges can curl. Sometimes you want this, other times you don't. You can solve this in the same way by working some garter stitch rounds first and last.
To knit garter stitch in the round you have to knit one round and purl the next and alternate those.
How to Knit Stockinette In The Round With Garter Stitch Edges
Cast on any number and join to work in the round.
Rnd 1. K all.
Rnd 2. P all.
Rnds 3 - 4. Rep Rnds 1 -2.
Now you can knit all the rounds until you are ready to finish with your garter rows.
Rep Rnds 1 - 4 again to end your project.
BO.
Recommended Products
As an Amazon Associate and member of other affiliate programs, I earn from qualifying purchases.