How To CDD Center Double Decrease Knitting Tutorial
The cdd is a center double decrease. This decrease method is used in knitting patterns for a visible decrease that needs to be centered, not right-leaning or left-leaning.

This post contains affiliate links, I may earn a fee. Read more disclosure policy.
Join the ChristaCoDesign Newsletter
Never miss a pattern!
For this tutorial I’m using the Bosa Kid’s Knit Sweater Pattern (coming soon)! which features a v-neck with 1 x 1 ribbing. The cdd, sometimes called mitered decrease looks lovely front and center there.
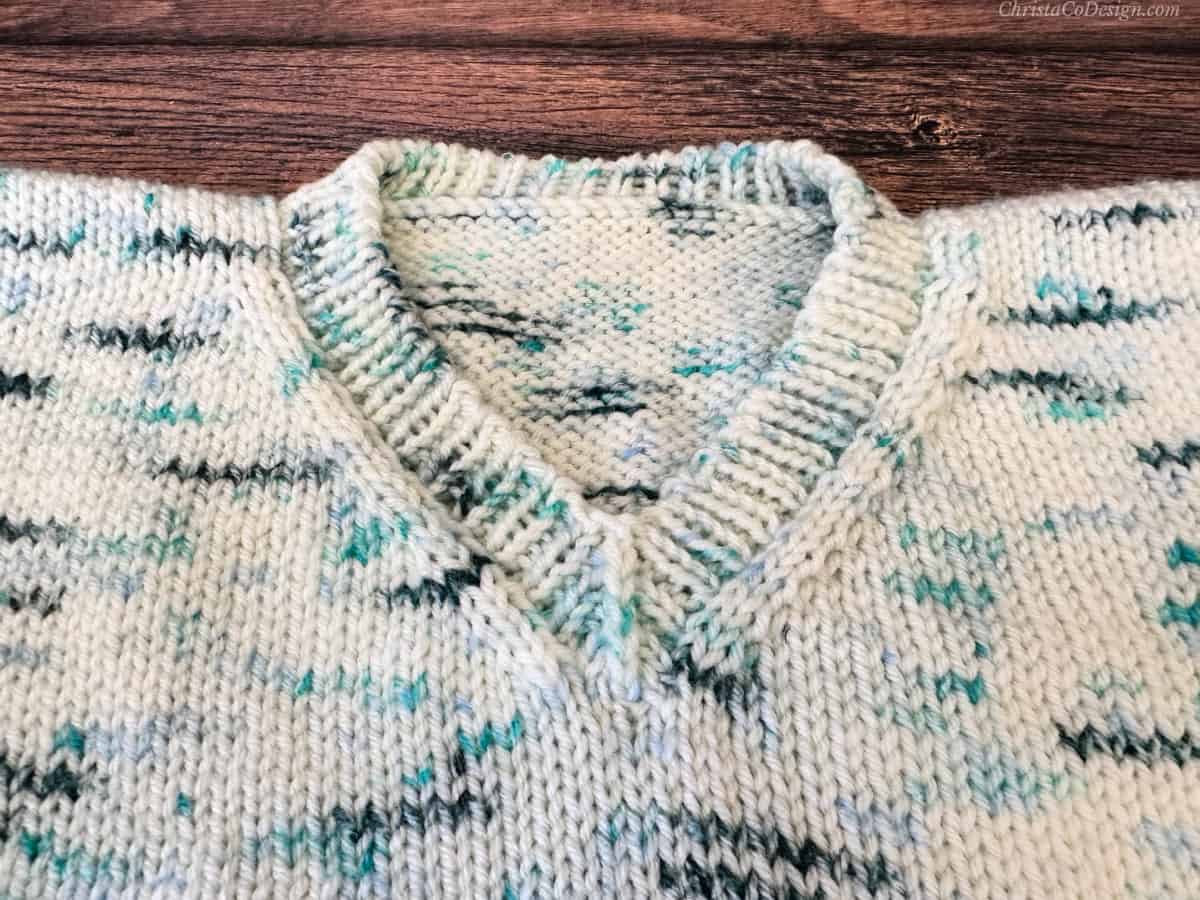
For this neckline in particular, I made sure to have an even number of stitches approaching the center stitch.
After the center decrease the ribbing pattern will flip-flop between knits and purls since you’re changing the stitch count every round. But it’s just a simple matter of knitting the knits and purling the purls when you’re working ribbing.
Video Tutorial
Watch the video on my YouTube.

How To CDD Center Double Decrease
Learn how to make the cdd or centered double decrease with this step by step knitting tutorial.
Materials
- Your knitting project & working yarn.
Tools
- Knitting needles
- Stitch marker
Instructions
- For this tutorial we're on the knit side, or right side of the work. We want this middle stitch of the v-neck to sit nice and center.
- Mark your center stitch, where you want to make the decrease.

- Stop 1 stitch before the marked stitch.
- Insert your right-hand needle tip into the first 2 stitches on your left-hand needle. Go in knitwise, as if you were going to k2tog, into the first stitch and then the second stitch at the same time.

- Slide those 2 stitches off the left needle and on to your right needle.

- Now knit the next stitch on your left needle.

- Insert your left needle tip into the 2 slipped stitches.

- And pull them over the stitch you knit.

- You've made one cdd which will lean in from both directions keeping the center stitch straight.
Recommended Products
As an Amazon Associate and member of other affiliate programs, I earn from qualifying purchases.