How To Knit Chunky Hat In The Round Beginner Tutorial
Learn how to knit a cozy beanie in chunky yarn with this step by step tutorial. With the right tools even beginner knitters can make this hat.

This post contains affiliate links, I may earn a fee. Read more disclosure policy.
Join the ChristaCoDesign Newsletter
Never miss a pattern!
There are so many ways you can knit a hat. We’ll be knitting this hat in the round, so in a circle. If you’re a new knitter, I’ll show you step by step from start to finish, how to do it!
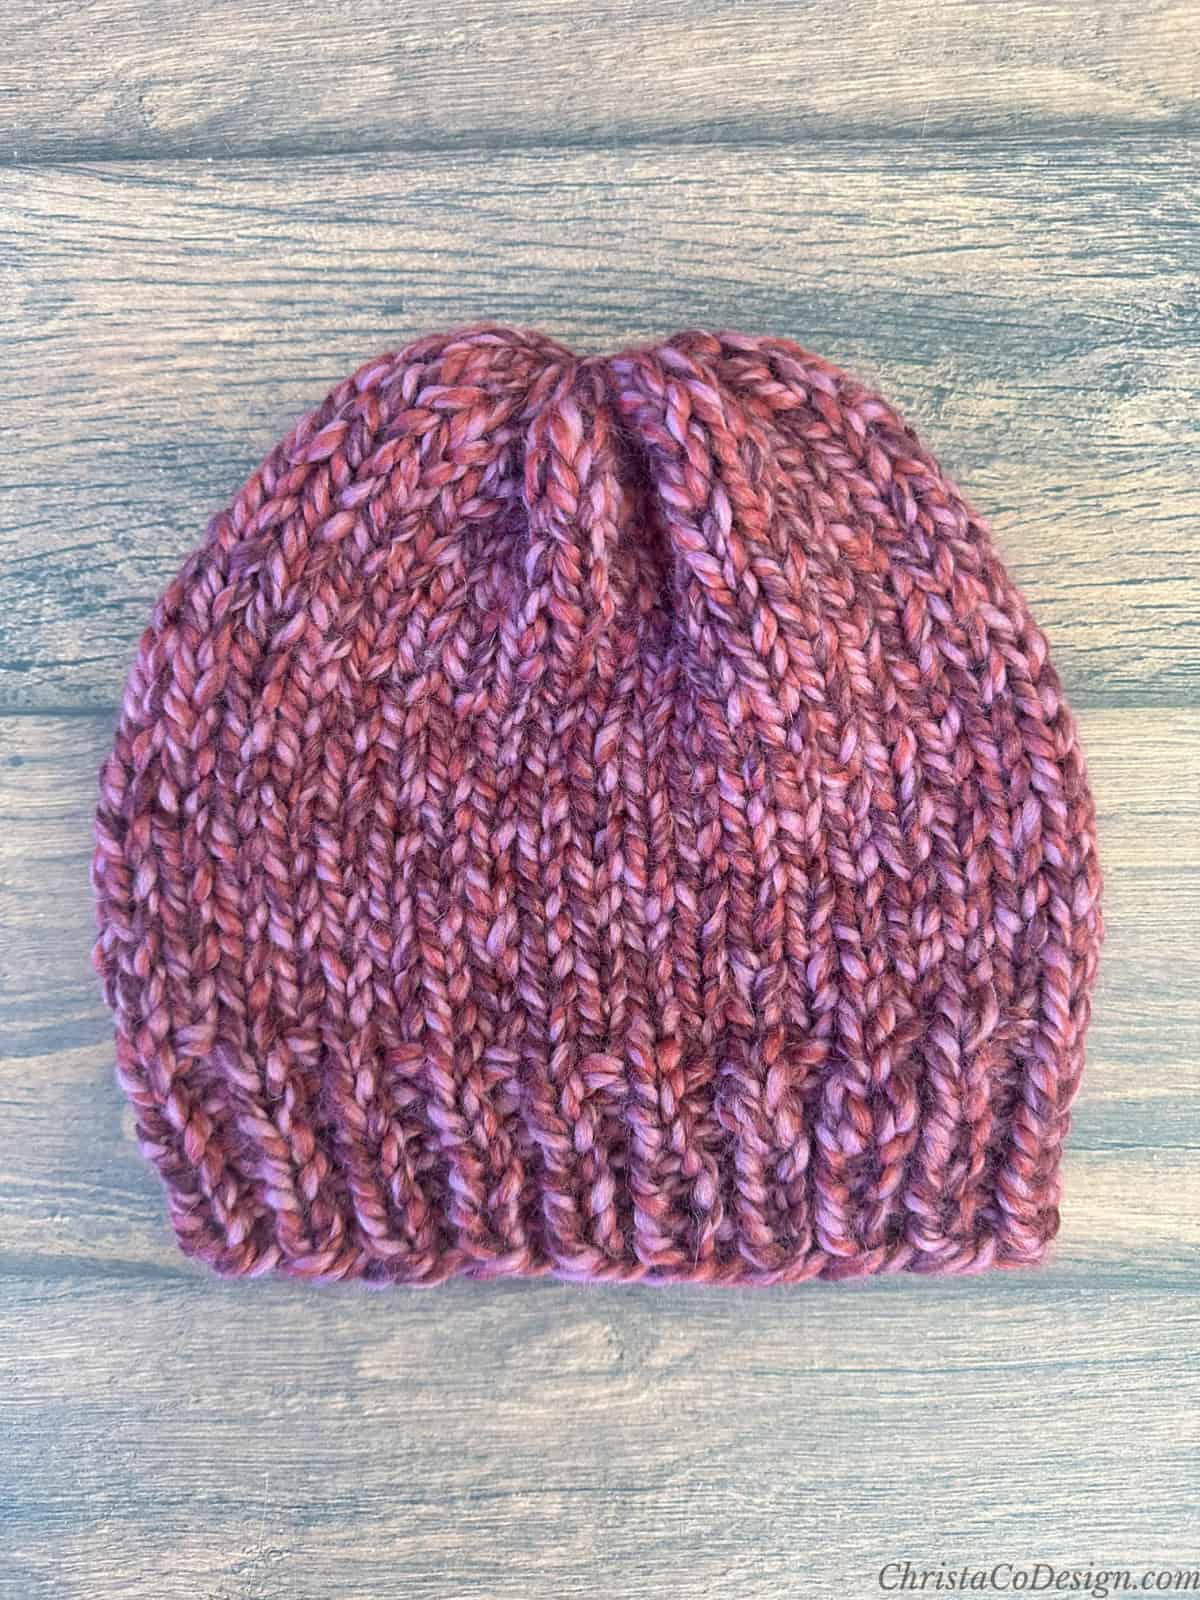
For this simple hat pattern we’re starting with the 1 X 1 rib stitch for the brim so it’s stretchy. Then we’ll work the tube, or sides of the hat, in stockinette stitch. The good news is that once we get past the brim there’s only one repeat row!
Purchase the ad-free, well formatted printable PDF Pattern from my shop. Scroll down for the free pattern!
Purchase My Ad-Free PDF Patterns In Your Favorite Shop Here:
You’ll need some specific supplies for this easy knitting pattern. To make this ultra beginner friendly we’re using 16″ circular needles and #6 super bulky yarn. There are also no decreases so no double-pointed needles or magic loop technique required!
If you only knit flat on straight needles then look out for the flat knitting pattern coming soon.
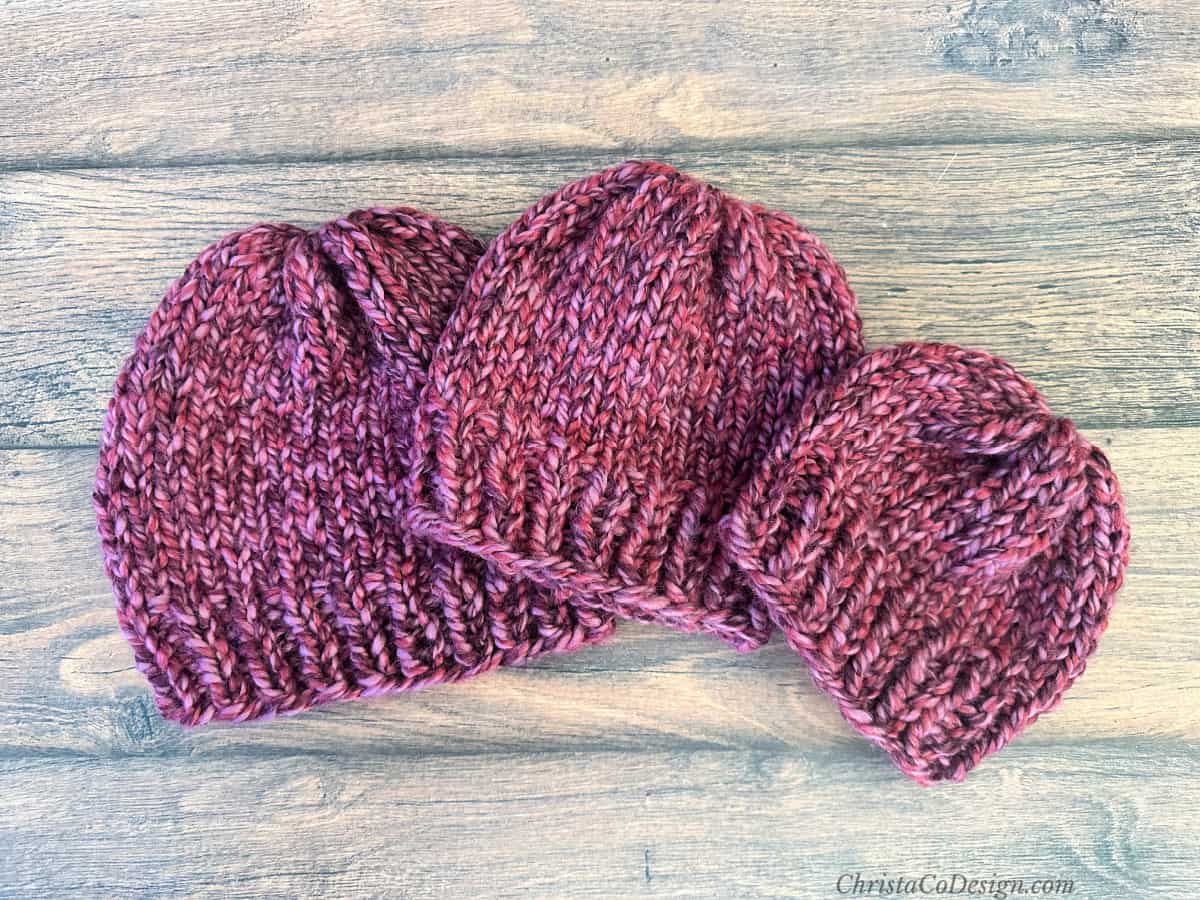
A chunky hat is a great project to learn how to knit in the round. They’re quick projects and so fun to make!
Our Favorite
Easy Knit Hat Patterns
Materials
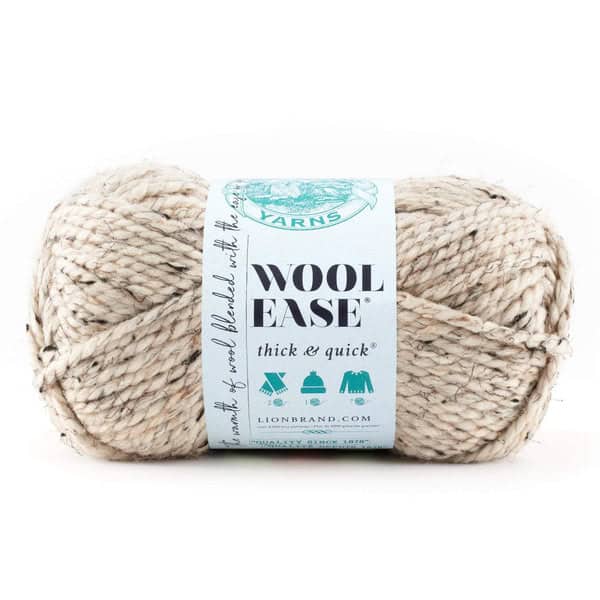
- Lion Brand’s Wool Ease Thick and Quick* #6 super bulky yarn (80% Acrylic; 20% Wool, 87 yd (80 m) per 140 g skein) in shade Fig — 1 [1, 1, 1, 1] skein.
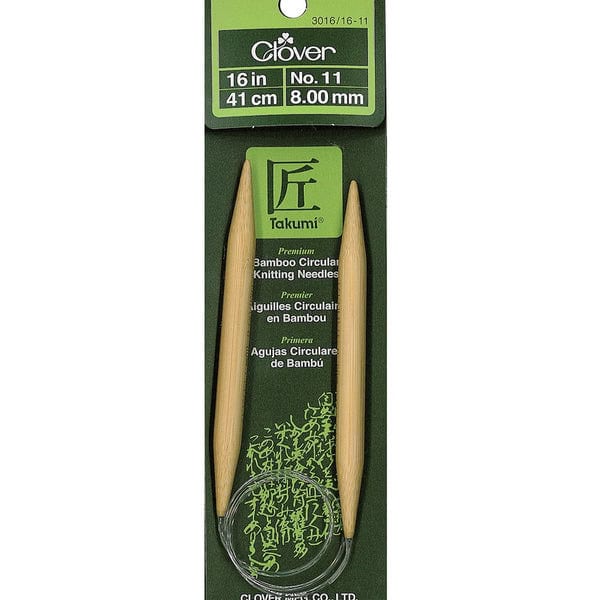
- 9 mm (US Size 13) 16” circular knitting needles* (or needle size needed to meet gauge).
- yarn needle, measuring tape, scissors
- Optional stitch markers.
Yarn By Size
Baby 6 – 12 mos ~ 40 yd (37 m)
Toddler 1 – 3 yrs ~ 45 yd (42 m)
Child 4+ yrs ~ 50 yd (46 m)
Teen/ Sm Adult ~ 60 yd (55 m)
Med/Lg Adult ~ 65 yd (60 m)
Gauge
9 sts x 14 rnds (after blocking) to 4” (10 cm) measured in St st.
Notes
- This pattern is worked bottom up, in the round.
- Stitch multiple is 2. This means you can add or subtract to the number of stitches cast on in groups of 2.
Skill Level
Easy
Fit/Adjustments
This hat has a suggested 2” / 5 cm of negative ease. This means the finished hat is 2” / 5 cm smaller than the actual head circumference, and will stretch to fit.
This free hat pattern is intended to fit like a beanie, for a slouchy hat you can keep knitting to increase the height at least 2″ before moving on.
This easy hat pattern is intended for beginners. For this reason there are no decreases at the top of the hat. You can, of course, add some on your own if you are comfortable doing so!

Sizing
The pattern includes different sizes for head circumferences:
To fit age ~ head circumferences:
Baby 6 – 12 mos ~ 14” – 15” (35.5 cm – 38 cm)
Toddler 1 – 3 yrs ~ 15” – 17” (38 cm – 43 cm)
Child 4+ yrs ~ 17” – 19” (43 cm – 48.5 cm)
Teen/Sm Adult ~ 19” – 21”(48.5 cm – 53.5 cm)
Med/Lg Adult ~ 20” – 22” (51 – 56 cm)
Stitches / Abbreviations
US Terms
CO – cast on; I use the long tail cast on here, but you can cast on a different way if you prefer.
k – knit
p – purl
sm – stitch marker
St st – stockinette stitch
Tutorials
Join to Knit in the Round I love a simple technique and this is the easiest to me, but you can join in your preferred method as well.
Ravelry Library
Save Your Favs!
Add this pattern to your Ravelry queue.
Video
Watch the full video tutorial on my YouTube Channel.
Scroll down for the free knitting pattern!
Pattern Instructions

How to Knit a Chunky Hat
Learn how to knit a chunky hat in the round for beginners!
Materials
- 40 yd / 37 m - 60 yd /55 m of #6 super bulky weight yarn; pictured in Lion Brand Wool Ease Thick and Quick (80% Acrylic; 20% Wool, 87 yd/80m, 5 oz/140 g); color: Fig 1 ball.
Tools
- 9mm (US Size 13) circular needles, or needle sizes needed to meet gauge.
- Tapestry needle, measuring tape, scissors.
Instructions
Baby [Toddler, Child, Teen/Sm Adult, Med/Lg Adult]
CO 30 [34, 38, 42, 46] sts using the long tail cast on, Place sm at beginning. At this gauge, 30 stitches is about as small as we can knit without doing magic loop method.
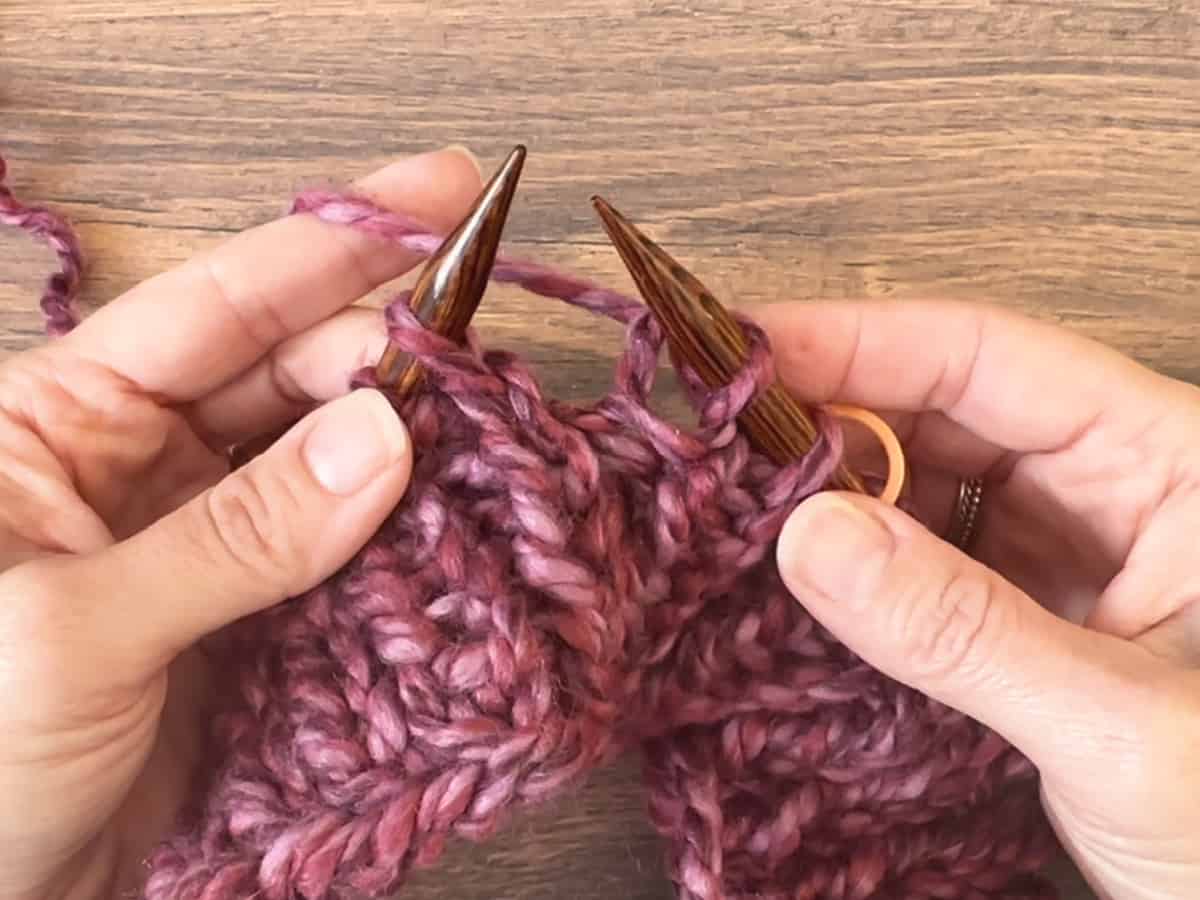
Join to work in the round: Spread the stitches out. Bring the needle tips together.  With working yarn coming from right needle, knit the first stitch on the left needle, sliding it on to the right hand needle. Now you've joined in a circle.
ALL SIZES
Rnd 1. *K1, p1; rep * around. Here the first stitch was knit to join, now purl the second. Keep alternating between knits and purls all the way around.
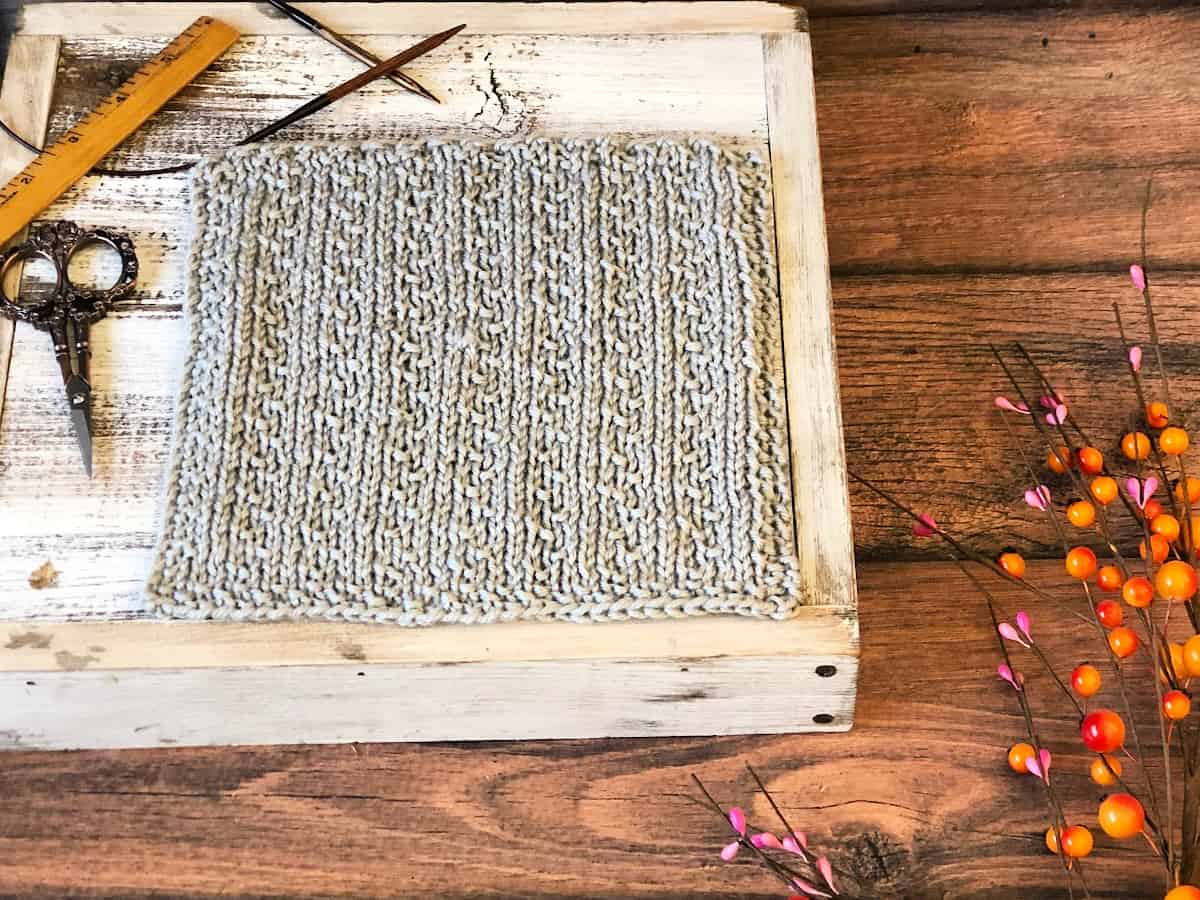
Rnds 2 - 6. Rep Rnd 1.  Knit in 1 x 1 rib stitch until your brim piece measures 2" tall.
 ![]()
Knit all the stitches. 
Keep working in stockinette until the height of your hat reaches the measurements below.
Baby
Rnds 7 - 16. K all. = 6” tall
Stop here for Baby size. Go to Finishing.
Toddler
Rnds 7 - 20. K all. = 7” tall
Stop here for Toddler size. Go to Finishing.
Child
Rnds 7 - 24. K all. = 7.5” tall
Stop here for Child size. Go to Finishing.
Teen/Small Adult
Rnds 7 - 24. *K all. = 8.5” tall
Stop here for Teen + Small Adult sizes. Go to Finishing.
Med/Lg Adult
Rnds 7 - 28. *K all. = 9.5” tall
Stop here for Med/Lg Adult sizes. Go to Finishing.
Finishing
Cut a long tail. 8-12" is plenty of length. Thread tail on to yarn needle.
Weave long tail through all live stitches, 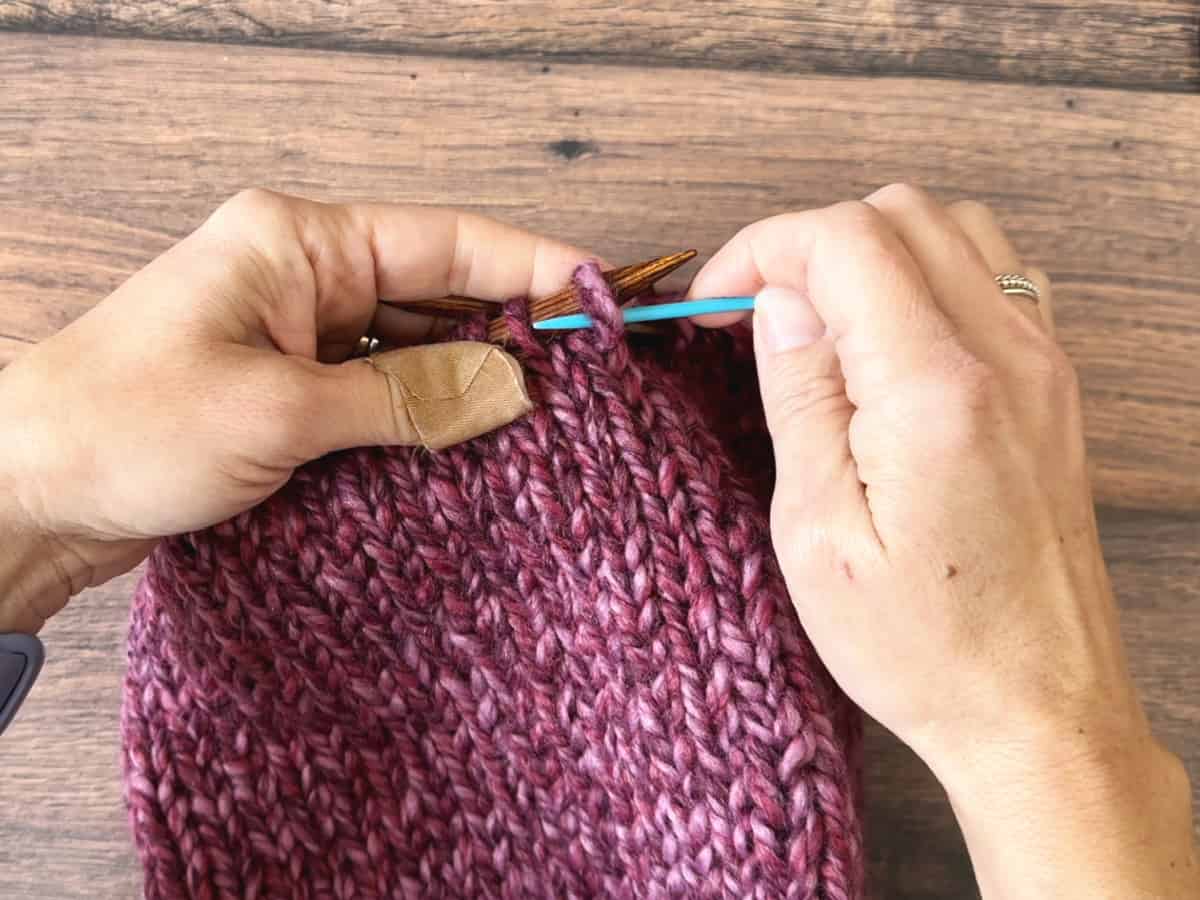
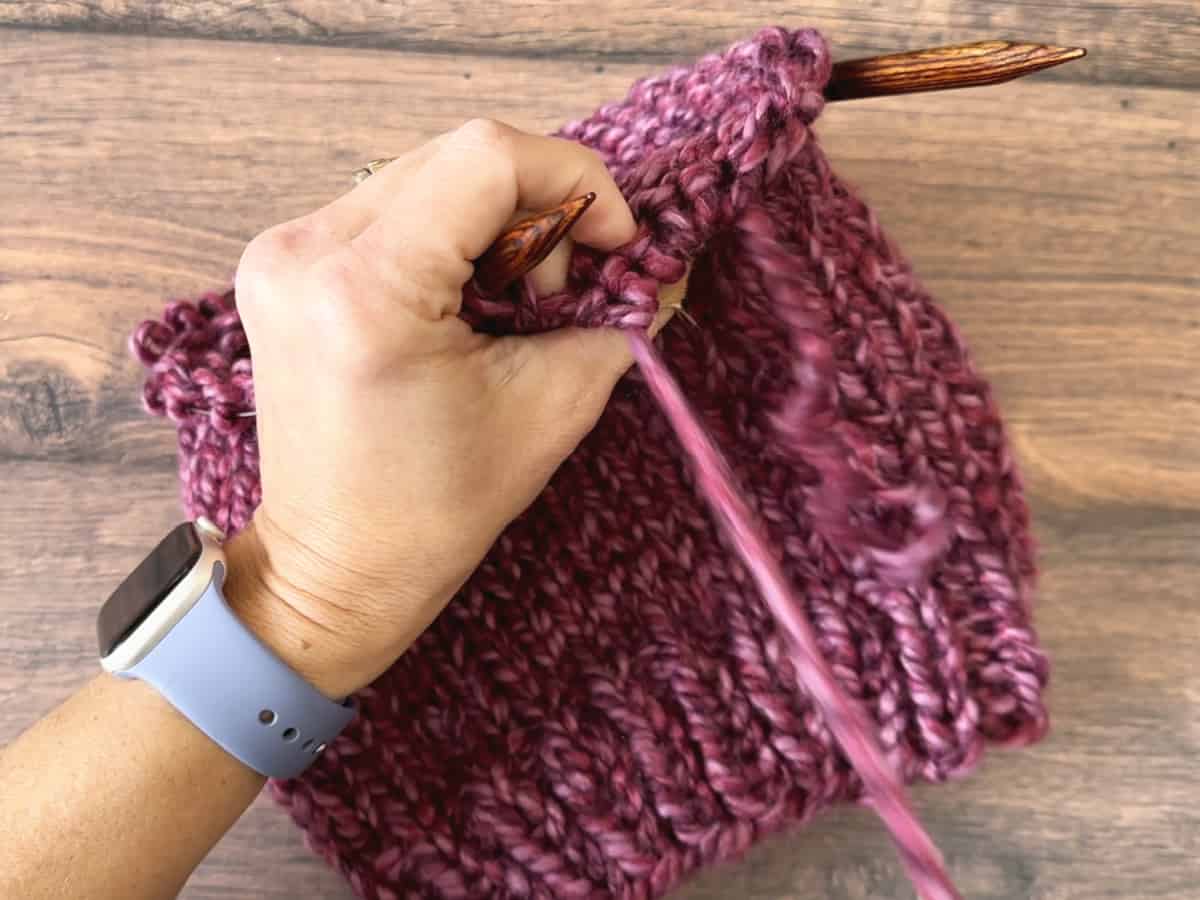 remove needles and pull to close.
Optionally you may want to add a pom pom to the top of the hat.
Sew hole closed.
Weave in ends.
Notes
And there you have it, the perfect beginner hat! Go wear it out now!
Recommended Products
As an Amazon Associate and member of other affiliate programs, I earn from qualifying purchases.