Easy Cotton Chemo Cap Crochet Pattern For Summer
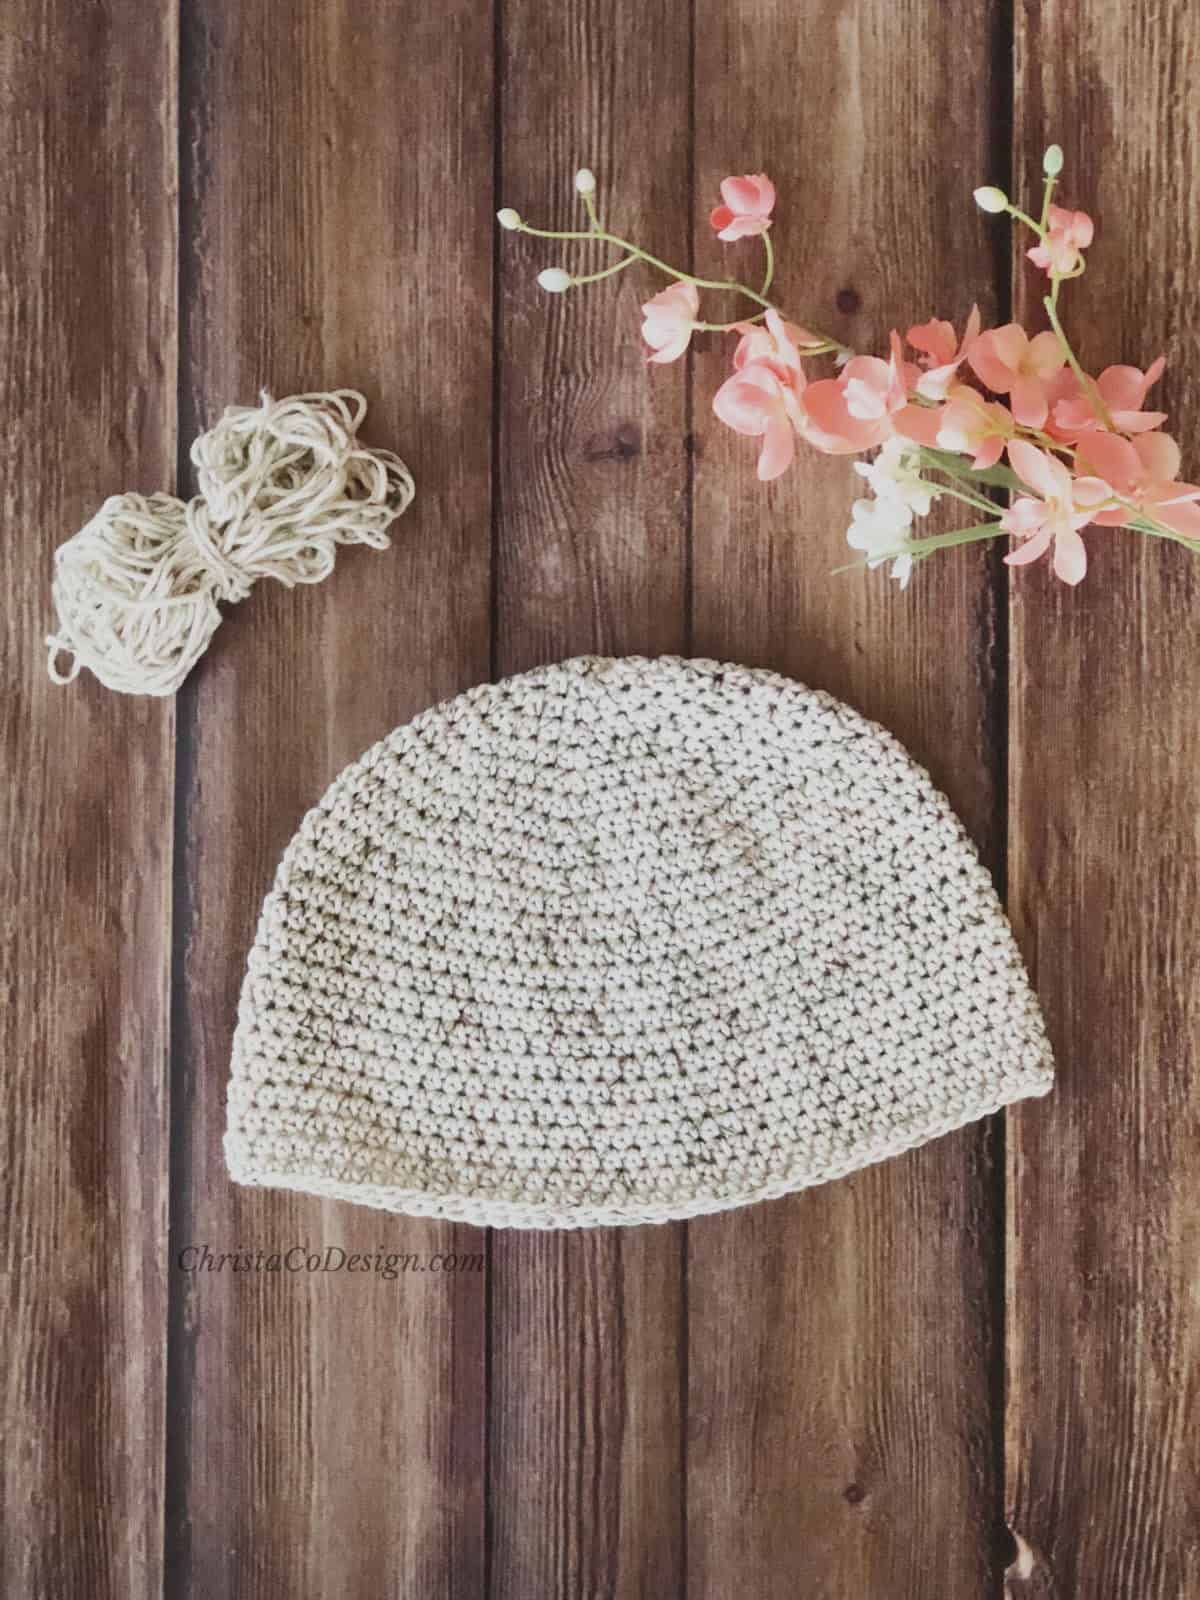
This simple crochet hat will be such a blessing to loved ones enduring chemo treatment in spring, summer or even warmer weather climates.
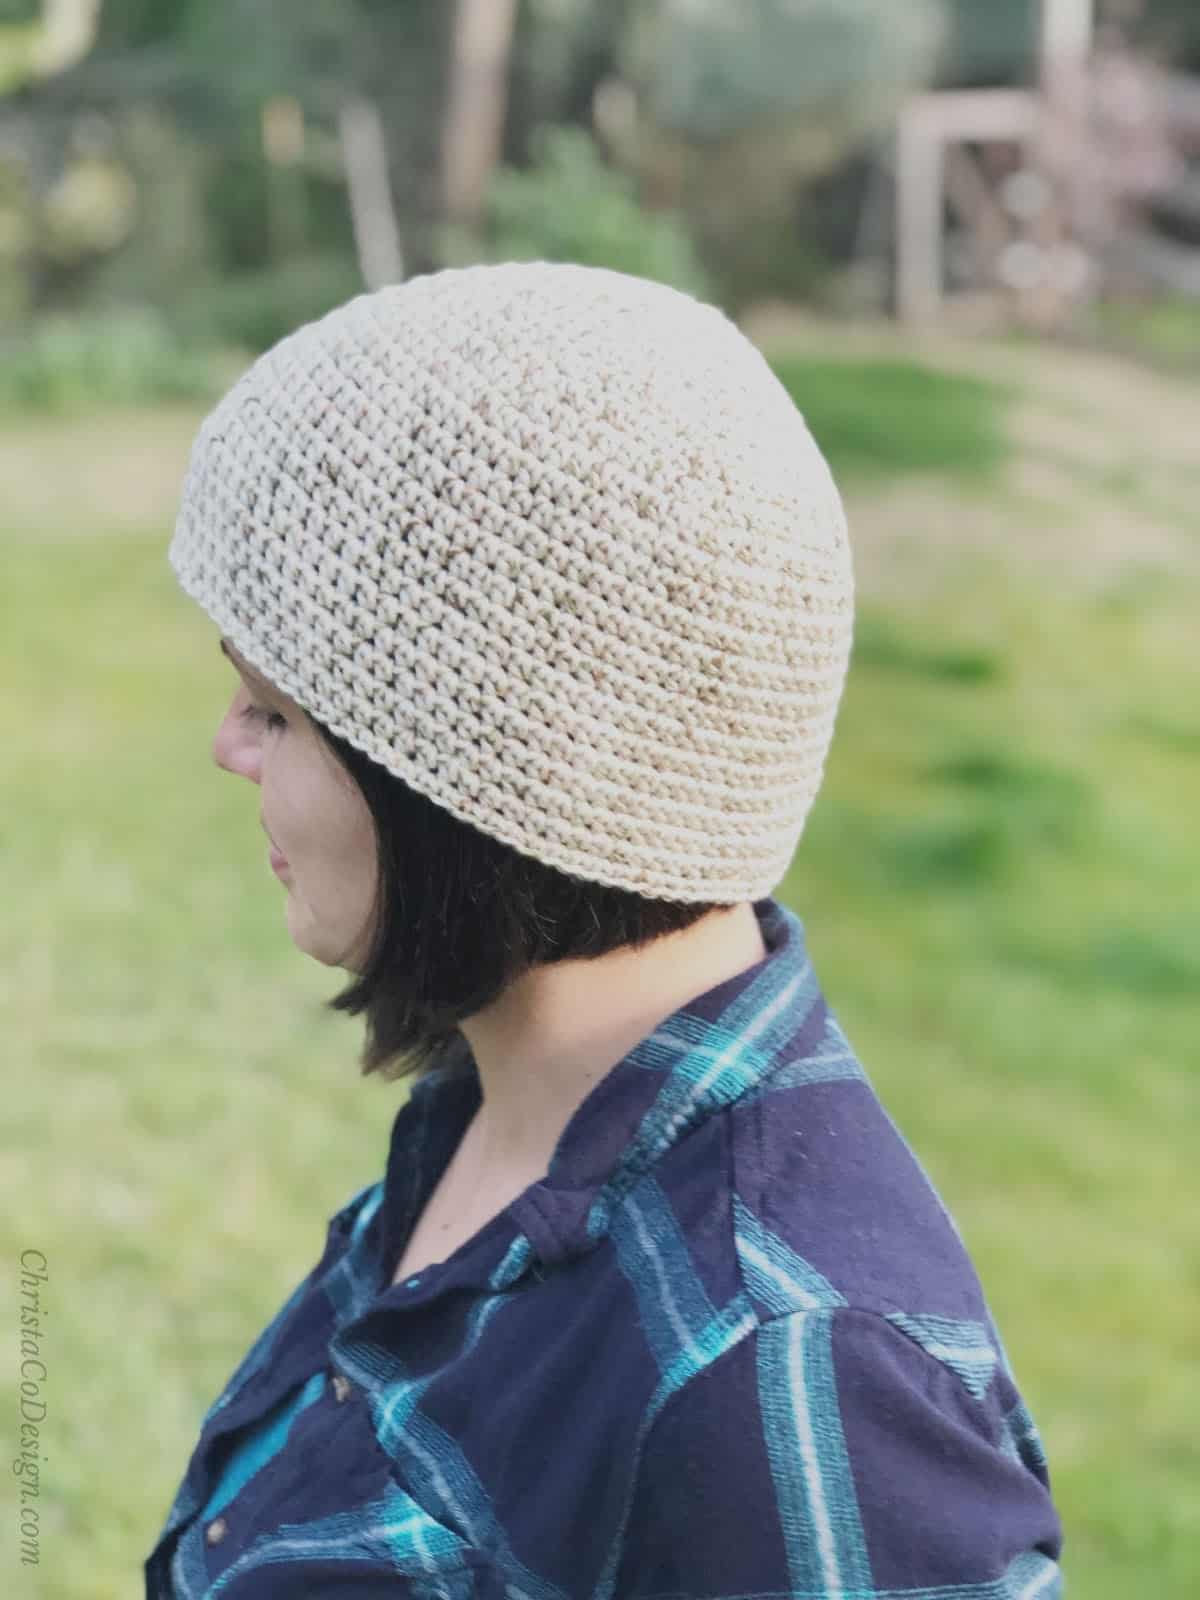
I use a soft yarn in a print color way which makes a beautiful hat from a very simple design. Their color selection on cottons is vast, I often have a difficult time deciding on a solid color on multi.
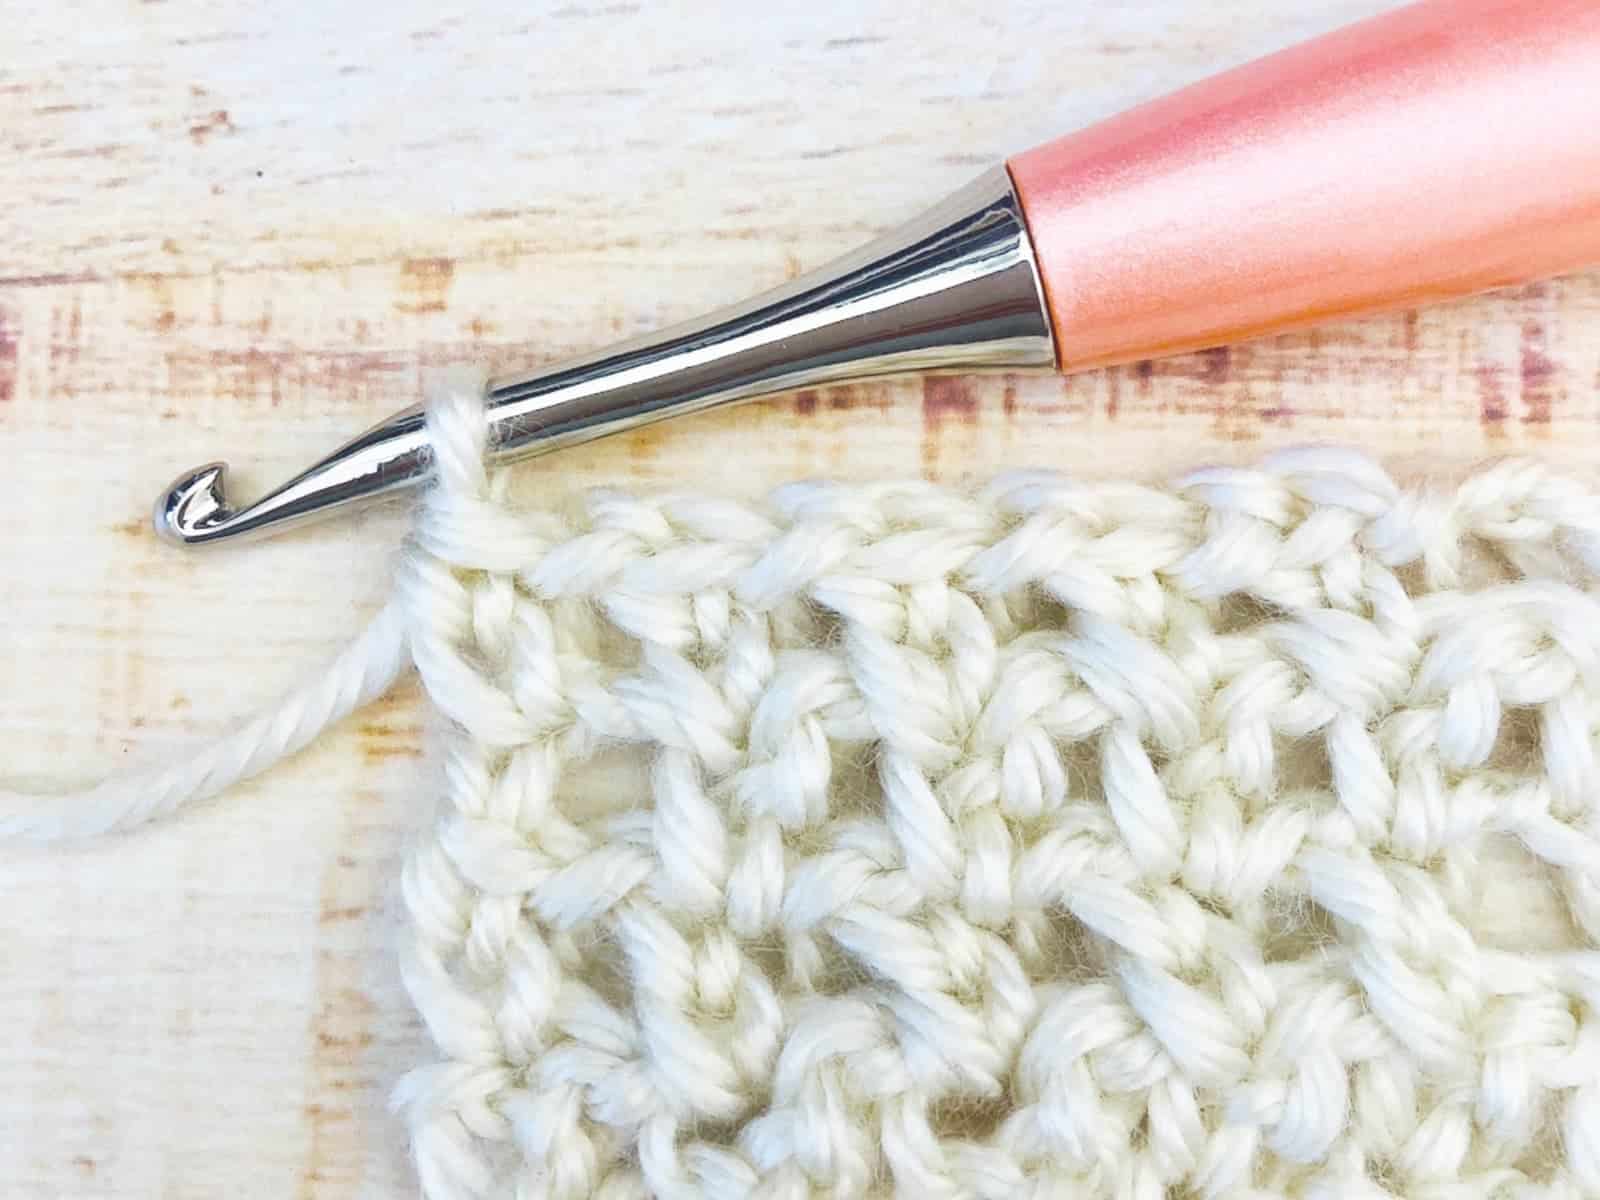
I chose a half double crochet stitch since it offers lots of coverage, but it’s also stretchier than the single crochet. It’s an easy, beginner stitch, that’s so rhythmic to work.
Crochet chemo caps can be as simple or fancy as you like. I know my cancer fighter likes a classic, simple look so that’s how I kept this one.
This easy crochet chemo cap pattern is so easy to jazz up with stripes, buttons or fancier edges if you want. If you are crocheting to donate to your local cancer center be sure to check up on their guidelines first. Whether you keep it simple or add some flair this beanie makes a great gift.
This post contains affiliate links, I may earn a fee. Read more disclosure policy.
Worked top down this hat pattern is easy to adjust to your needed size. This free pattern is a totally beginner crochet beanie pattern.
Cotton hats are so fun to make any time of year. They are great gifts or even good to donate. Hat patterns crochet up quick too!
The Yarn
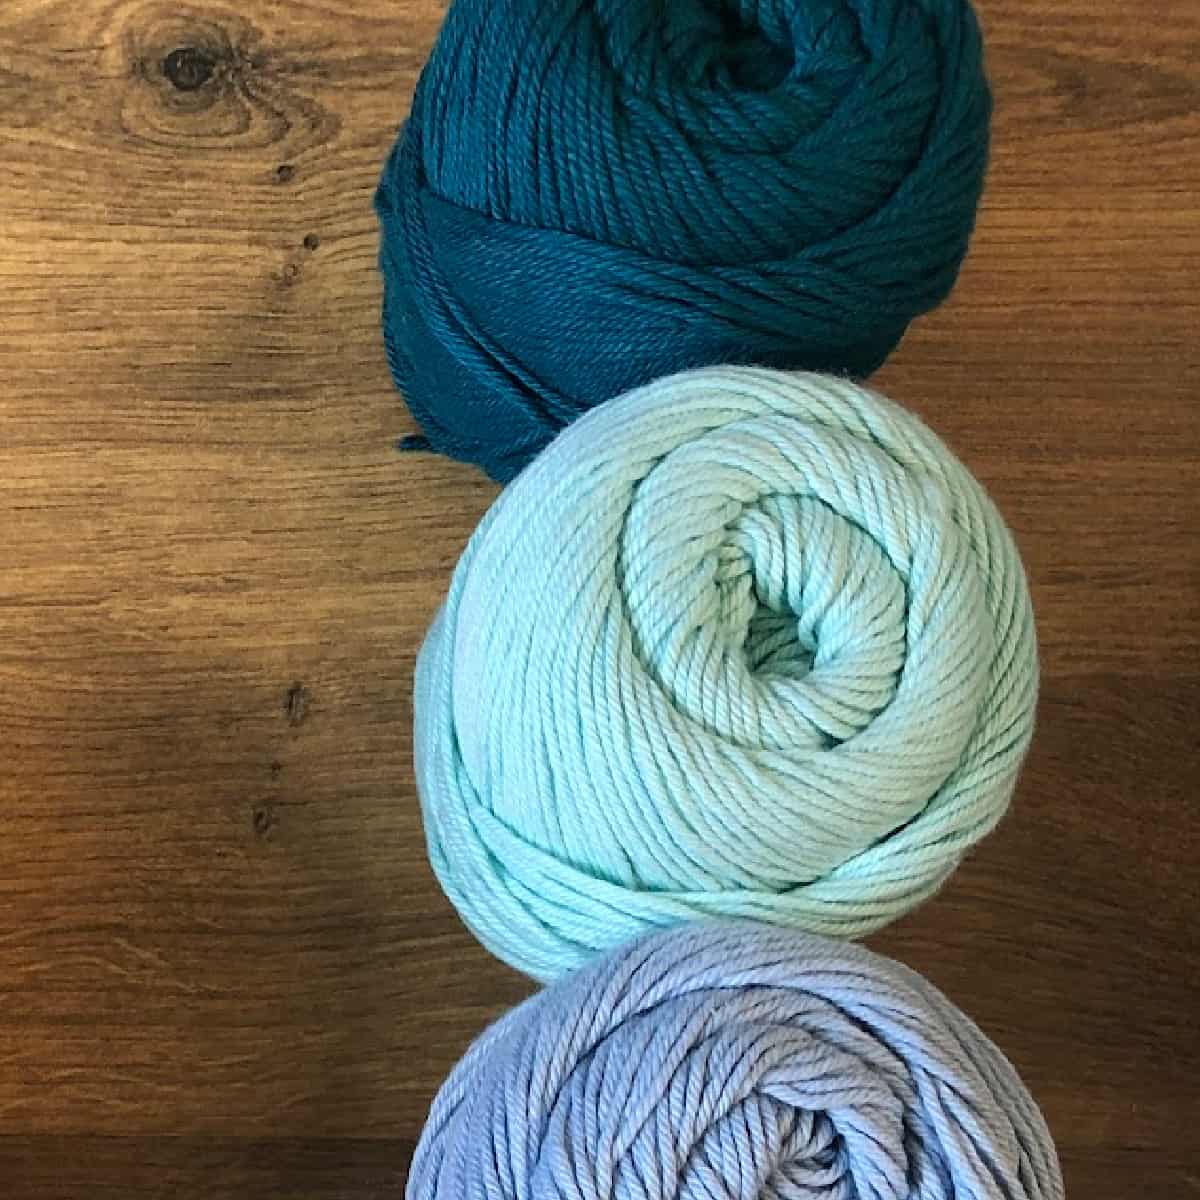
Hobby Lobby’s I Love This Cotton in Woods Print worked up into a great hat. The combination of simple stitches with the light printing of this colorway is just simply pretty.
This is a #4 medium worsted weight yarn. For a summer hat I definitely recommend cotton yarn, or a cotton blend.
More Chemo Cap Patterns
- This slouchy striped hat is made with lightweight bamboo yarn so it’s another warm weather friendly hat.
- The simple striped beanie is perfect for everyday wear.
- This textured women’s hat is a bit more interesting that the basic hat.
Other great yarns I can recommend are Lion Brand 24 / 7,* and Dishie.* You can substitute any #4 medium yarn.
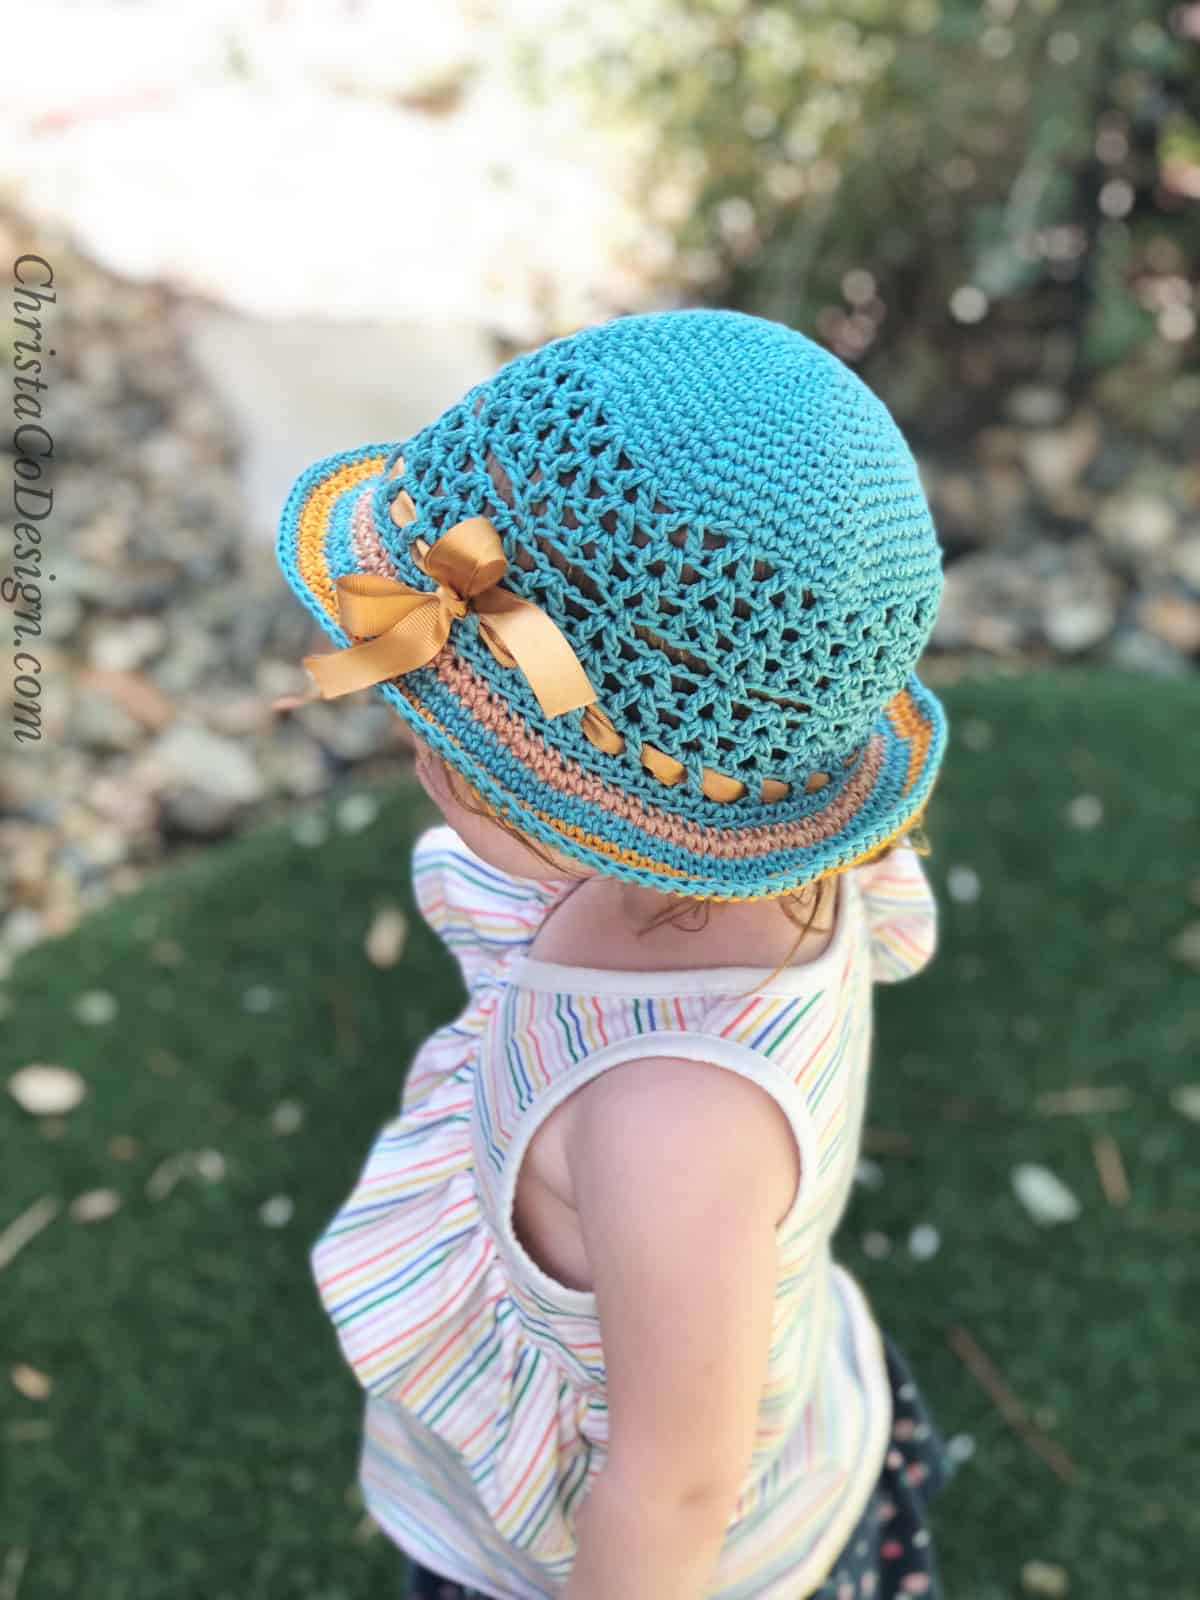
If you have Red Heart acrylic yarn you’re hoping to use, you might like the Summer Sun Hat which has mesh sides. This helps with air flow.
Cancer patients might feel self conscious about hair loss though, so that’s why I recommend a breathable cotton yarn for a solid summer hat.
More Free Patterns
The Sole Scrubby is an easy round crochet scrubby.
Scraps of yarn are perfect for the Aria crochet summer headband.
You might like the Eileen, a crochet blanket made with cotton blend yarn.
Pin It
Don’t forget to pin this for later!
Materials
- 90 yd / 82 m Medium worsted weight #4 cotton yarn* pictured in I Love This Cotton Yarn (100% cotton, 3 oz / 85 g, 153 yd / 140 m); color: woods print, or 90 yds comparable yarn.
- 5 mm crochet hook (US Size H)* Clover Amour is my favorite for working with cotton.
- yarn needle
- scissors
- measuring tape
Gauge
4” / 10 cm x 4” / 10 cm = 14 hdc x 12 rnds
Gauge is how your hat will turn out the same size as the pattern’s (and fit!). If you need help on how to measure gauge start with this tutorial.
For a top down hat that’s worked in the round I like to provide the gauge in the round.
Rnds 1 – 3 = 2.5” / 5 cm across.
Rnds 1 – 5 = 4” / 10 cm across.
Scroll down for the free crochet pattern.
Download the Hat Sizing Chart
Get this handy dandy chart so you can crochet perfectly fitting hats!
Stitches & Abbreviations
US terms
ch (s) – chain(s)
hdc (s) – half double crochet
mc – magic circle (magic ring)
rep – repeat
rnd – round
sc (s) – single crochet stitches
sl st (s) – slip stitch (es)
st (s) – stitch (es)
Notes
Ch 1 at the beginning of a round does not count as a stitch. I prefer only one chain to start to keep my join looking seamless.
Skill Level
Easy
Construction
This half double crochet beanie uses basic stitches. You work it from the top of the hat down, in the round.
This means you will join the last stitch of each round to the first stitch. Then you continue working in a circle.
Use a stitch marker in the first stitch of each round to help you keep track.
Fit
To fit age (head circumference):
- teen/sm adult (21”/ 53.5 cm)
- med/lg adult (23”/ 58.5 cm)
Adjustments
To make a smaller hat you work few rounds of increases. Or find the right size you want in the easy half double crochet beanie pattern here.
Video
If this is your first time making a hat and you need a little help this video tutorial covers all sizes of this simple hdc hat!
Pattern Instructions
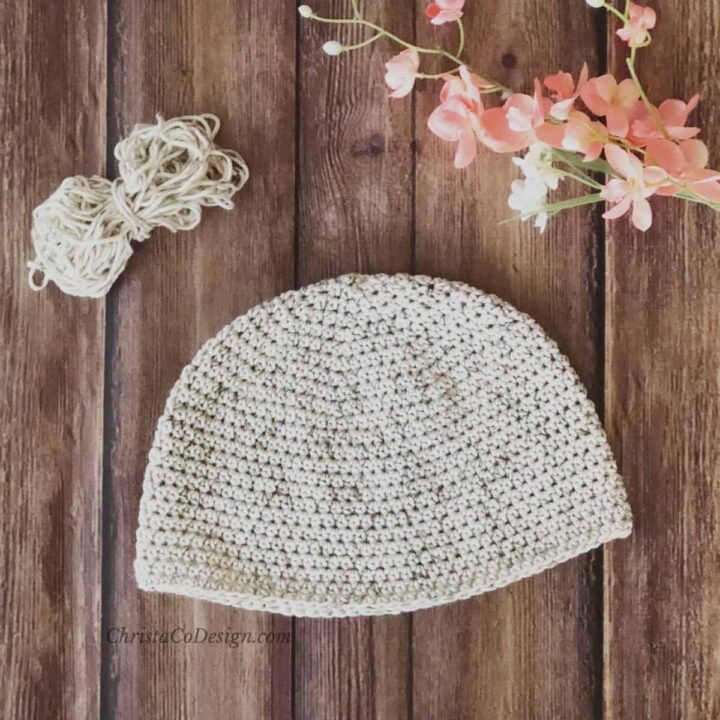
Women's Cotton Chemo Cap Crochet Pattern
Crochet a simple chemo cap in cotton yarn.
Materials
- 90 yd / 82 m Medium worsted weight #4 cotton yarn pictured in I Love This Cotton Yarn (100% cotton, 3 oz / 85 g, 153 yd / 140 m); color: woods print, or 90 yds comparable yarn.
Tools
- 5 mm (US Size H) hook, or hook size to meet gauge.
- yarn needle
- scissors
- measuring tape
Instructions
Teen / Sm Adult Size
Start with a mc, or ch 3, sl st to join into a circle.
Rnd 1. 8 hdc into mc, sl st to first hdc to join.
Rnd 2. Ch 1, 2 hdc in same st, 2 hdc in each st around, sl st last st to first st to join. (16 sts)
Rnd 3. Ch 1, hdc in same st, 2 hdc in next st, *{hdc in next st, 2 hdc in next st} rep from * around, join with sl st to first st. (24 sts)
Rnd 4. Ch 1, place 1 hdc in each of next 2 sts, 2 hdc in next st, *{1 hdc in next 2 sts, 2 hdc in next st} rep from * around, join with sl st to first st. (32 sts)
Rnd 5. Ch 1, hdc in first 3 sts, 2 hdc in next st, *{1 hdc in next 3 sts, 2 hdc in next st} rep from * around, join with a sl st to first st. (40 sts) 4” circle
Rnd 6. Ch 1, hdc in first 4 sts, 2 hdc in next st, *{1 hdc in next 4 sts, 2 hdc in next st} rep from * around, join with a sl st to first st. (48 sts)
Rnd 7. Ch 1, hdc in first 5 sts, 2 hdc in next st, *{1 hdc in next 5 sts, 2 hdc in next st} rep from * around, join with a sl st to first st. (56 sts)
Rnd 8. Ch 1, hdc in first 6 sts, 2 hdc in next st, *{1 hdc in next 6 sts, 2 hdc in next st} rep from * around, join with a sl st to first st. (64 sts)
Rnd 9. Ch 1, hdc in first 7 sts, 2 hdc in next st, *{1 hdc in next 7 sts, 2 hdc in next st} rep from * around, join with a sl st to first st. (72 sts) = 6.75” circle
Rnd 10. Ch 1, hdc in each st around, join with sl st to first st.
Rnds 11 - 24. Repeat Round 10. ≈ 8” tall
Med / Large Adult Size
Start with a mc, or ch 3, sl st to join into a circle.
Rnd 1. 8 hdc into mc, sl st to join.
Rnd 2. Ch 1, 2 hdc in same st, 2 hdc in each st around, sl st to join. (16 sts)
Rnd 3. Ch 1, hdc in same st, 2 hdc in next st, *{hdc in next st, 2 hdc in next st} rep from * around, join with sl st to first st. (24 sts)
Rnd 4. Ch 1, place 1 hdc in each of next 2 sts, 2 hdc in next st, *{1 hdc in next 2 sts, 2 hdc in next st} rep from * around, join with sl st to first st. (32 sts)
Rnd 5. Ch 1, hdc in first 3 sts, 2 hdc in next st, *{1 hdc in next 3 sts, 2 hdc in next st} rep from * around, join with a sl st to first st. (40 sts) 4” circle
Rnd 6. Ch 1, hdc in first 4 sts, 2 hdc in next st, *{1 hdc in next 4 sts, 2 hdc in next st} rep from * around, join with a sl st to first st. (48 sts)
Rnd 7. Ch 1, hdc in first 5 sts, 2 hdc in next st, *{1 hdc in next 5 sts, 2 hdc in next st} rep from * around, join with a sl st to first st. (56 sts)
Rnd 8. Ch 1, hdc in first 6 sts, 2 hdc in next st, *{1 hdc in next 6 sts, 2 hdc in next st} rep from * around, join with a sl st to first st. (64 sts)
Rnd 9. Ch 1, hdc in first 7 sts, 2 hdc in next st, *{1 hdc in next 7 sts, 2 hdc in next st} rep from * around, join with a sl st to first st. (72 sts)
Rnd 10. Ch 1, hdc in first 8 sts, 2 hdc in next st, *{1 hdc in next 8 sts, 2 hdc in next st} rep from * around, join with a sl st to first st. (80 sts) = 7.5”circle
Rnd 11. Ch 1, hdc in each st around, join with sl st to first st.
Rnds 12 - 26. Rep Rnd 11. ≈ 8.5” tall
I finished mine with a simple sc round. But this would be lovely with a shell stitch around the edge, something like what I used in my pink & white SweetHeart Hat.
Ch 1, sc in the same and in each stitch around, sl sts to 1st stitch to join.
Cut yarn and weave in ends.
Recommended Products
As an Amazon Associate and member of other affiliate programs, I earn from qualifying purchases.

I have some ILTC- will have to try this:)
I love this beanie, thanks for sharing
I’d love to see it if you do!
Thank you!