Pike Stitch Crochet Video & Photo Tutorial
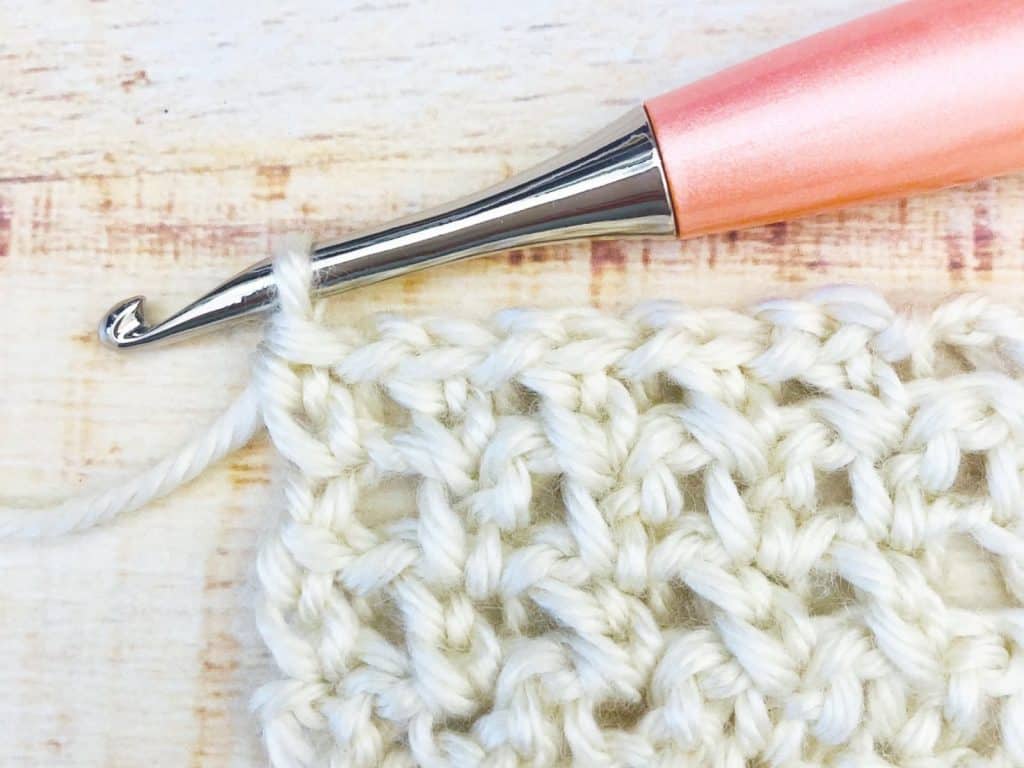
Learn how to crochet the pike stitch. This step by step tutorial will guide you through the steps to crochet this lovely stitch.
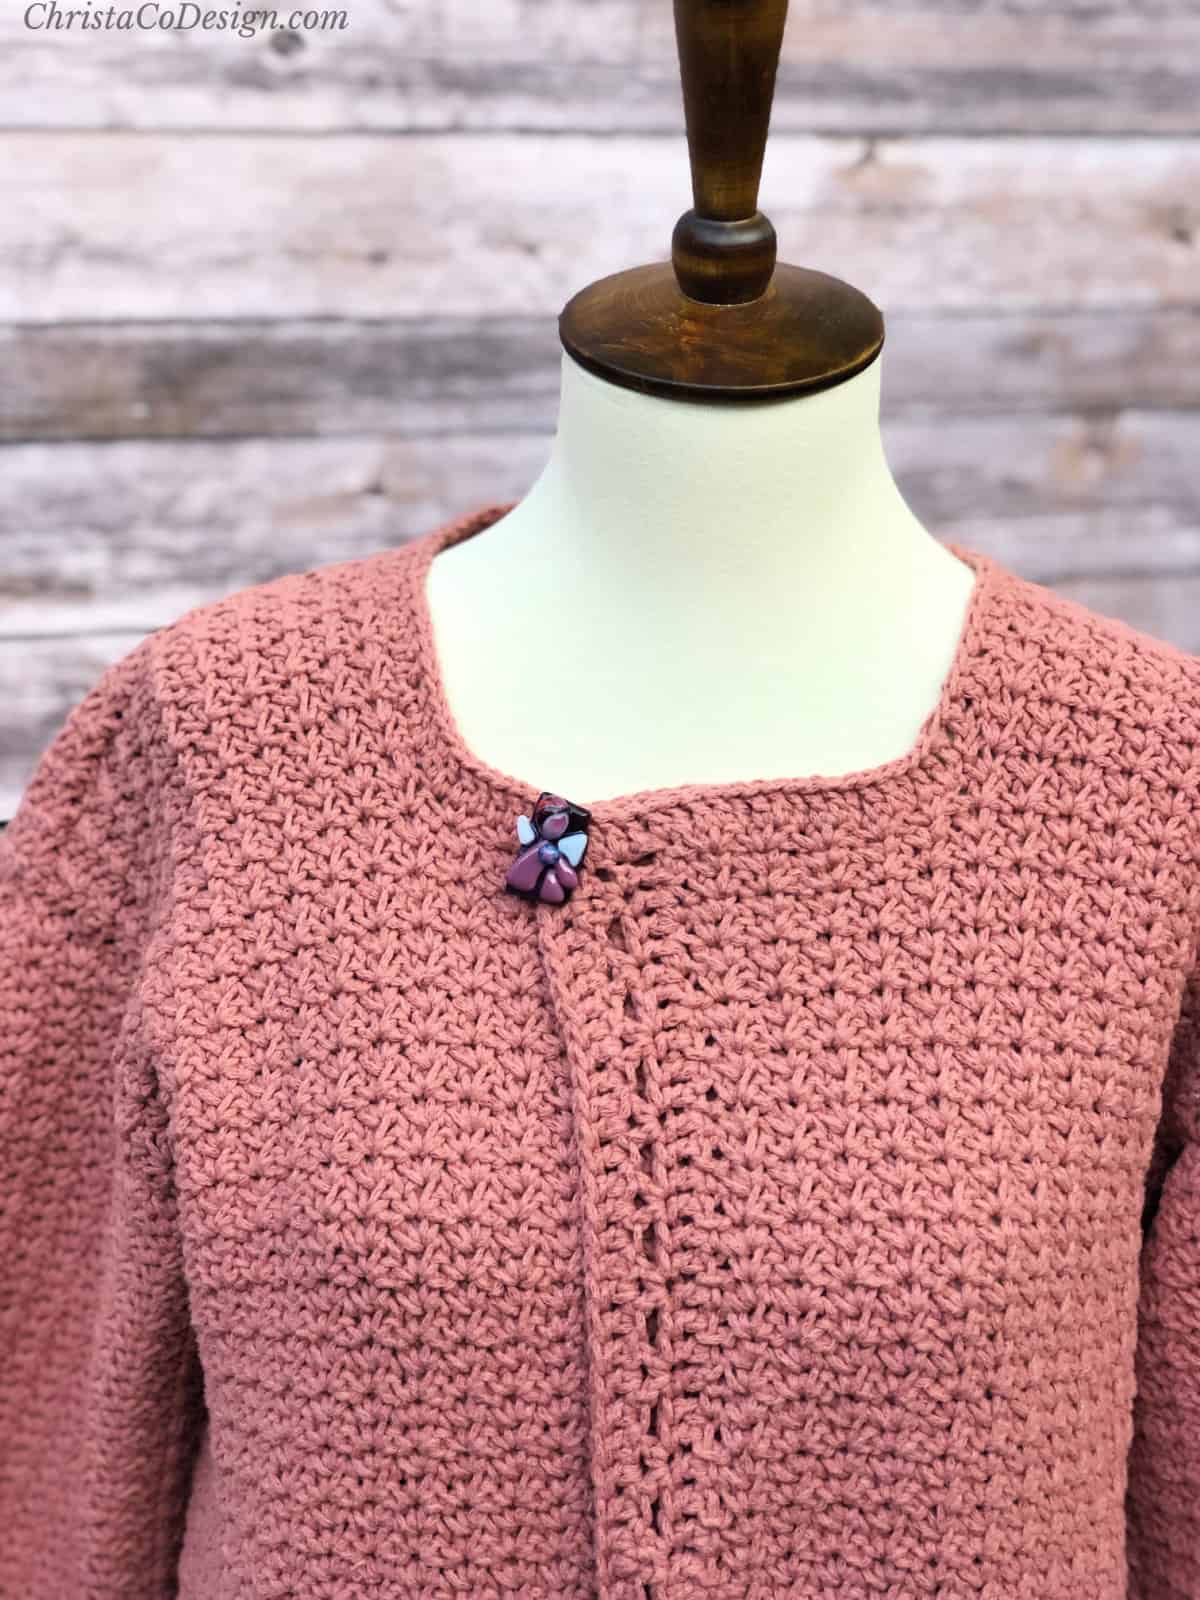
I use this stitch for the Hygge Homebody Cardigan. It includes the extended single crochet, and when you add the chains in between it becomes the pike stitch.
So you’ll also learn how to crochet the extended single crochet, or esc in this tutorial. This extension is a favorite technique I use in many designs.
This post contains affiliate links, I may earn a fee. Read more disclosure policy.
If you’ve never heard of either one of these stitches, never fear! They are easy. Truly.
This stitch works up so fast, which is great when you’re making a large piece like an oversized cardigan or blanket. The pike stitch gives your fabric a wonderful drape so you can create a cardigan from worsted weight yarn that is beautiful.
I show you how to start your work, how to end row 1 and the start & end to the rest of your rows. It’s a simple one row repeat after that!
If you prefer videos I’ve created one here for the pike stitch/extended sc stitch. Or scroll on down for the detailed photo tutorial.
Crochet Patterns with the Pike Stitch
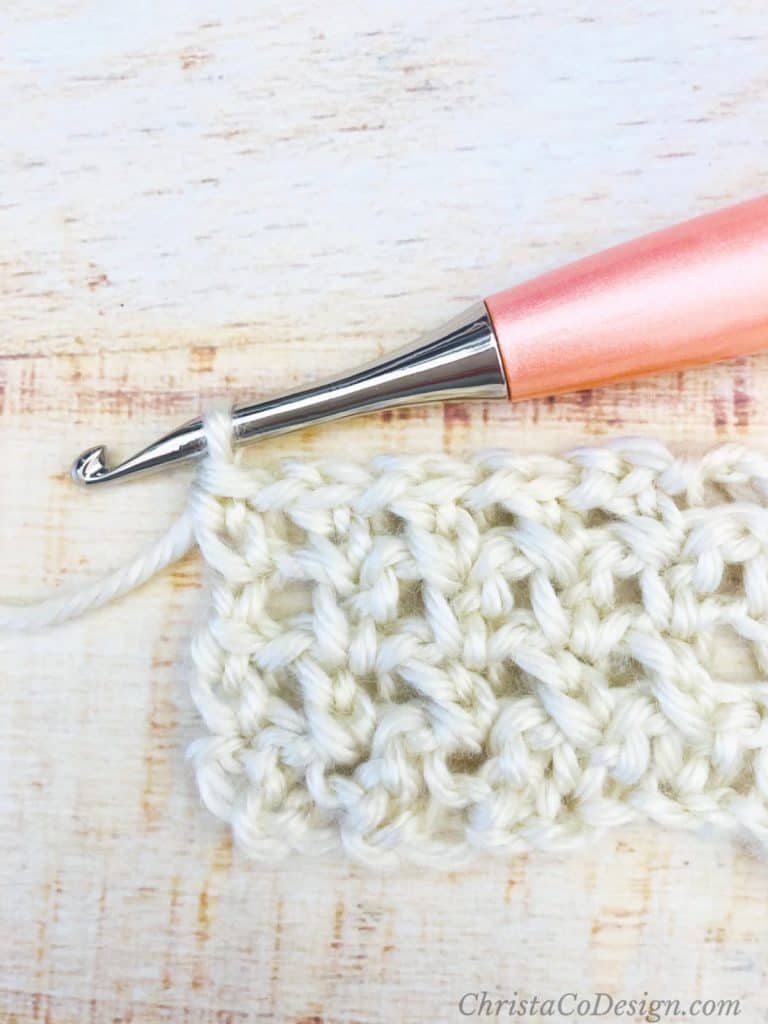
The Hygge Homebody Cardigan works up beautifully in this stitch, taking full advantage of the drape it gives.
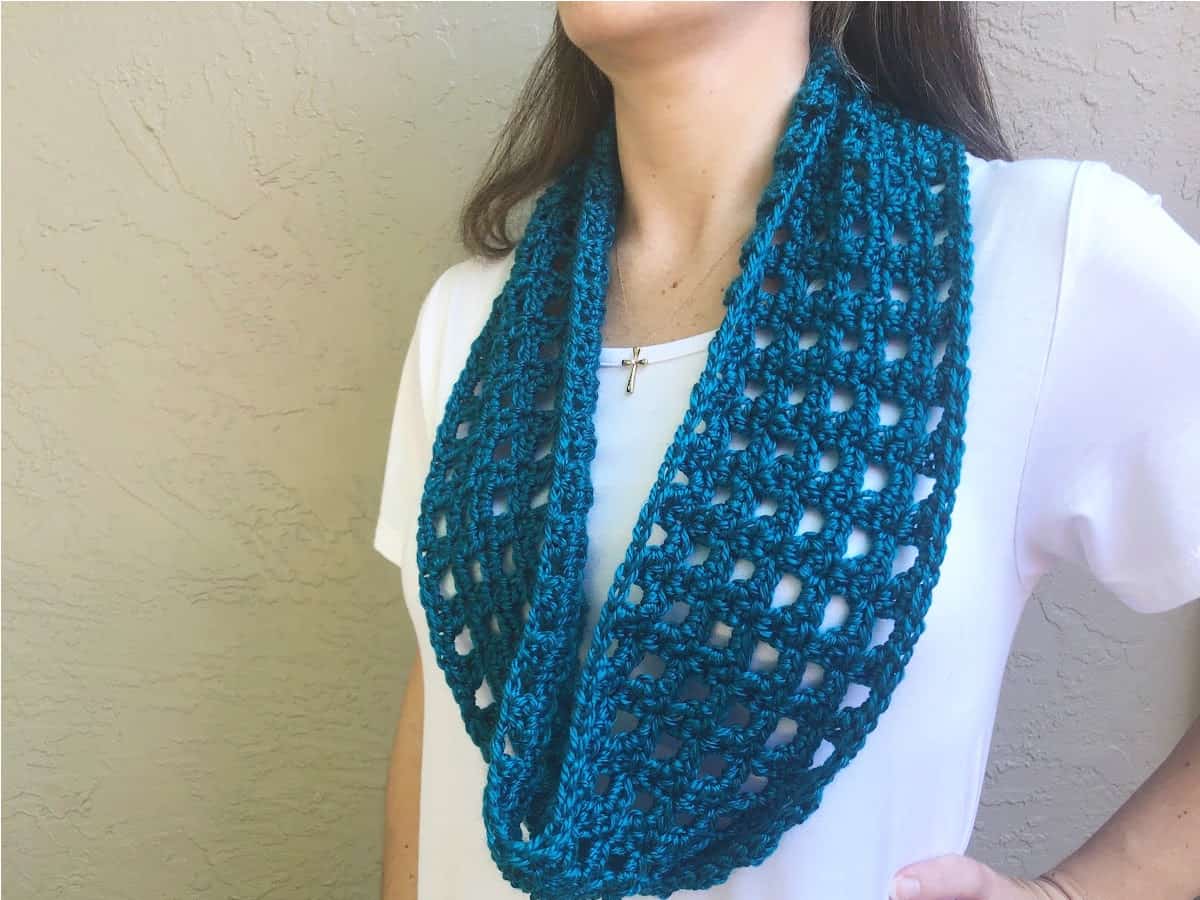
If you prefer a smaller project, the Colorblock Cowl features the pike stitch and is a great stash buster.
Materials
This stitch can be worked in a variety of yarn weights with the appropriately sized hook.
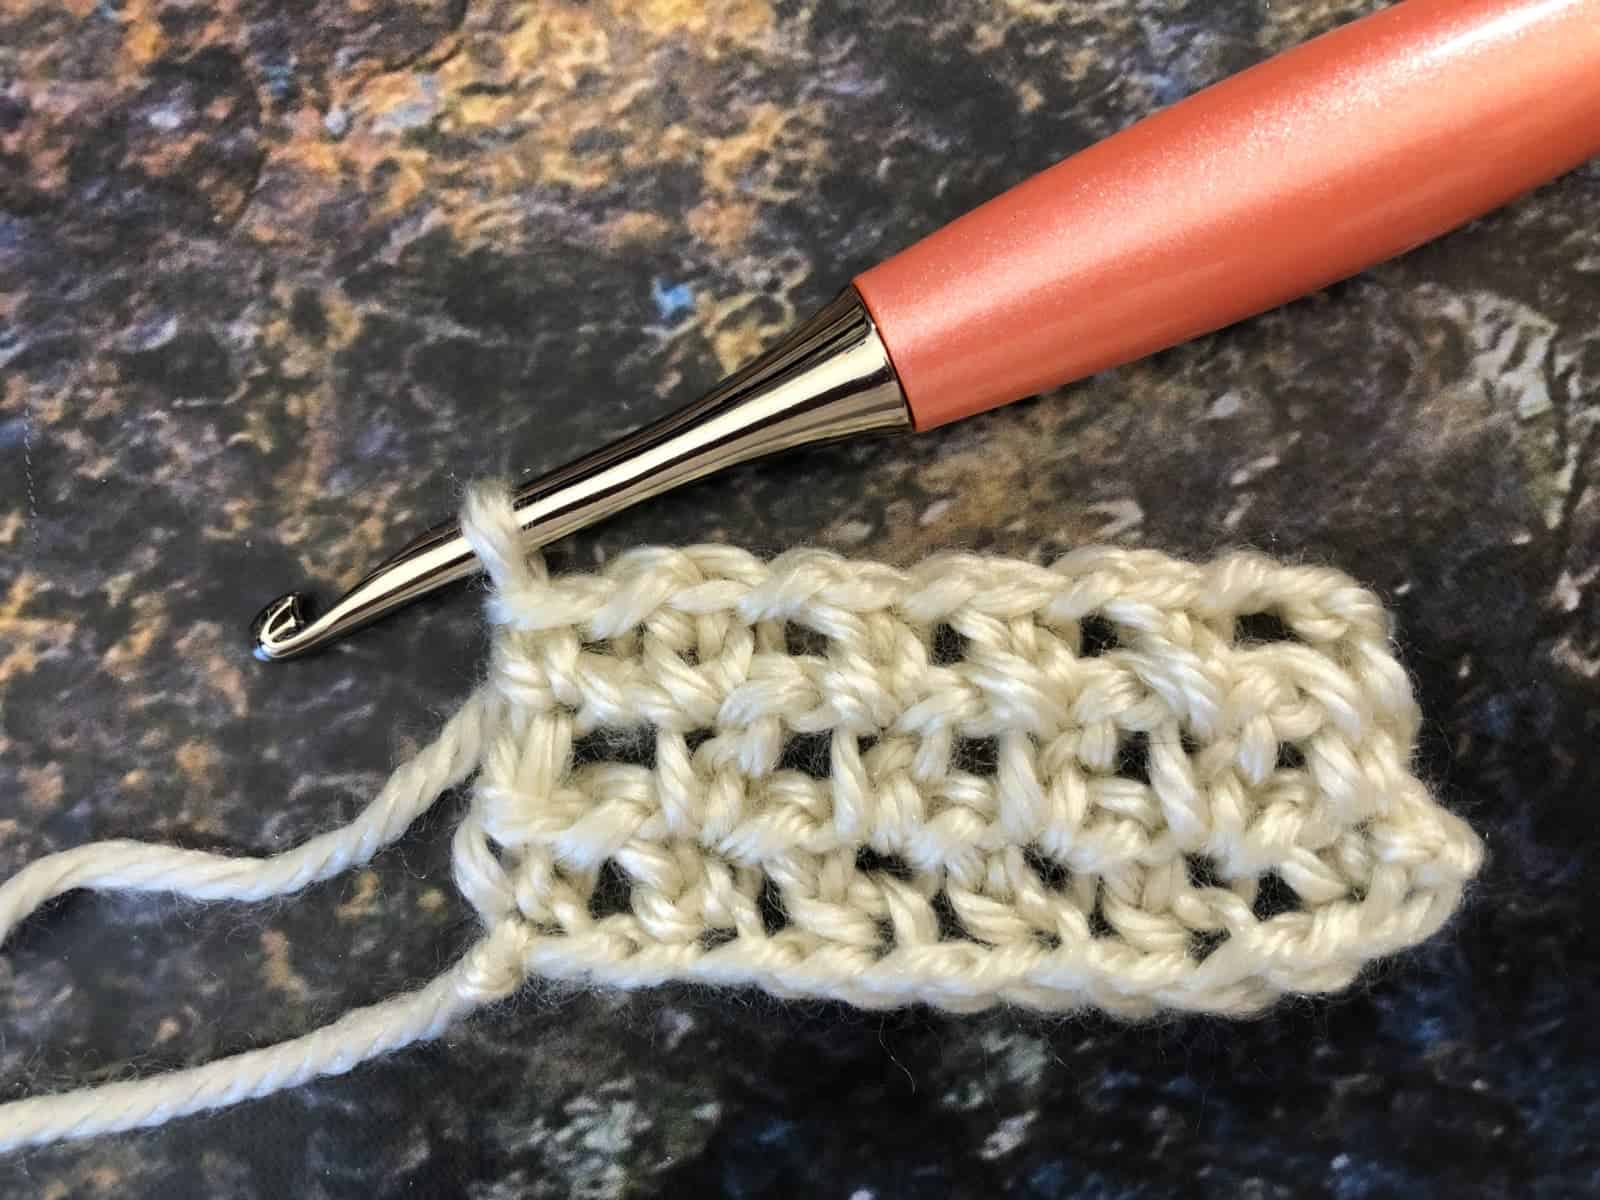
I’m using worsted weight #4 with an 5mm (H) hook for this tutorial.
In this pictures you’ll see Furls new Wander yarn and my favorite peach Odyssey hook.
Notes
The ch 3 to start rows 2 and on counts as 2 stitches. I think of it as a sc + ch 1. I prefer to work into the 2nd ch of this ch 3 to keep the edges straight and not too holey.
Stitches/Abbreviations {US Terms}
ch(s)-chain(s)
esc-extended single crochet
rep-repeat
sk-skip the indicated stitch
st(s)-stitch(es)
Video Tutorial
Check out the step by step video tutorial on my YouTube channel.
Keep subscribing friends so I can keep creating and sharing with you!
Pike Stitch Photo Tutorial
Pike Stitch Crochet Video & Photo Tutorial
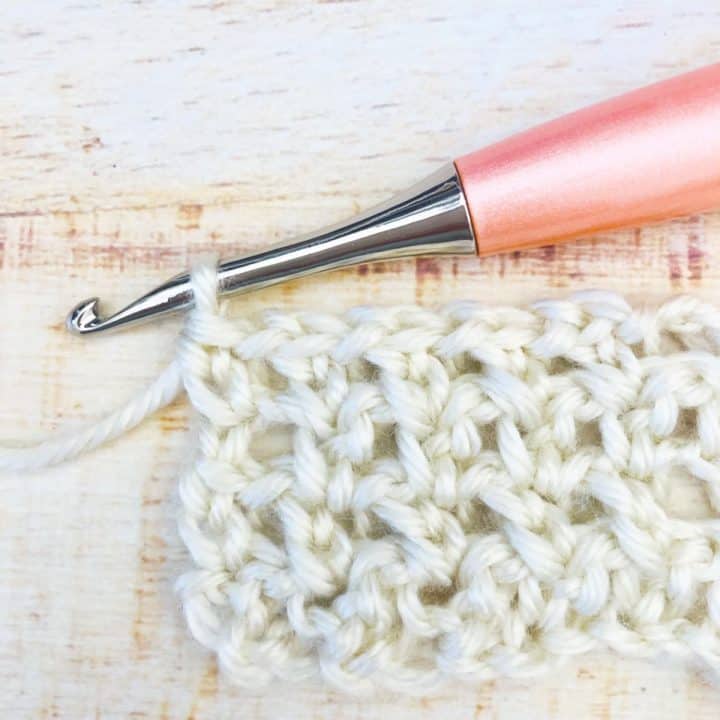
Learn to crochet the pike stitch in this step by step photo tutorial.
Materials
- yarn-I'm using a #4 medium worsted weight yarn here.
Tools
- crochet hook compatible with your yarn-I'm using my 5.5mm Clover Amour in this tutorial.
Instructions
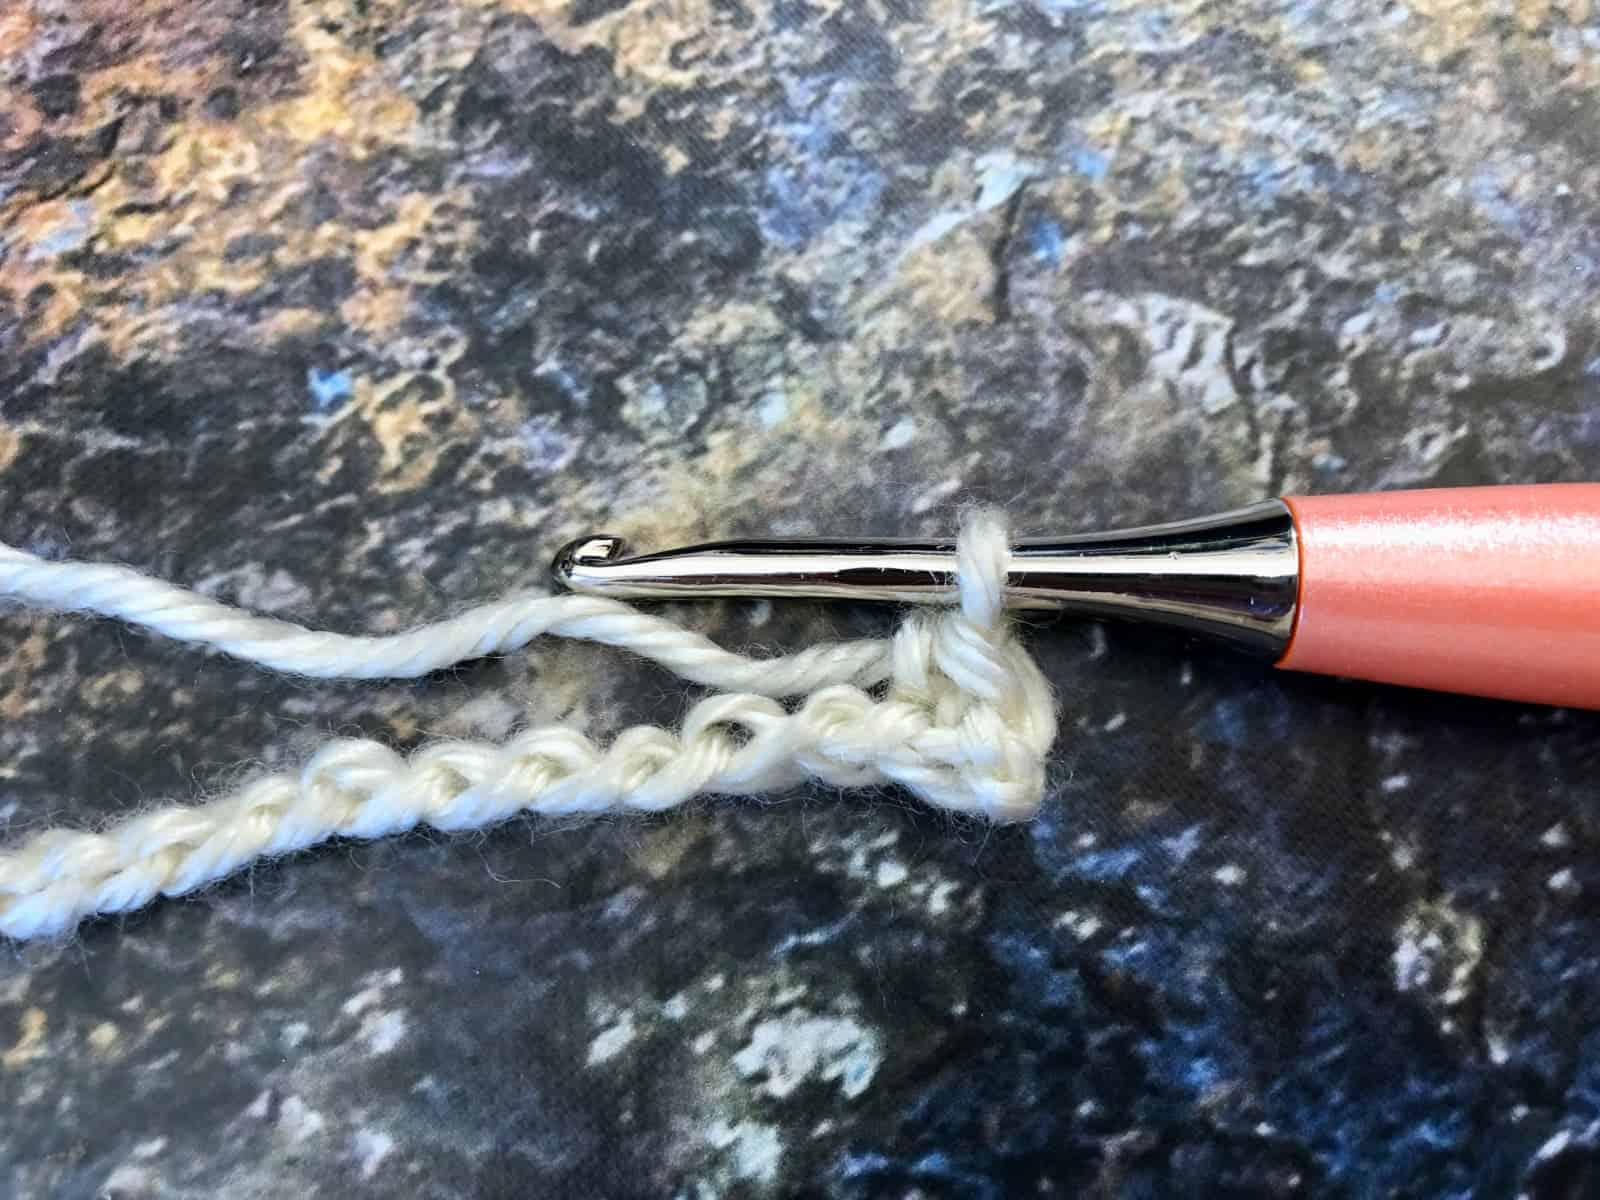
- Ch number indicated by your pattern, for this tutorial I’ve chained 12. You want an even number chains.
 Sc in 2nd chain from your hook.
 Ch 1, sk the next ch
 Insert hook in next ch, yo and pull up a loop (2 loops on hook).
 Yo and pull through 1 loop
 Yo and pull through 2 loops. This makes 1 extended sc, or esc.
 Ch 1, and now we have a pike stitch.
  Ch 1, *{sk next ch, esc in next ch, ch 1} rep from * across until 1 st left.
 Sc in last st, turn. (11 sts)
 Ch 3 (counts as 2 sts),
  Sk next st, esc in next st (marked by the orange needle above), ch 1.
  Ch 1, *{sk next st, esc in next st, ch 1} rep from * across until 1 st left.
 Sc in last st, turn. (11 sts)
 Row 3. Ch 3 (counts), *{sk next st, esc in next st, ch 1} rep from * across until 1 st left.
 Sc in 2nd ch, turn. (11 sts)
- Continue to repeat Row 3: Ch 3 (counts), *{sk next st, esc in next st, ch 1} rep from * across until 1 st left, sc in last st, turn.
Recommended Products
As an Amazon Associate and member of other affiliate programs, I earn from qualifying purchases.

 Sc in 2nd chain from your hook.
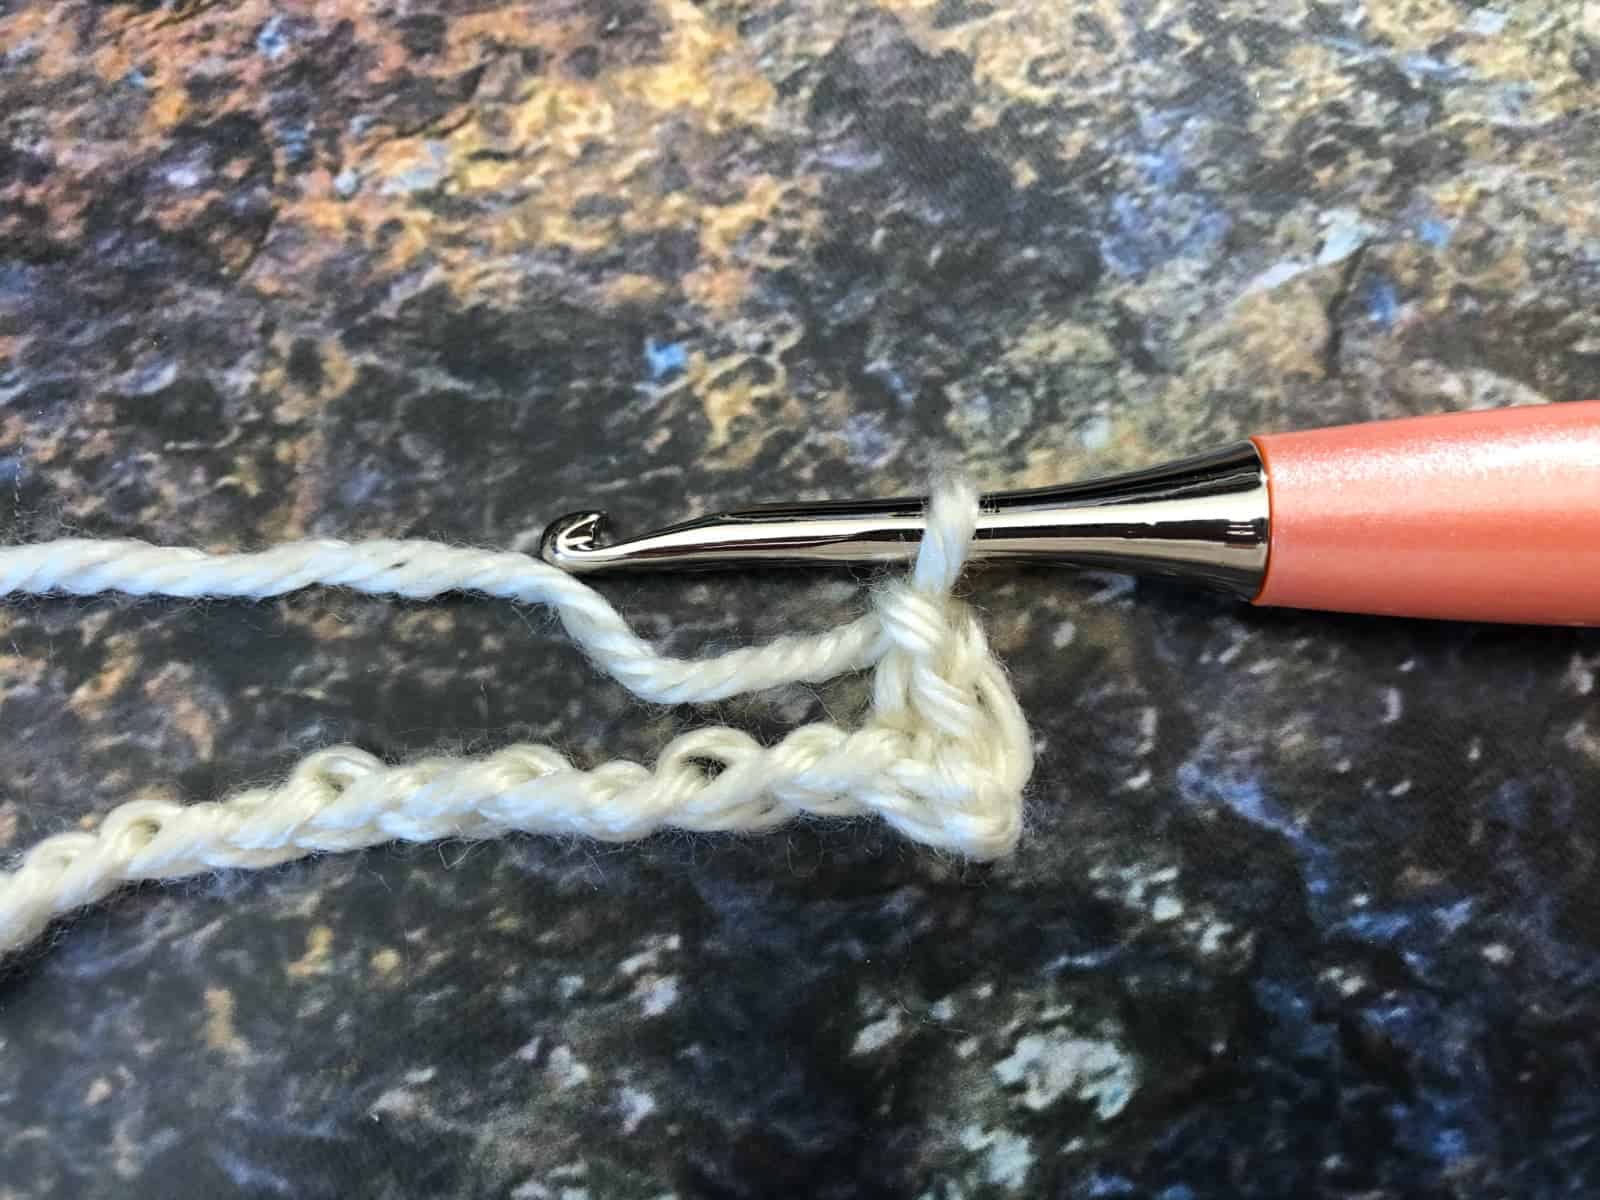 Ch 1, sk the next ch
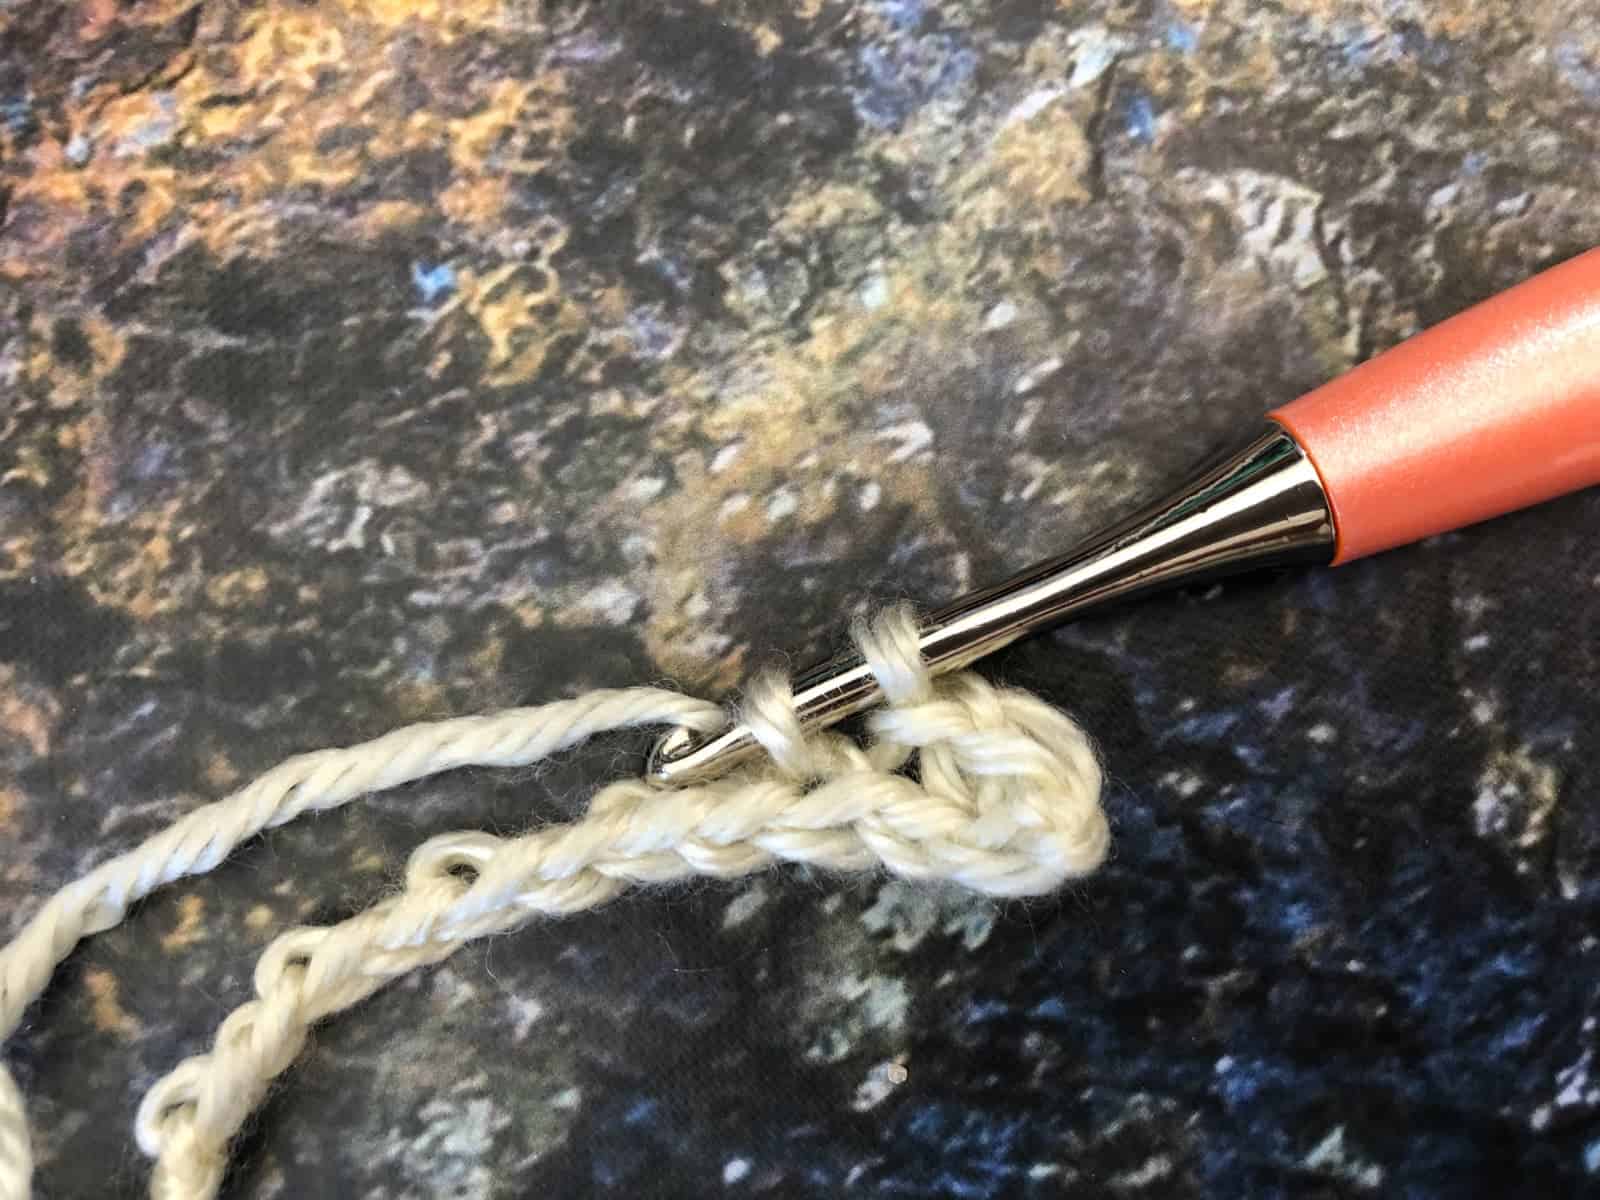 Insert hook in next ch, yo and pull up a loop (2 loops on hook).
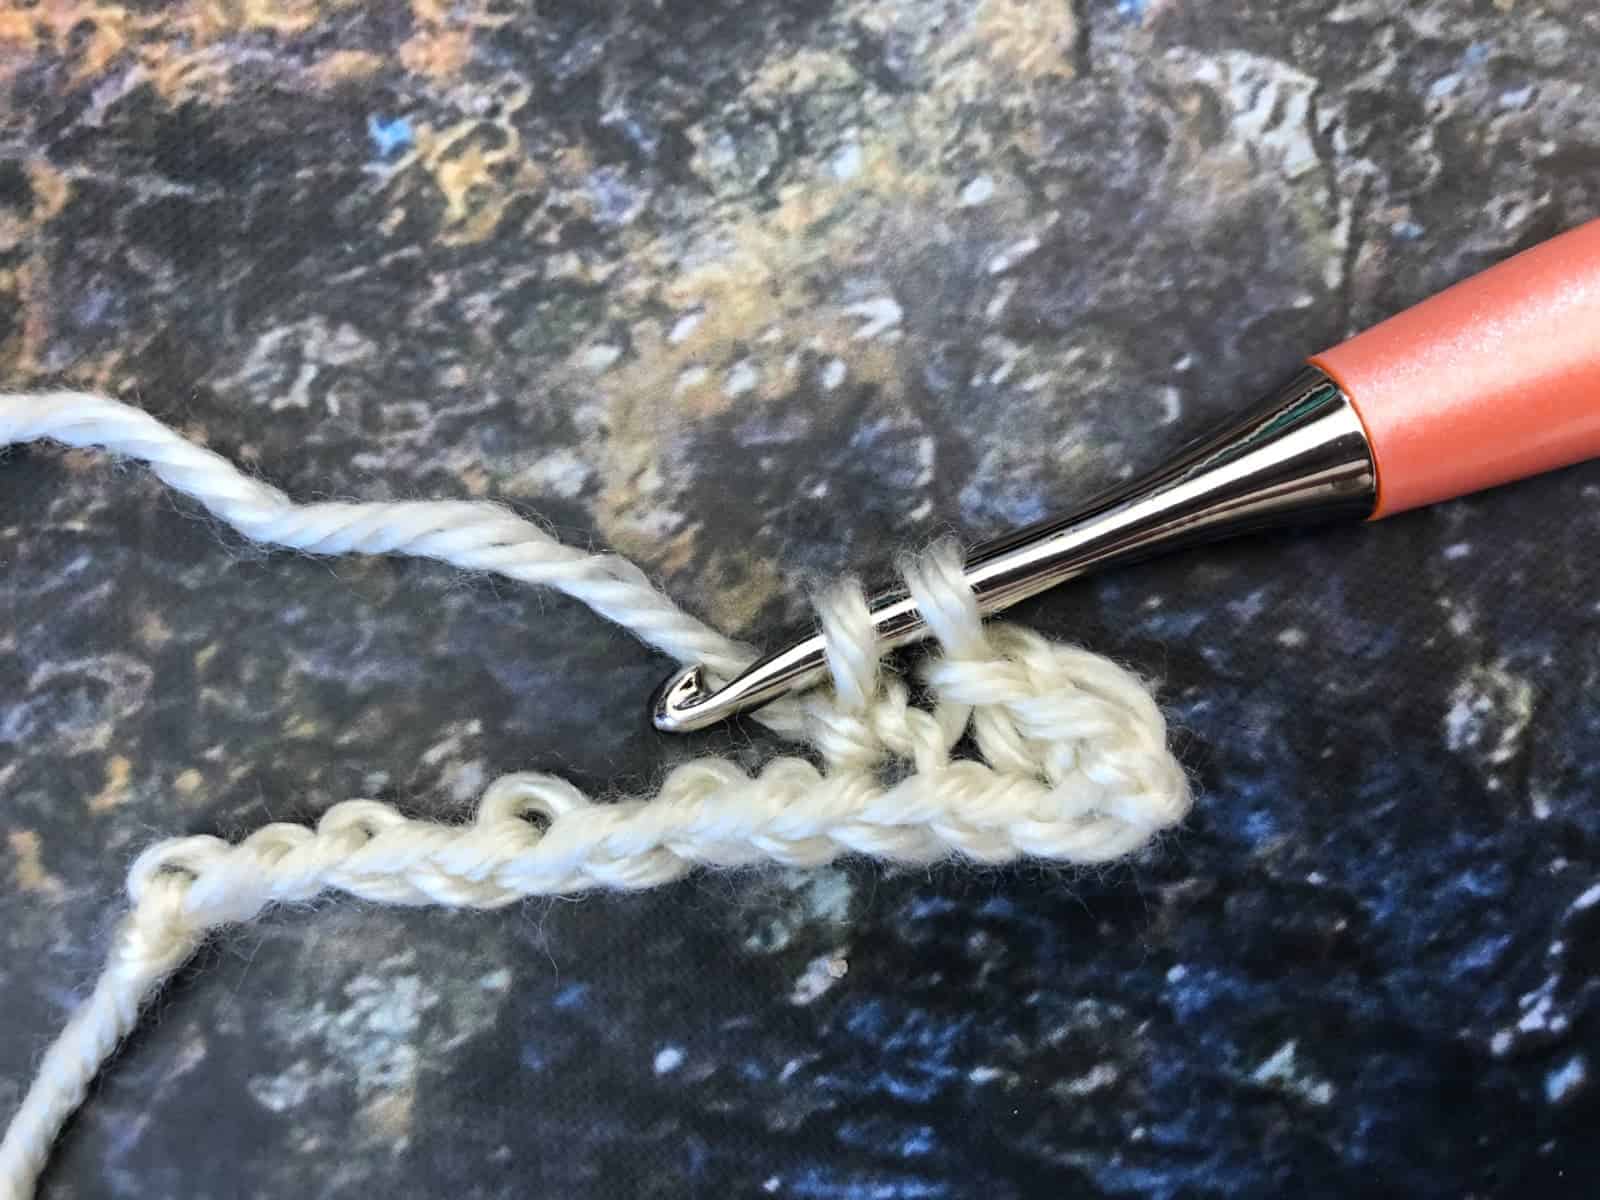 Yo and pull through 1 loop
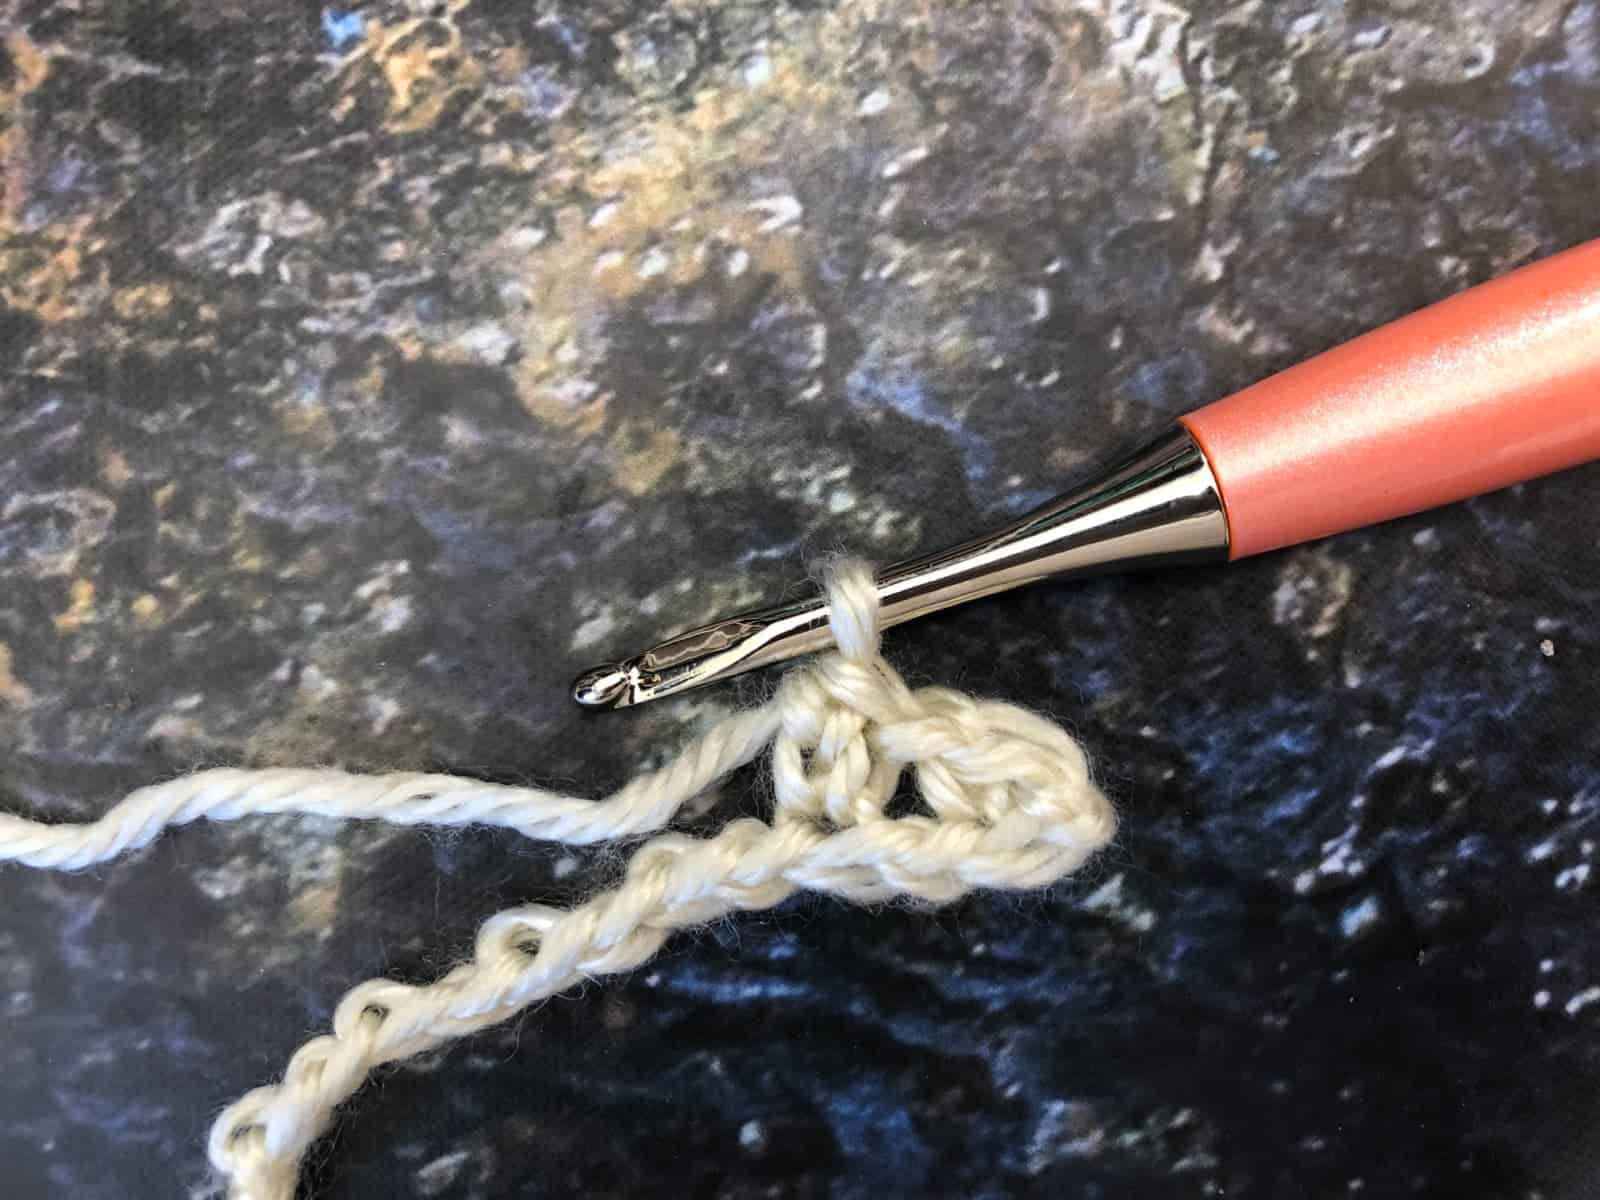 Yo and pull through 2 loops. This makes 1 extended sc, or esc.
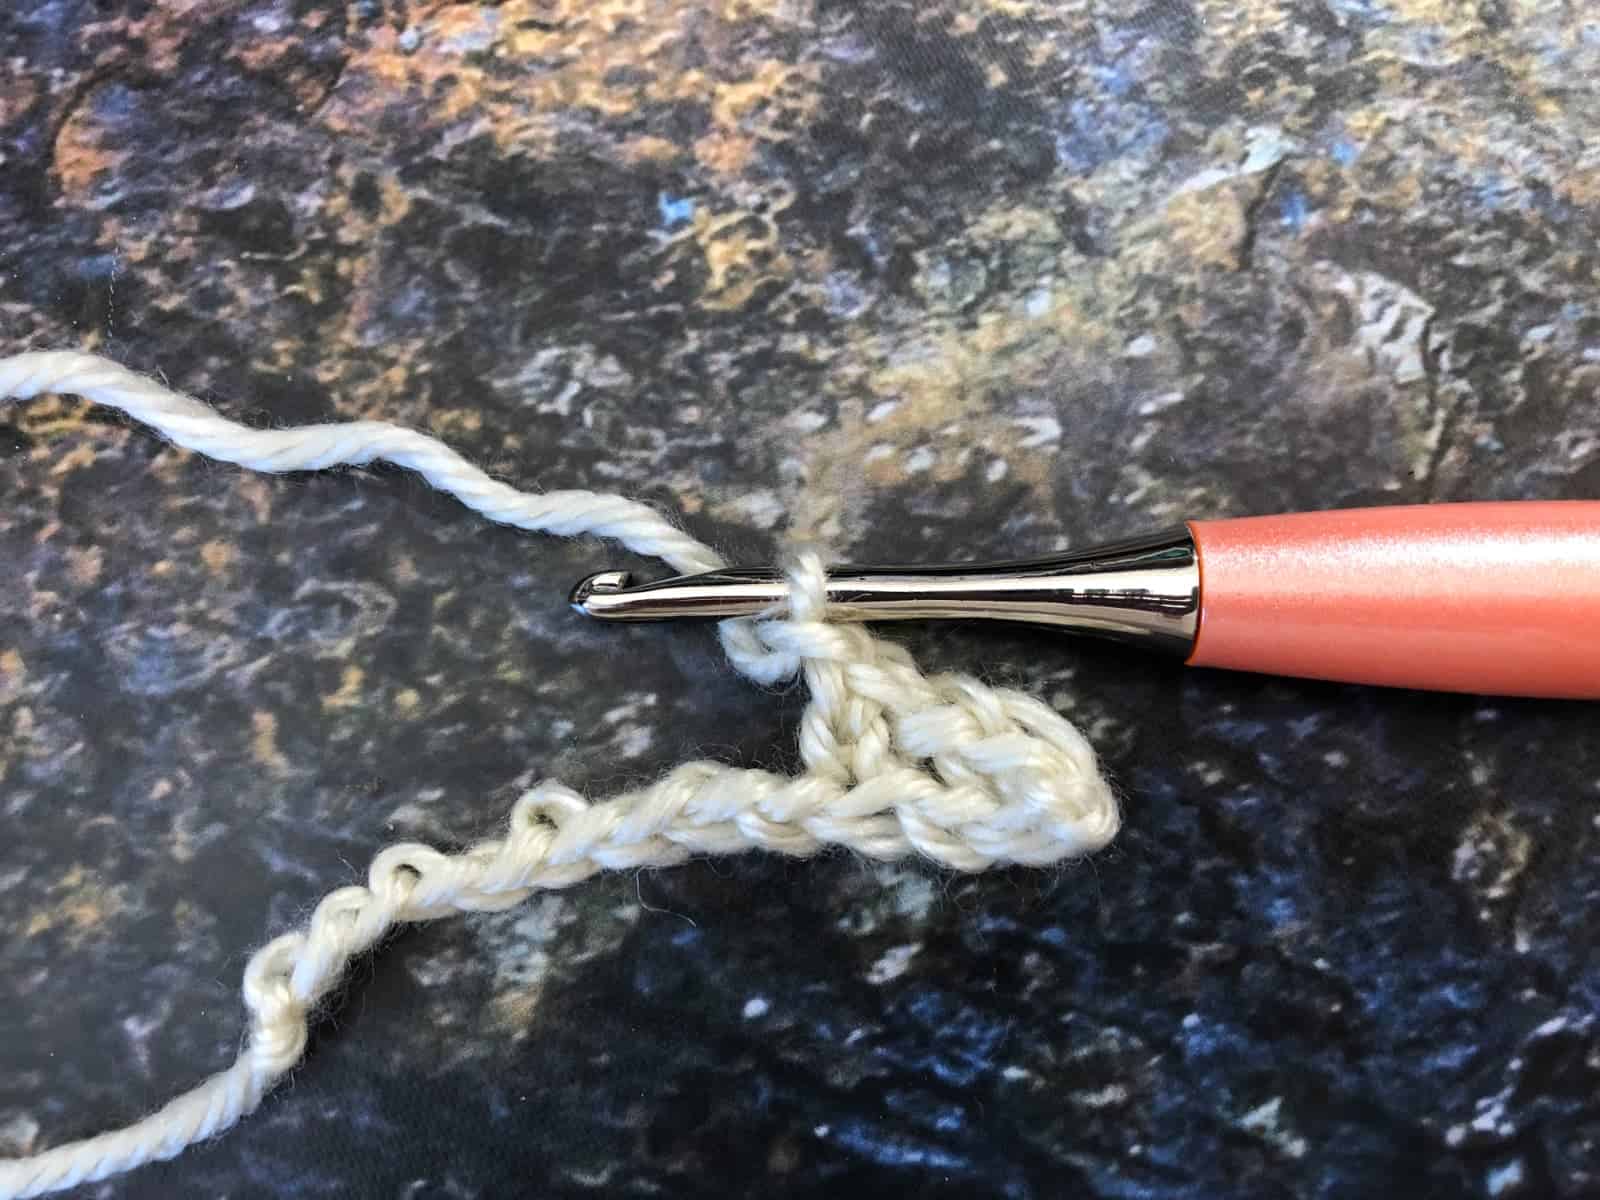 Ch 1, and now we have a pike stitch.
 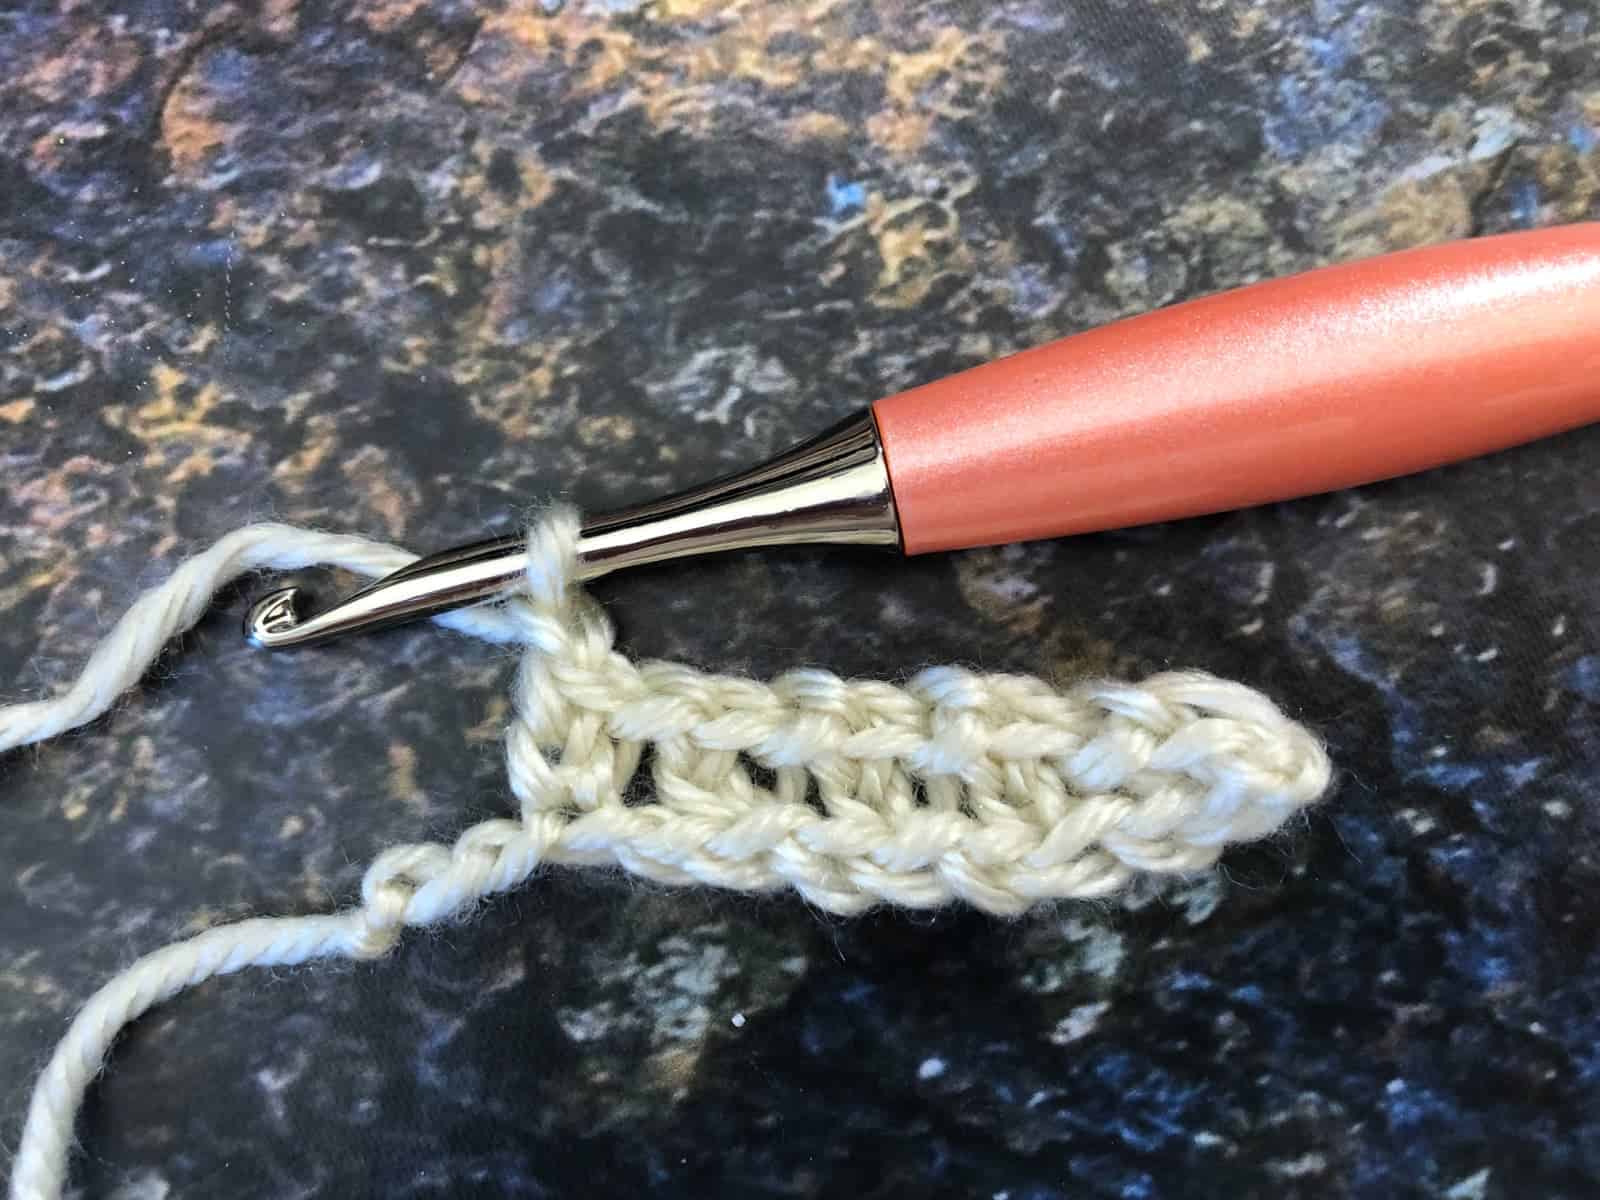 Ch 1, *{sk next ch, esc in next ch, ch 1} rep from * across until 1 st left.
 Sc in last st, turn. (11 sts)
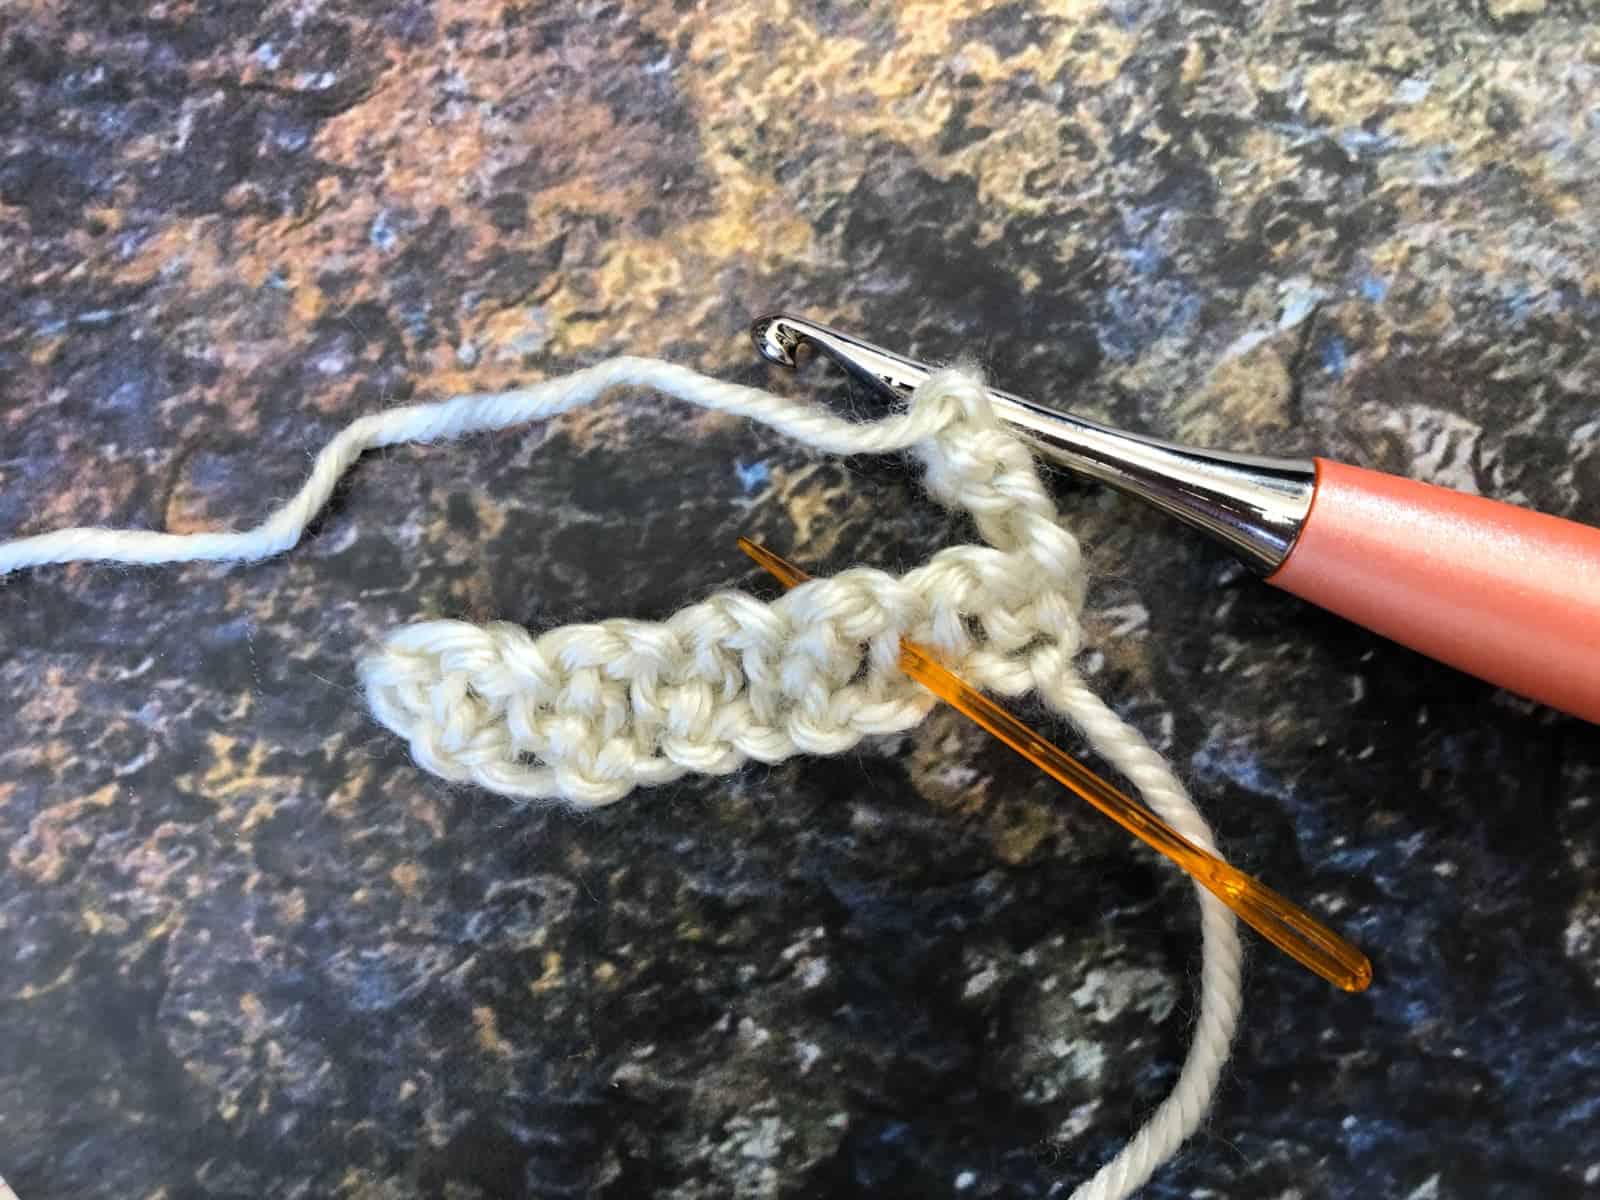 Ch 3 (counts as 2 sts),
 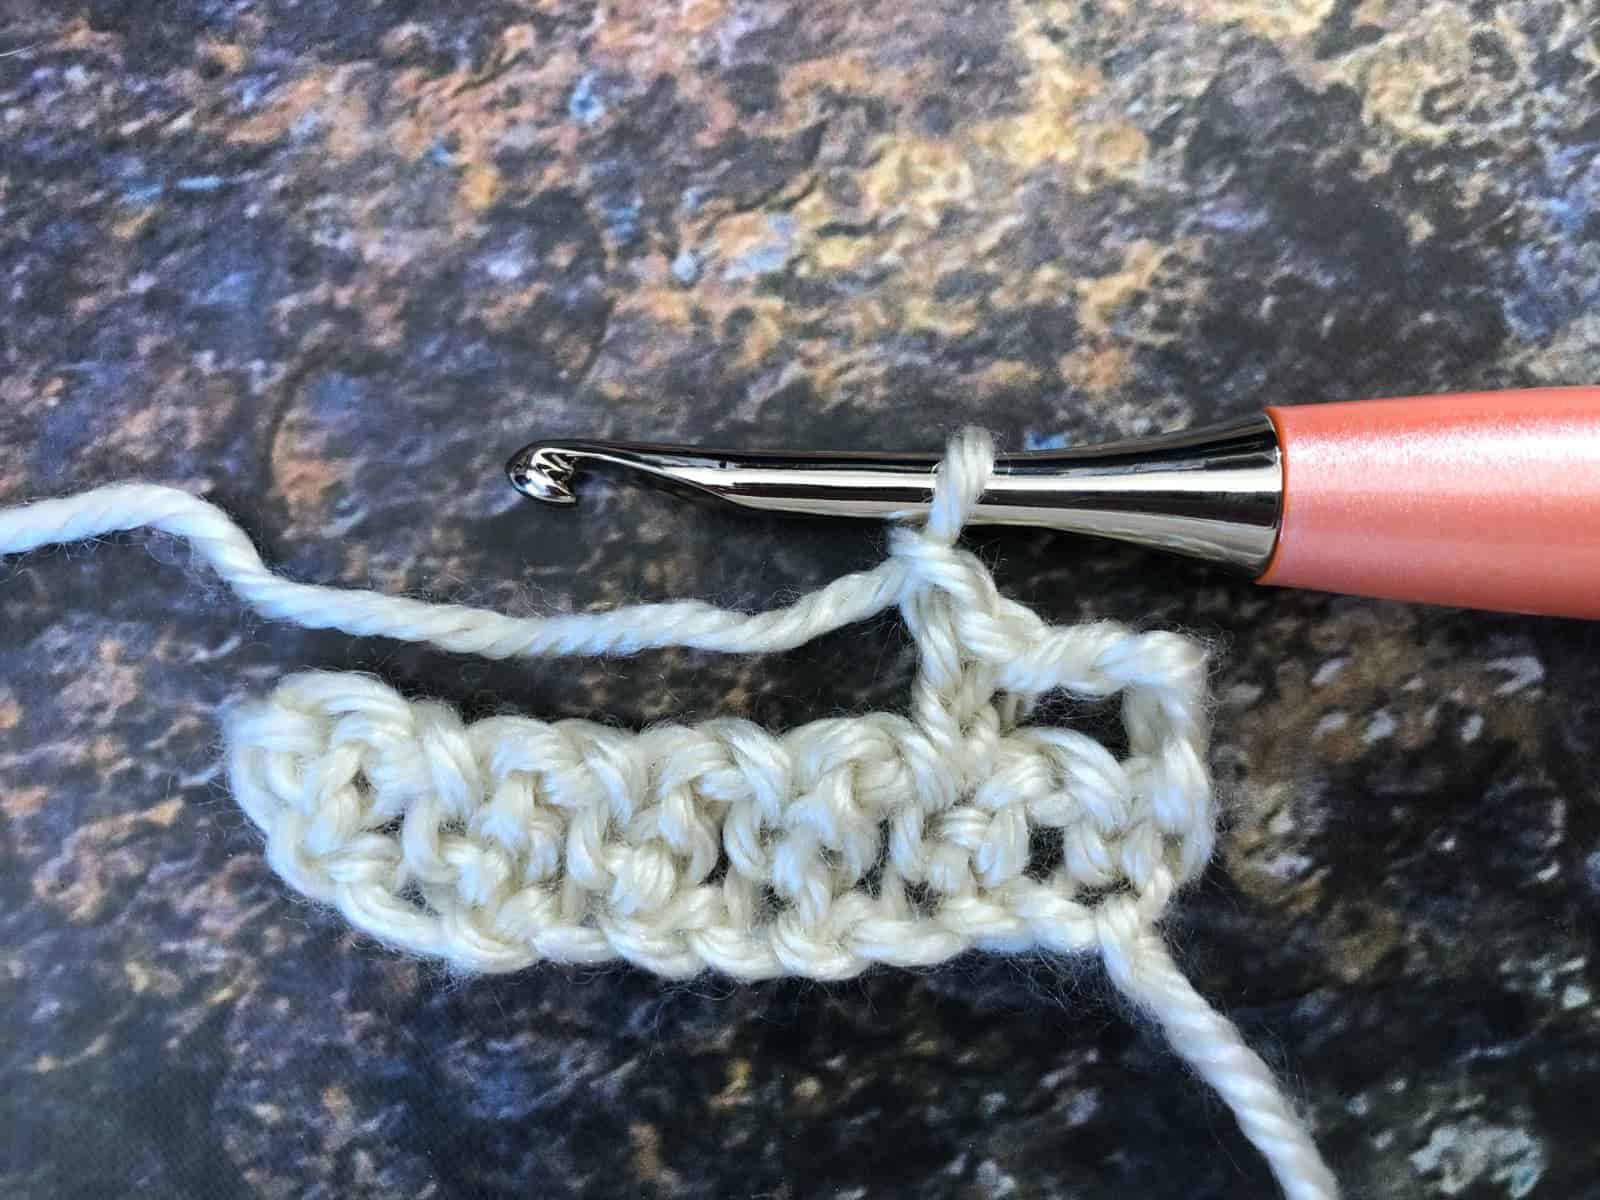 Sk next st, esc in next st (marked by the orange needle above), ch 1.
 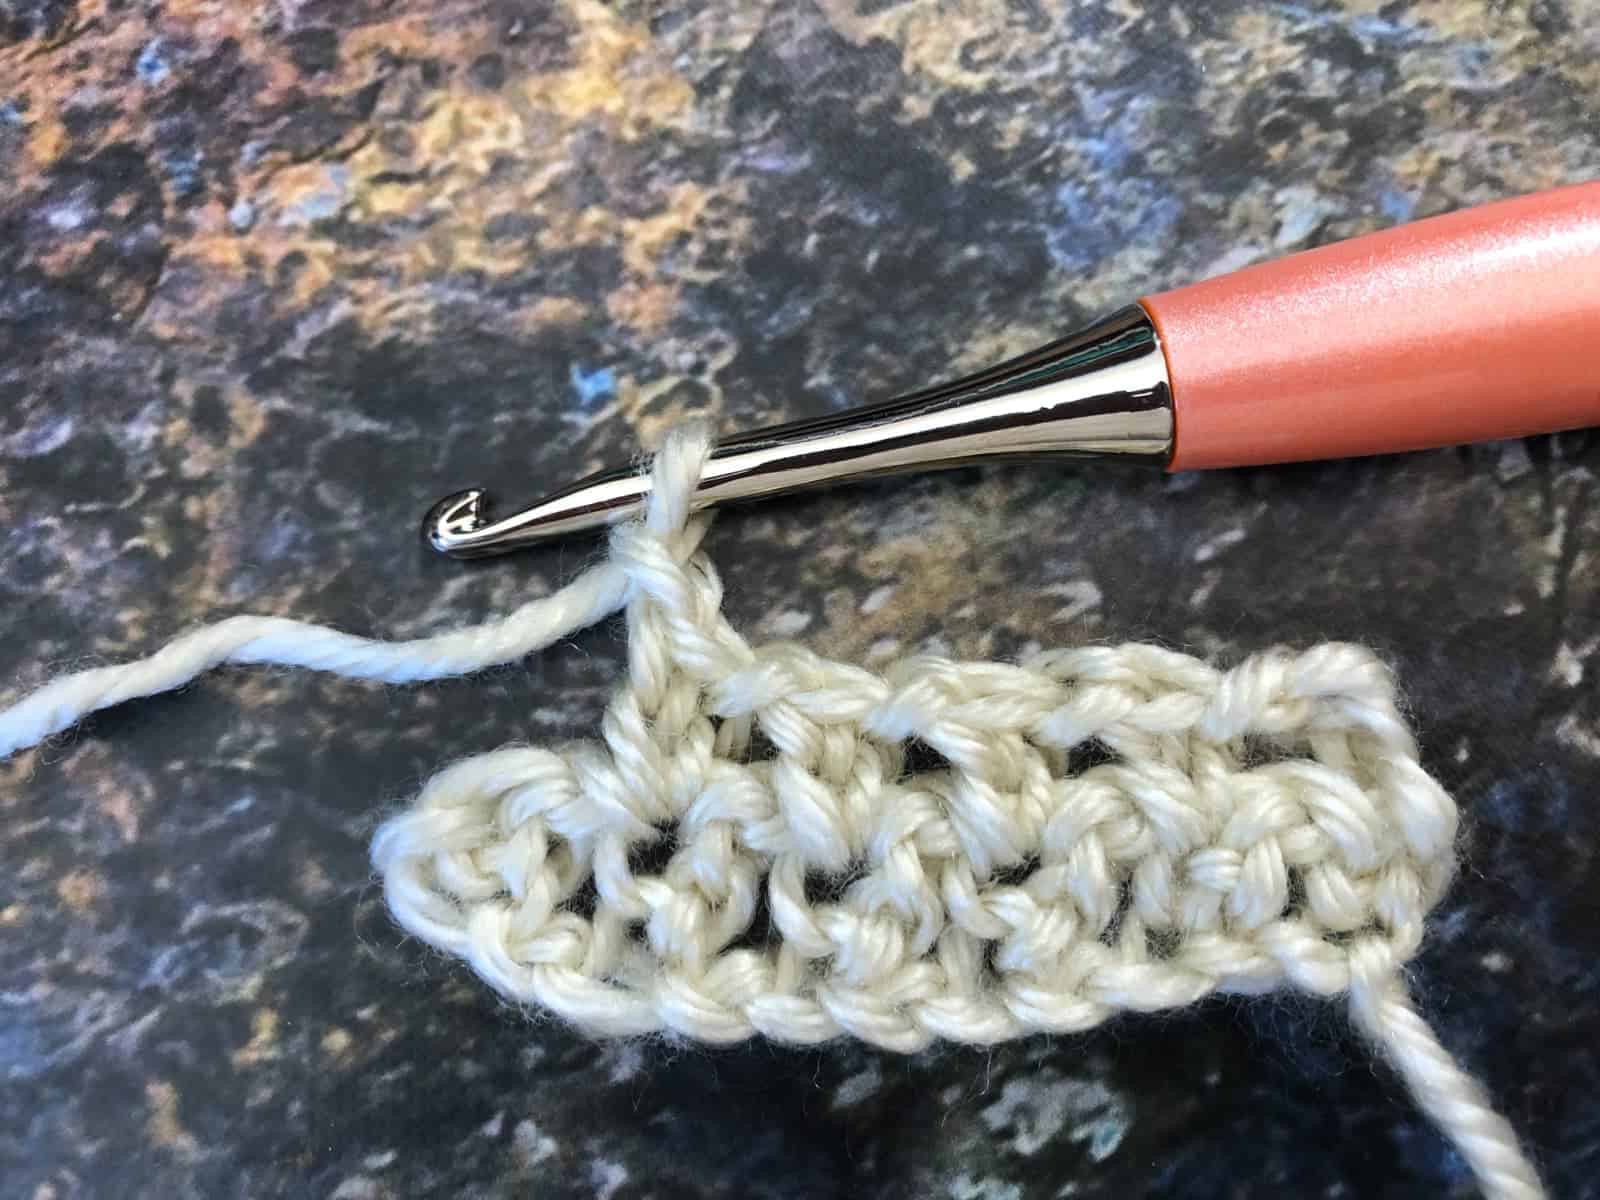 Ch 1, *{sk next st, esc in next st, ch 1} rep from * across until 1 st left.
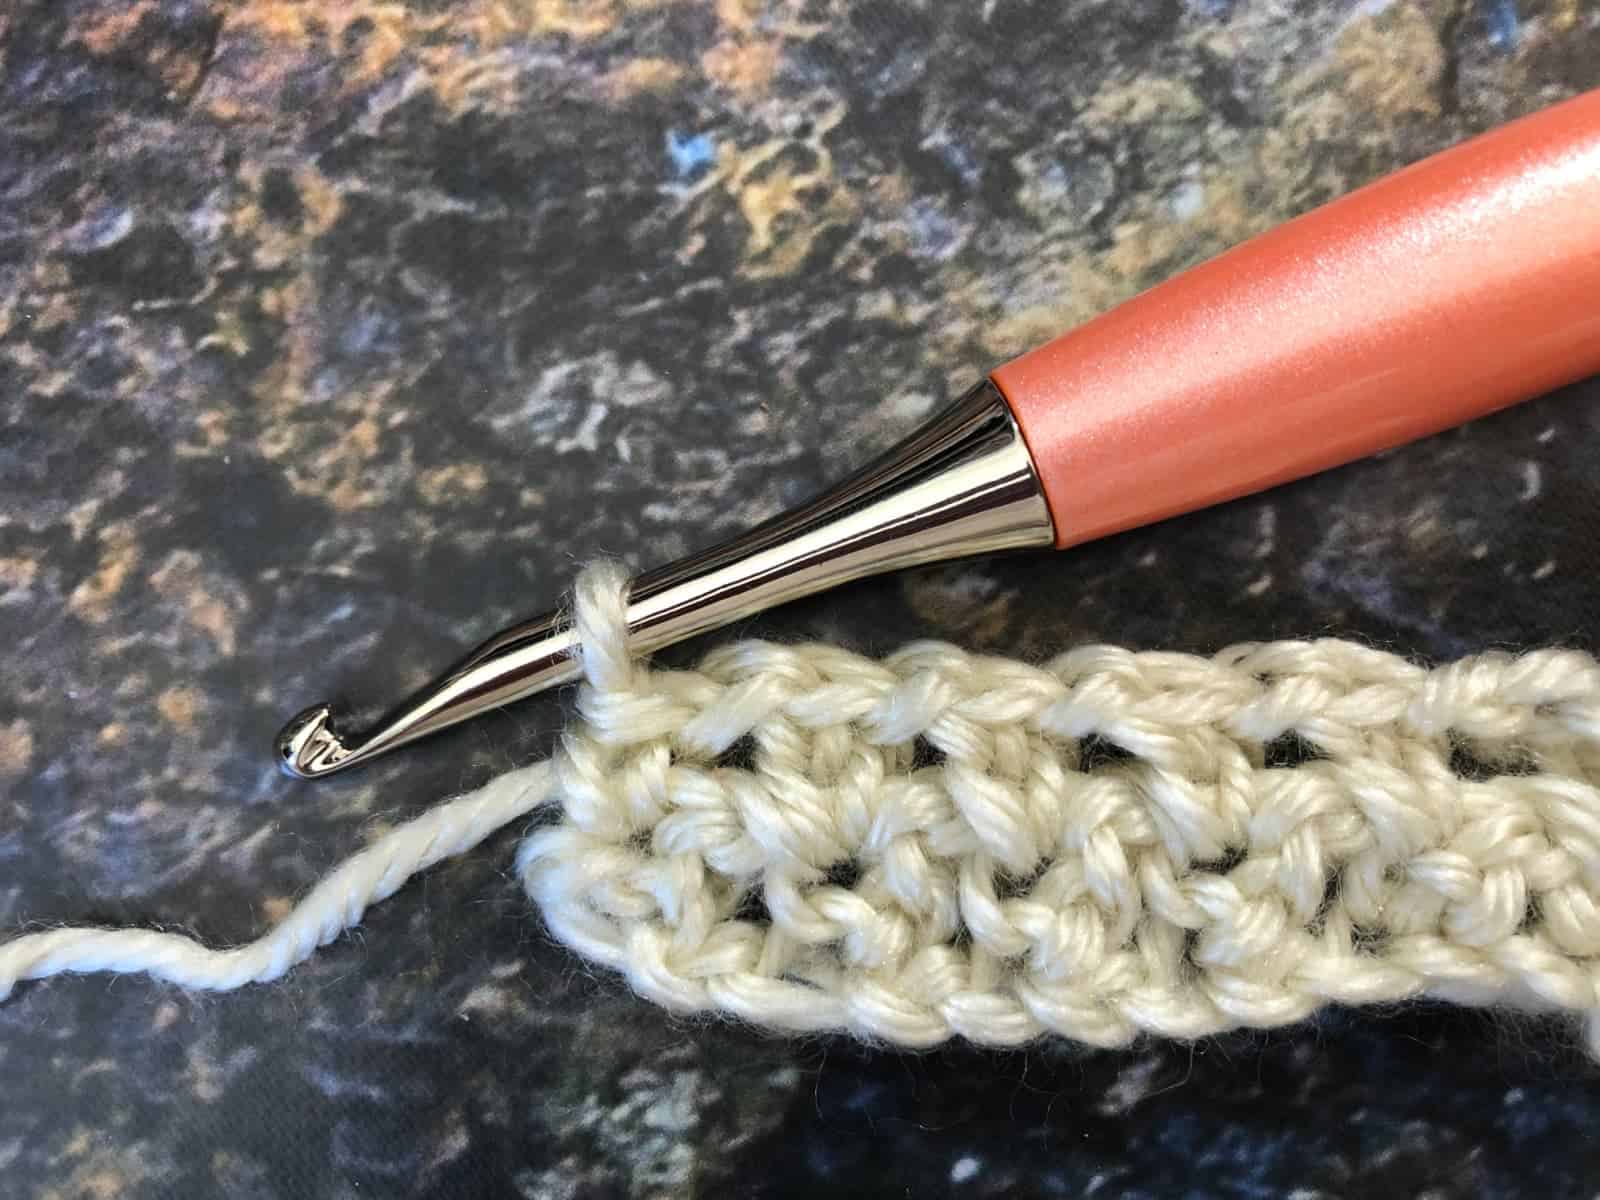 Sc in last st, turn. (11 sts)
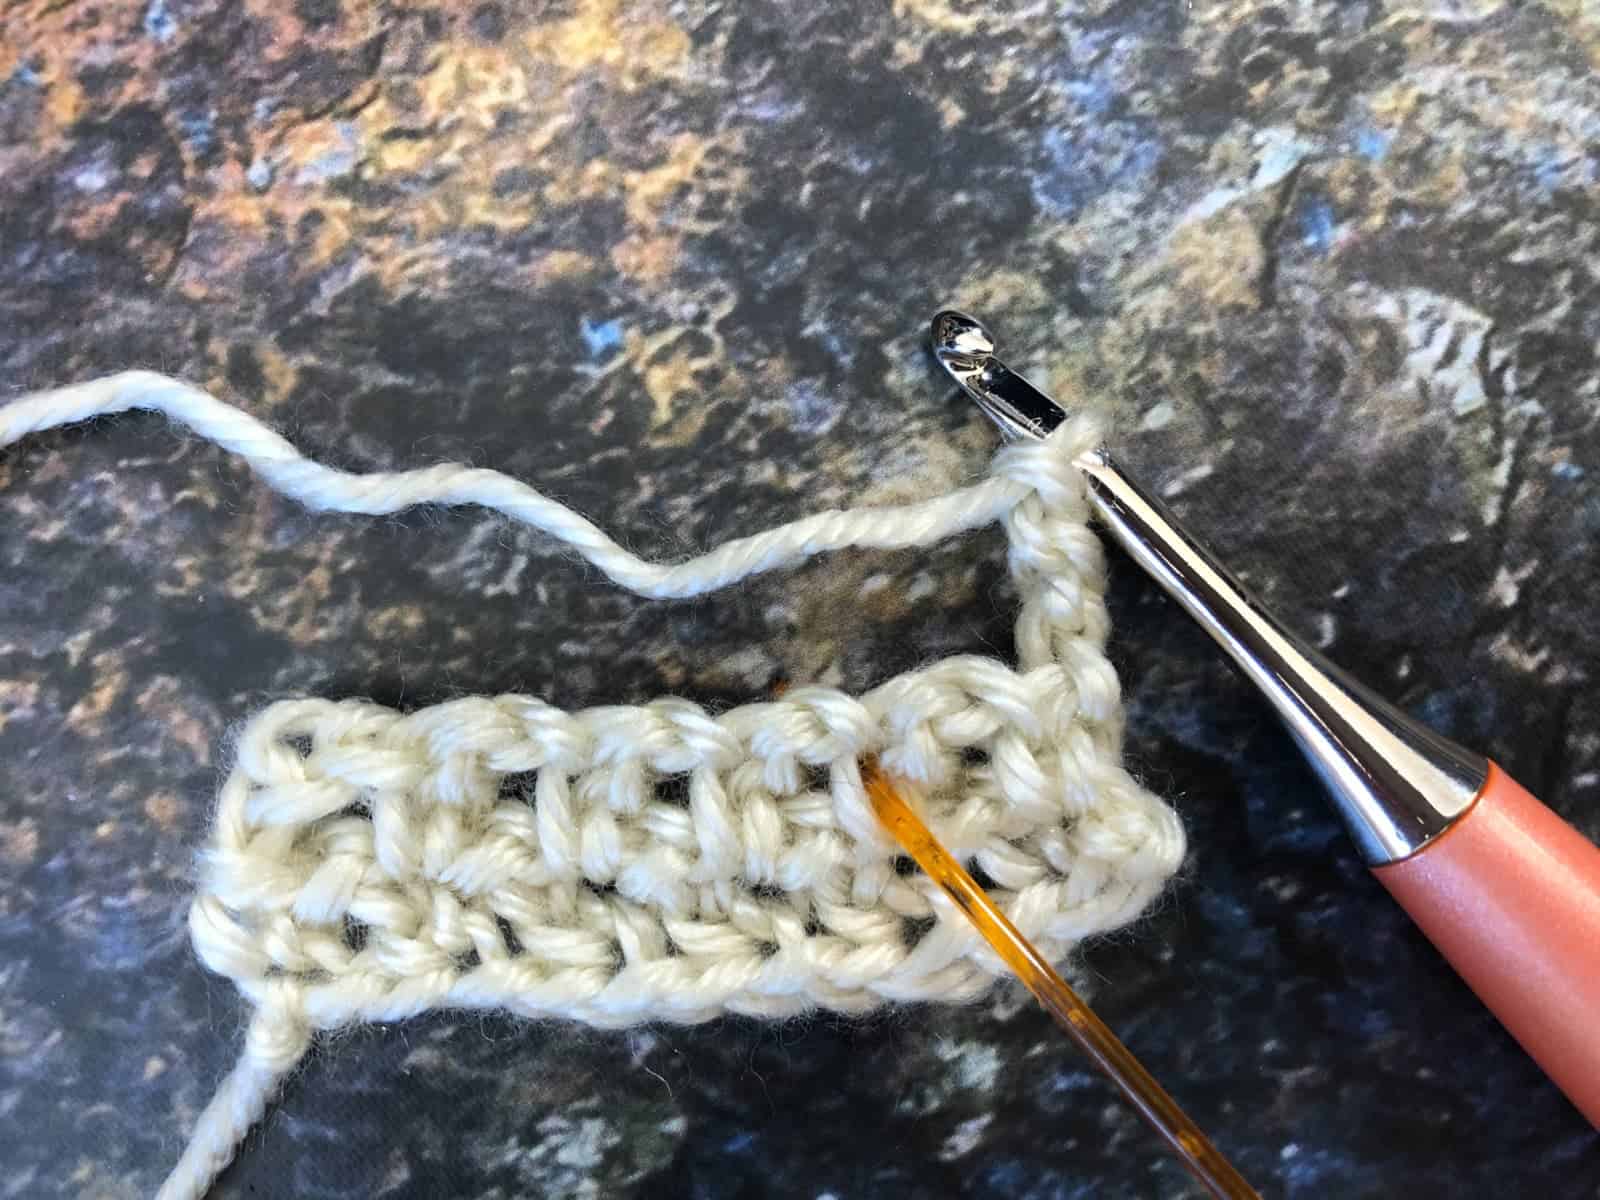 Row 3. Ch 3 (counts), *{sk next st, esc in next st, ch 1} rep from * across until 1 st left.
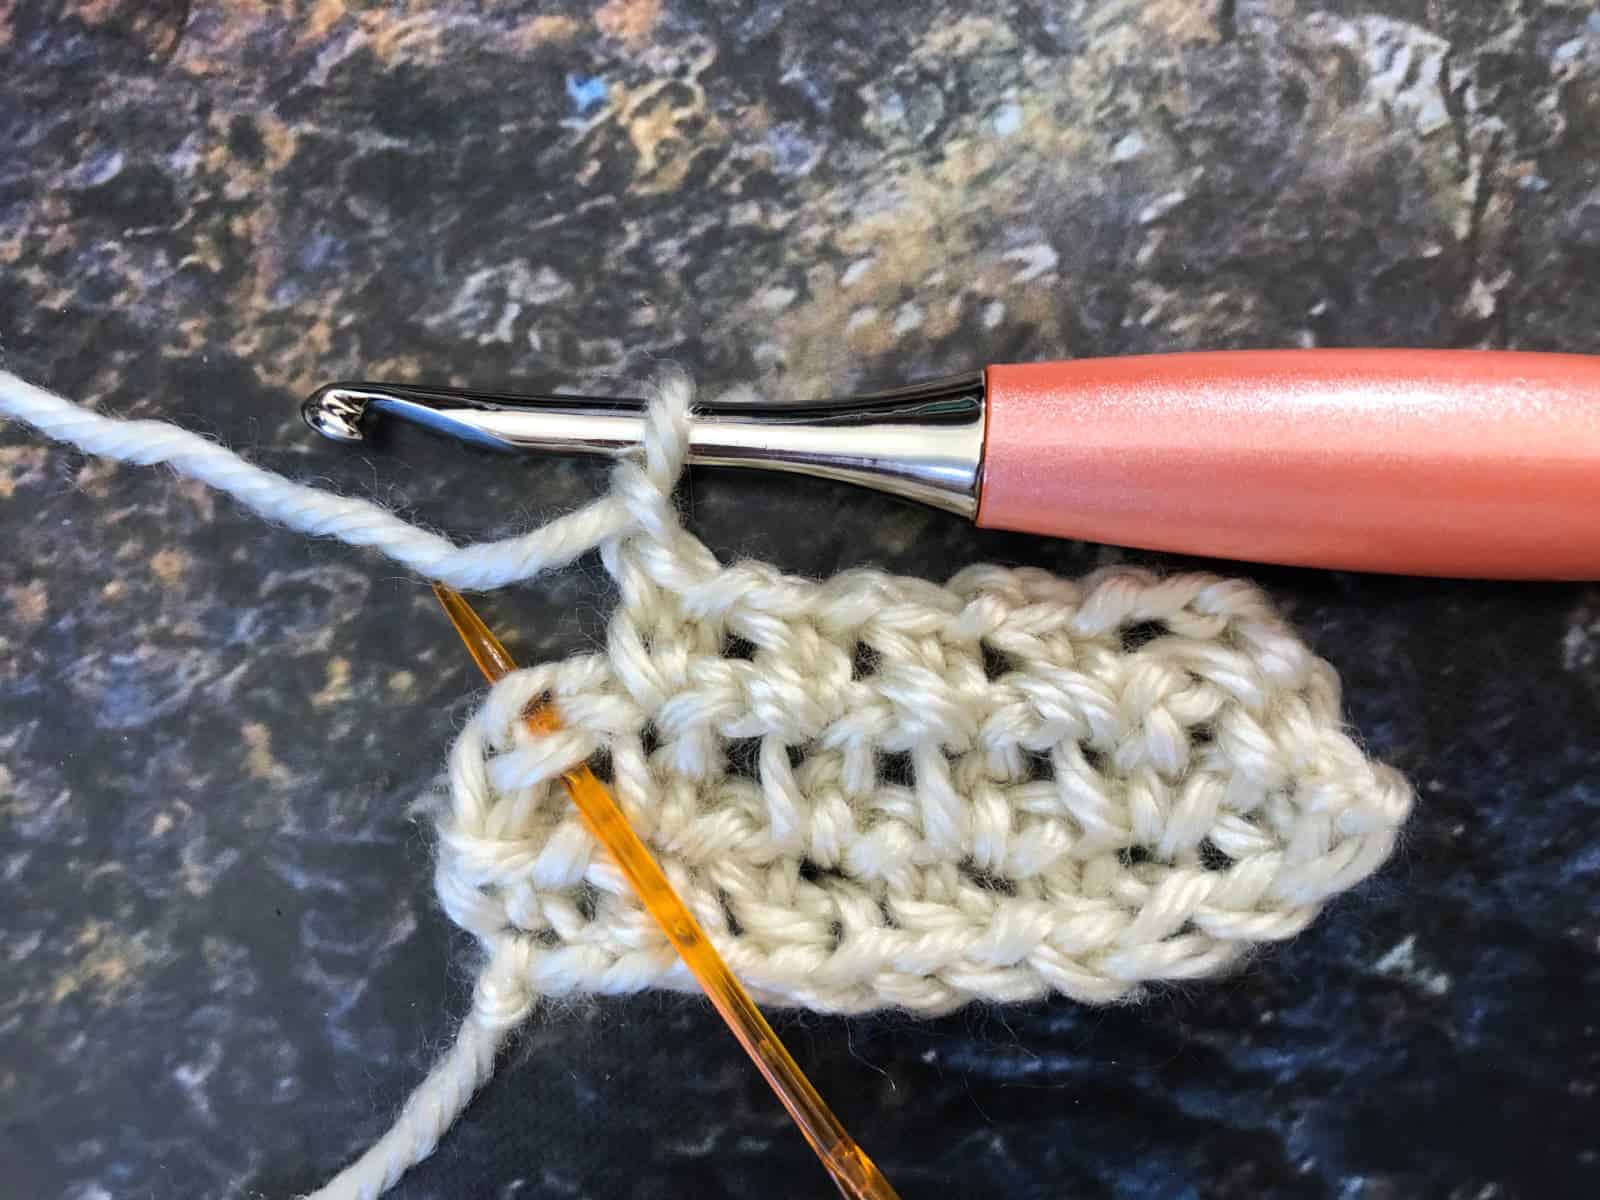 Sc in 2nd ch, turn. (11 sts)


In the instruction for the sleeve cuff, it says they were done on a different size hook. What size hook should I use for the cuffs? Thanks. So far, loving the pattern.
Hi Kay,
For the cuffs you can use a hook size smaller than you use for the sleeve. This will give you a nice snug cuff, since the ribbing is so stretchy.
I hope this helps,
Crystal