How To Block Your Acrylic Knitting And Crochet Projects
Can you block projects made with acrylic yarn? Yes! What is the best way to block crochet and knitting projects made with acrylic fibers?

This post contains affiliate links, I may earn a fee. Read more disclosure policy.
Join the ChristaCoDesign Newsletter
Never miss a pattern!
Join the ChristaCoDesign Newsletter
Never miss a pattern!
There are several different ways to block your finished acrylic projects. These are steam blocking, wet blocking and spray blocking.
Blocking helps to finish off all the hard work in you put into your knitted piece or crochet project! It can give your handmade items that professional look that sets them apart.
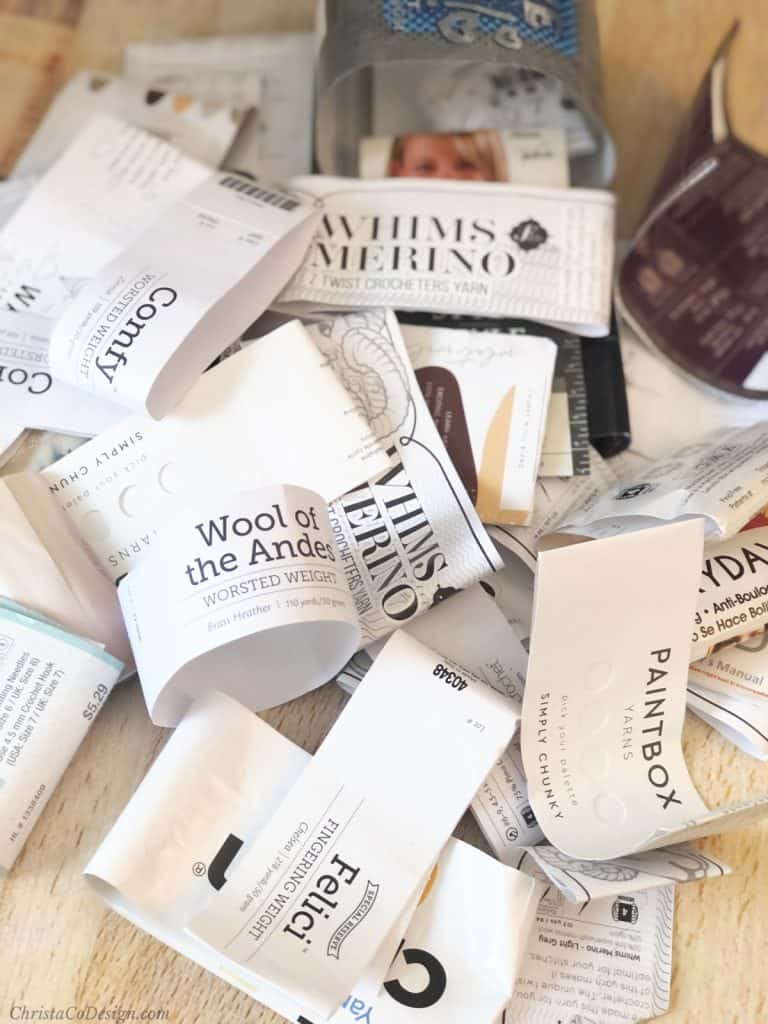
Check Your Yarn Label
Did you make your knit project with natural fibers? Then pay special attention to the care instructions on your yarn label. Natural fibers block very well, but be gentle.
Acrylic yarn is typically machine washable and can withstand the dryer heat. However, you should always read your yarn label and follow the recommendations.
The Different Blocking Methods
First check your yarn label. Then you can choose which form of blocking works for your crochet project.
Steam Blocking
To steam block you will need a garment steamer, water, blocking boards, pins and a flat blocking surface. While an ironing board will work for small projects, larger ones may need a table or bed.
If you do not have a garment steamer, you can use a steam iron. Be extra careful the hot iron does not touch your project.
Blocking boards are just square foam mats that interlock. If you don’t have them, you can use a flat surface like your bed or table. Be sure to protect the area from moisture and heat by covering it with towels.
- Prep your steamer / set iron to steam setting.
- Lay out your project on the blocking board.
- Hover the steamer several inches away from the project.
- Move all over your project allowing the steam to penetrate.
- Once it is damp to the touch, use gentle fingers to press into shape.
- Pin to the desired shape and size. Pay attention here to designs like a lace pattern, or the corners on a square.
- Allow to dry.
I love steam blocking for it’s ease and effectiveness. It’s the best combination of water and heat. Be sure to check out the video tutorial on this method here.

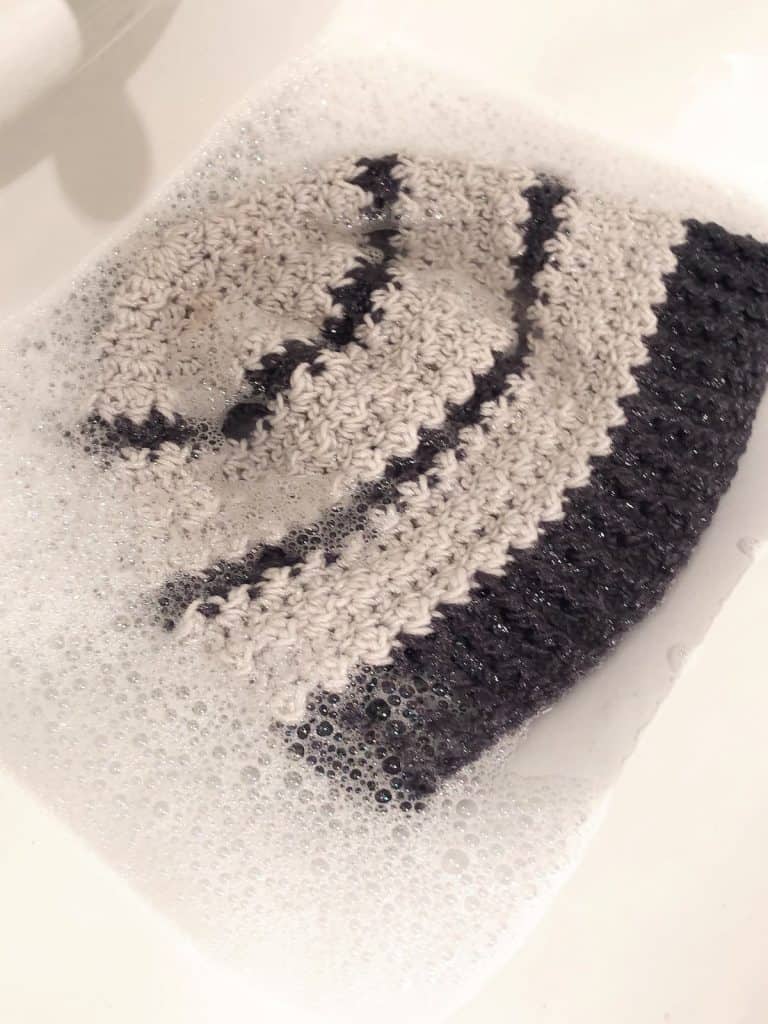
Wet Blocking
To wet block you will need a sink or bucket large enough to fit your knitting project, water, towels, blocking boards, pins and a flat surface large enough for your project.
If you do not have blocking boards, can use a flat surface like your bed or table. Be sure to protect the area from moisture and heat by covering it with towels.
- Fill the sink, or bucket with enough water to submerge your project. Lukewarm water and cold water are typical but check your yarn label. If it’s appropriate to your yarn care you can use a washing machine here.
- Add a dash of soap, if you’re using it. You can use any gentle soap, or none if you prefer.
- Gently submerge your completed item in the water.
- Gently press it into the water, allowing the acrylic pieces to get fully wet.
- Allow it to soak a few minutes, 5-15 mins is plenty.
- Gently rinse.
- Carefully squeeze out the excess water, without wringing it.
- Lay your project in a dry towel + roll it up, pressing as you go to squeeze out more water.
- Lay out your project on the blocking mats.
- Use your hands to gently press into position and pin to desired size.
- Allow to dry overnight.
Wet blocking is very effective. It does take more time. You can get more details on the wet blocking process in this tutorial.
Spray Blocking
To spray block you will need a spray bottle, water, blocking boards, pins and a flat surface large enough for your project.
If you do not have blocking boards, can use a flat surface like your bed or table. Be sure to protect the area from moisture and heat by covering it with towels.
- Lay out your project on the blocking mats.
- Spray it until it is damp.
- Once it is damp to the touch, use gentle fingers to press into shape.
- Pin to the proper shape and size.
- Allow to dry.
Spray blocking is very gentle. It is missing the heat factor of steam blocking and the saturation of wet blocking. It is most effective on natural fibers.
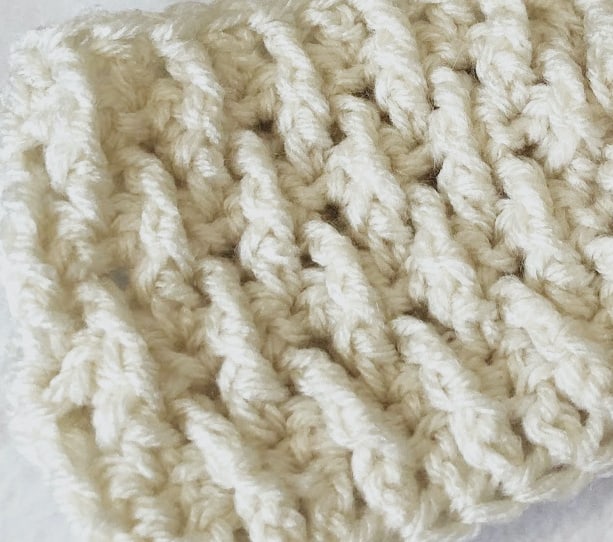
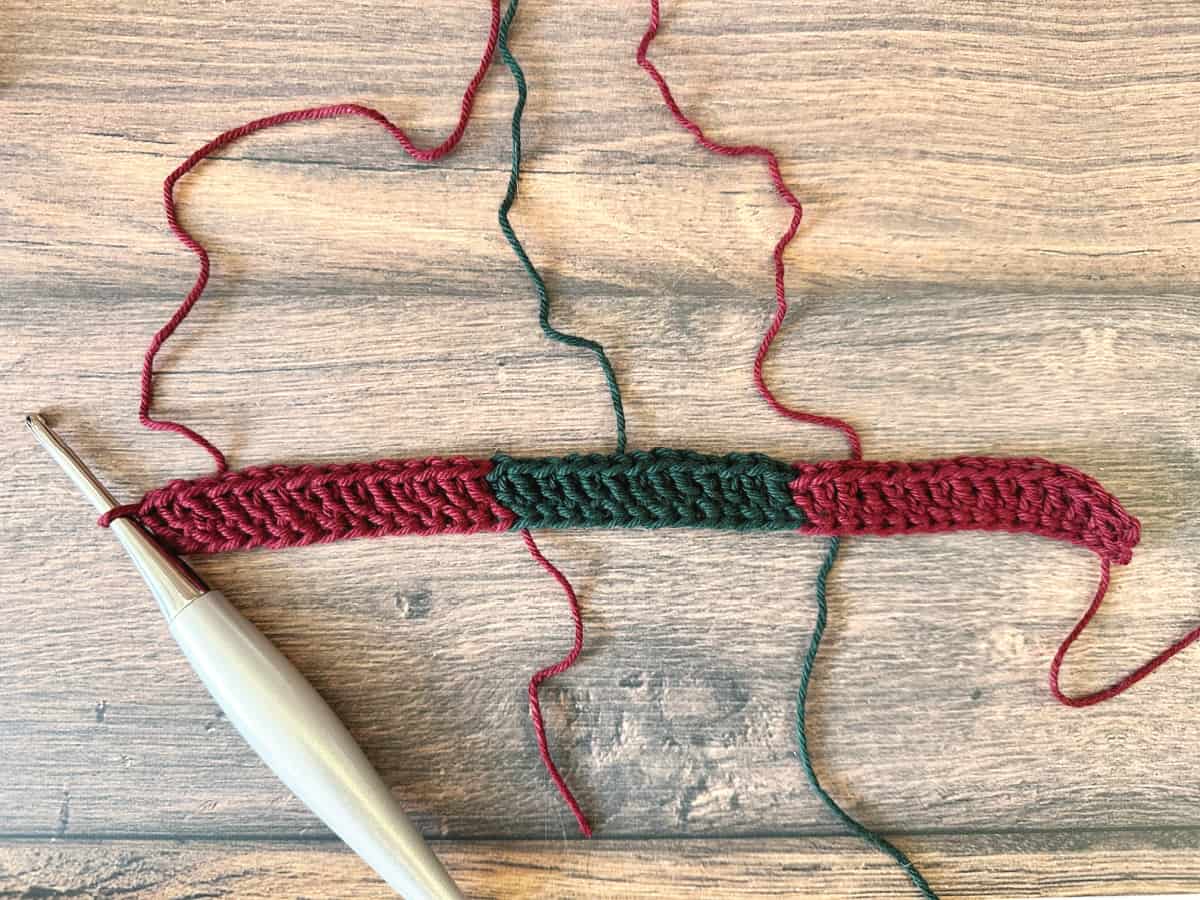
Blocking Acrylic Before And After

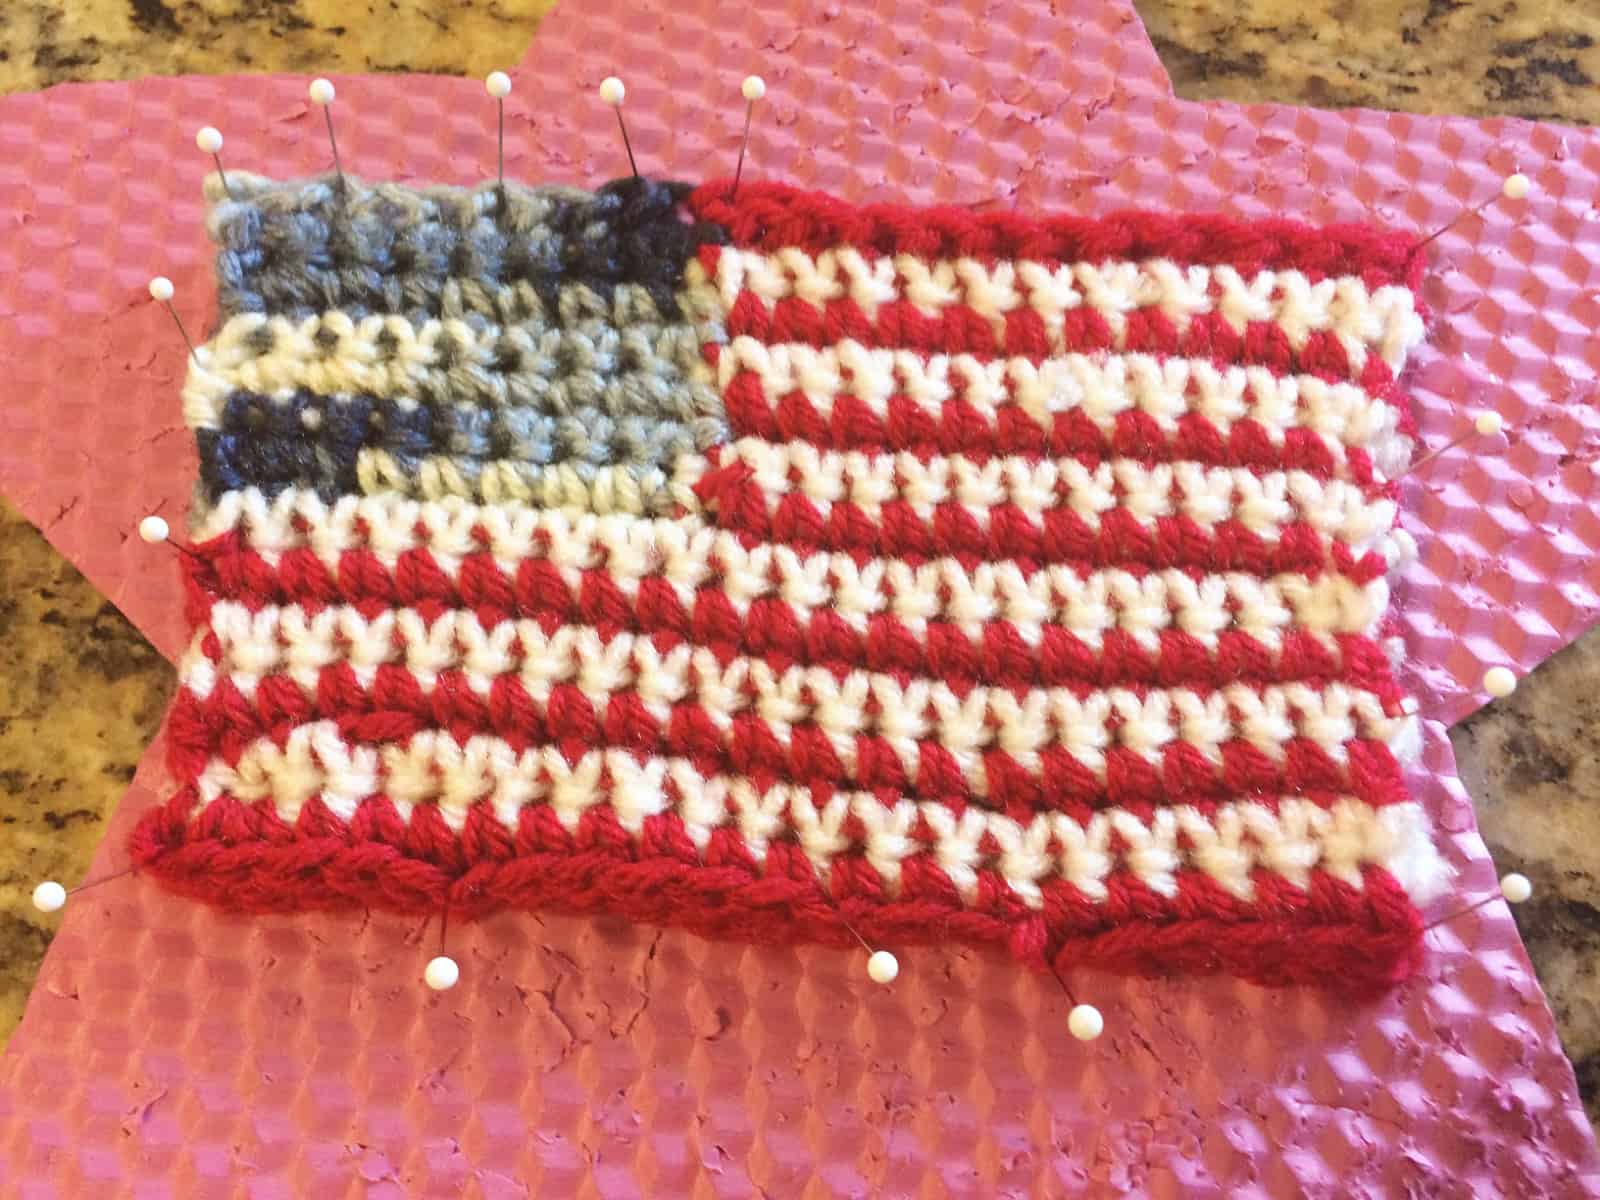
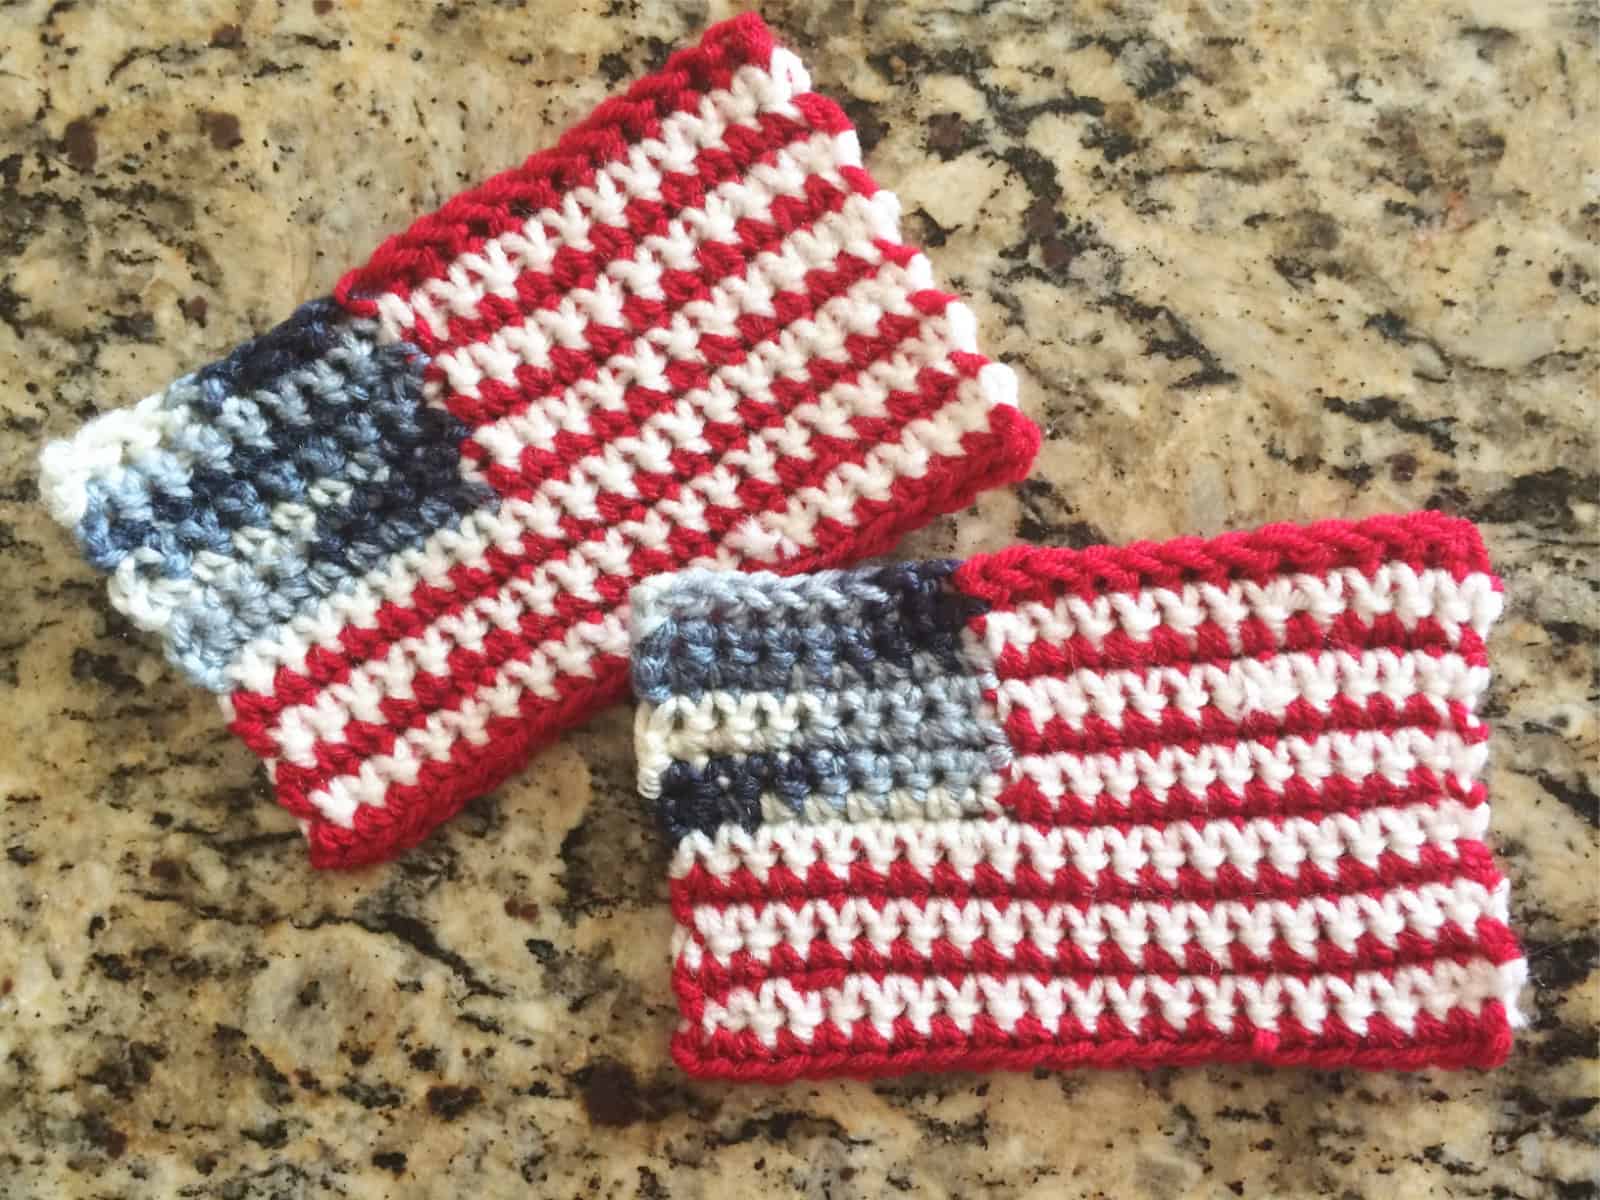
The best method for blocking your finished piece will depend on if your yarn. Is made with synthetic fibers or animal fibers? You can find this information and how to best care for it on your yarn label.
Blocking Tools
Blocking Boards* are nice to have, but not required.
Wool Wash* is great for wool fibers.
Garment Steamer* this is my preferred method of blocking. It’s so easy!
Spray bottle, measuring tape, pins.
Video Tutorial
Watch this video tutorial on how to steam block the Berryessa Scarf on my YouTube Channel.
Free Patterns
You might enjoy this mitered knit square pattern!
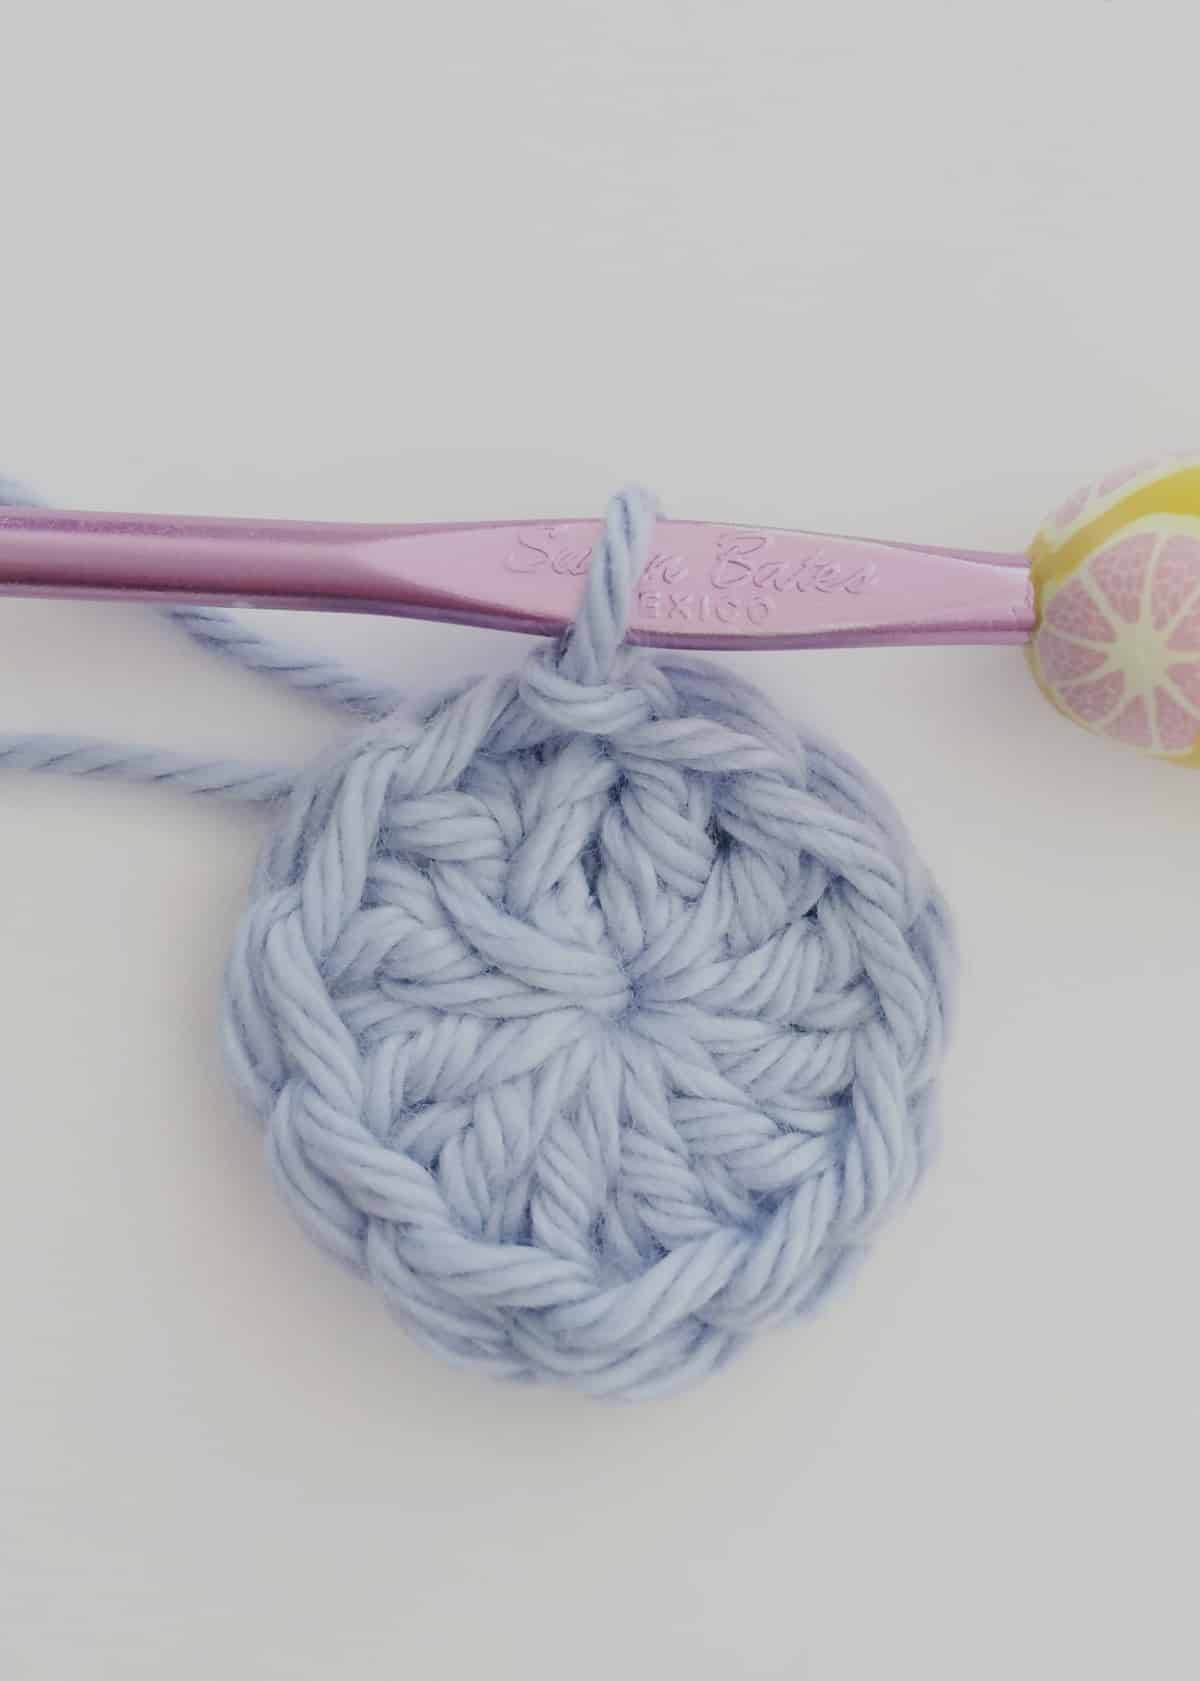
Crocheters will enjoy the sunflower granny square!