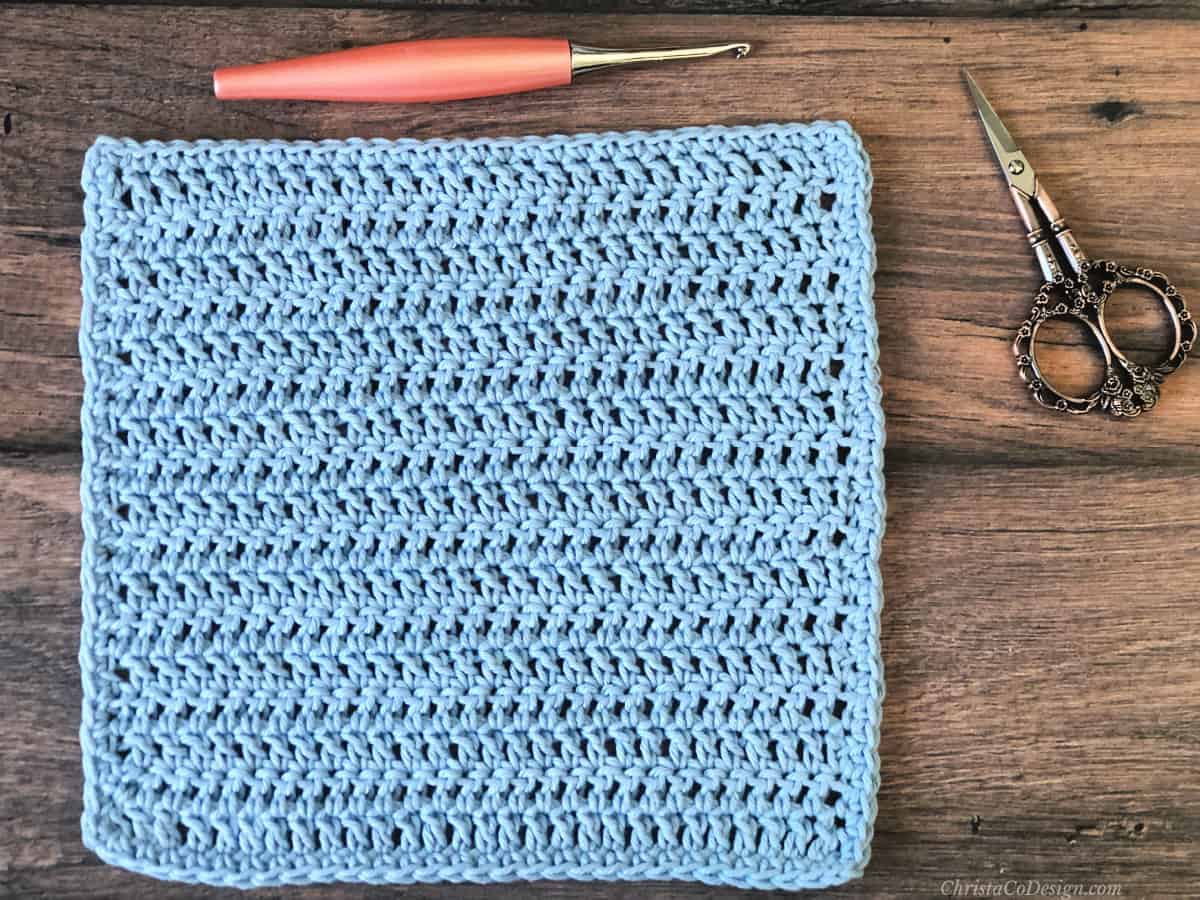
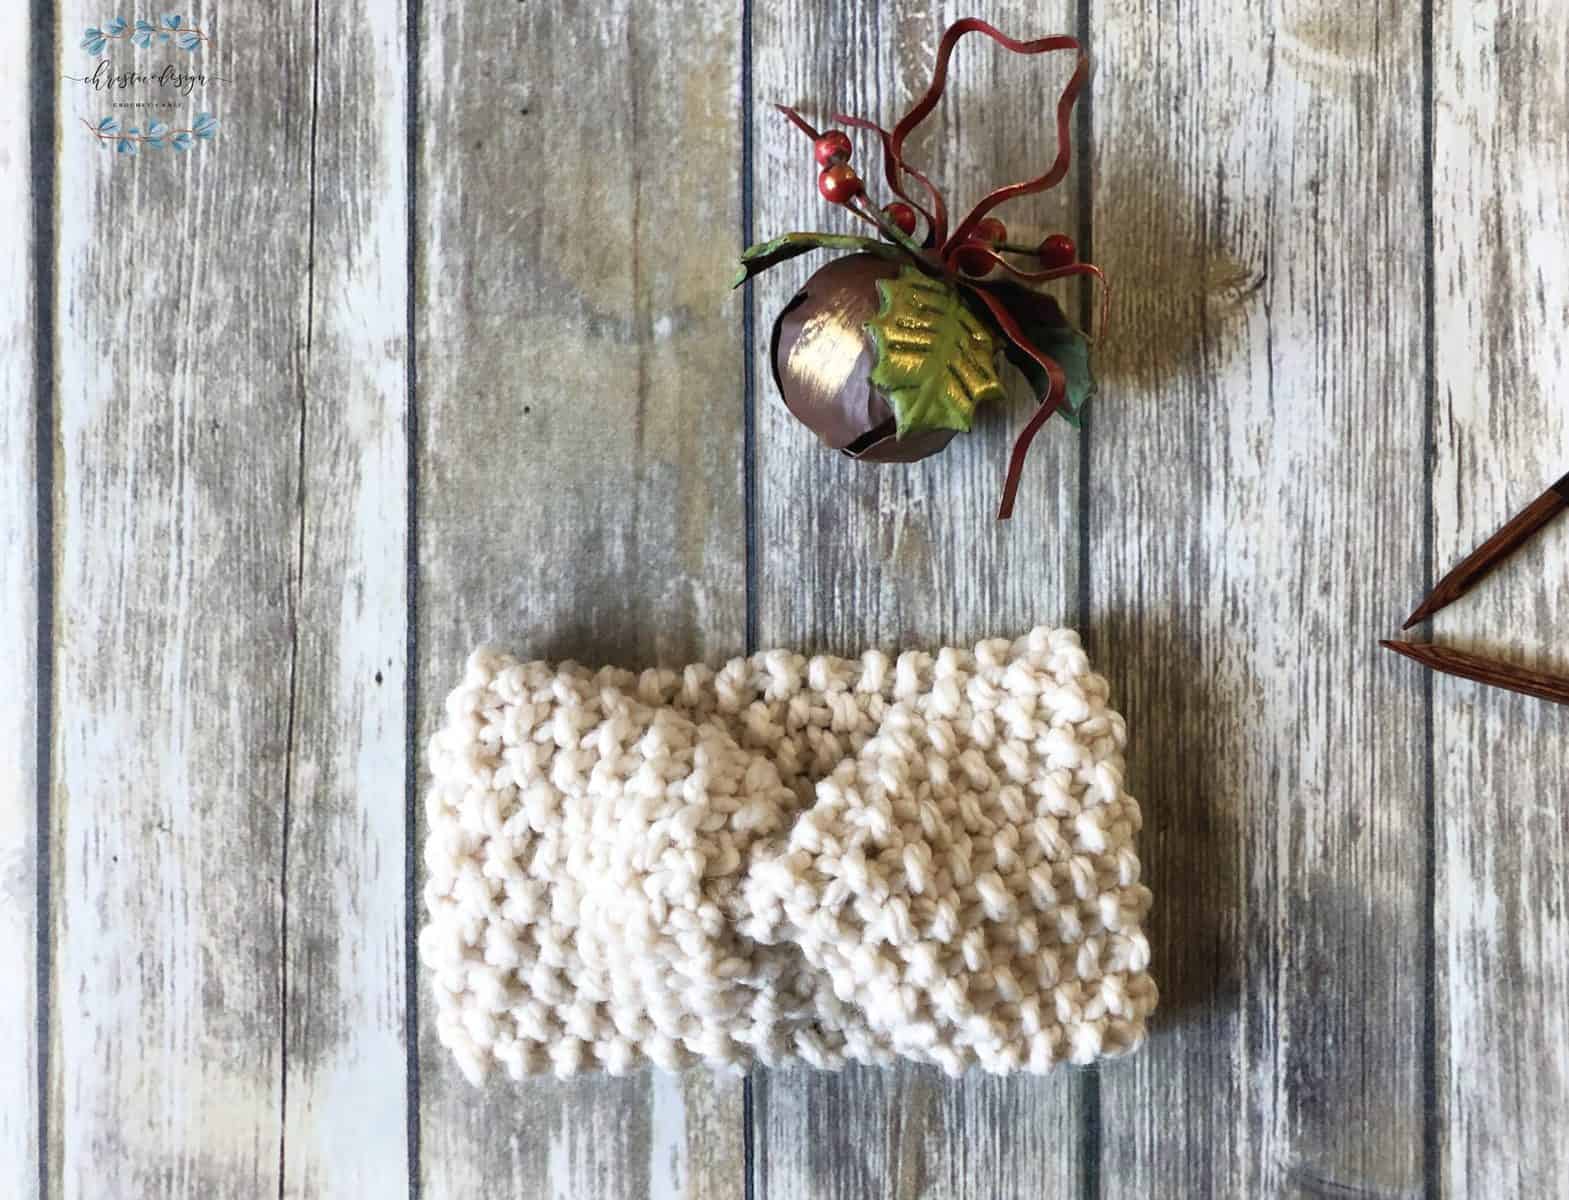
Double Seed Stitch Dishcloth Free Knitting Pattern
The double seed stitch makes a fabulous dishcloth. This knit stitch has perfect texture for scrubbing in the kitchen. Plus it’s a fun project that you can make many of!

This post contains affiliate links, I may earn a fee. Read more disclosure policy.
Join the ChristaCoDesign Newsletter
Never miss a pattern!
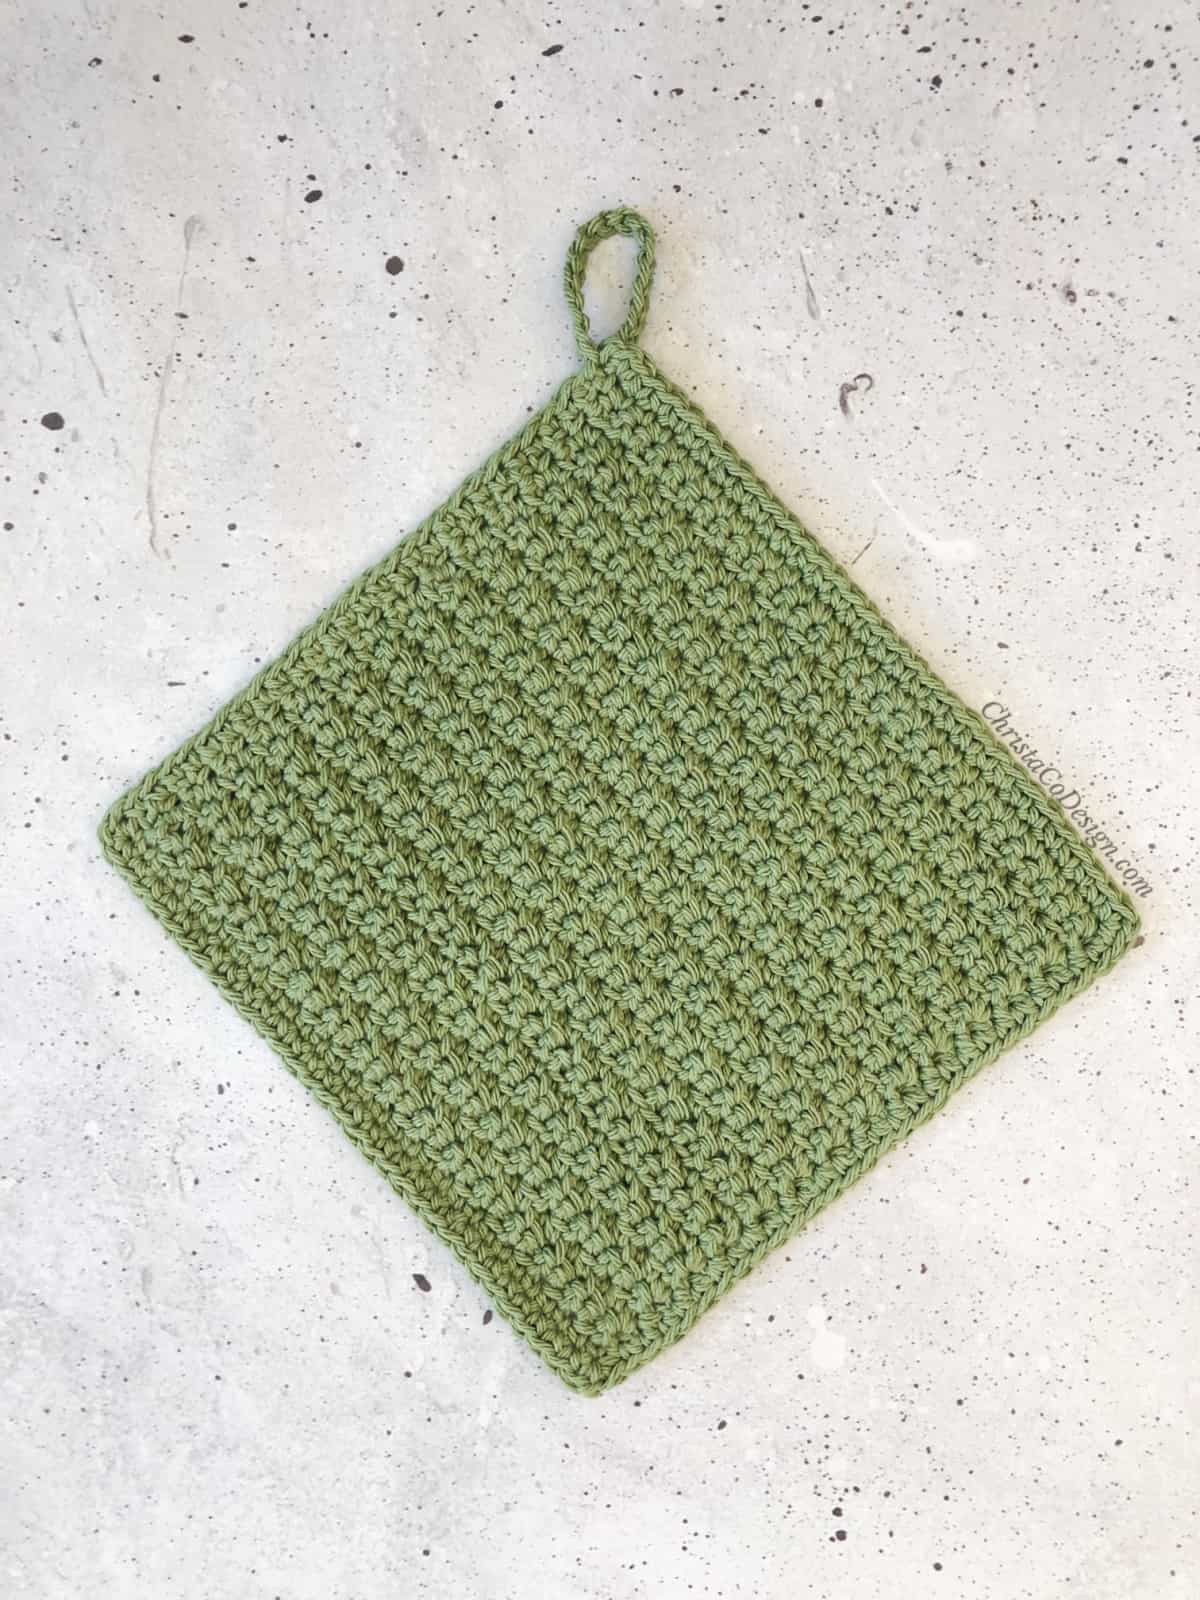
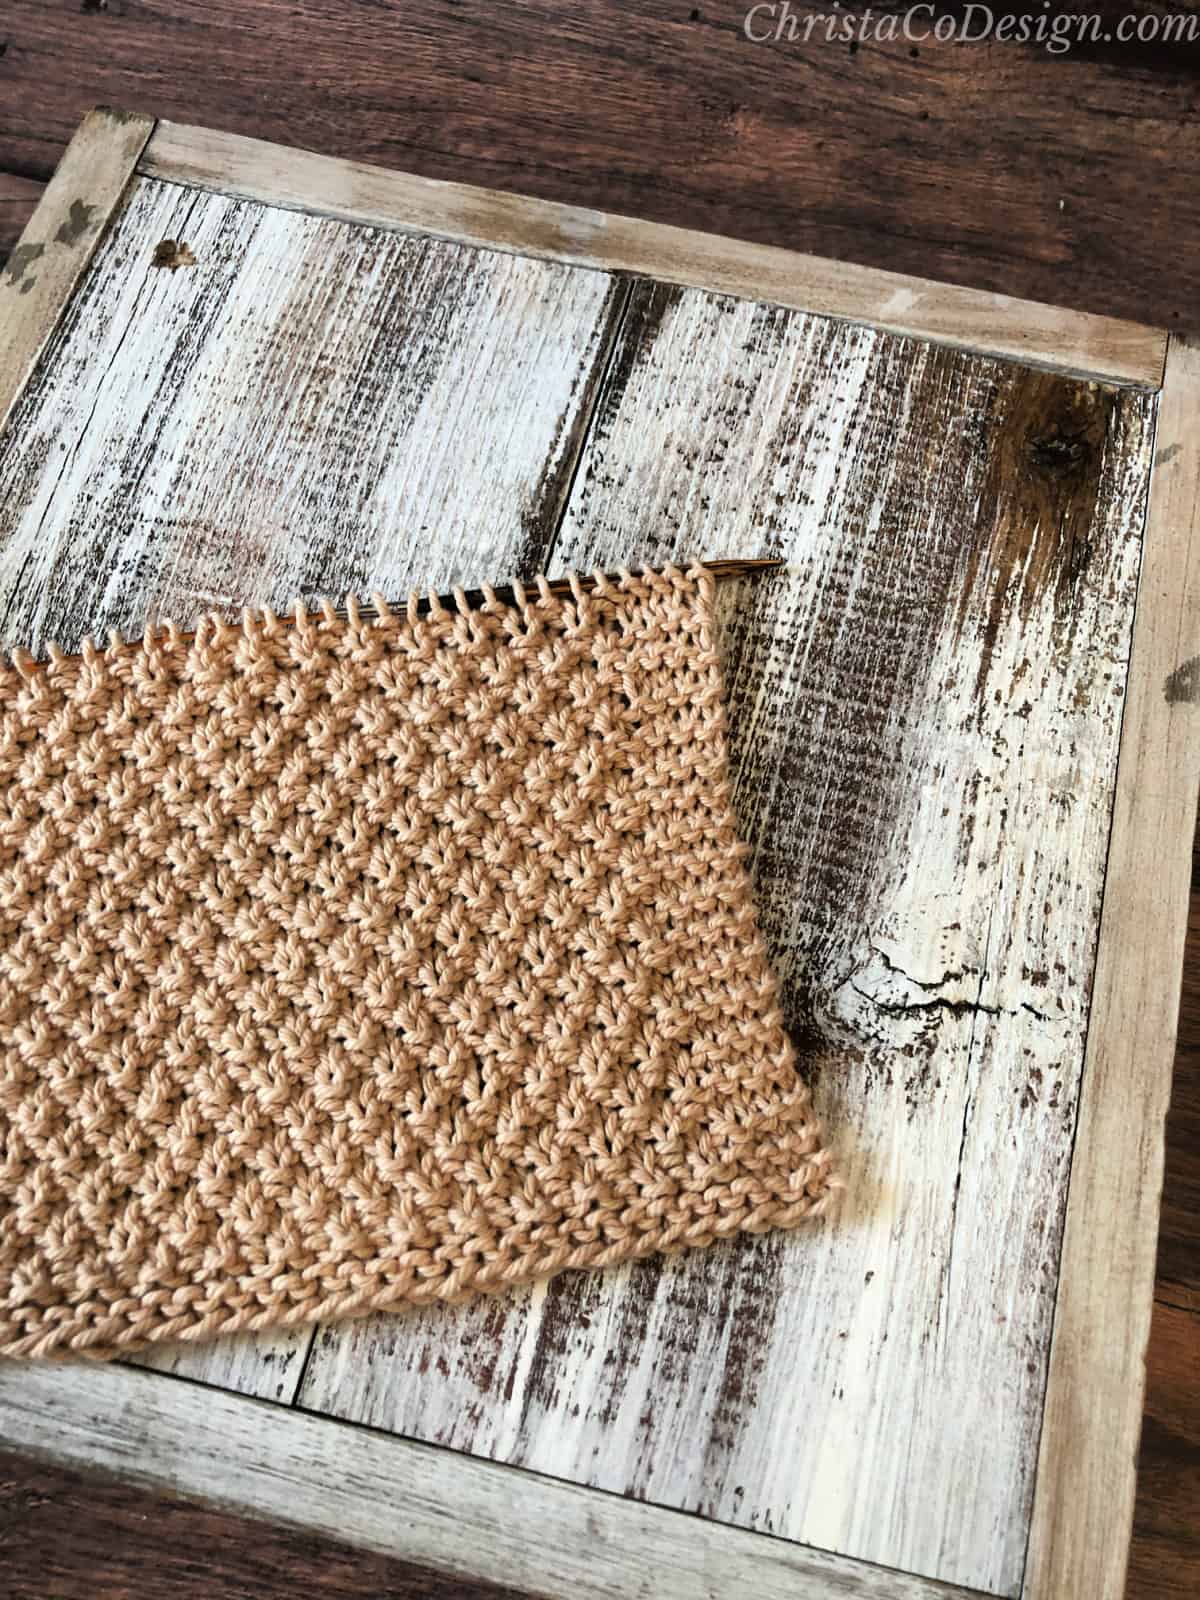
And since this double seed stitch pattern lays flat you can just knit away. If you prefer to add a border I include a garter stitch border for the edges too.
The garter stitch is great because this beautiful textured fabric is reversible. So no matter which way you grab it, it’s right side up, there’s no wrong side.

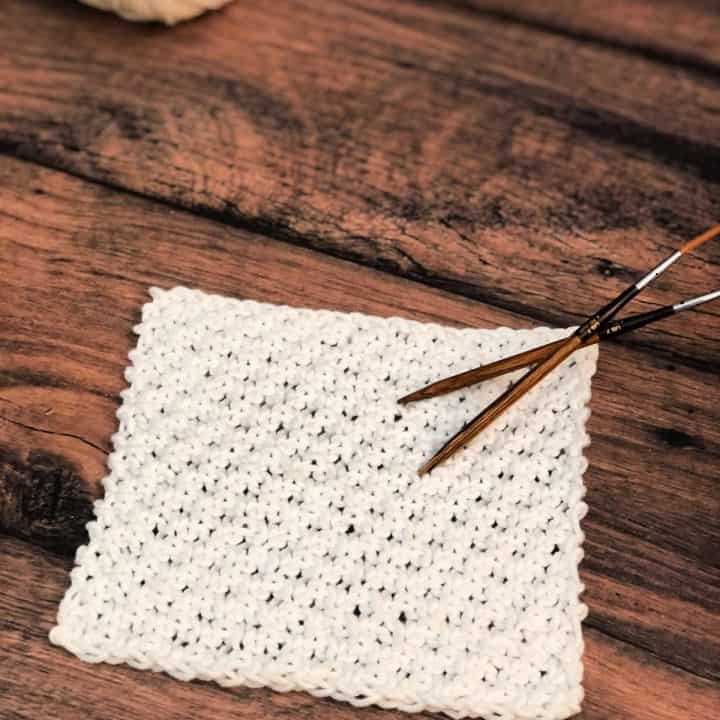
In this free pattern below I include 3 sizes and the written instructions for knitting this dishcloth with or without the border. This stitch works up flat so you can knit these dishcloths without any border if you like.
Knit dishcloths are such a quick project that even a beginner knitter will enjoy. The simple pattern looks great in a solid color, but you could do stripes and use up leftover yarn.
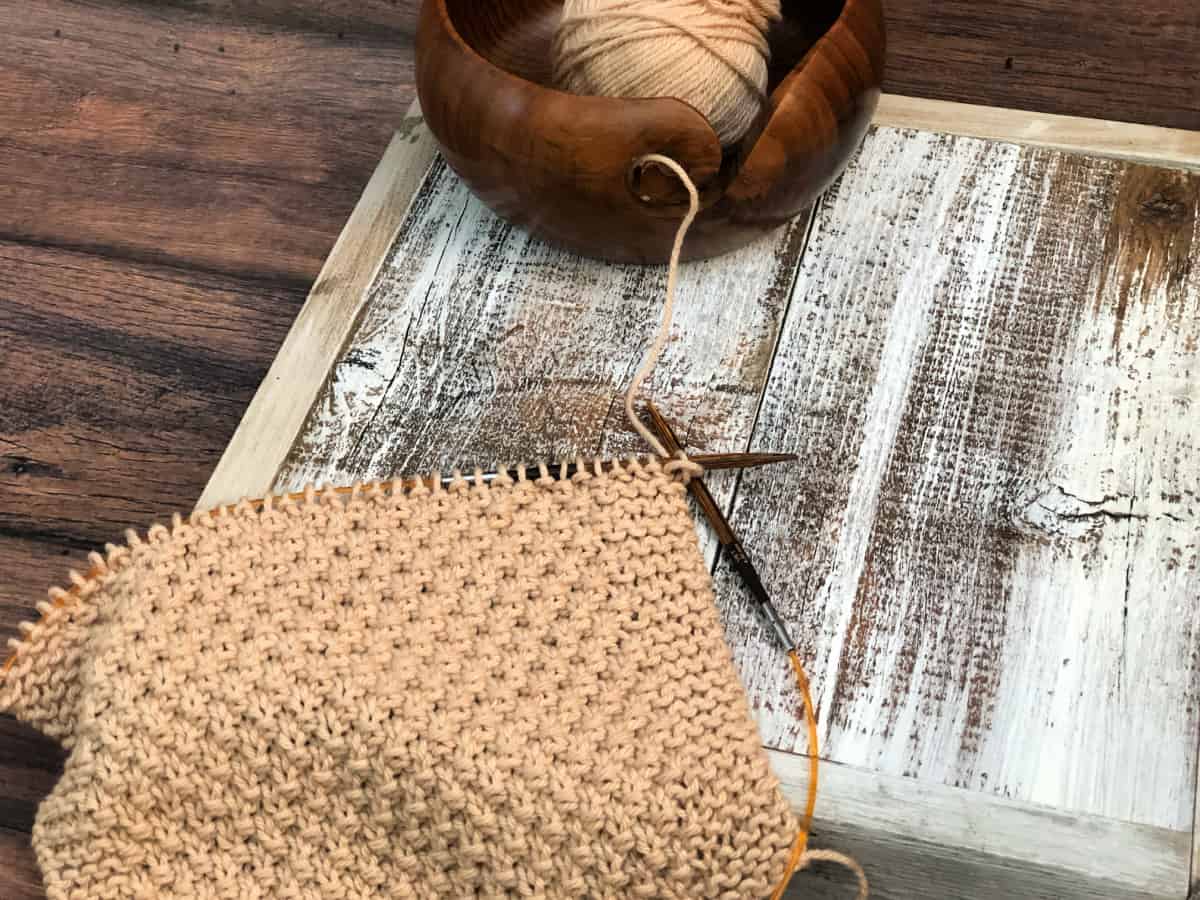
Handy tip: Neat Edges!
When knitting many of us struggle with keep our edges neat. Knit the first stitch (or two) of each row a little tighter to help make your edges neat & tidy!
Thanks to WeCrochet for sending me the yarn to make this pattern.
Materials
- #4 medium worsted weight cotton yarn, I’m using Dishie yarn* (100% cotton, 190 yd / 100 g) color: White (1) ball or Linen (1) ball.
- US Size 7 / 4.5 mm knitting needles*, or needle size to meet gauge. You can knit this pattern with straight needles. I use circular needles, this is my favorite set of interchangeable needles.*
- Yarn needle, scissors, measuring tape
Notes
- Stitch multiple is an even number.
- 8 stitches are for the edges.
Stitches / Abbreviations
US Terms
co – cast on You can use any cast on method. I have linked the long tail cast on. Here are 4 easy cast ons for beginners to choose from.
bo – bind off
garter stitch – knit stitches on both sides used for the border here.
k – knit
p – purl
rep – repeat
st(s) – stitch(es)
Skill Level
Easy
Gauge
4″ / 10 cm x 4″ / 10 cm = 18 sts x 26 rows in pattern
MORE
Free Knit Dishcloth Patterns
Fit/Adjustments
To make this pattern wider or narrower cast on any number of stitches. Keep an even number of stitches if you would like to adjust the width.
Remember 8 stitches are for the edges. You can adjust this to any number, just make sure the center keeps an even number of stitches.
To change the length, continue to repeat rows until it’s to your desired length. Stop after a row 4 repeat.
Don’t forget to pin this for later!
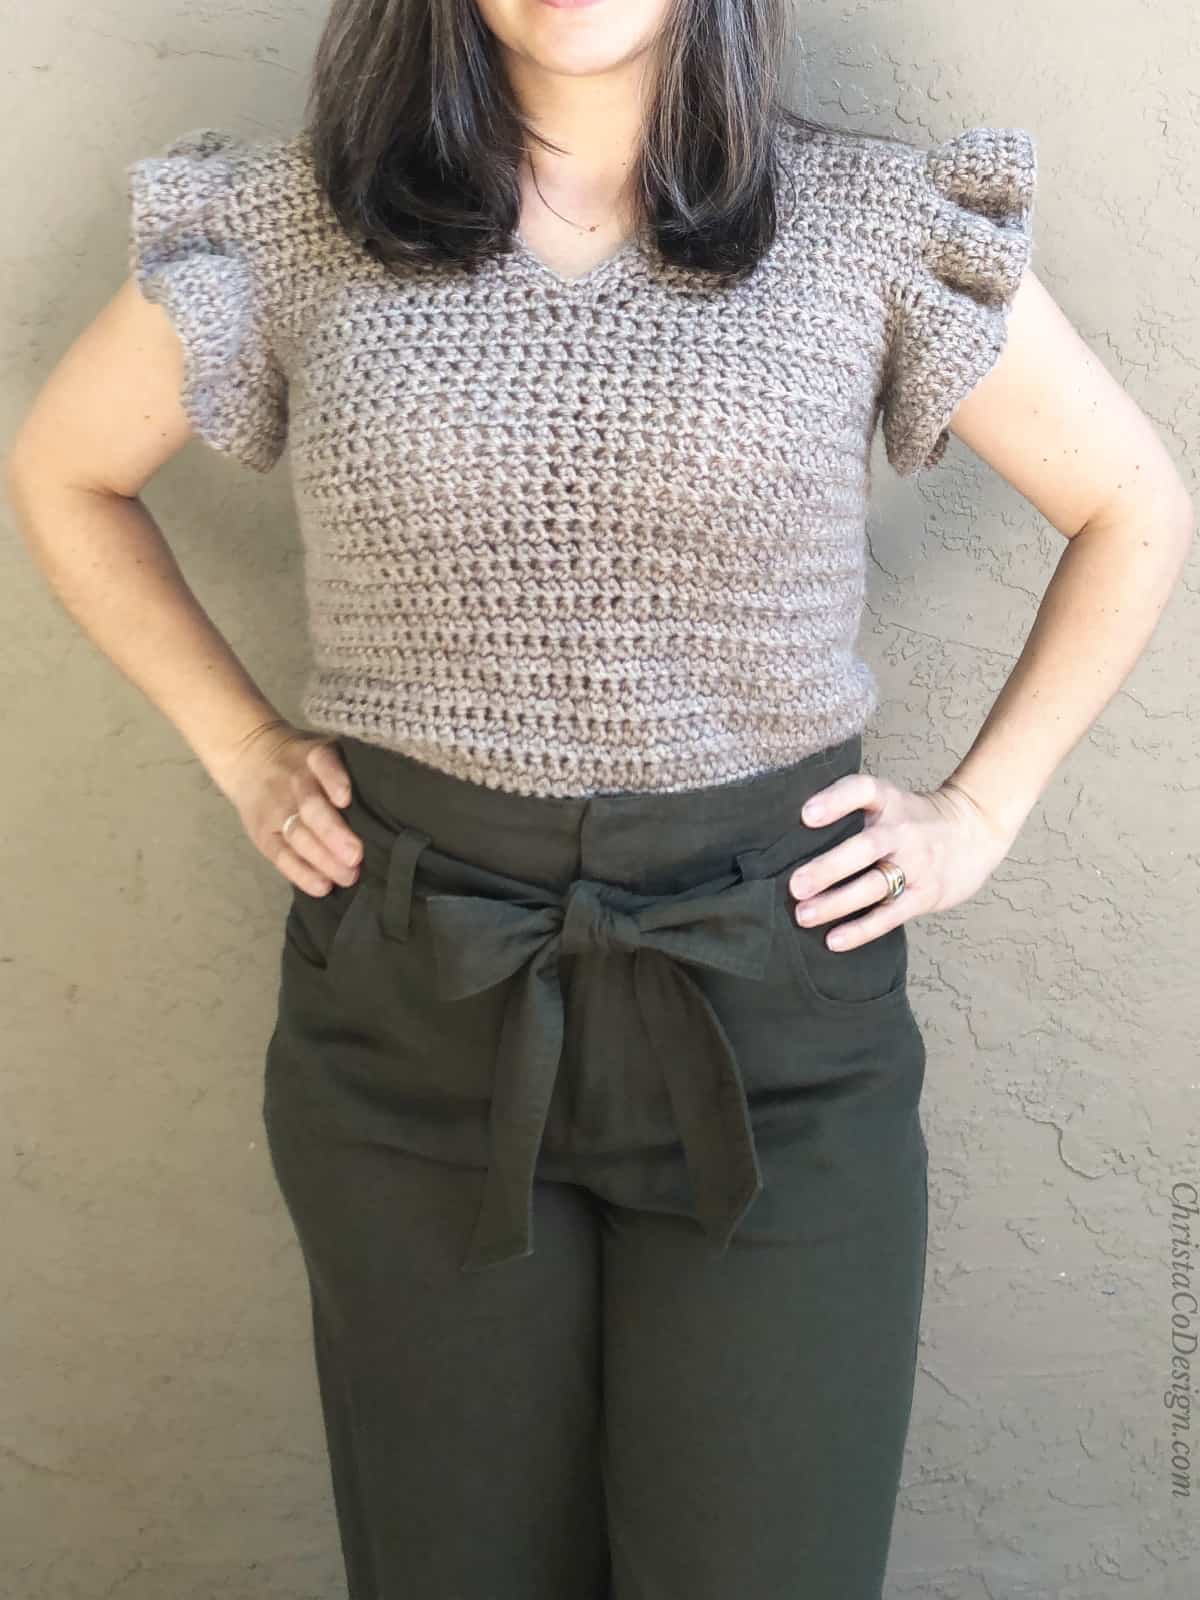
More Patterns Featuring This Stitch
This simple snood pattern is a great way to use up that chunky yarn!
Video Tutorial
If this is a new stitch pattern to you watch the video on how to make it on my YouTube.
Scroll down for the free pattern!
How to Knit a Double Seed Stitch Dishcloth
Learn how to knit this easy dishcloth pattern with the double seed stitch.
Materials
- #4 medium worsted weight yarn, either 100% cotton yarn or cotton blend yarn is a great choice.
Tools
- 4.5 mm needles (US Size 7) knitting needles
- tapestry needle
- scissors
- measuring tape
Instructions
Cast On
- For a 6" dishcloth CO 28
8" CO 36
10" CO 44
No Border Pattern
- Row 1. *K1, P1 rep from * to the end of the row.
Row 2. (WS). Rep Row 1.
Row 3. (RS) *P1, K1 rep from * to the end of row.
Row 4. Rep Row 3.
With a Border
- K all for 4 rows.
Main
- Row 1. K4, *K1, P1 rep from * until last 4 sts, K4.
- Row 2. (WS). K4, *K1, P1 rep from * until last 4 sts, K4.
- Row 3. (RS) K4, *P1, K1 rep from * to until last 4 sts, K4.
- Row 4. K4, *P1, K1 rep from * to until last 4 sts, K4.
- Rep these 4 rows until last half inch or last 4 rows.
- Finish with 4 rows of K all, or just as you started.
Finishing
- BO.
- Cut yarn and weave in loose ends.
Recommended Products
As an Amazon Associate and member of other affiliate programs, I earn from qualifying purchases.

If you love learning by video tutorial be sure to check out my YouTube Channel!