Easy Ways To Knit Neat Edges For Beginner Knitters
When you first learn to knit you’re just grappling with the yarn and needles and trying to figure it all out. And eventually you do learn and your knits and purls start to shape into a beautiful knitted fabric, but those edges…

This post contains affiliate links, I may earn a fee. Read more disclosure policy.
Join the ChristaCoDesign Newsletter
Never miss a pattern!
What’s a new knitter to do about messy edges? They’re uneven to say the least, somewhere between too loose and too tight. How does that even happen?
Well one of the great things about knitting is that all the stitches interlock with one another and that means what you do to one stitch or row does affect the others.

Here are my handy tips for knitting neat edges!
When knitting many of us struggle with keep our edges neat. Tugging slightly on the working yarn after knitting the first stitch of each row can help make your edges neat, but there are better ways.

Knit The First & Last Stitches Tighter
While this may be our first instinct, the right way to tighten up those stitches is to pay attention when knitting your edges. Knit them tighter to begin with (instead of pulling the yarn after).
So increase your tension for the first two stitches and the last two stitches. Or knit them on the tips of your needles where the circumference is smaller, so your stitches are smaller.
Many new knitters struggle with this since the stitches tend to slip off here. But just keep practicing!
I like this technique most because it works for all stitch patterns, and it really gets you paying attention to how your tension effects your work.

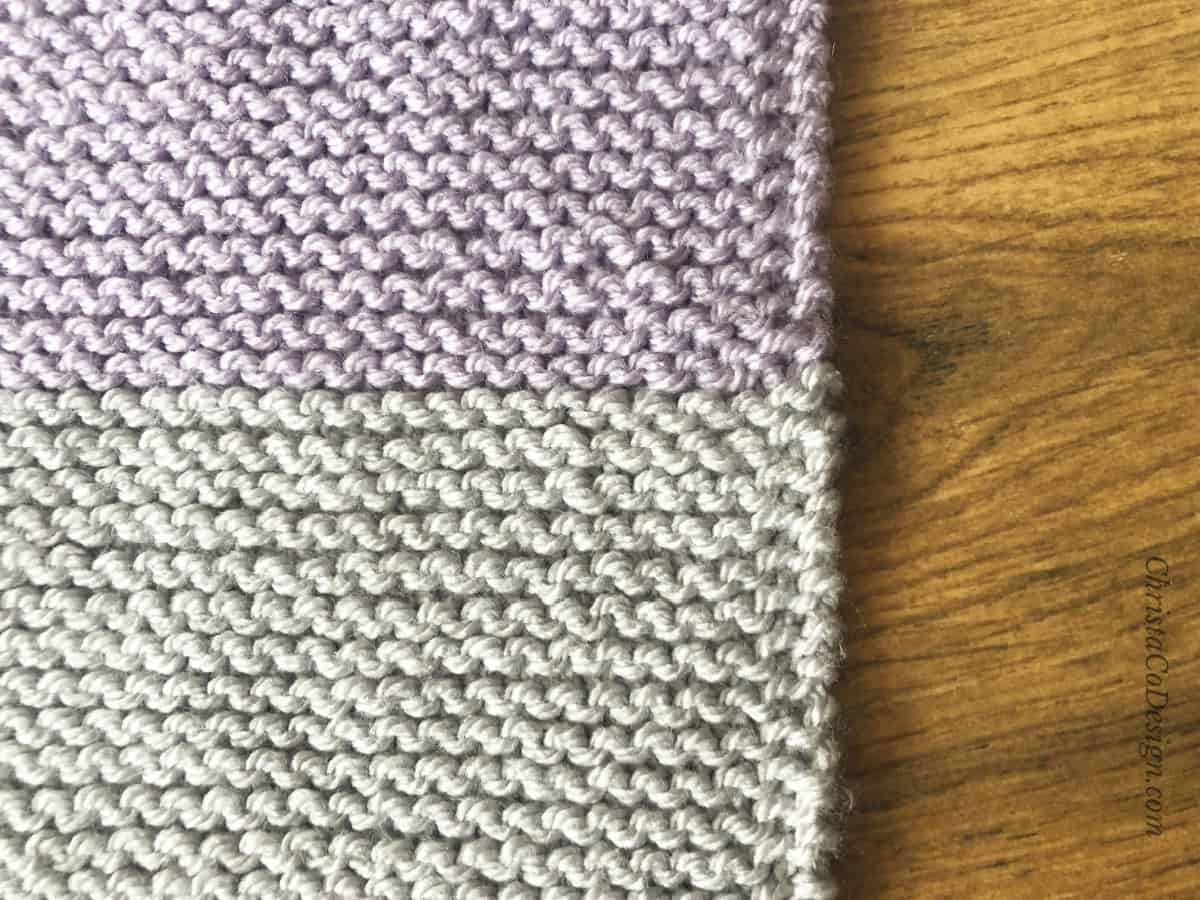
Use Selvedge Stitches
Selvedge stitches are simply the edge stitches. These are the first stitch of every row and the last stitch of every row. These are additional stitches outside the main stitch pattern used to create a border of sorts.
To combat curling edges in knitting we add selvedge stitches to the beginning of the row and the end of a row. Using a selvedge with stitches that specifically lay flat helps to neaten the edges and give your work a polished look.
Some easy selvedge stitches to add are garter stitch, seed stitch, or slipping a stitch.
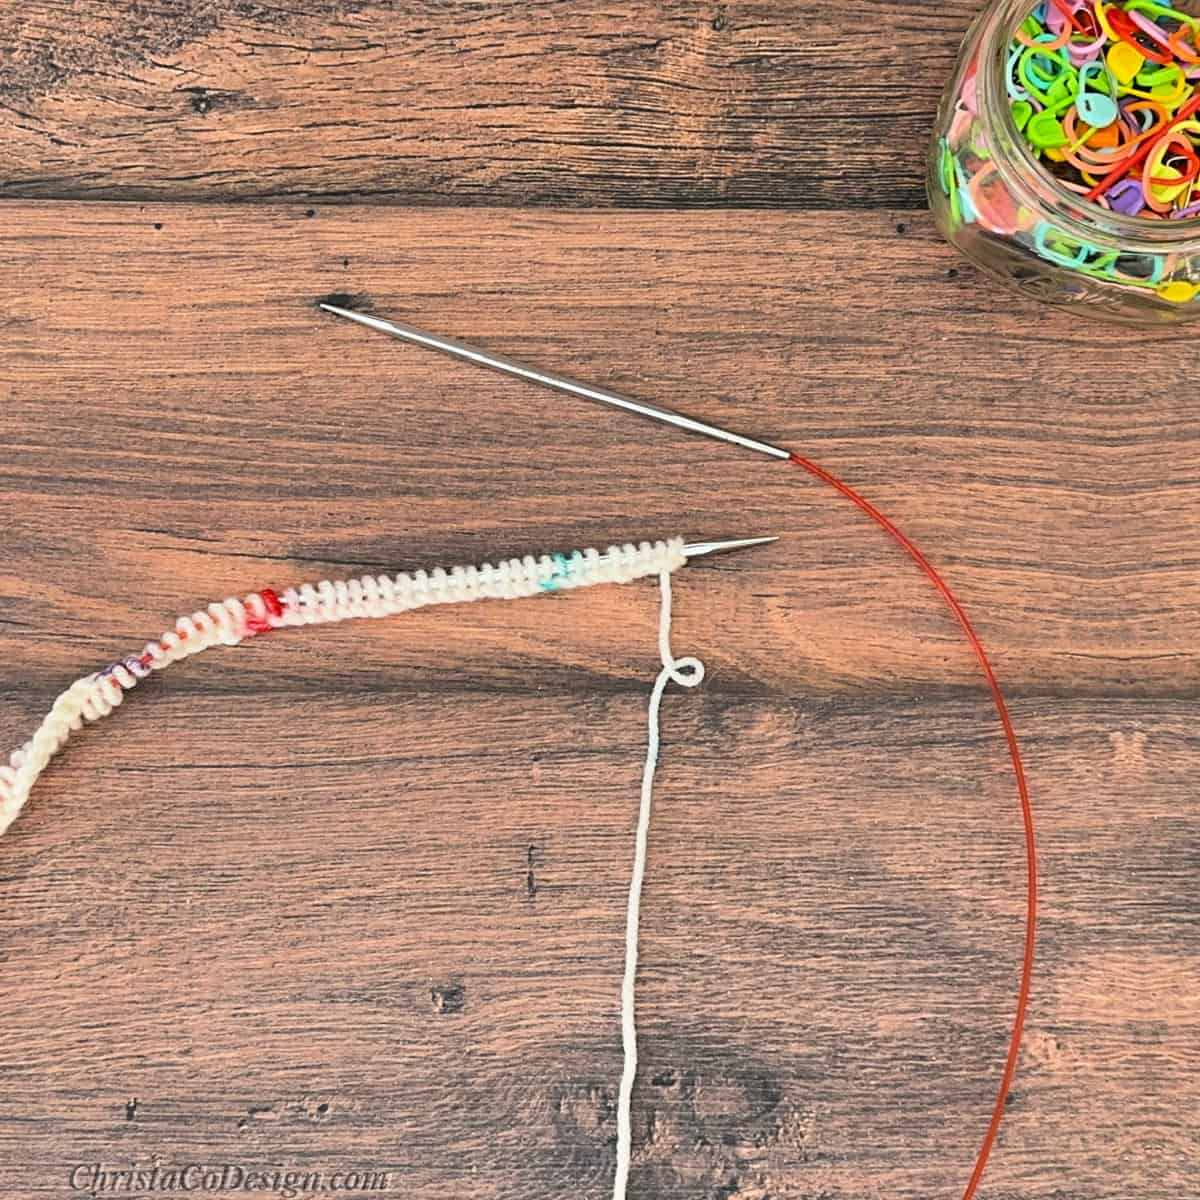
Slip The First Stitch
Slip 1 is a common way to start many stitch patterns. The edges can be messy and this is a quick fix. When you slip the first stitch of every row it creates neater edges.
What’s actually happening is that the slipped stitches lengthen and get pulled up to the next row. This makes them look nice, instead of loose when you don’t slip them. When you combine a slip one with a knit in the last stitch in a row it makes this edge look very neat.
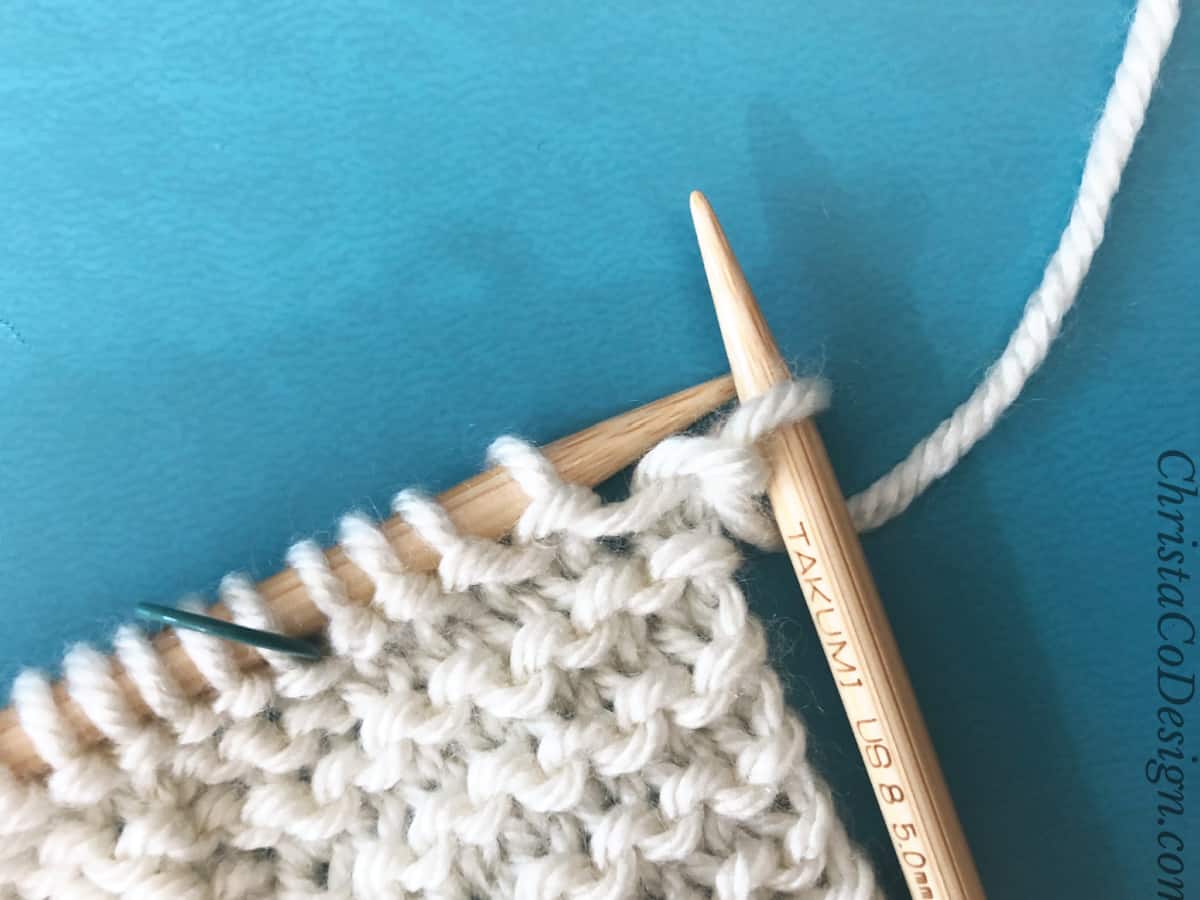
There are a variety of ways to slip stitches. The way I describe here is great for knitting garter stitch. This is one stitch that lays flat and is oh so simple.
Check out how to change colors with a slipped stitch at the beginning of a row.

How to Knit Neat Edges
Learn how to knit neater edges with these easy knitting tips for beginners.
Materials
- Any weight yarn you're using for your project.
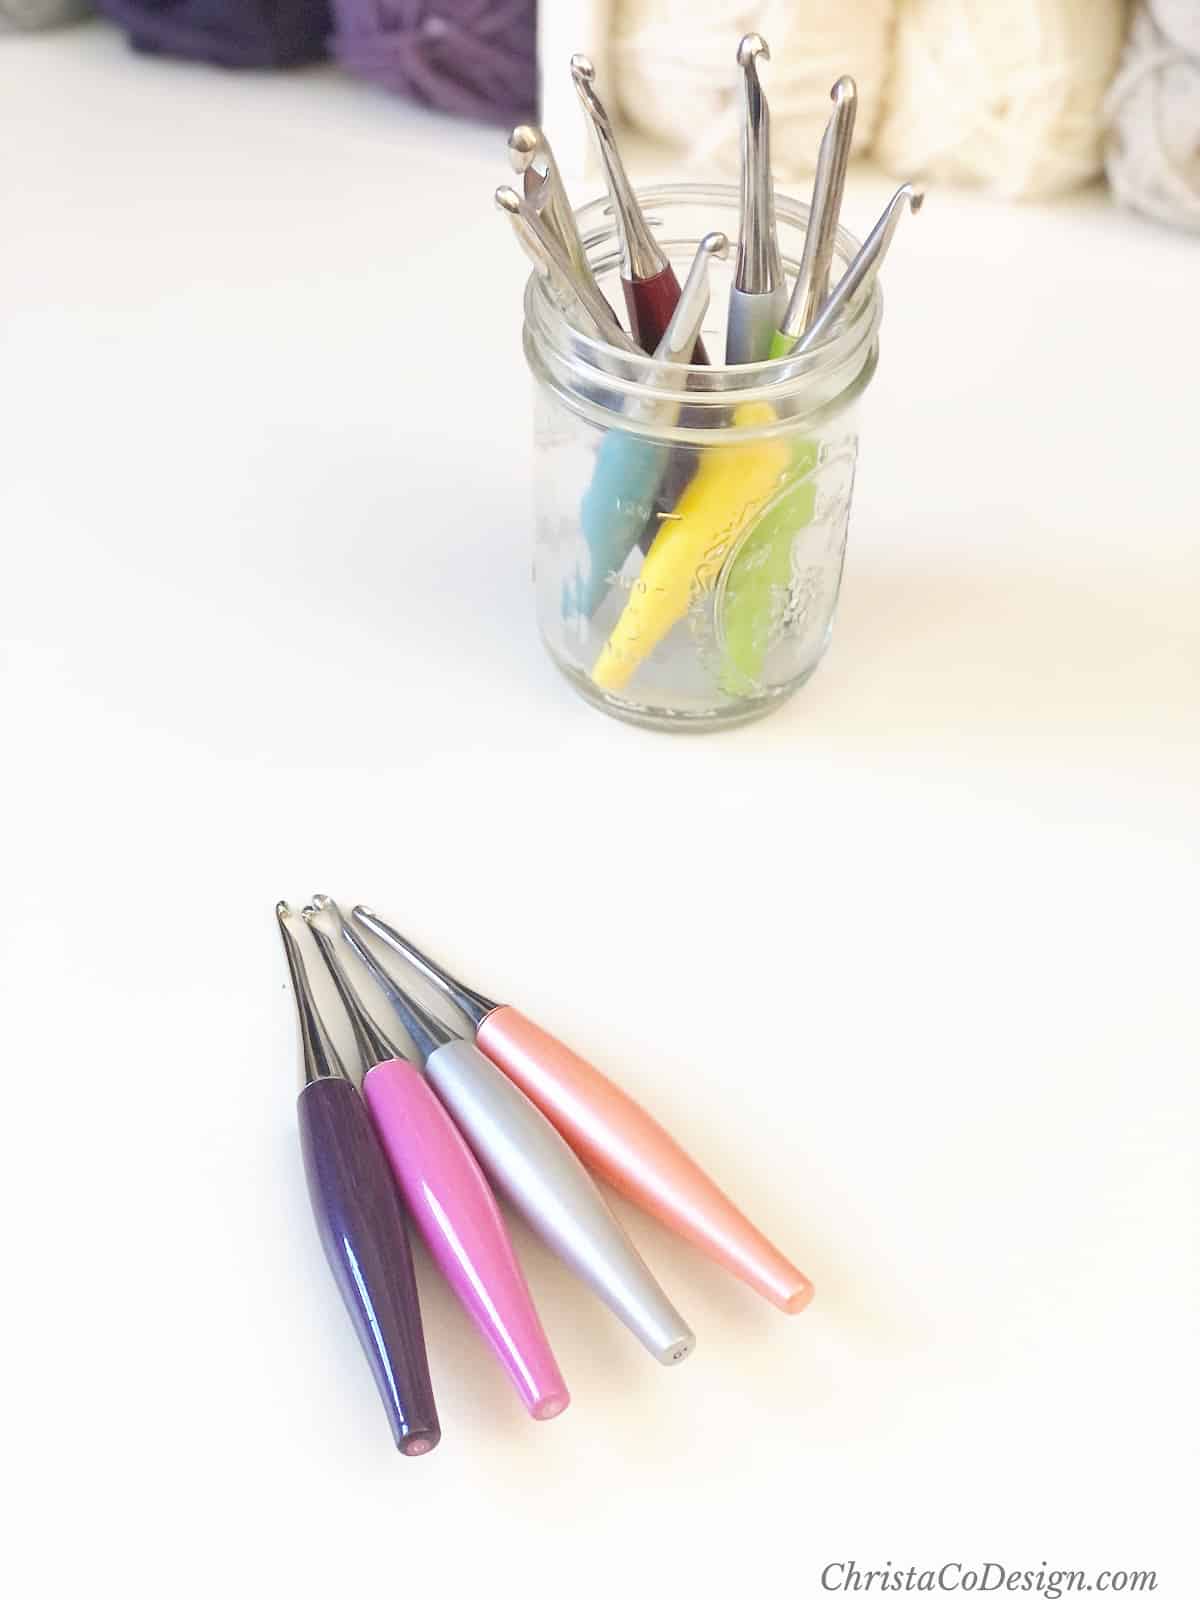
Tools
- Needles to match your yarn and project.
Instructions
- Knit the first two stitches and last two stitches of each row a little tighter than the other stitches.
- To do this either tighten your tension or knit closer to the needle tips to make the stitches smaller.
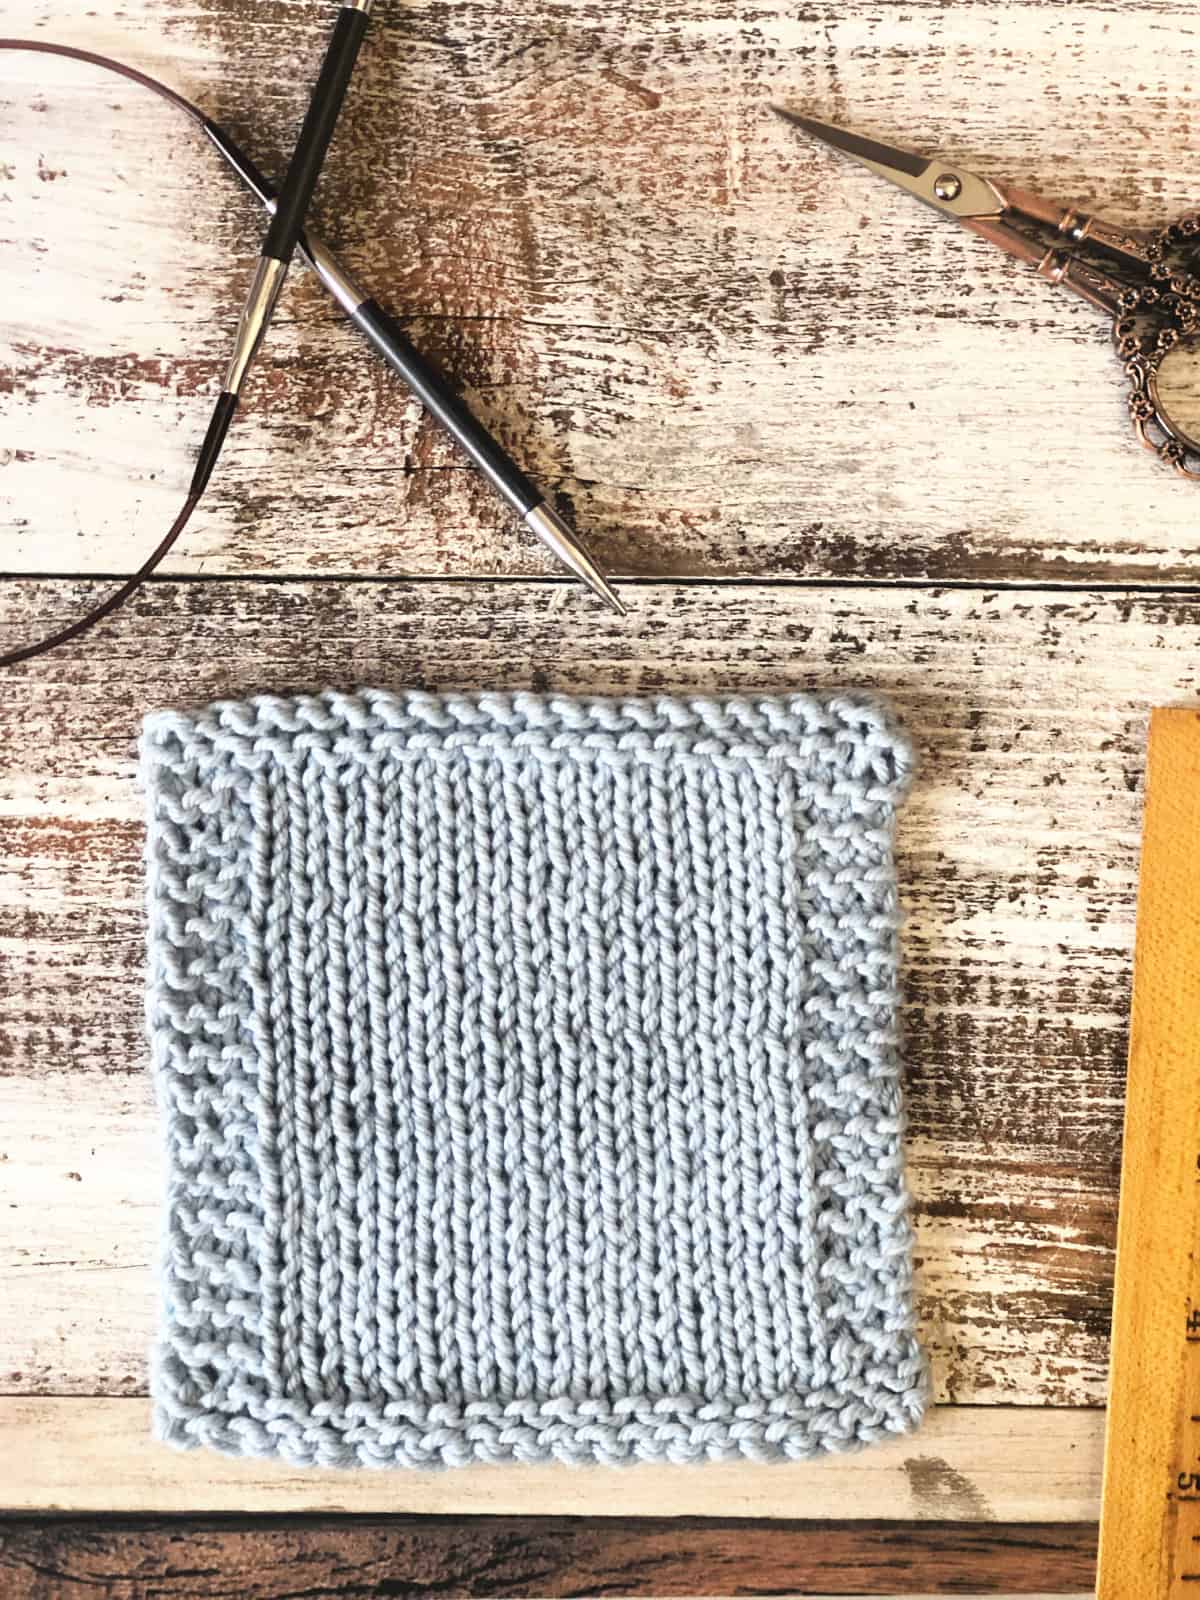
- Add a few selvedge stitches to start and end each row.
- The size of your knit project and yarn will determine how many stitches you need.
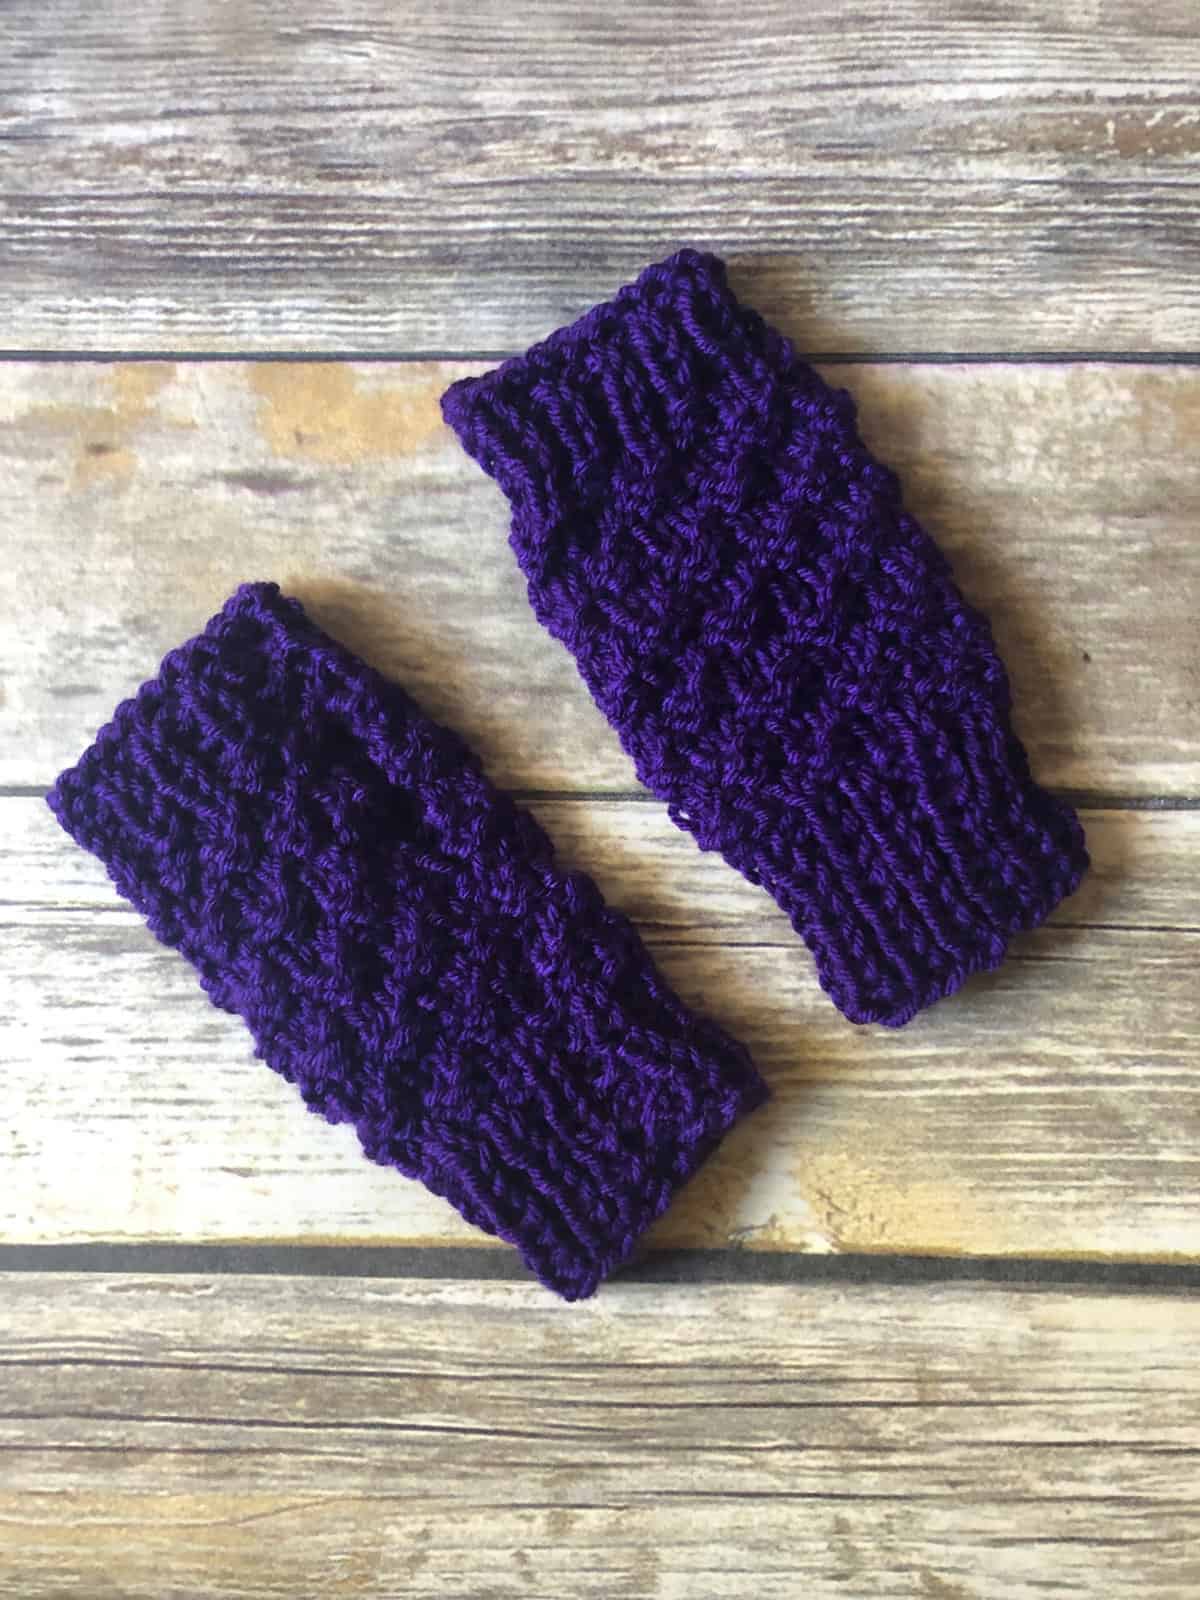
- For this small knit coaster, 3 stitches is plenty.
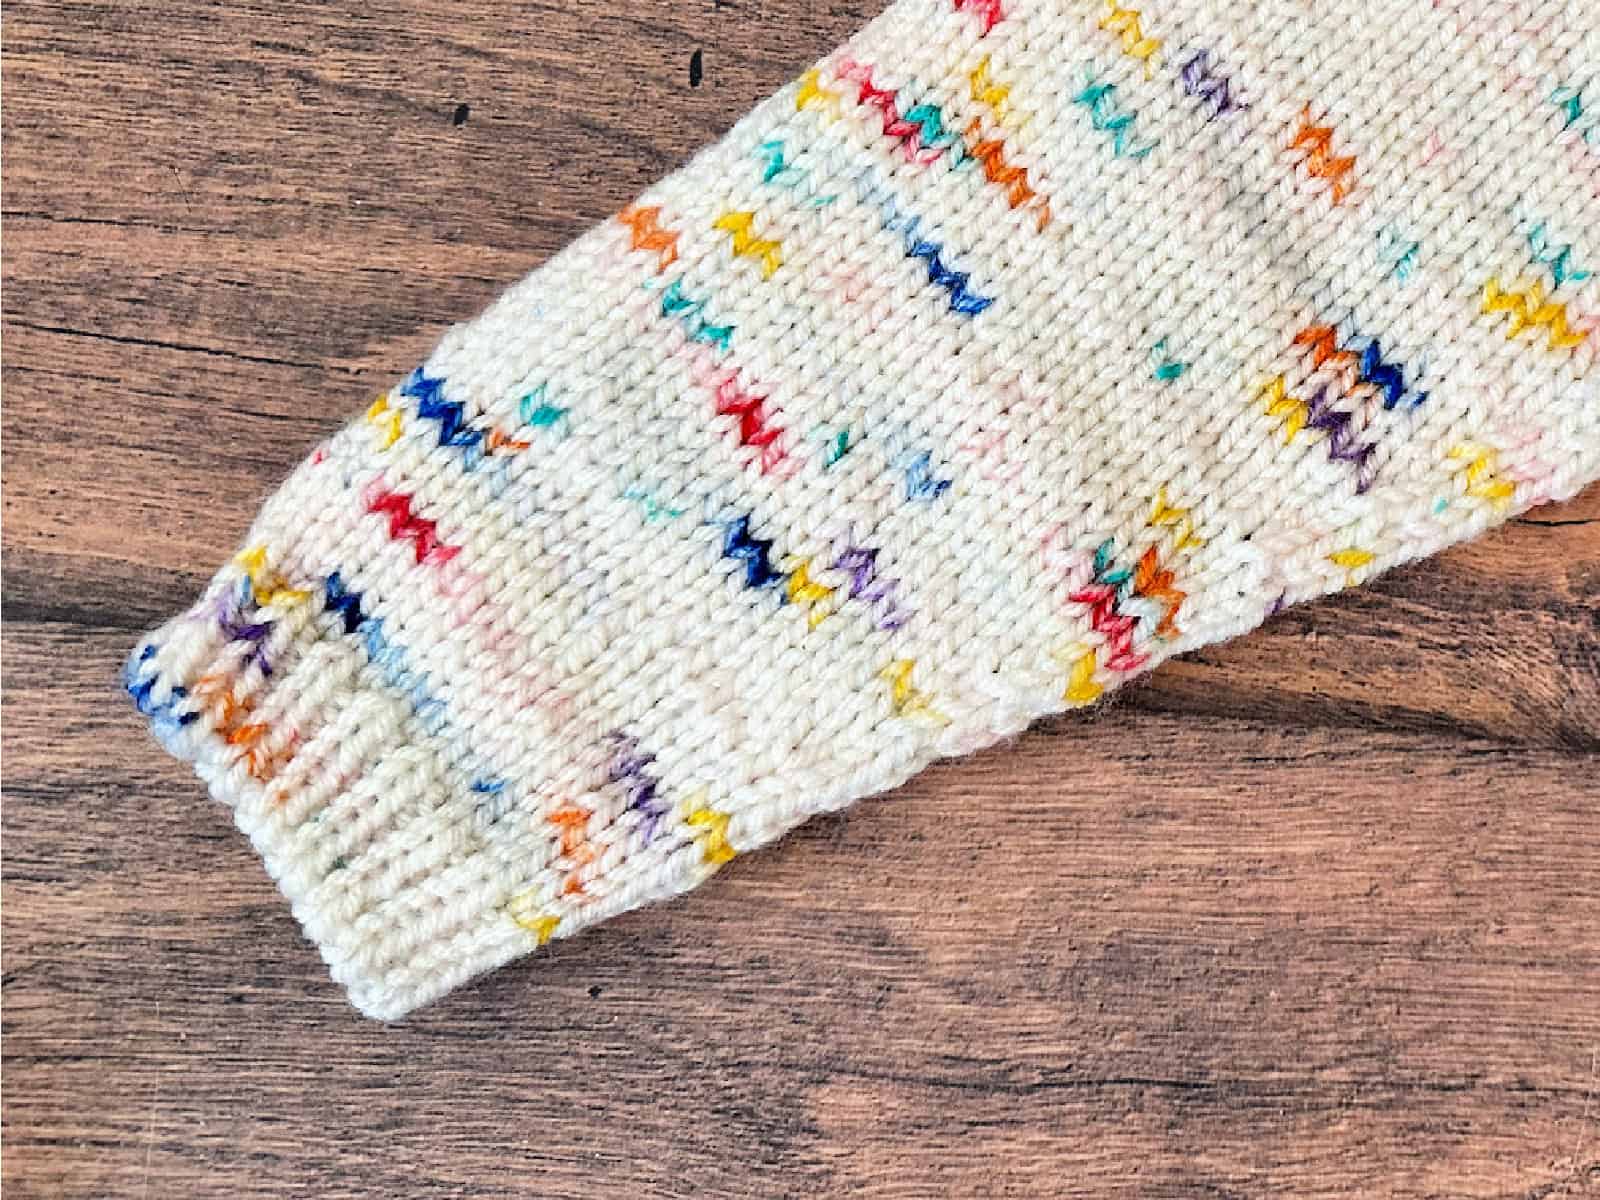
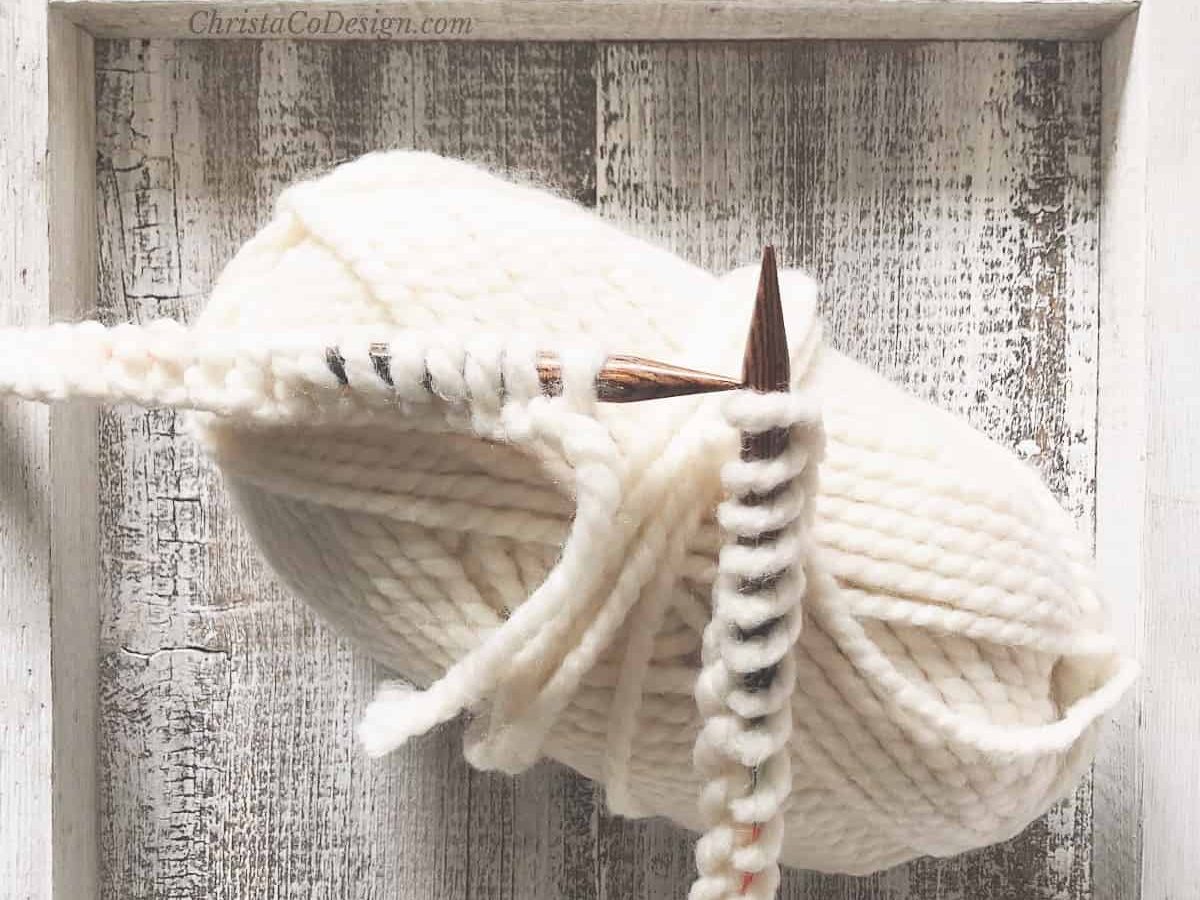
- For a larger project, like this chunky knit blanket
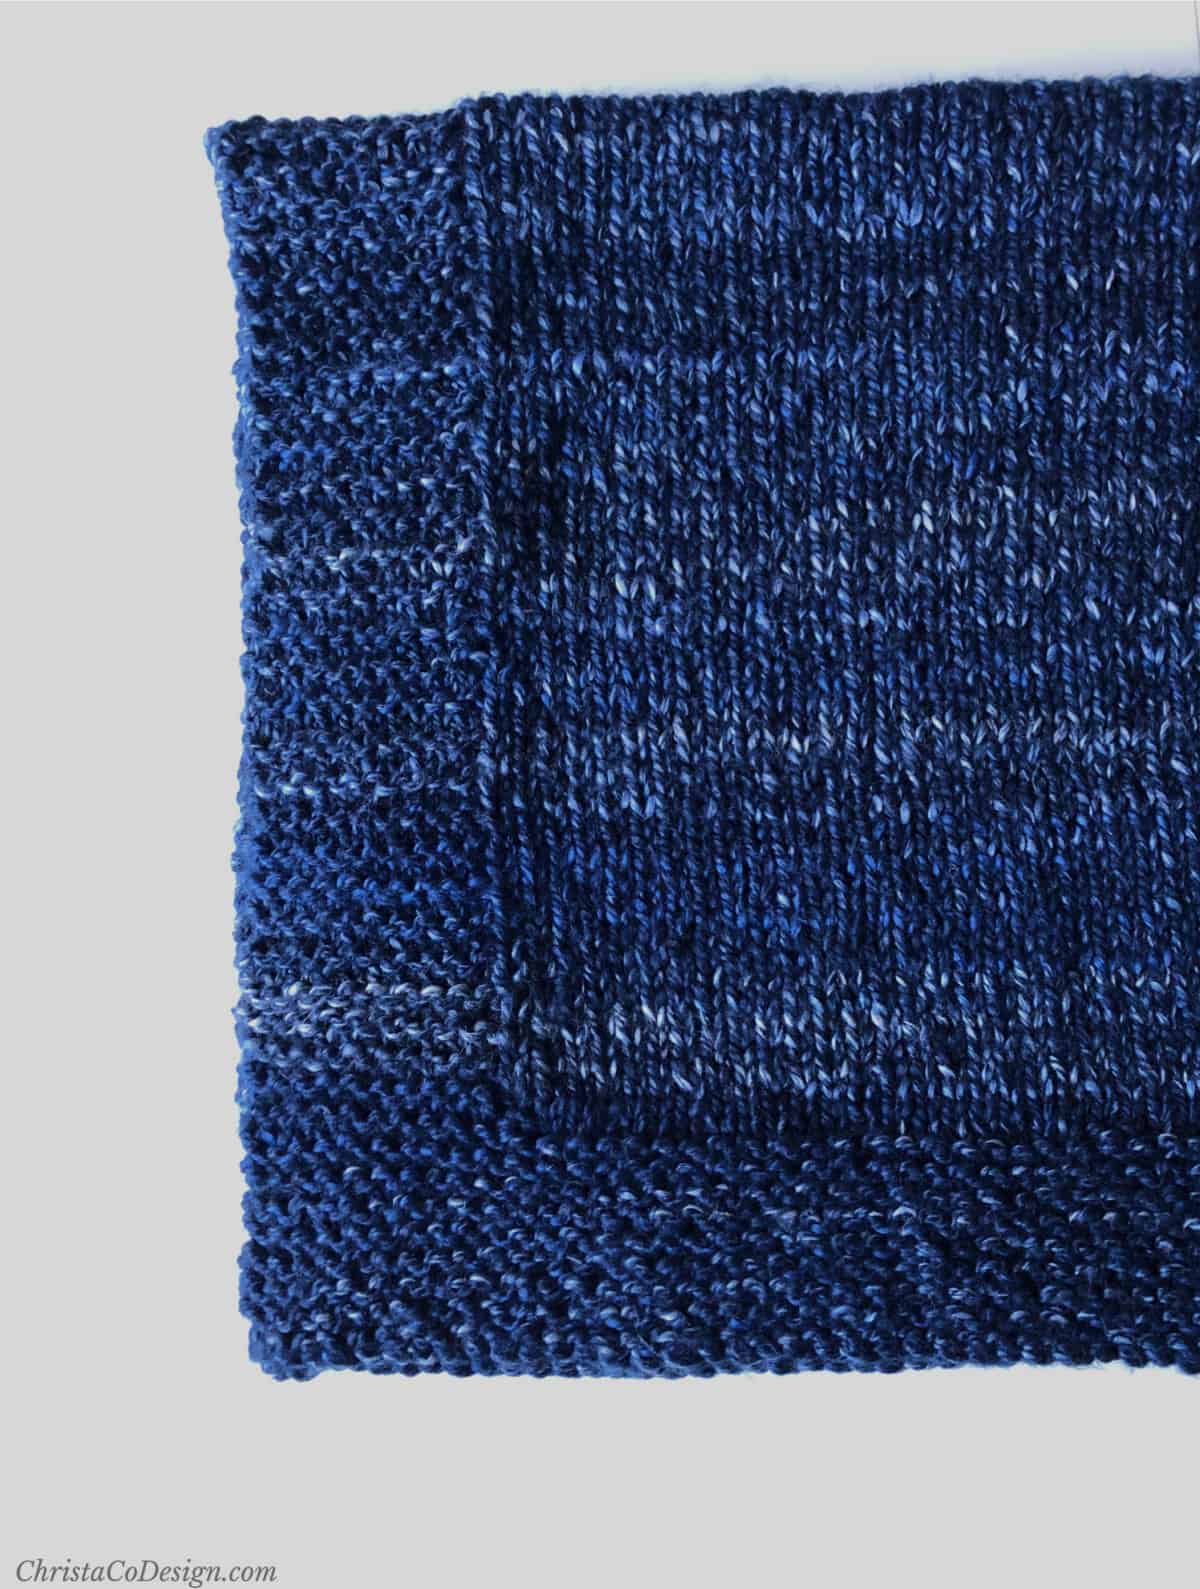 you may need more stitches. Here I use 10 stitches in garter stitch at the beginning and end of each row.
 - Slip stiches. Slip the first stitch of every row and knit the last stitch.

- The most important tip to knitting neat edges is to keep practicing.
Recommended Products
As an Amazon Associate and member of other affiliate programs, I earn from qualifying purchases.