
Alda Nesting Baskets Crochet Pattern
These little crochet nesting baskets are quick, cute and full of texture. This simple pattern is a great way to eat up those scraps and bits of yarn in no time!

This post contains affiliate links, I may earn a fee. Read more disclosure policy.
Join the ChristaCoDesign Newsletter
Never miss a pattern!
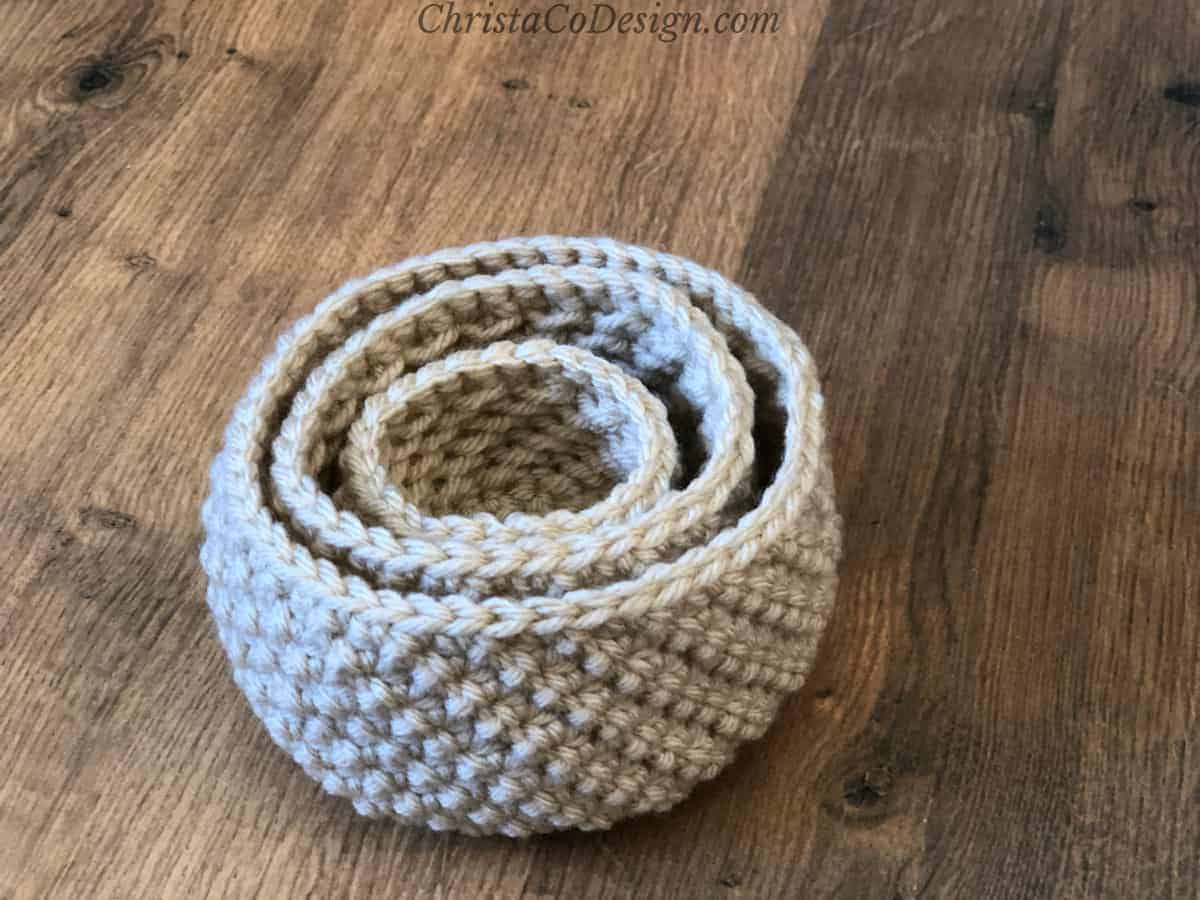
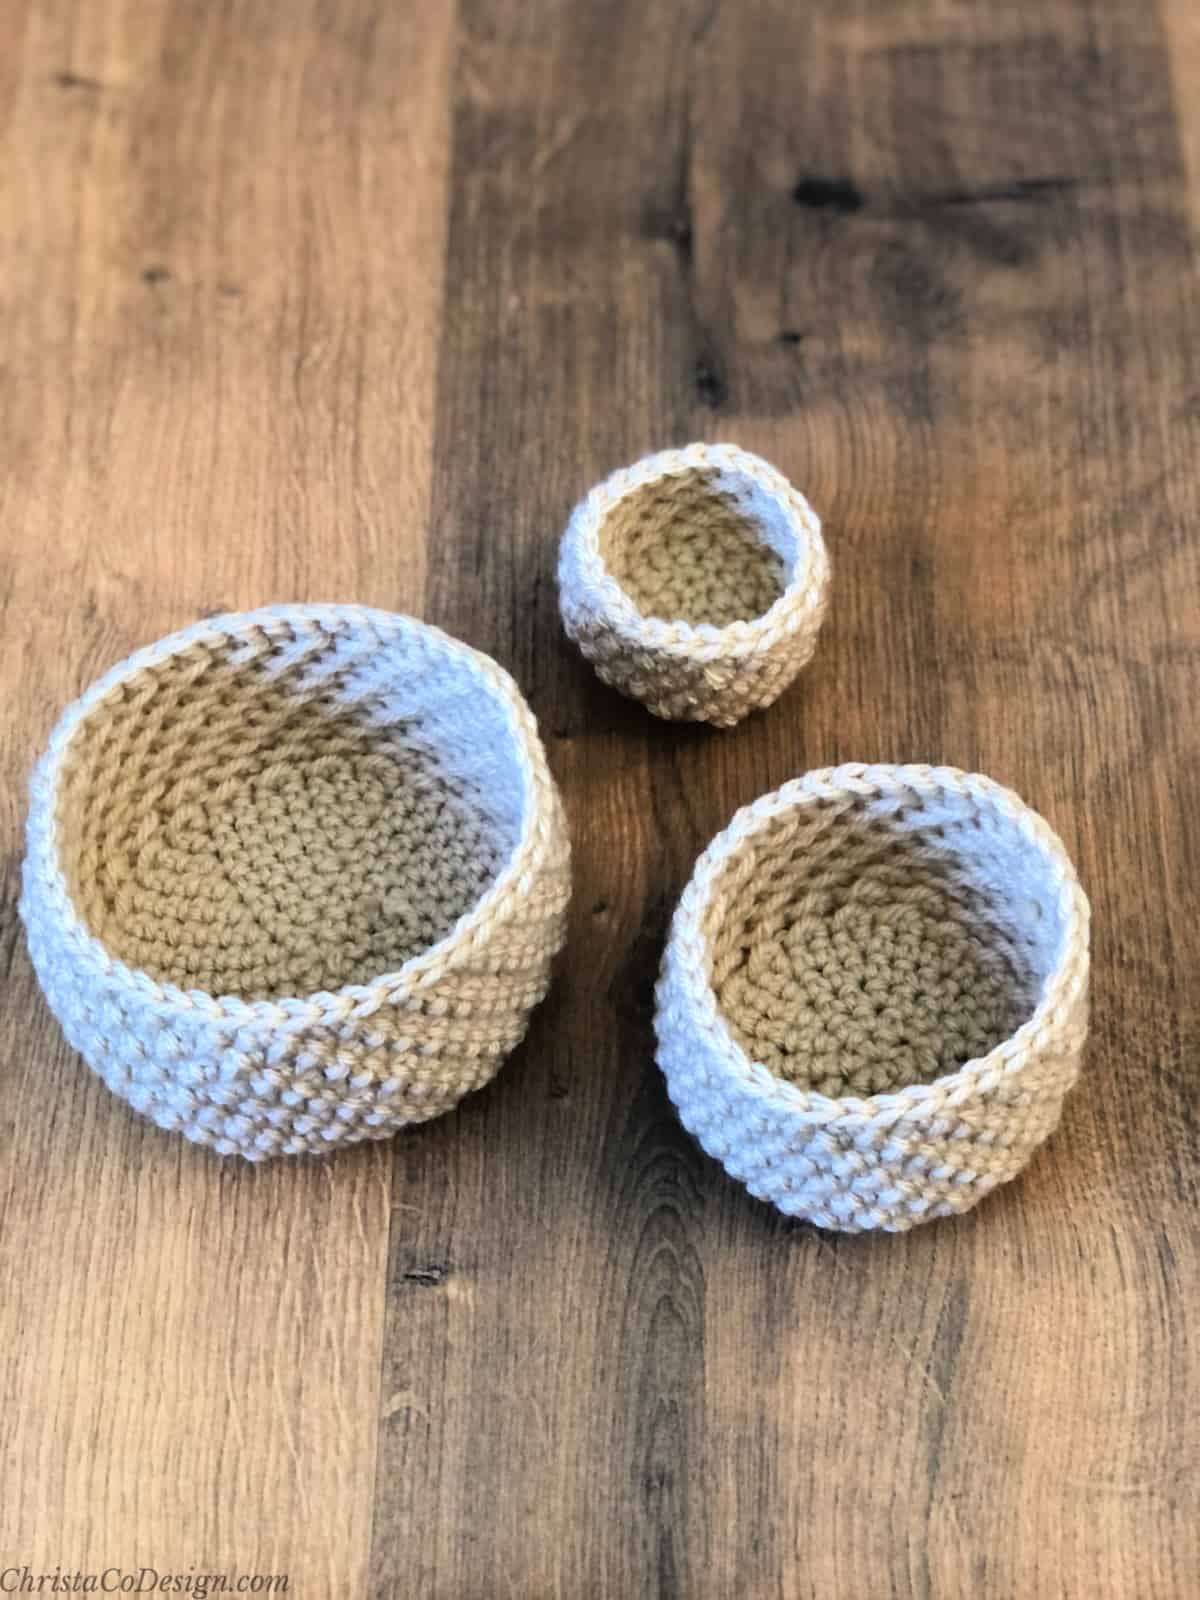
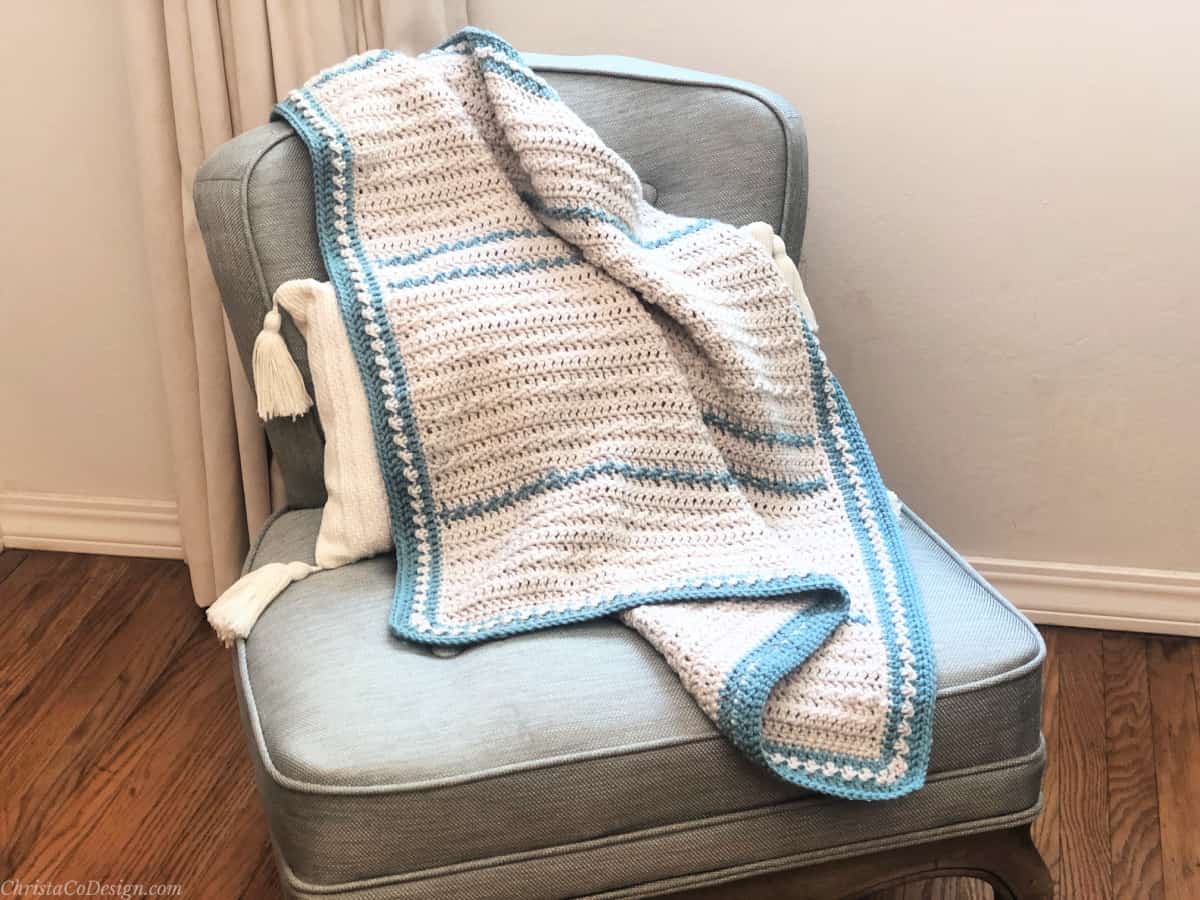
The free crochet pattern includes 3 basket sizes. They look great in all the same color. Or you can mix and match different colors for the ultimate stash busting pattern.
A simple basket is one of my favorite crochet projects. They’re so useful!
Read on for all the details on this free crochet basket pattern.
Purchase the ad-free, well formatted printable PDF Pattern from my shop. Scroll down for the free pattern!
Purchase My Ad-Free PDF Patterns In Your Favorite Shop Here:
Scroll down for the free pattern in all three sizes! The mini basket is so tiny and cute.
I think you could even add a handle for an easter basket to the larger size.
What do you use mini baskets and bins for in your home? I feel like I might have more ways to store things than I need!
My little ones are pretty good at find uses for these little baskets. They seem to have endless amounts of small things that need the perfect size storage container: marbles, barrettes, cars, etc.
Save your favs!
Add this pattern to your Ravelry queue.
More Free Crochet Patterns
The Coffee Bean Cup Cozy is another great scrap busting pattern. You can crochet this cozy for a handled coffee cup here or make this cozy ready for a travel mug like this one.
This crochet headband in 5 sizes works up with very little yarn and looks so pretty with stripes!
01
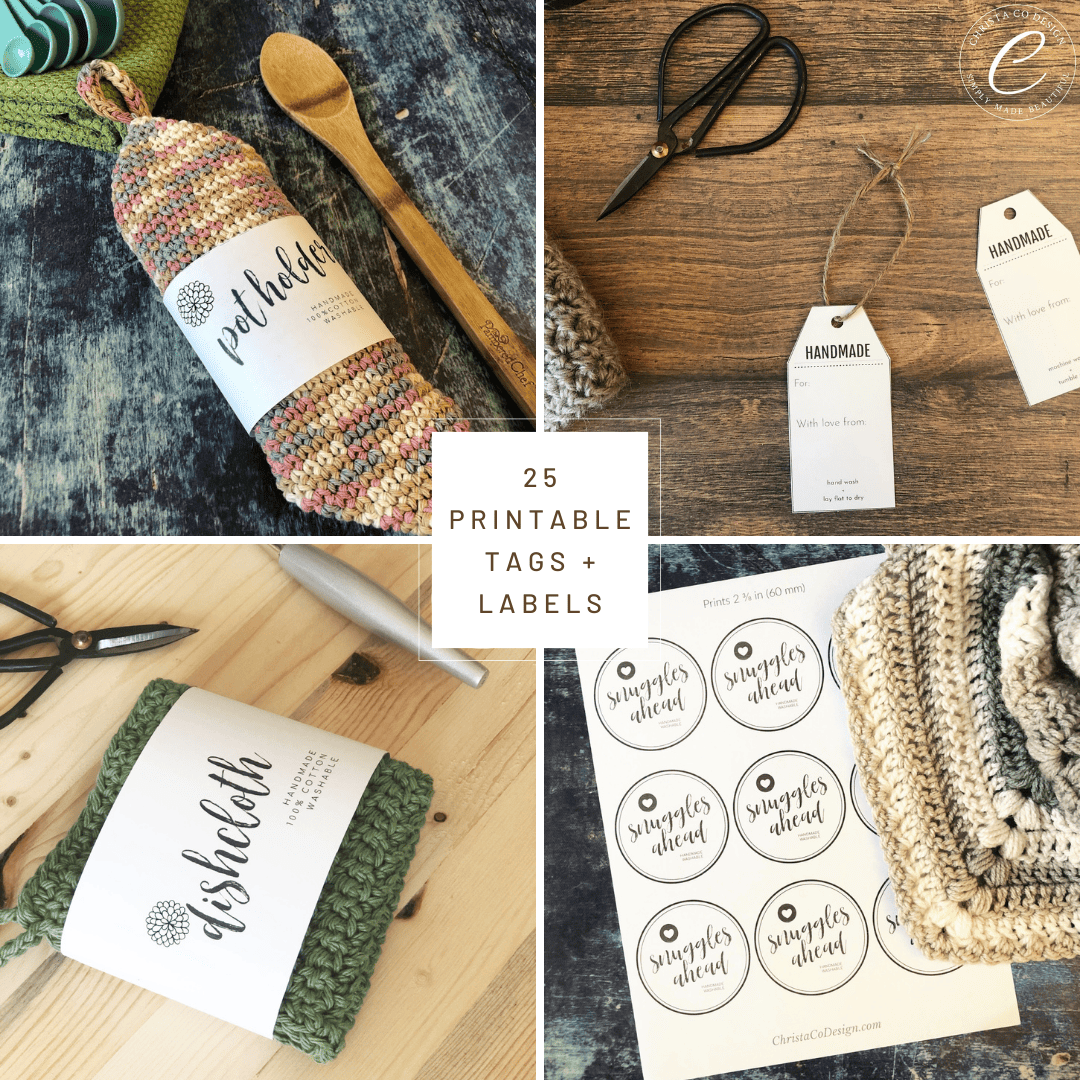
Get our free printable
With 25 of our best handmade gift tags
This ebook includes our top 25 reader favorite gift tags and labels that you are sure to enjoy as well! Enter your email below to download our beautiful handmade tags!
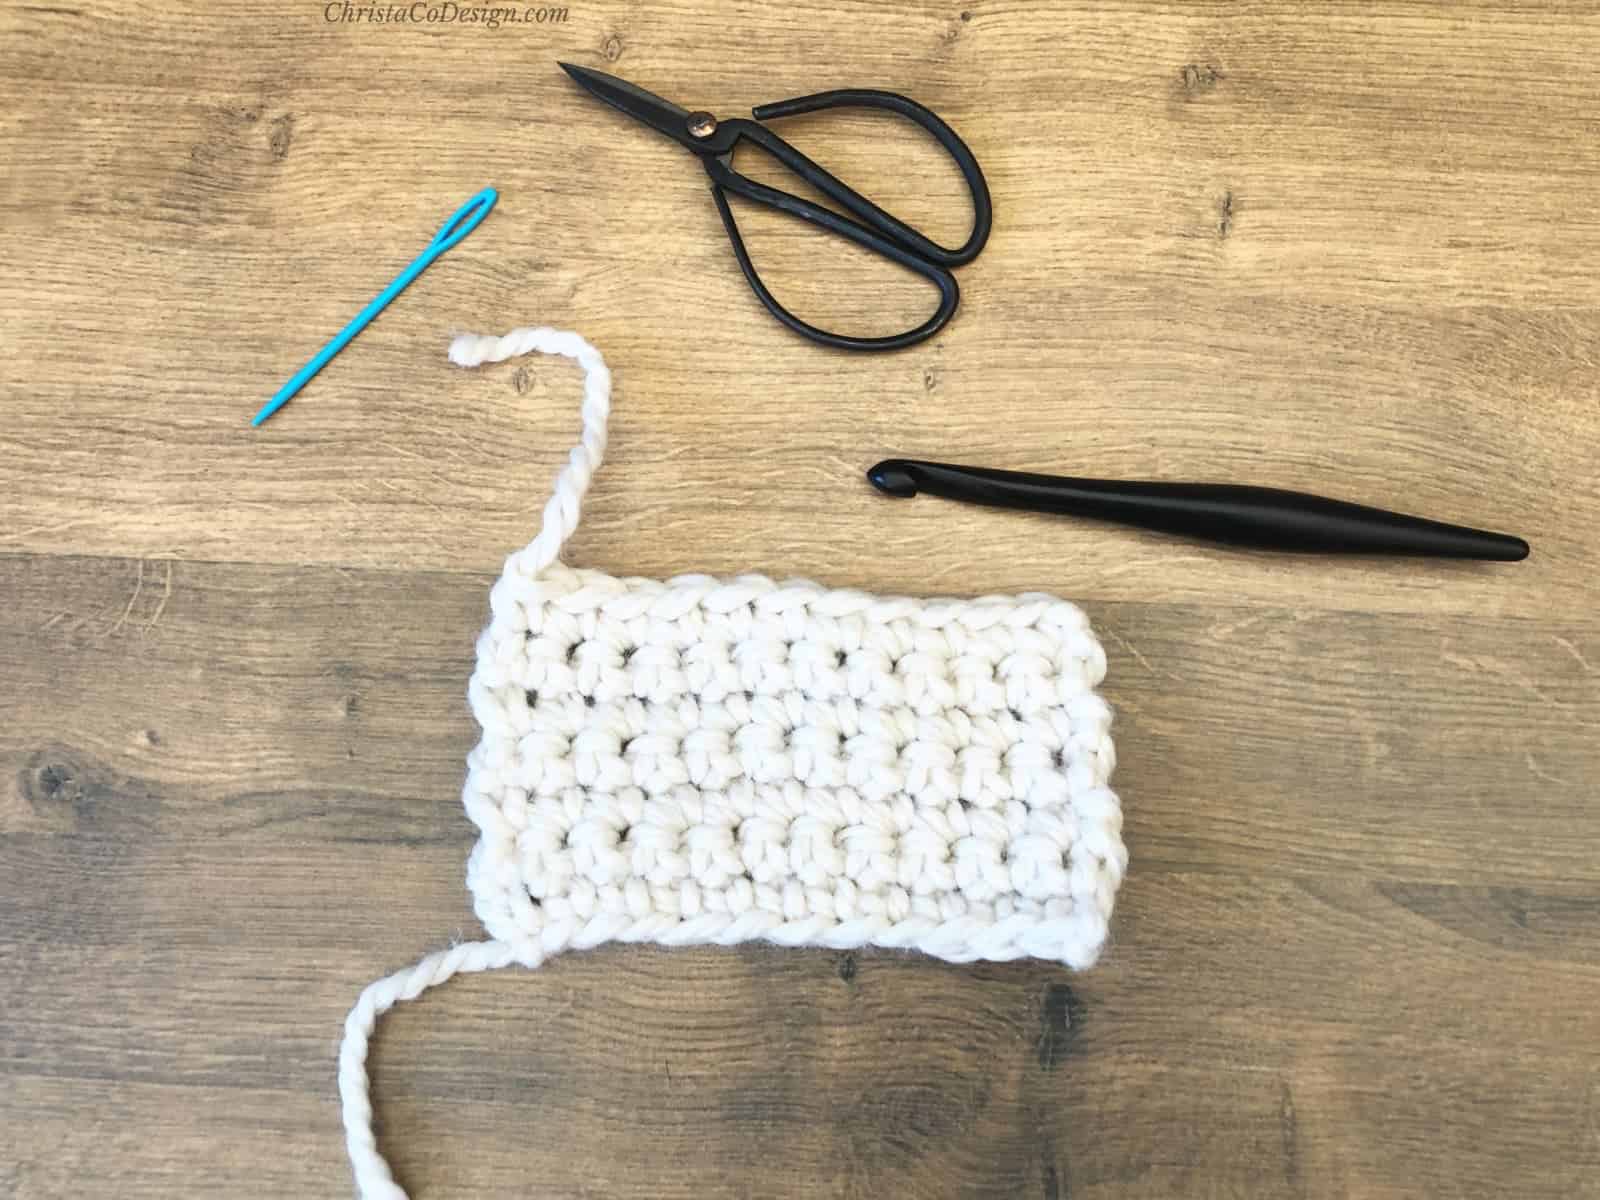
Materials
#4 medium worsted weight yarn,* I use Big Twist Value (100% acrylic, 380 yd/347m, 6oz/170g), color: cream. You can substitute other worsted weight yarns.
Small Basket 20 yd / 18 m
Medium Basket 32 yd / 29 m
Large Basket 51 yd / 47m
- 5 mm US Size H-8 crochet hook* for baskets
- 4 mm US Size G-4 crochet hook for last rnd
- yarn needle, measuring tape, scissors, stitch marker
Notes
- Pattern is worked continuously in the round. Use a stitch marker to make the first stitch at the beginning of the round.
Stitches
hdc – half double crochet
Inv join – invisible join
mc – magic circle (magic ring)
pm – place marker
RS – right side
sl st – slip stitch
sc – single crochet
Gauge
Rnds 1-6 = 3” across
Rnds 1-8 = 4” across
Construction
These baskets are worked in continuous rounds. This means you will not join at the end of the round, but continue working in the same direction. Use a stitch marker to mark the first stitch, move it up each round.
You’ll start with the base of the basket and then continue into the sides.
Scroll down for the free nesting baskets crochet pattern!
Pattern Instructions

Alda Nesting Baskets Crochet Pattern
Little crochet baskets are quick, cute and full of texture. This stash busting pattern will eat up those scraps and bits of yarn in no time!
Materials
- #4 medium worsted weight yarn, I use Big Twist Value (100% acrylic, 380 yd/347m, 6oz/170g), color: cream. Small Basket 20yd/18m; Medium Basket 32 yd/29m; Large Basket 51 yd/47m.
Tools
- 5 mm crochet hook (US Size H-8) for baskets
- 4 mm hook (US Size G-4) for last rnd
- tapestry needle, measuring tape, scissors, stitch marker
Instructions
- Bottom of Basket
Begin with a mc.
Rnd 1. Place 6 sc in the mc and pull tail to close, do not join, work continuously. - Rnd 2. PM in first sc for each rnd, place 2 sc in next stitch and in each st around. (12 sts)
- Rnd 3. *{1 sc in next sc, 2 sc in next st} rep from * around. (18 sts)
- Rnd 4. *{1 sc in each of next 2 sts, 2 sc in next st} rep from * around. (24 sts) = 2” across
Stop increasing here for small basket. Go to Sides of Basket. - Rnd 5. *{1 sc in each of next 3 sts, 2 sc in next st} rep from * around. (30 sts)
- Rnd 6. *{1 sc in each of next 4 sts, 2 sc in next st} rep from * around. (36 sts) =3” across
Stop increasing here for medium basket. Go to Sides of Basket. - Rnd 7. *{1 sc in each of next 5 sts, 2 sc in next st} rep from * around. (42 sts)
- Rnd 8. *{1 sc in each of next 6 sts, 2 sc in next st} rep from * around. (48 sts) = 4” across
Stop increasing here for large basket. Go to Sides of Basket.
If you would like to continue to make a larger basket, then keep repeating the increase pattern, adding 1 more st in between increases for each round you add. - Sides of Basket
Rnd count starts over.
Keep working continuously, moving the st marker up into the first st of each rnd.
You will alternate stitches, however when you end one round and begin another, the last st of the round and the first st of the next round will be the same, e.g. you will have two hdc side by side or two sl st side by side. - Rnd 1. Hdc in first st and pm, sl st in next st, *{hdc in next st, sl st in next st} rep from * around.
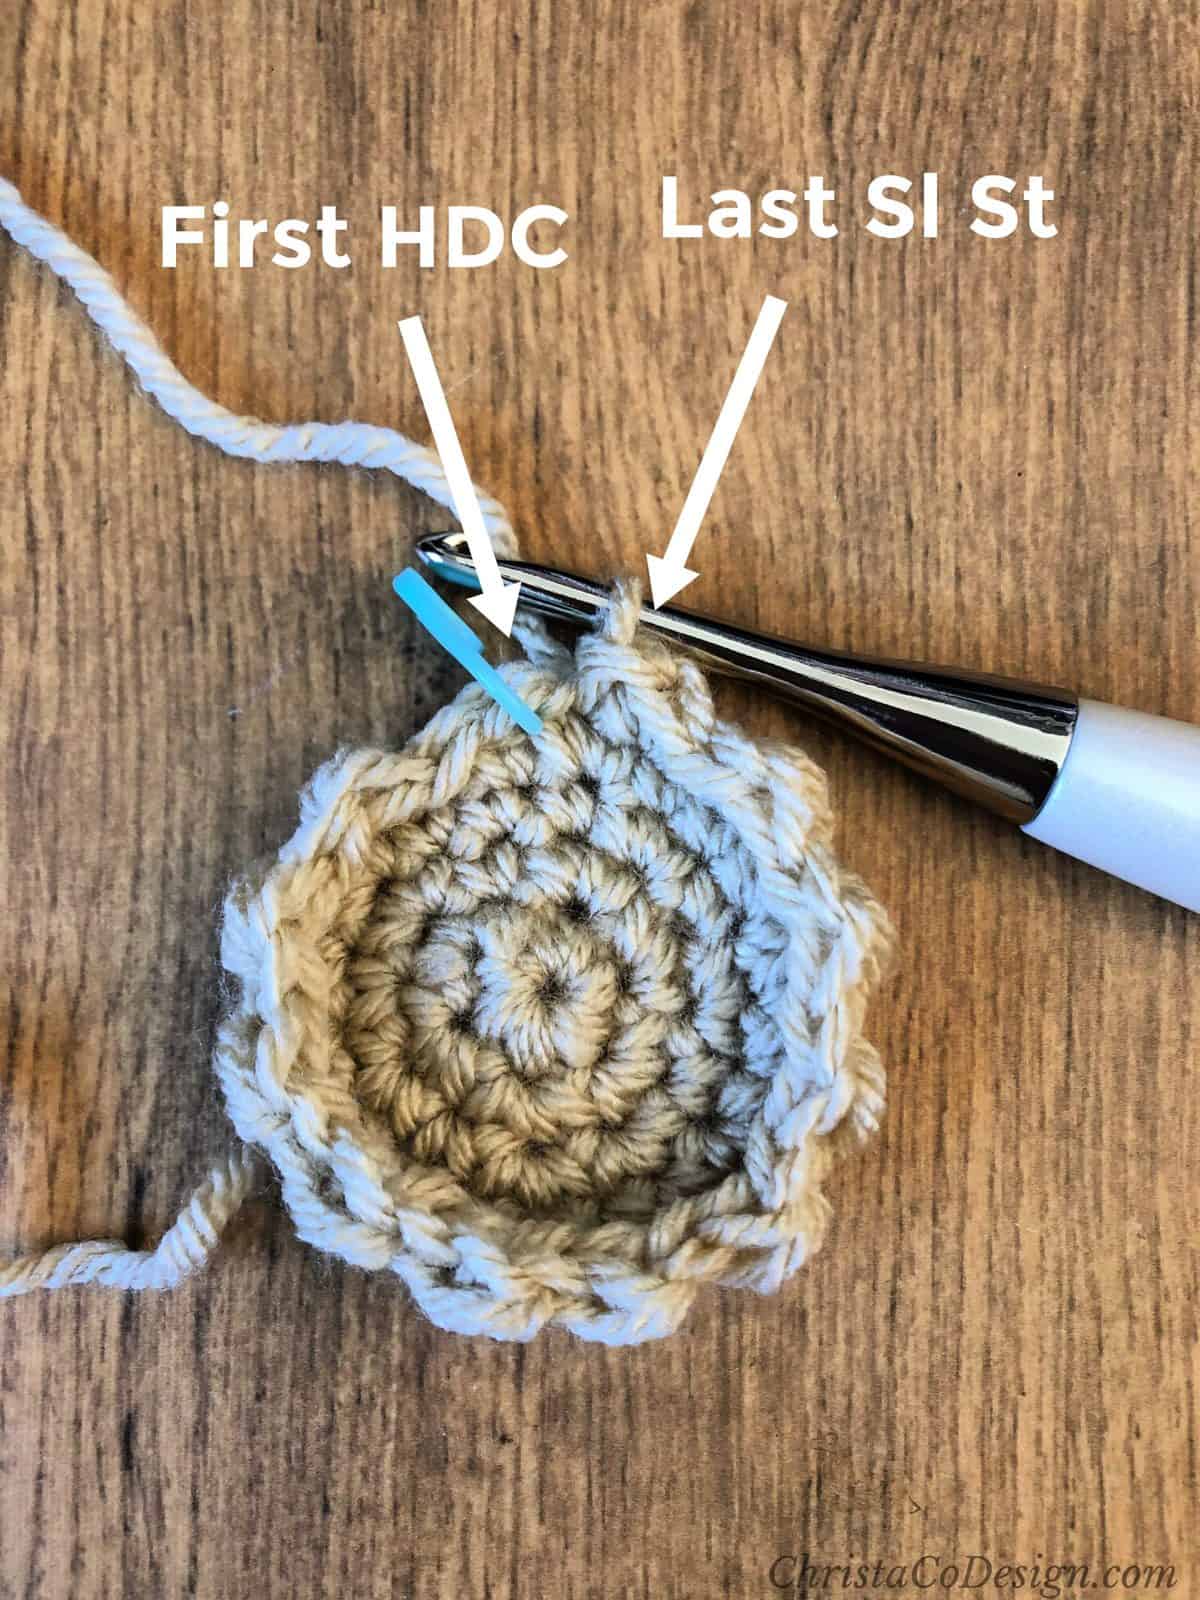
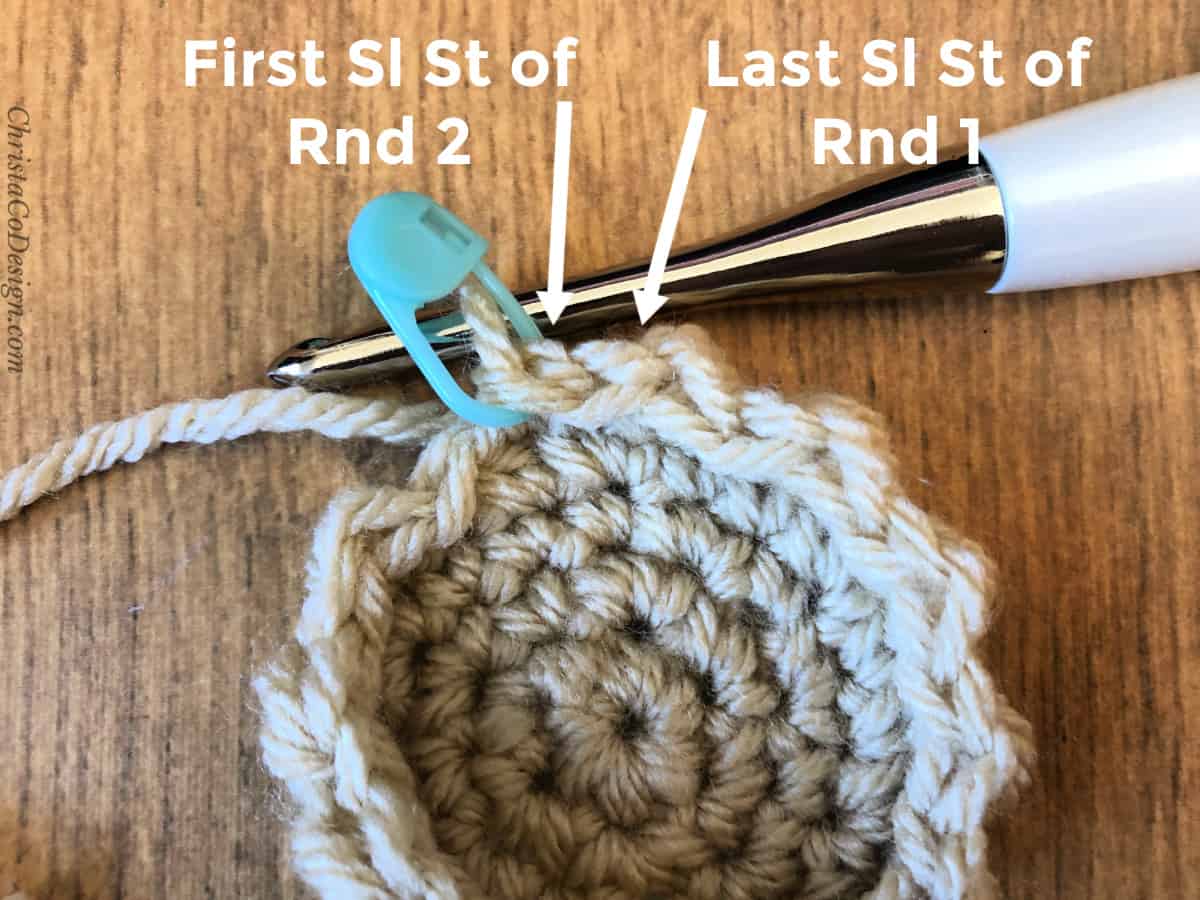
- Rnd 2. Sl st in first st and pm (yes you’ll have sl st followed by sl st to start the round-see picture above), hdc in next st, *{sl st in next st, hdc in next st} rep from * around.
- Rep these 2 rnds for:
Small Basket - 6 rnds total = 1.5”/4cm tall
Medium Basket - 8 rnds total = 2”/5cm tall
Large Basket - 10 rnds total = 2.5”/6.5cm tall
For a taller basket continue to rep these 2 rnds. - Finishing
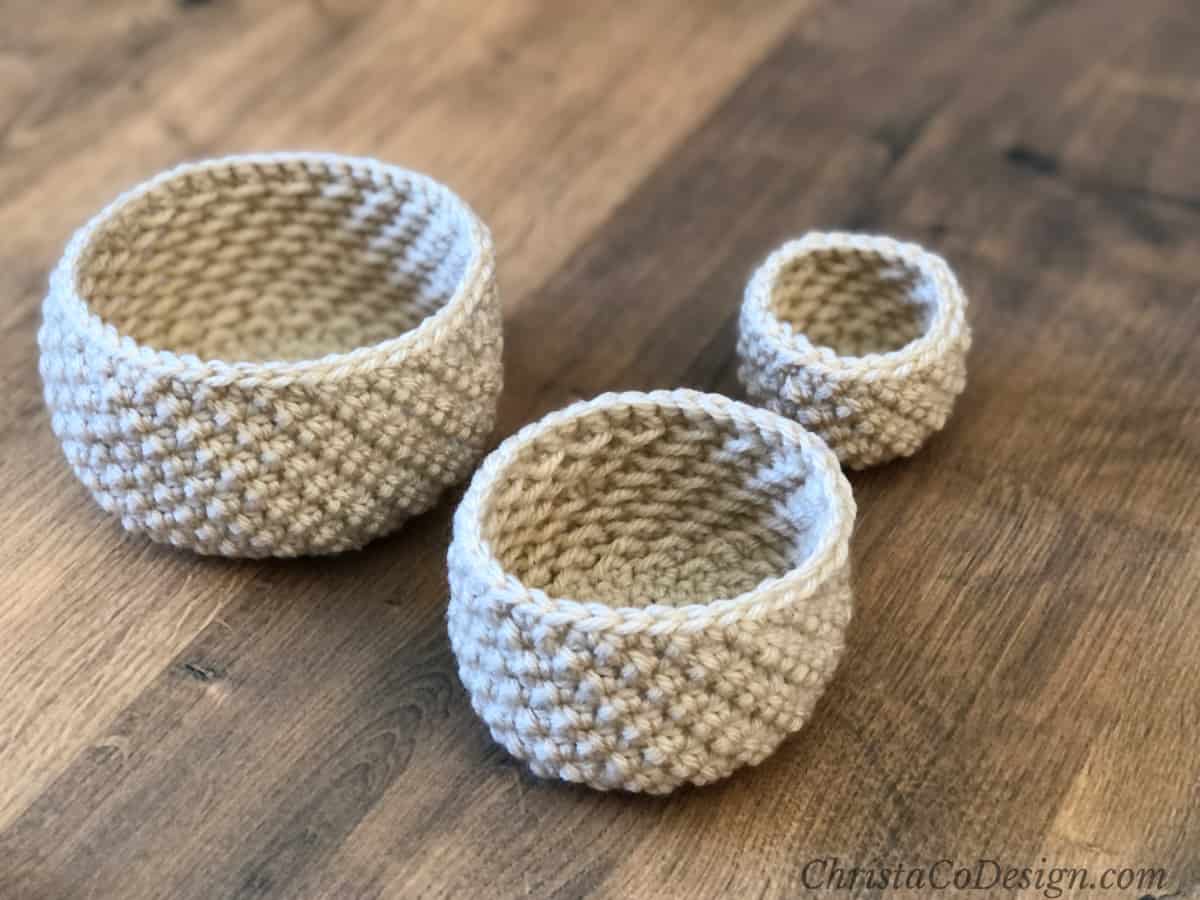
Since we’re working in the round, our baskets bowl up which means you’re looking at the RS as you work. So I you haven’t already, flip it RS out. The finished pictures here show the RS on the outside. The back of the single crochet stitches are on the inside of the basket. - Last Round. With the smaller hook size. On RS, sc in each st around, use an inv join to finish.
Cut yarn and weave in the loose ends.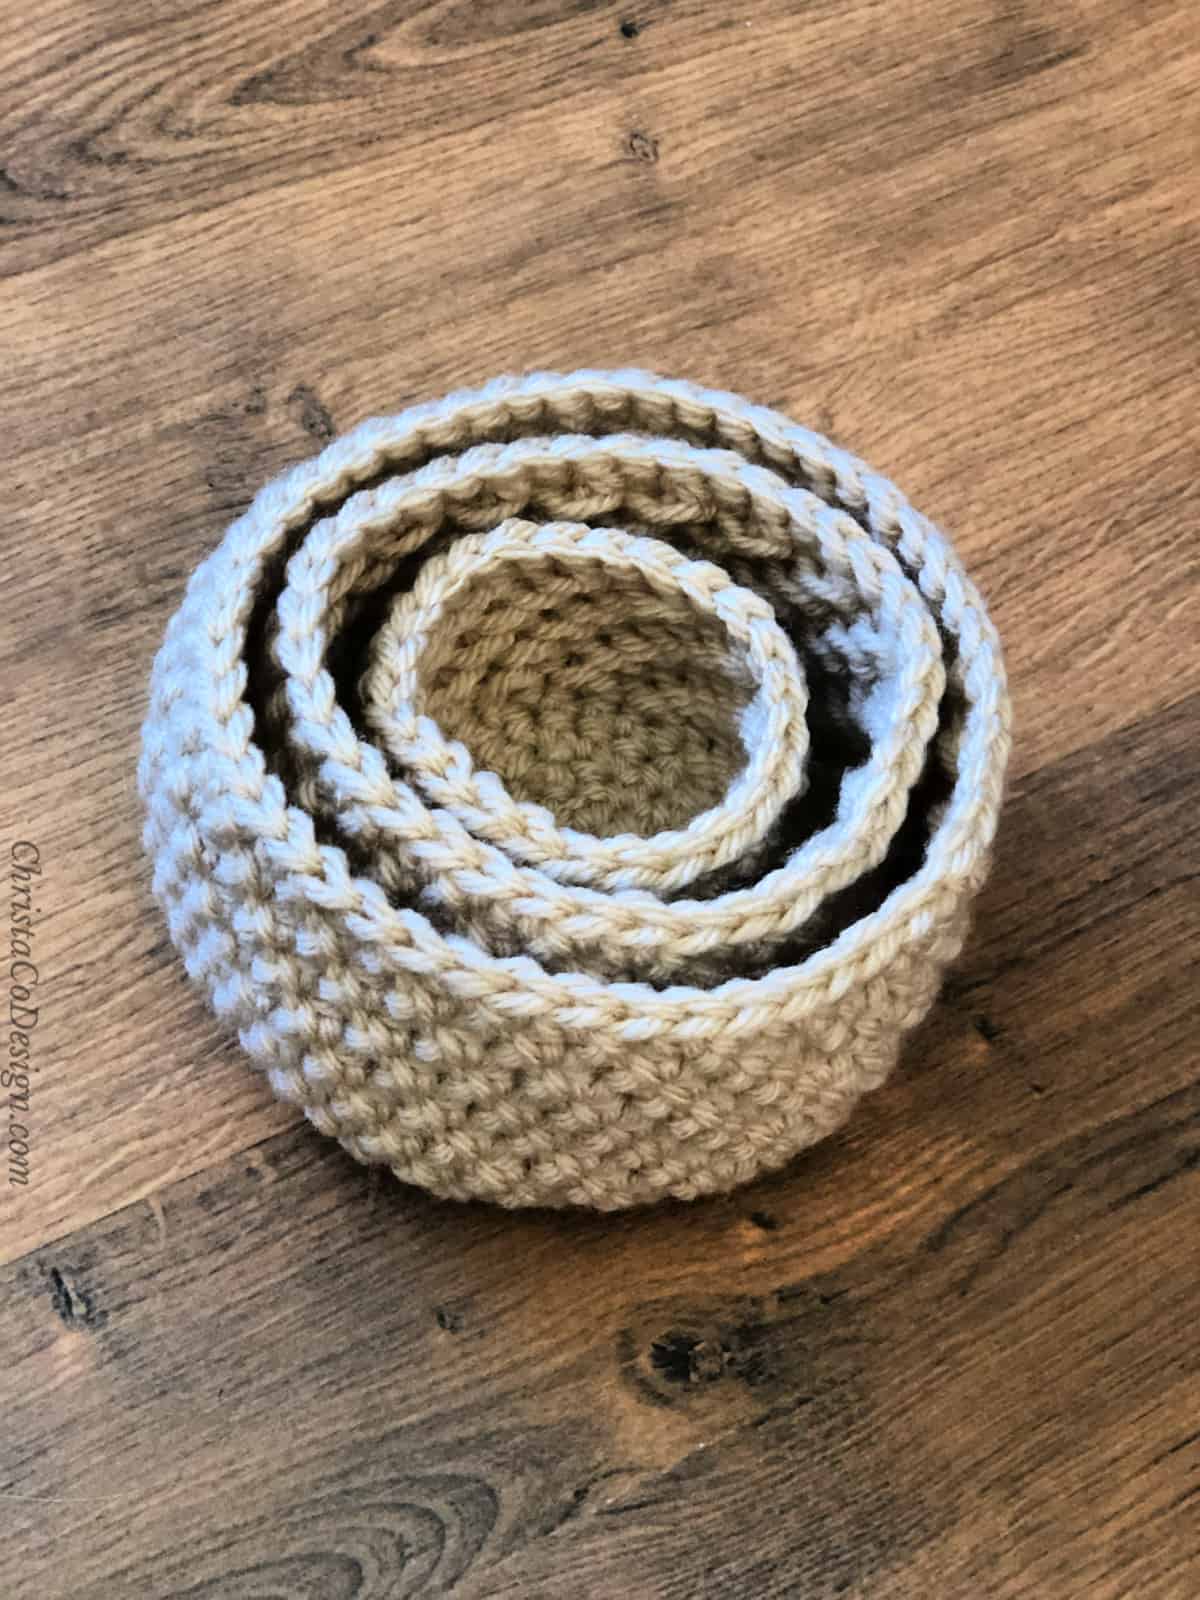
Recommended Products
As an Amazon Associate and member of other affiliate programs, I earn from qualifying purchases.


I made these baskets the other day and they came out so cute! Thank you so much for sharing this pattern. The instructions were clear and very easy to follow.