
Free Asymmetrical Triangle Scarf Crochet Pattern
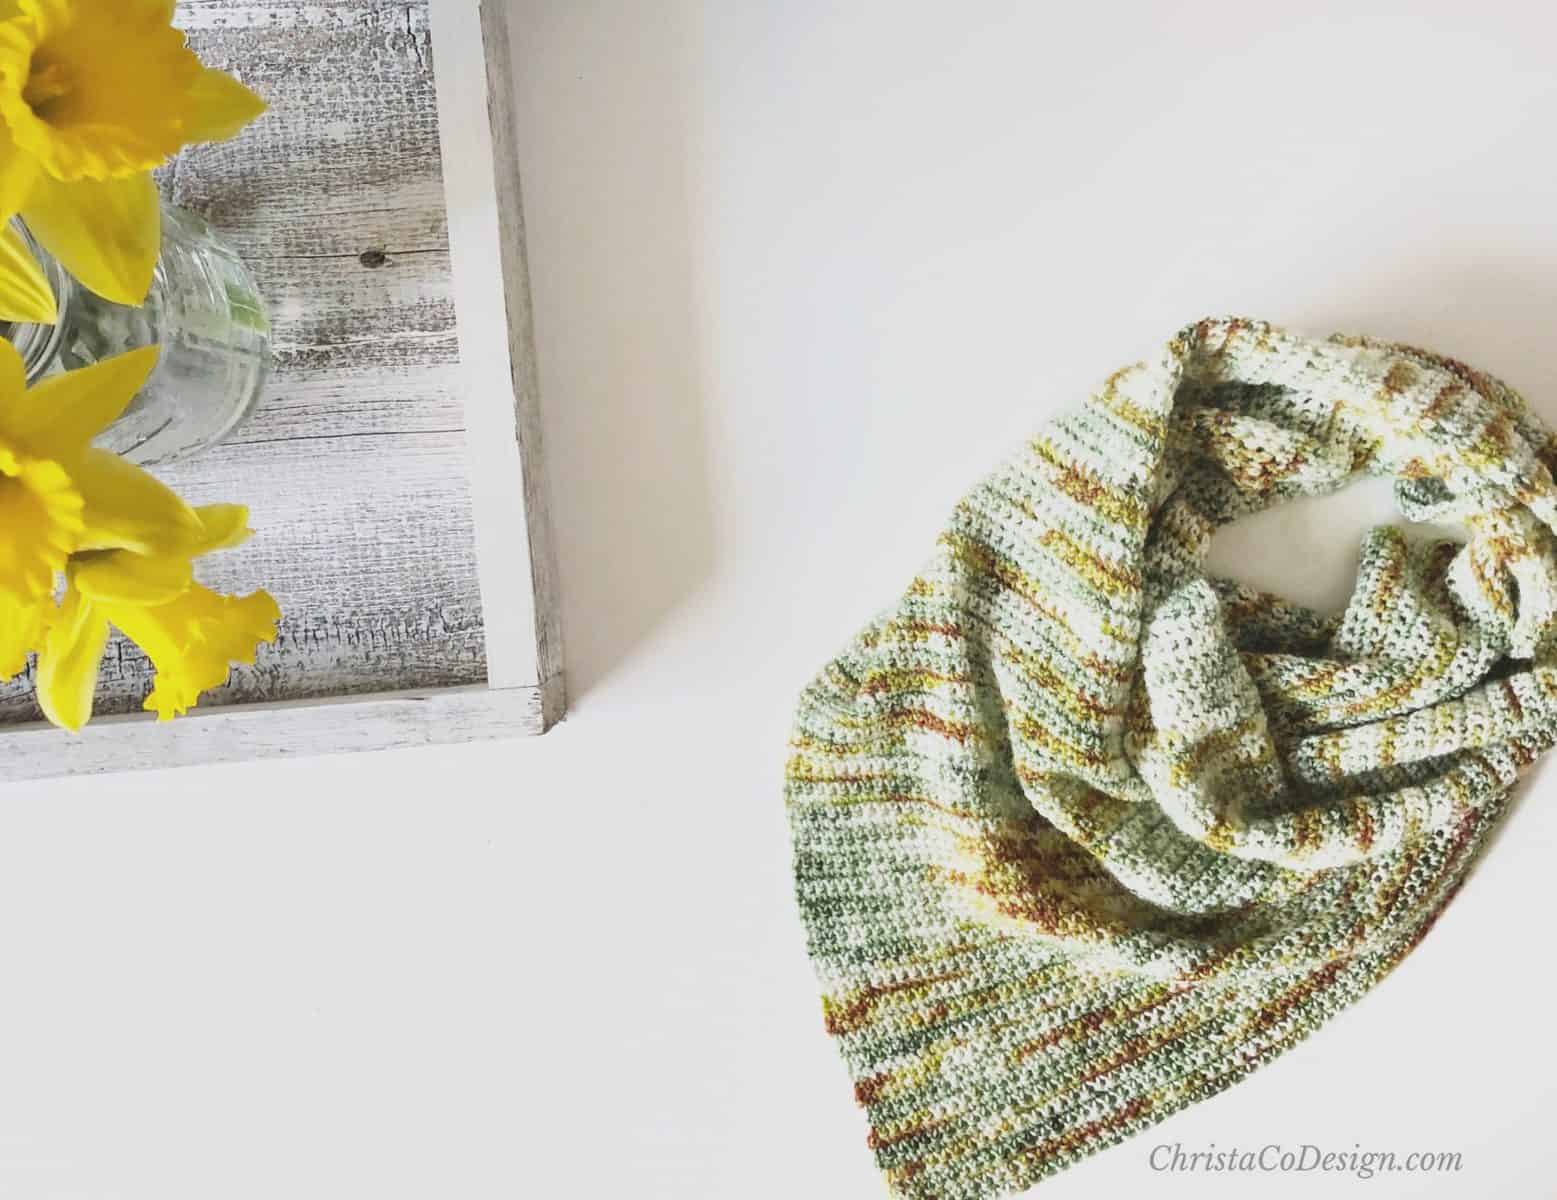
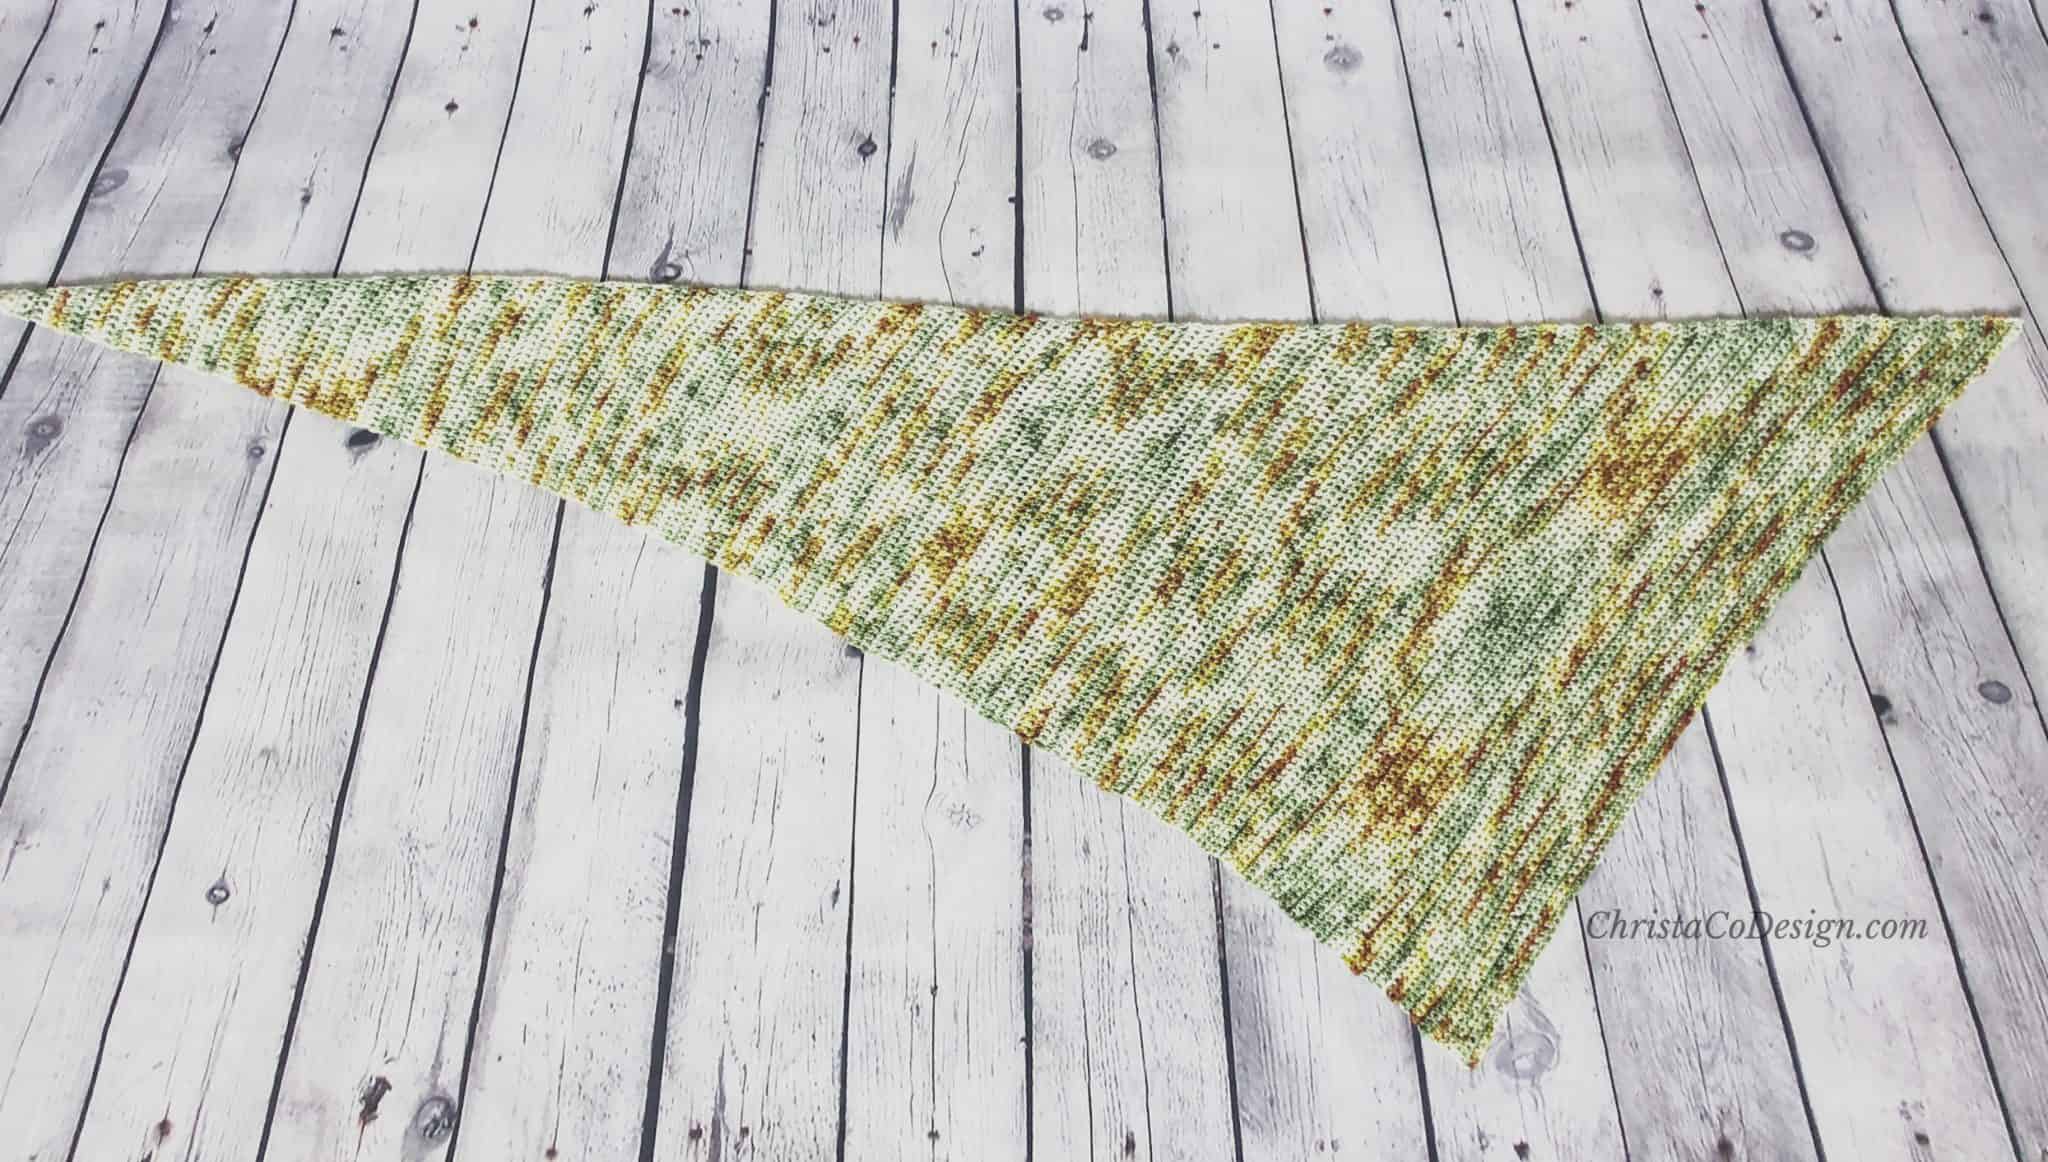
Crochet the Tuscan Scarf with just one skein of fingering weight yarn. Designed solely with single crochet stitches, this easy crochet scarf showcases the colors of that special hand dyed yarn.

This post contains affiliate links, I may earn a fee. Read more disclosure policy.
Join the ChristaCoDesign Newsletter
Never miss a pattern!
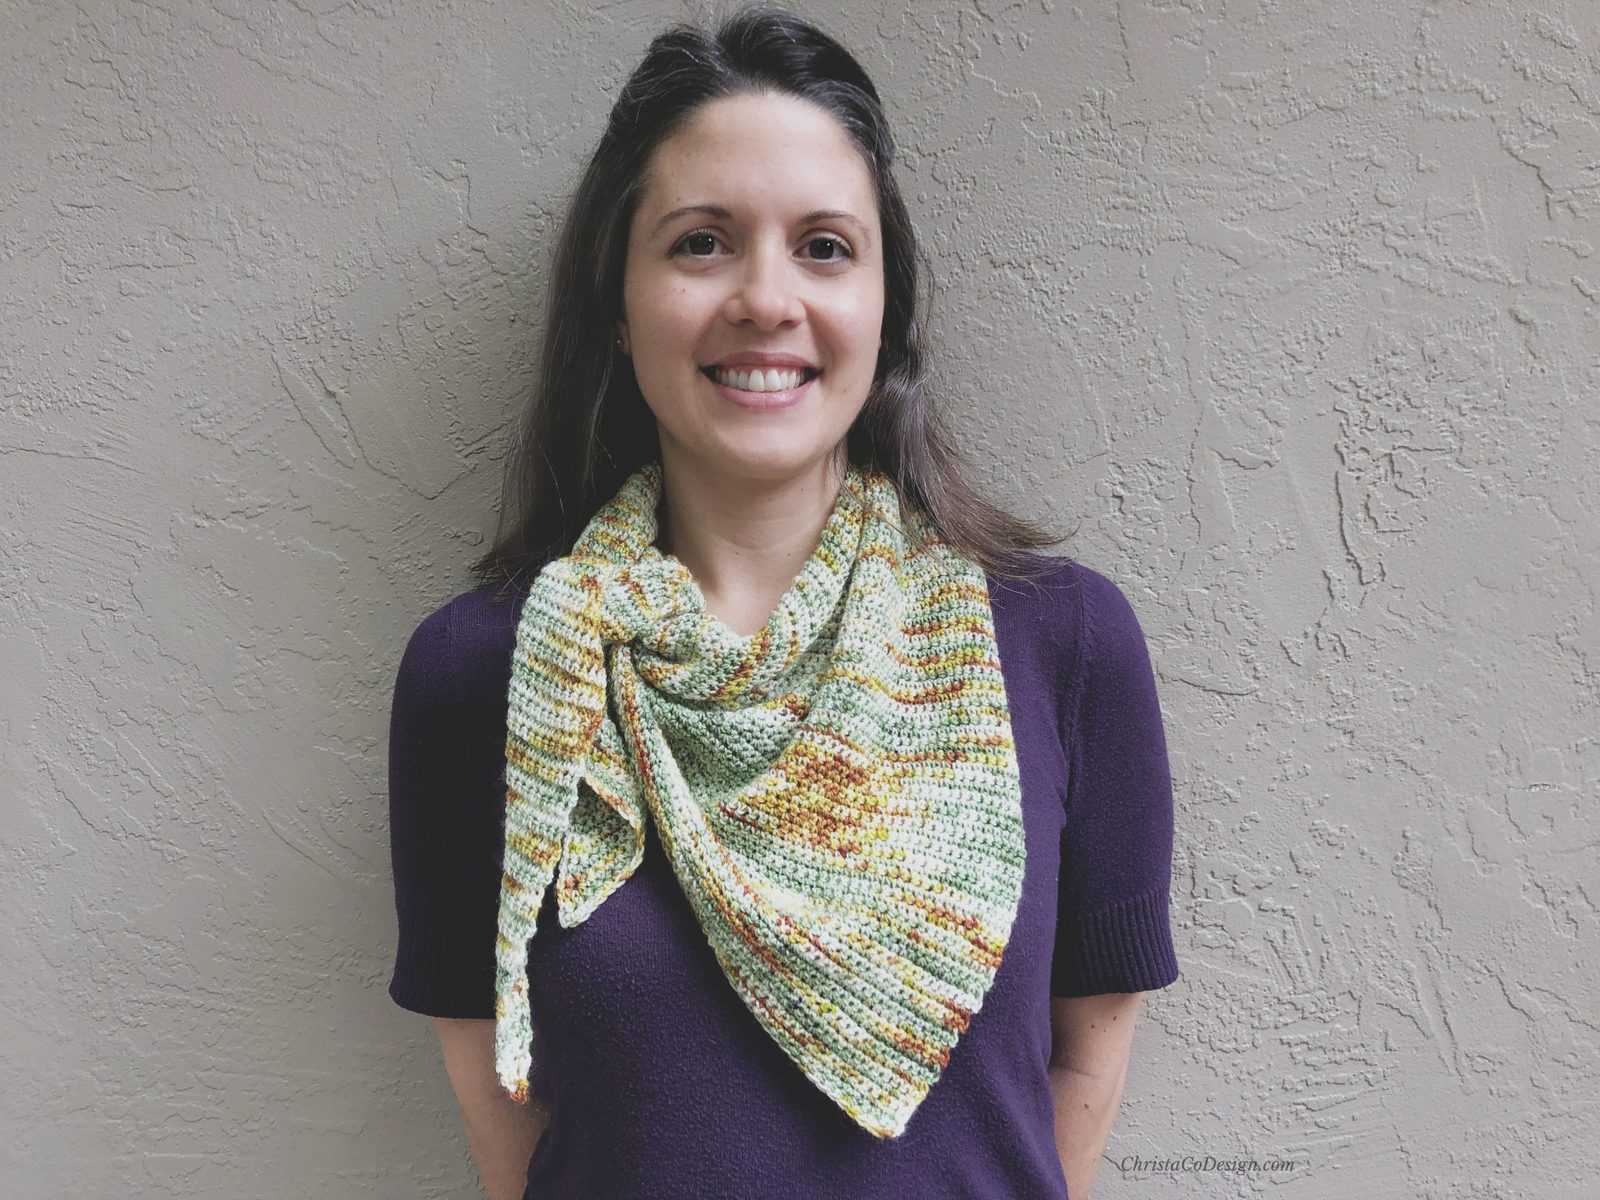
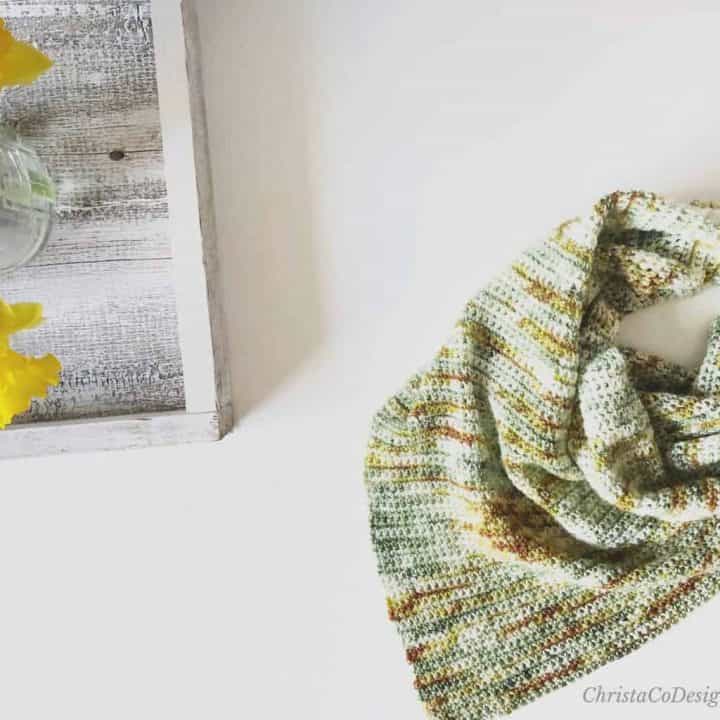
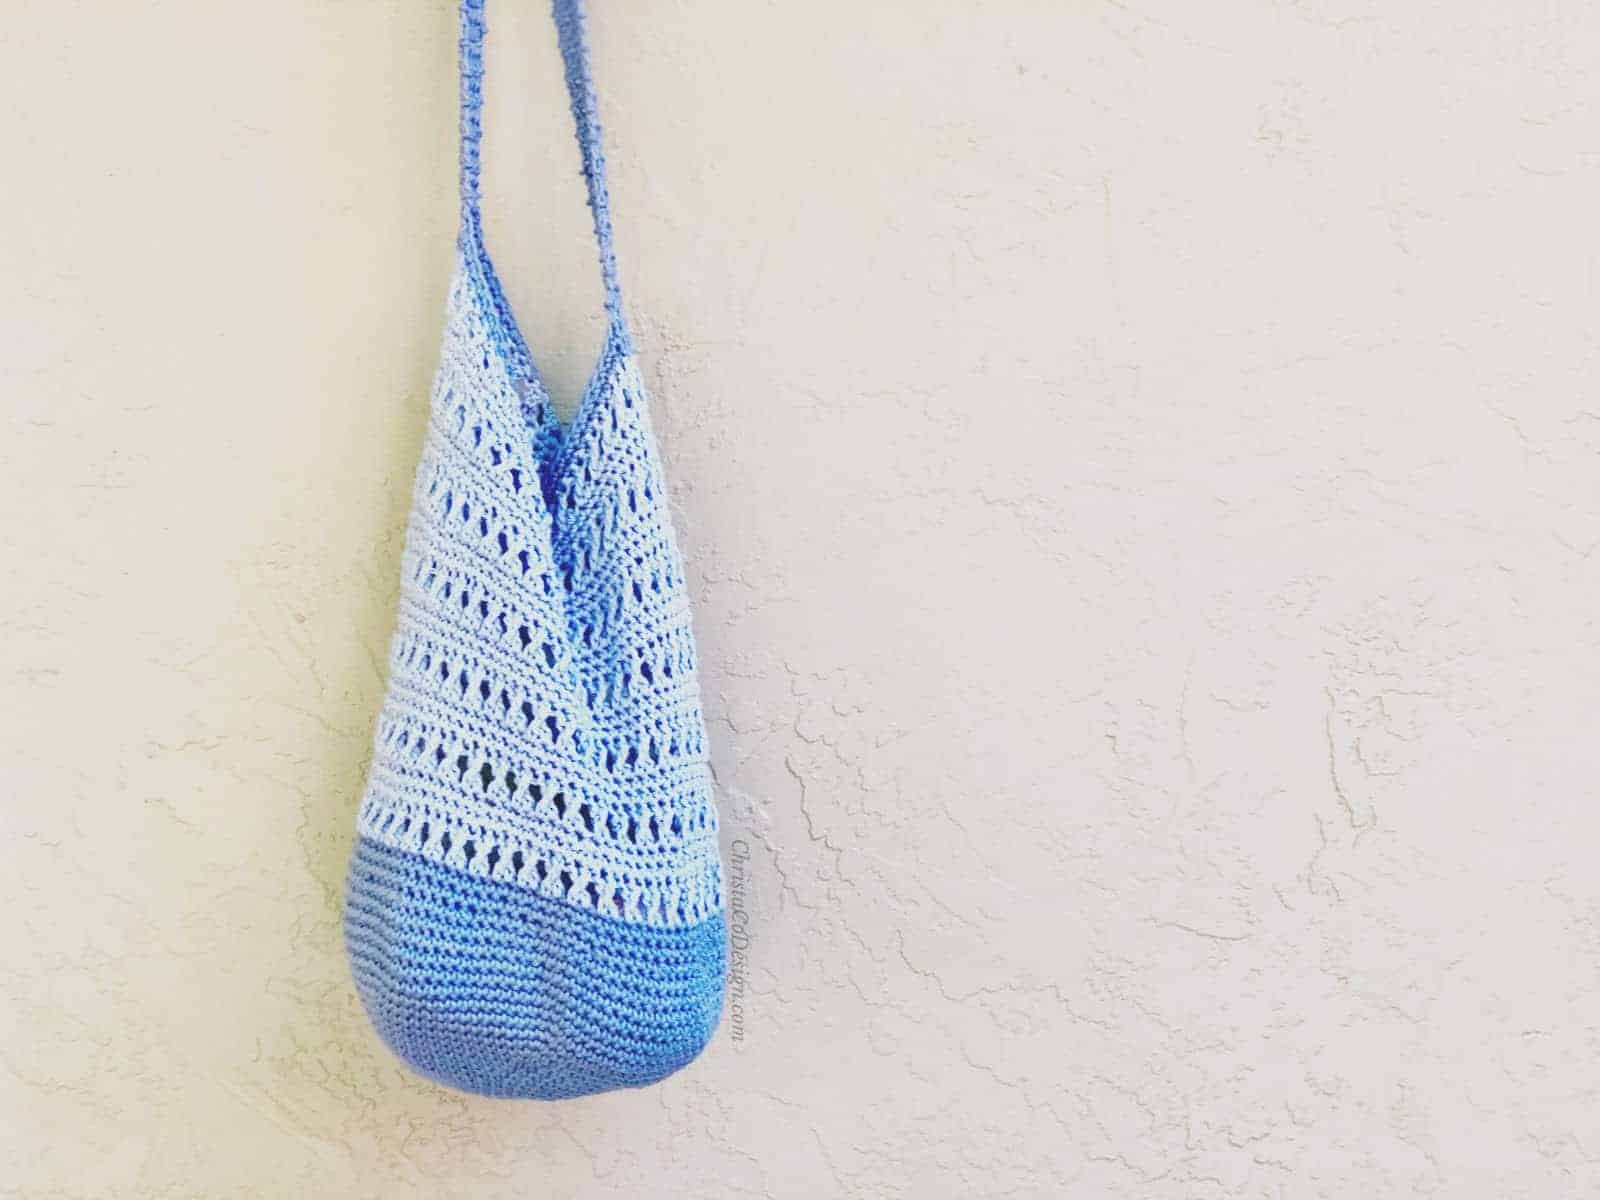
The Tuscan Scarf is lightweight and simple to style. Use the long end secure the scarf in a loose knot to keep it in place on your neck. Or wrap it and tuck the tail in.
Triangle scarves are so easy to crochet and easy to wear. So if you are new and have limited crochet experience you can still make this scarf.
You can purchase an ad-free pdf {scroll down for the free pattern}
Purchase the ad-free, well formatted printable PDF Pattern from my shop. Scroll down for the free pattern!
You can also purchase the printable pdf version in my Etsy or Ravelry shops.
I was gifted this lovely hank of yarn and I’m thrilled to finally have been able to create a scarf with it. I love how lightweight and simple it is to wear.
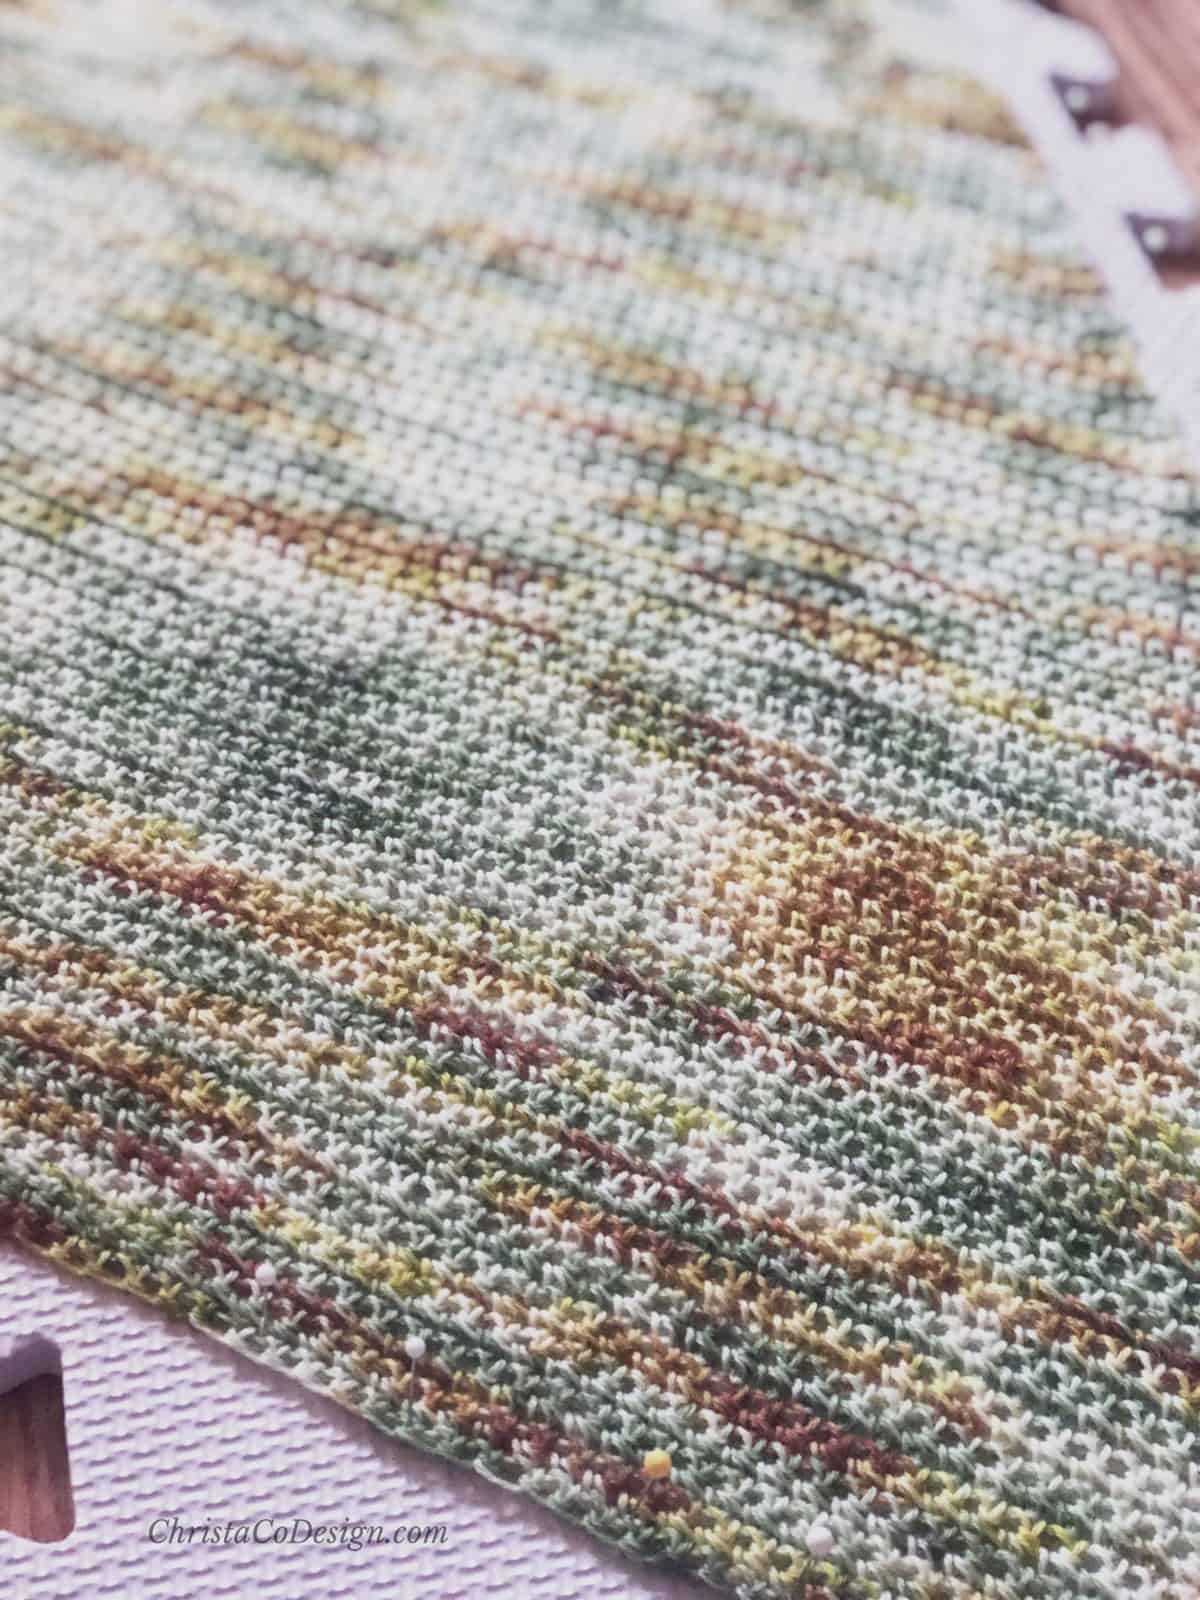
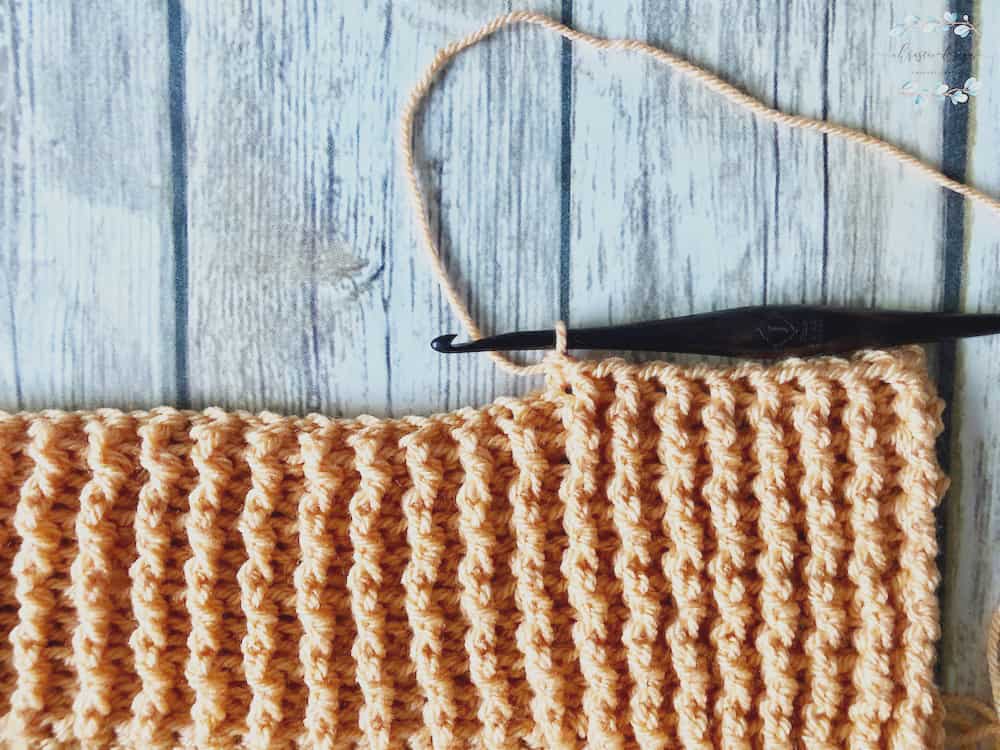
The single crochet stitches allow the different colors of the speckled hand dyed to shine. You can use your favorite yarn color of course. It would amazing in a solid color too.
The simple stitch pattern is a two row repeat. It makes this one so easy and relaxing.
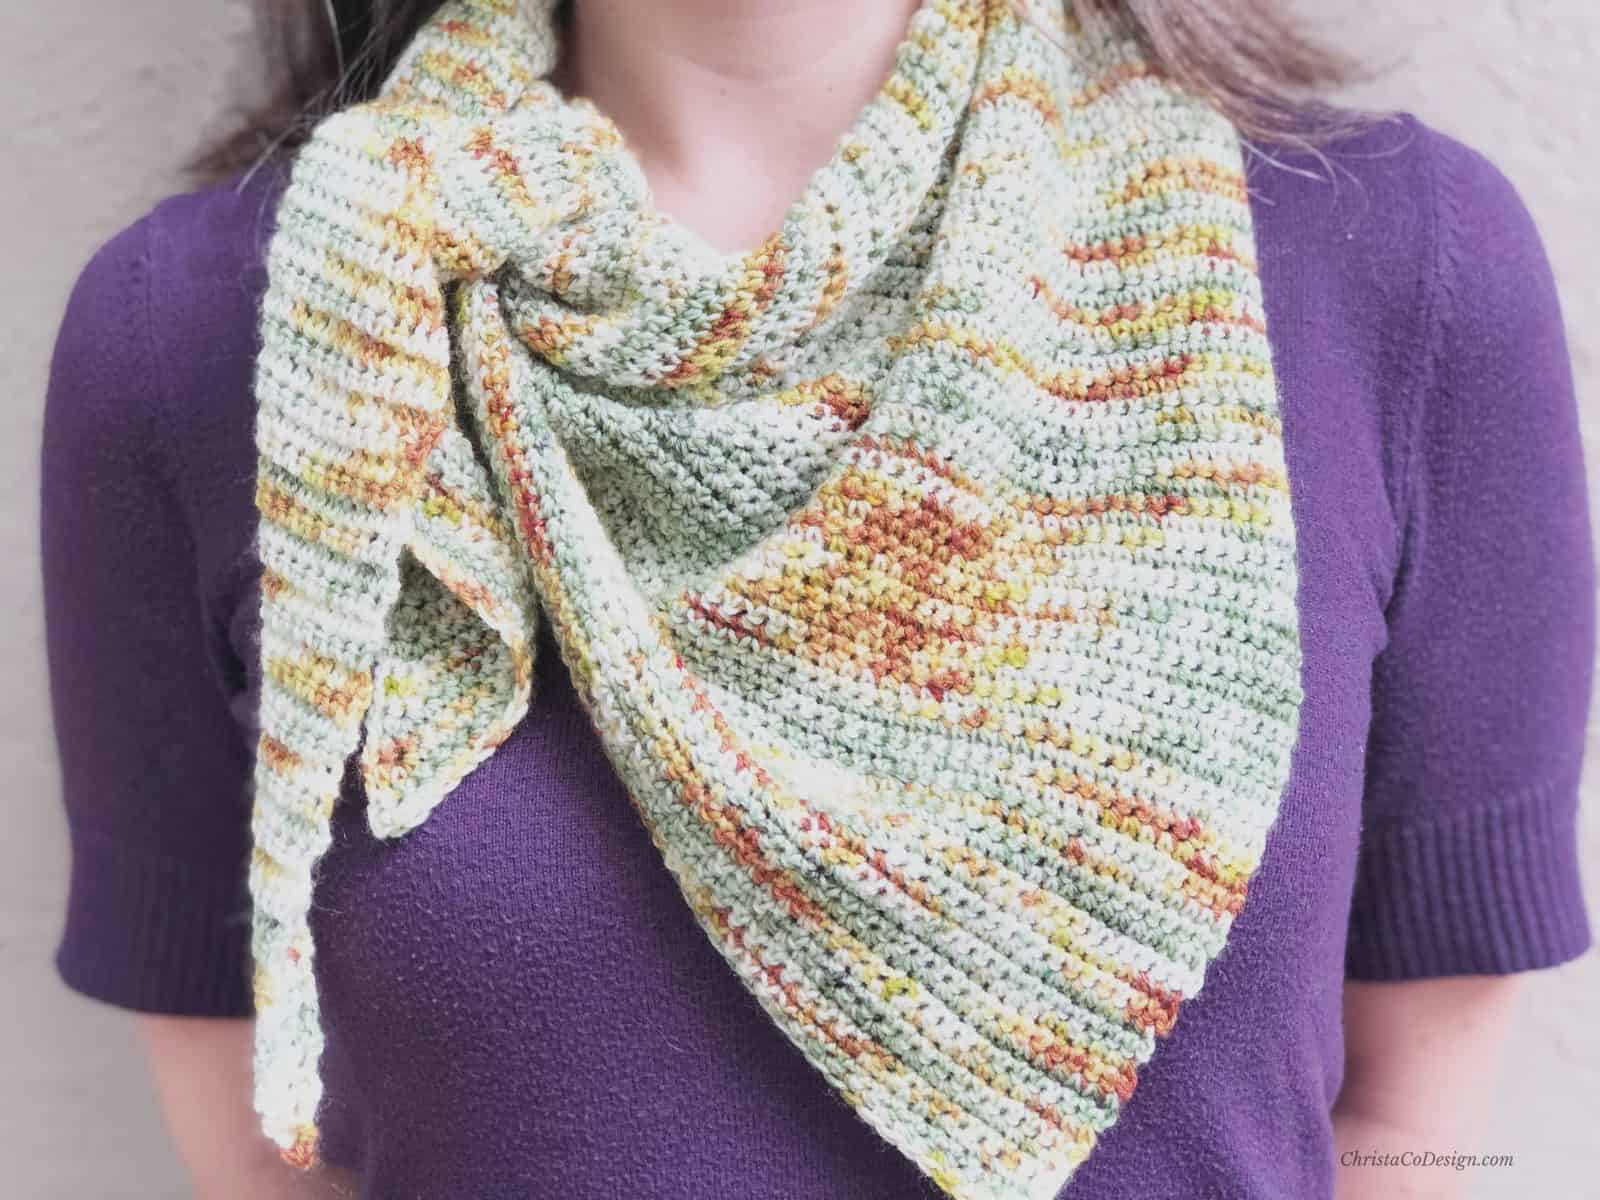
I love the stitch definition in this yarn. It was a limited release, but I was able to find a similar yarn here.*
The Tuscan Scarf is crocheted from one tip to the widest end, which means increasing is a breeze with single crochets. The asymmetrical triangle allows for easy styling and wear. It’s my favorite shawl shape right now.
Free Patterns
MORE SCARF PATTERNS
These triangle scarf patterns are all free here on the blog!
- Ambra Triangle Scarf the pineapple puff stitch has beautiful texture.
- Granny Triangle Scarf is a classic and looks great with color changes.
- Mesh Triangle Shawl is a beautiful shawl in sport weight yarn.
- Tostata Scarf is the Tuscan Scarf‘s knit sister, check out this easy one skein knitting pattern.
Materials
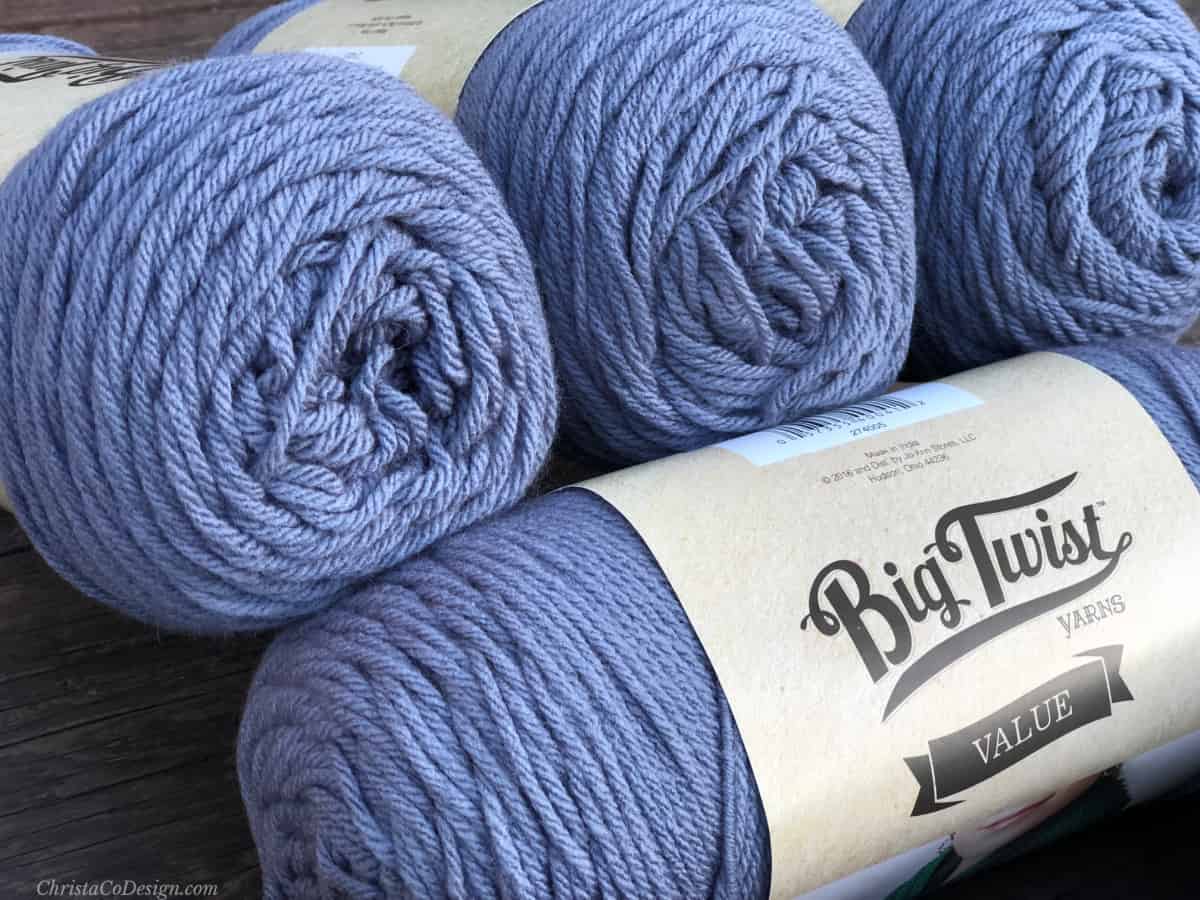
- 463 yds fingering weight yarn* (#1, sock yarn, baby yarn), pictured is Handmade Home Fibers in Fiddle Leaf Fig
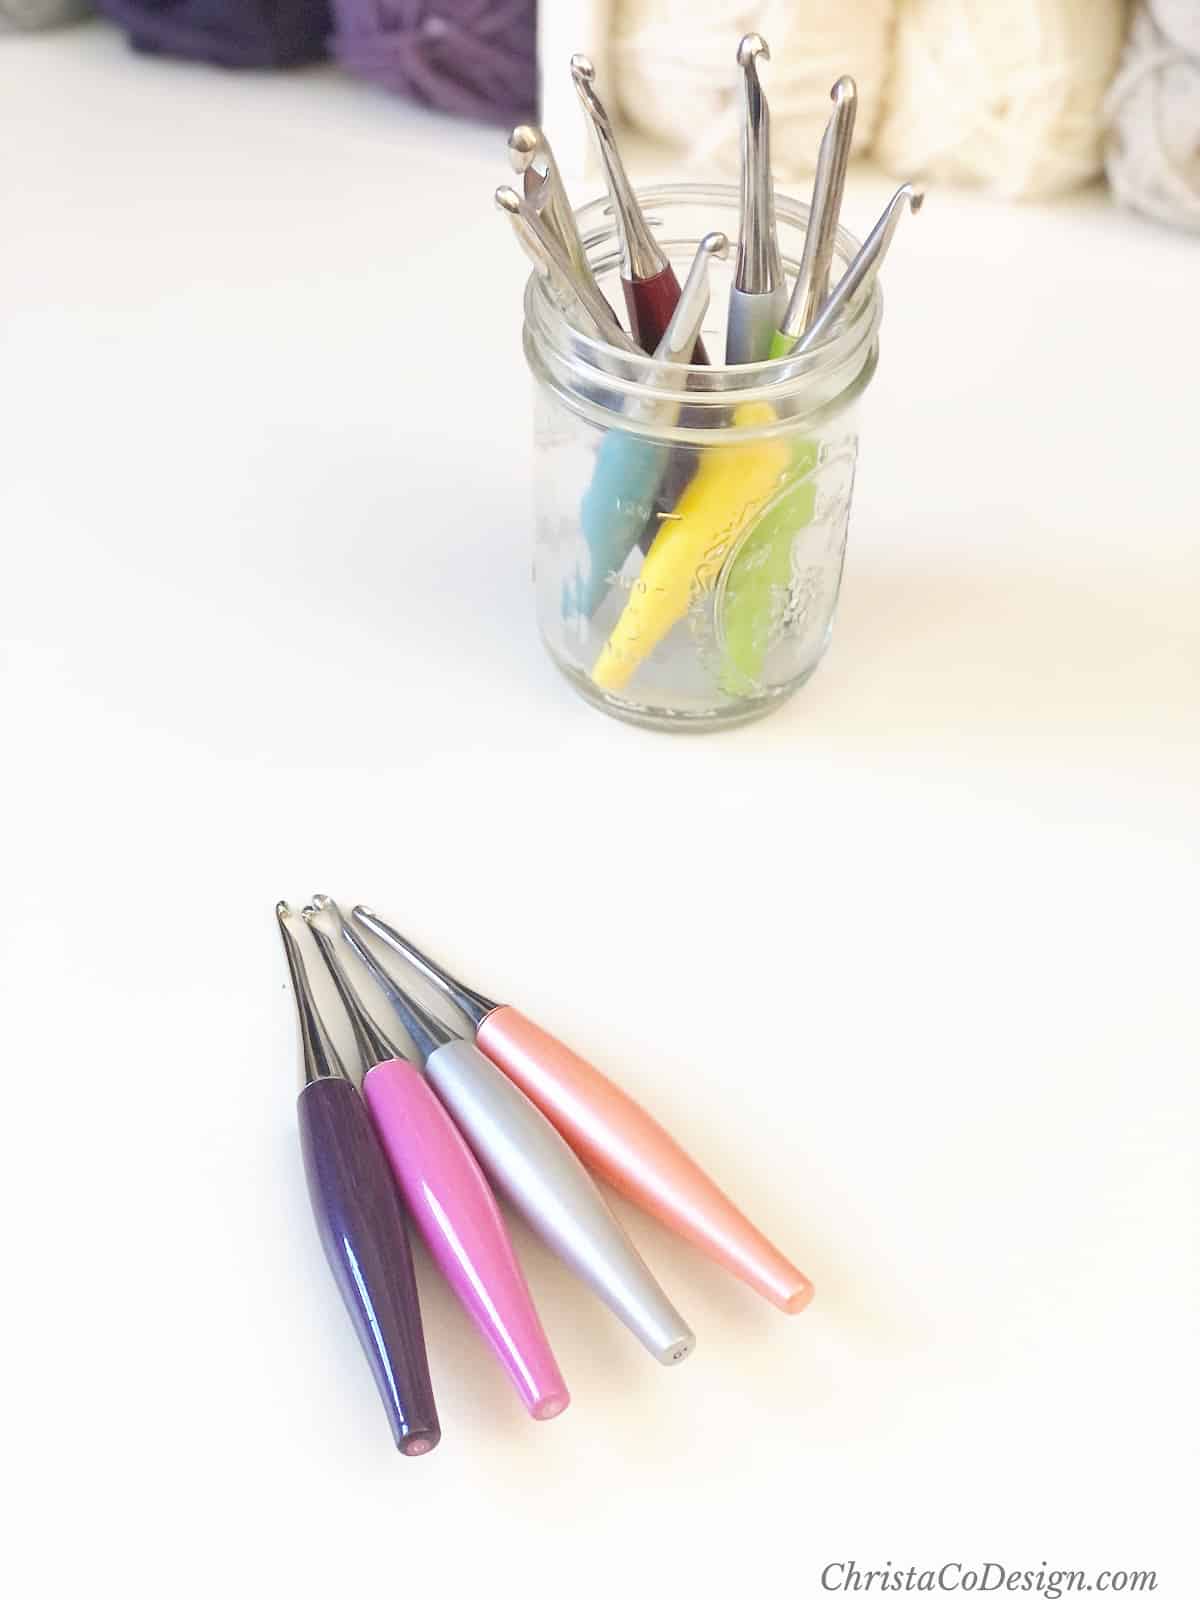
- 4 mm US Size G-4 crochet hook* or hook need to meet gauge.
- yarn needle
- scissors
- measuring tape
- pins for blocking
Notes
- Ch 1 does not count as a st.
- The increases are on one end of the rows to create this asymmetrical triangle shape.
- You can continue the pattern repeat for a larger scarf.
Stitches / Abbreviations
US Terms
Fsc – foundation single crochet
ch(s) – chain(s)
sc – single crochet
RS – right side
WS – wrong side
rep – repeat
st(s) – stitch(es)
Skill Level
Beginner
Gauge
2” x 2” = 9 sc x 12 rows of sc
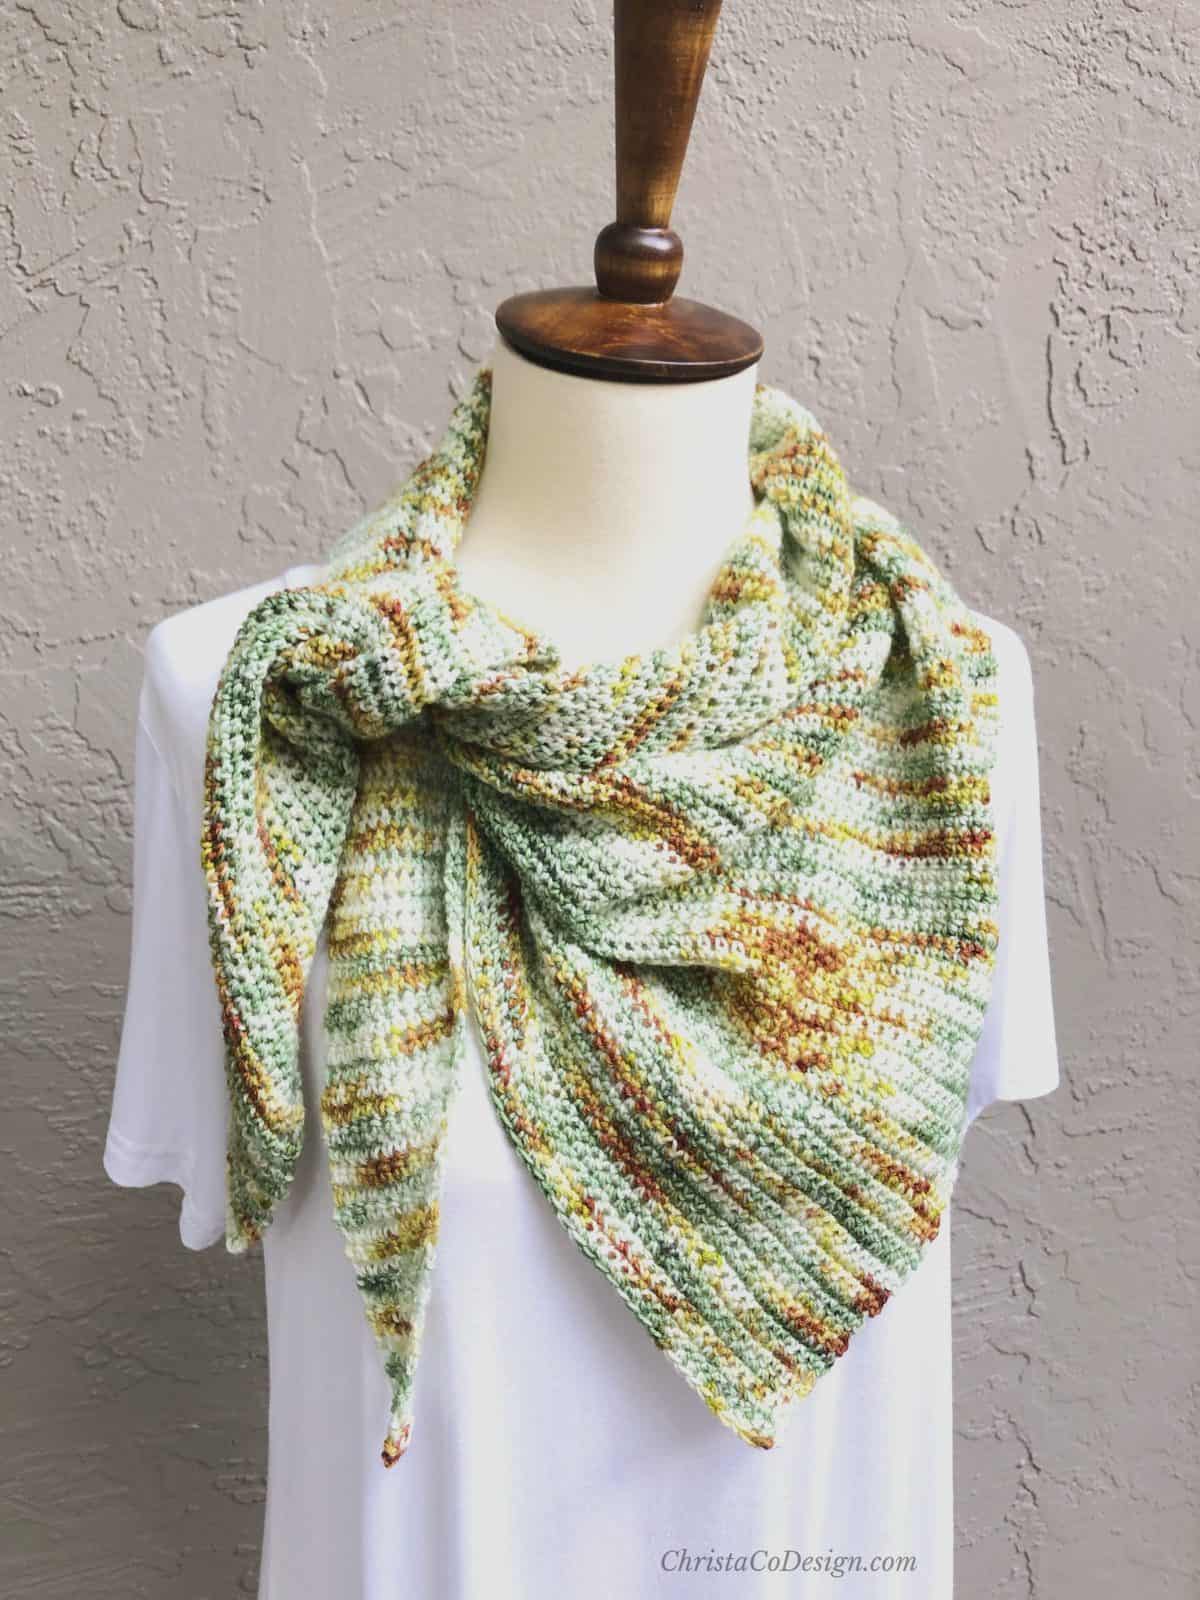
Finished dimensions
22” at its’s widest point, your last row.
48” on the longest diagonal
18″ deep
Add this pattern to your Ravelry queue.
Adjustments
If you want to crochet an asymmetrical triangle shawl you can continue the repeat rows until the desired length is reached. Remember you’ll need at least another skein of yarn to or a full size shawl.
You can also crochet a different length scarf my working more or less repeat rows.
If you want to try this pattern in a different yarn weight, like worsted weight or dk weight yarn, it should work nicely. You will of course have a thicker scarf than shown here.
Scroll down for the free written pattern!
Pattern Instructions
Tuscan Scarf a Free Crochet Scarf Pattern
The Tuscan Scarf crochet pattern works up with just one skein of fingering weight yarn.
Materials
- 1 hank, or 463 yds fingering weight yarn (#1, sock, baby yarn), pictured is Handmade Home Fibers in Fiddle Leaf Fig
Tools
- 4mm hook
- Yarn needle
- Measuring tape
- Scissors
- Pins for blocking
Instructions
- Row 1. FSC 1, or ch 2, sc in the 2nd ch from your hook, turn. (1 st)
- Row 2. Ch 1, 3 sc all in first st, turn. (3 sts)
- Row 3. Ch 1, sc in same st, in next st place 2 sc, sc in last st of the row, turn. (4 sts)
- Row 4. Ch 1, sc in same st and in each st across, turn. (4 sts)
- Row 5. (RS) Ch 1, sc in same st, 2 sc in next st, sc in each st to the end of row, turn. (5 sts)
- Row 6. (WS) Ch 1, sc in same st and in each st across, turn. (5 sts)
- Rows 7-198. Rep rows 5 - 6 until desired length is reached.
Cut yarn, weave in ends.
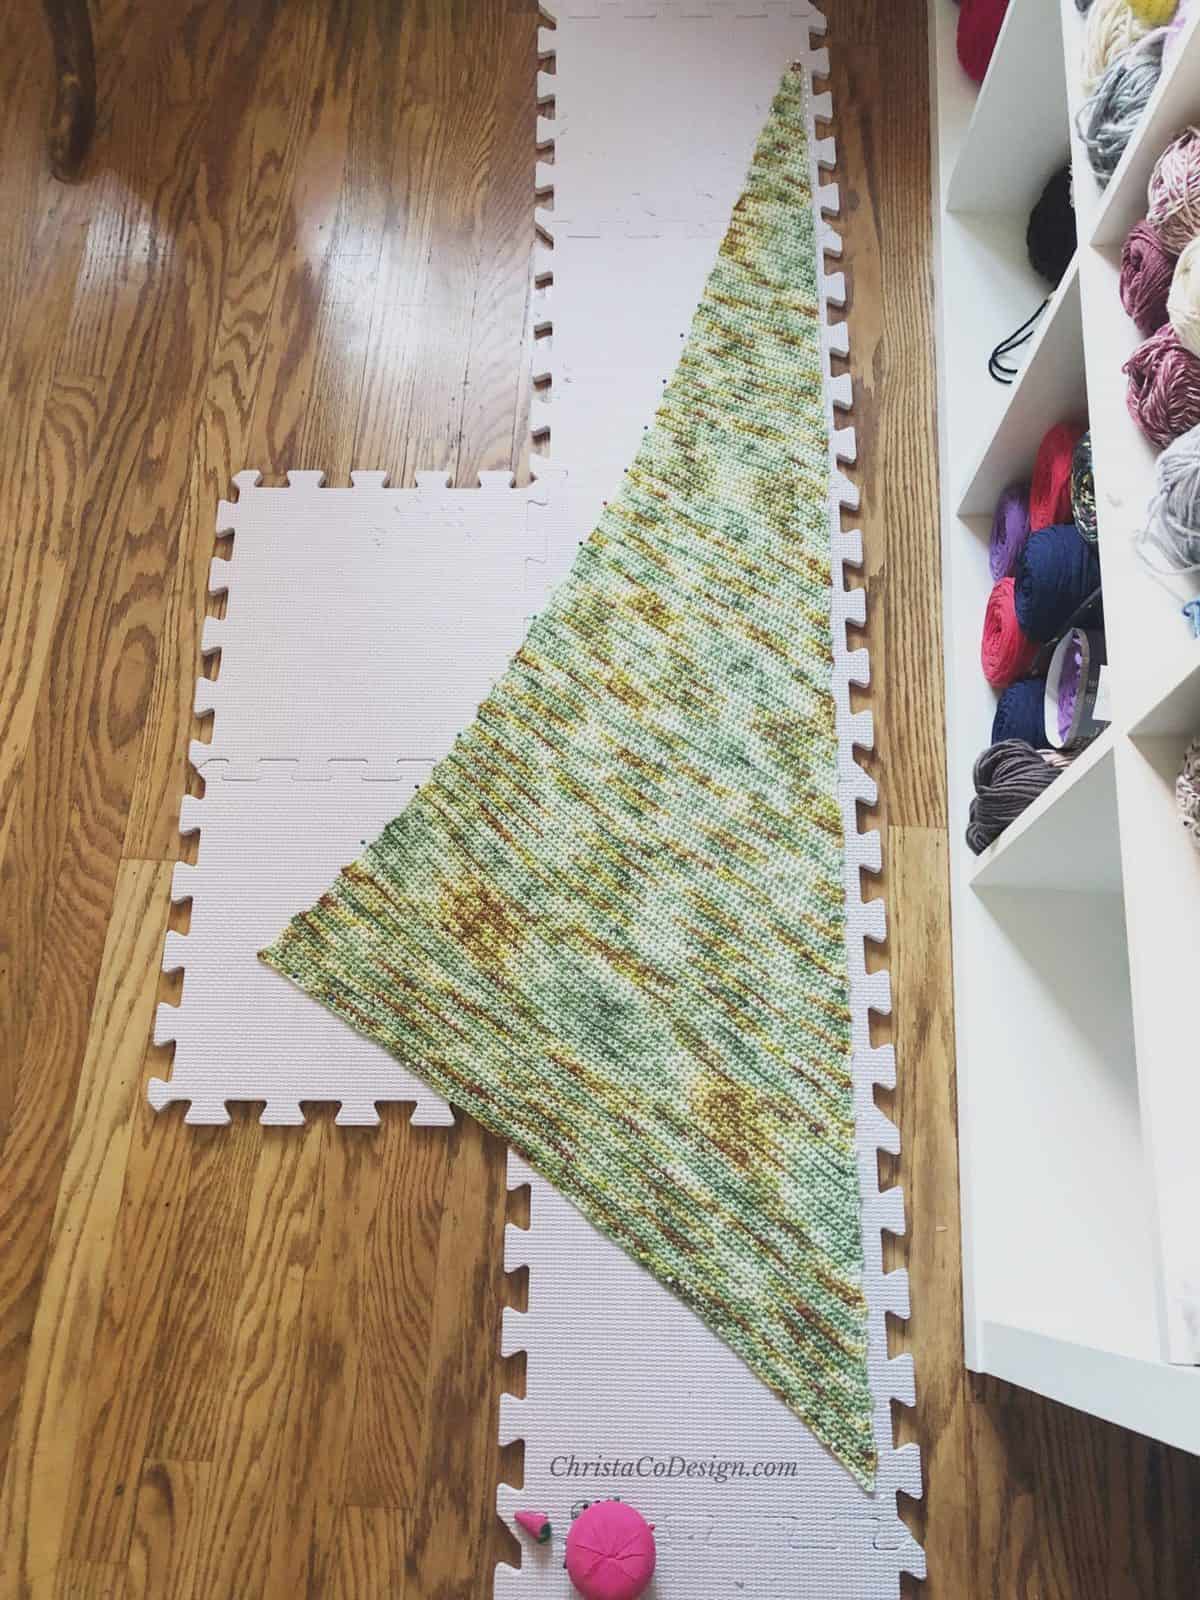
Block - Block your scarf. This will help flatten the curling increase edge, and allow it to lay flat.
- I wet blocked by soaking it briefly in tap water.
- Then I used a towel to squeeze the water out gently by rolling it out repeatedly. Once it was damp and not dripping, I smoothed it into place on my blocking boards.
- If you don’t have blocking mats you can use a clean towel on a floor, table, or bed. I use my Knit Picks blocking mats.
- I pinned all the edges down, shaping with my hands as I went. And that’s it, just let it dry from here.
Recommended Products
As an Amazon Associate and member of other affiliate programs, I earn from qualifying purchases.


Found this patter to finish off a skein of cake yarn. Hopefully I have enough! The patternbis a very simple repeat and working out nice so far, 28 rows in. Thanks!