Free Crochet Cloche Hat Pattern | Clara Cloche
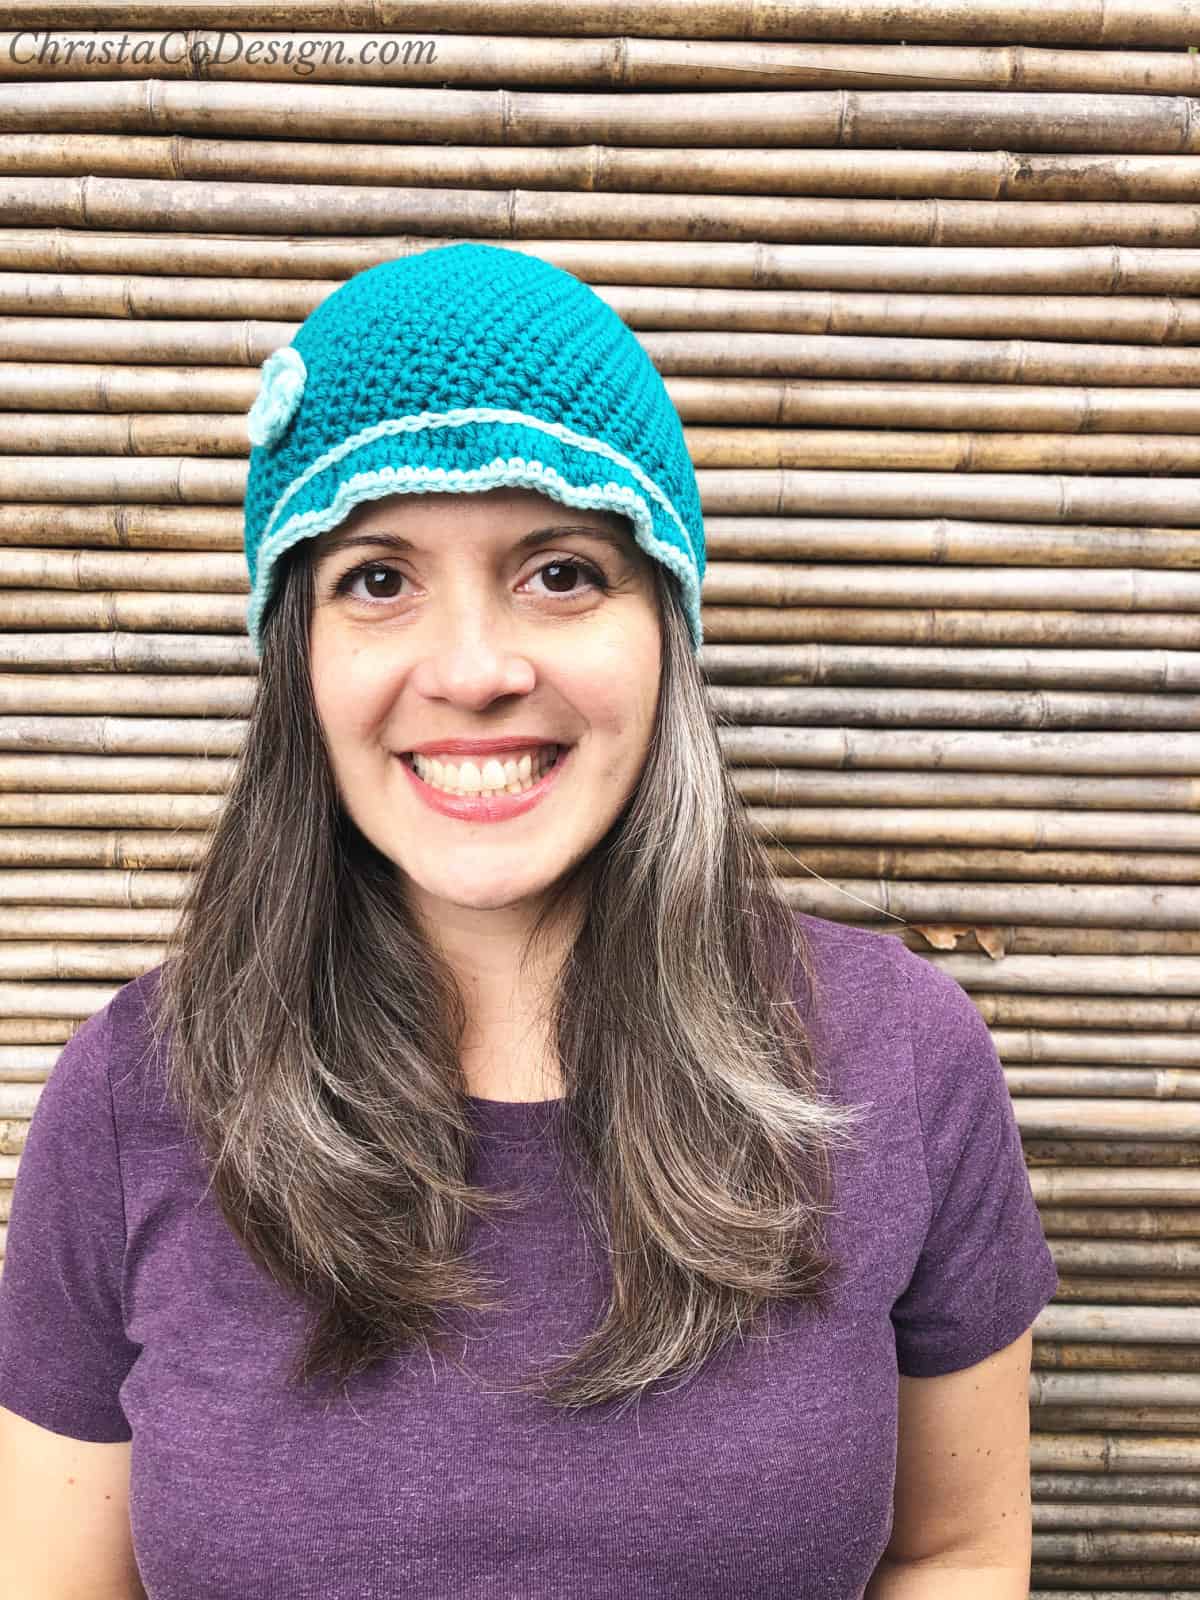
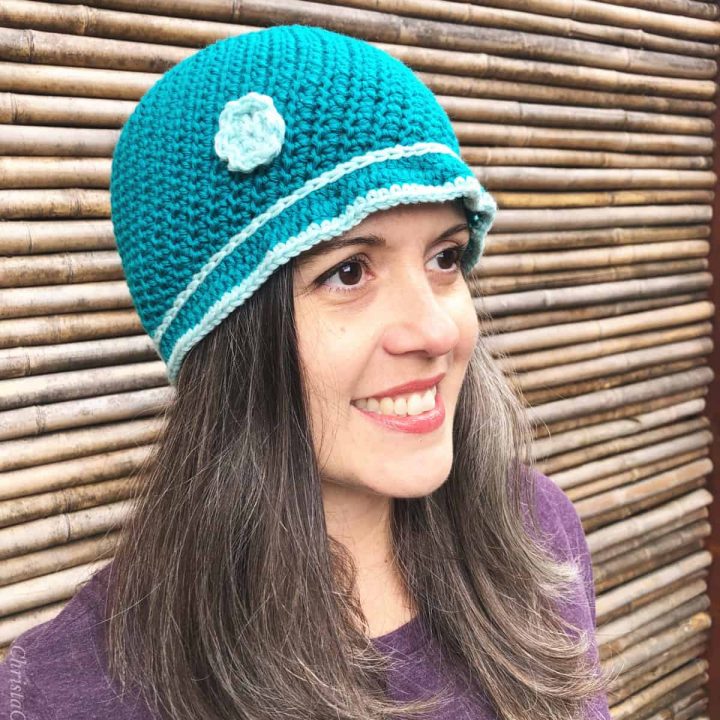
This women’s cloche hat pattern features a fitted crown and fun frilly brim. The lightweight yarn creates a luxuriously soft beanie that’s comfy and stylish.

This post contains affiliate links, I may earn a fee. Read more disclosure policy.
Join the ChristaCoDesign Newsletter
Never miss a pattern!
The Clara Cloche is a great pattern for a spring day in the garden when you still need a little warmth and sun protection.
The crochet flower and trim details make this easy crochet hat pattern truly yours. Since these are added on afterwards you have the option to leave them off.
Thanks to WeCrochet for sending me the yarn to make this pattern.
Purchase the ad-free, well formatted printable PDF Pattern from my shop. Scroll down for the free pattern!
Purchase My Ad-Free PDF Patterns In Your Favorite Shop Here:
The Stitch
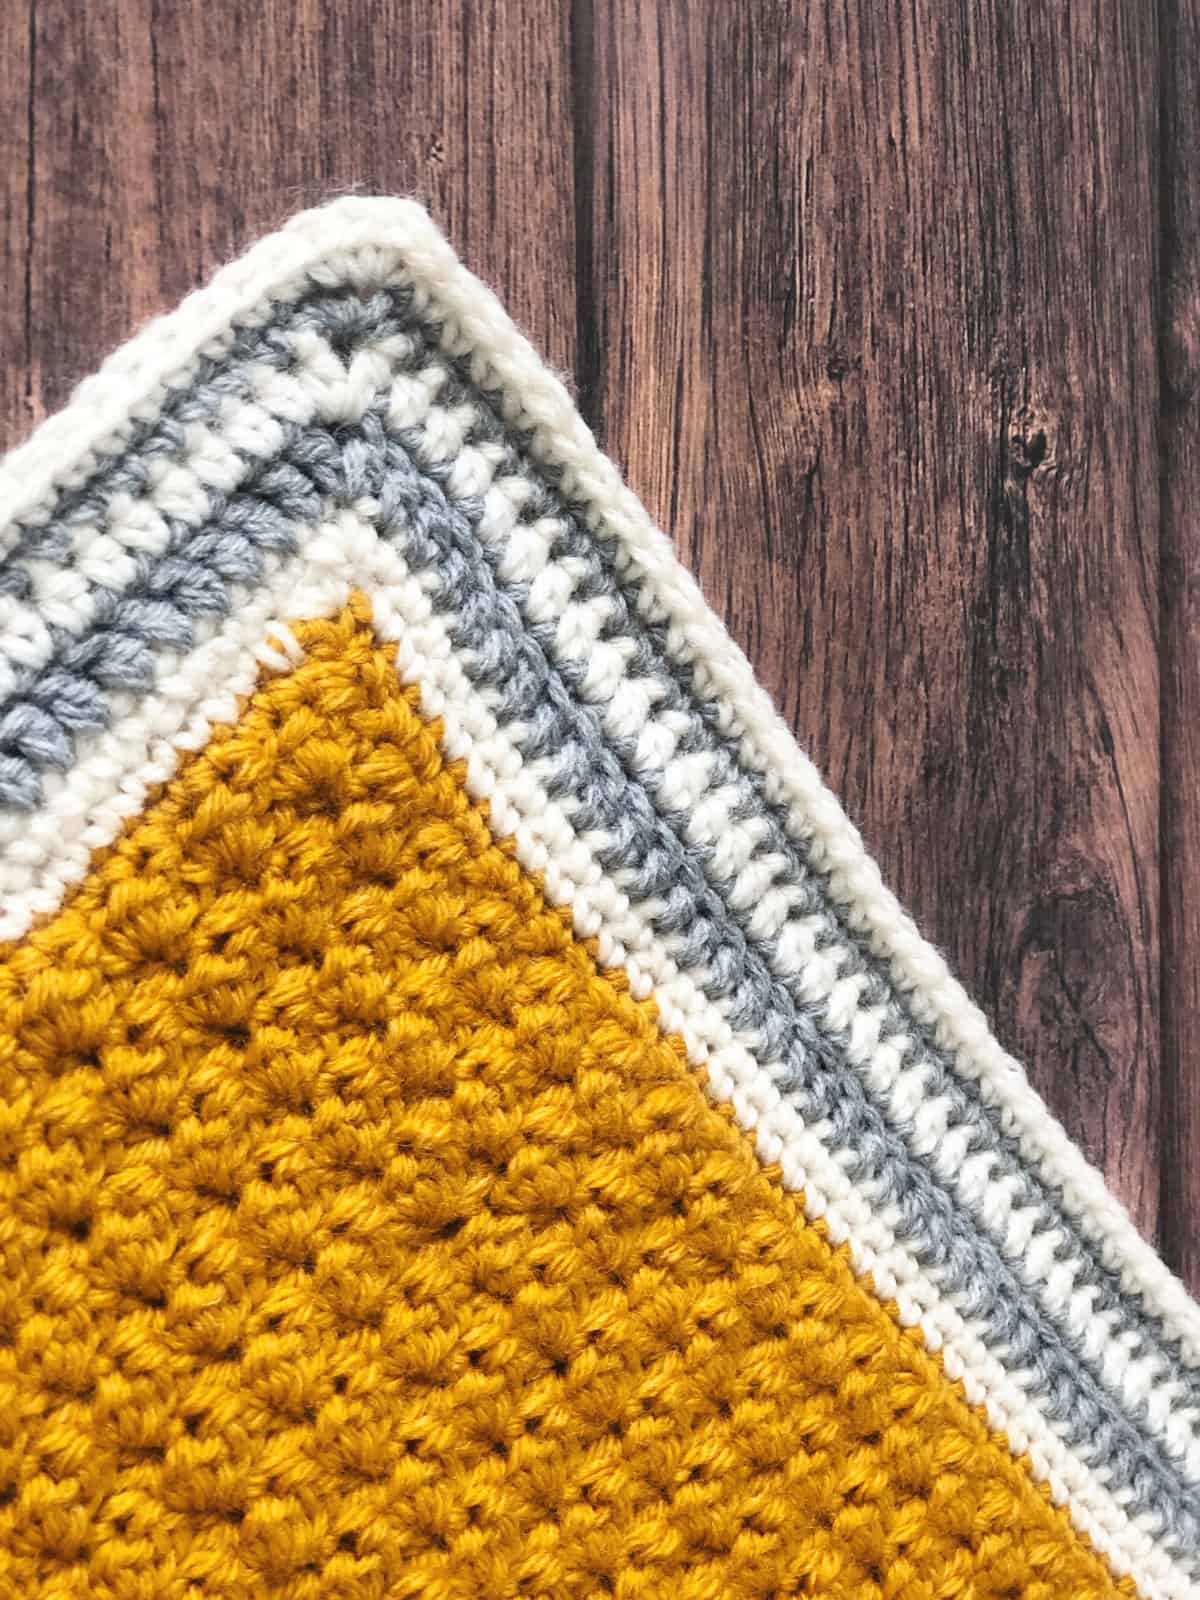
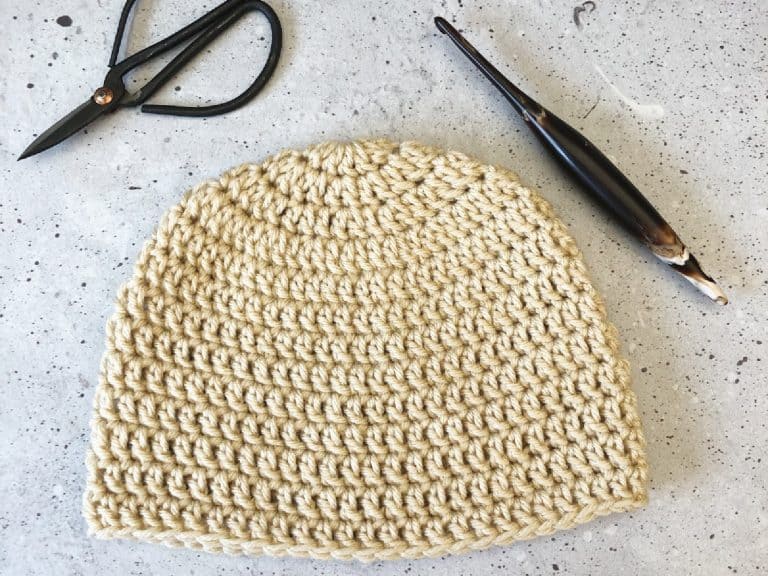
The texture of this top down hat is crocheted simply with half double crochets and slip stitches. The crunch stitch adds just the right amount of interest.
The slip stitches serve as a seamless method of joining. The only color changes are for the final round. These simple patterns make a great gift.
A crochet chemo cap needs to have a solid fabric, without many holes. This makes for a pretty standard beanie, so the texture was important to me here.
The classic 1920s fitted cloche hat has such a nice fit. I love that you just need a little bit of contrasting yarn to really make this style of hat pop.
The Yarn
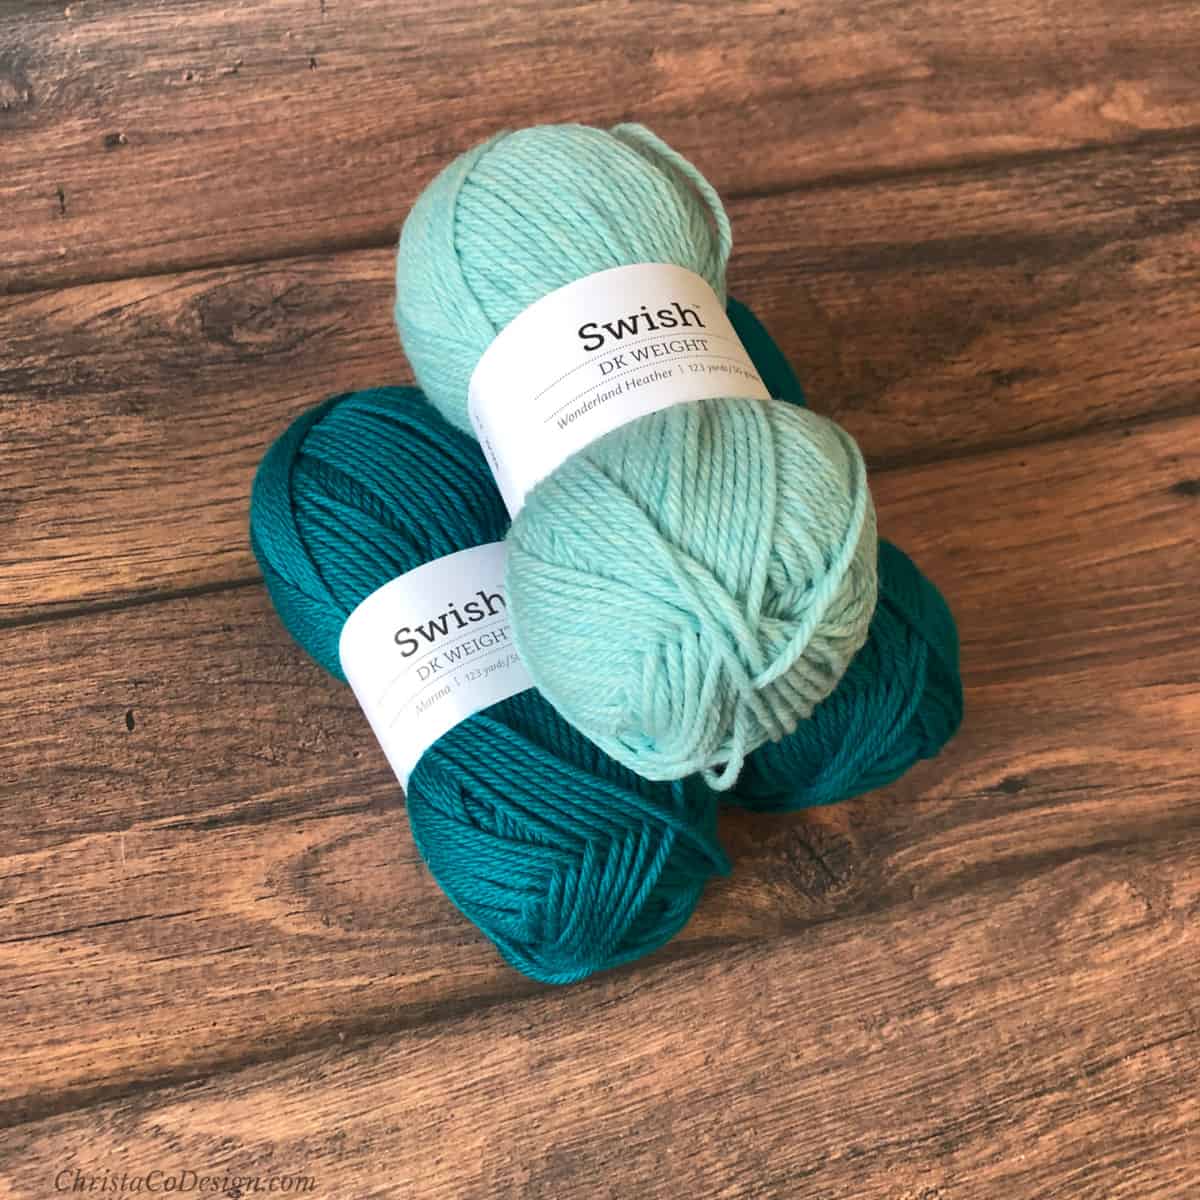
Swish DK* is a super soft #3 lightweight yarn. The high grade Merino wool is so soft on skin. So this yarn is great as winter hats for cancer patients.
The wool is Superwash so it’s easy to care for. Plus it’ll keep you warm!
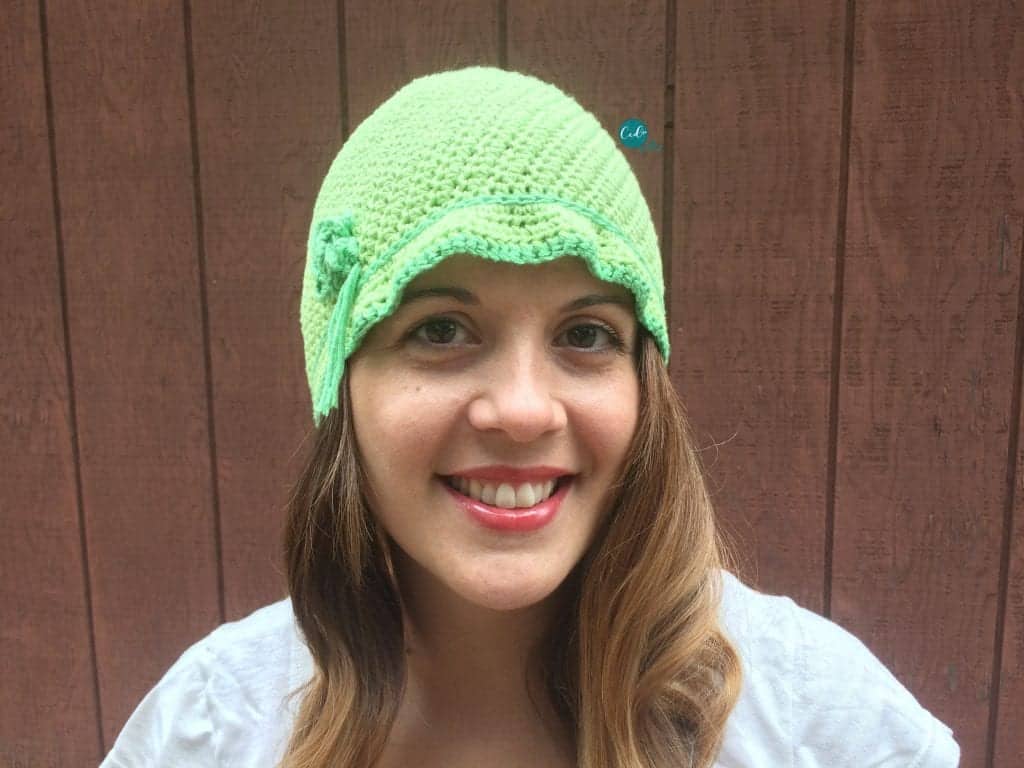
For those who need a chemo cap in the summer, using a lightweight fiber like cotton yarn is important. For the summer version of this cloche hat the original yarn I use is Bamboo Pop* from Universal Yarns which is 50% bamboo and 50% cotton.
It’s is so soft, stretchy and comes in an array of gorgeous colors. The natural fibers are ideal for summer time, or those who live in warmer climates but still need a full coverage cap.
You can substitute a different yarn of course, just keep it in the same weight category.
How It’s Made
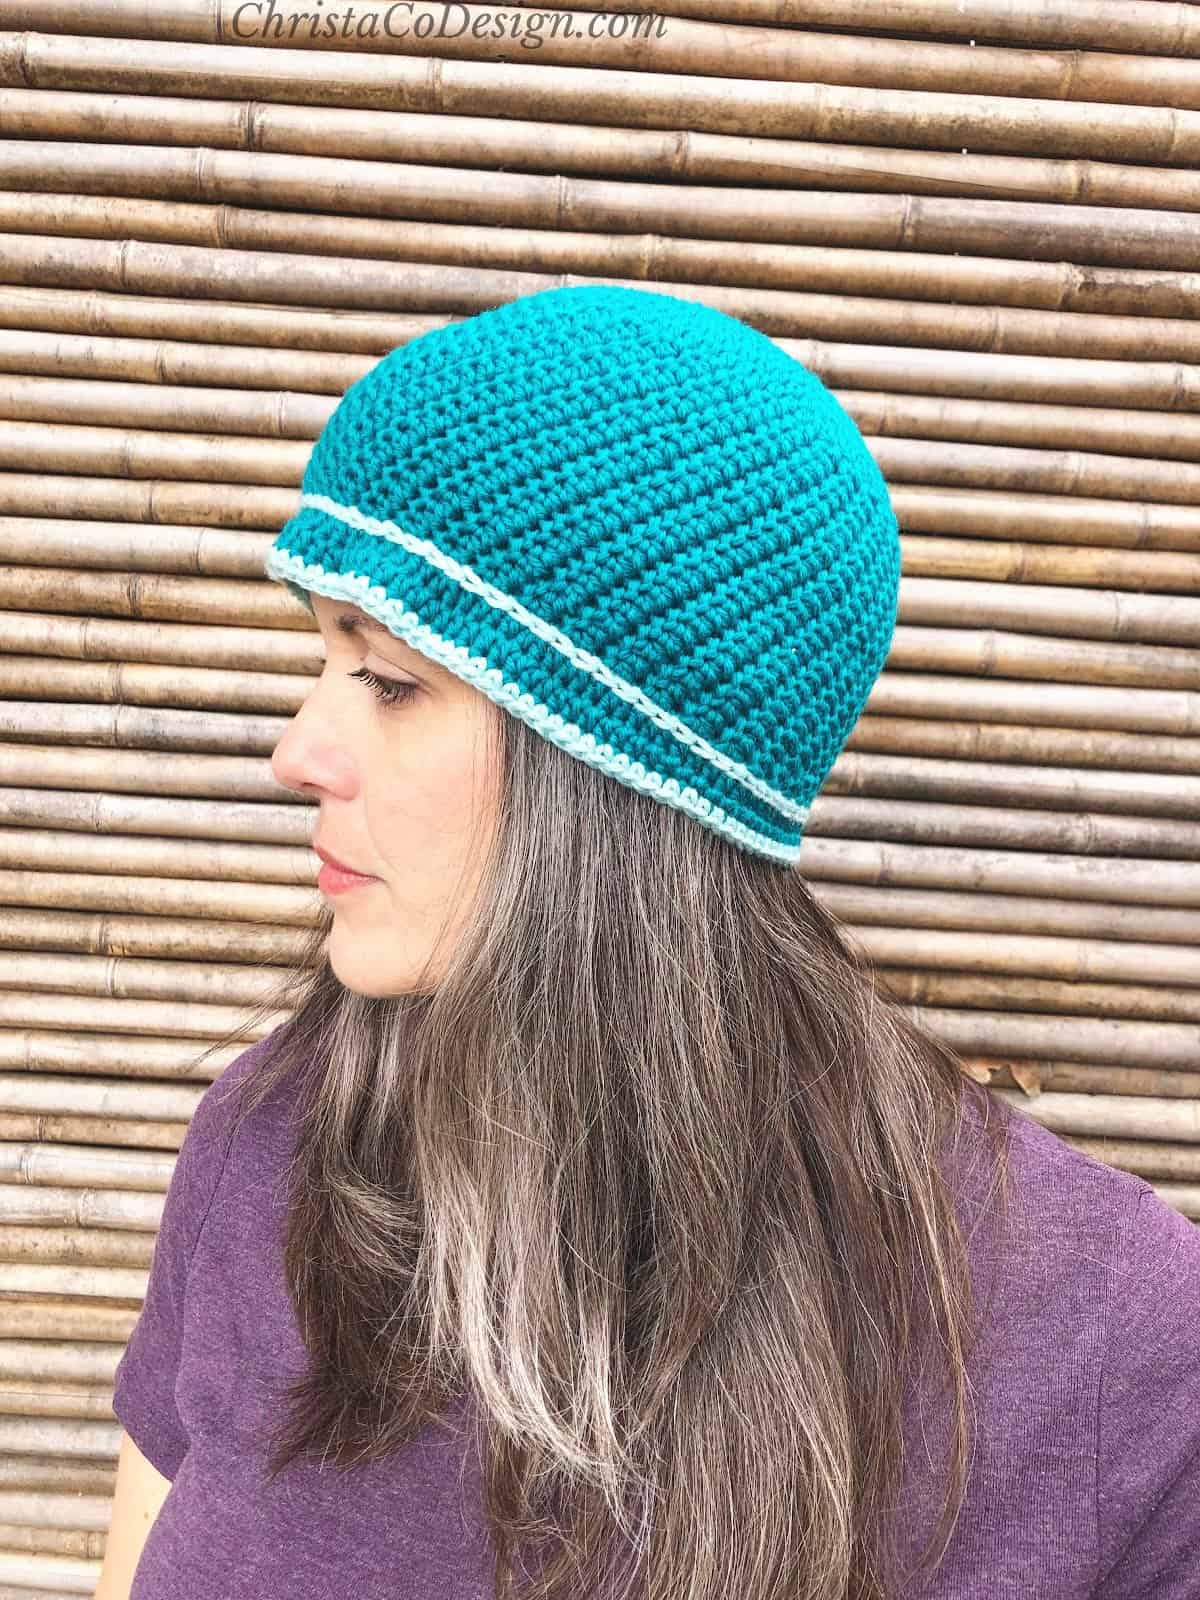
The brim is made wavy by simply adding increases, or more than one stitch at a time. If it’s too wavy for you, do a few less increases. Or to add more ripple, add more increases.
The contrasting stripe you see is done in surface crochet. This means slip stitch on the finished work. It’s super easy.
I give the flower details in the pattern below. Customize each in different colors and sew a few on. Or you can leave off the flower altogether.


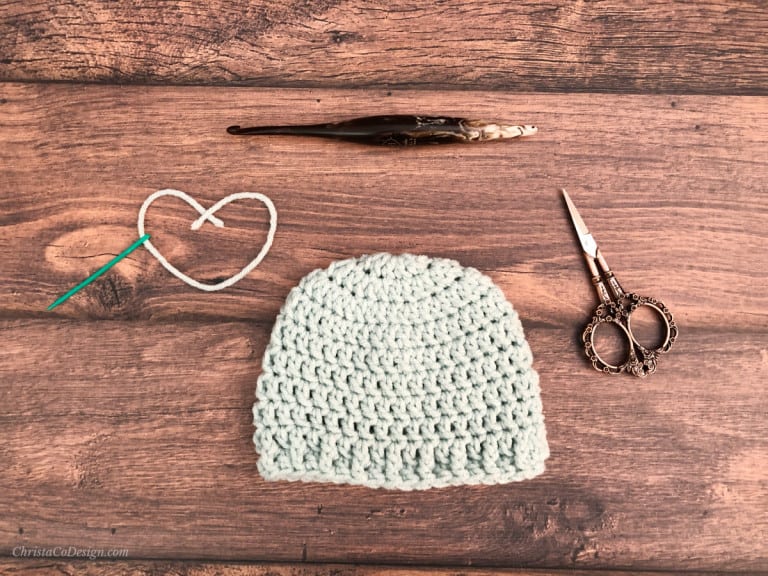

Materials:
- #3 dk weight yarn divided in two colors: Color A the main color and Color B the contrasting color. See amounts by sizes below.
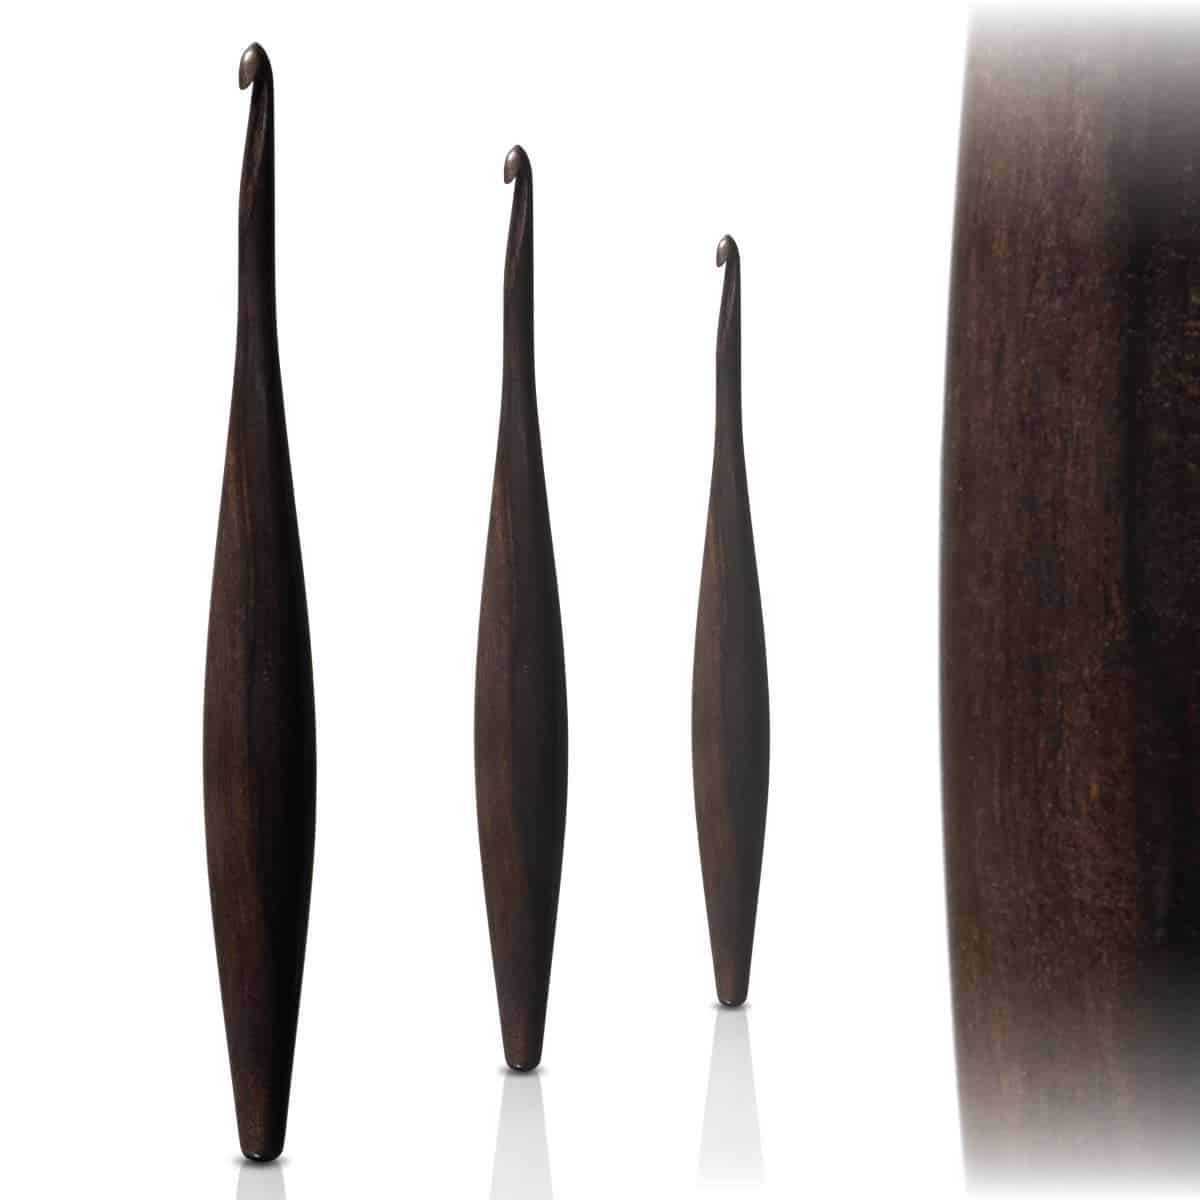
- 4 mm hook US Size G-4*, or crochet hook size needed to meet gauge
- yarn needle
- scissors
- measuring tape
Yarn By Size
- Swish DK Yarn* (100% Fine Superwash Merino Wool, 123 yd / 50 g) is shown in Color A – Marino (2) balls and Color B – Wonderland Heather (1) ball.
- OR
- Bamboo Pop! Yarn* (50% Cotton, 50% Bamboo, 292 yd / 100 g) is shown in Color A – Clover (1) ball and Color B – Lime Green (1) ball.
Teen / Sm Adult 158 yd divided into Color A 145 yd and Color B 13 yd.
Med Adult 165 yd divided into Color A 151 yd and Color B 14 yd.
Lg Adult 170 yd divided into Color A 155 yd and Color B 15 yd.
Gauge
Rnds 1 – 3 measures 2” across.
For the gauge swatch follow the first 3 rounds.
Skill Level
Easy
Stitches / Abbreviations
US Terms
ch – chain
hdc – Half Double Crochet
mc – Magic Circle (magic ring)
rnd – round
sl st – slip stitch
sm – stitch marker
Finished Sizes
There are 3 different sizes so you can choose the right size to fit. See fit and adjustments below for more.
Teen / Sm Adult size is 7.75” tall and fits 19″ – 21″ head circumference.
Med Adult size fits 21” – 23” head circumference. 8.5” tall
Large Adult size fits 22” – 24” head circumference. 9” tall
Fit / Adjustment
To adjust this hat you can go up or down a size in the pattern. If you need another size, work more or less rounds of the crown circle.
To adjust only the height of the hat work more or less rounds of the hat body repeat to your desired height.
Pattern Notes
- Ch 1 does not count as a stitch at the beginning of each round.
- This top down hat pattern is worked in the round. Each round is joined with a slip stitch.
- Once the crown increases are complete the main stitch pattern begins with a slip stitch. From this point the first slip stitch will join each round and count as the first stitch of the round.
Watch the video tutorial on my YouTube
Download the Hat Sizing Chart
Get this handy dandy chart so you can crochet perfectly fitting hats!
Purchase the ad-free, well formatted printable PDF Pattern from my shop. Scroll down for the free pattern!
Scroll down for the crochet cloche hat written pattern.
Pattern Instructions
Women's Cloche Hat Free Crochet Pattern
Crochet a women's cloche hat with frilly brim and flower.
Materials
- #3 dk weight yarn
- Yarn By Size
- Teen / Sm Adult 158 yd divided into Color A 145 yd and Color B 13 yd.
- Med Adult 165 yd divided into Color A 151 yd and Color B 14 yd.
- Lg Adult 170 yd divided into Color A 155 yd and Color B 15 yd.
Tools
- 4mm US Size G-4 crochet hook, or hook needed to meet gauge
- tapestry needle
- scissors
- measuring tape
Instructions
Start with a magic circle, or ch 3, sl st to join into a circle.
- Rnd 1. 8 hdc into mc, sl st to join.
- Rnd 2. Ch 1, hdc in same st, 2 hdc in each st around, sl st to join. (16 sts)
- Rnd 3. Ch 1, hdc in same st, 2 hdc in next st, *{hdc in next st, 2 hdc in next st} rep from * around, join with sl st to first st. (24 sts)
- Rnd 4. Ch 1, hdc in same st, hdc in next st, 2 hdc in next st, *{1 hdc in next 2 sts, 2 hdc in next st} rep from * around, join with sl st to first st. (32 sts)
- Rnd 5. Ch 1, hdc in first 3 sts, 2 hdc in next st, *{1 hdc in next 3 sts, 2 hdc in next st} rep from * around, join with a sl st to first st. (40 sts) 4” circle
- Rnd 6. Ch 1, hdc in first 4 sts, 2 hdc in next st, *{1 hdc in next 4 sts, 2 hdc in next st} rep from * around, join with a sl st to first st. (48 sts)
- Rnd 7. Ch 1, hdc in first 5 sts, 2 hdc in next st, *{1 hdc in next 5 sts, 2 hdc in next st} rep from * around, join with a sl st to first st. (56 sts)
- Rnd 8. Ch 1, hdc in first 6 sts, 2 hdc in next st, *{1 hdc in next 6 sts, 2 hdc in next st} rep from * around, join with a sl st to first st. (64 sts)
- Rnd 9. Ch 1, hdc in first 7 sts, 2 hdc in next st, *{1 hdc in next 7 sts, 2 hdc in next st} rep from * around, join with a sl st to first st. (72 sts)
- Rnd 10. Ch 1, hdc in first 8 sts, 2 hdc in next st, *{1 hdc in next 8 sts, 2 hdc in next st} rep from * around, join with a sl st to first st. (80 sts) = 6.5”circle Stop here for Teen / Sm Adult size. Go to Body of Hat.
- Rnd 11. Ch 1, hdc in first 9 sts, 2 hdc in next st, *{1 hdc in next 9 sts, 2 hdc in next st} rep from * around, join with a sl st to first st. (88 sts) = 7”circle Stop here for Med Adult size. Go to Body of Hat.
- Rnd 12. Ch 1, hdc in first 10 sts, 2 hdc in next st, *{1 hdc in next 10 sts, 2 hdc in next st} rep from * around, join with a sl st to first st. (96 sts) = 7.5”circle Stop here for Lg Adult size. Go to Body of Hat.
Body of Hat
- Rnd 1. *{Sl st, hdc} rep from * around. No need to join, just mark your first sl st of each round with a stitch marker.
- Rnd 2. Rep Rnd 1 until your hat measures 7” (7.5”, 8”) tall.
Brim
- Set up Row: Count off first 20 (22, 24) sts, place sm in next st, starting with sm count 40 (44, 48) sts, place sm in last st counted, you’ll have 20 (22, 24) sts remaining.
Rnd 1. Hdc 20 (22, 24), *(2 hdc, 1hdc) rep from * 18 (21, 22) more times, hdc in last 20 (22, 24) sts. (100, 110, 120 sts) - Rnd 2. Sc 20 (22, 24), hdc 60 (66, 72), sc in last 20 (22, 24) sts, sl st to first st. (100, 110, 120 sts) Cut yarn.
- Join Color B.
Rnd 3. Sc in each st around. Cut yarn.
Detail
- Work on the outside in surface crochet.
- Count 4 rows up from the brim edge, join Color B with slip stitch in any stitch on the back of the hat.
- Slip stitch in each stitch around.
- Join to first slip stitch and cut yarn.
- Weave in ends.
Little flower
- Start with a magic circle
Rnd 1. In mc place *{2 hdc, sl st} rep from * 2 more times, join to first st with a sl st. (9 sts) - Rnd 2. Place *{(2 hdc, and sl st) all in first st, place 2 hdc in next st, sl st in next st} rep from * around. (18 sts)
- Cut yarn and leave a long tail.
- Sew to hat.
- Weave away ends.
Recommended Products
As an Amazon Associate and member of other affiliate programs, I earn from qualifying purchases.