How To Knit The Ridged Rib Stitch Knitting Tutorial
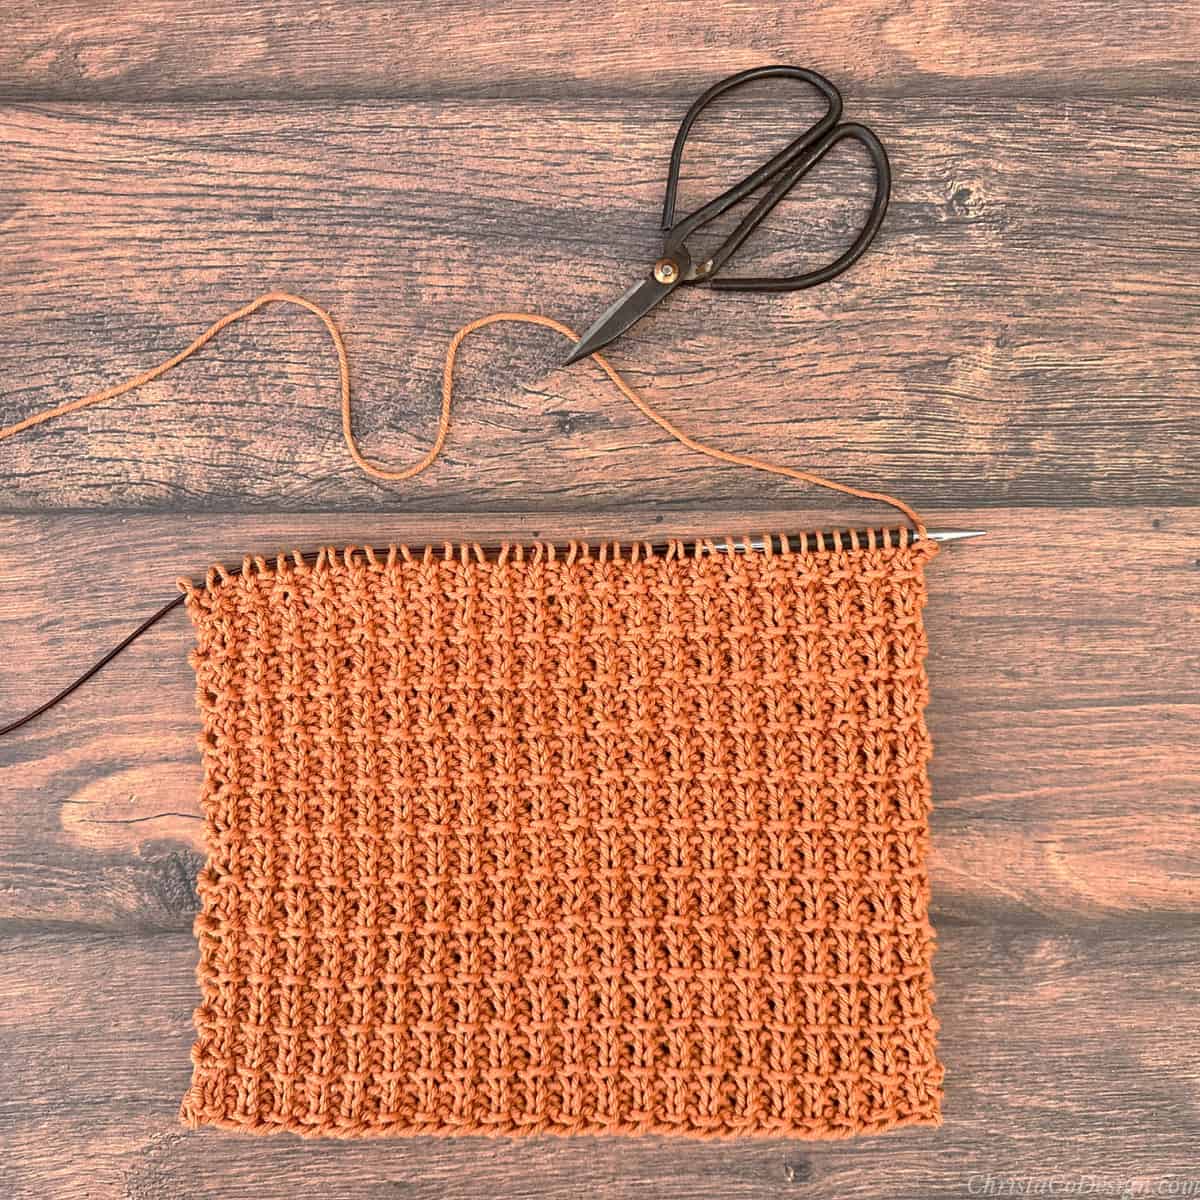
Learn how to knit this textured ridged ribbing stitch. This easy stitch pattern is reversible so it looks the same on both the right side and wrong side.
Like most ribbing stitches this one is made with a simple combination of knits and purls. It’s easy to remember with 4 row repeats too.
Knitting stitches can be worked flat in rows or in the round. In this tutorial I show you how to do both.
This post contains affiliate links, I may earn a fee. Read more disclosure policy.
FREE KNITTING PATTERNS
These knit patterns feature this beautiful stitch. It’s a great rib stitch pattern for wearables. Find your next knitting project here!
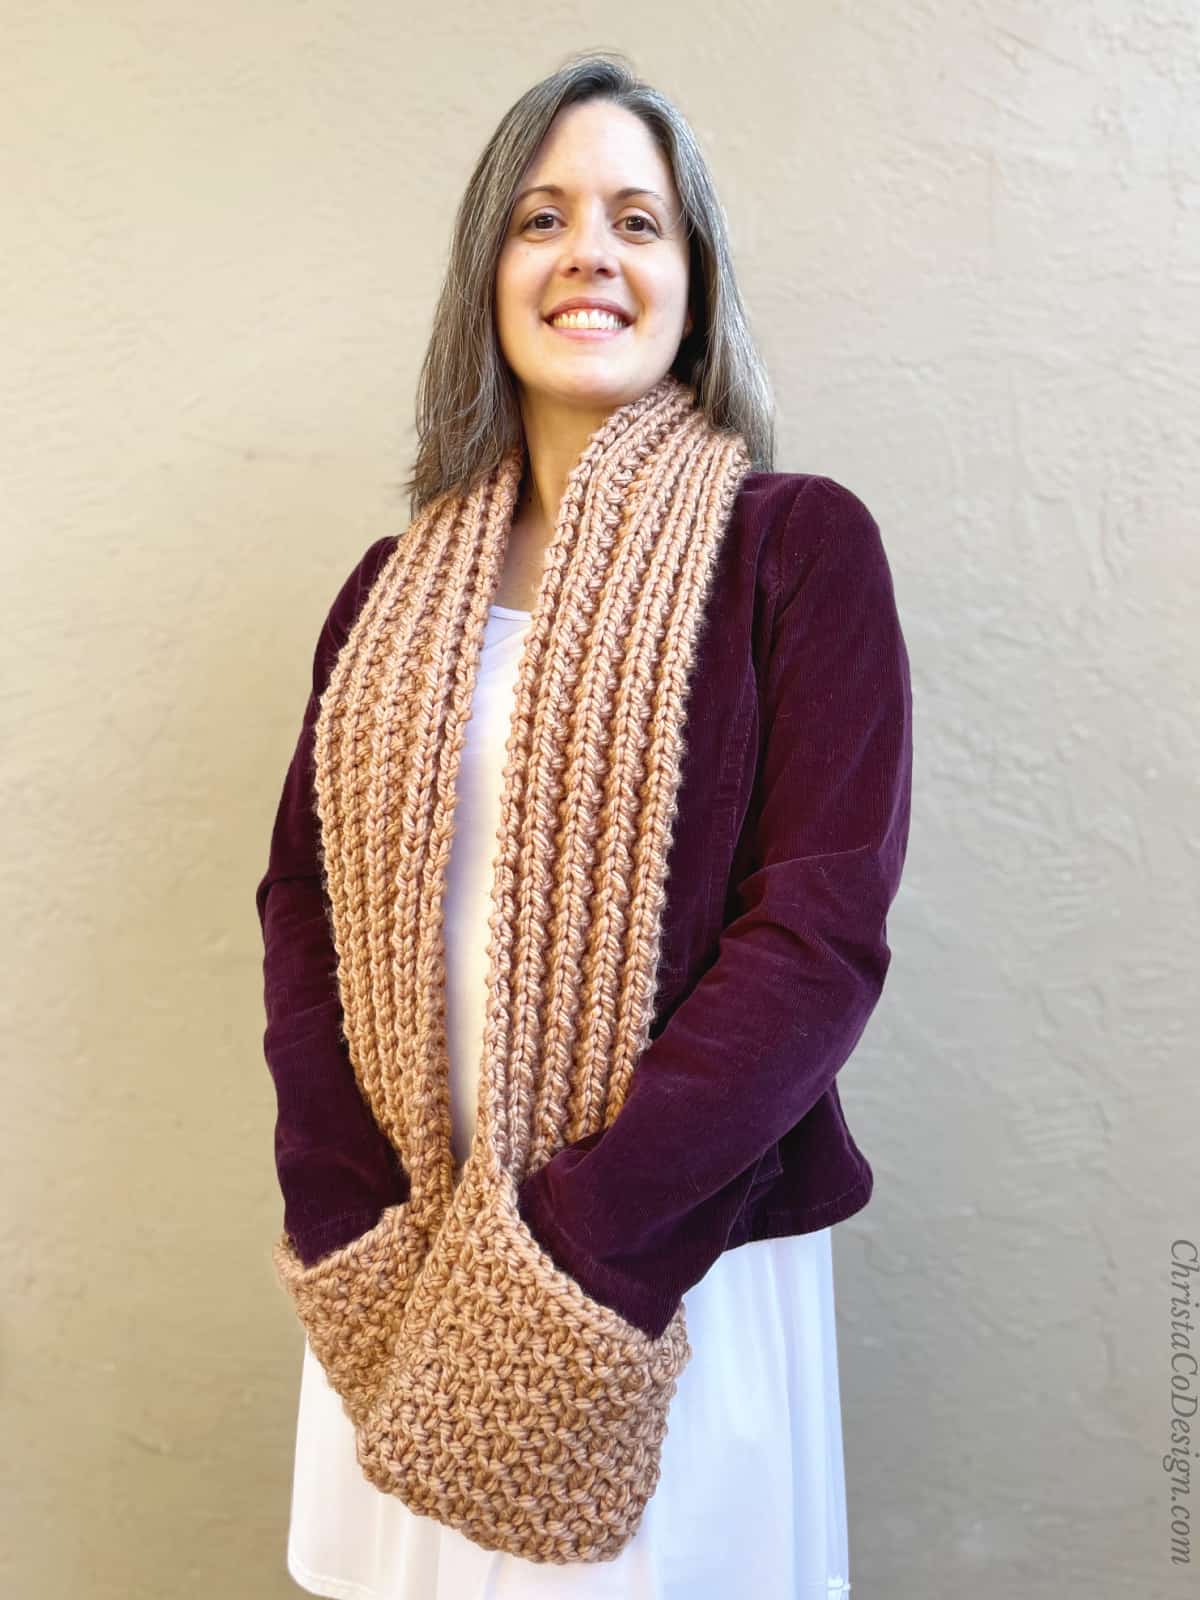
- The Alba Scarflette is knit bottom up with simple increases in this rib stitch pattern.
- Everyone loves a chunky knit hat like the Alba also knit in this ribbing pattern.
- It’s easy to see why this one makes a good pattern for a dishcloth!
- Learn more basic rib stitches like 1 x 1 or 2 x 2 ribbing here.

Stitches / Abbreviations
US Terms
BO – bind off
CO – Cast On
K – knit stitch
P – purl stitch
rep – repeat
rnd – round
st (s) – stitch (es)
Video Tutorial
Knit this stitch with me in the video tutorial!

Ridged Rib Stitch
Learn to knit this ridged rib stitch.
Materials
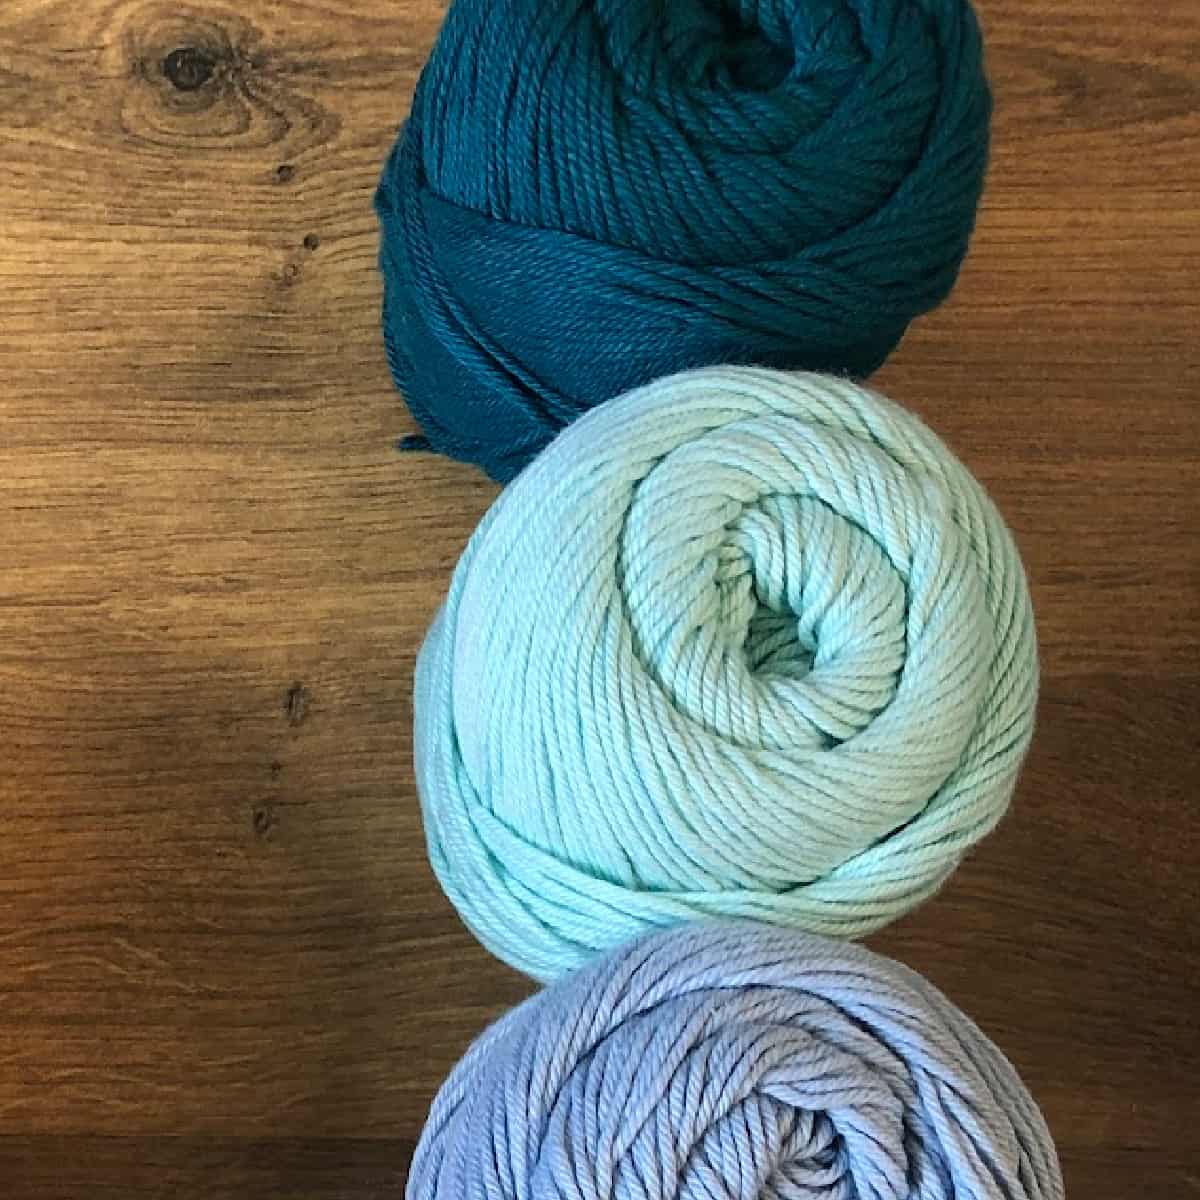
- Any weight yarn works well for this rib pattern. Here I'm using a #4 medium worsted weight cotton yarn.
Tools
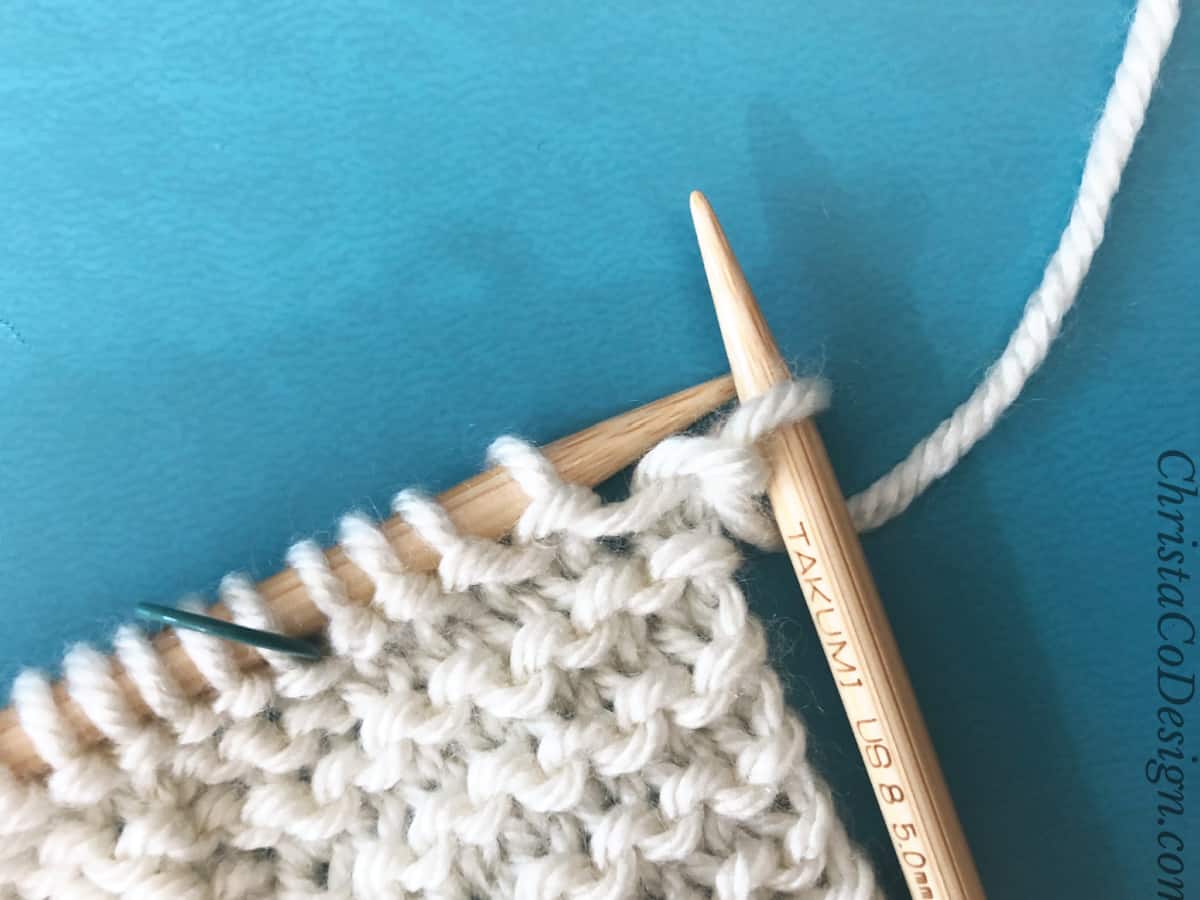
- Knitting needles to match your yarn weight. I'm using my 5mm circular needles.
- Yarn needle
- Scissors
- Measuring tape
- Stitch markers are helpful for making the beginning of round, or the front of the fabric.
Instructions
Knit Flat
- Cast on an odd number of stitches. You can use any cast on method.
- Row 1. Knit all the stitches to the end of the row.
- Row 2. Repeat the last row of knit stitches.
- Row 3. Purl the first stitch, knit the next stitch, then purl again. Continue to alternate knits and purls to the end of row.
- Row 4. Start with a knit stitch, then purl the second st, and then knit again. Repeat purl, knit across.
- For the next row begin the 4 row repeat:
- Row 1. K
- Row 2. K
- Row 3. P1, *{K1, P1} rep from* to the end.
- Row 4. K1, *{P1, K1} rep from * to the end.

Knit in the Round
- To knit this stitch pattern in the round we'll substitute one row of knit stitches for purl stitches, and start both rows of alternating stitches with purls.
- Cast on an even number of stitches, join to knit in the round.
- Rnd 1. K
Rnd 2. P
Rnd 3. *P1, K1 rep from * around.
Rnd 4. Rep last rnd.
Recommended Products
As an Amazon Associate and member of other affiliate programs, I earn from qualifying purchases.


