How to Change Colors When Knitting Stripes (Easy!)
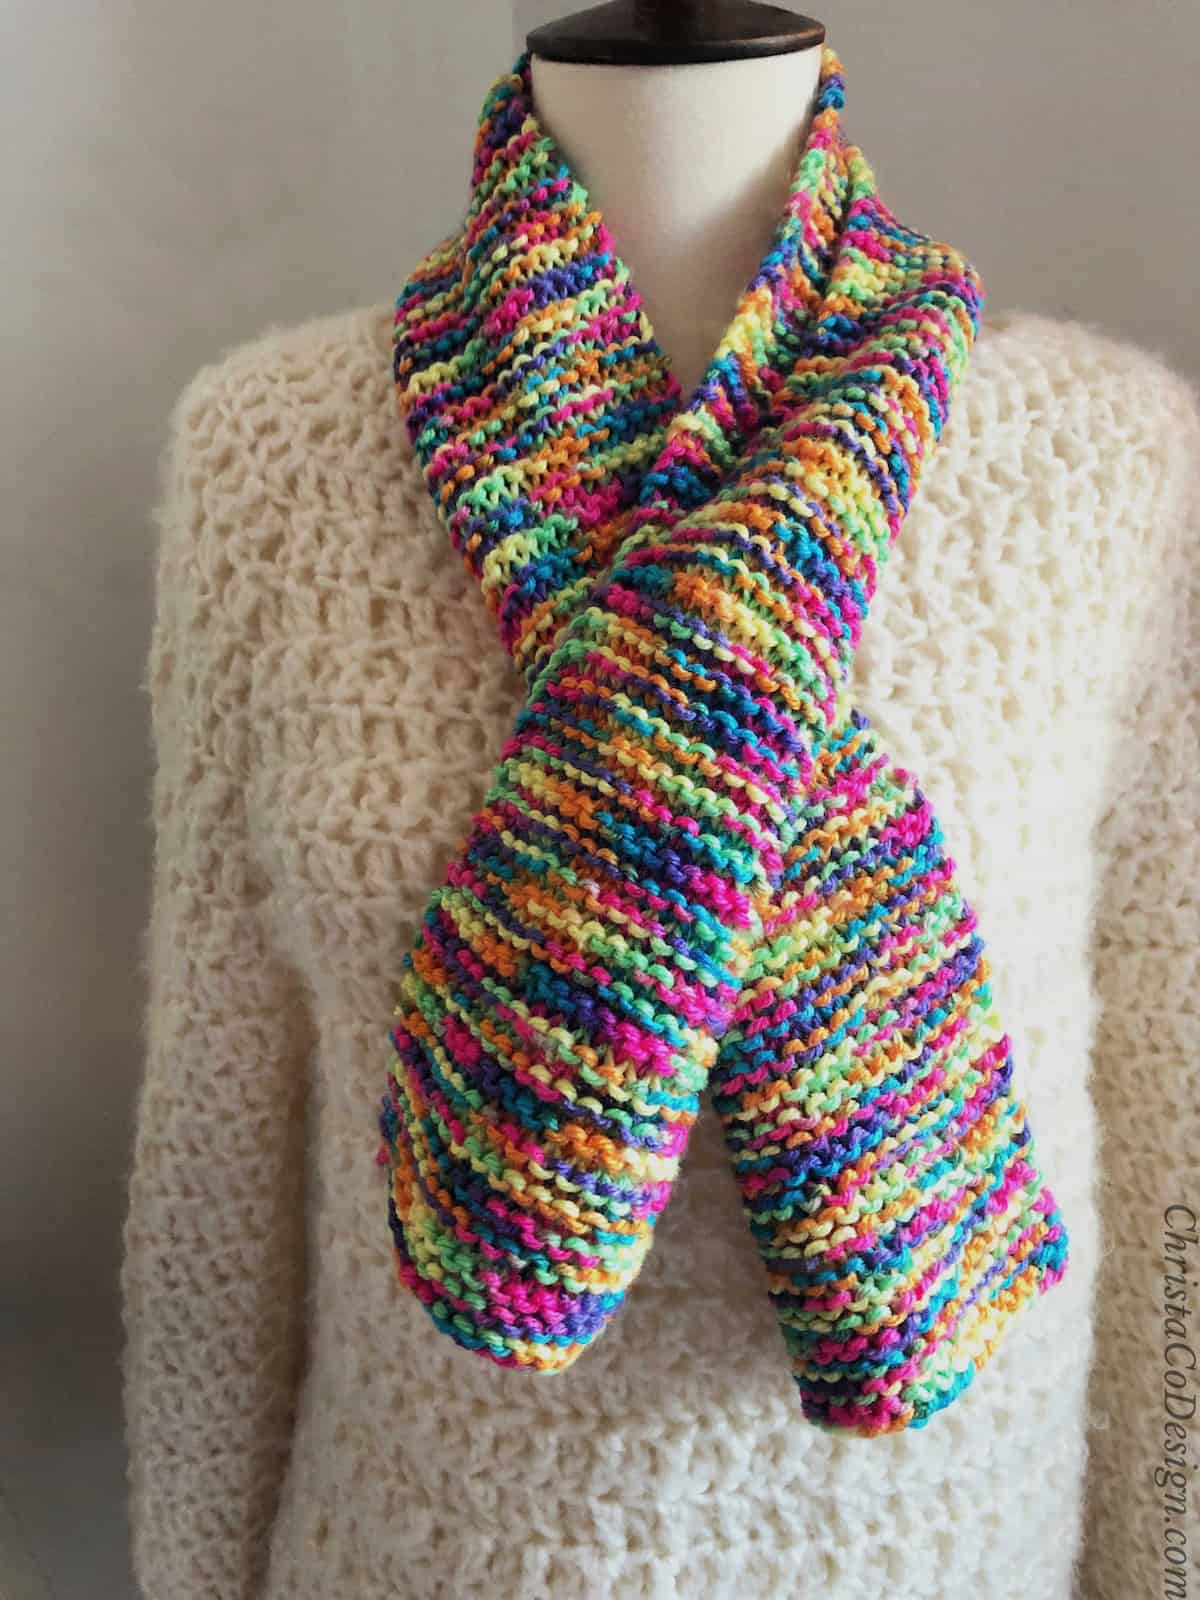
Stripes are a fun way to add different colors to your knitting projects. And if you want to knit stripes then you’ll need to know how to change colors.

This post contains affiliate links, I may earn a fee. Read more disclosure policy.
Join the ChristaCoDesign Newsletter
Never miss a pattern!
To easiest way to change colors is to just yarn over in your new color and knit with it. Secure your tails with a loose knot for now. Once you’re all done, you’ll weave those ends in neatly and securely.
As a beginner knitter a stripe pattern is one of the first things you’ll want to learn. It’s a simple way to make a project “yours.”
Working in your, or a friend’s favorite colors of yarn is a great way to customize your work.
And simple stripes are a good idea of leftover yarn or yarn scraps you need to use up.

It’s quite common start a garter stitch project with a slip one. Here’s a full tutorial on how to change colors with a slip 1 to start.
Never Miss a Pattern
Be sure to join my newsletter for my weekly emails + access to my Resource Library.
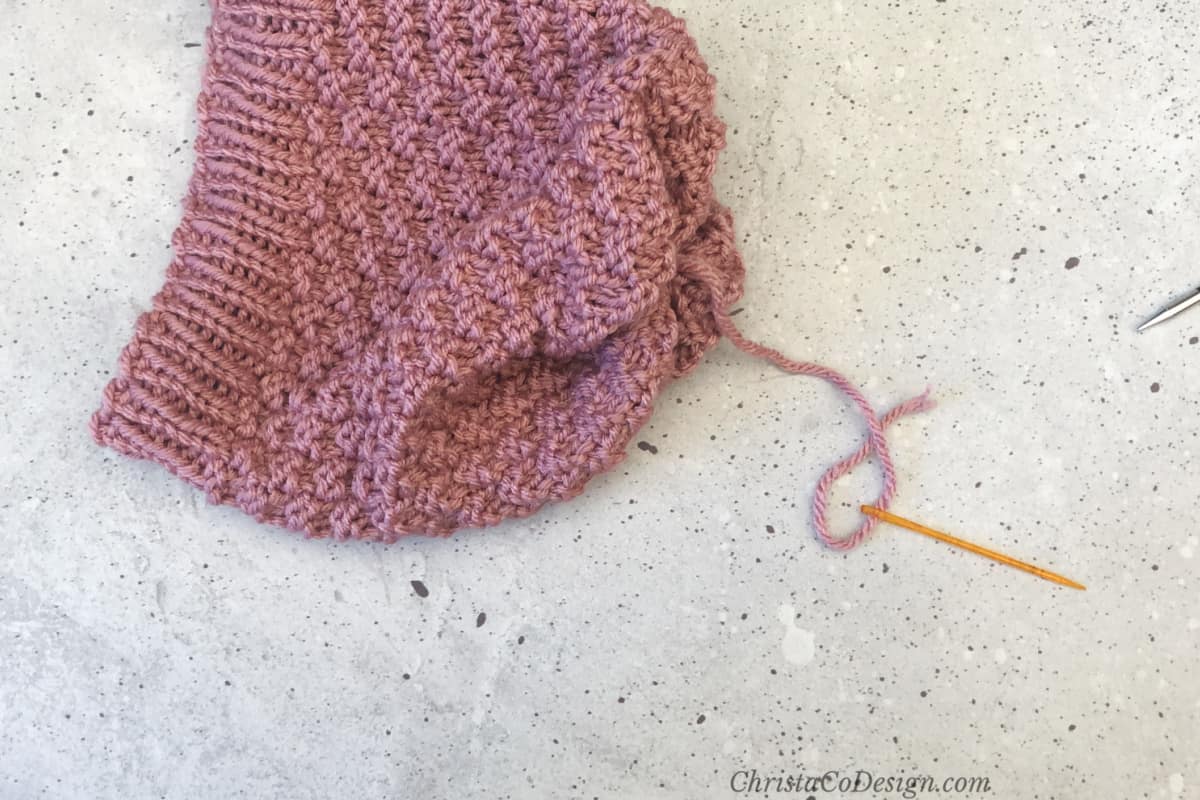
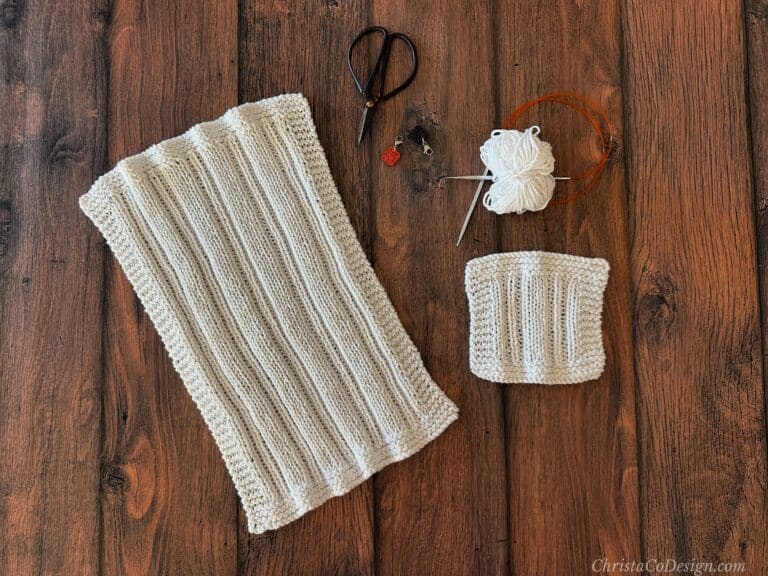
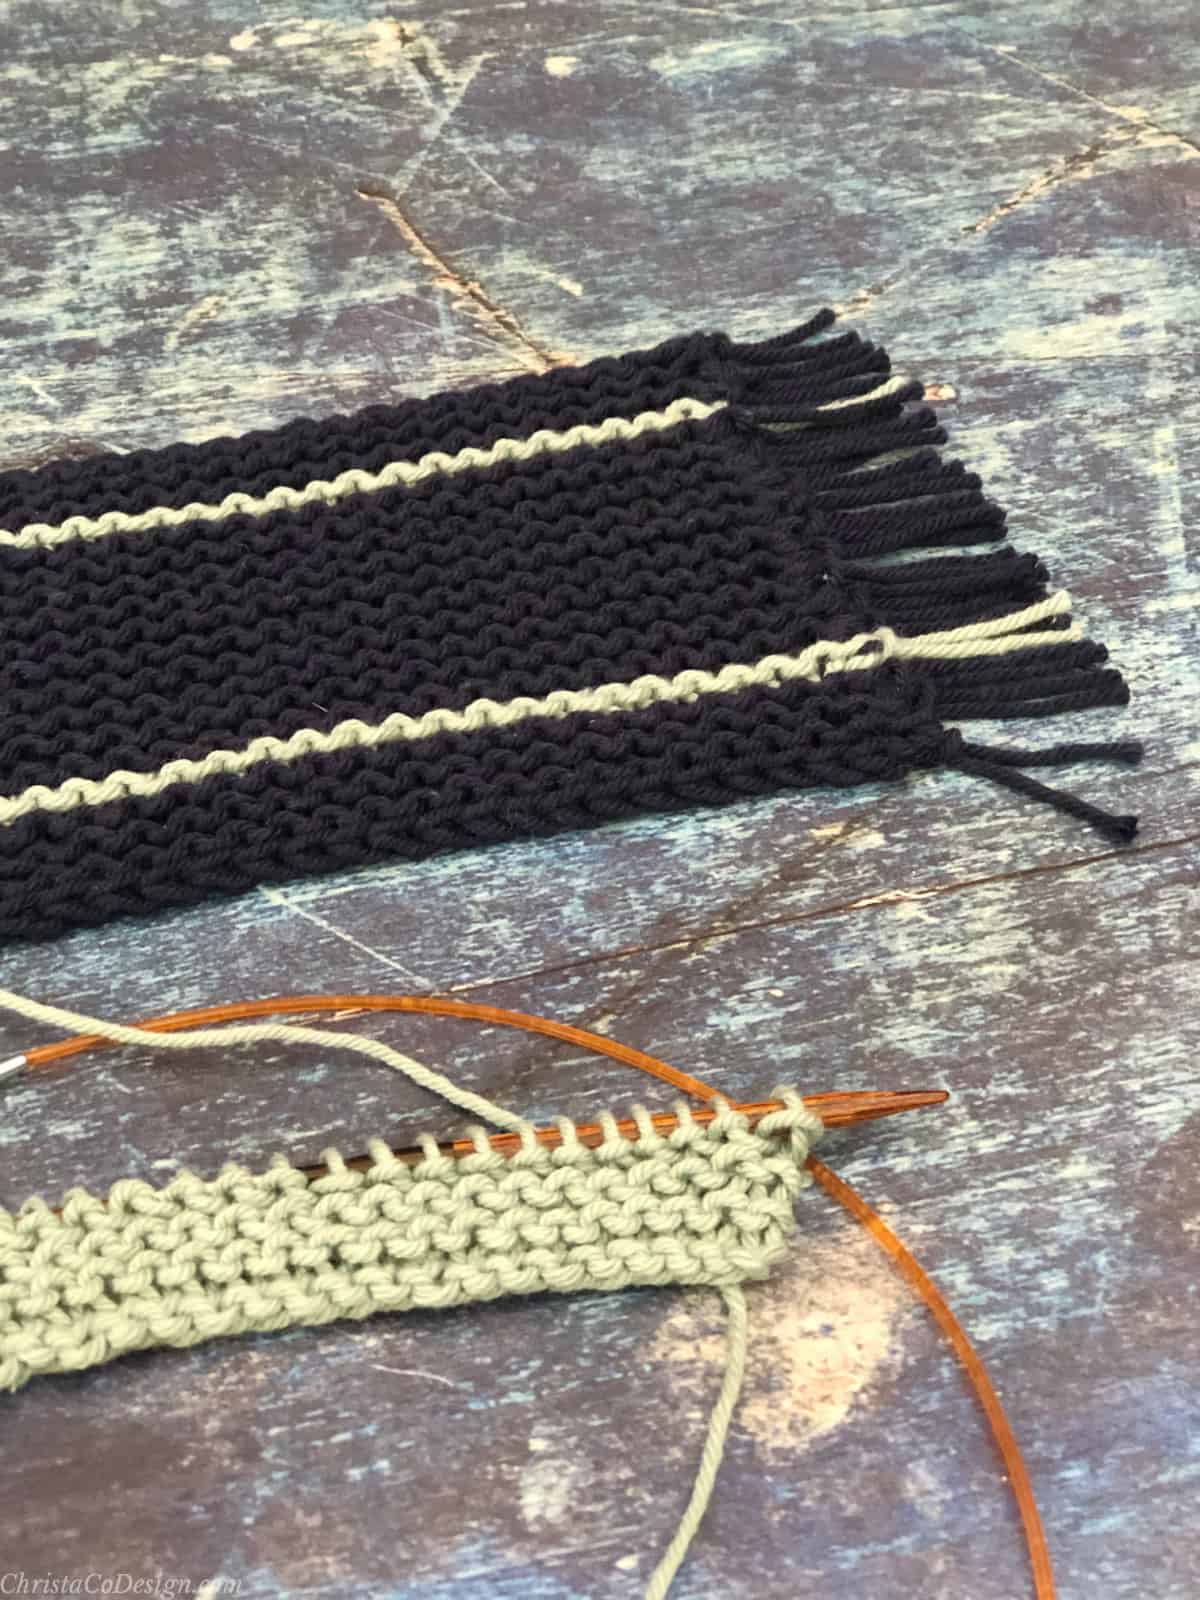
For this tutorial I’m using a garter stitch mug rug. Garter stitch stripes are an easy way to add color.
Some stitch patterns may require you to change colors in the middle of a row. For this one I’m chaining colors on the first stitch of the row.

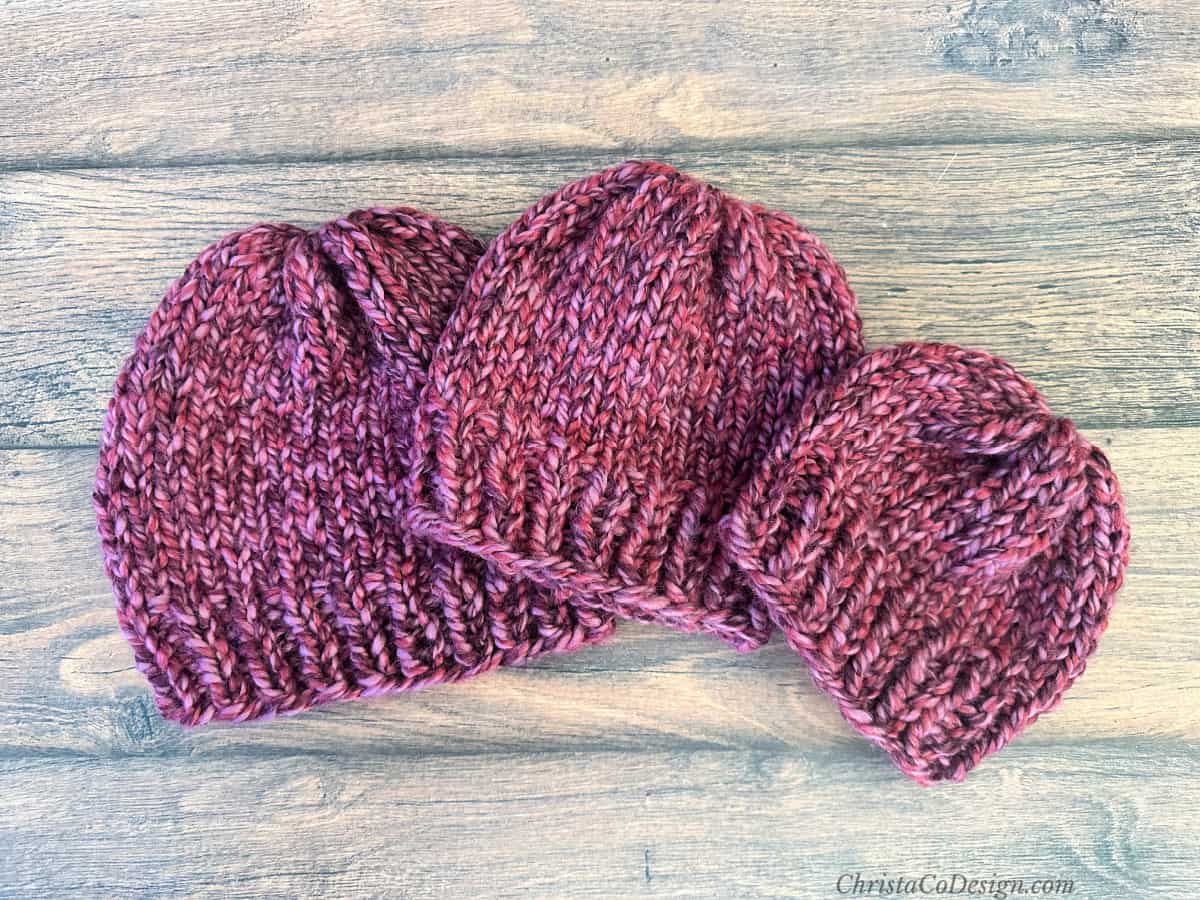
Beginner Knitting Patterns to Try
Find this easy mug rug knitting pattern here!
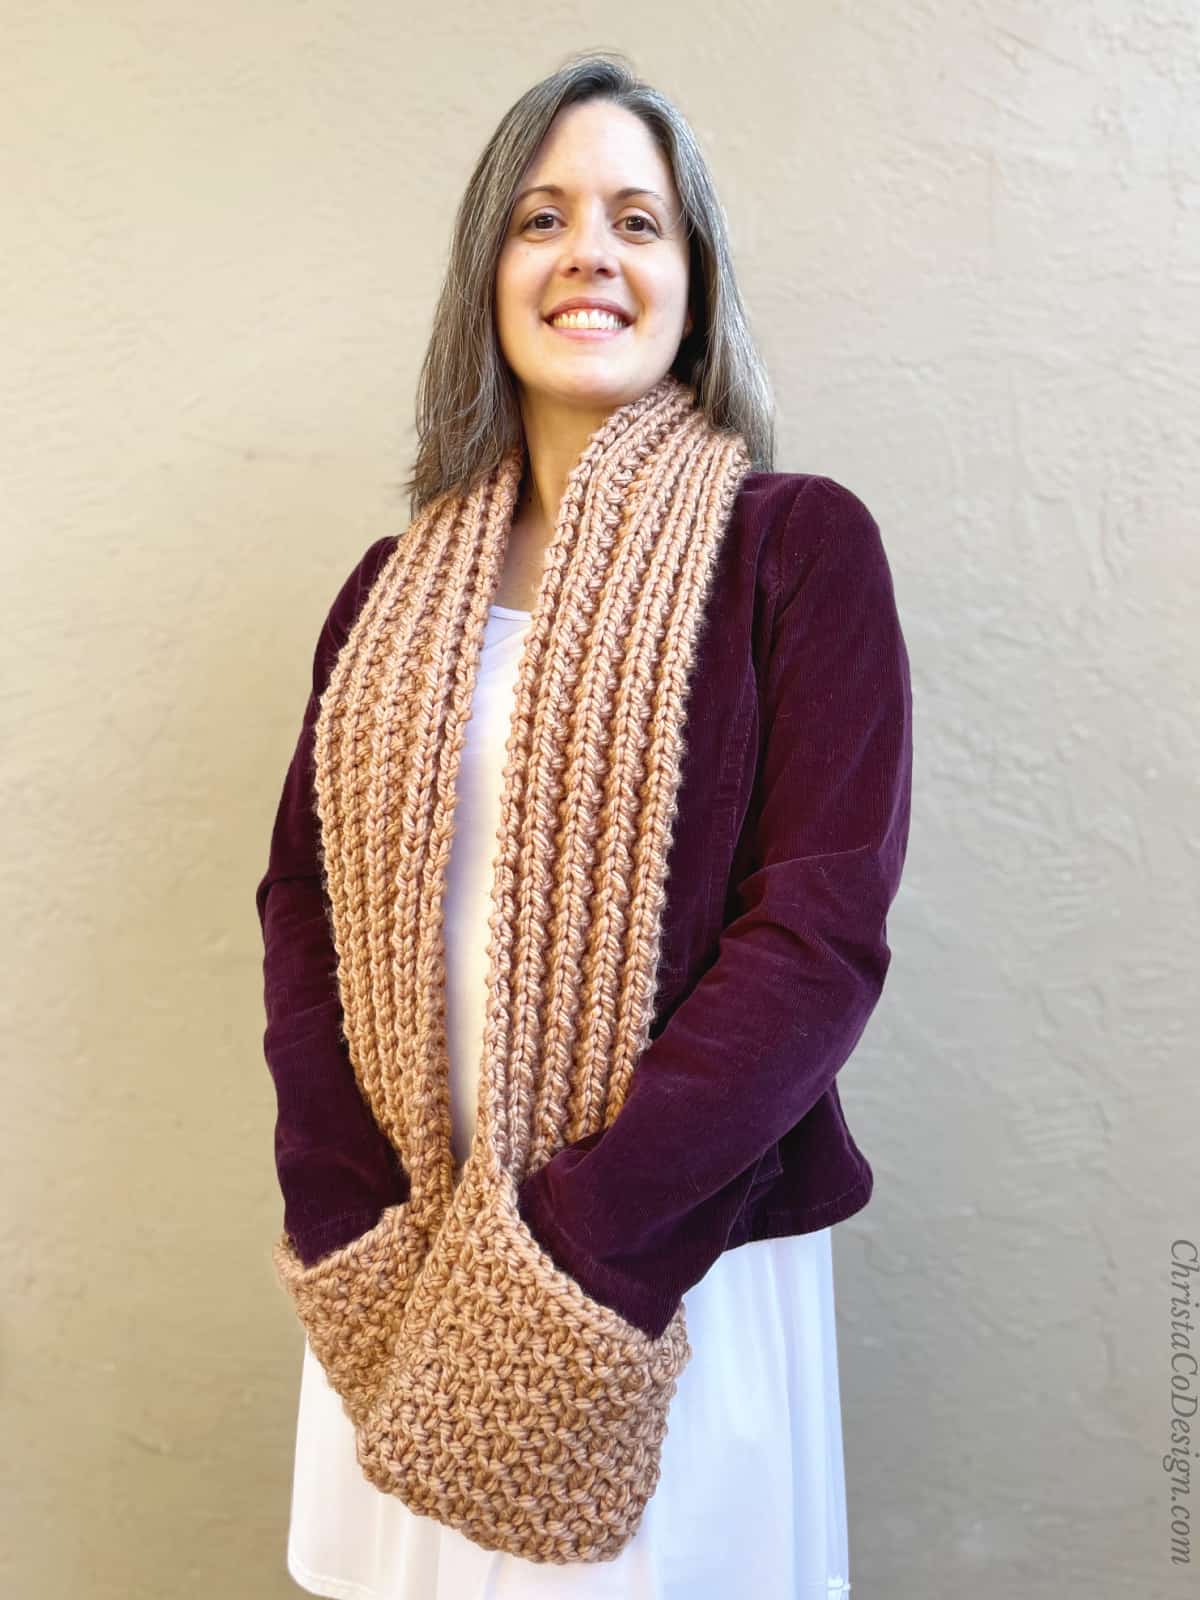
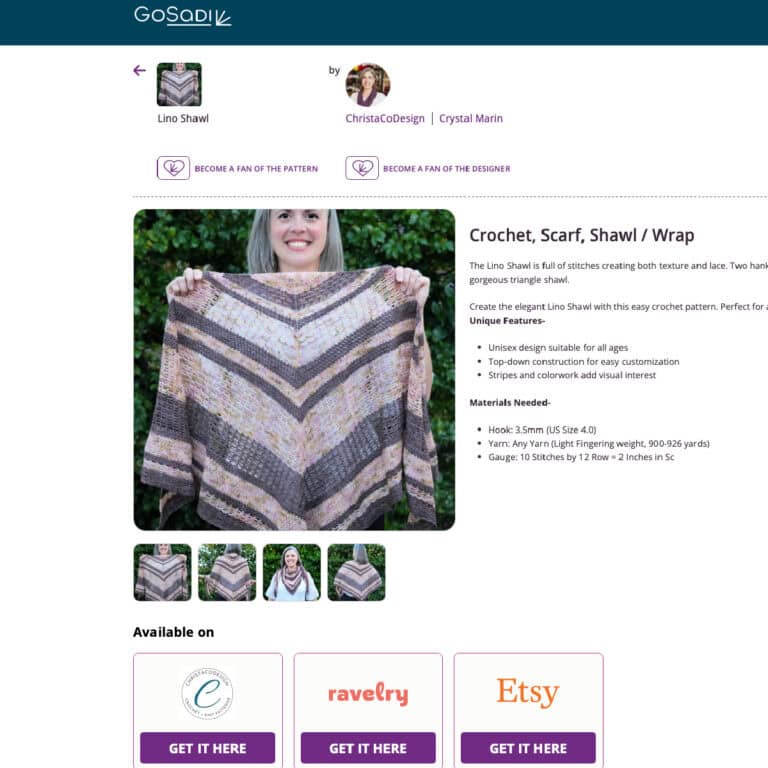
The Giana is a totally beginner pocket shawl knitting pattern in garter stitch goodness.
For a small and quick project try knitting a cotton scrubby square.
Video Tutorial
Watch the full video tutorial on my YouTube.
Scroll down for the step by step tutorial on changing colors

How to Change Colors in Knitting
Learn how to change yarn color at the beginning of a row of garter stitch.
Materials
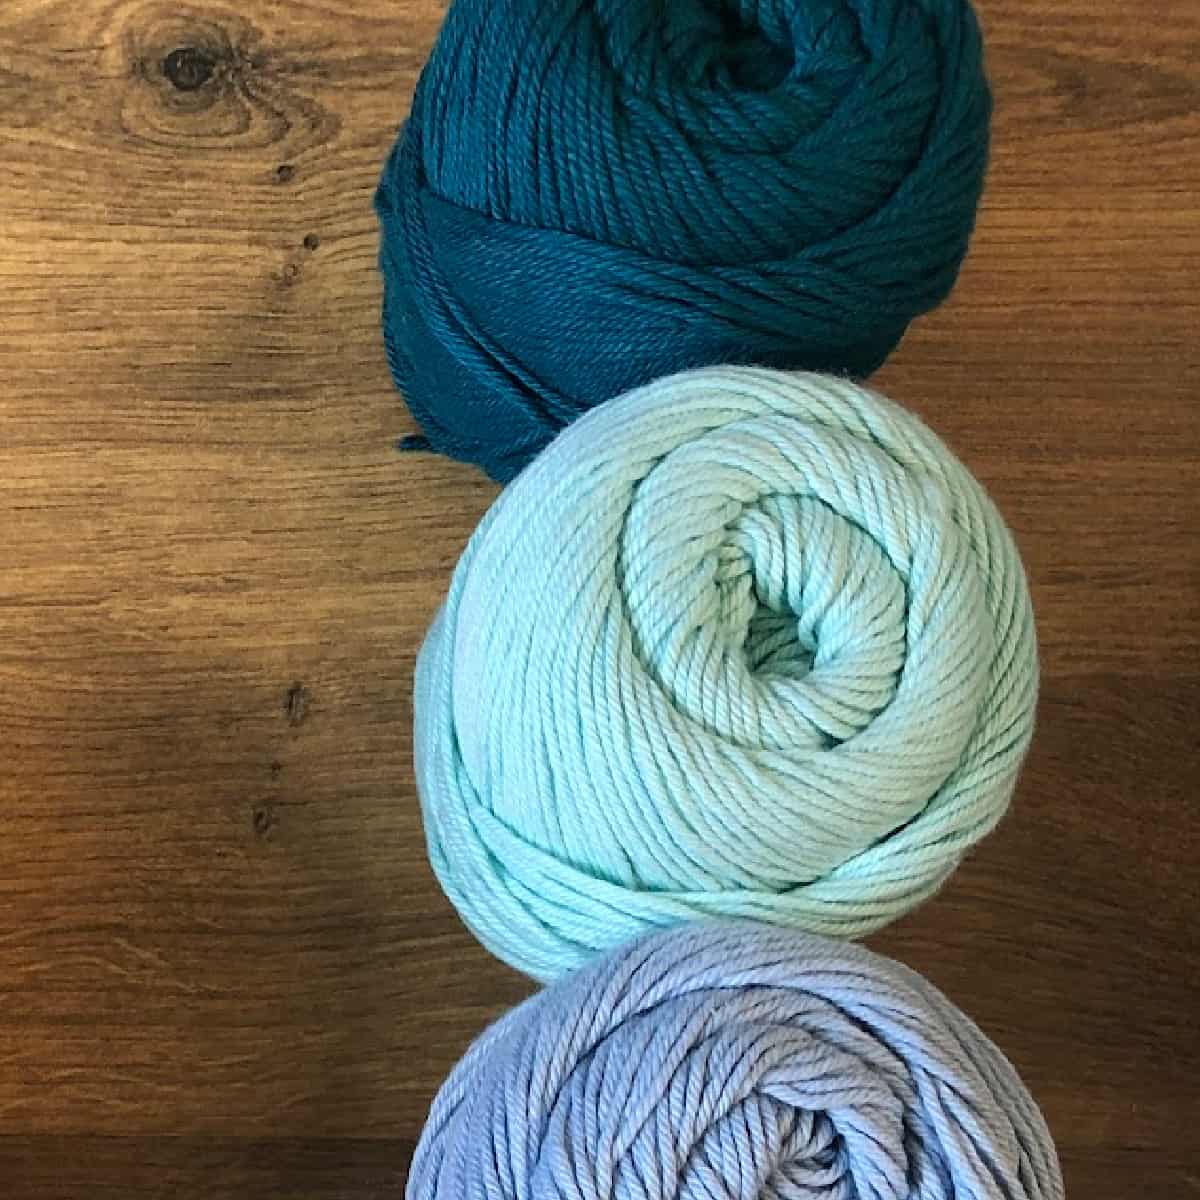
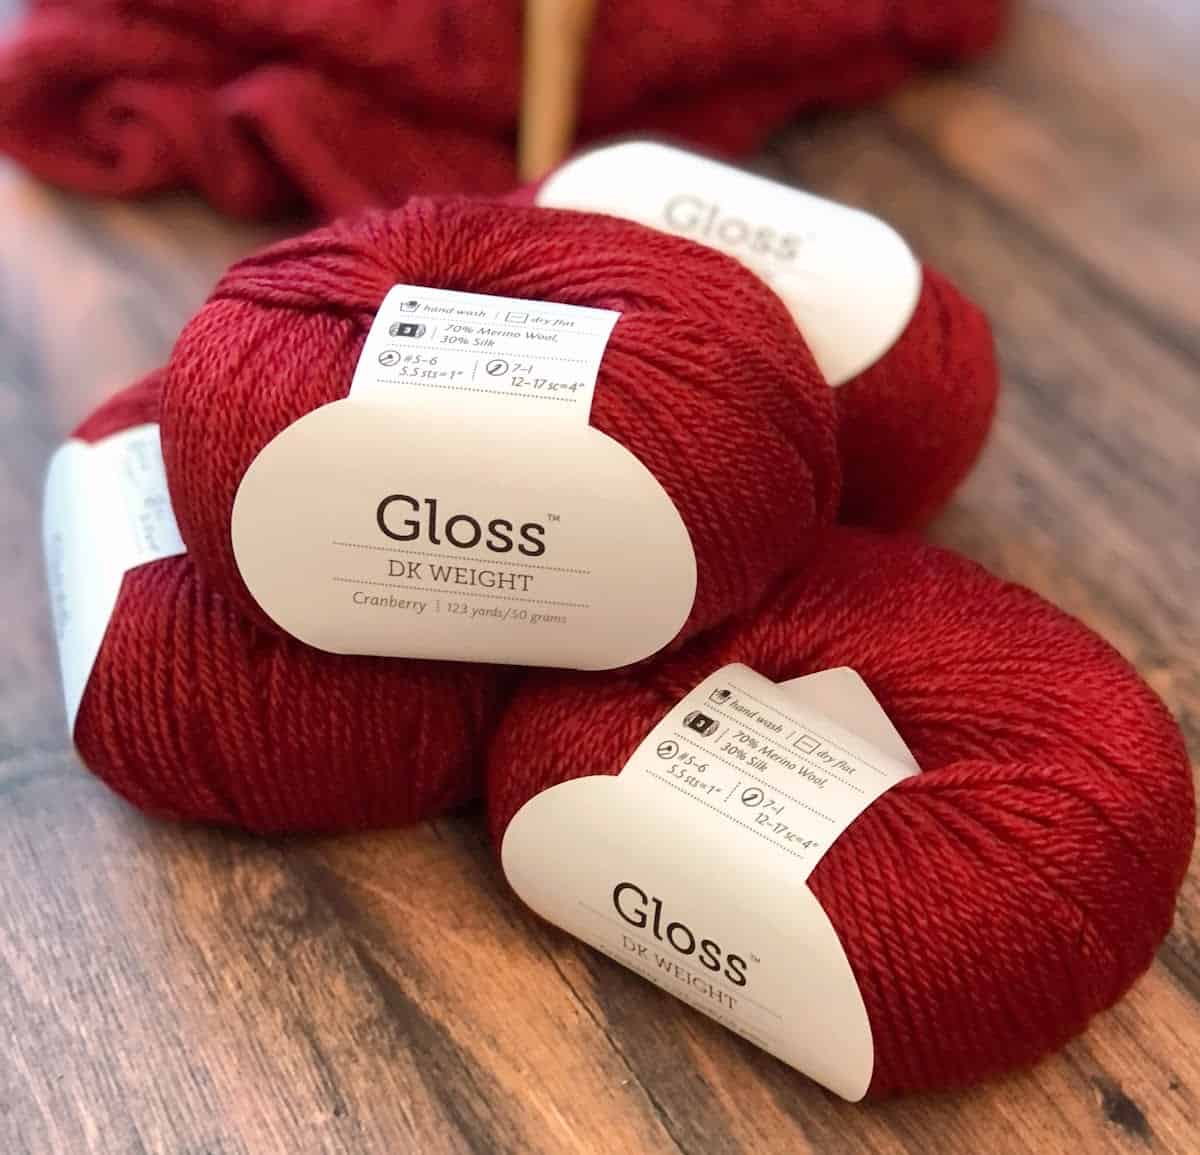
- Two yarn colors and your knitting project. I'm using a knit mug rug pattern in #4 medium worsted weight yarn.
Tools
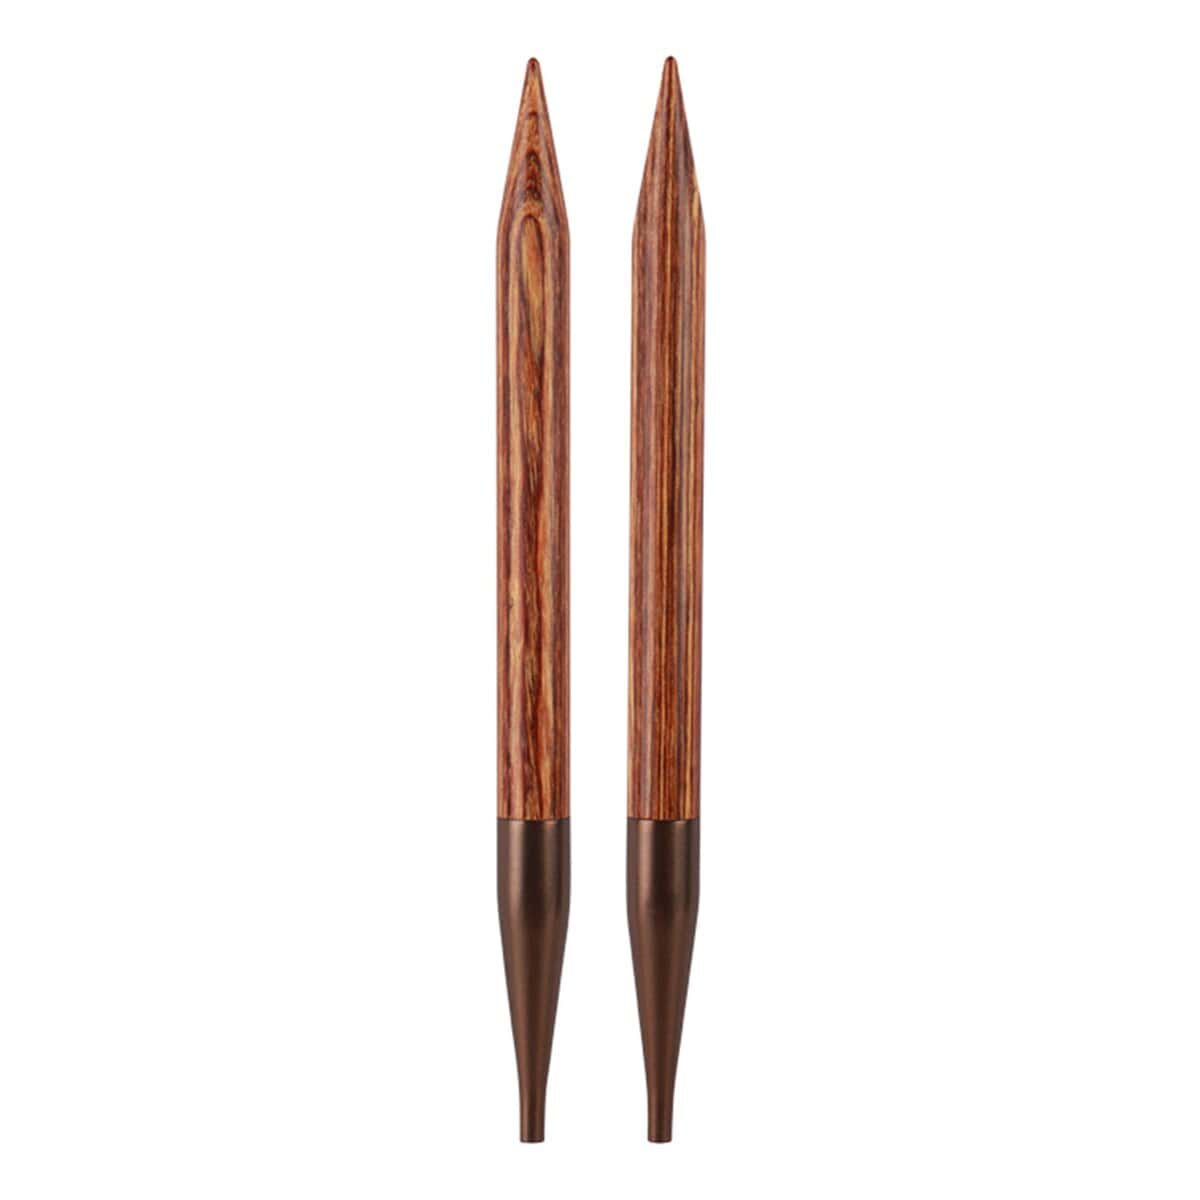
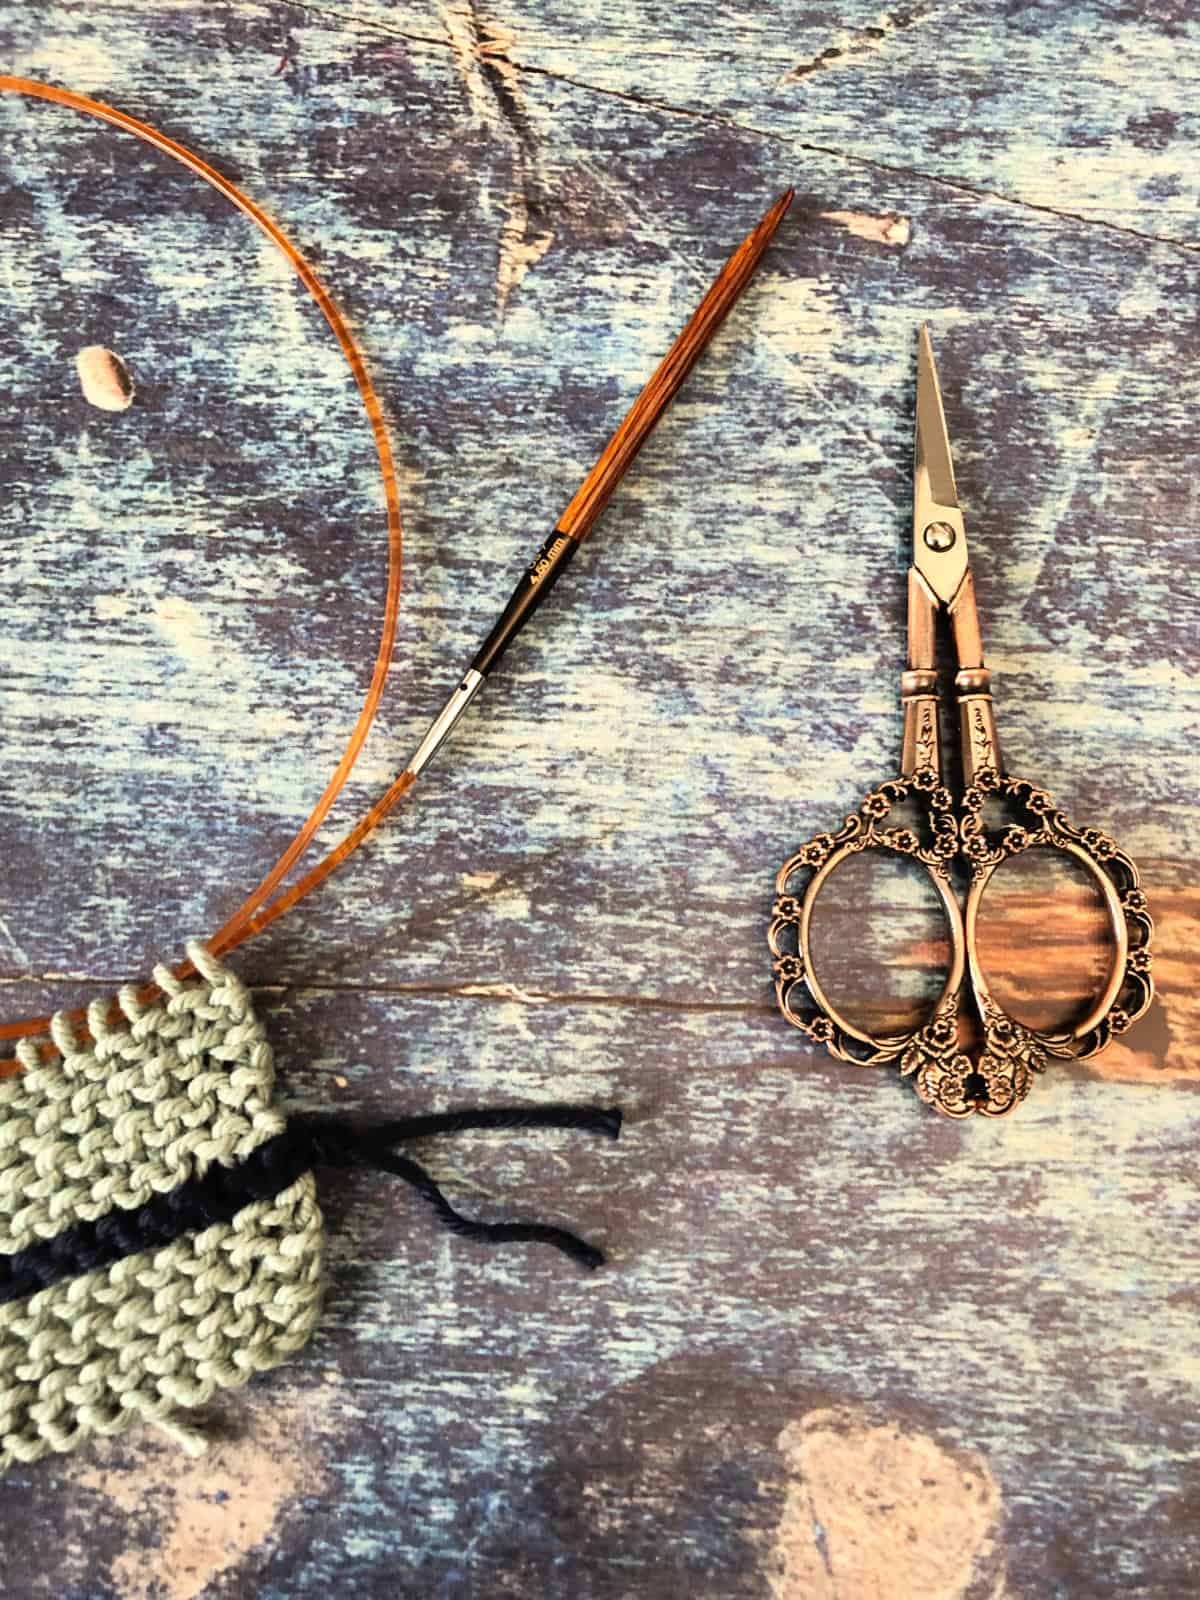
- Knitting needles to match your yarn. Here I use 4.5 mm US size 7 needles.
- Tapestry needle to weave in ends.
Instructions
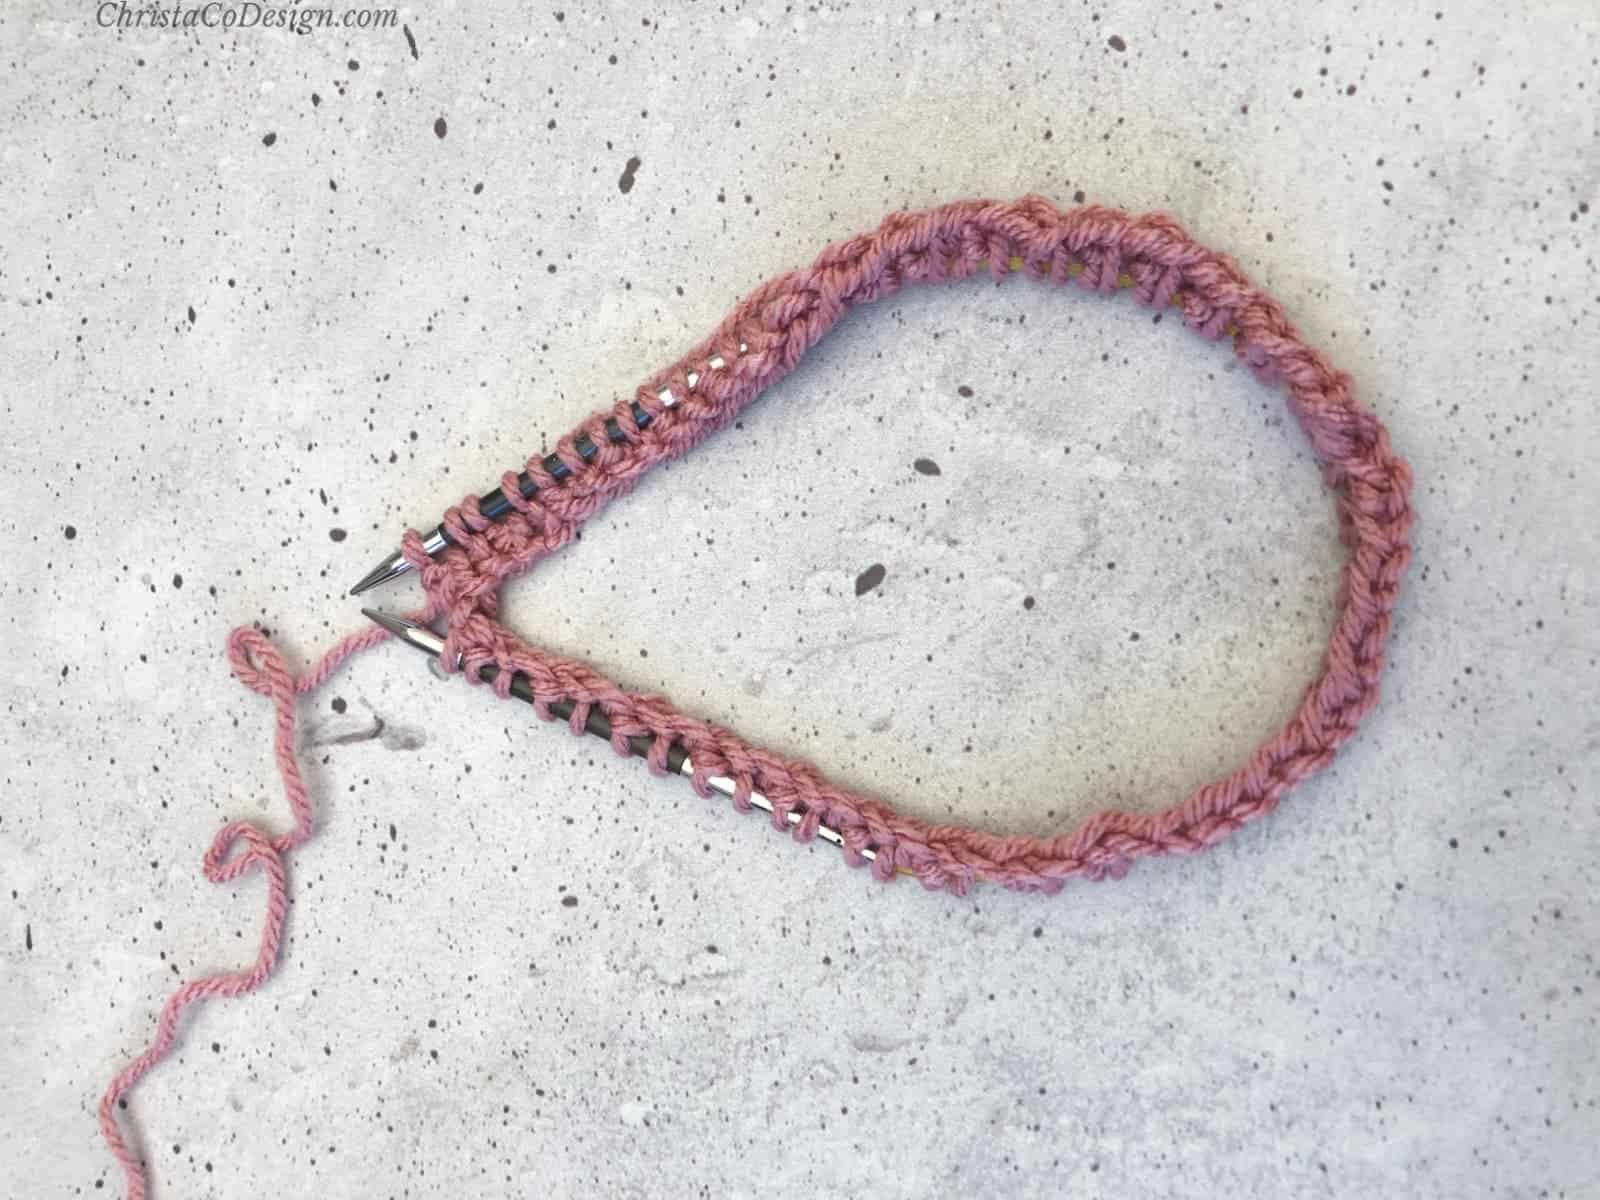
- When you get to the end of a row and you're ready to change colors, turn your work.
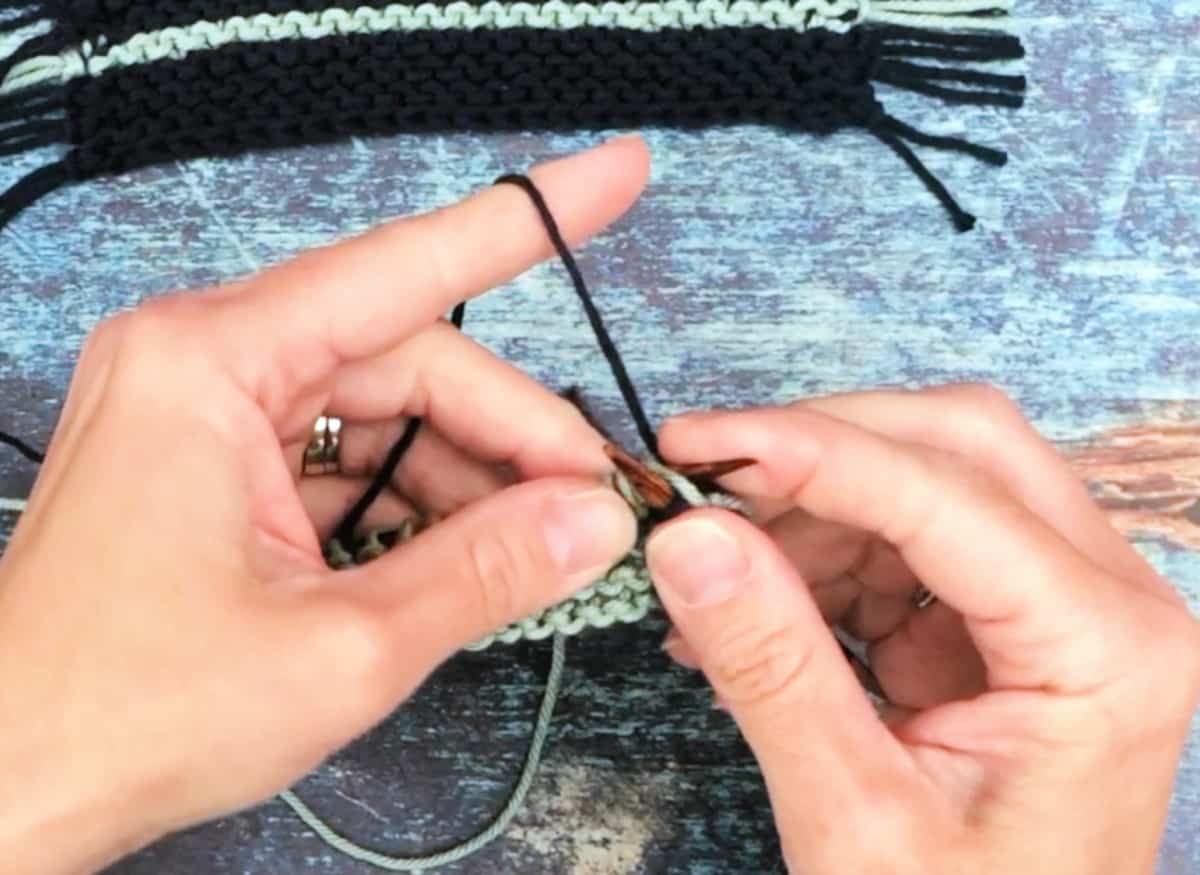
- At the beginning of the next row, insert your right needle in the first stitch on your left needle as if to knit.

- Drop the old color to the back of your work.
- Pick up your new yarn color.
- Wrap a loop around your right hand needle. Be sure to leave a 6" yarn tail to weave in later.

- Pull a loop in the new color of yarn through the first stitch to knit it.
- Tie the working yarn in your first color and the tail of the second color together to secure them for now.
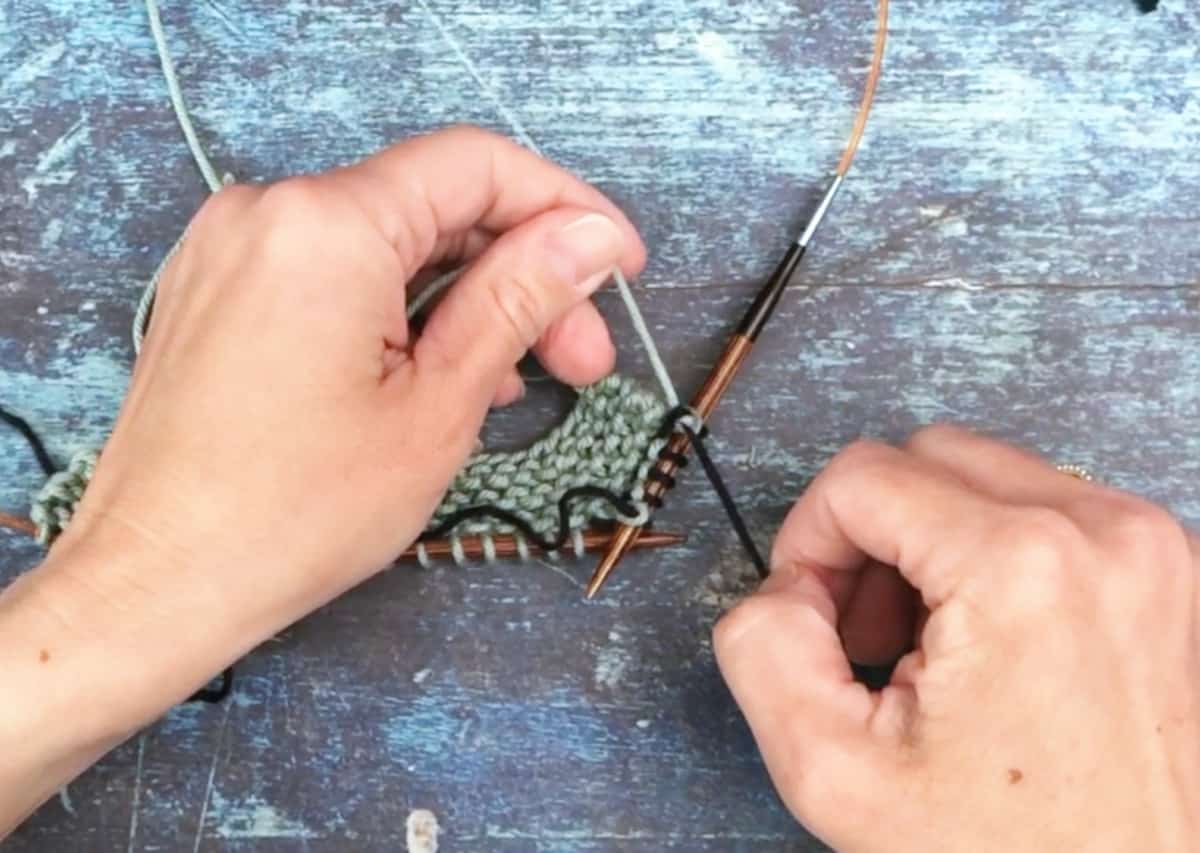
- Knit the next stitch and continue knitting in your new yarn color. In garter stitch, this will be your right side.
- If you're knitting garter stitch stripes then knit another row (this will be on the wrong side).
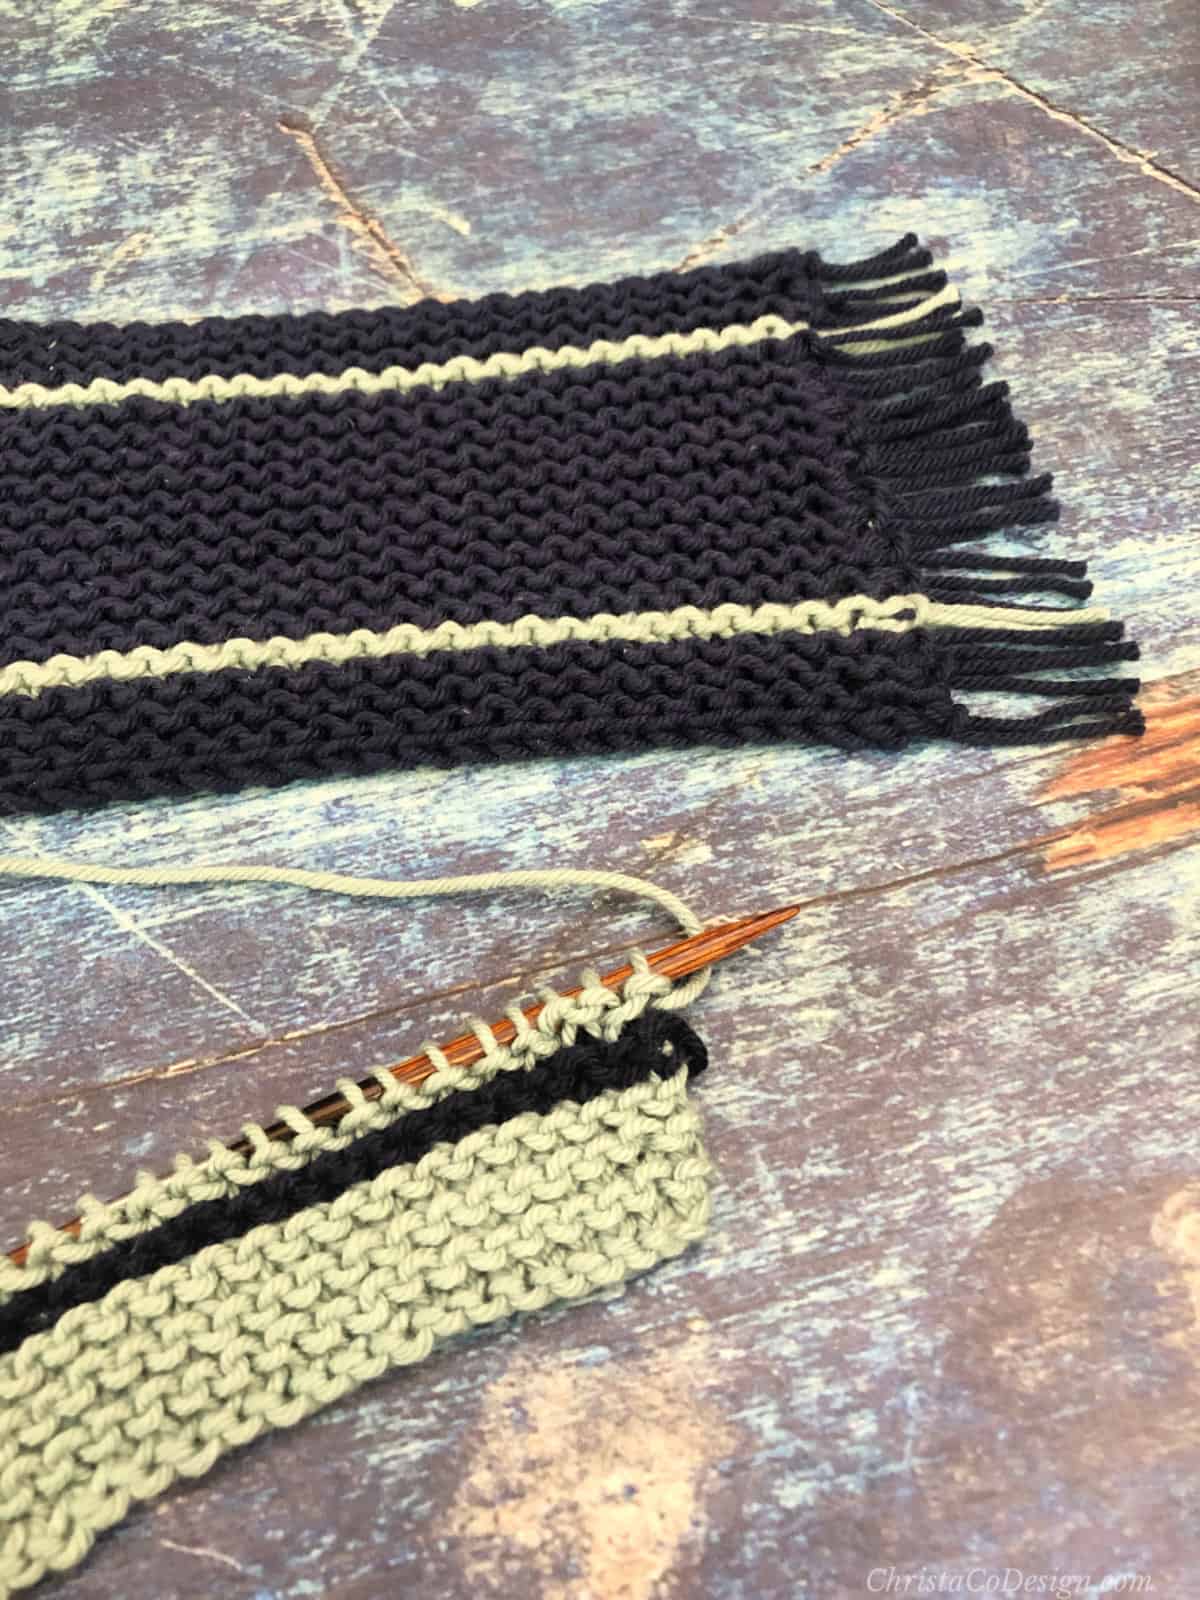
- Then you can pick up the first color when you get back to it.

- If you're adding fringe to your project you can tie the tails and trim them.

- When you're finished you can weave in the tail of the new yarn in the same color stripe row. The main color you can weave in through those rows.
- The back of the garter stitch rows.

Notes
You can use this same technique to join a new ball of yarn to your project as well.
Recommended Products
As an Amazon Associate and member of other affiliate programs, I earn from qualifying purchases.