How To Crochet A Bow Tie Free Pattern In 2 Sizes
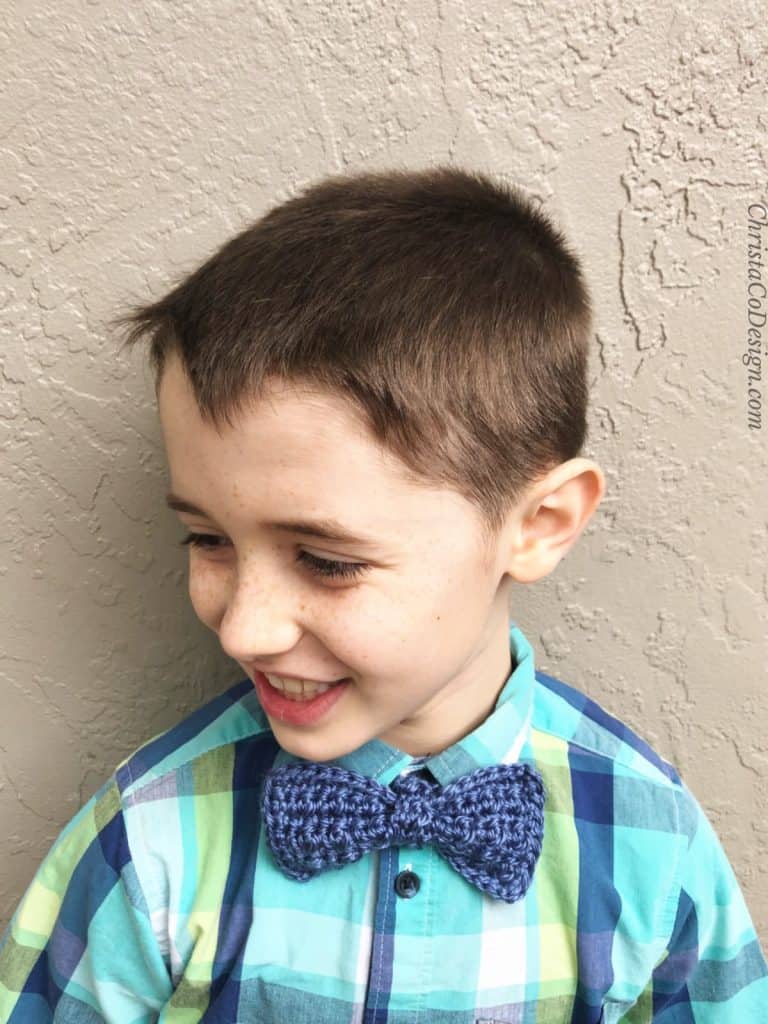
This crochet bowtie pattern is a simple rectangle. Alternating rows of texture and single crochet stitches create a fun and stylish addition for an Easter outfit, Mother’s Day or any dress up day.
A little bow tie is a quick gift. As a mom of boys I know how hard it can be to find unique accessories for our little boys. But this would also be super cute on hair clips for the girls.
It is a simple crochet project that makes a great stash buster. I have written the bowtie pattern in two sizes for you today.
This post contains affiliate links, I may earn a fee. Read more disclosure policy.
Purchase the ad-free, well formatted printable PDF Pattern from my shop. Scroll down for the free pattern!
Yarn
The yarn for this bowtie is #4 medium worsted weight. You can use any yarn in the same weight category. This little bow tie is a great stash buster pattern.
Stitch
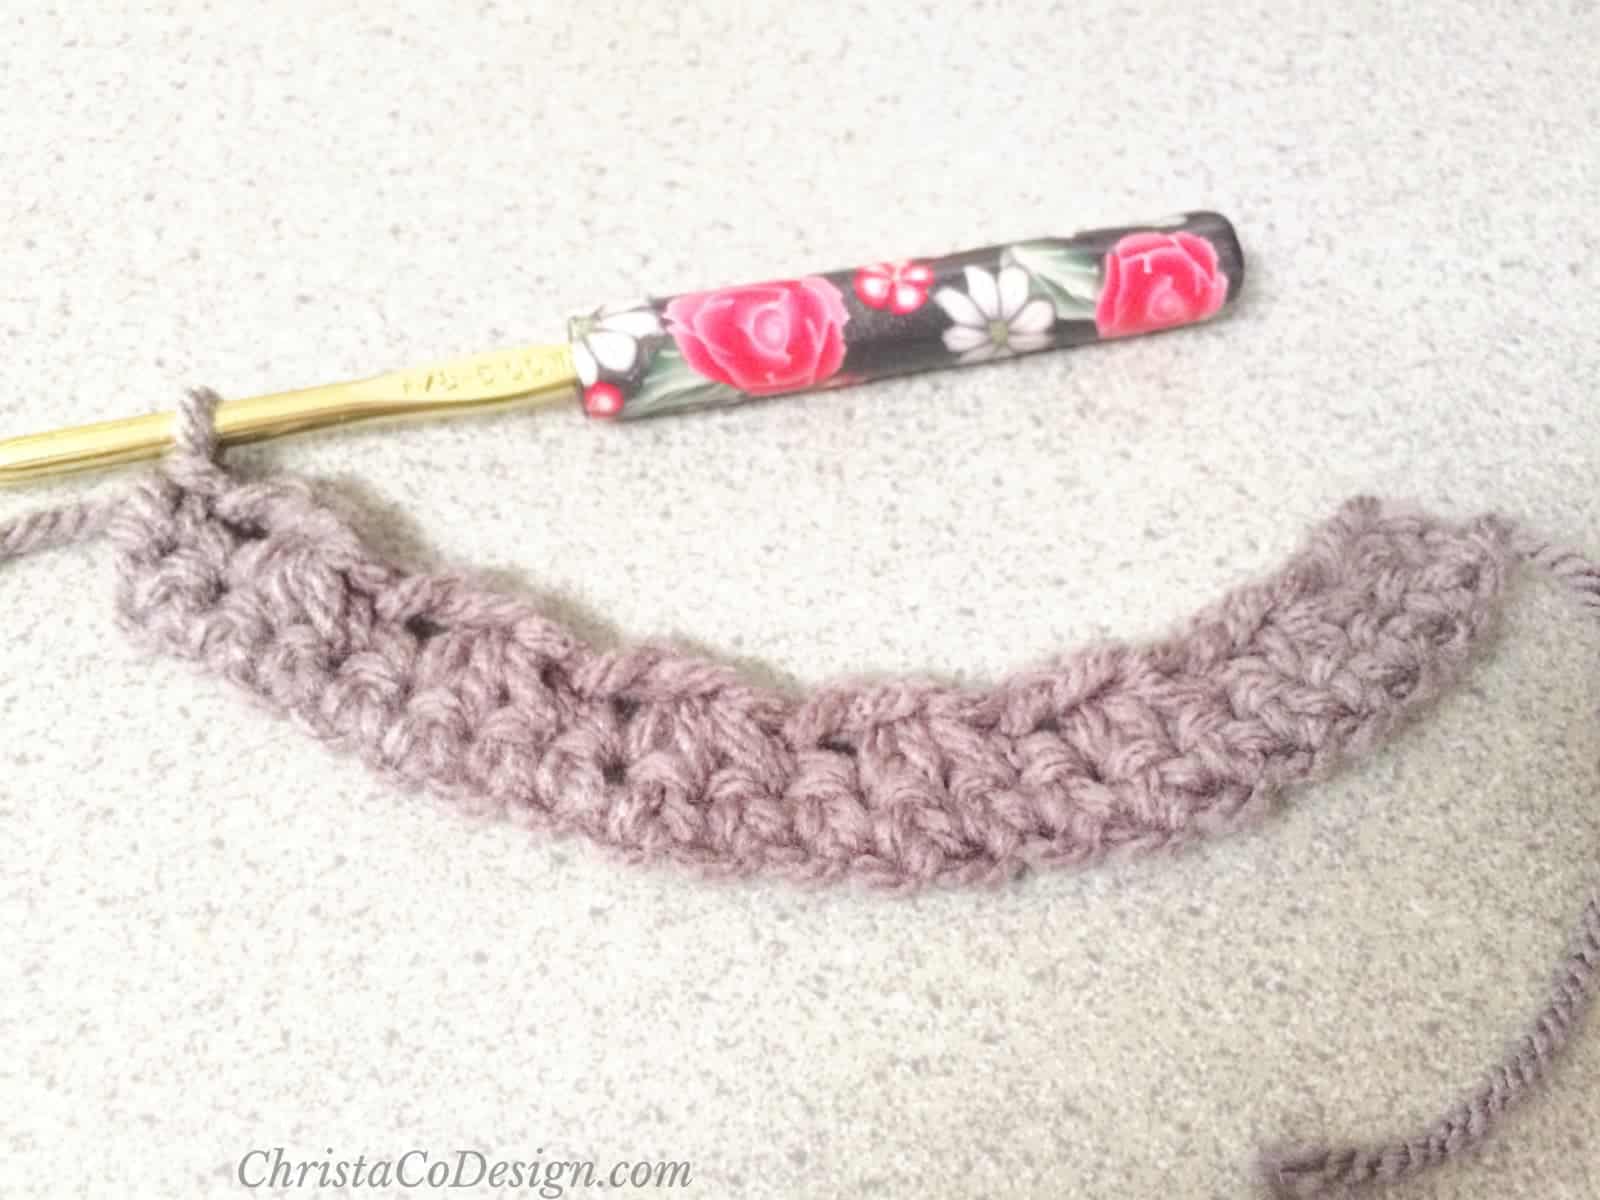
The stitch that creates the little texture bumps in a modified version of the mini bean stitch.
This is one of my favorite texture stitches. The Pebbled Beanie features this stitch in the round. Besides the unique stitch this is an easy bow to make!
You Can Purchase My Ad-Free PDF Patterns Here:
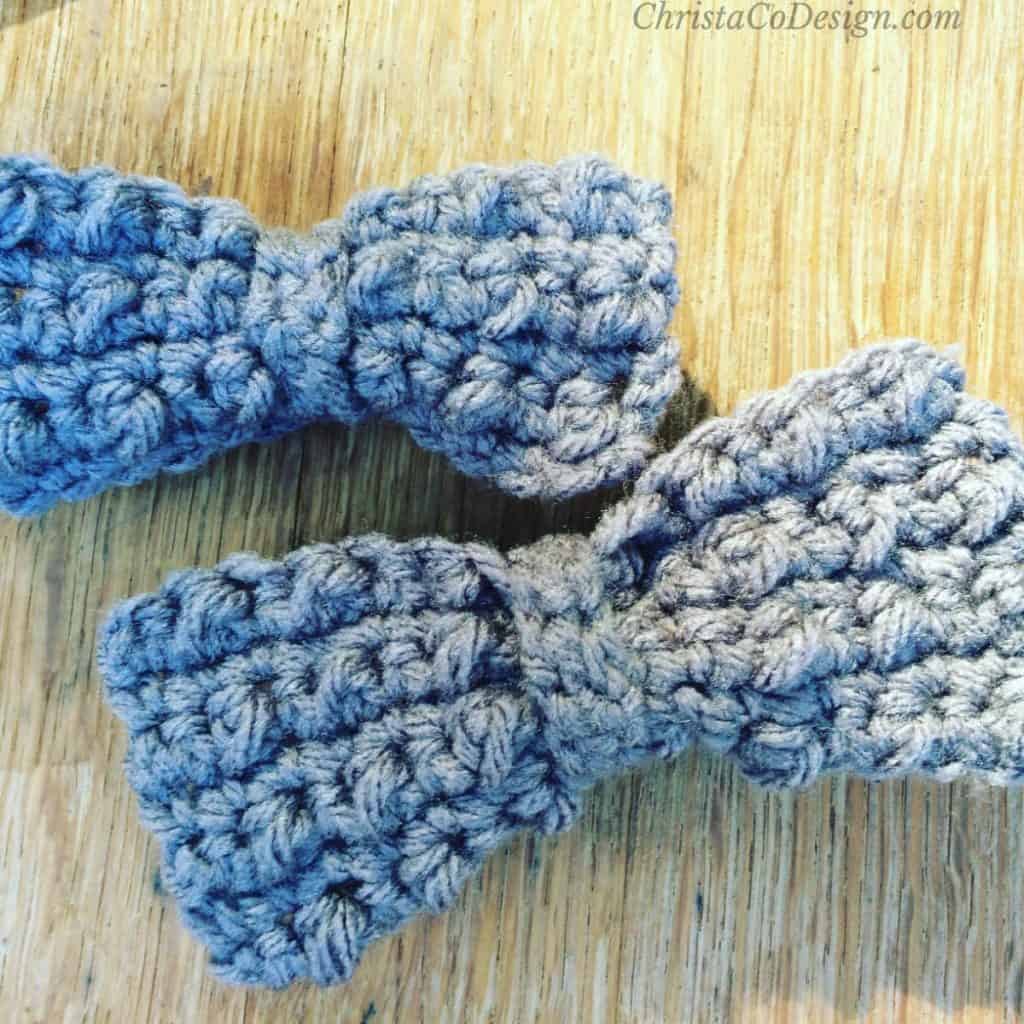
Save your favs!
Add this pattern to your Ravelry queue.
More Crochet Patterns
You might also like this pretty crochet bow pattern!
If you’re crocheting for Easter you may also like the Pocket Prayer Cloth pattern.
My kids have loved these v-neck sweaters I crocheted them. And they’ve held up surprisingly well.
Have learned how to crochet Tunisian style yet? All these Tunisian Crochet stitches look amazing.
Materials
- #4 medium worsted weight yarn, pictured is Hobby Lobby’s I Love This Yarn in greymist
- 5 mm crochet hook (US Size H-8), or hook size needed to meet gauge.
- yarn needle
- scissors
- measuring tape
For Button Closure
3/4″ button, if you don’t have plenty lying around, you can purchase some here*.
sewing needle and thread
For Velcro Closure
1/2″ x 1/2″ hook & loop square, you want the kind you can sew on*, without a sticky backing.
sewing needle and thread
For Clip On Only
Bowtie Clip, like this one on Etsy*.
Notes
- Ch 1 at the beginning of a row does not count as a stitch.
Stitches/Abbreviations
US Terms
ch (s) – chain (s)
sc – single crochet
Special Stitch
mp – Mini Puff Stitch – insert hook into stitch to be worked, yarn over and draw up a loop (2 loops on hook), yarn over and insert hook into the same stitch, yarn over again and pull through (4 loops on hook), yarn over and pull through all loops on your hook.
Gauge
2″ x 2″ (5 cm x 5 cm) = 6 sts x 7 rows in pattern
Skill Level
Easy
Construction
This bowtie is worked in three parts. It’s crocheted in flat rows. Then the parts are assembled.
Size
Baby Size 4.5″ x 2″
Child Size 5.25″ x 2.5″
To make an adult size, or another size you can adjust the neckband length to suit.
You can purchase the ad-free, well formatted, printable PDF for this pattern in one of my shops. Scroll down for the free pattern.
For the Bow Tie sewing pattern check out this post.
Scroll down for the cute little crochet bow tie pattern!
Pattern Instructions
Crochet Bowtie Pattern
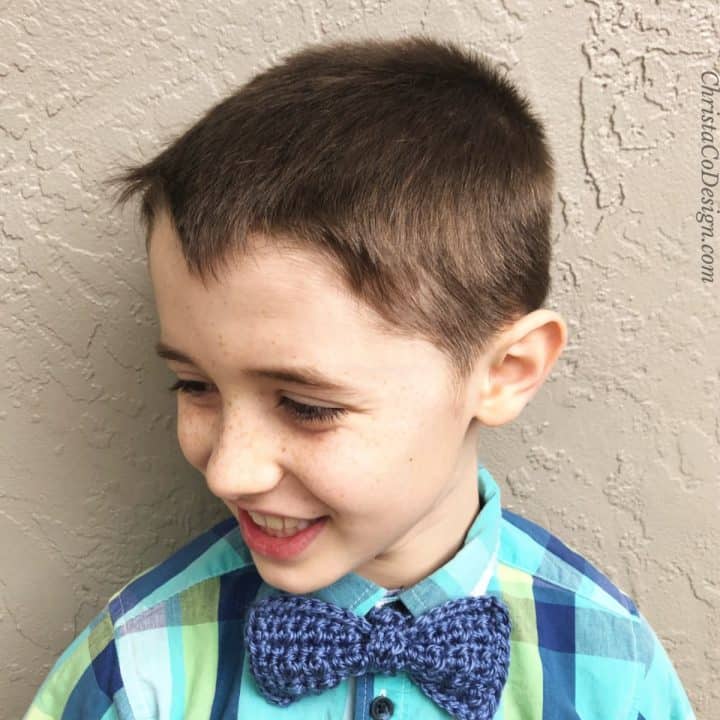
Crochet textured bow tie pattern perfect for boys to wear on Easter Sunday.
Materials
- #4 medium worsted weight yarn, pictured is Hobby Lobby’s I Love This Yarn in greymist
- For Button Closure
- 3/4″ button
- sewing needle and thread
- For Velcro Closure
- 1/2" x 1/2" Velcro square
- sewing needle and thread
- For Clip On Only
- Bowtie Clip
Tools
- 5mm Hook (H)
- yarn needle
- scissors
- measuring tape
Instructions
- Chain 14 (16), sc into the 2nd ch from your hook and in each ch across, turn (13, 15).

- Ch 1, sc in same stitch, mp in next, *{sc, mp} repeat from * to the end of the row, turn (13., 15).

- Ch 1 sc in each stitch across, turn (13, 15).
- Ch 3, sc in 2nd st from your hook and the next ch, turn.
- Ch 1, sc 2, turn.
- Ch 1, sc 2, turn.
- Ch 3, sc in 2nd ch from hook and in last, turn.
- Ch 1, sc 2, turn.
- Ch 1, sc 2, turn.
Row 4-30: repeat row 3, or until length desired. Mine was 10″ (12") including the button loop closure (see below).
Baby size, 4.5″ X 2″ (Child size, 5.25″ X 2.5″)
Rows 4-7: Repeat rows 2-3 two more times.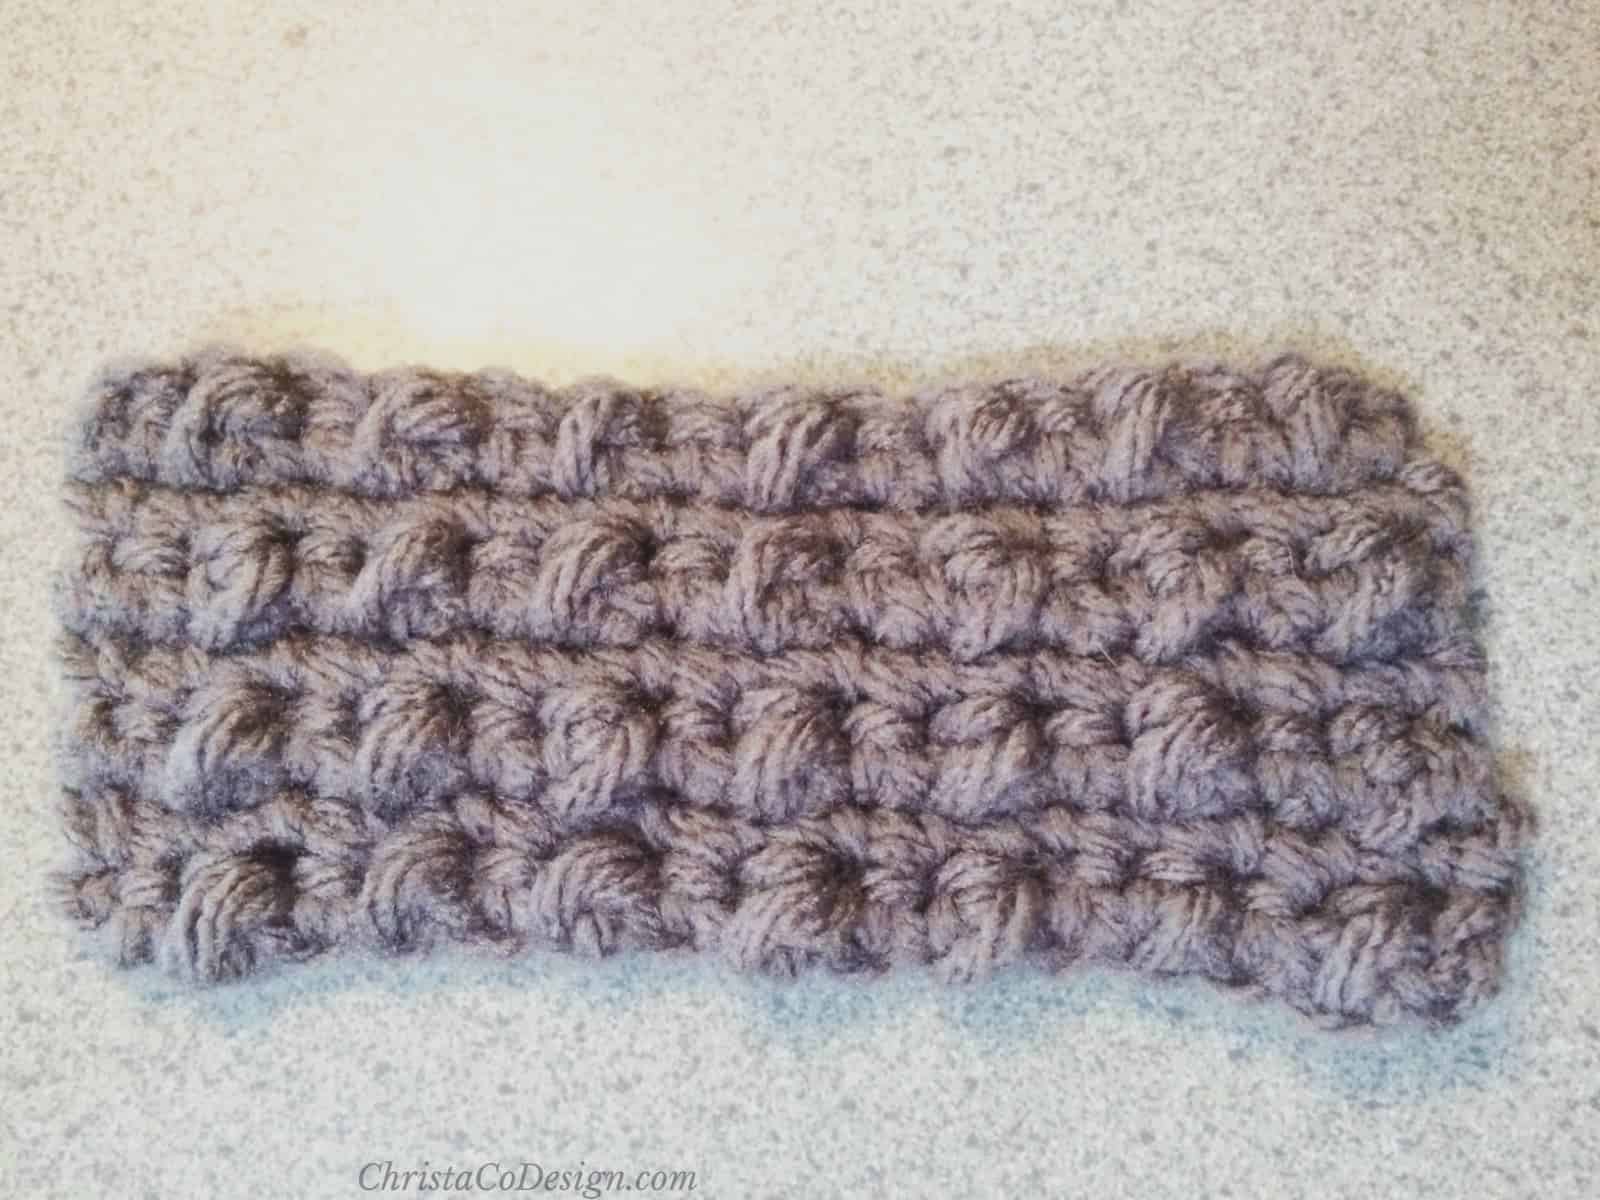
Cut yarn and weave in end.
The Loop
Rows 4-8 repeat row 3, or until you reach 2 (2.5)″ long.
Leave a long tail and sew short ends together to form a loop.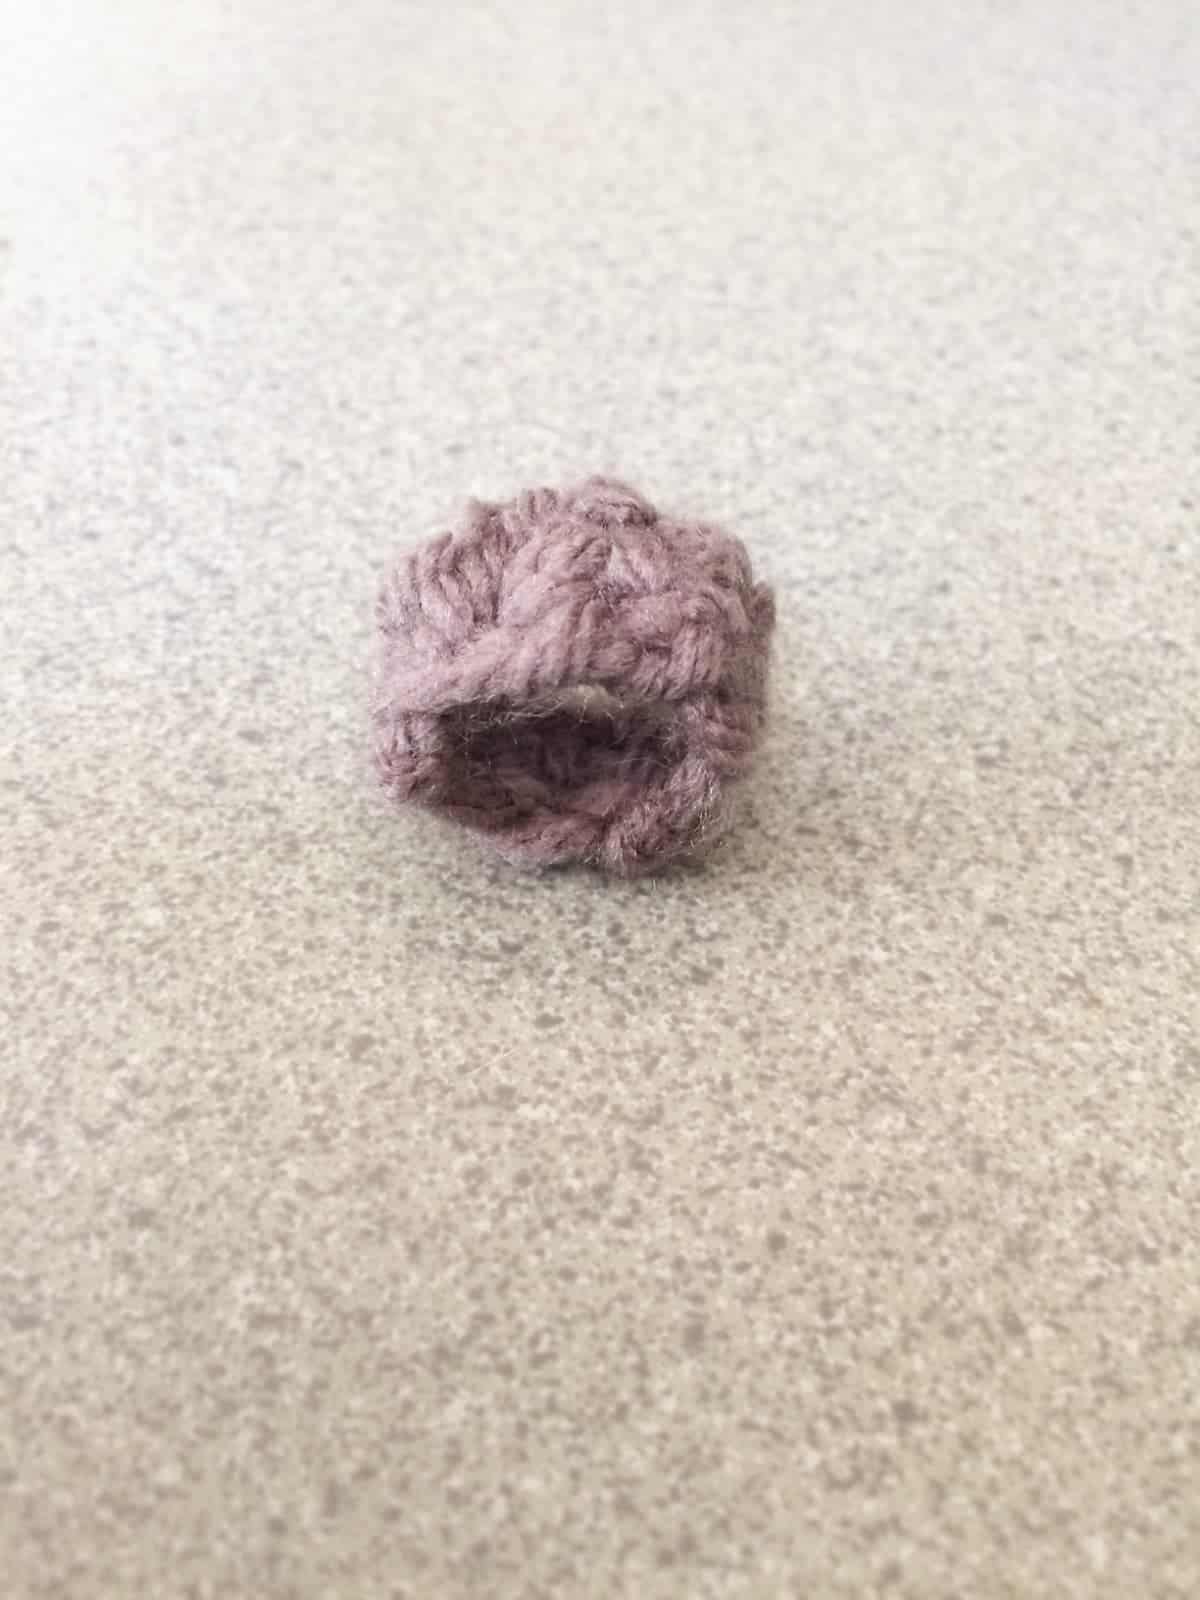
The Band
You can also use a clip* to attach the bow tie to the front of the shirt and leave the band off entirely.
Button Loop
At the end of your band, ch 3, slip stitch to the last sc in the row, turn.
Ch 1, sc 3 across the chain. Finish off. 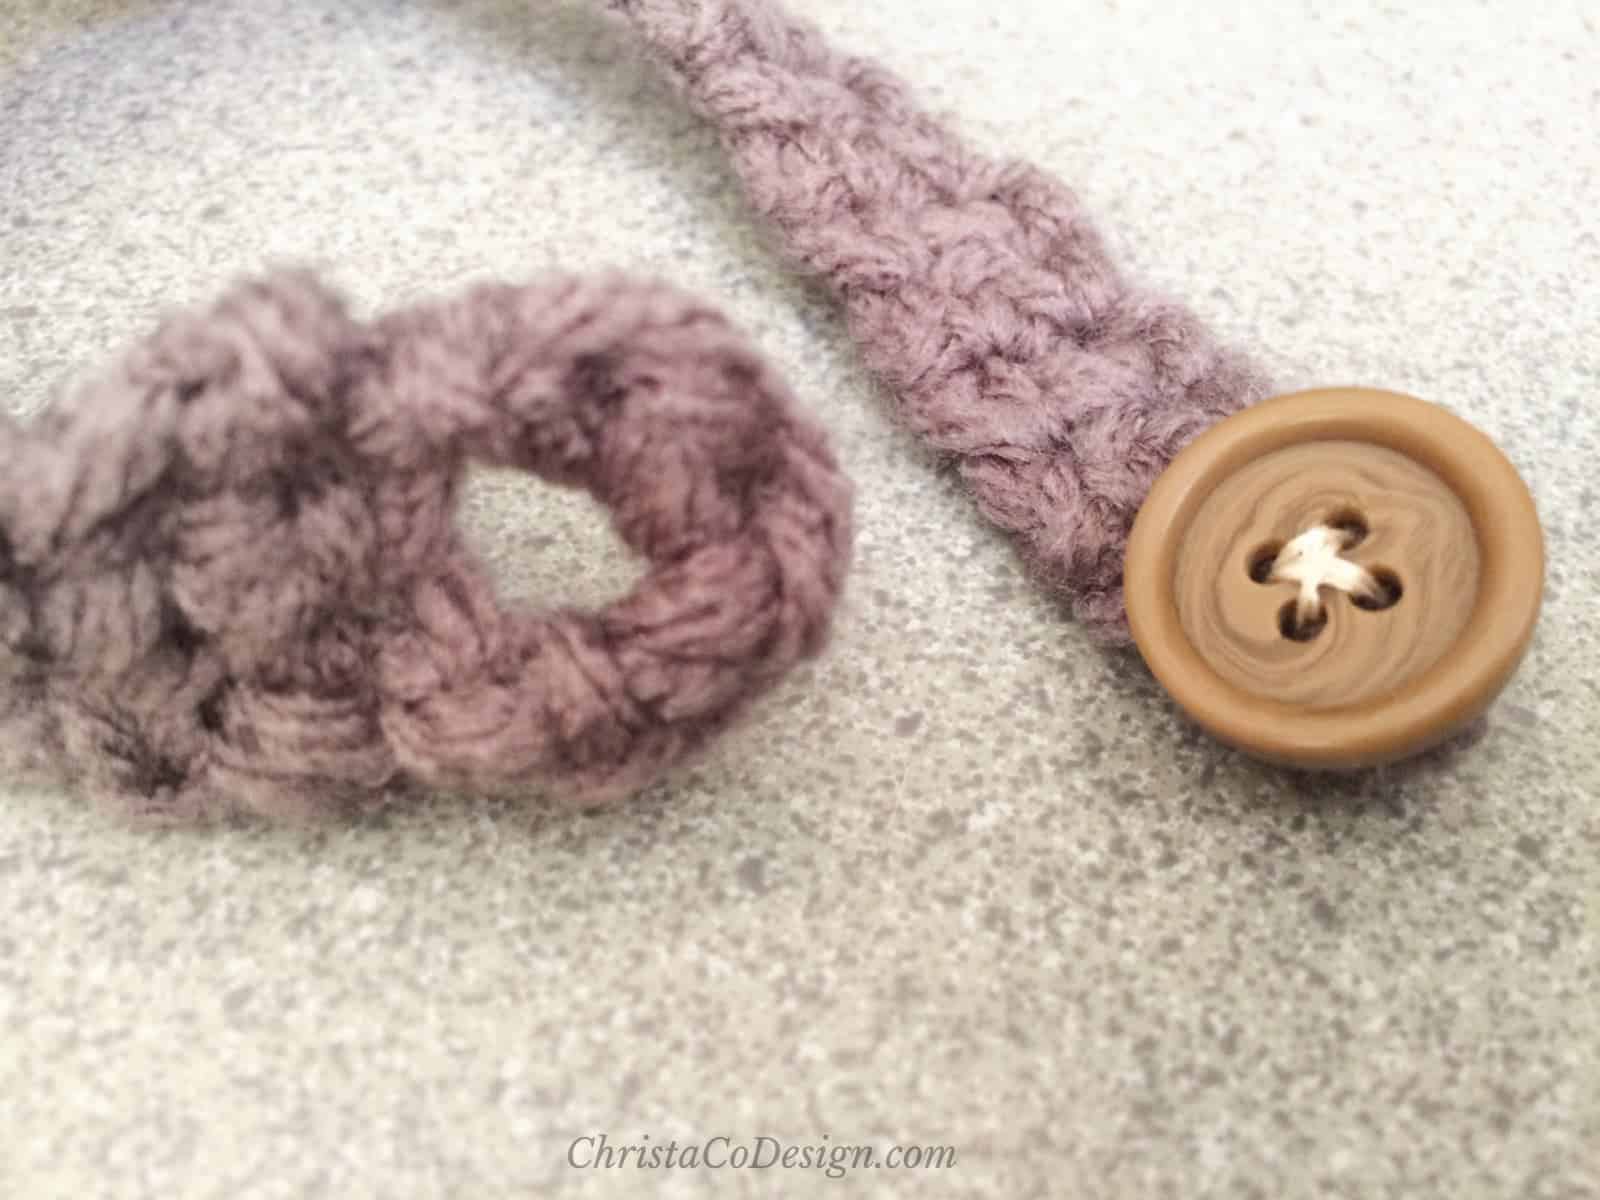
Velcro Closure
Hand sew a small rectangle of velcro to either end of the bow tie band. One piece of velcro should be on the inner side of the band and the other piece of velcro should be on the outer side of the band.
Assembly
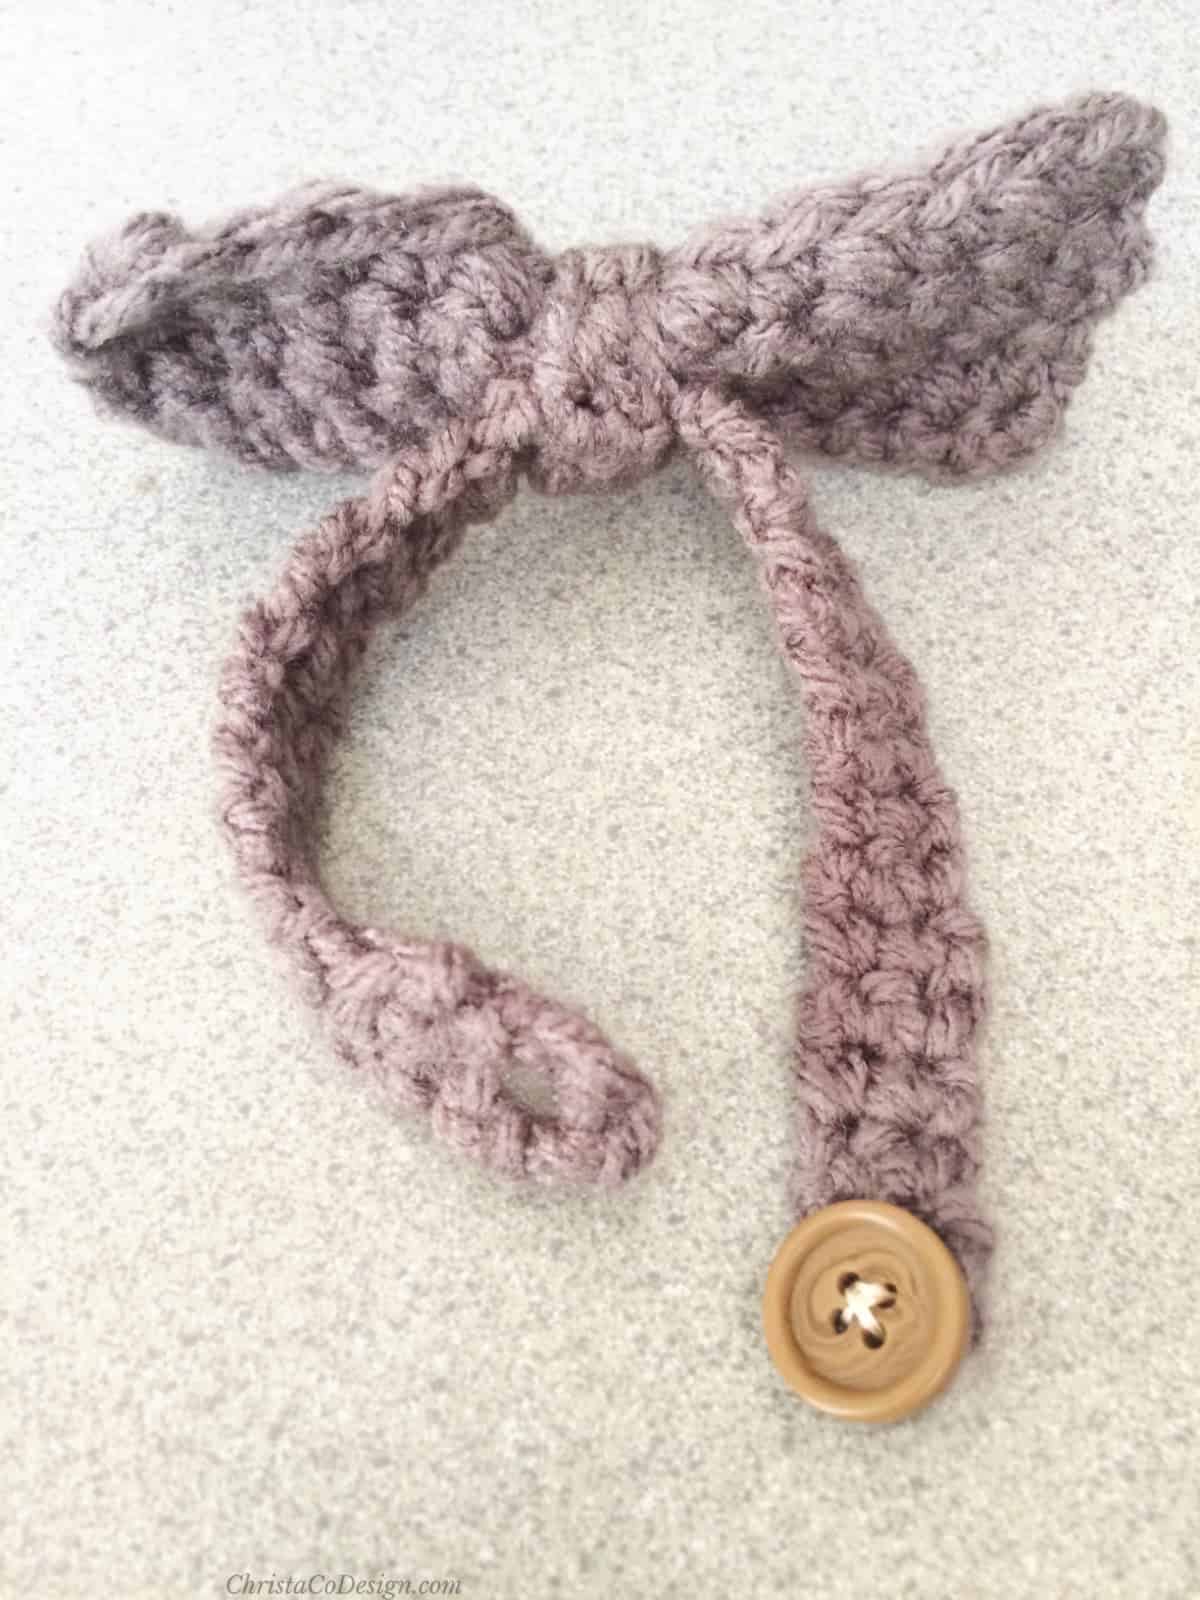
Feed rectangle bow tie piece through the loop until it's in the center of the bow and adjust as needed.
Push the band through the loop, on the back side of the bow tie.
Recommended Products
As an Amazon Associate and member of other affiliate programs, I earn from qualifying purchases.




Will have to make this for my grandson
I bet he would be adorable in a bow tie crocheted by his grandma!
What does MP stand for? The pattern says sc and then mp in the next. Is this only confusing for me?
Hi Deborah,
Thanks for asking, it looks like the section including this stitch abbreviation and explanation is missing! Sorry about that, I’ve added it back in. Here it is for your quick reference:
Special Stitch:
Mini Puff Stitch (mp)- insert hook into stitch to be worked, yarn over and draw up a loop (2 loops on hook), yarn over and insert hook into the same stitch, yarn over again and pull through (4 loops on hook), yarn over and pull through all loops on your hook. Link to the tutorial: https://christacodesign.com/mini-puff-stitch-crochet-tutorial/