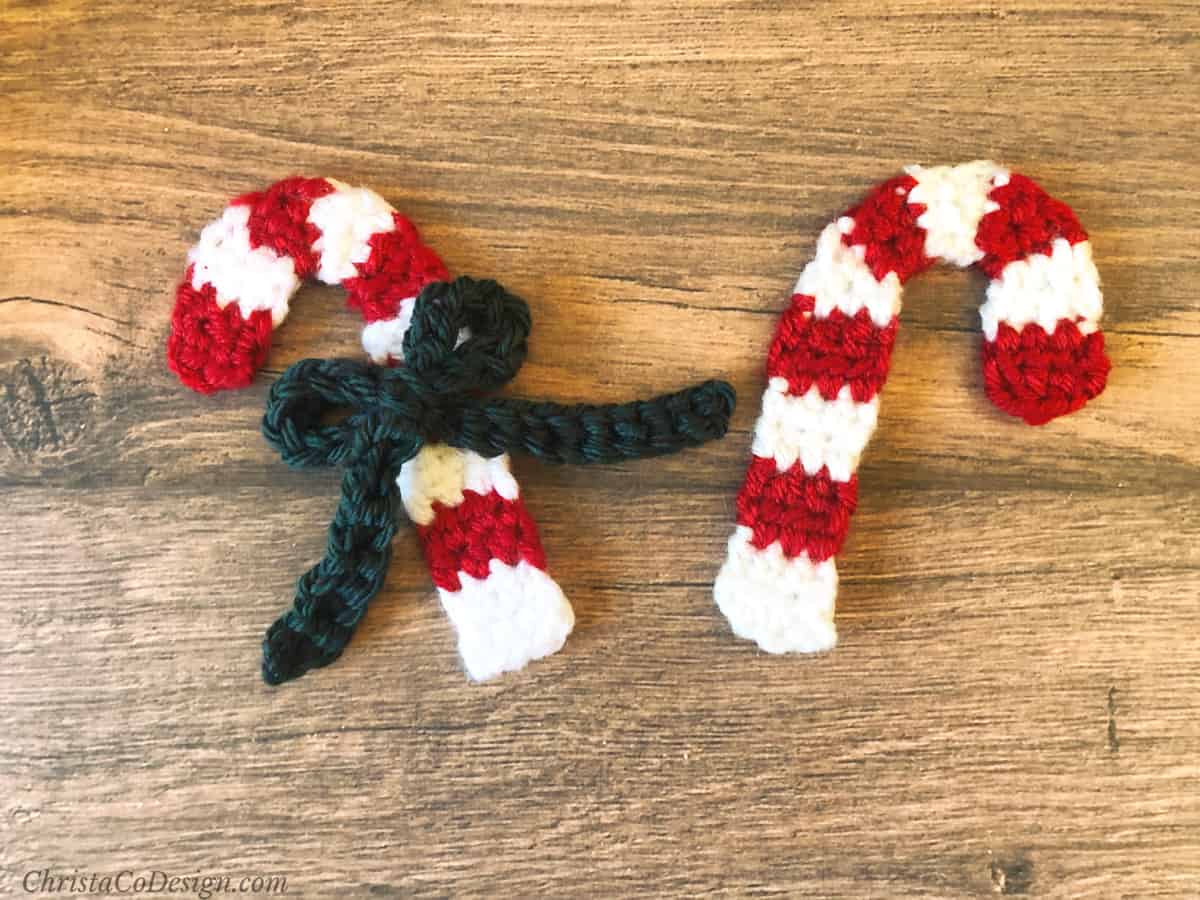
How To Crochet A Pretty Bow With Ribbons For Tying
Adding a little handmade love is easy with this free crochet bow pattern. The long ribbons of the bow are perfect for tying around special gifts.

This post contains affiliate links, I may earn a fee. Read more disclosure policy.
Join the ChristaCoDesign Newsletter
Never miss a pattern!
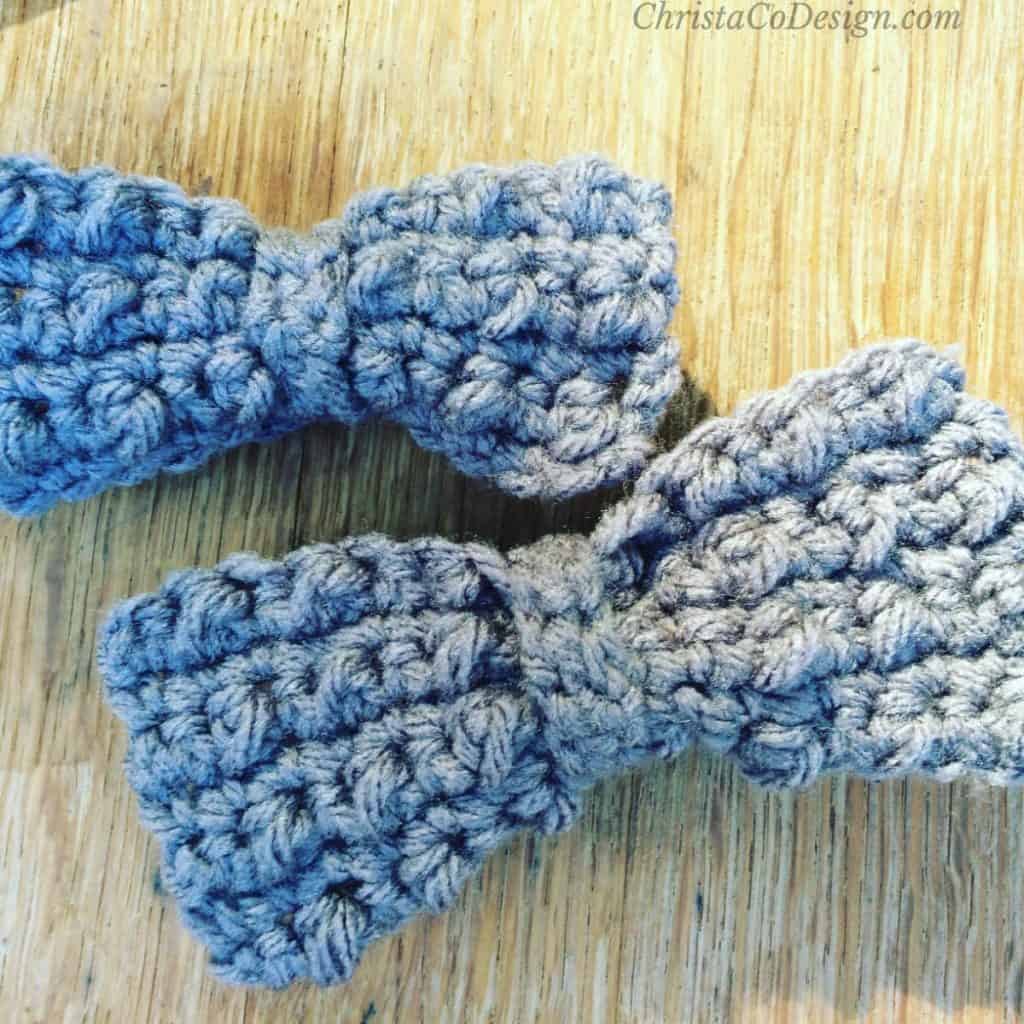
While I had Christmas gift decor on the brain with this bow design these cute crochet bows would look great on hair ties and clips too. But little girls shouldn’t have all the fun, for the gentlemen, you could sew a button on the ribbon and use it as a bow tie. If you’re not sure how to do that you can see the step by step tutorial in this boys’ bow tie pattern.
I like how the long tails of the ribbon curl naturally on their own a bit, thanks to our friend the single crochet. This style of bow would look great on a wreath too. And its such an easy bow pattern!
Purchase the ad-free, well formatted printable PDF Pattern from my shop. Scroll down for the free pattern!
The Yarn
For this crochet project I chose a #3 DK yarn. While I do think a different yarn weight, like a #4 worsted weight yarn could work, the lightweight thinner yarn makes this bow easier to tie. Thicker yarns may make it too bulky, but you might try a smaller hook if you do.
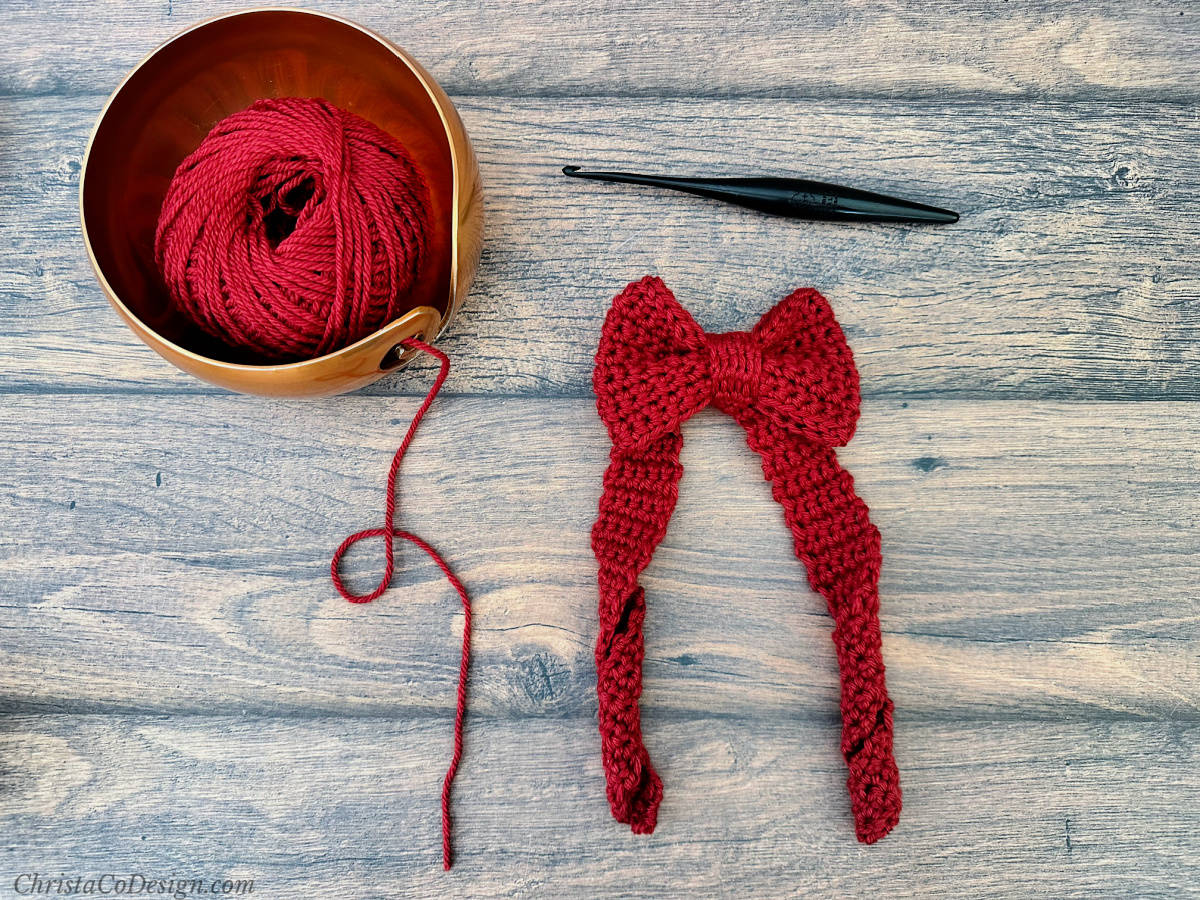
I use WeCrochet’s Gloss DK yarn* in the shade cranberry for the bow and ribbon pattern. The red is just perfect for a holiday bow!
Purchase My Ad-Free PDF Patterns In Your Favorite Shop Here:
Construction
Making the bow is easy and only consists of two parts. The center is a crochet rectangle that’s folded and seamed. A length of yarn wrapped around the middle helps to cinch it in. And the ribbon ties are one long piece that you tie around the center to create the finished bow.

Adjustments
It’s easy to make the ribbon ties different sizes by simply working more or less rows. For smaller bows you may want a shorter ribbon, and vice versa for larger bows.
And since this easy crochet bow pattern is made in basic stitches it’s a cinch to adjust the width as well. You can work it to any width you want by changing the number of stitches.
Just remember that the rectangle will be folded in half. So you’ll need twice the length of your desired finished size. For example, if you want a 2″ wide finished bow, then make a 4″ wide rectangle.
The height, or how tall your rectangle is, is also the finished height of your finished bow. So no need to double that or change it, just crochet to the size you want.
Holiday Stashdown CAL
This free pattern is a part of the Holiday Stashdown Crochet Along hosted by CAL Central. You can find all the details about it here on UndergroundCrafter. I hope you’ll join us for the fun. There’s a new holiday themed pattern every week through December 2nd!

Save your favs!
Add this pattern to your Ravelry queue.
Materials
- WeCrochet’s Gloss DK* #3 lightweight yarn (70% Merino Wool, 30% Silk, 123 yd (112 m) per 50 g ball in shade Cranberry: 1 ball, or 70 yd comparable yarn.
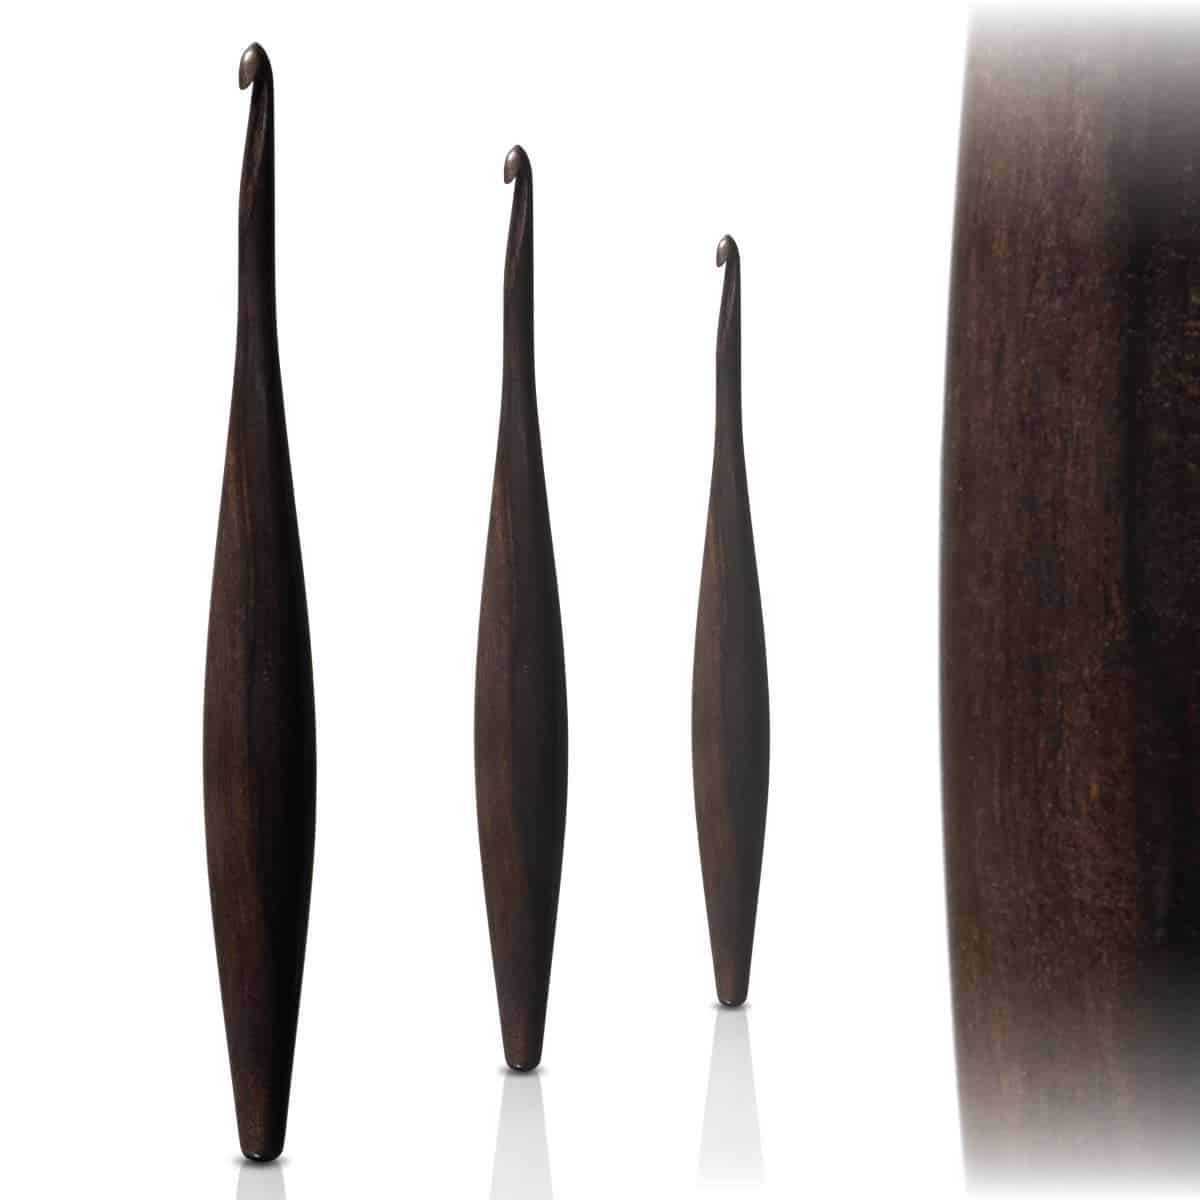
- 4.5 mm (US 7) crochet hook (or size needed to meet gauge).
- Measuring tape, yarn needle, and scissors.
Notes
- Ch 1 does not count as a stitch.
- The ribbon curls naturally as it is made with single crochets.
Skill Level
Beginner
Stitches/Abbreviations
US Terms
ch(s) – chain(s)
fsc – foundation single crochet
sc(s) – single crochet(s)
sc3tog – single crochet three together
sl st – slip stitch
st(s) – stitch(es)
rep – repeat
Gauge
1” x 1” = 5 sc x 4 rows of sc
Find the perfect project

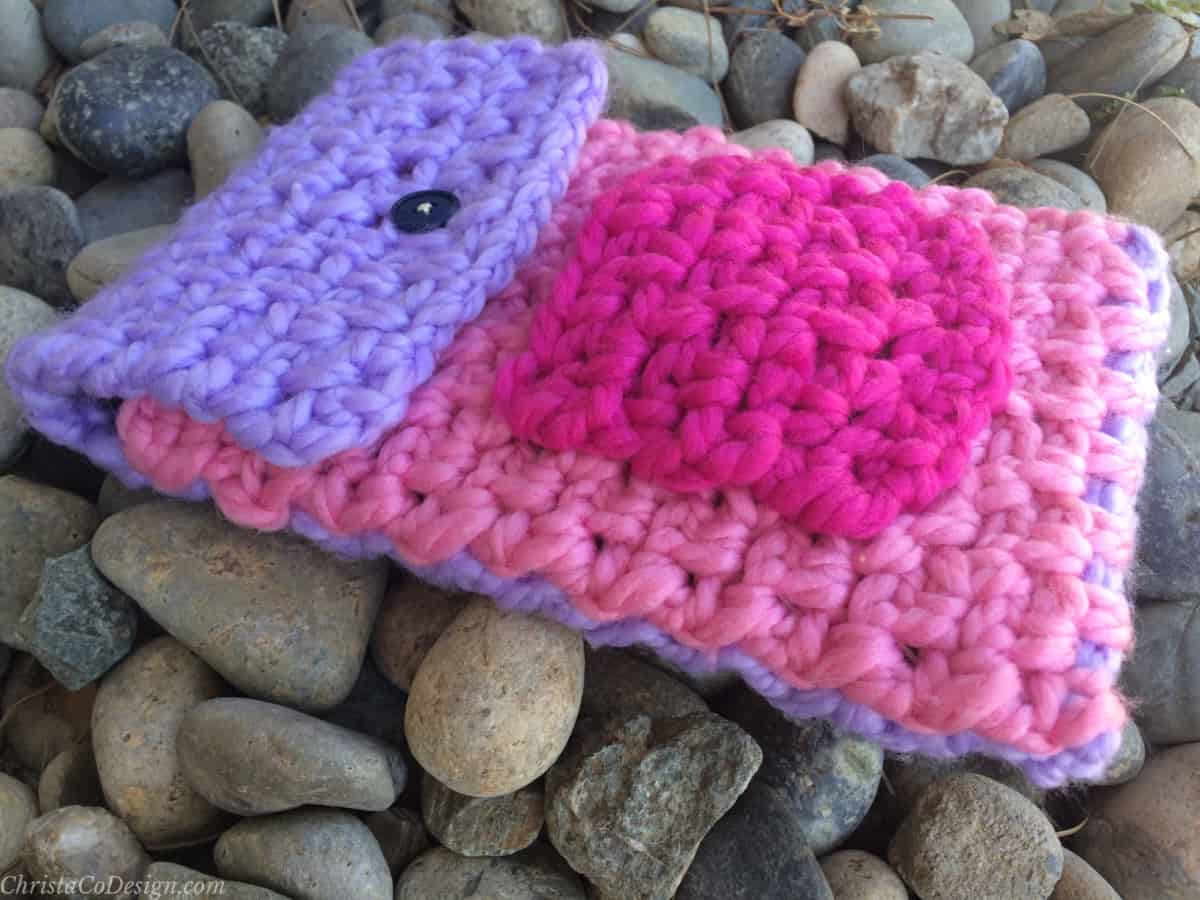
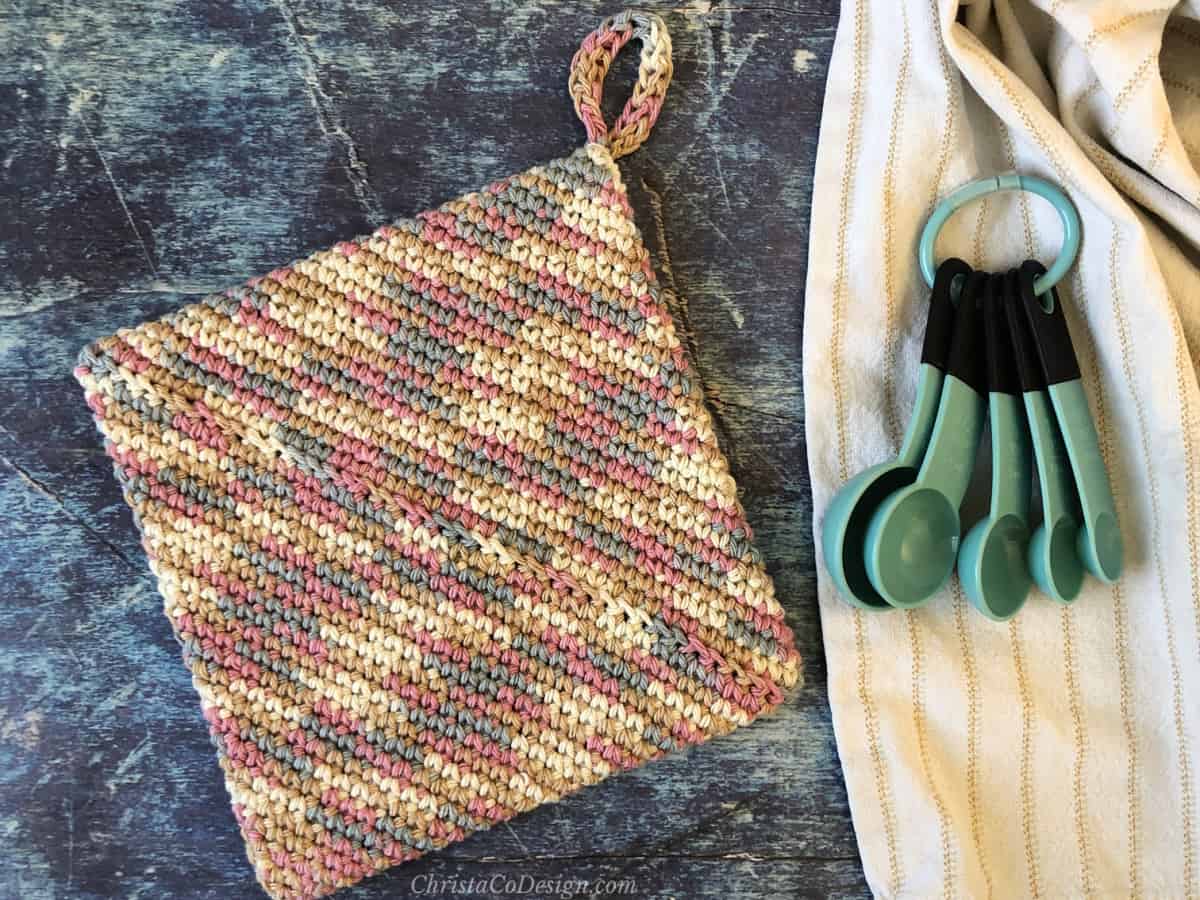
These are great scrap yarn projects!
Sizing
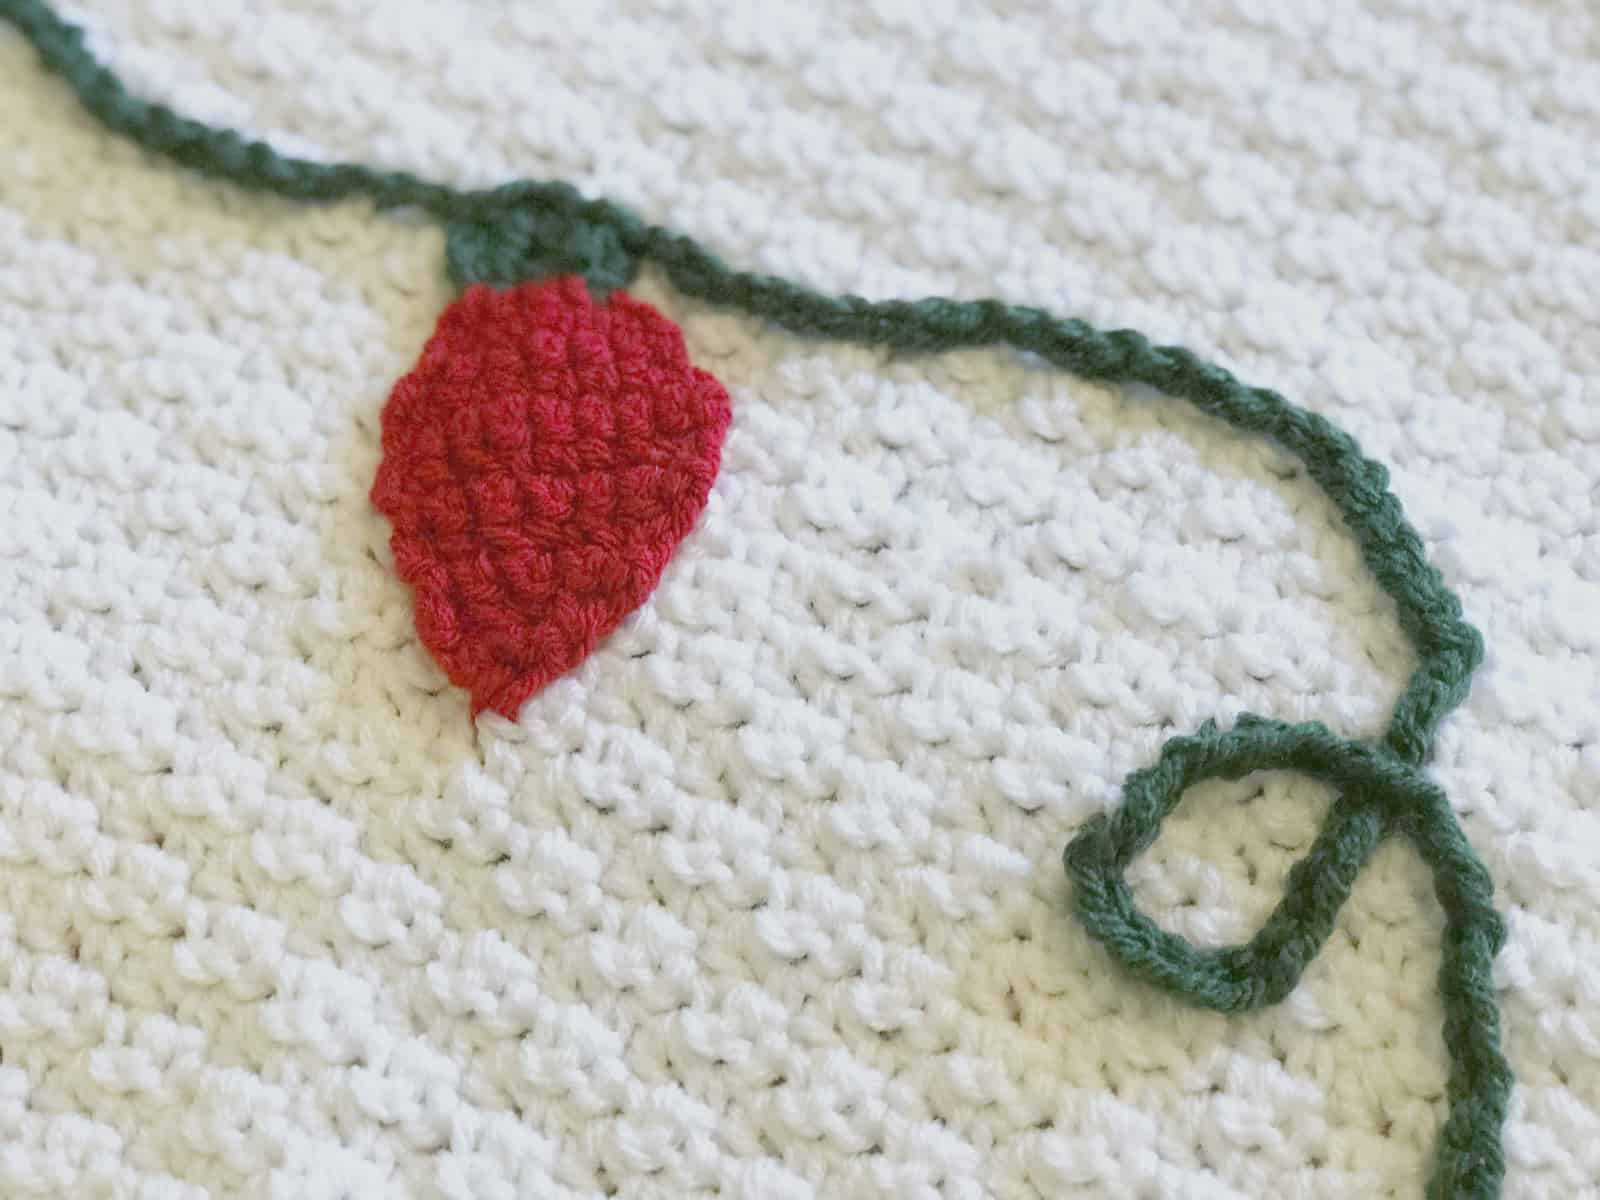
The finished bow is 4” wide and 3” tall at it’s widest. From center of the bow down to the bottom of the ribbons is 8” long.
While this pattern is for one size, it’s easy to customize. You can crochet a smaller ribbon and rectangle for a mini bow, or make it bigger for a larger bow. Since you’re working in single crochet it’s easy adjust.
Scroll down for the free crochet pattern!
Video Tutorial
Watch how to in the video.
Pattern Instructions

How To Crochet A Bow With Ribbons For Tying
Learn how to crochet this pretty bow with ribbon for tying it to your gifts.
Materials
- WeCrochet’s Gloss DK* #3 lightweight yarn (70% Merino Wool, 30% Silk, 123 yd (112 m) per 50 g ball in shade Cranberry: 1 ball, or 70 yd comparable yarn.
Tools
- 4.5 mm (US 7) crochet hook (or hook size needed to meet gauge).
- Measuring tape, yarn needle, and scissors.
Instructions
Ribbon
Row 1. Ch 1 loosely, and sc in it, turn. (1 st)
Row 2. Ch 1, place 2 sc in same st, turn. (2 sts)
Row 3. Ch 1, 2 sc in same st, 2 sc in next st, turn. (4 sts)
Row 4. Ch 1, sc in first 2 sts, place 2 sc in next, sc in last st, turn. (5 sts)
Row 5. Ch 1, sc in each st across, turn. (5 sts)
Repeat Row 5 until work measures 20” long.
Decrease
Row 1. Ch 1, sc in same st, sc3tog, sc in last st, turn. (3 sts)
Row 2. Ch 1, sc in each st across, turn. (3 sts)
Row 3. Ch 1, sc3tog, turn. (1 st)
Cut yarn and pull through last stitch, weave in ends.
Bow
Row 1. Fsc 30, or ch 31, turn and sc in each ch across, turn. (30 sts)
Row 2. Ch 1, sc in each st across, turn. (30 sts)
Rep Row 2 until work measures 4” tall.
Seam
Fold in half, matching up edges of rows.
Work on wrong side, sl st edges together.
Pull up a long loop and cut yarn leaving a long tail to wrap around center. 
Turn right side out.
Cinch center of bow and wrap yarn tail around it several times, secure with knot and weave in the end of the yarn. 
Assembly
Tie ribbon around center of bow gently. Placing the flat part of the ribbon in the front and the knot in the back gives you the perfect crochet bow.
To add this bow to a gift package, just thread yarn through the back of the bow and tie it around the box.
Recommended Products
As an Amazon Associate and member of other affiliate programs, I earn from qualifying purchases.