Chunky Slouchy Beanie Crochet Pattern | Ana Slouch Hat
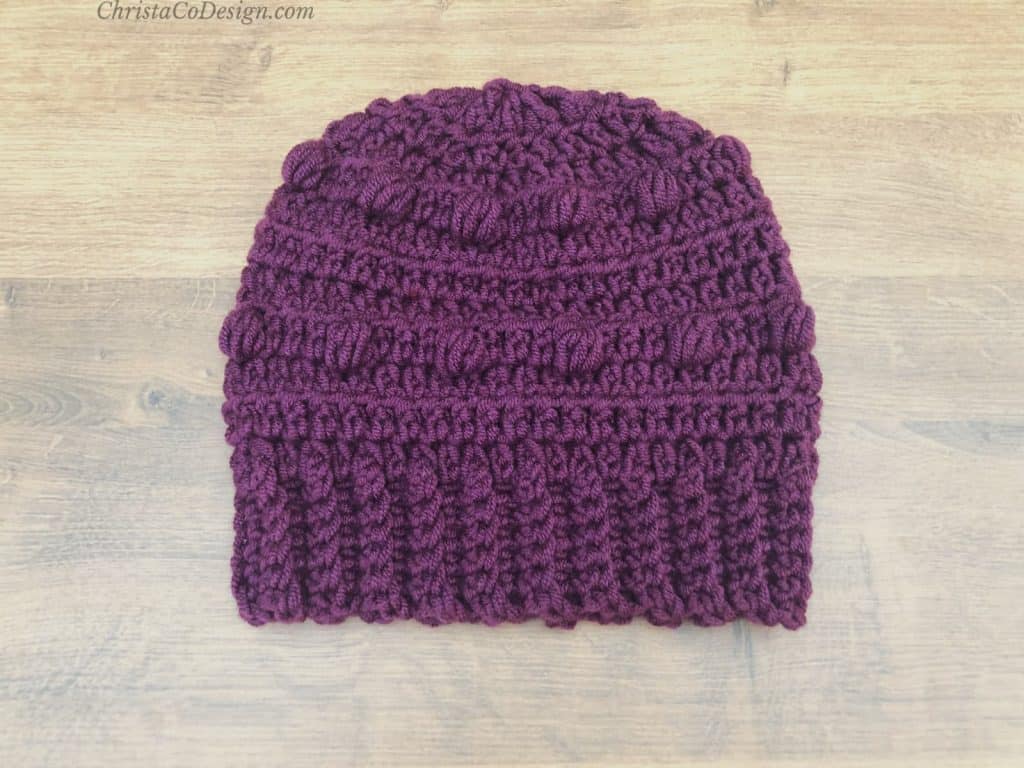
The Ana is a chunky slouch crochet pattern that brings the texture in a bulky weight yarn. The stitches crochet up beautifully in the chunky yarn and really pop.

This post contains affiliate links, I may earn a fee. Read more disclosure policy.
Join the ChristaCoDesign Newsletter
Never miss a pattern!
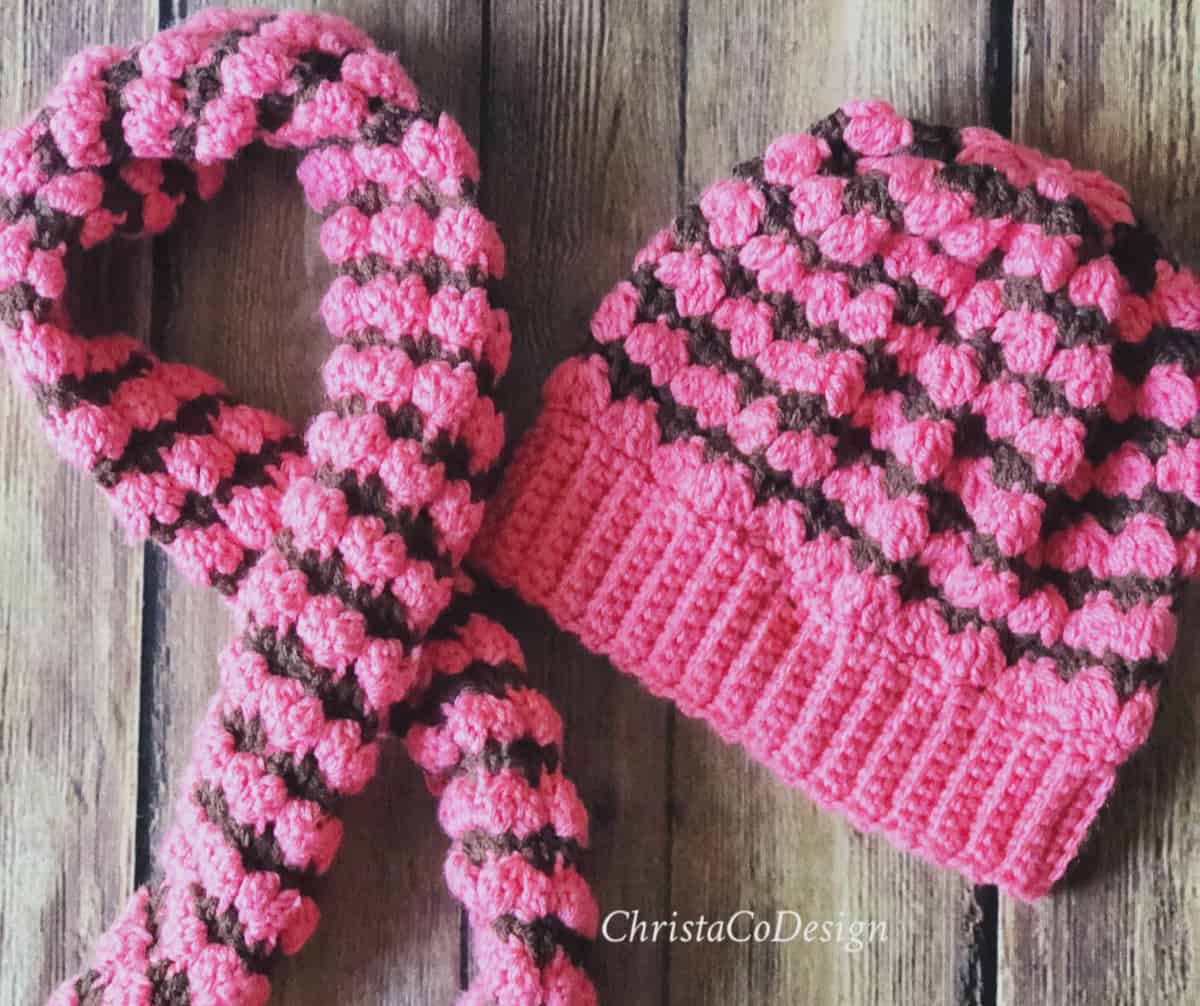
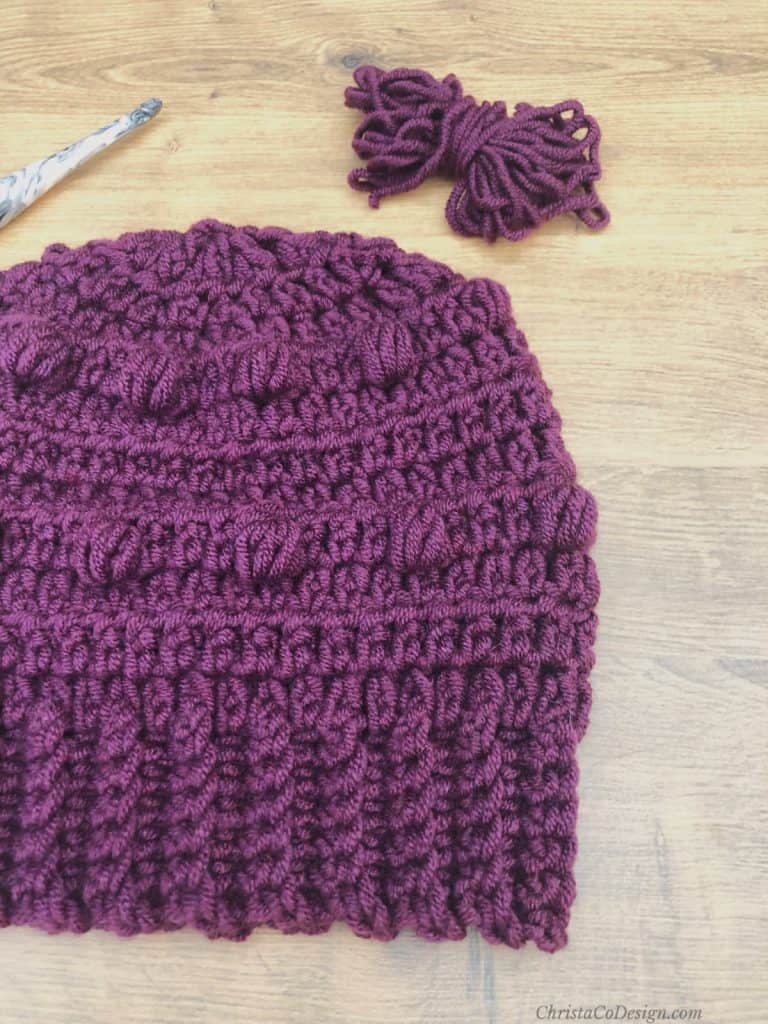
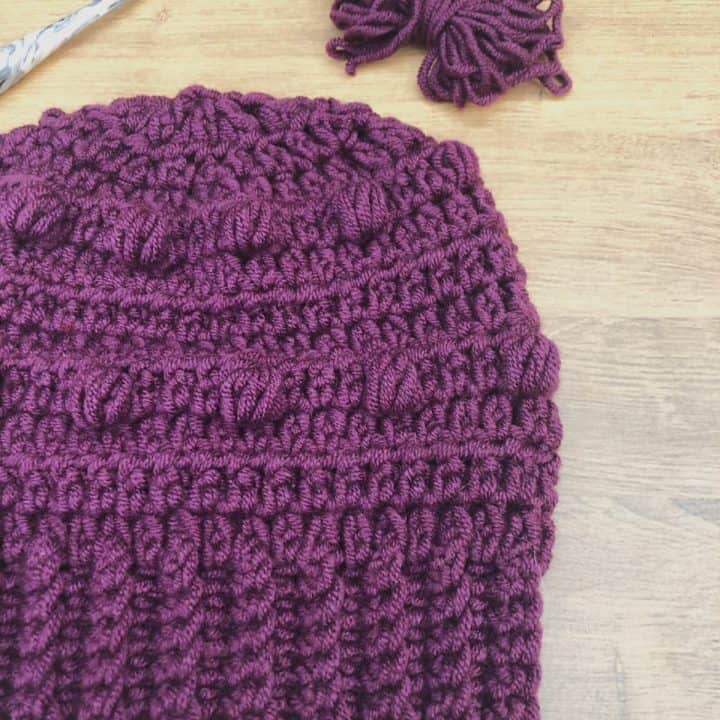
The bobble like, pineapple stitch creates an eye catching detail on this hat. This chunky weight crochet pattern is worked bottom up.
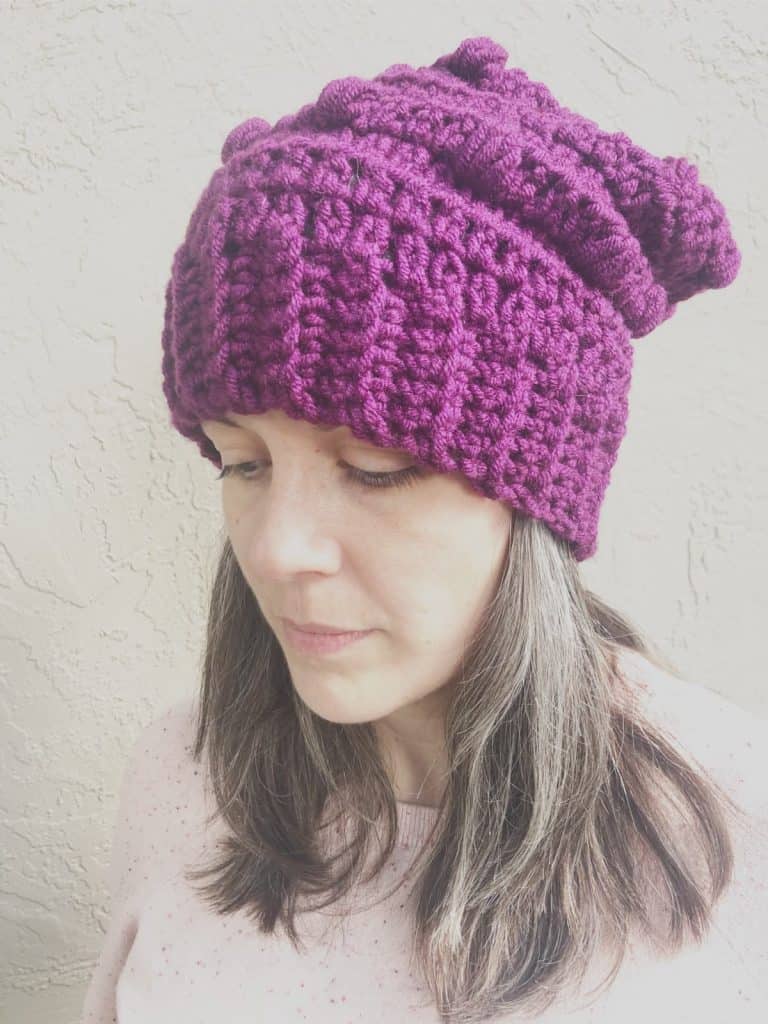
You can easily customize the ribbing for a perfect fit. I’ve designed the Ana as a slouchy beanie pattern, but this is also easy to adjust for a more fitted beanie.
Purchase the ad-free, well formatted printable PDF Pattern from my shop. Scroll down for the free pattern!
Purchase My Ad-Free PDF Patterns In Your Favorite Shop Here:
The Ana is a free crochet beanie pattern that matches the Ana Pocket Shawl. This cozy rectangle shawl crochets up quickly in chunky weight yarn. Which means, you can make them both and wear them soon!
Since this chunky hat is crocheted from the bottom up, you can leave off a few rounds for a traditional beanie fit, if you prefer.
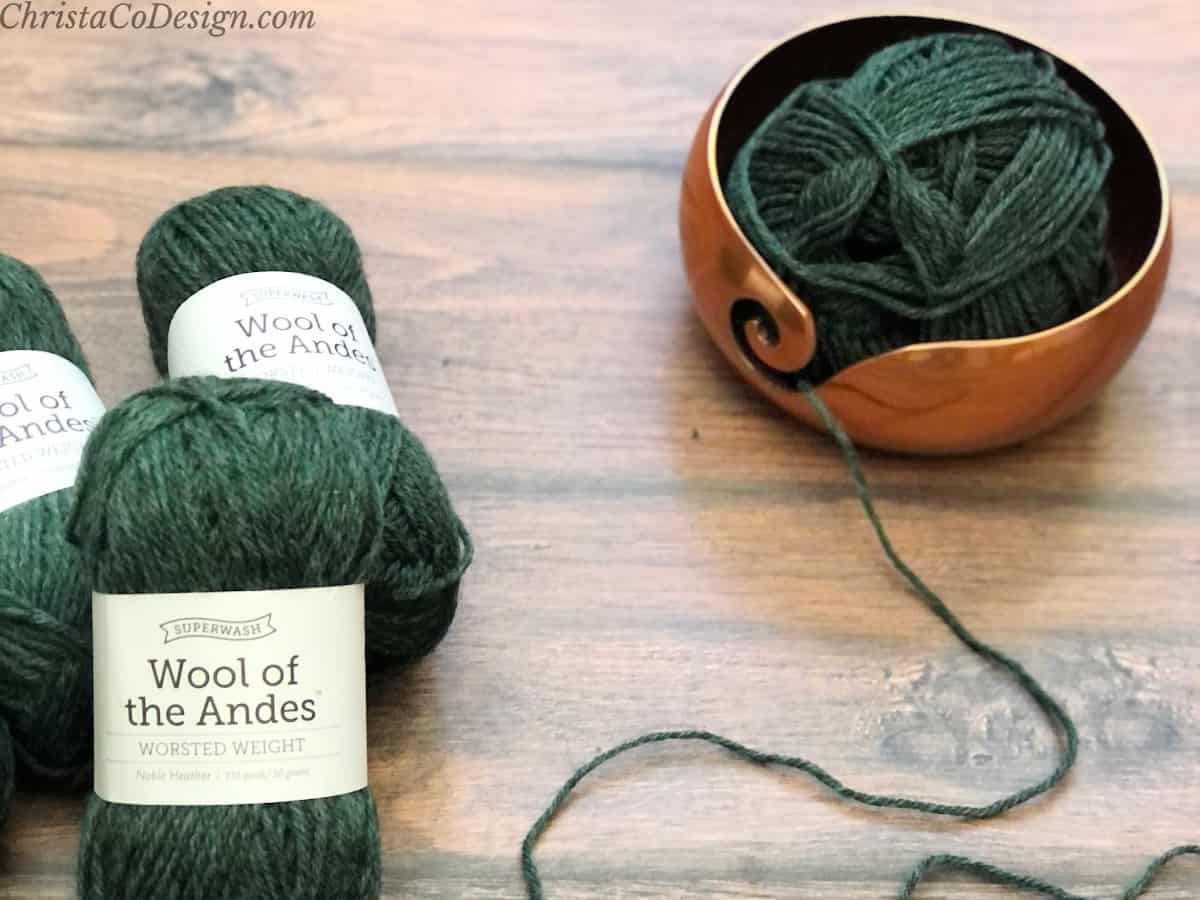
Yarn
The Ana Hat pattern features Woolspun yarn. Since I had just one ball left, I knew a matching hat was the perfect make. It’s a chunky/bulky weight yarn, #5.
If you can’t find it, or want to use a #5 bulky yarn from your stash that works too.
Hue + Me* is great substitute for this yarn.
Stitch
Since this is a matchy matchy pattern, the Ana Hat uses the ehdc – extended half double crochet stitch and pineapple stitches, just like the shawl.
There are tutorials for both of these stitches, if you need the. You can find the extended half double crochet tutorial here and the pineapple stitch tutorial here.
Save your favs!
Add this pattern to your Ravelry queue.
For decreasing the crown I use a version of the crocheting two stitches together. Since this hat is made with the extended half double crochet, I use the same stitch in the decrease. The steps are outlined under “Stitches” below.
Free Crochet Patterns
These free crochet hat patterns make great gifts and hats are a quick project.
This simple half double crochet beanie in chunky yarn makes a great gift in all 10 sizes.
The Verso beanie combines texture and color. This crochet hat is great for men.
For an easy crochet beanie pattern using only double crochet stitches check out the fitted beanie pattern or simple slouchy hat.
For a limited time this yarn is back in stock! Get Woolspun from Lion Brand* while you can. It’s a squishy favorite.
Materials
- 127yds/116m (3.5oz/100g) #5 bulky weight yarn, pictured in Lion’s Pride Woolspun plum (discontinued); Hue +Me* is a suitable substitute.
- 7mm hook or hook size needed to meet gauge; pictured is my Streamline Swirl in Cookie.*
- tapestry needle
- scissors
- measuring tape
Notes
- Hat is worked bottom up.
- Ribbing is worked flat and joined in a circle.
- The hat body is worked in the round, joined and turned after each round.
- Pineapple stitches will be worked on the wrong side, as the pop out on the right side.
- Ch 3 counts as a stitch, I highly recommend using a ch 3 alternative, here’s my favorite.
Stitches/Abbreviations (US Terms)
blo – back loop only
ehdc – extended half double crochet
ehdc2tog – yo, insert hook in st, yo, pull up a loop (3 loops on hook), insert hook in next st, yo, pull up a loop (4 loops on hook), yo, pull through 2, yo, pull through 3.
rep – repeat
sc – single crochet
sk – skip the indicated stitch
sl st – slip stitch
st(s) – stitch(es)
yo – yarn over
Special Stitch
Ps-Pineapple Cluster Stitch: Yo, insert hook into st, *{yo and pull up a loop}, in same stitch, rep from * 3 more times, yo and pull through 8 loops, yo and pull through 2 loops left on hook.
Gauge
4” / 10cm x 4” / 10cm = 9 ehdc x 5.5 rows of ehdc
Skill Level
Intermediate
Construction
For this hat pattern we will start with the ribbing and then move to the body of the hat. If you need help with crocheting ribbing start with this tutorial.
To keep the stitches looking just like the Ana Pocket Shawl, once we’re on to the body of the hat we’ll join and turn the rounds so that we work on both sides.
Finished Dimensions
Hat measures 9” / 23 cm tall, hat width is 8.5” / 22 cm at ribbing, 9.5” / 24 cm at body. Hat stretches to fit a variety head sizes, 19” / 48 cm-22” / 56 cm.
Fit/Adjustment
This hat pattern is for one, adult size hat. To adjust it to fit a smaller/larger head size, you can adjust how long your ribbing is to start.
This chunky yarn has quite a bit of stretchy, the ribbing ease is 3″-4″ so you’ll want to crochet your ribbing 3″-4″ smaller than the head size you’re fitting.
To Fit Head Size
Baby Size: 14 – 16″ head circumference, suggest 10″ – 12″ of ribbing.
Toddler: 16″ – 18″ head circumference, suggest 12″ – 14″ of ribbing.
Child : 18″ – 20″ head circumference, suggest 14″ – 16″ of ribbing.
Adult Size (this pattern): 21 – 24″ head circumference, suggest 17″ – 20″ of ribbing.
Once you have your ribbing adjustments, you will work stitches around the top of it. Keep an stitch count that’s a multiple of 4. I’ve included hat height suggestions in the pattern for the slouchy fit.
Download the Hat Sizing Chart
Get this handy dandy chart so you can crochet perfectly fitting hats!
Purchase the ad-free, well formatted printable PDF Pattern from my shop. Scroll down for the free pattern!
Scroll down for the chunky beanie crochet pattern!
Pattern Instructions
Ana Hat a Chunky Crochet Hat Pattern
The Ana Hat crochet pattern brings the texture in a chunky weight yarn.
Materials
- 127yds/116m (3.5oz/100g) #5 bulky weight yarn, pictured in Lion’s Pride Woolspun plum (discontinued); Color Made Easy is a suitable substitute.
Tools
- 7mm hook or hook needed to meet gauge
- yarn needle
- scissors
- measuring tape
Instructions
Ribbing
- Row 1. Blo sc in 2nd ch and in each ch across, turn. (5 sts)
- Repeat row 1 for 44 rows, or ribbing measures 17” long.
Fold ribbing in half, sl st short ends together to form a circle.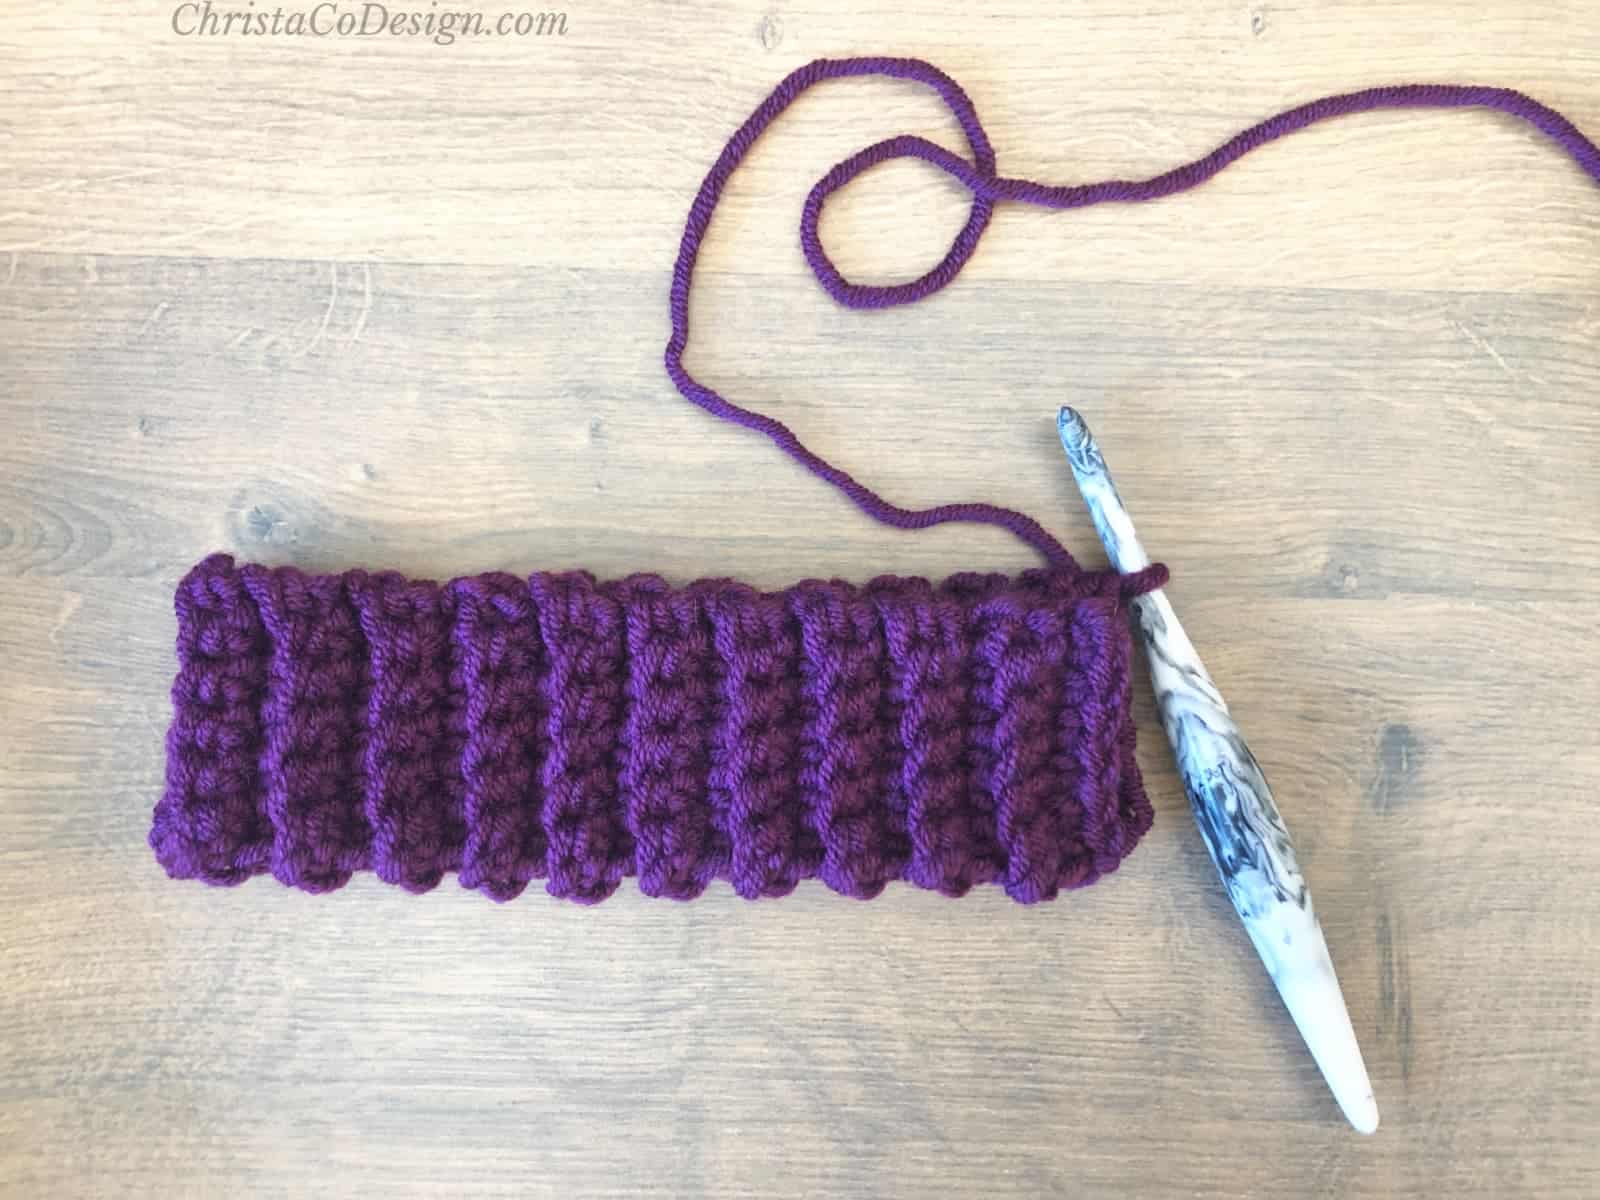
Continue along top of ribbing for hat body, work 1 st per row for rnd 1.
Ch 6,
Hat Body
- Rnd 1. (RS) Ch 3, ehdc in next st and in each st around, join with a sl st, turn. (44 sts)
- Rnd 2. Rep Rnd 1.
- Rnd 3. Rep Rnd 1
Rnd 4. (WS) Ch 3, ehdc in next 2 sts, Ps in next st, *{ehdc in next 3 sts, Ps in next st} rep from * around, join with sl st, turn. (44 sts) 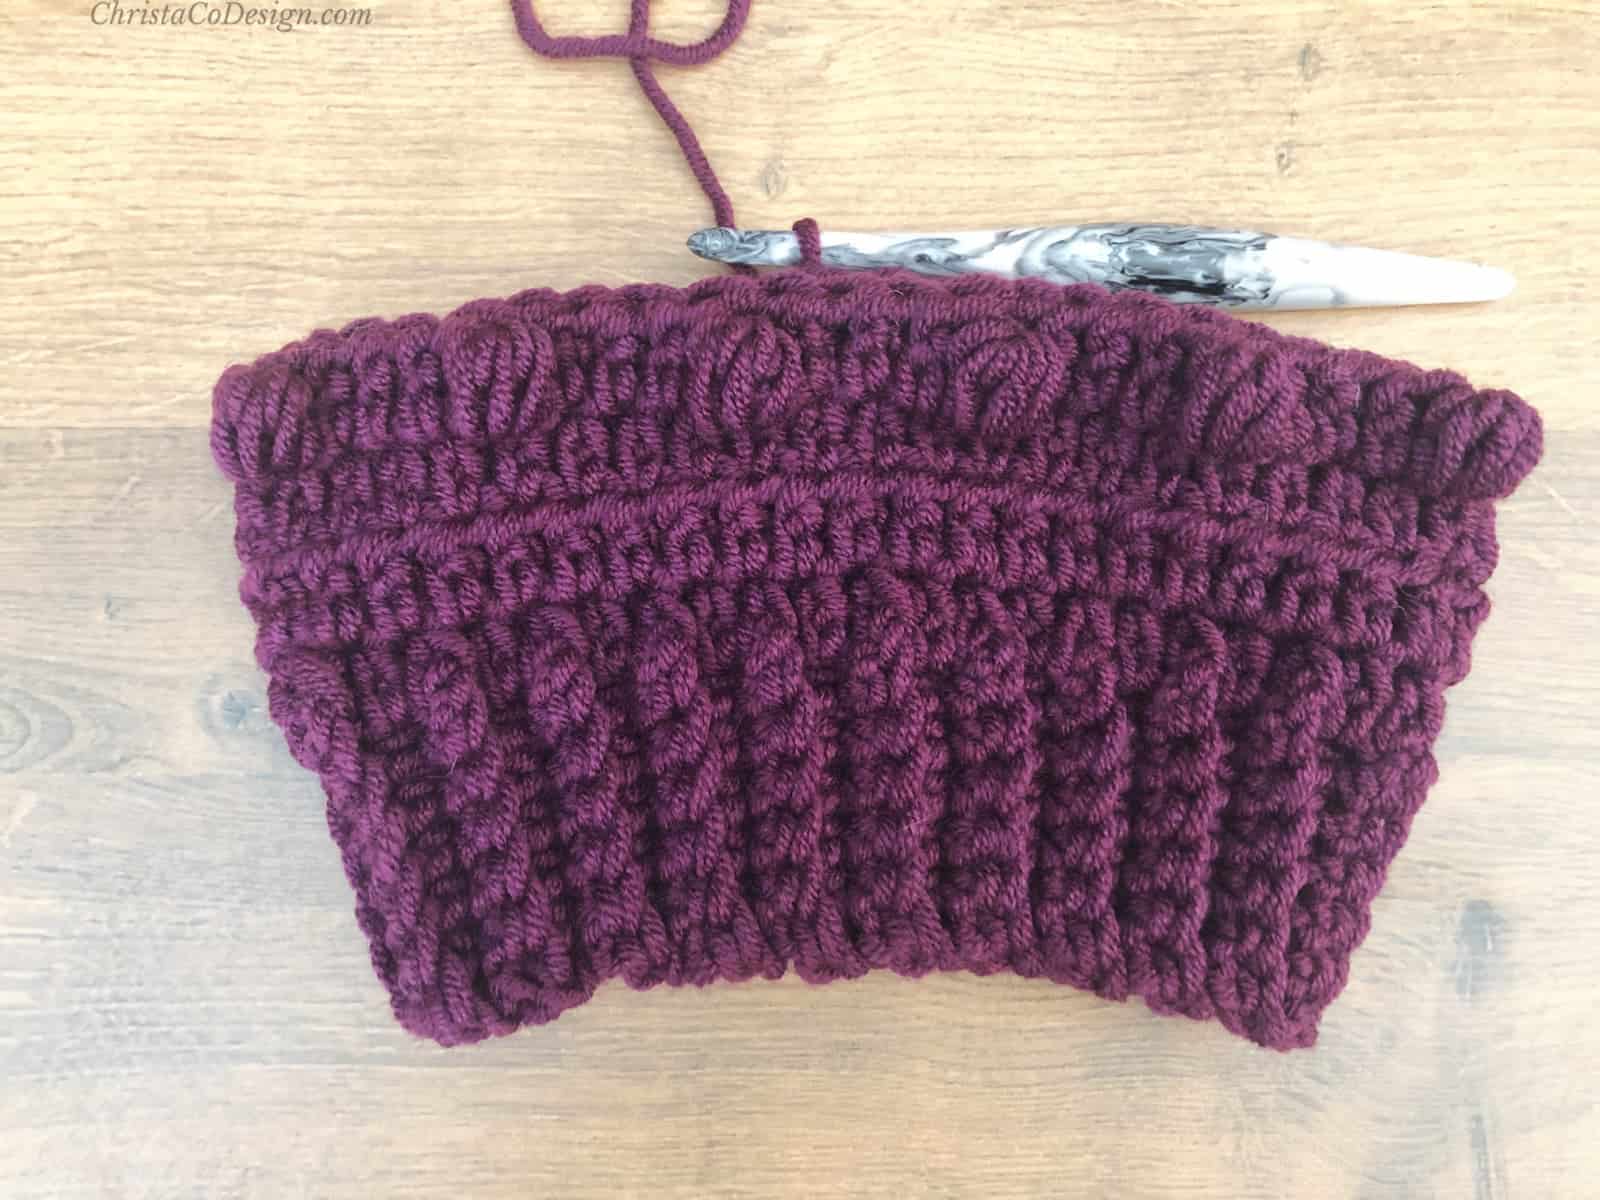
At this point the hat measures 5” tall.
For adult sizes Rep Rnds 1-4 one more time.
If you’re adjusting this hat for a smaller size the decrease rounds add almost 3.”
For baby sizes, skip to the Decrease section.
For toddler/child sizes, Rep Rnds 3-4 and then skip to the Decrease section.
*These suggestions are for a slouchy fit.
Decrease
- Rnd 1. Ch 3, ehdc in next st, ehdc2tog, *{ehdc in next 2 sts, ehdc2tog} rep from * around, join with sl st, turn. (33 sts)
- Rnd 2. Ch 3, ehdc2tog, *{ehdc in next st, ehdc2tog} rep from * around, sl st to join, turn. (22 sts)
- Rnd 3. Ch 3, ehdc2tog in each st around, sl st to join, turn. (11 sts)
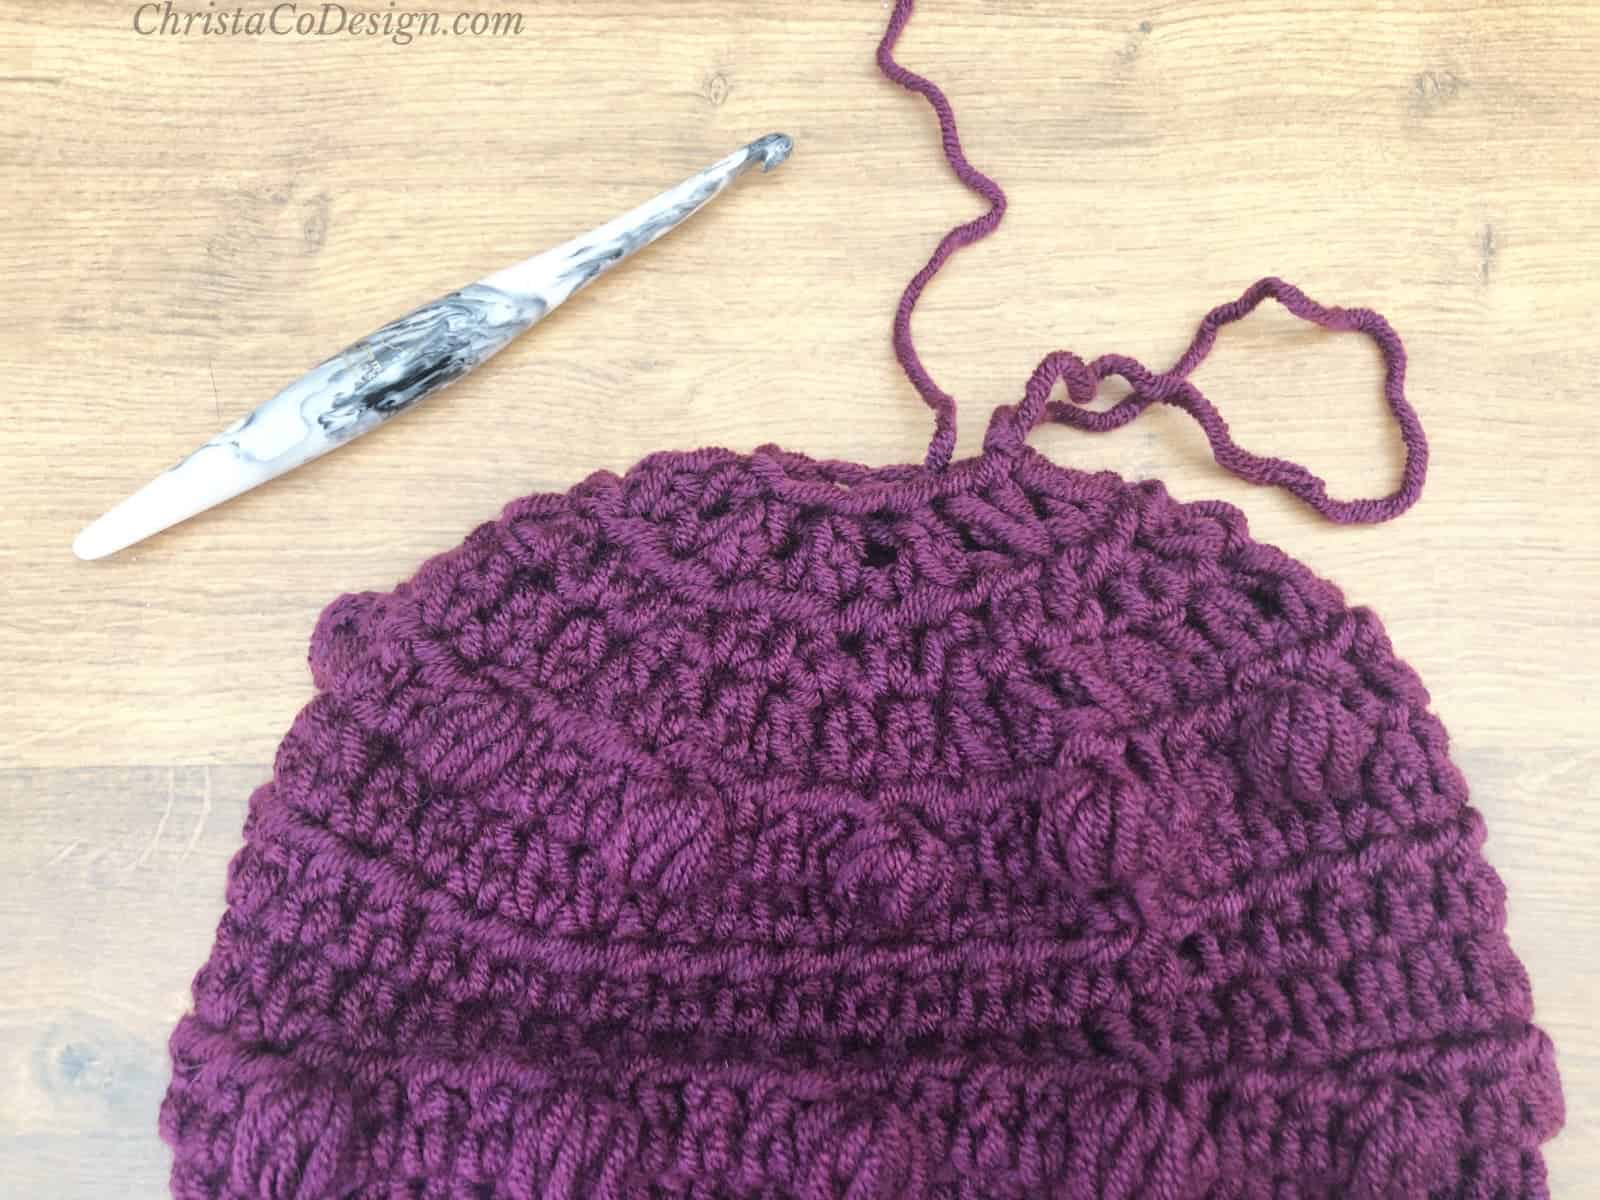
Finishing
- After the last row, cut yarn and leave a long tail.
- Sew closed hole.
- Optionally to the top of the beanie you can add a faux fur pom pom, or make your own with a pom pom maker.
- Weave in ends.
Recommended Products
As an Amazon Associate and member of other affiliate programs, I earn from qualifying purchases.