Alpine Stitch Crochet Tutorial
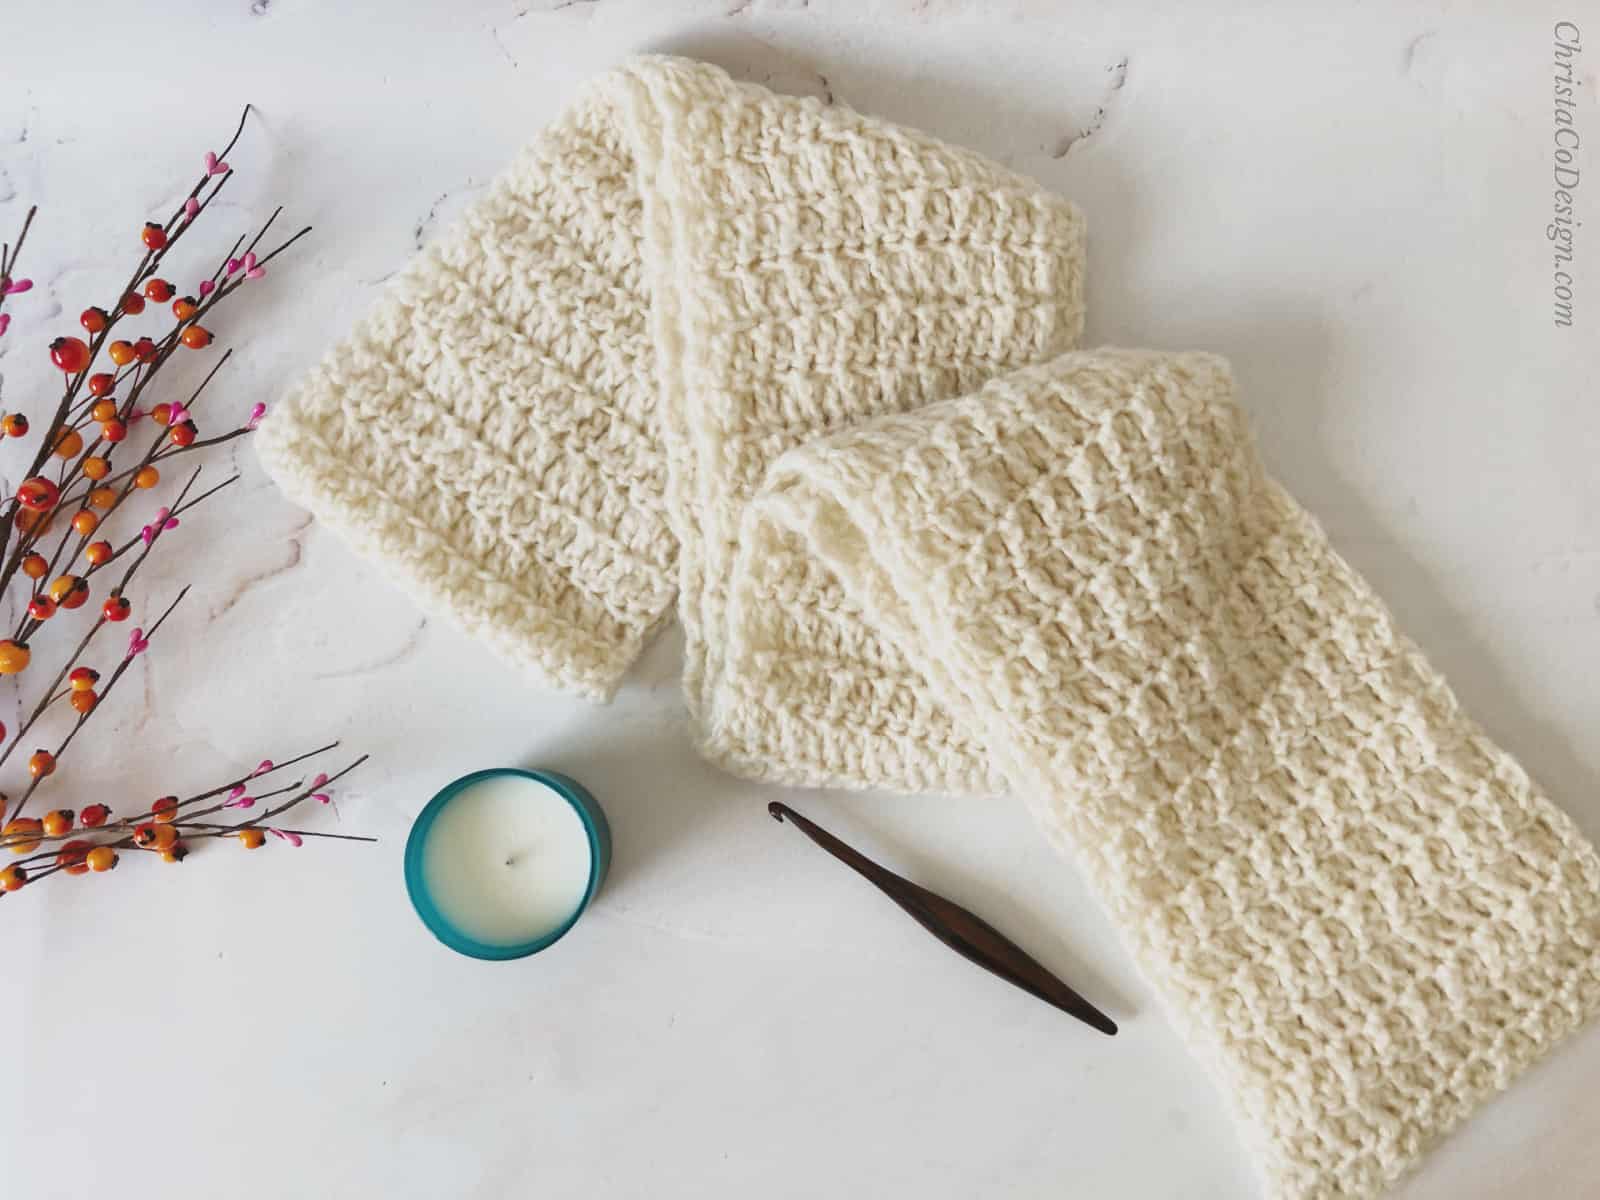
Learn how to crochet the Alpine Stitch. This eye catching crochet stitch creates a highly textured fabric that’s perfect for hats, scarves, blankets and more.

This post contains affiliate links, I may earn a fee. Read more disclosure policy.
Join the ChristaCoDesign Newsletter
Never miss a pattern!
The step by step tutorial shows you how to crochet the Alpine Stitch. There are photos for each step of the process. Read more about this stitch and yarn, or scroll down for the tutorial.
About the Yarn Used
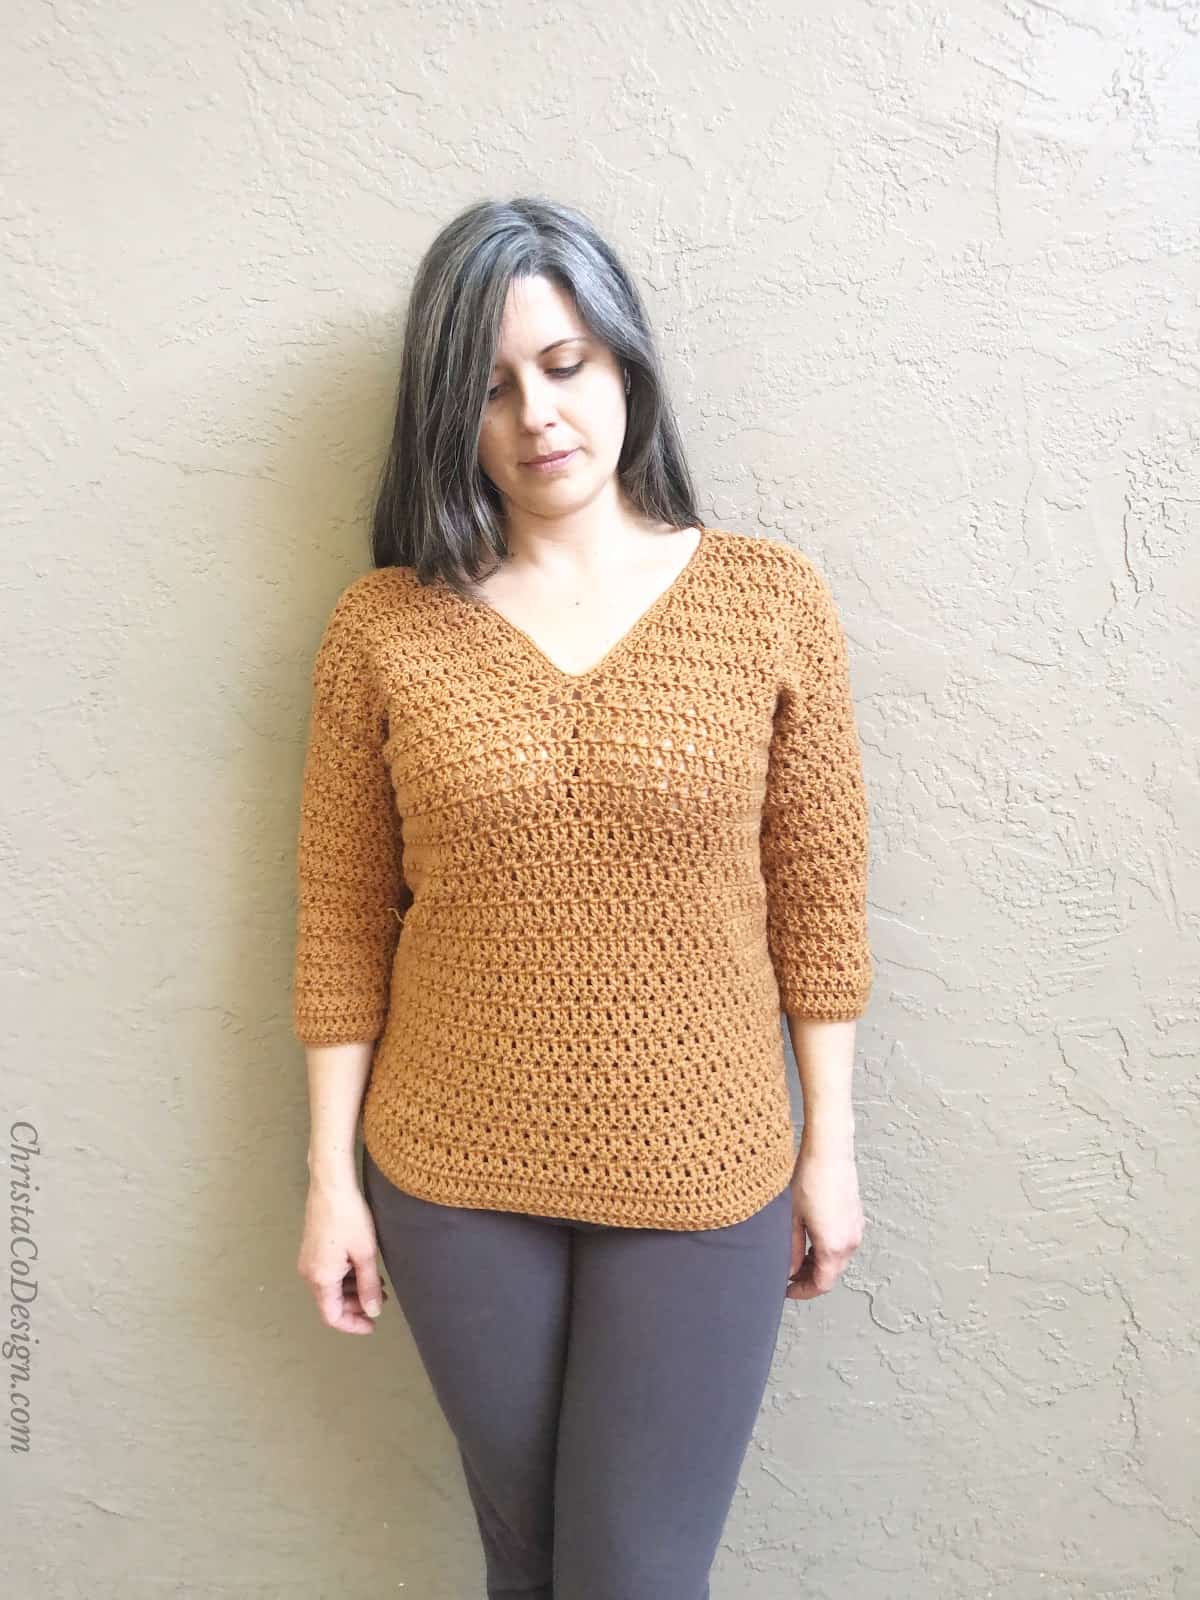
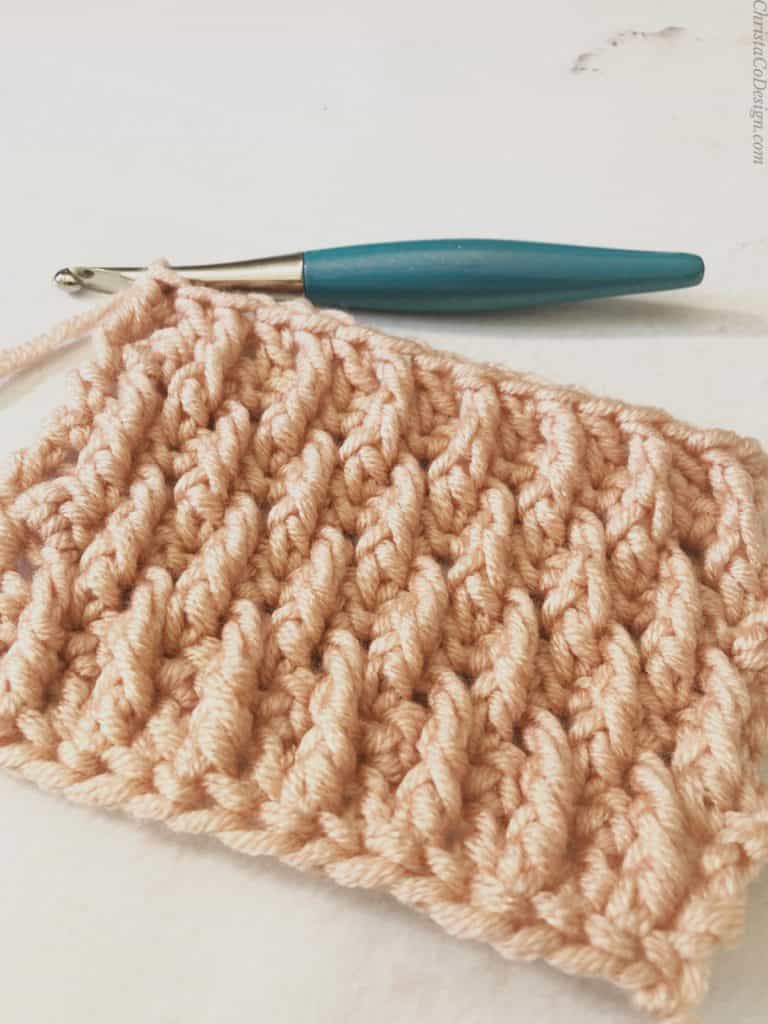
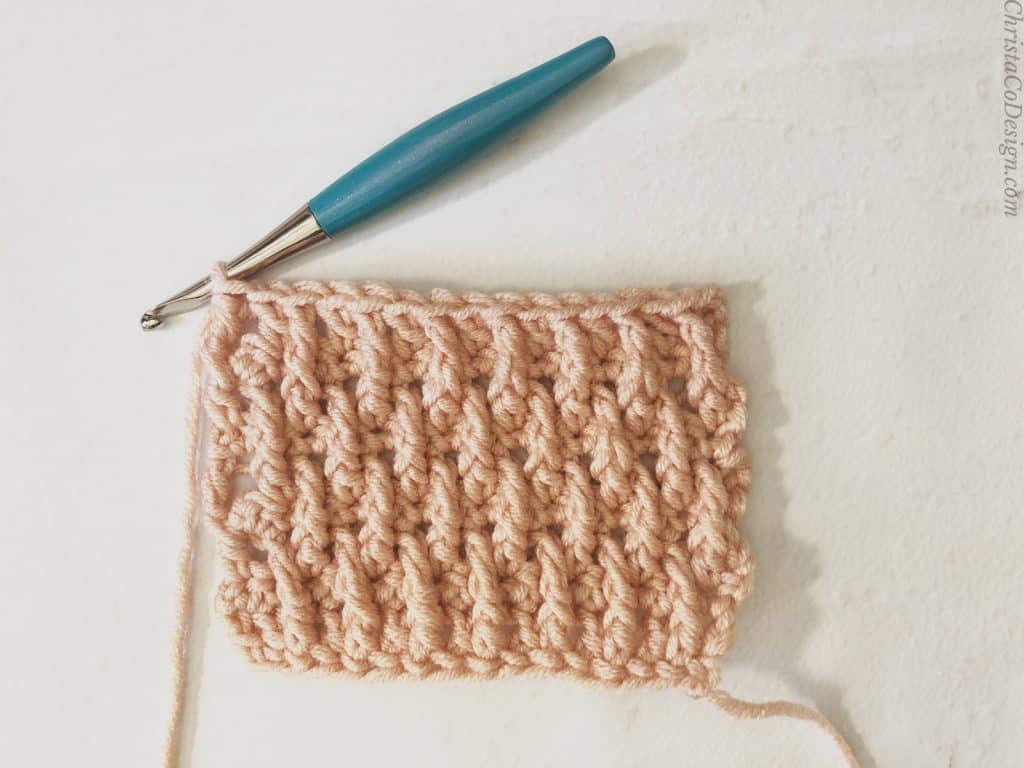
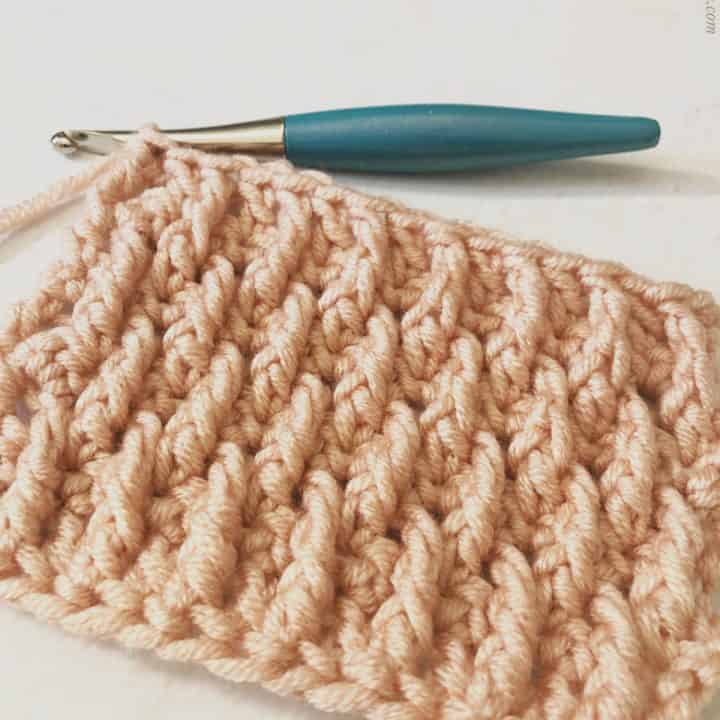
For this Alpine Stitch tutorial I’m using a #5 bulky weight yarn. This stitch crochets up beautifully in a variety of yarns. I’ve also crocheted the alpine stitch in #4 medium weight yarn with gorgeous results.
Post stitches, like the one used in the Alpine Stitch can be yarn eaters. Even when crocheting a taller stitch, like the front post treble stitch used here, you lose some height going around the post of the stitch.
On the other hand, one benefit to this yarn hungry Alpine Stitch is that you can crochet up a warm and cozy project!
About the Alpine Stitch
The Alpine Stitch is composed of 4 repeat rows. Two of those rows are simple single crochets. The other two rows are front post double crochets and regular dc stitches, alternating across the row.
For this Alpine Stitch Tutorial I’ve used the front post treble crochet. The Alpine Stitch can also be crocheted with front post double crochet. The choice is really yours, or your pattern’s.
Since you are skipping the single crochet rows and working into the previous row (of dcs), it makes sense to me to use the treble stitch. It’s a bit taller stitch so the work lays nice and flat.
However, I think using the front post double crochet would give you an even cozier project. As long as your tension isn’t too tight. If you work is curling on you, that’s a clue that your tension may be too tight.
To remedy that curling, you can try the front post treble crochet instead of the front post double crochet. Or you can go up a hook size, giving you a larger, looser stitch.
Again, for this tutorial I used the front post treble crochet. To use the front post double crochet, the Alpine Stitch is made the same way, just with a different stitch.
Why I Love the Alpine Stitch
Well, for one, the texture is amazing! And this is the type of cozy crochet stitch I just want to wrap up in.
Another reason I like the Alpine Stitch is the single crochet rows. Breaking up the post stitch rows with rows of single crochet helps to control the stretching.
Front post stitches make great ribbing, because they stretch! This is wonderful if you’re making a hat brim or another item that you want to stretch. But we don’t always want so much stretch.
Adding the single crochet row to every other row, helps to control that stretch some. But you’re still getting the benefit of a little stretch and a lot of texture in the Alpine Stitch.
Yarn Hook Needles has a fabulous alpine stitch blanket pattern that’s a free pattern. I could just make all the cozy baby blankets in this stitch.
What To Be Aware Of With The Alpine Stitch
In it’s standard form the Alpine Stitch edges aren’t great. There are turning chains, that you don’t work into. The post stitch goes in the last stitch at the end of row. This creates larger gaps on the edges.
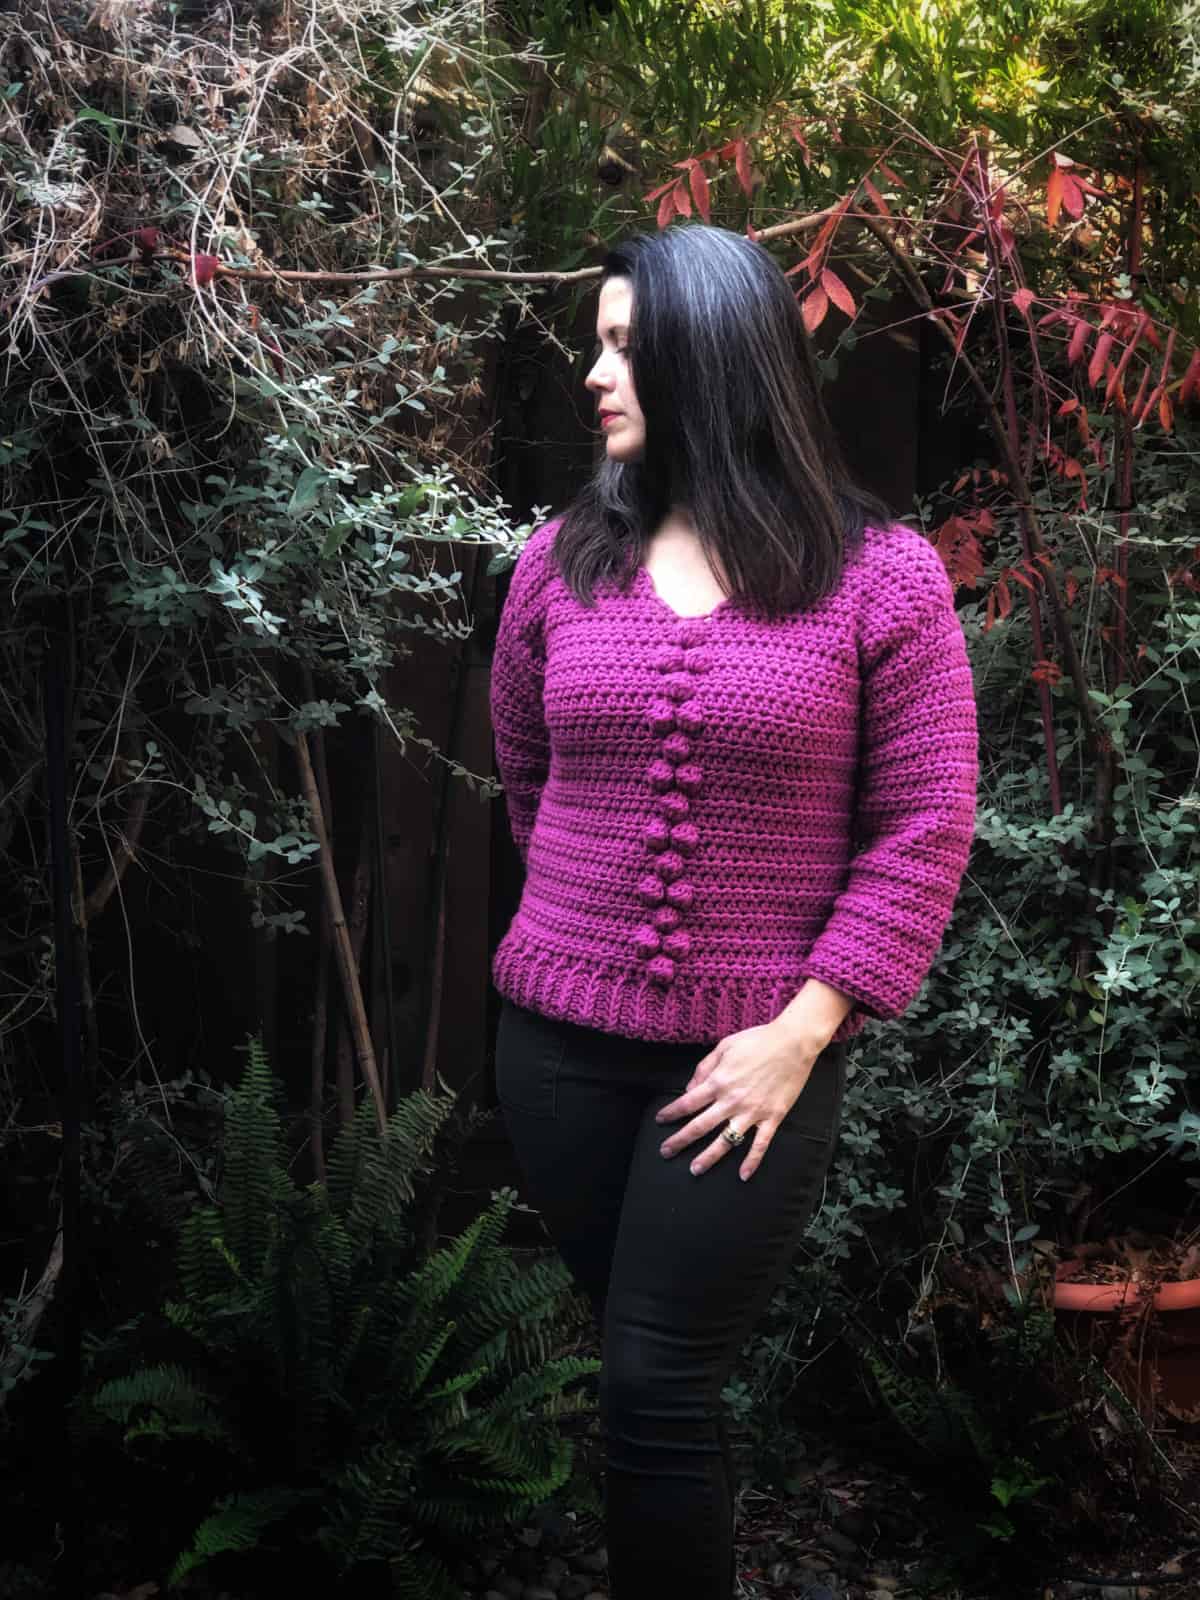
When I designed the Matteo Set: Hat, Fingerless Gloves, and Scarf I used front post and back post double crochet stitches. I made sure to end on a regular double crochet for all the edges.
My crochet designer friend, Tasha at Stardust Gold Crochet, noticed the same thing about this beautiful Alpine Stitch. She created a tutorial for the version called the Raised Ripple Stitch that fixes those edges.

Materials
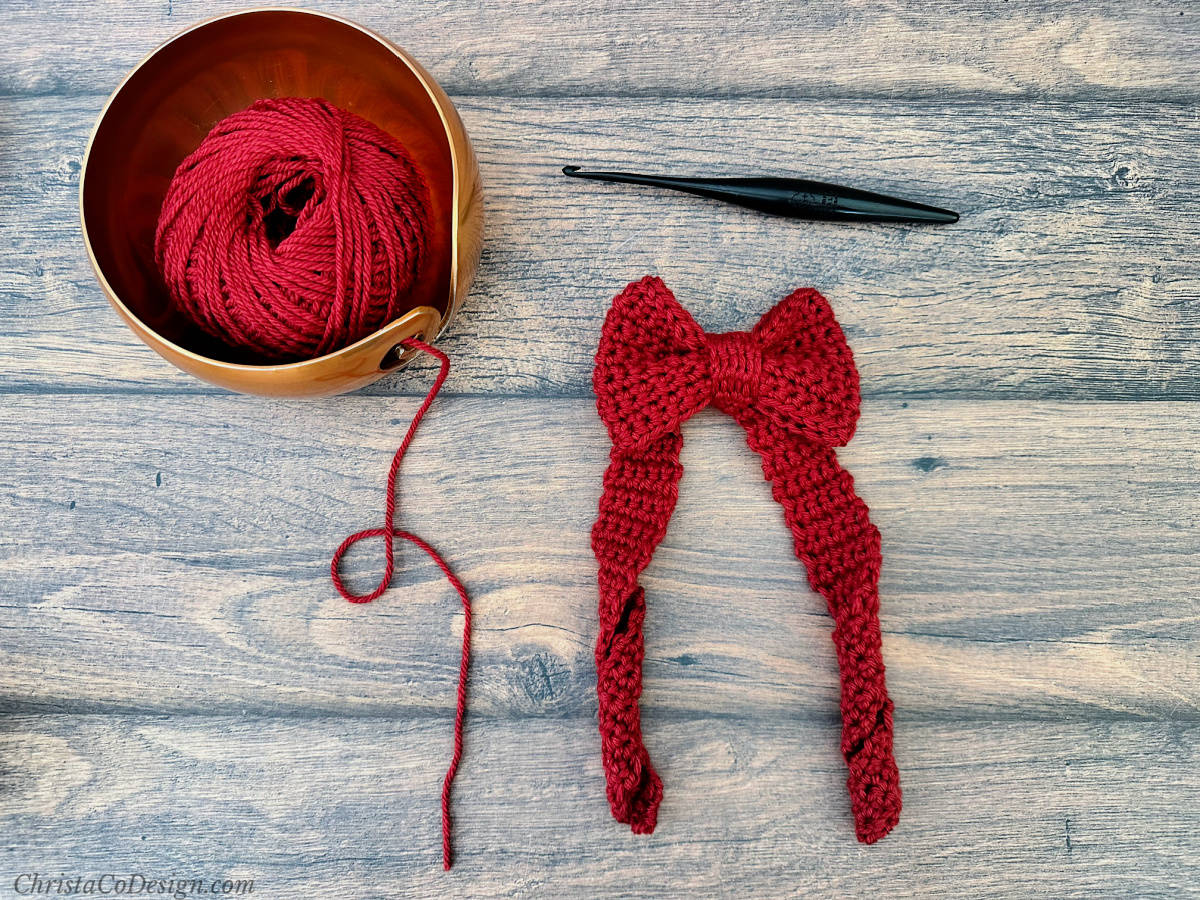
- any weight yarn, for this sample swatch I’m using Lion Brand’s Color Made Easy in Millenial pink
- compatible crochet hook for your yarn, I’m using my ergonomic 6.5mm Furls* Odyssey in turquoise.
Notes
- The turning chain at the beginning of each row do not count as a stitch: Ch 1, Ch 2, and Ch 3 depending on the stitch you’re starting with do not count.
- Stitch multiple is an odd number.
Stitches/Abbreviations (US Terms)
Click on the links for the individual crochet stitch tutorials.
ch(s) – chain(s)
dc – double crochet
fdc – foundation double crochet
FPtr – front post treble crochet
rep – repeat
sk – skip the indicated stitch
st(s) – stitch(es)
Level
intermediate
Construction
I think the trickiest part of the Alpine Stitch is that once you get to the front post rows, you’re crocheting in both the row below the one you’re on and the row you’re on. So you’re going up and down. Once you get that figured it out, it helps.
Another thing to look out for is how the stitches do (or don’t line up). Since you’re alternating double crochets in the row you’re working and front post treble crochets in the row below, there will be skipped single crochet stitches in between the regular double crochets. This is due to the front post treble crochet going down to the row below.
Plus, our stitches lean so sometimes it can be difficult to pin point which one lines up with the one below. All this sorts itself out once you get a full repeat going. Like most crochet stitches, it gets easier as you go!
The Emilia Ear Warmer features the alpine stitch. It’s a quick pattern to use your new stitch on!
Alpine Stitch Video Tutorial
Watch the full step by step Alpine Stitch Pattern video tutorial on my YouTube.
Scroll Down For The Crochet Alpine Stitch Tutorial!
Alpine Stitch Crochet Tutorial
Learn how to crochet the Alpine Stitch.
Materials
- any weight yarn, pictured is Color Made Easy a #5 bulky weight yarn
Tools
- crochet hook compatible with your yarn, pictured is a 6.5mm ergonomic Furls Odyssey
Instructions
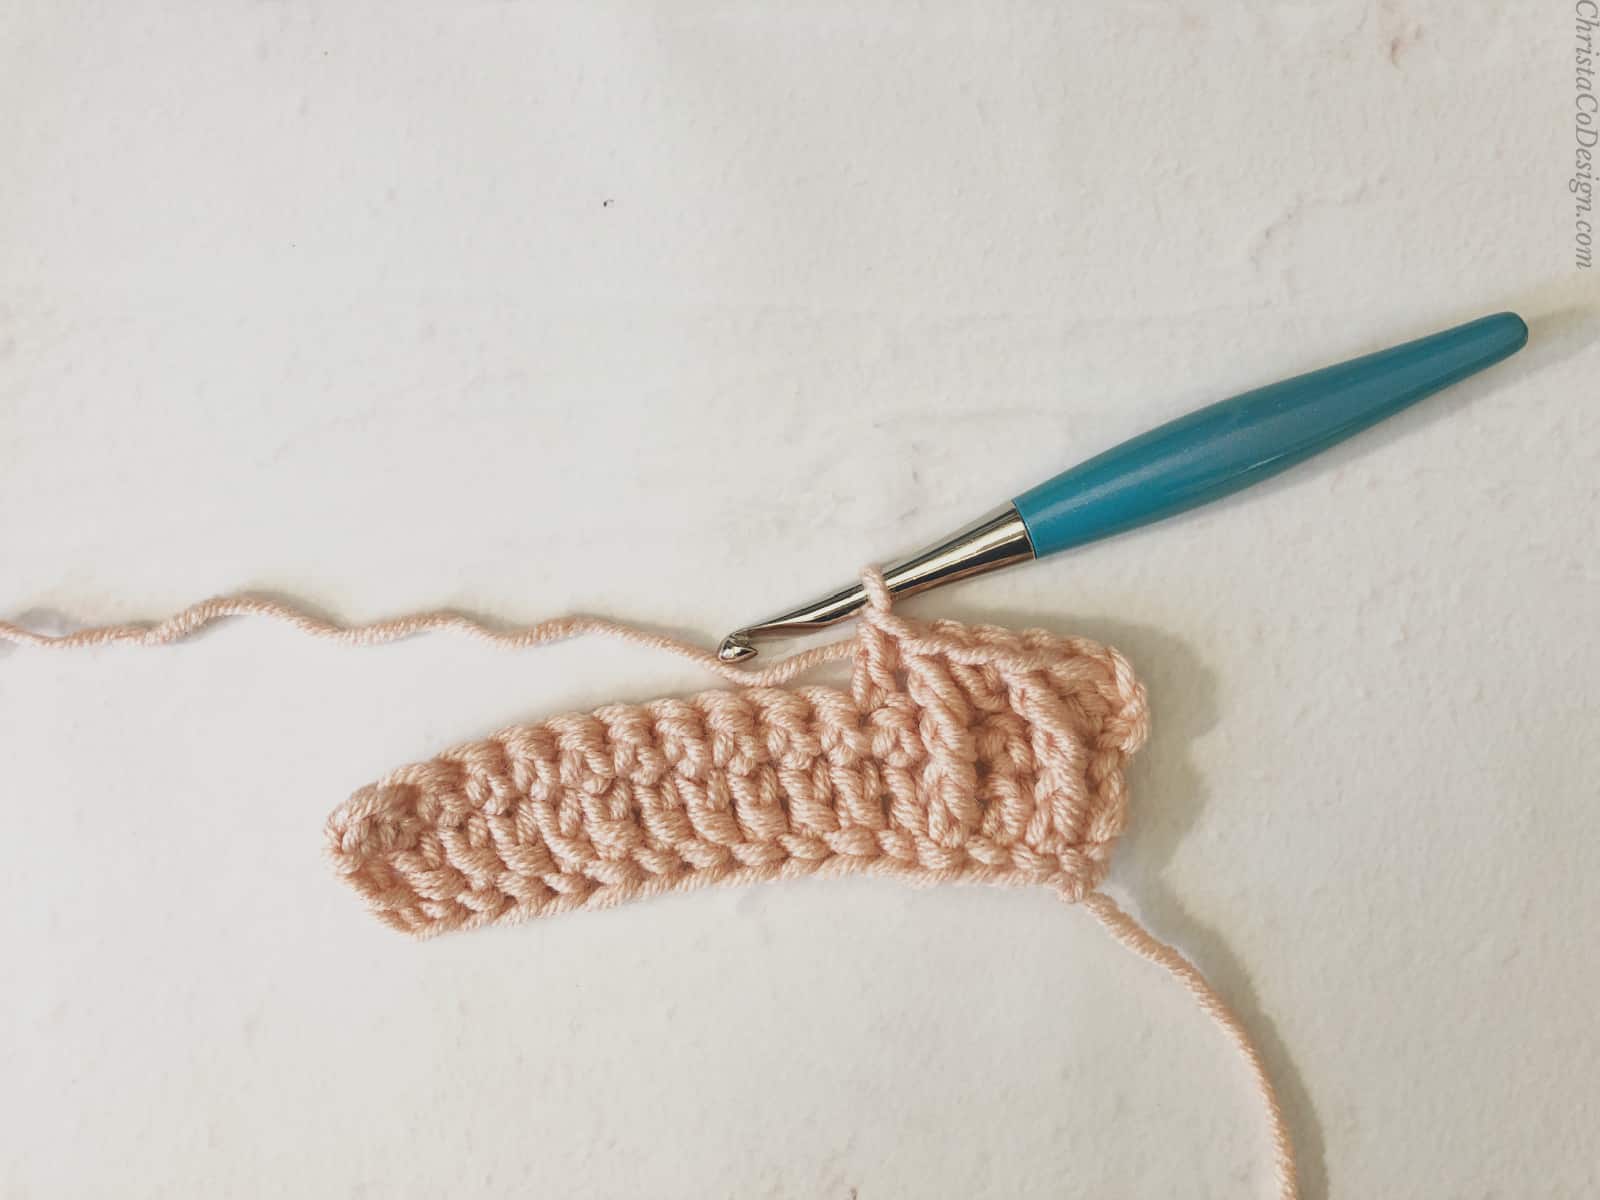
- Fdc 15 or ch 17, dc in 3rd chain from hook (skipped chs don't count) and in each ch to the end of the row, turn. (15 sts)
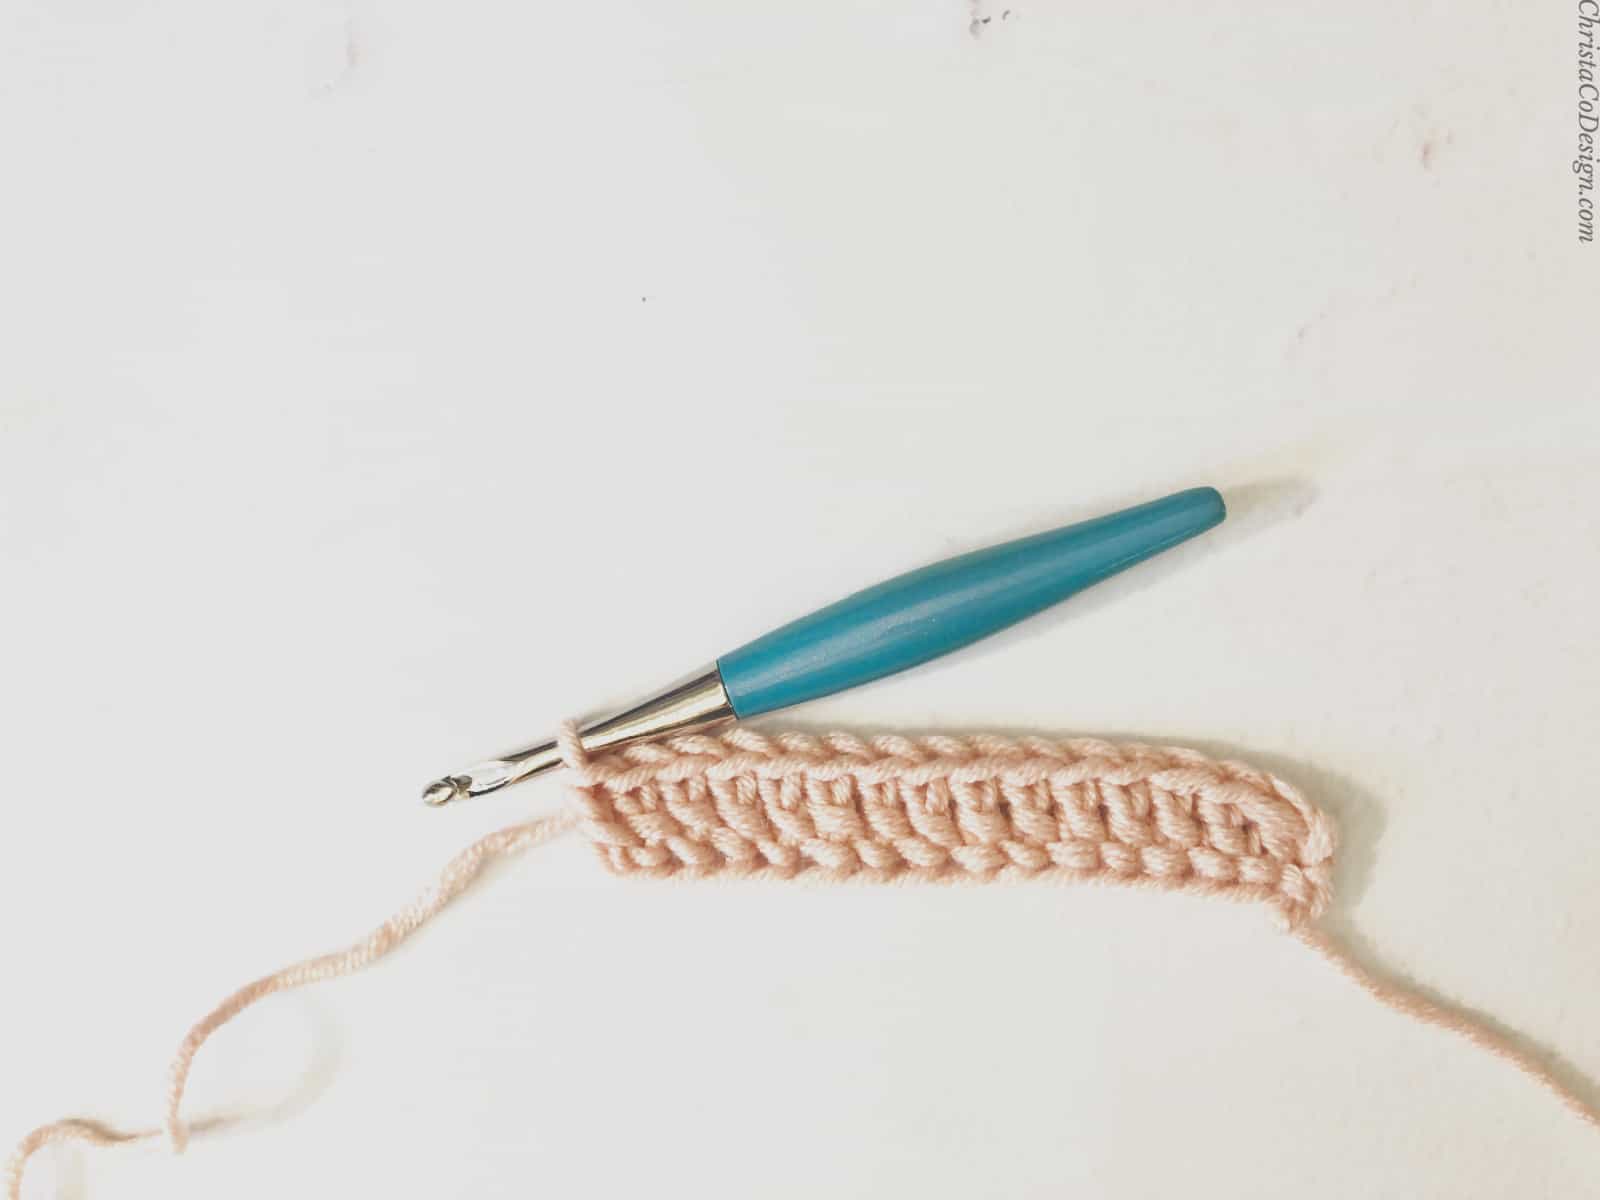 You can start with any odd number of chains.
 - Ch 1, sc in same st, sc in next stitch and each st across, turn. (15 sts)
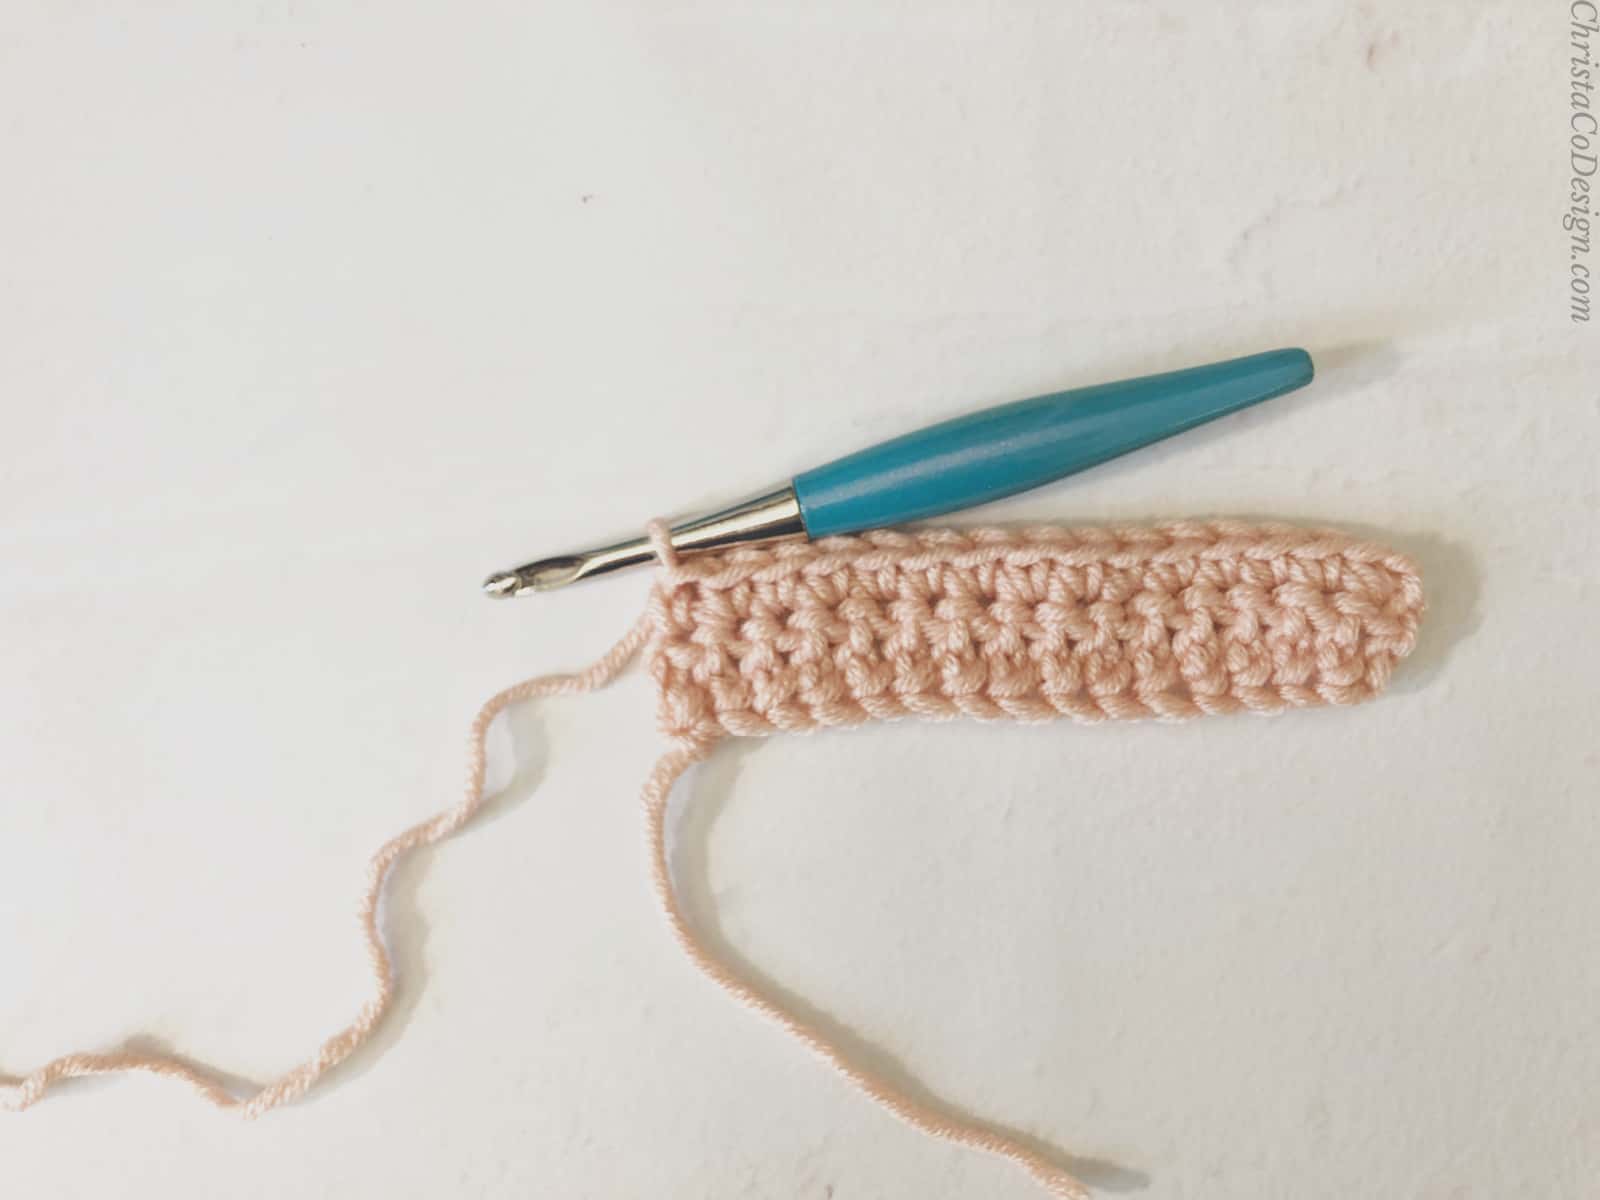
- Ch 2, dc in same st,
 *{FPtr in 2nd dc of row before,
 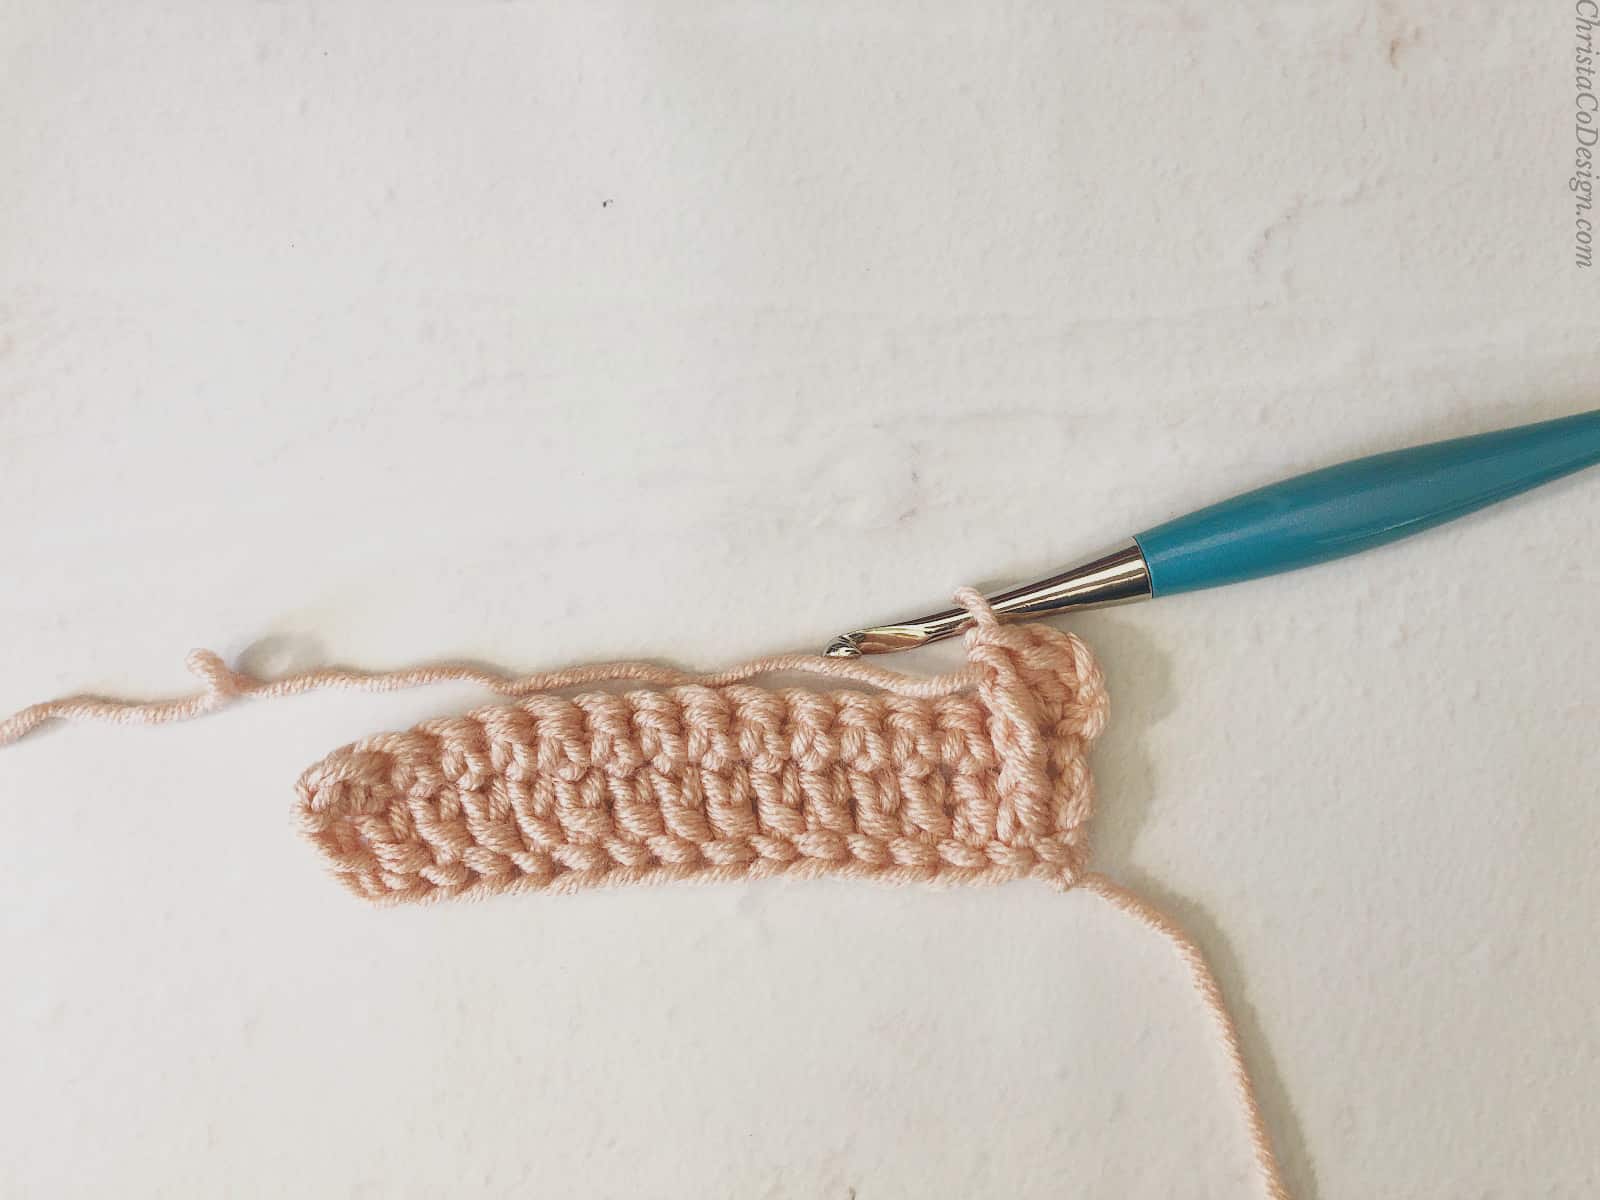 dc in next sc}
 rep from * across
  you will end with a dc in last st, turn.
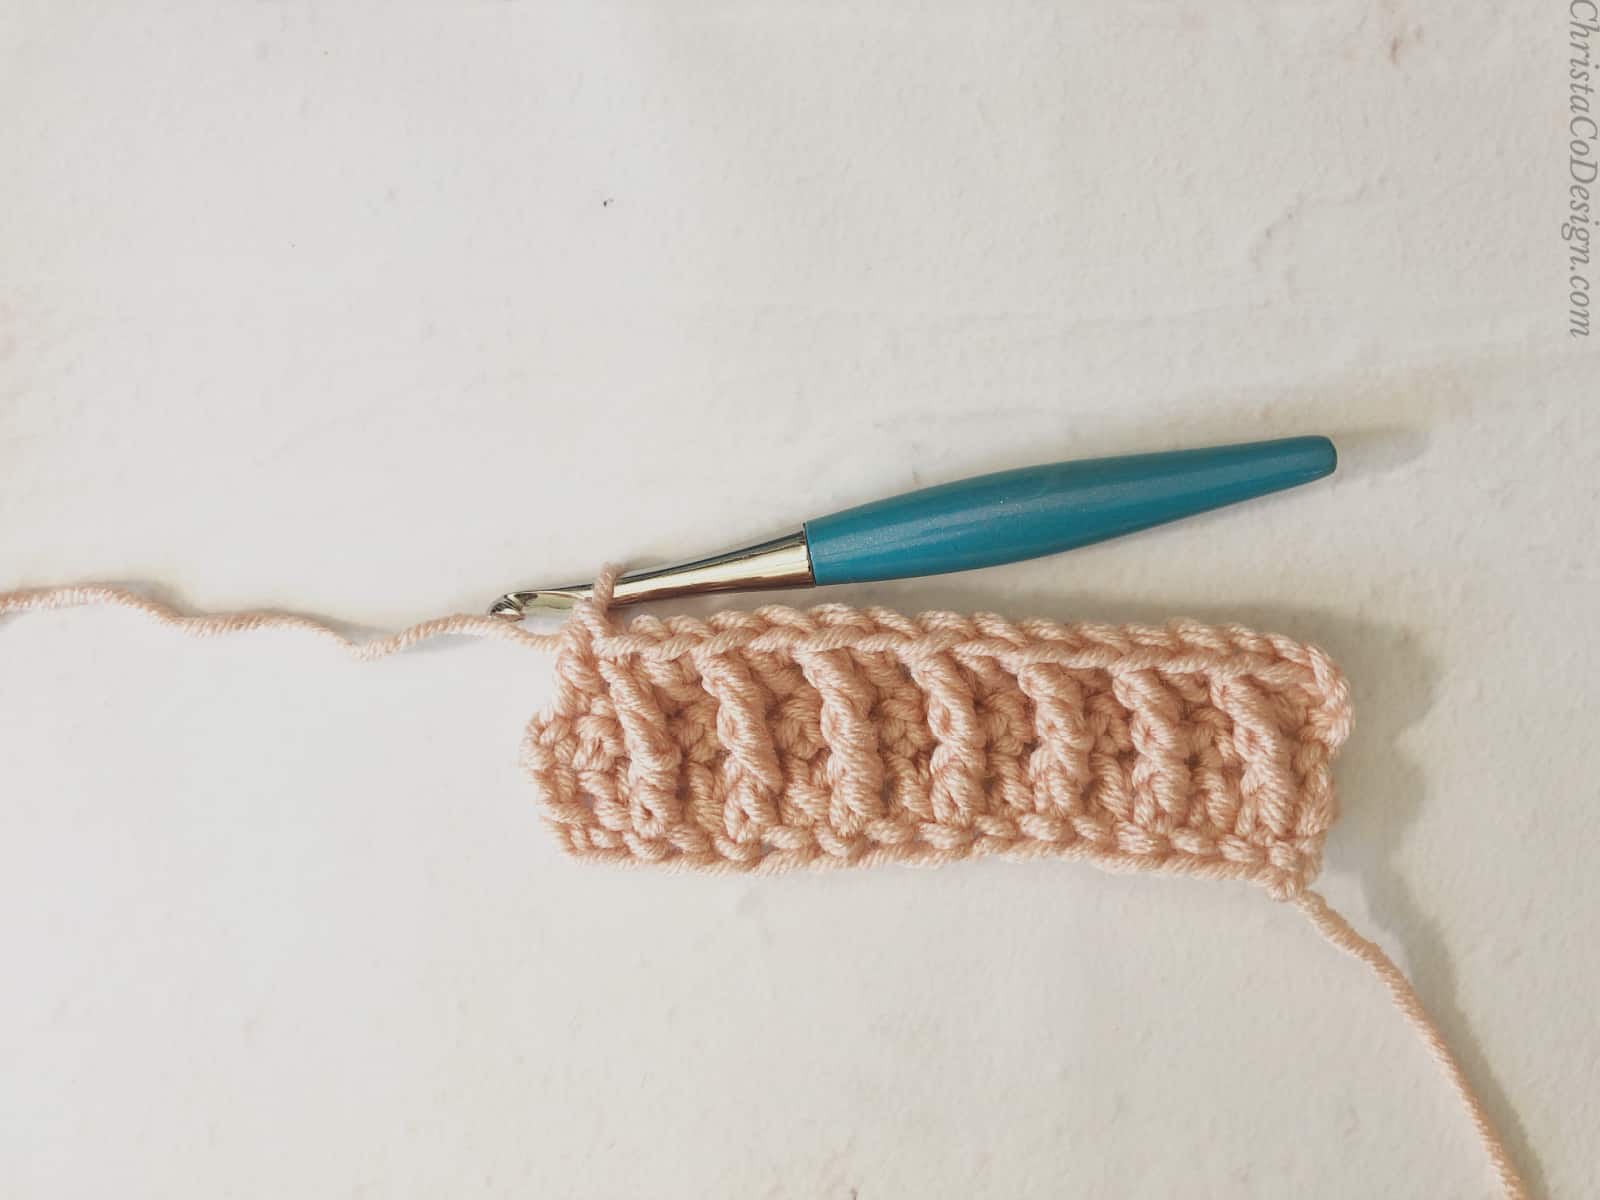
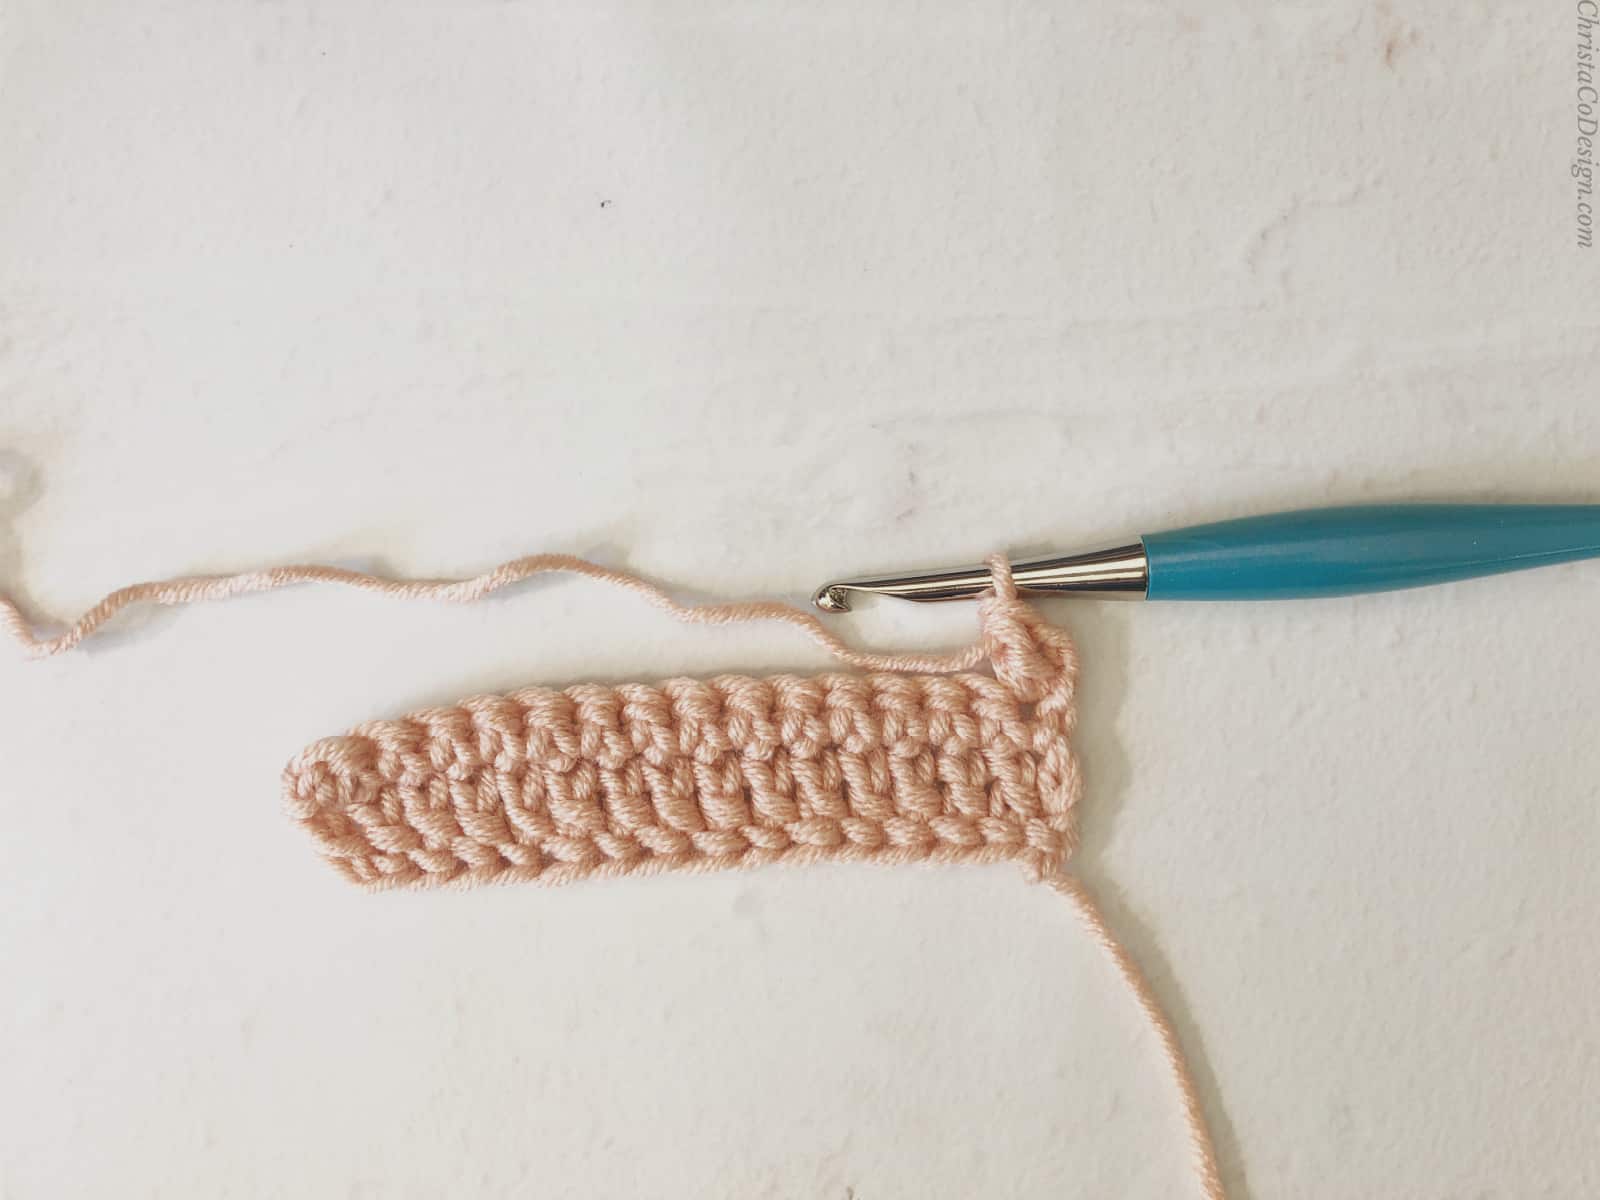
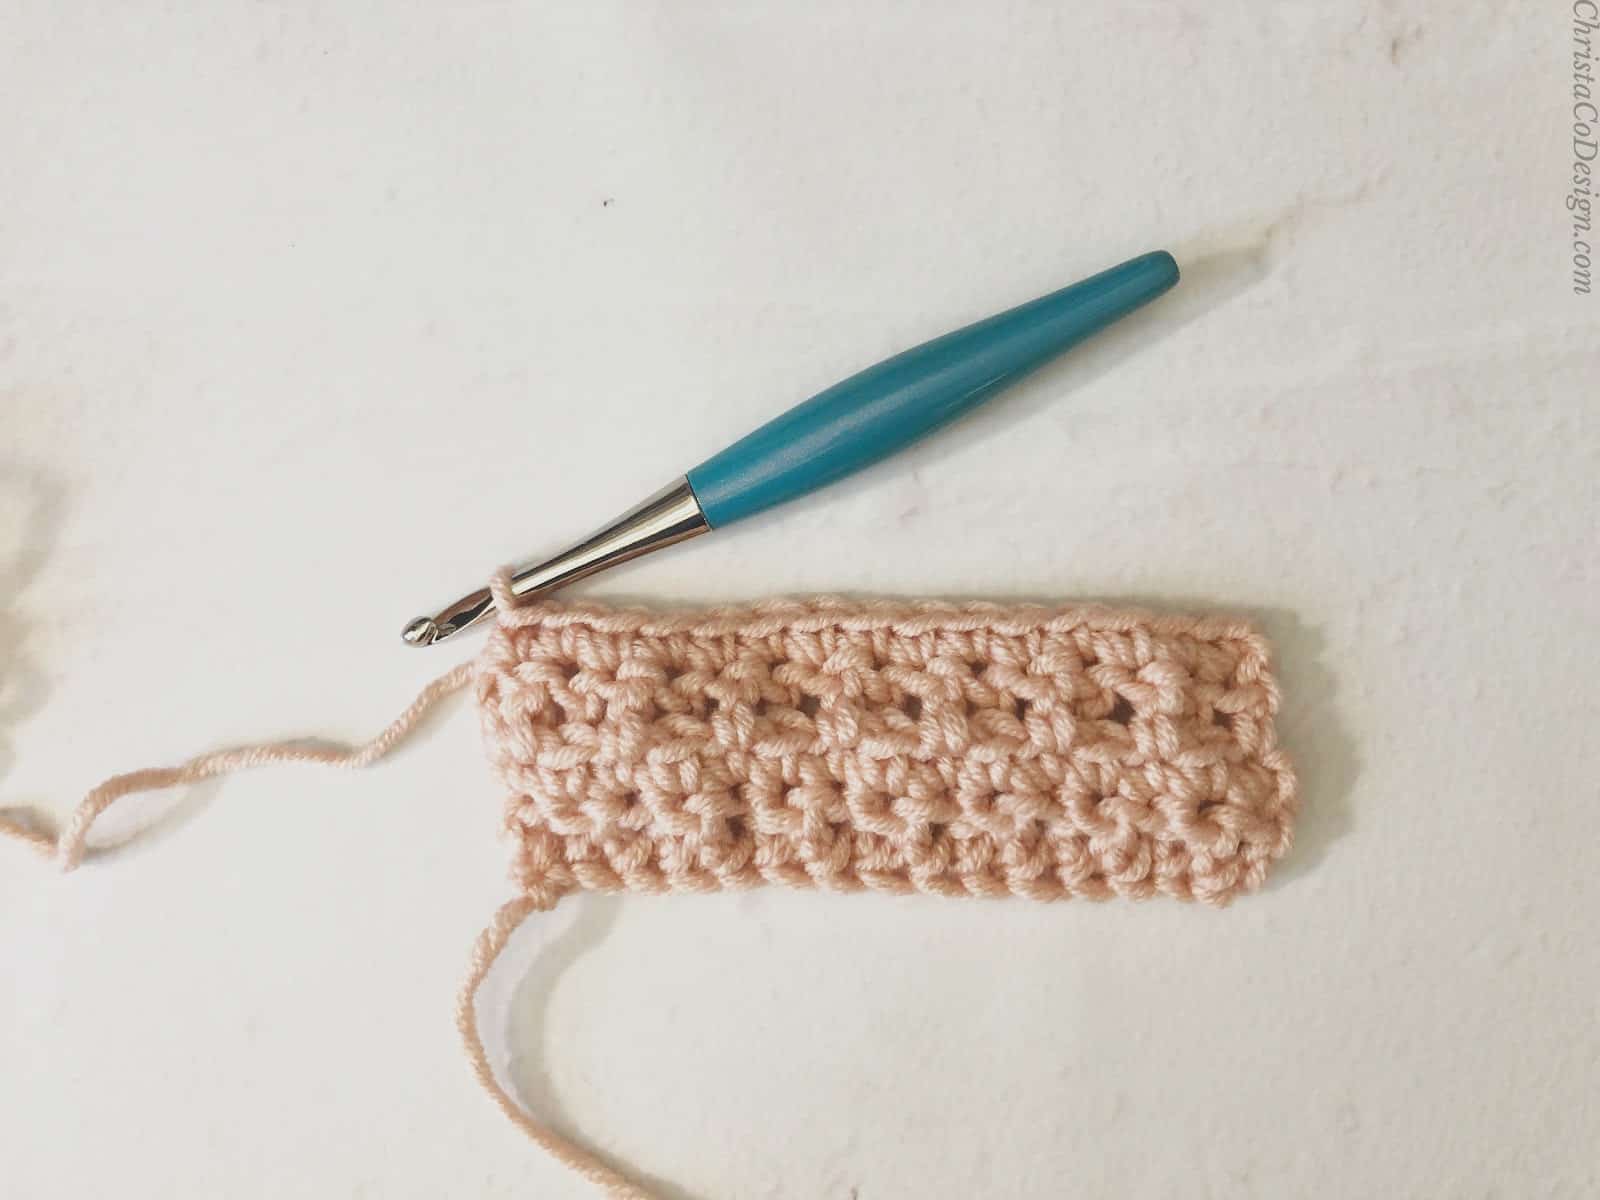
- Ch 1, sc in same st and each st across, turn. (15 sts)
- Ch 3, FPtr in first dc of row before,
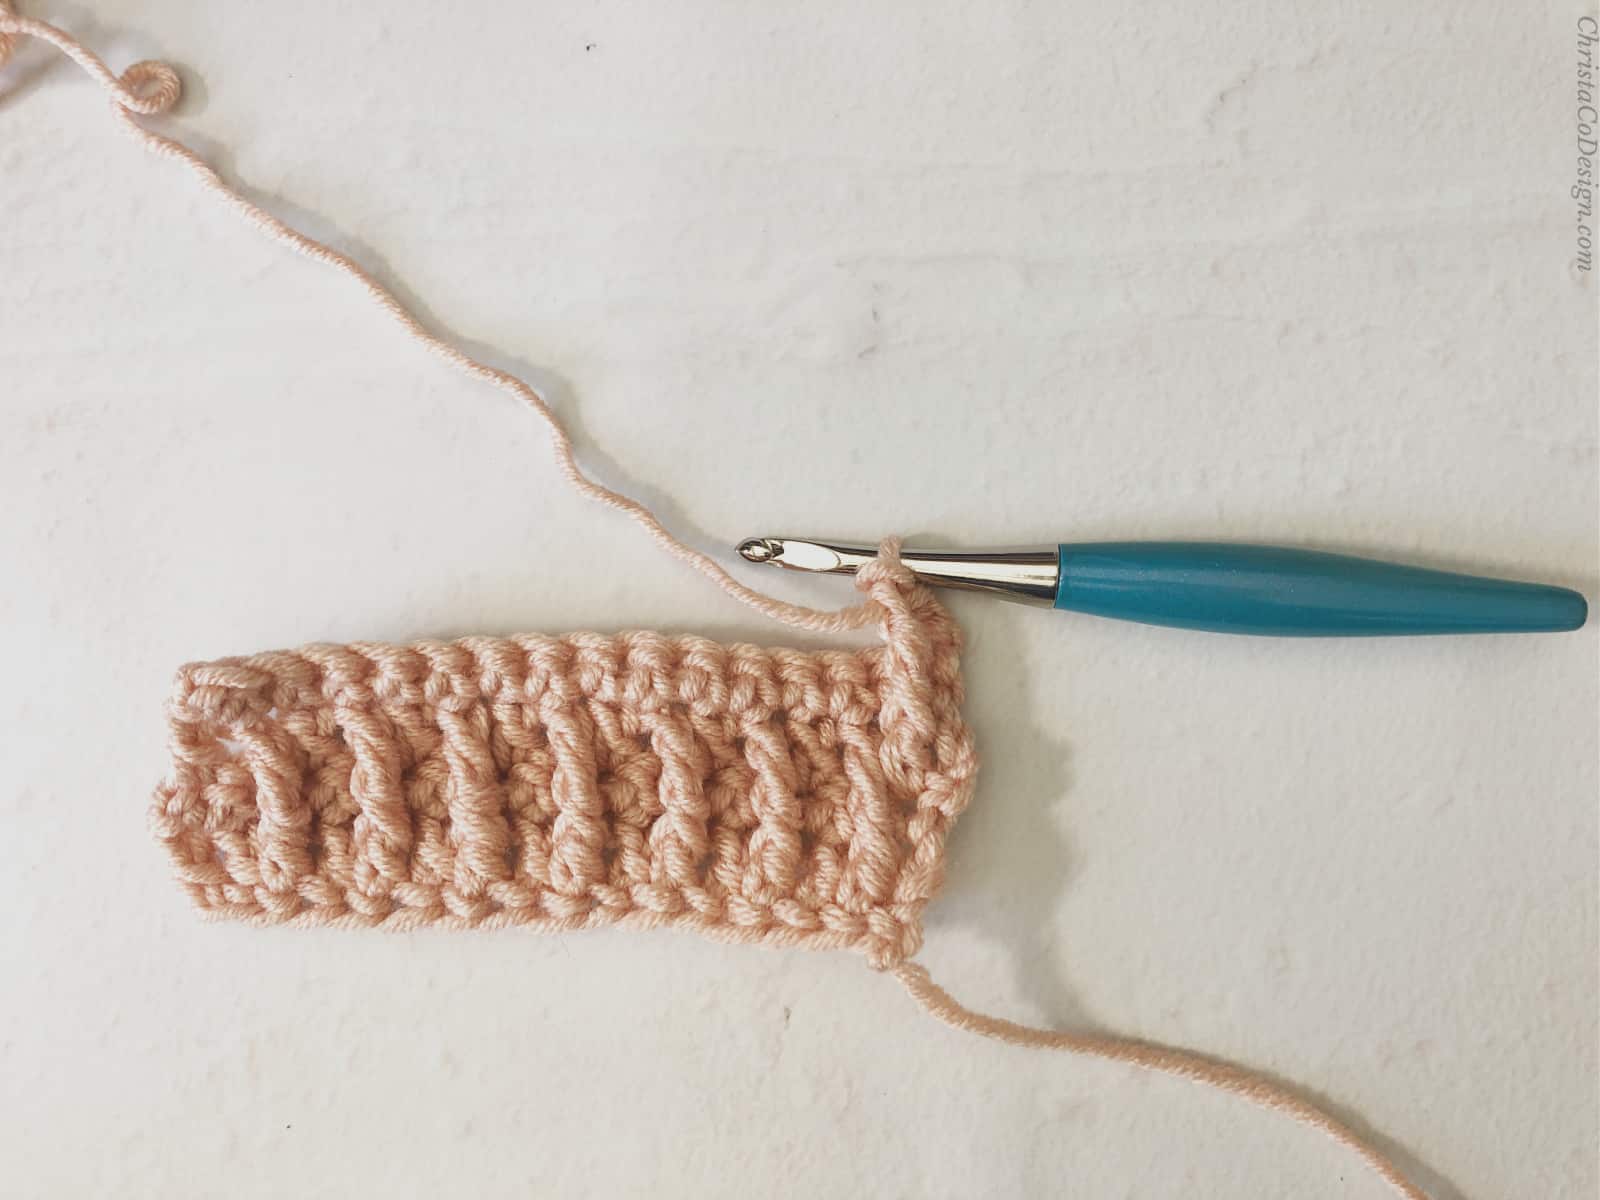 dc in next sc
 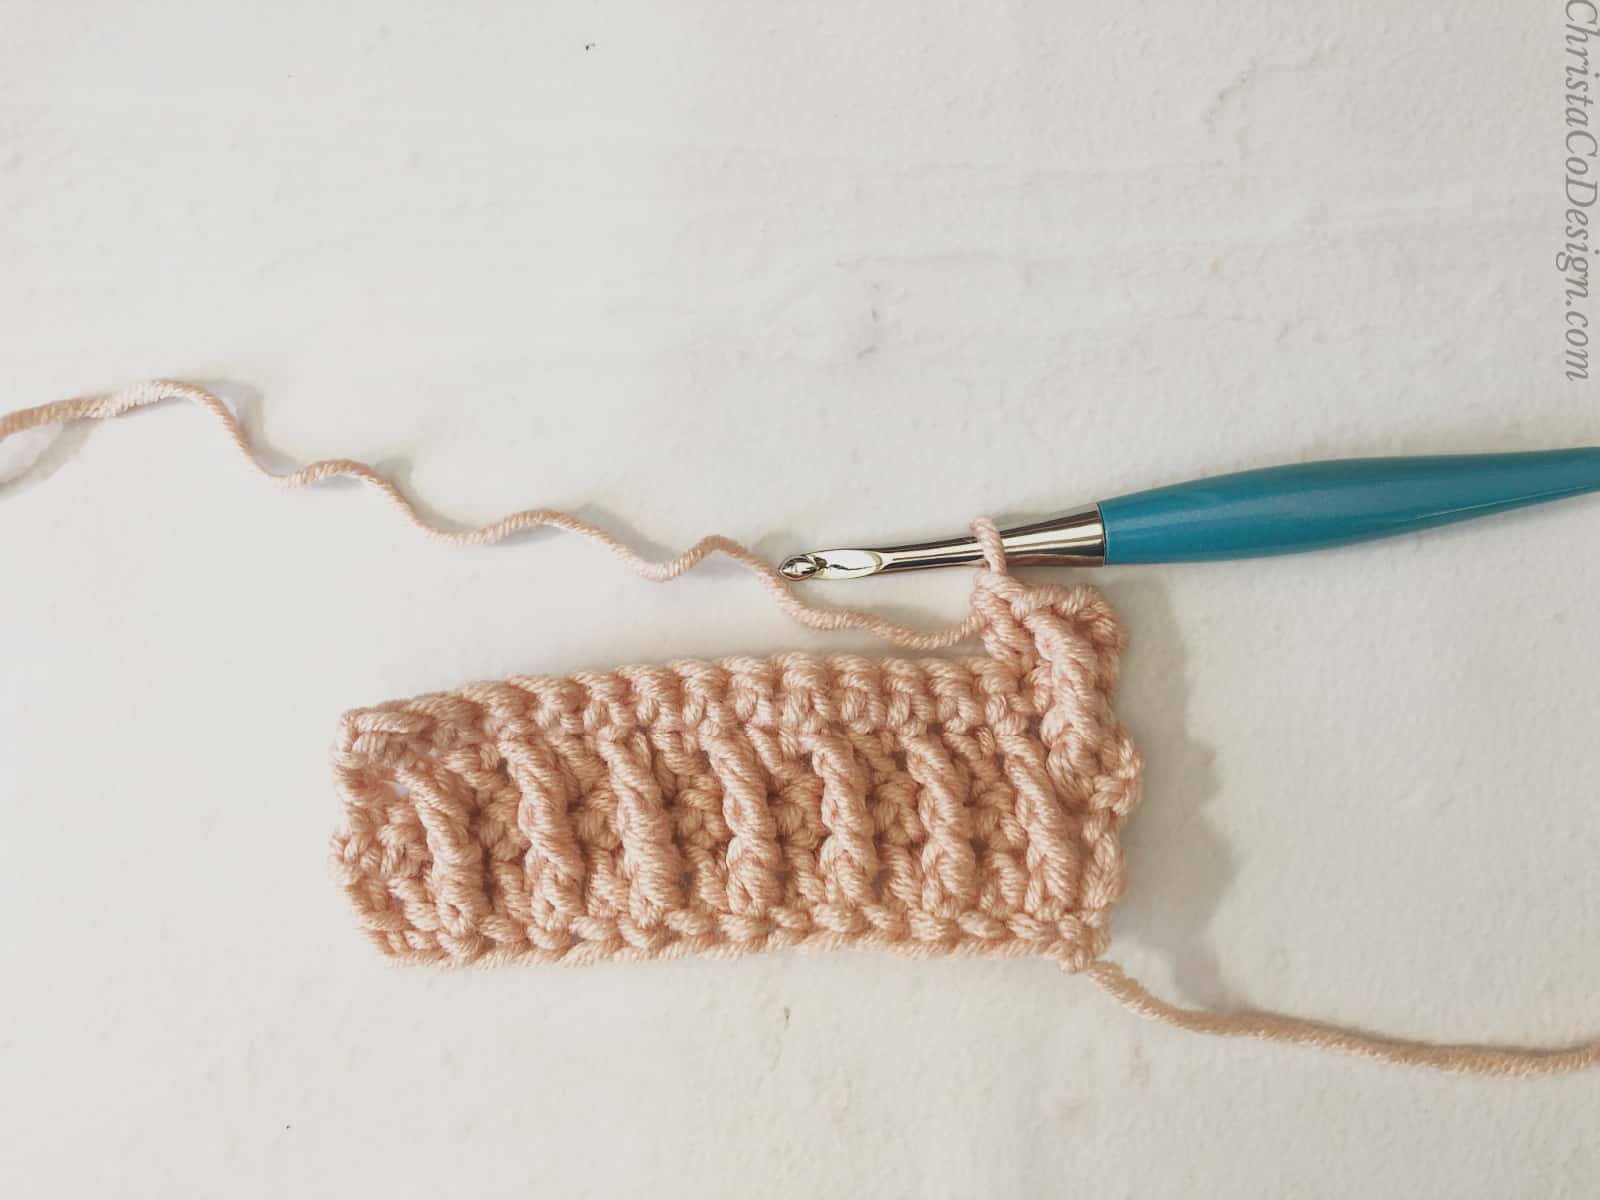 *{FPtr in first dc of row before, dc in next sc} rep from * across til 1 sc left,
 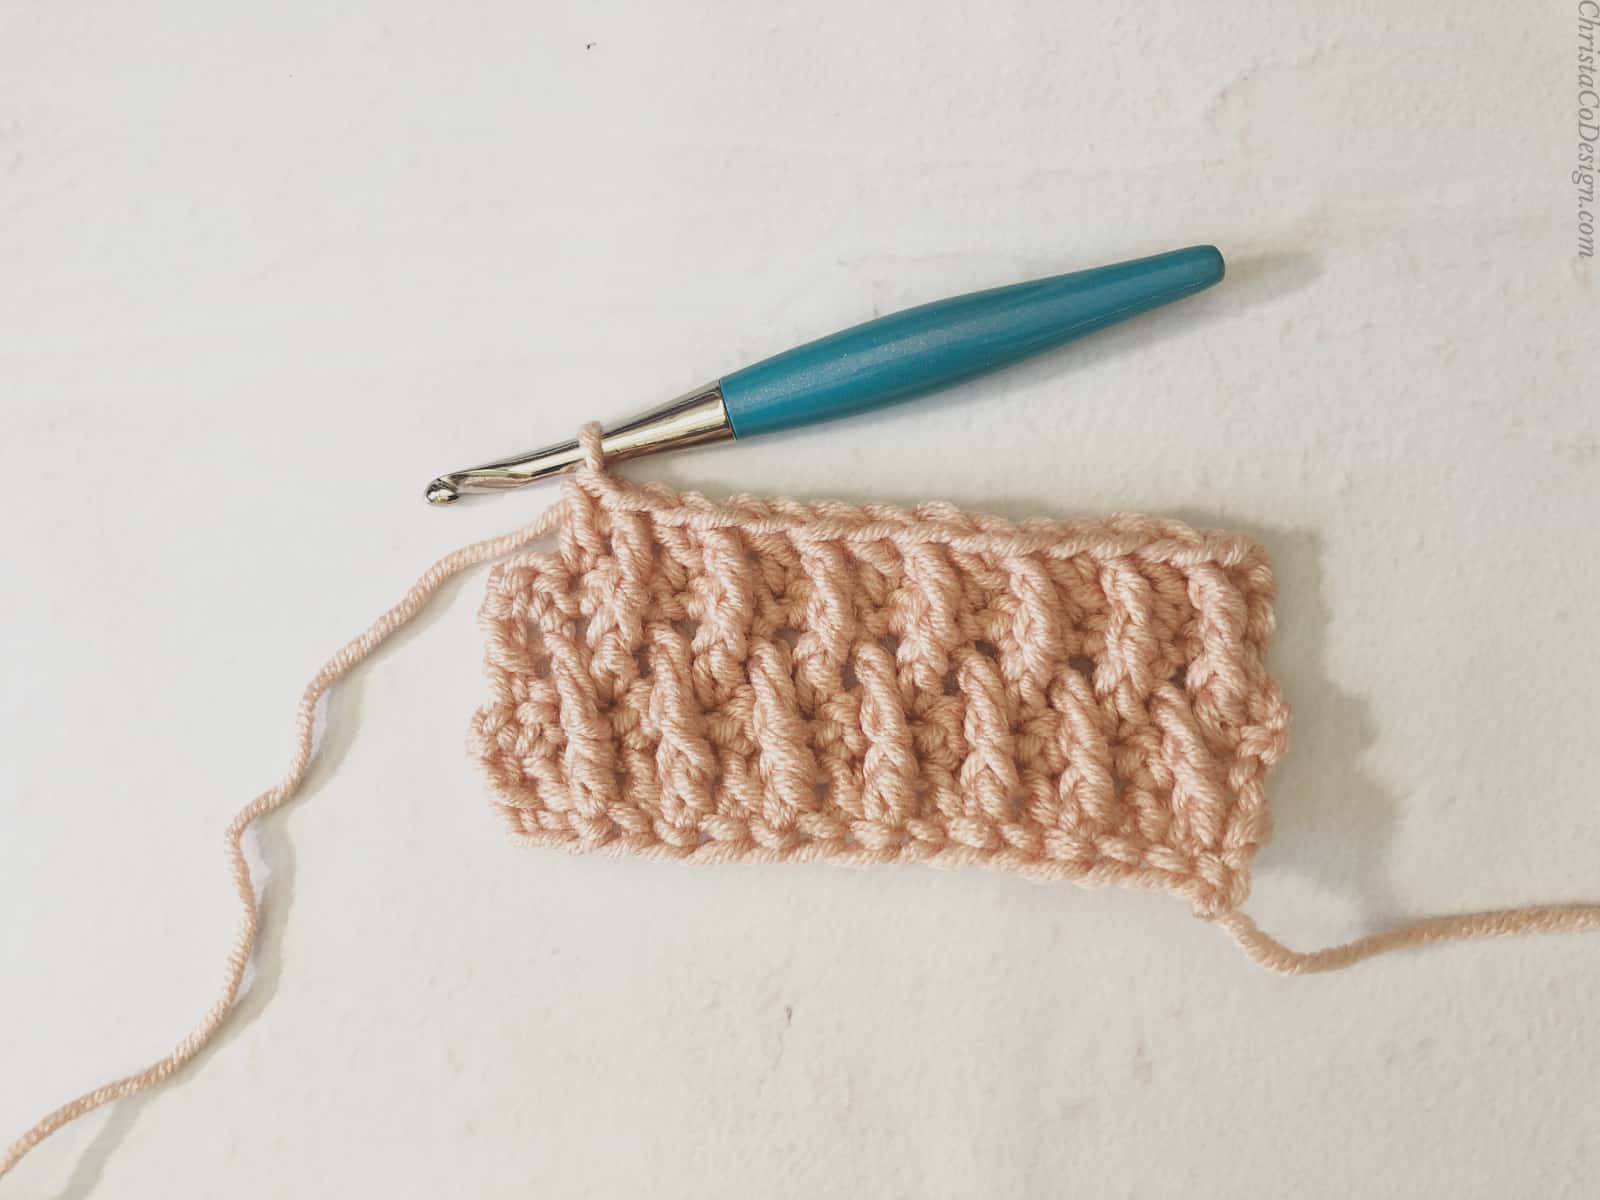 FPtr in last dc of previous row,
 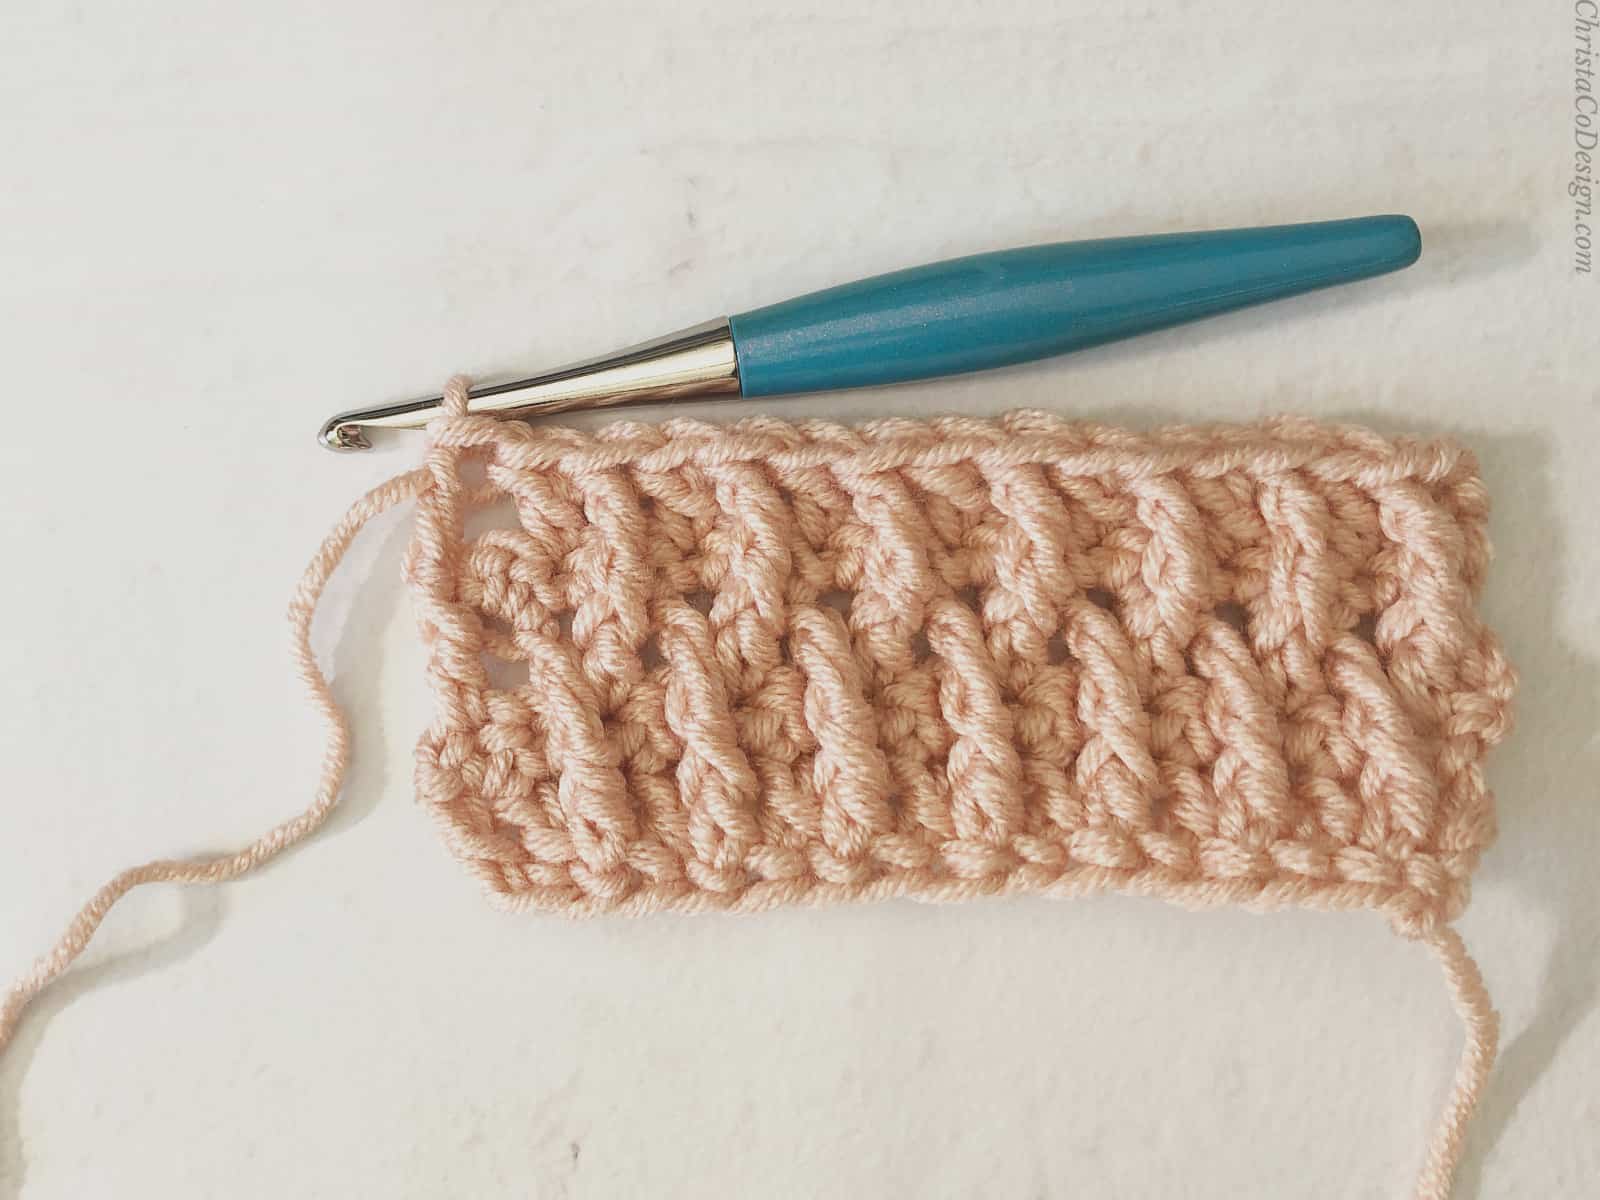 turn.
turn. - Repeat rows 2-5.
Recommended Products
As an Amazon Associate and member of other affiliate programs, I earn from qualifying purchases.