How to Back Post Double Crochet Tutorial
Learn how to crochet the Back Post Double Crochet Stitch (BPdc). This crochet stitch goes around the post of another stitch, instead of in the top.

This post contains affiliate links, I may earn a fee. Read more disclosure policy.
Join the ChristaCoDesign Newsletter
Never miss a pattern!
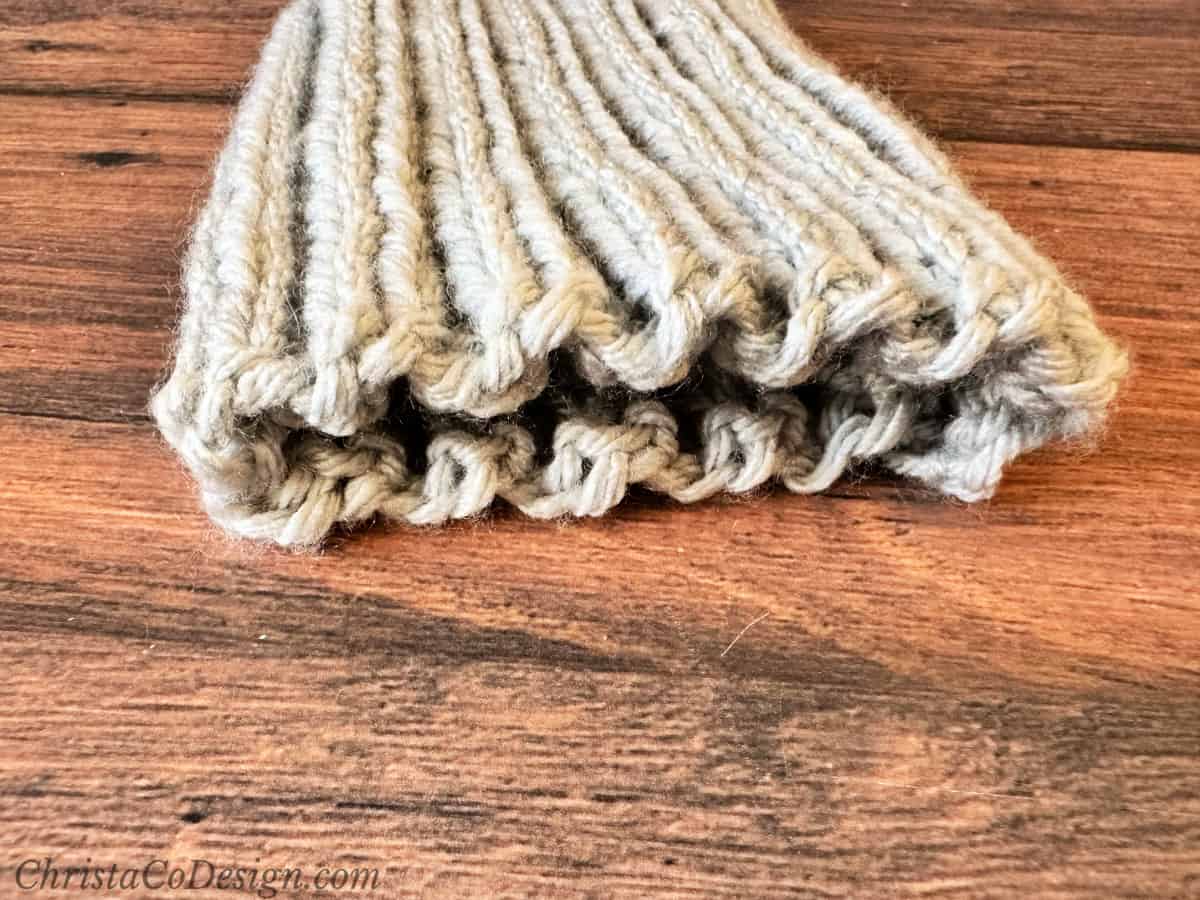
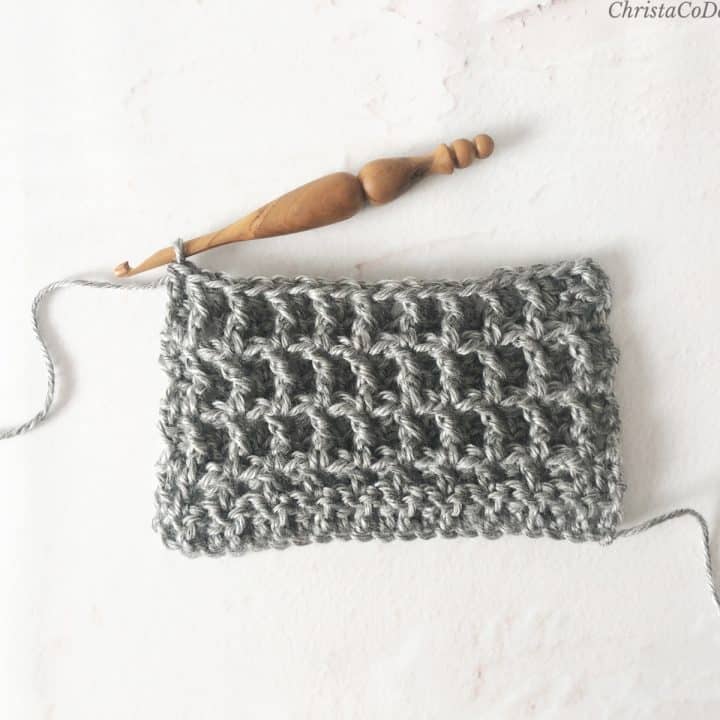
Post stitches make amazing texture in your crochet projects. They’re especially useful in creating crochet cables. When combined with front post or the regular double crochet stitch they make great stretchy hat brims too.
The tutorial below includes step by step instructions for the Back Post Double Crochet. If you already know how to crochet a front post double crochet, then learning this one is easy.
The Back Post Double Crochet is made the same way as a front post stitch, but you start with your hook on the back of the work instead.
We are using double crochet stitches here, because it works great with the taller stitches. But you can make them with shorter stitches like the BPhdc back post half double crochet.
Post stitches and single crochet are much more challenging because its hard to see the post on such short stitch. The dc is a great one to learn on.
The Back Post Double Crochet abbreviates as BPdc according the Craft Yarn Council. They have a handy crochet abbreviations list, if you ever need one.
The CYC actually has a ton of information on standards and guidelines for crocheters and knitters.
Yarn
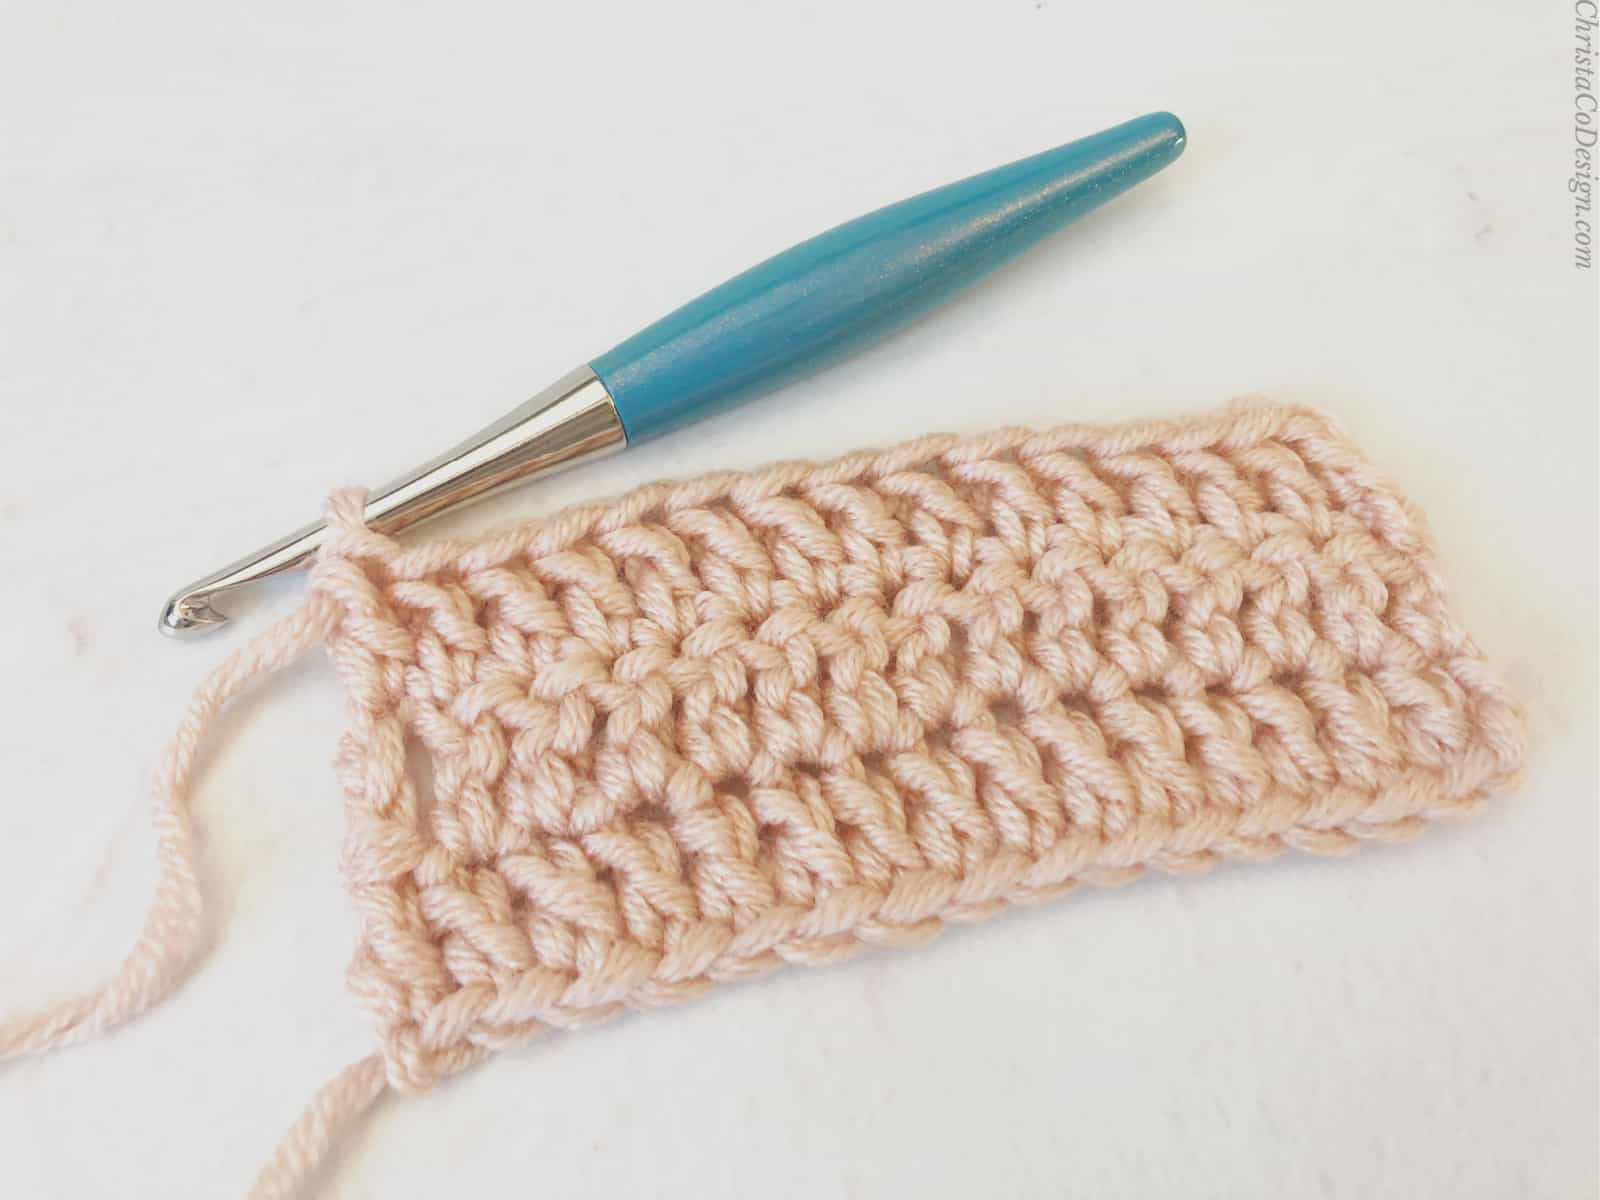
For this tutorial I’m using a #4 medium worsted weight yarn, Lion Brand’s Heartland* in color Mt. Rainier.
You can use any weight yarn for this stitch.
I’ve also crochet the Back Post Crochet with #5 bulky yarn and it works up beautifully.
Stitch
Regular crochet stitches, like the dc, hdc, etc. are crocheted in the top of the stitch.
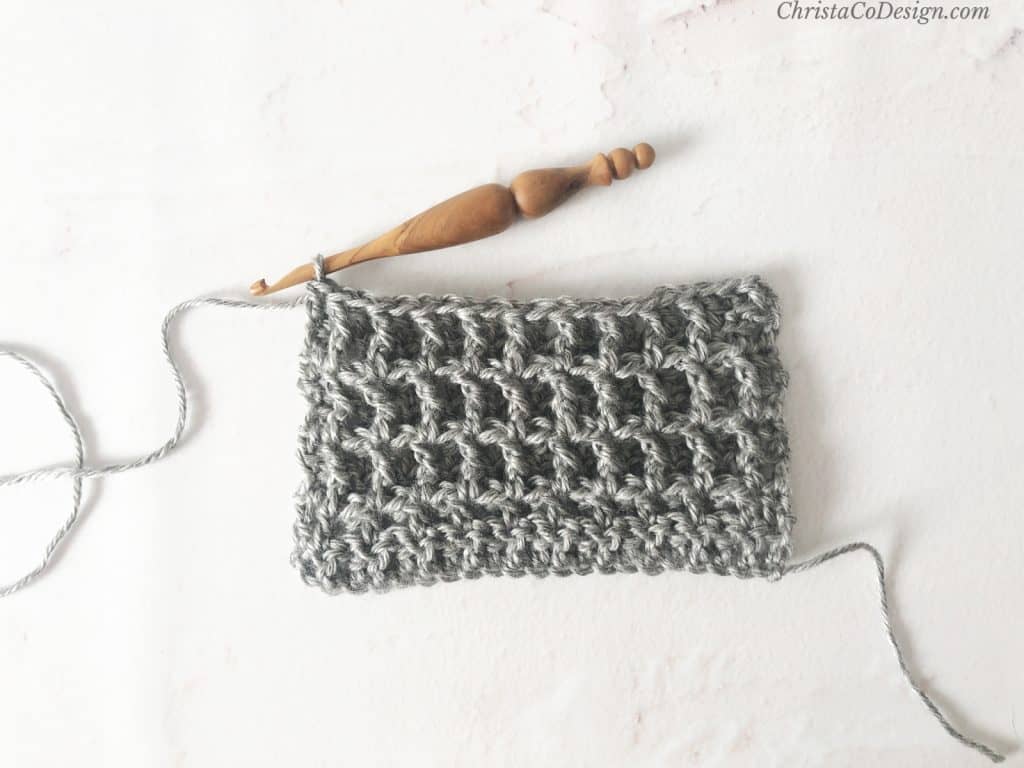
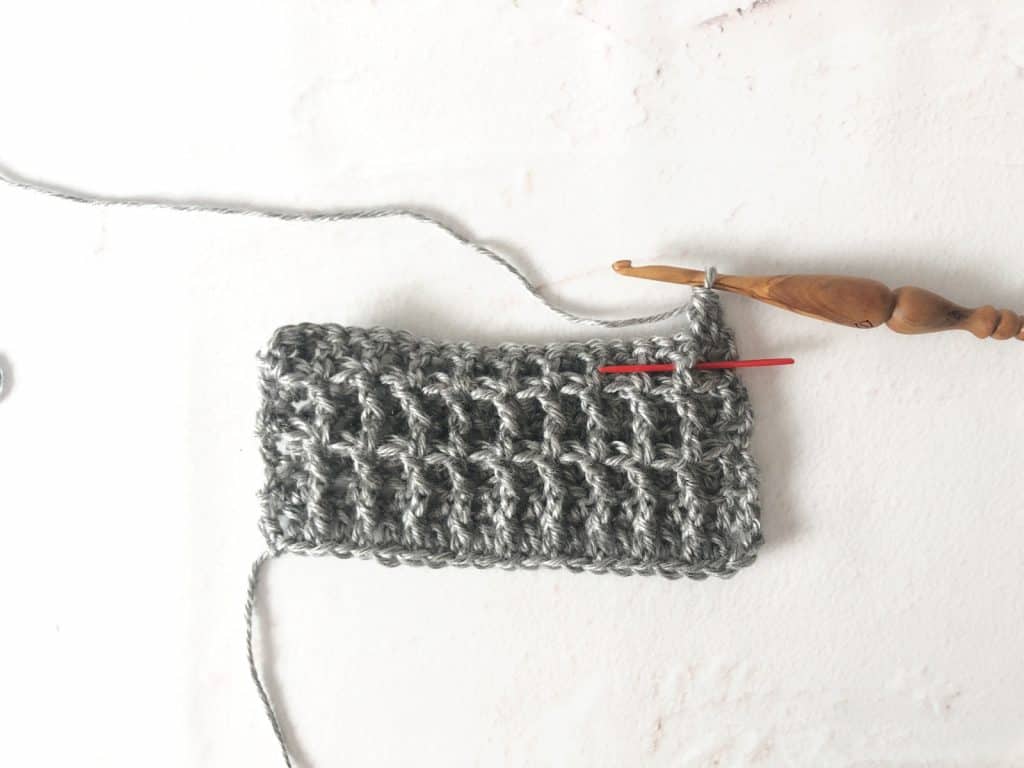
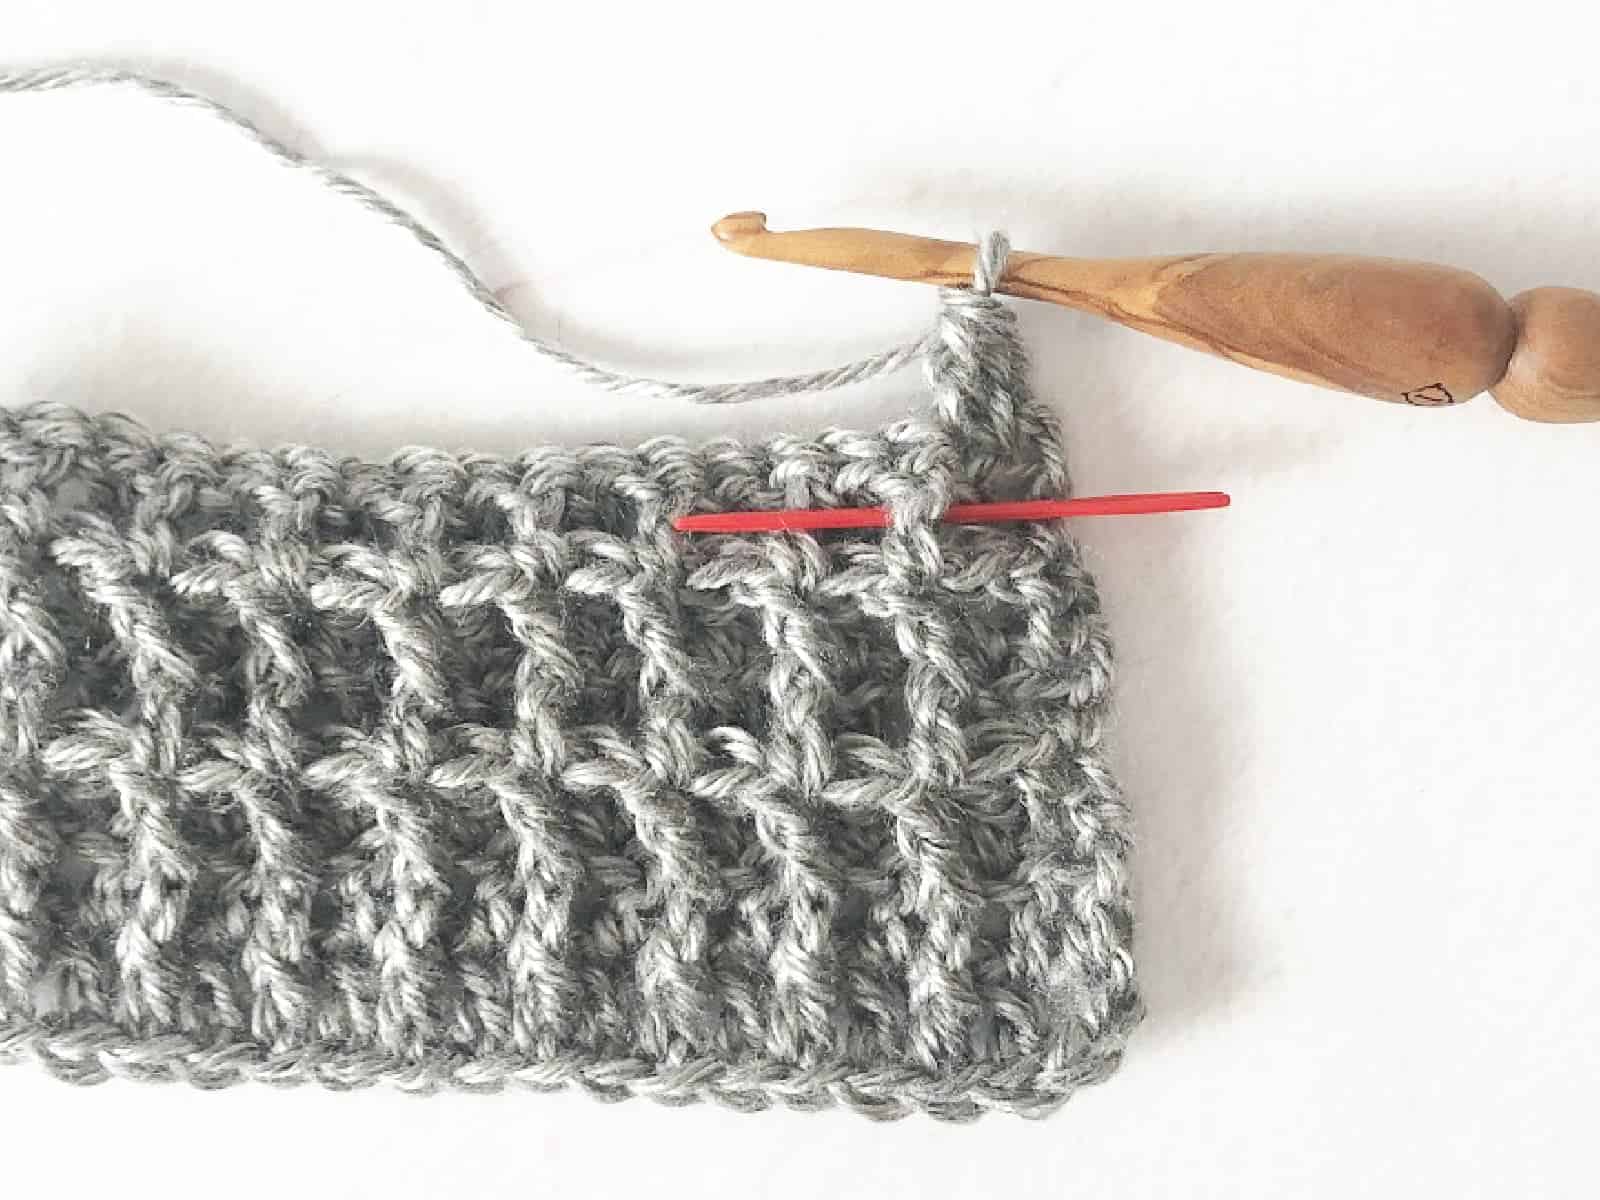
A post stitch is crocheted around the post of the stitch. The post of a stitch is the tall body part. Below you will see the post of the next stitch identified with a red yarn needle on the previous row.
A post stitch is crocheted either from the front of your work, or from the back of your work.
It helps to know the terms “front” and “back” refer to where you start your crochet hook.
Since when you crochet either you will move your hook from the front of the work to back or from the back of the fabric to front, depending on which stitch you’re crocheting.
You can also check out how to crochet the Alpine Stitch, which uses the front post treble crochet.
How to crochet the back post double crochet stitch-written instructions
- Start with a row of double crochet.
- Now yarn over.
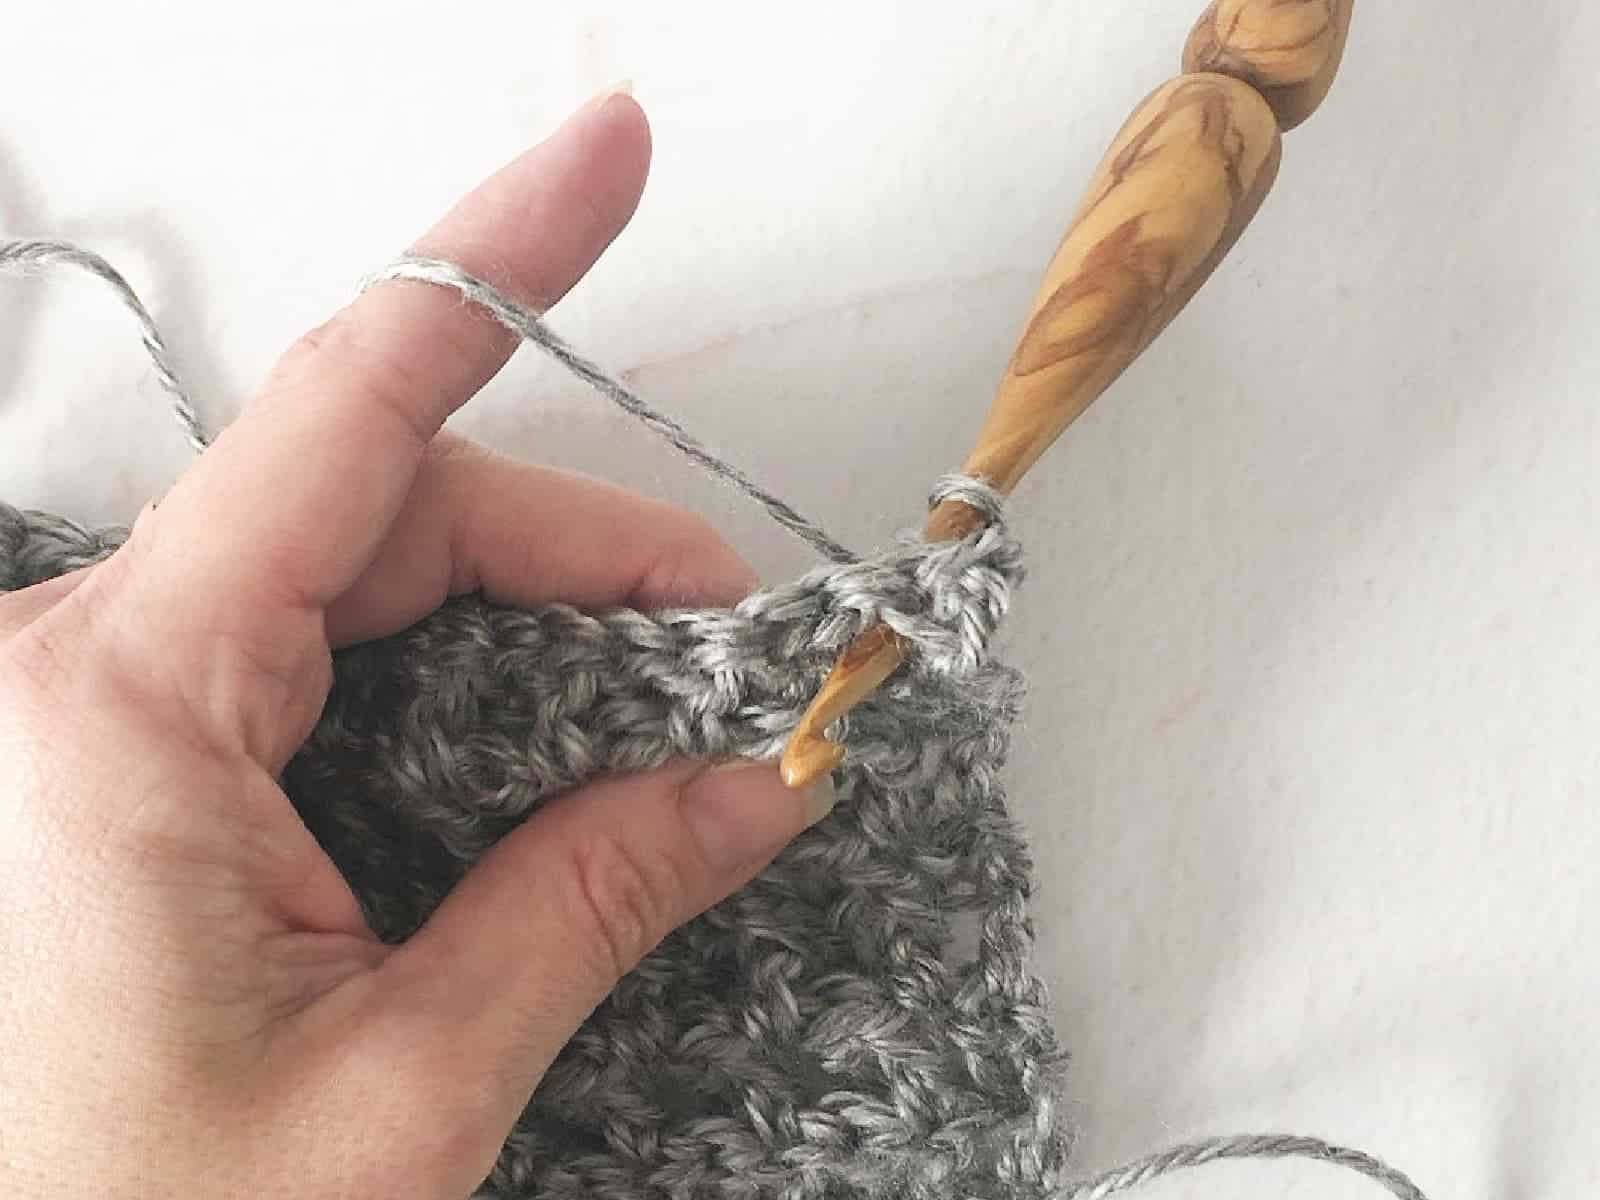
- Then, position the crochet hook behind your work.
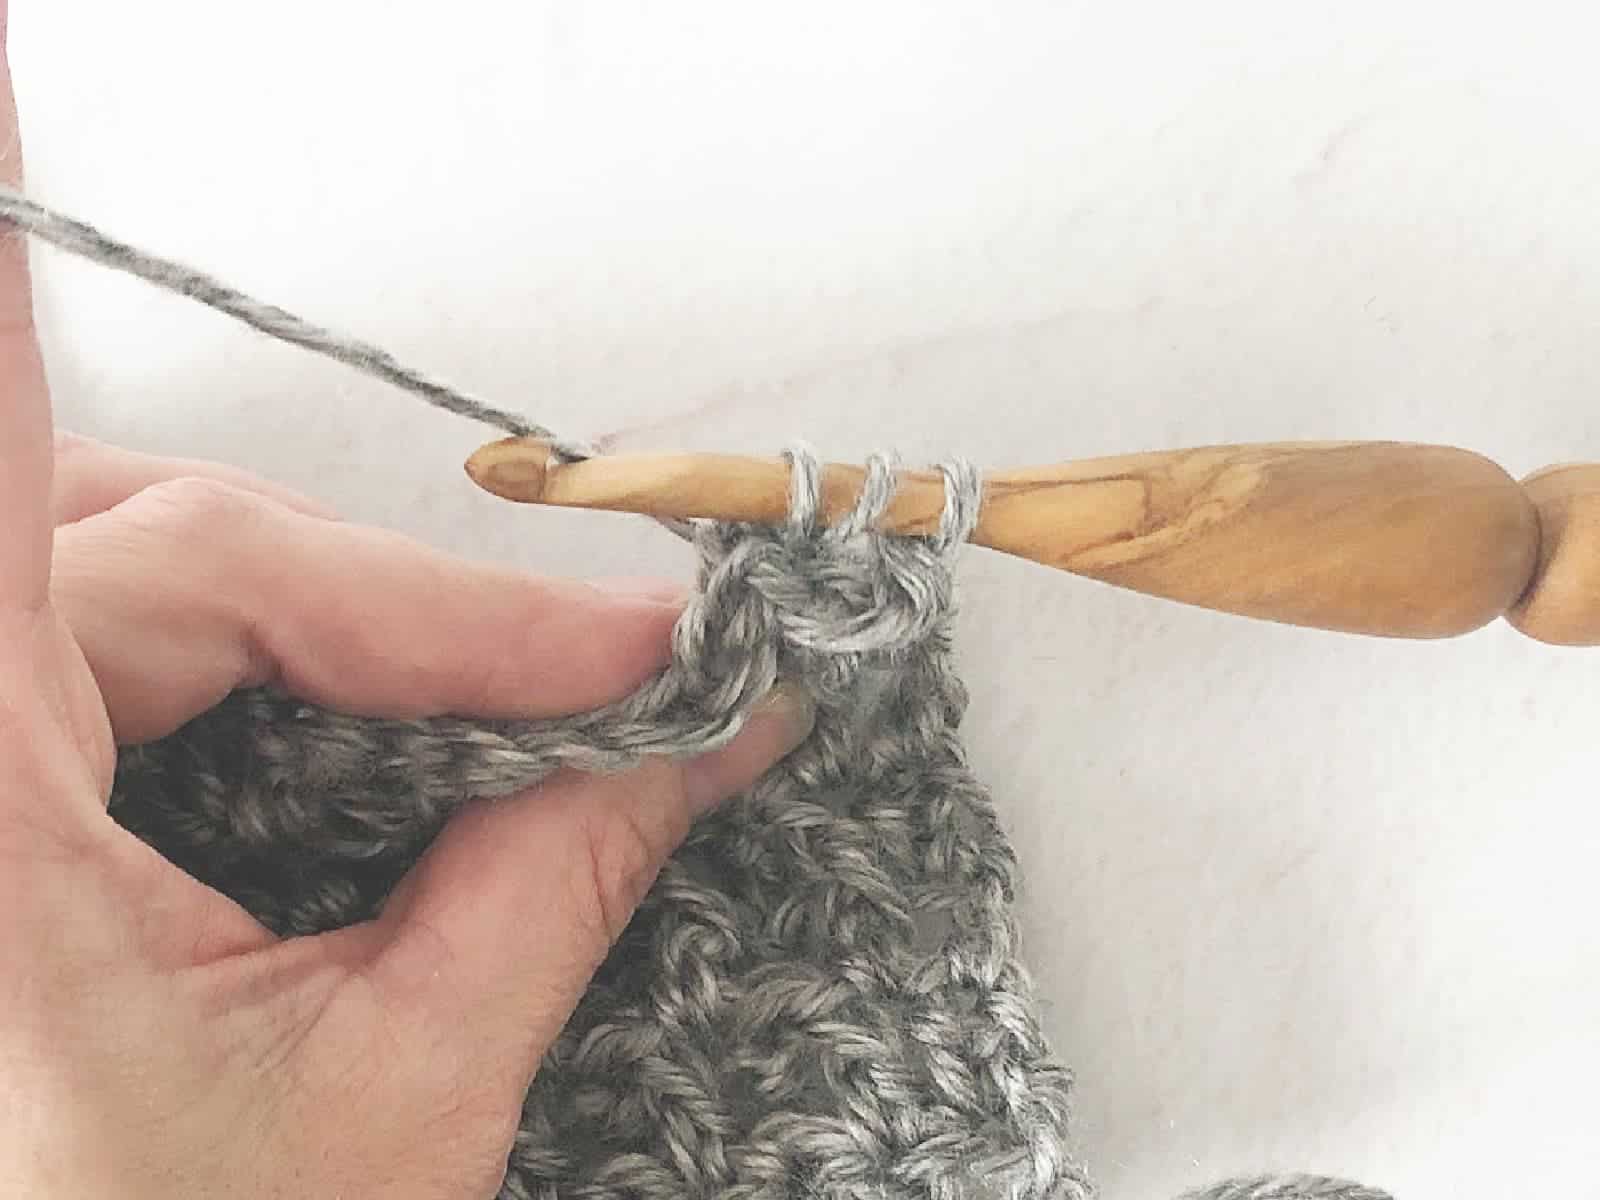
- Insert it next to the post of the stitch, go around the front, and bring the hook across and to the back on the other side of the post.
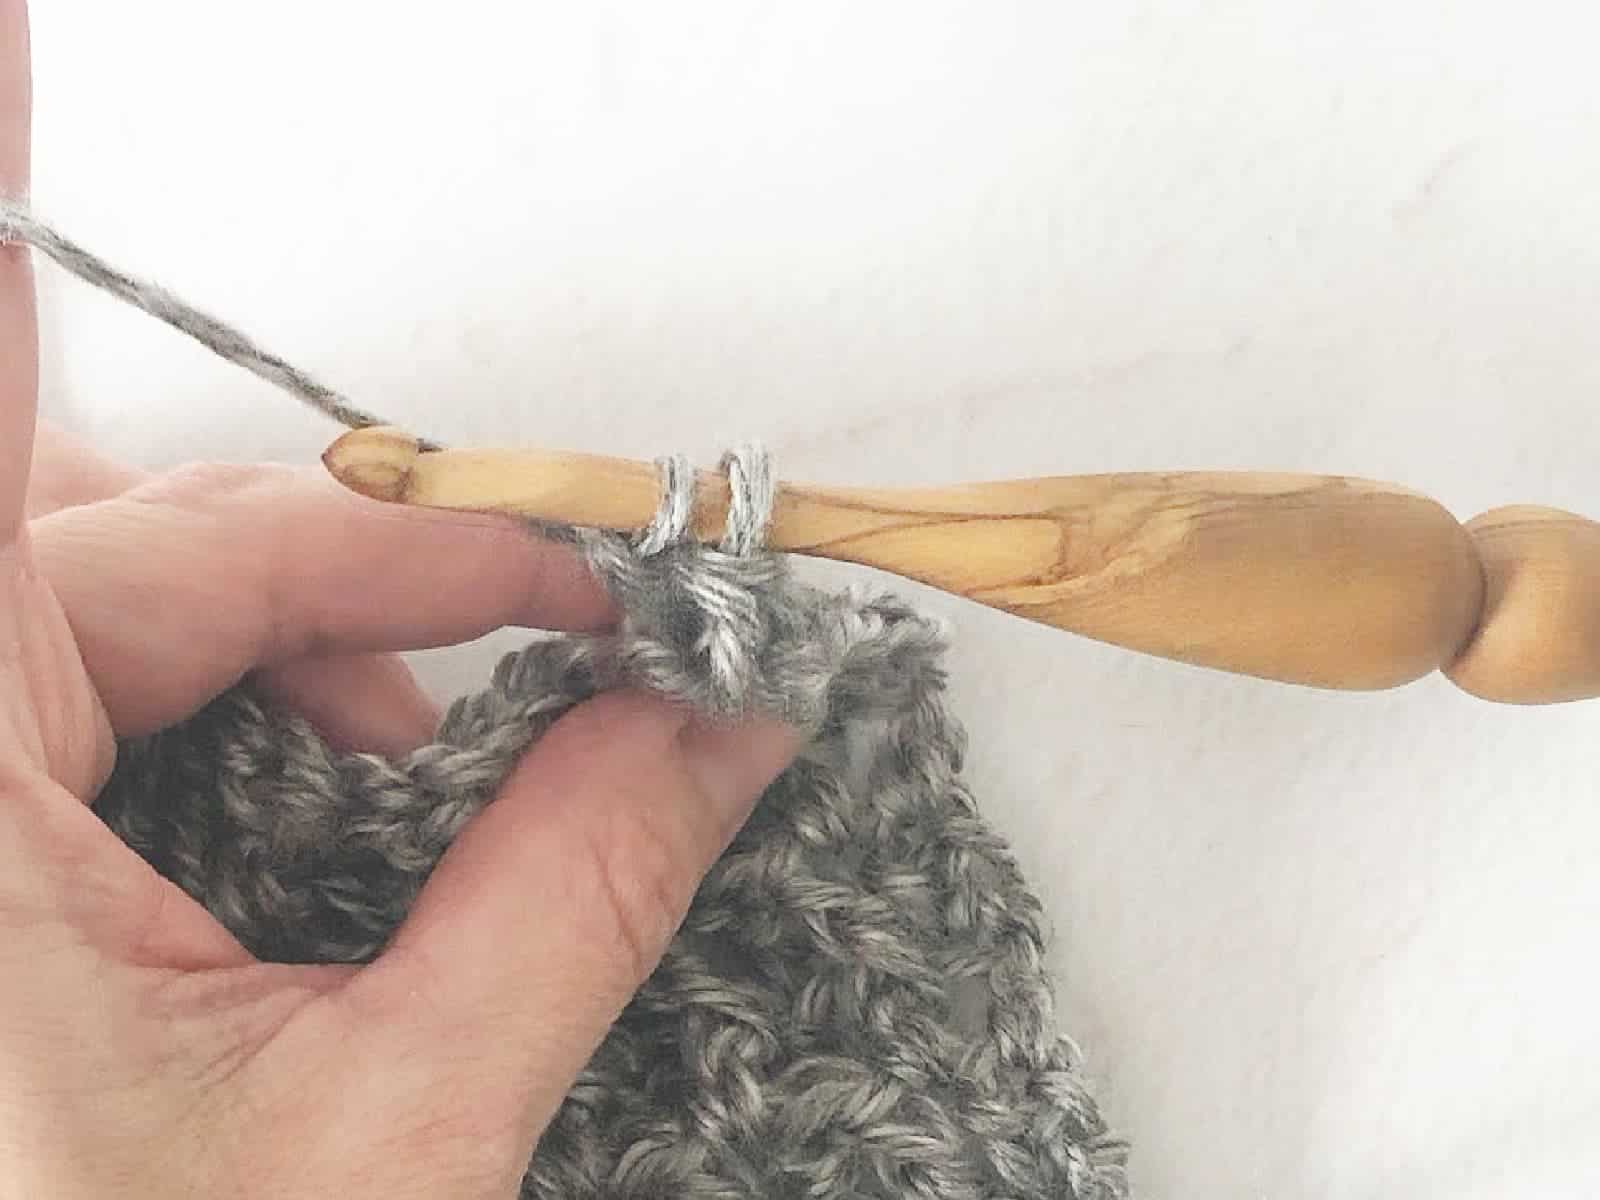
- Next yarn over, draw the yarn around the front of the post and bring it to the back on the other side (behind your work).
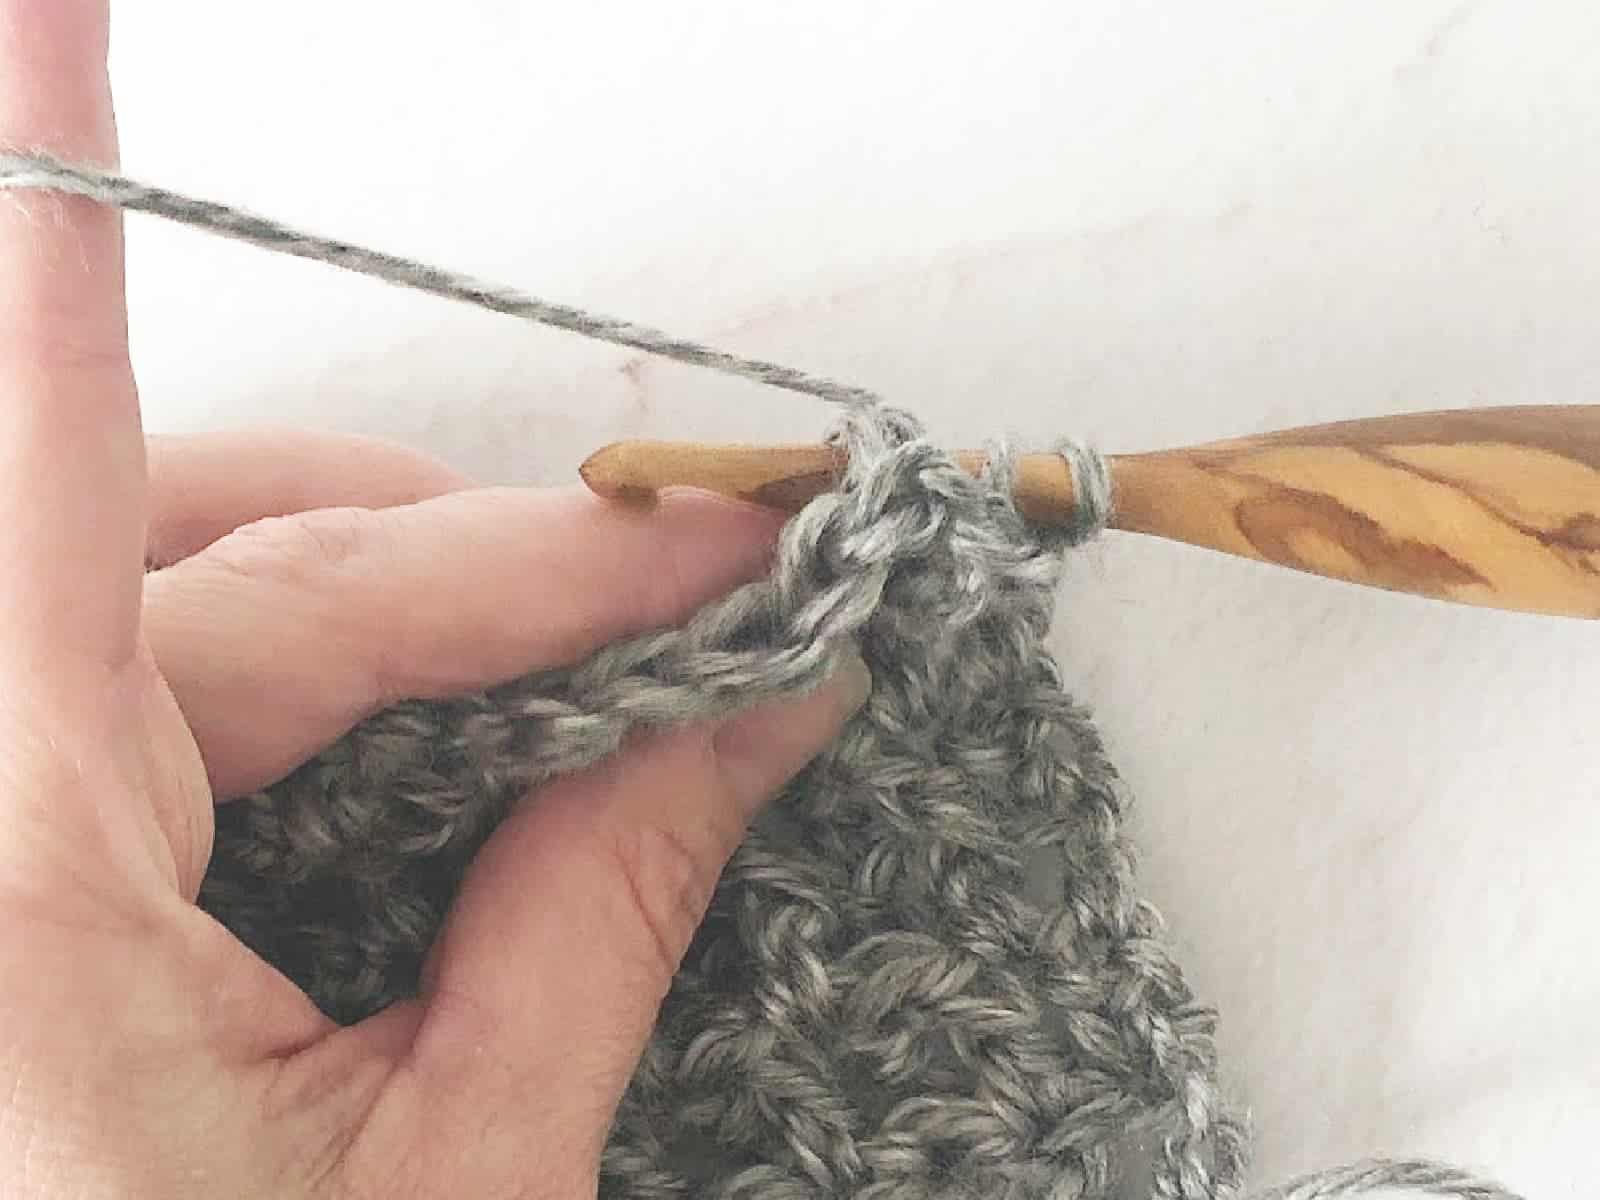
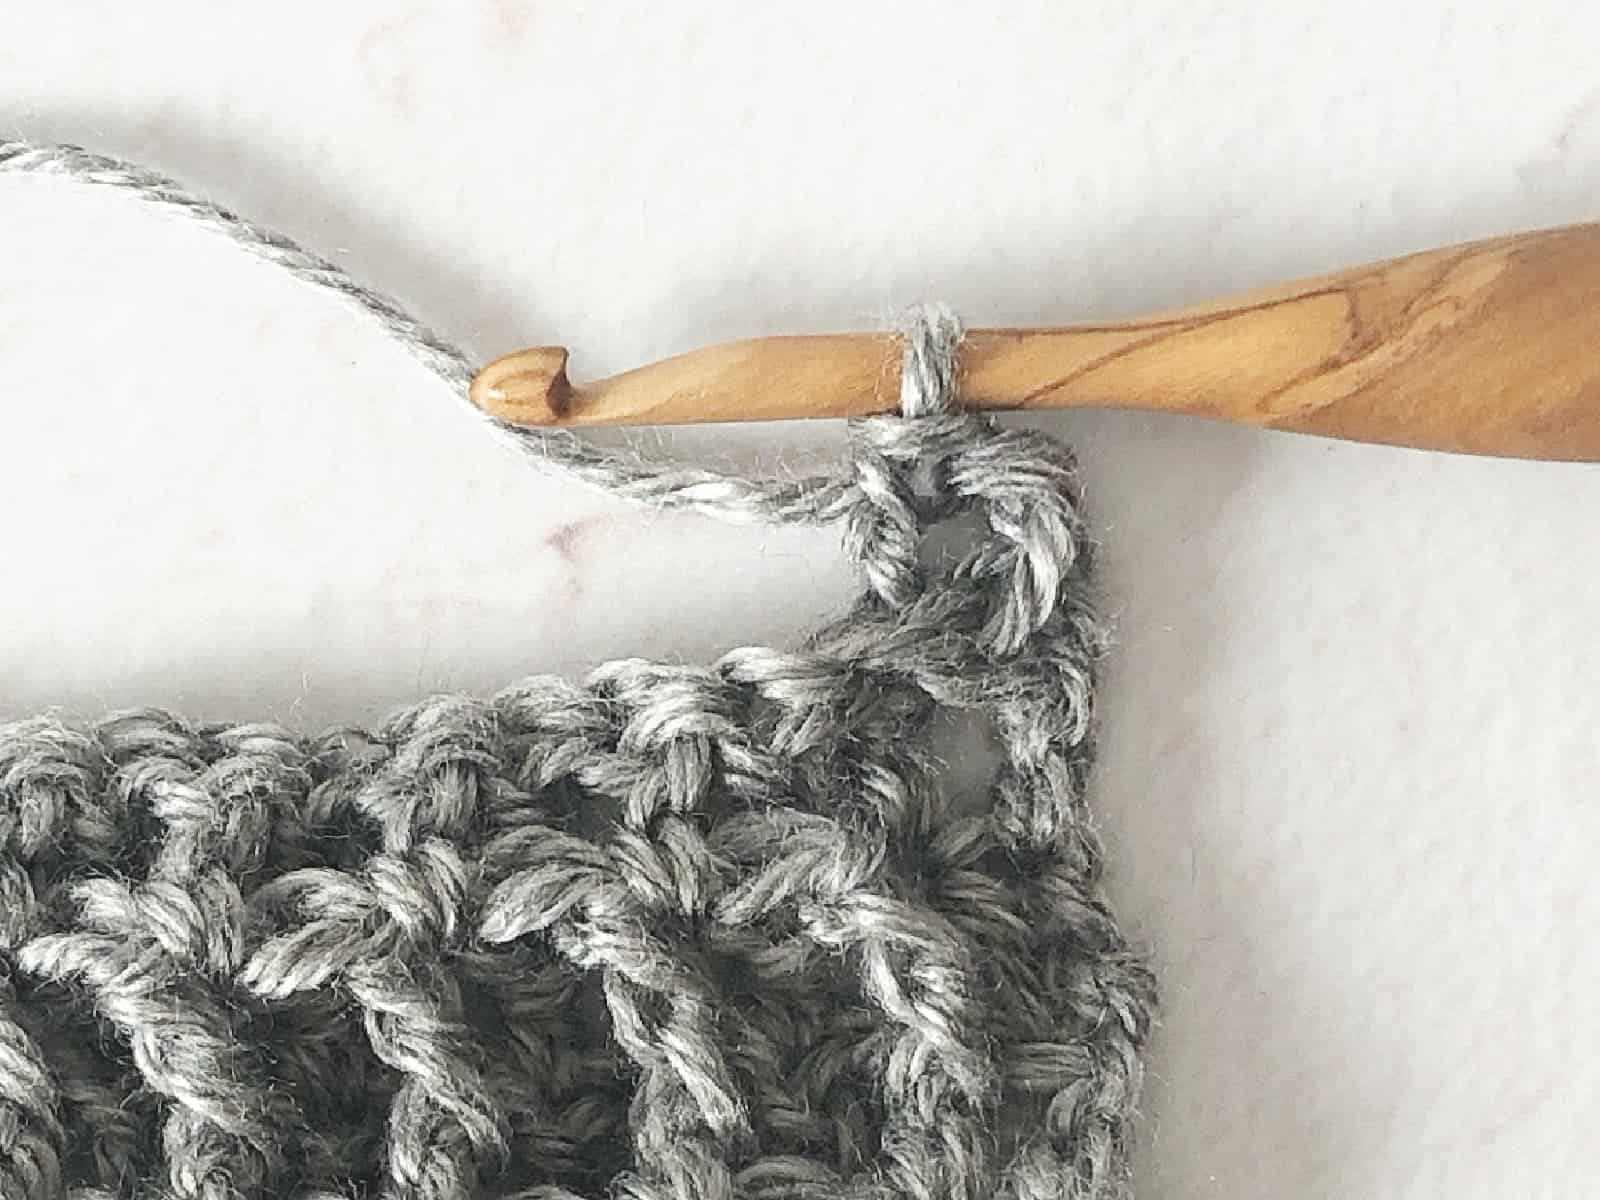
- Then simply proceed with making the stitch normally. So yarn over and pull through 2 loops, then do that 1 more time.
You will see all of this in the step by step photo tutorial below.
Free Crochet Patterns Using Post Stitches
Between Ridges Blanket-this crochet blanket pattern uses double crochet post stitches to create a border as you go.
The Matteo textured crochet scarf pattern uses front post and back post double crochets to create a beautiful, highly textured crochet fabric. Be sure to check out the matching Matteo Beanie and Fingerless Gloves.
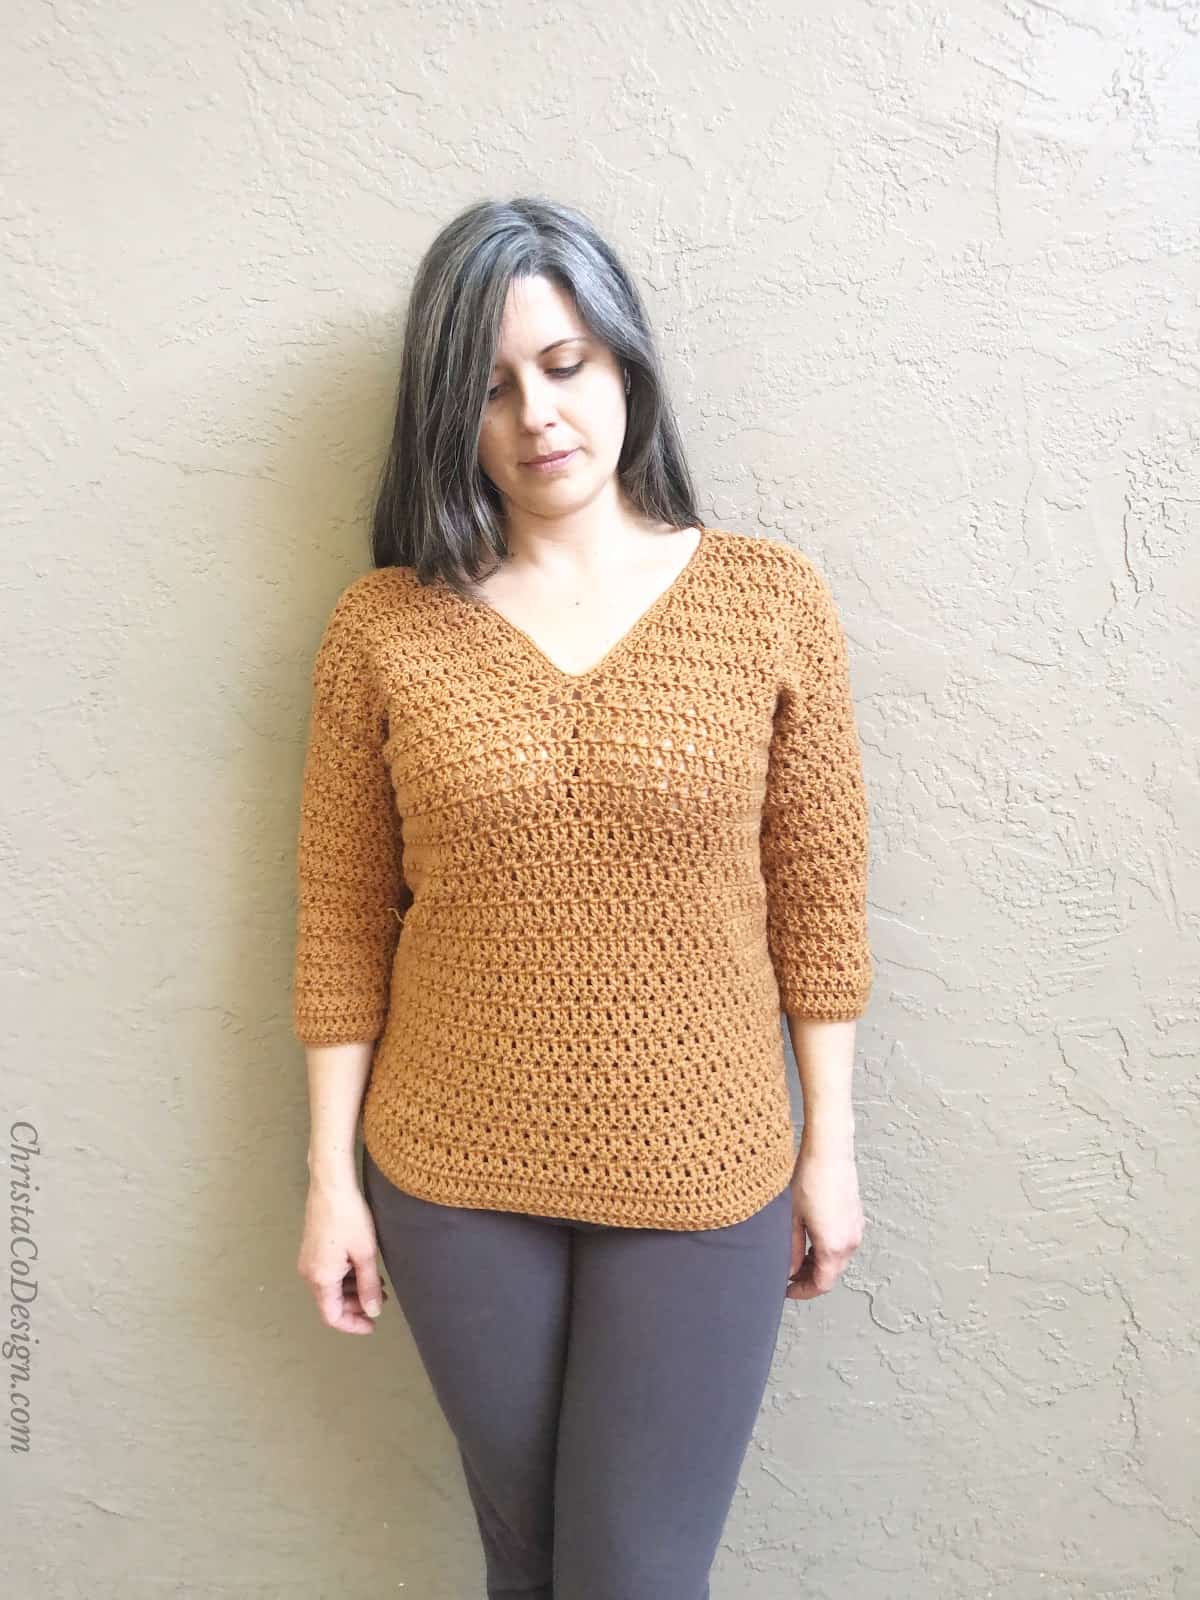
The Sunset Sweater is the coziest cowl neck sweater pattern ever, made with-you guessed it-post stitches.
Be sure to check out the Alpine Stitch, which is where the front post treble crochet stitches really shines!
Materials
- #4 worsted weight yarn, pictured in Lion Brand’s Heartland.*
- 5.5mm US size I-9 crochet hook,* in the picture is my ergonomic Furls.
Stitch Abbreviations (US Terms)
Click on the links to check out any of the below crochet tutorials.
BPdc – back post double crochet
ch(s) – chain(s)
dc – double crochet
fdc – foundation double crochet
rep – repeat
sl st – slip stitch
st(s) – stitch(es)
Level
Advanced Beginner to Intermediate
Video Tutorial
Watch the video tutorial on my YouTube.
Back Post Crochet Stitch Tutorial
Back Post Double Crochet Tutorial
Learn how to crochet the Back Post Double Crochet Stitch.
Materials
- #4 worsted weight yarn, pictured in Lion Brand’s Heartland.
Tools
- 5.5mm US size I-9 crochet hook, in the picture is my ergonomic Furls.
Instructions
- To crochet the back post double crochet you'll need a row of stitches first, like double crochets.
- Start the next row with a ch 3, or how you normally begin a row of dcs, I prefer the ch 3 alternates.
- To BPdc in the next st, yo.

- Move the hook behind your work, and insert hook between the post of the stitches, from the back to the front.
- Bring hook across the front of the post and insert it between the post of the stiches to the back.
- Yo and pull that loop back across the post of the stitch, and to the back. (3 loops on your hook)
- Now you'll complete the stich like normal: yo and pull through 2 loops on your hook.
- Yo and pull through the last 2 loops on hook, 1 BPdc complete.
 You can alternate back post dcs with front post dcs to get a textured fabric.
Recommended Products
As an Amazon Associate and member of other affiliate programs, I earn from qualifying purchases.