Men’s Textured Beanie Free Crochet Pattern
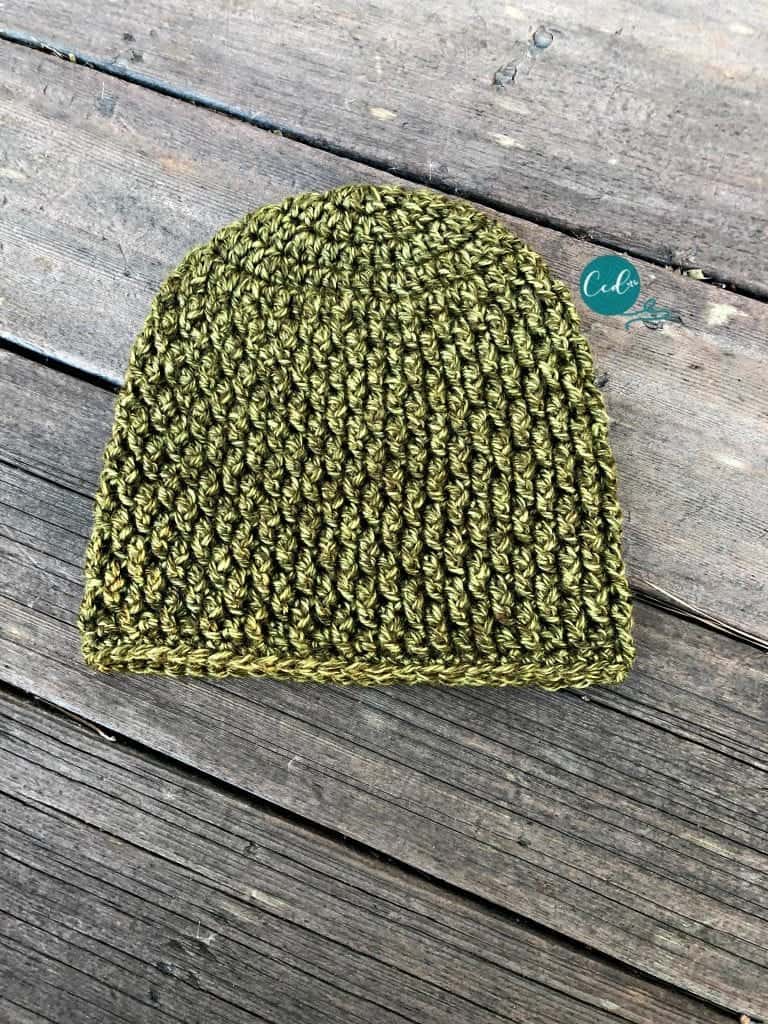
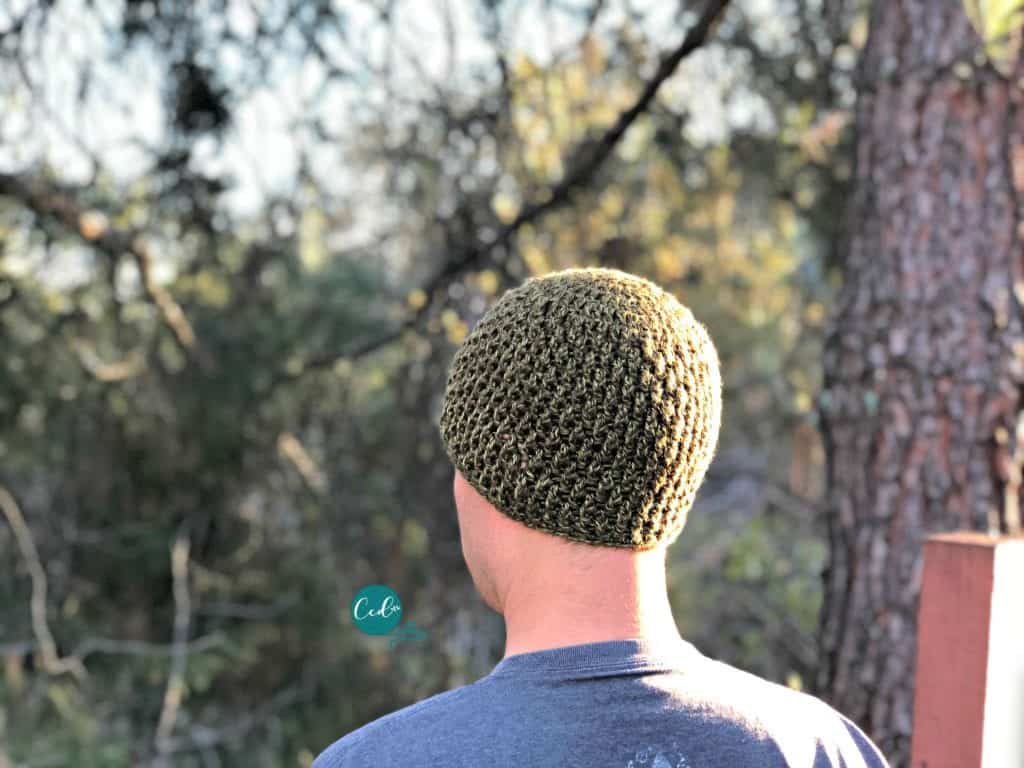
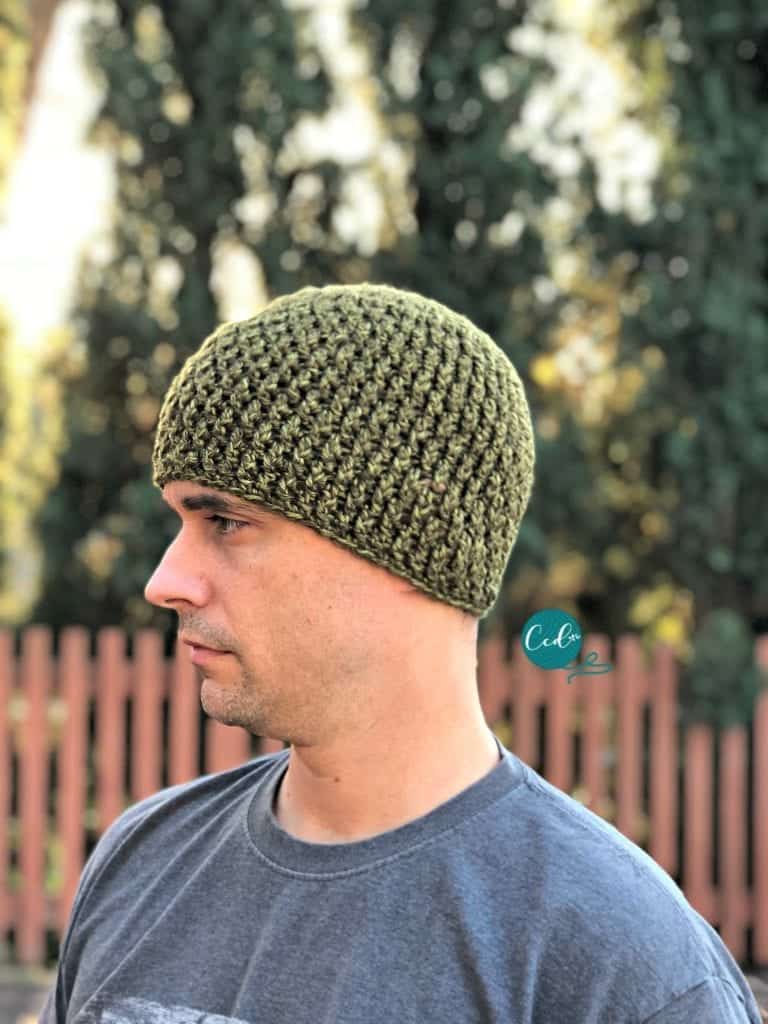
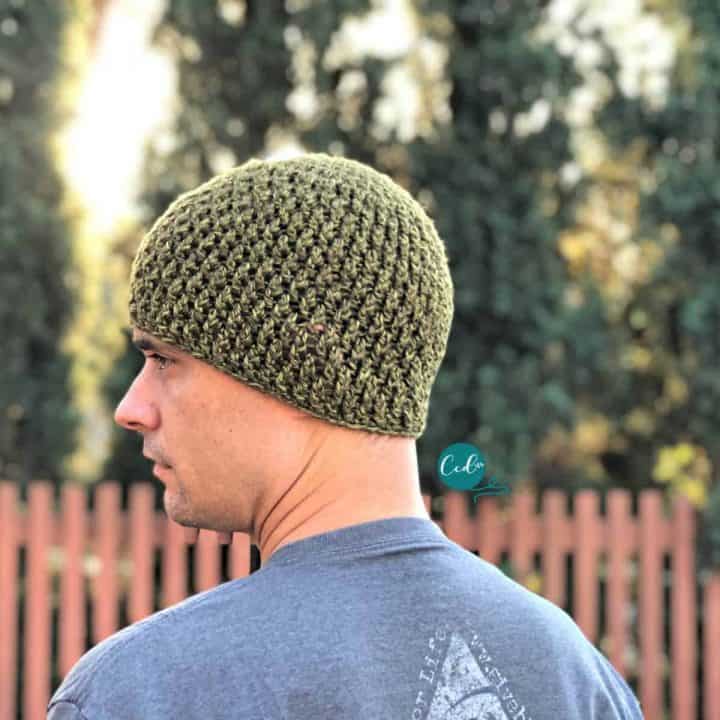
The Textured Beanie is a great unisex hat for everyone in the family. The post stitches create a beautiful fabric that compliments any color.
You can work up this hat in medium worsted weight yarn. With a snug and easy fit, the Textured Beanie will be your new grab and go hat.
This post contains affiliate links, I may earn a fee. Read more disclosure policy.
You can purchase the ad-free, well formatted PDF Pattern in one of my shops. Scroll down for the free pattern!
I created this textured beanie as a quick, last minute birthday gift. Our friend’s birthday is the week of Thanksgiving, and we were so busy, but I knew I could eek out another quick hat pattern.
Plus, we often crochet for the ladies and girls in our lives, but what about the men? I love a good reason to crochet up a new pattern- so I did!
This textured beanie features the same great texture from my slouchy hat pattern, but fits like a traditional beanie.
The Yarn
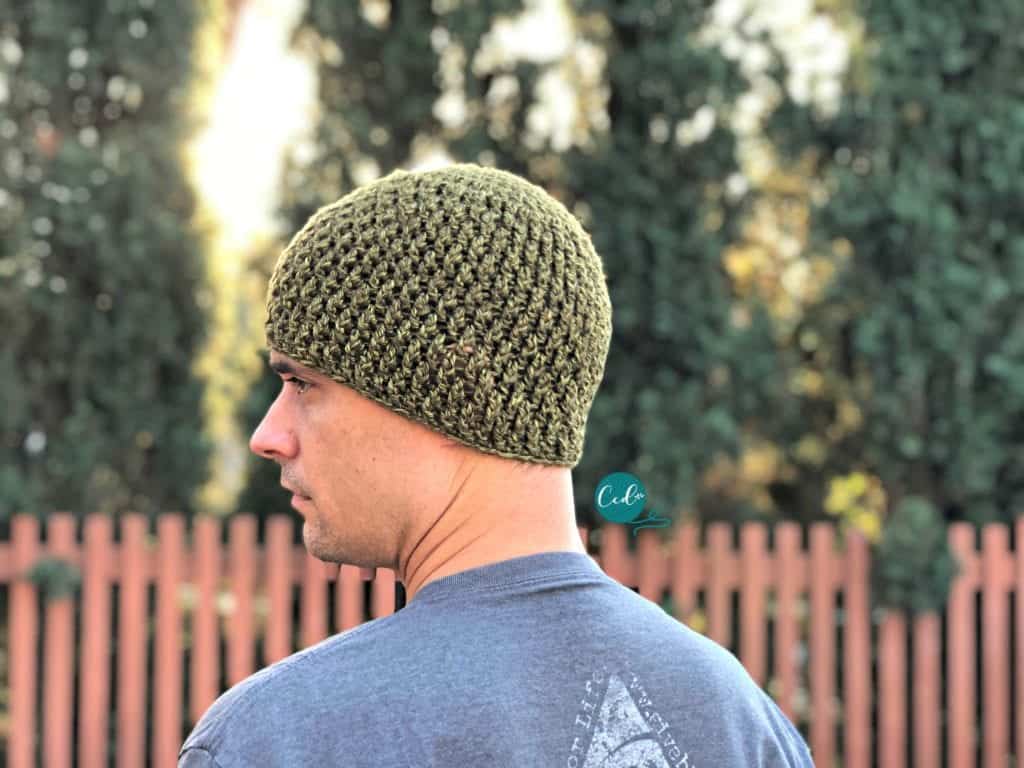
I used just part of a ball of Lion Brand’s Heartland yarn in Joshua Tree, which is such a dynamic color.
This 100% acrylic yarn is super soft, affordable, widely available and comes in a slew of colors. I think often times, a color choice is what makes our crochet projects suitable for men or women and this color works for either.
Sizing
I included two sizes for the Textured Beanie-a women’s and men’s beanie. The women’s beanie starts with a smaller circle so it’s short one round.
It’s amazing how much of a difference one stitch or one round makes in our crochet sizing. This pattern is very stretchy thanks to the front post double crochet stitches.
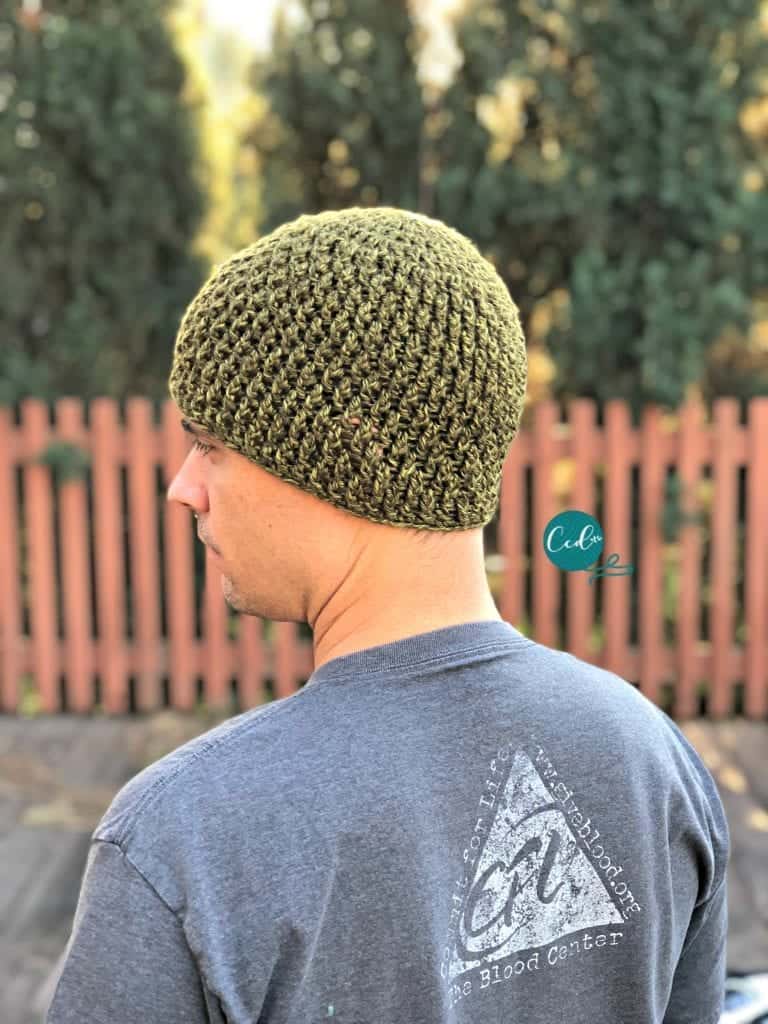
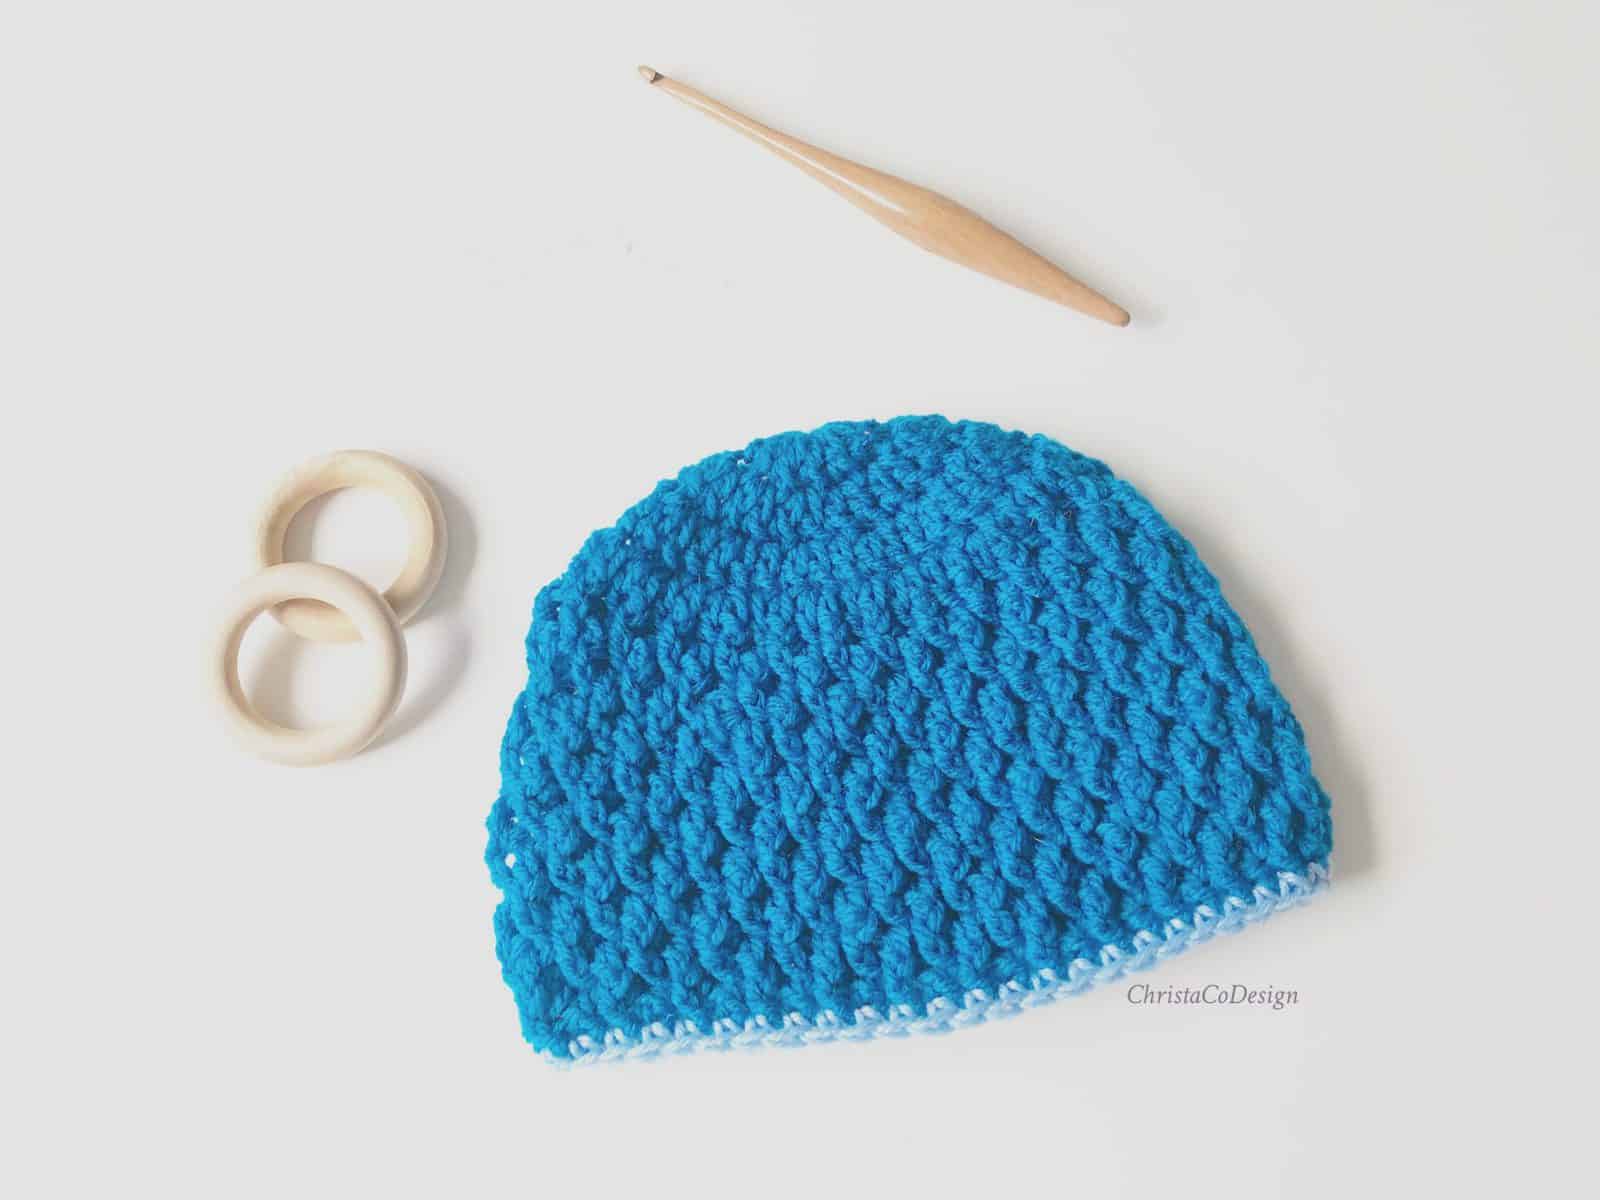
There’s an updated version of the Textured Beanie here, that includes all sizes: NB-Adult!
Materials
#4 med worsted weight yarn, pictured in Lion Brand’s Heartland* (100% acrylic, 251 yd/230 m, 5 oz/ 142 g) color: Joshua Tree, or 175-200 yds comparable yarn
yarn needle
scissors
measuring tape
Notes
- Ch 3 counts as a stitch, I highly recommend using a ch 3 alternative, here’s my favorite.
- Beanie is worked top down, with dc stitches only until the crown circle measurement is reached for each size.
- Then you will alternate fpdc and dc around. In the following round, you will fpdc into a dc and dc into a fpdc.
- On the fpdc rounds I use my ch 3 alternative, but I wrap it around the post of the stitch, in the same manner you would for a fpdc.
- Begin with a magic circle.
Stitches Used
Magic circle (mc)
Slip Stitch (sl st)
Double Crochet (dc)
Chain (ch)
Front Post Double Crochet (fpdc)
Single Crochet (sc)
If you like the texture in this hat, you may also like my slouchy hat.

Gauge
4”/10cm x 4”/10cm = 13 fpdc/dc x 8 rows
Download the Hat Sizing Chart
Get this handy dandy chart so you can crochet perfectly fitting hats!
Photo Tutorial
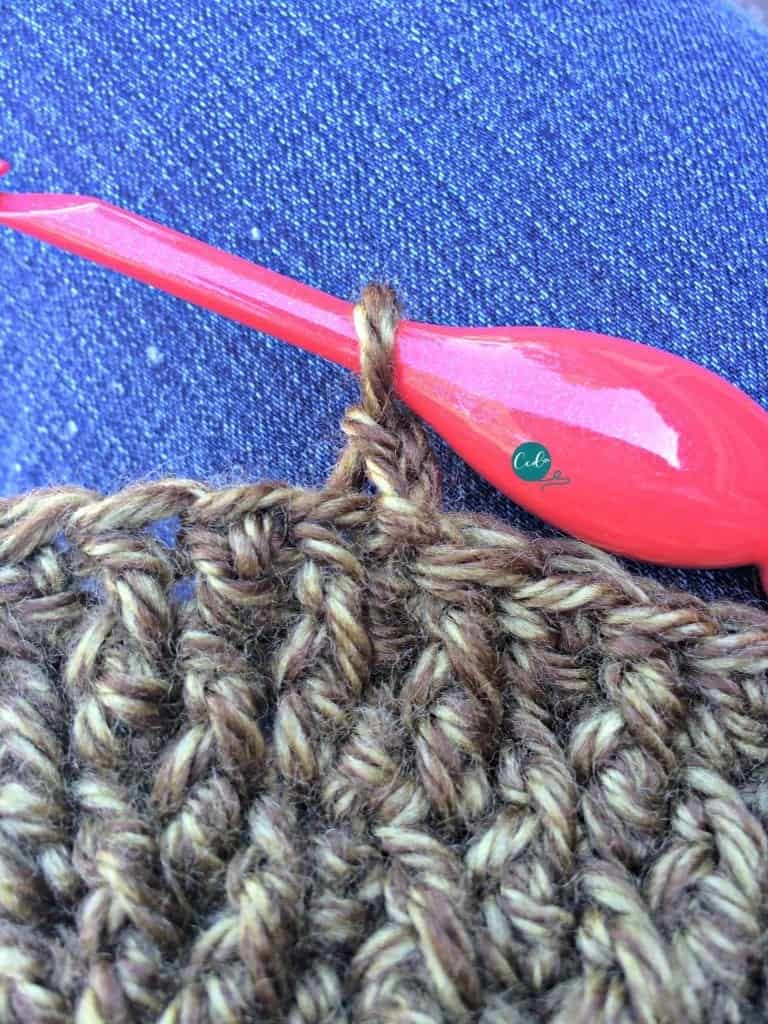
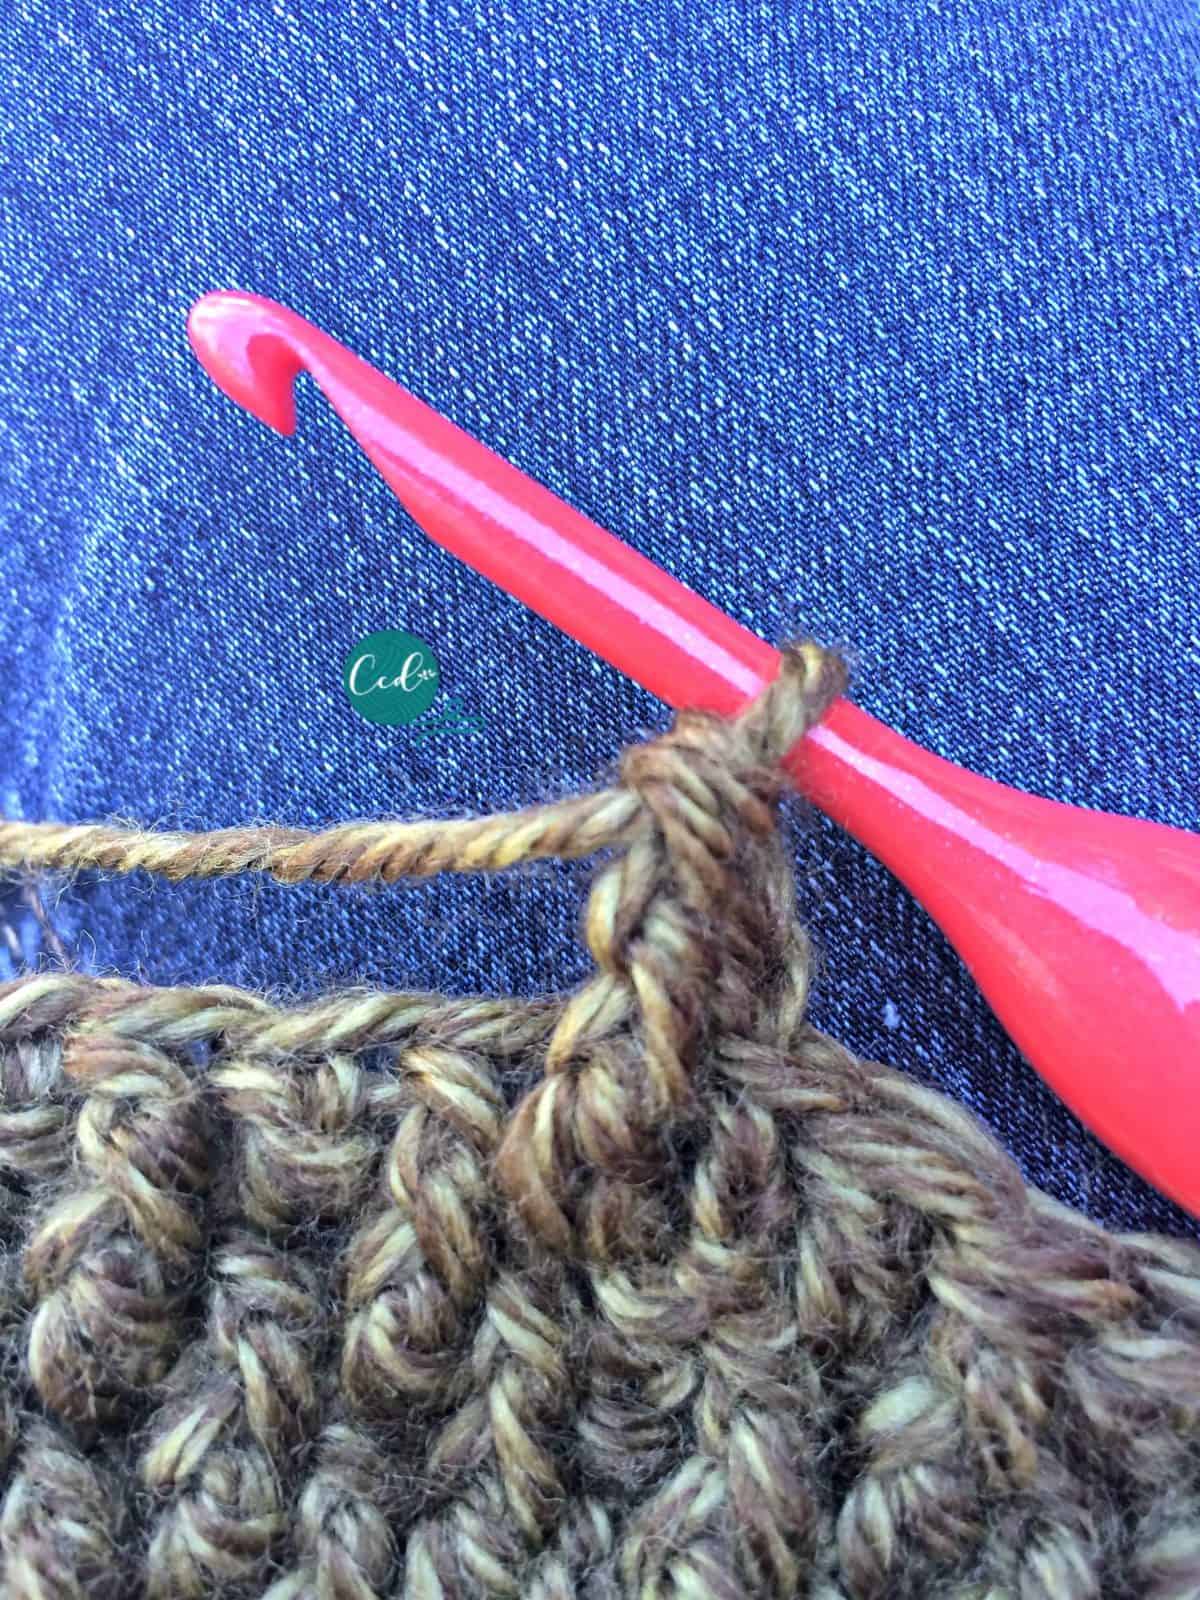
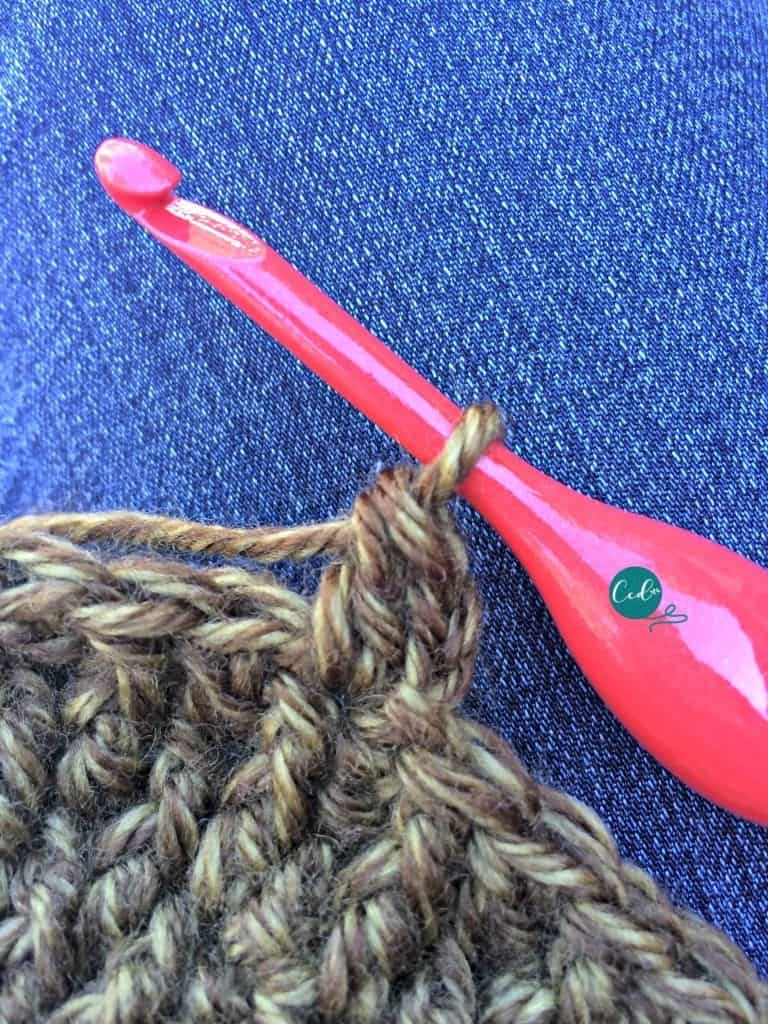
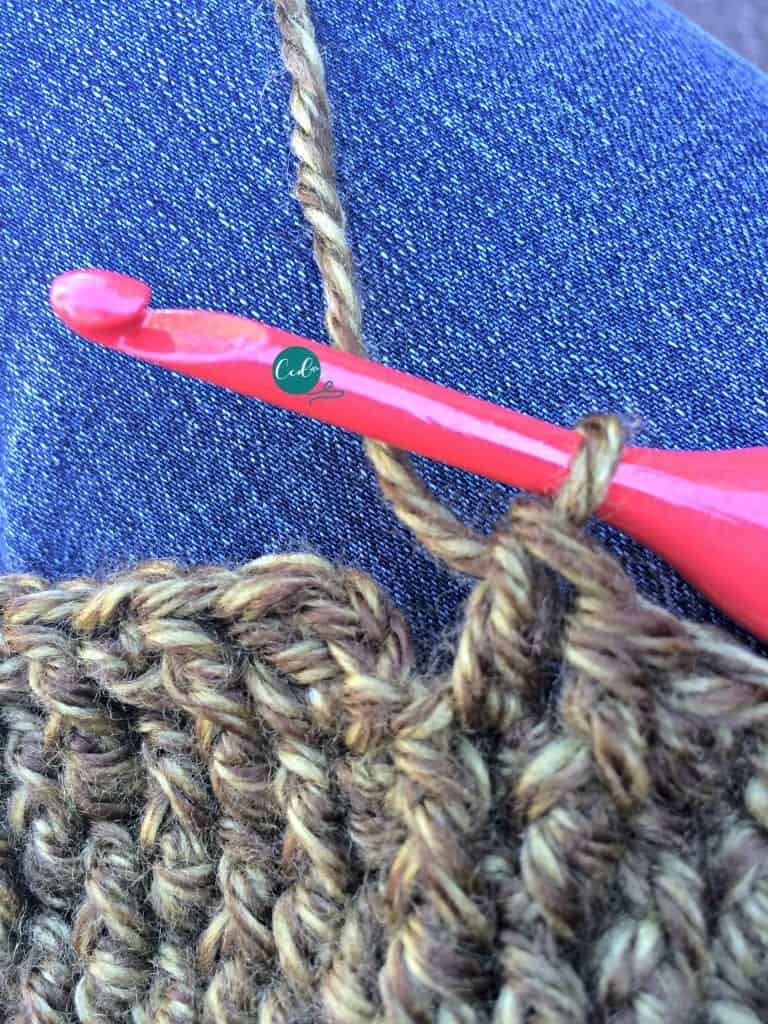
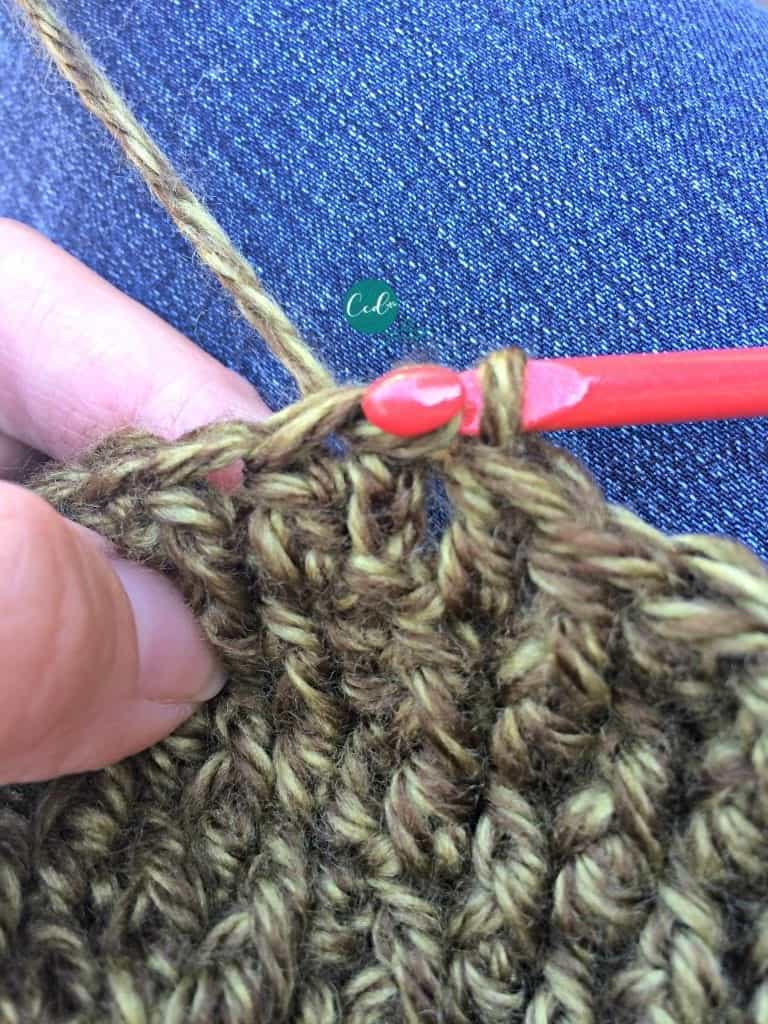
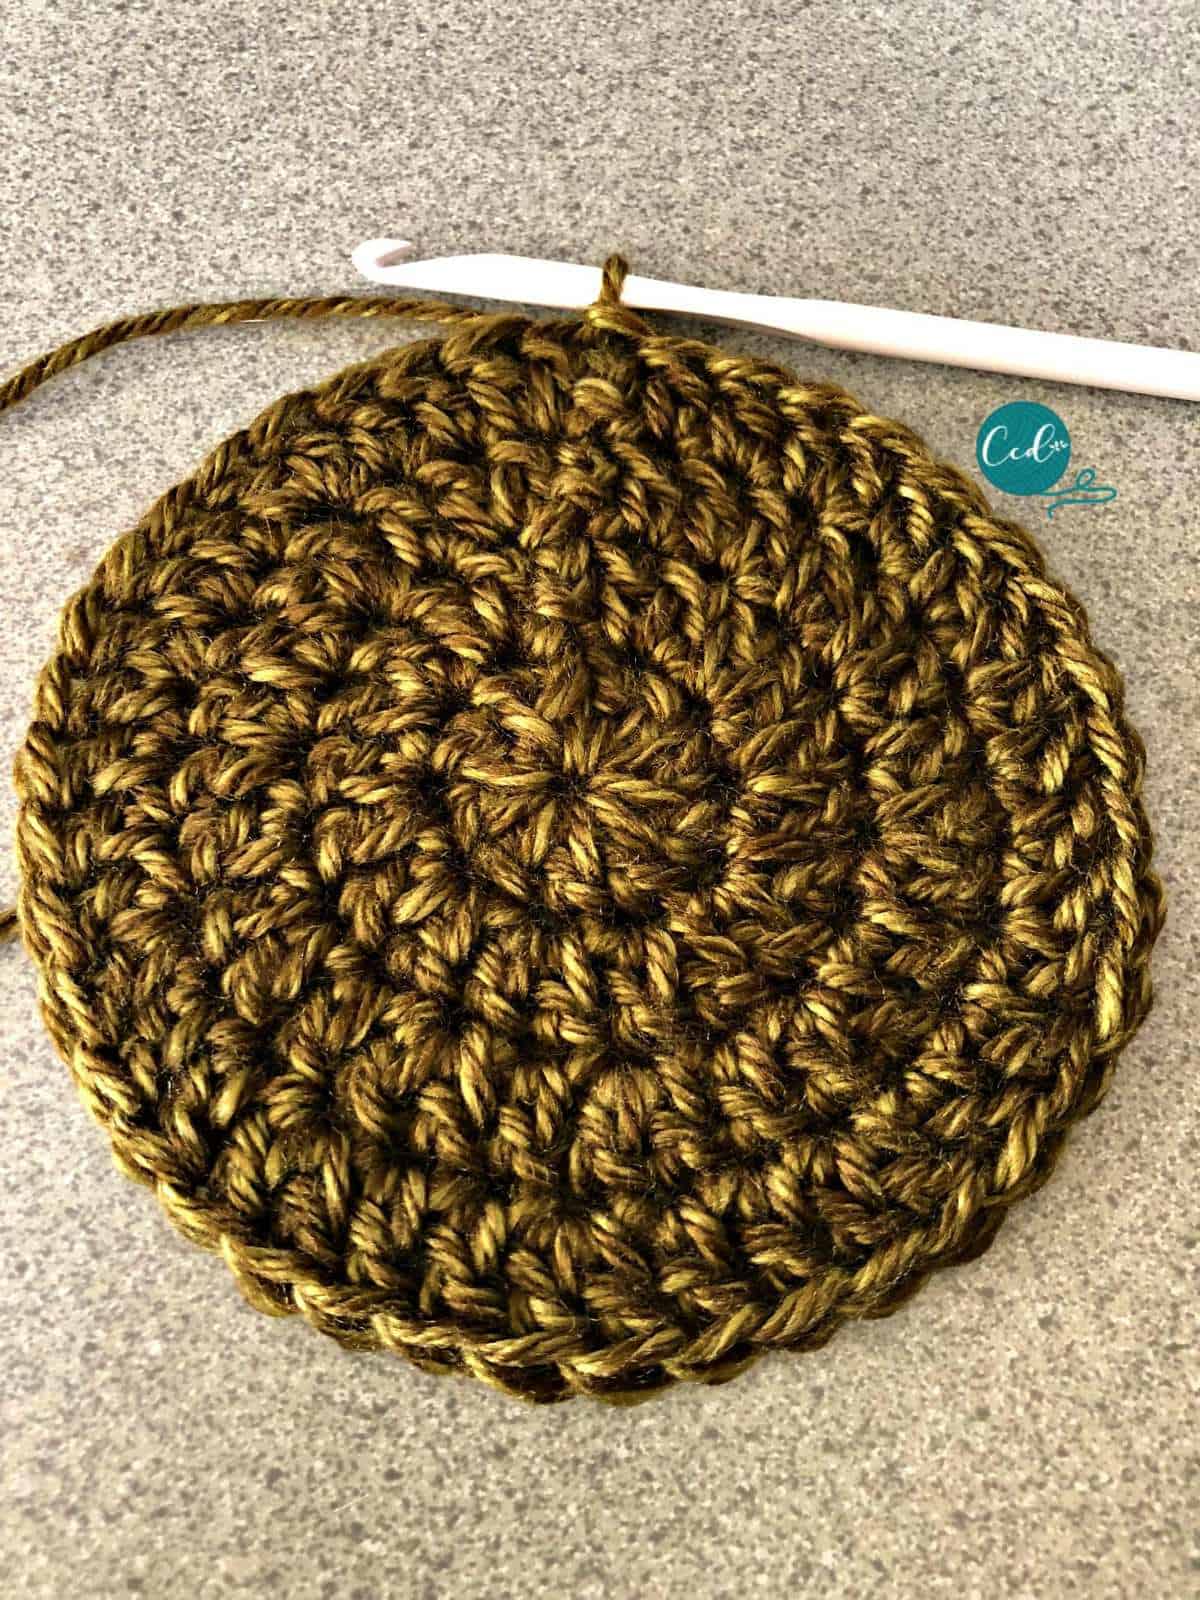
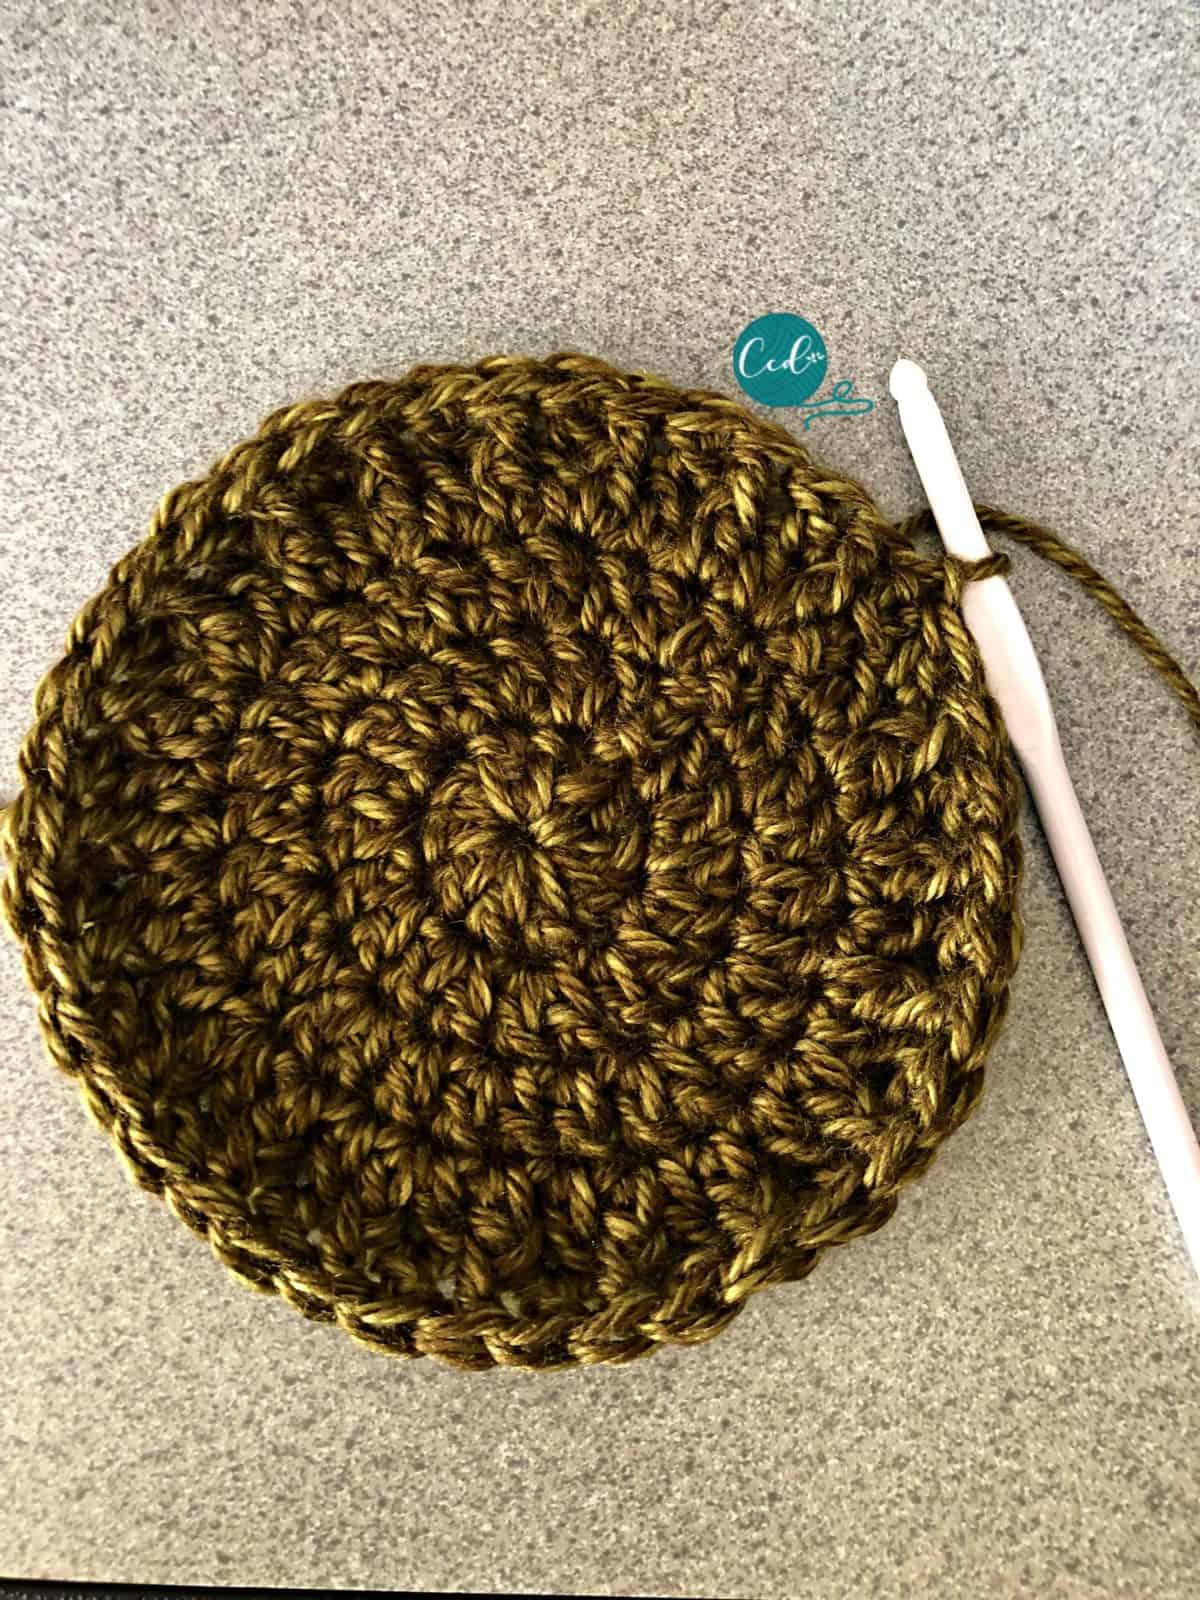
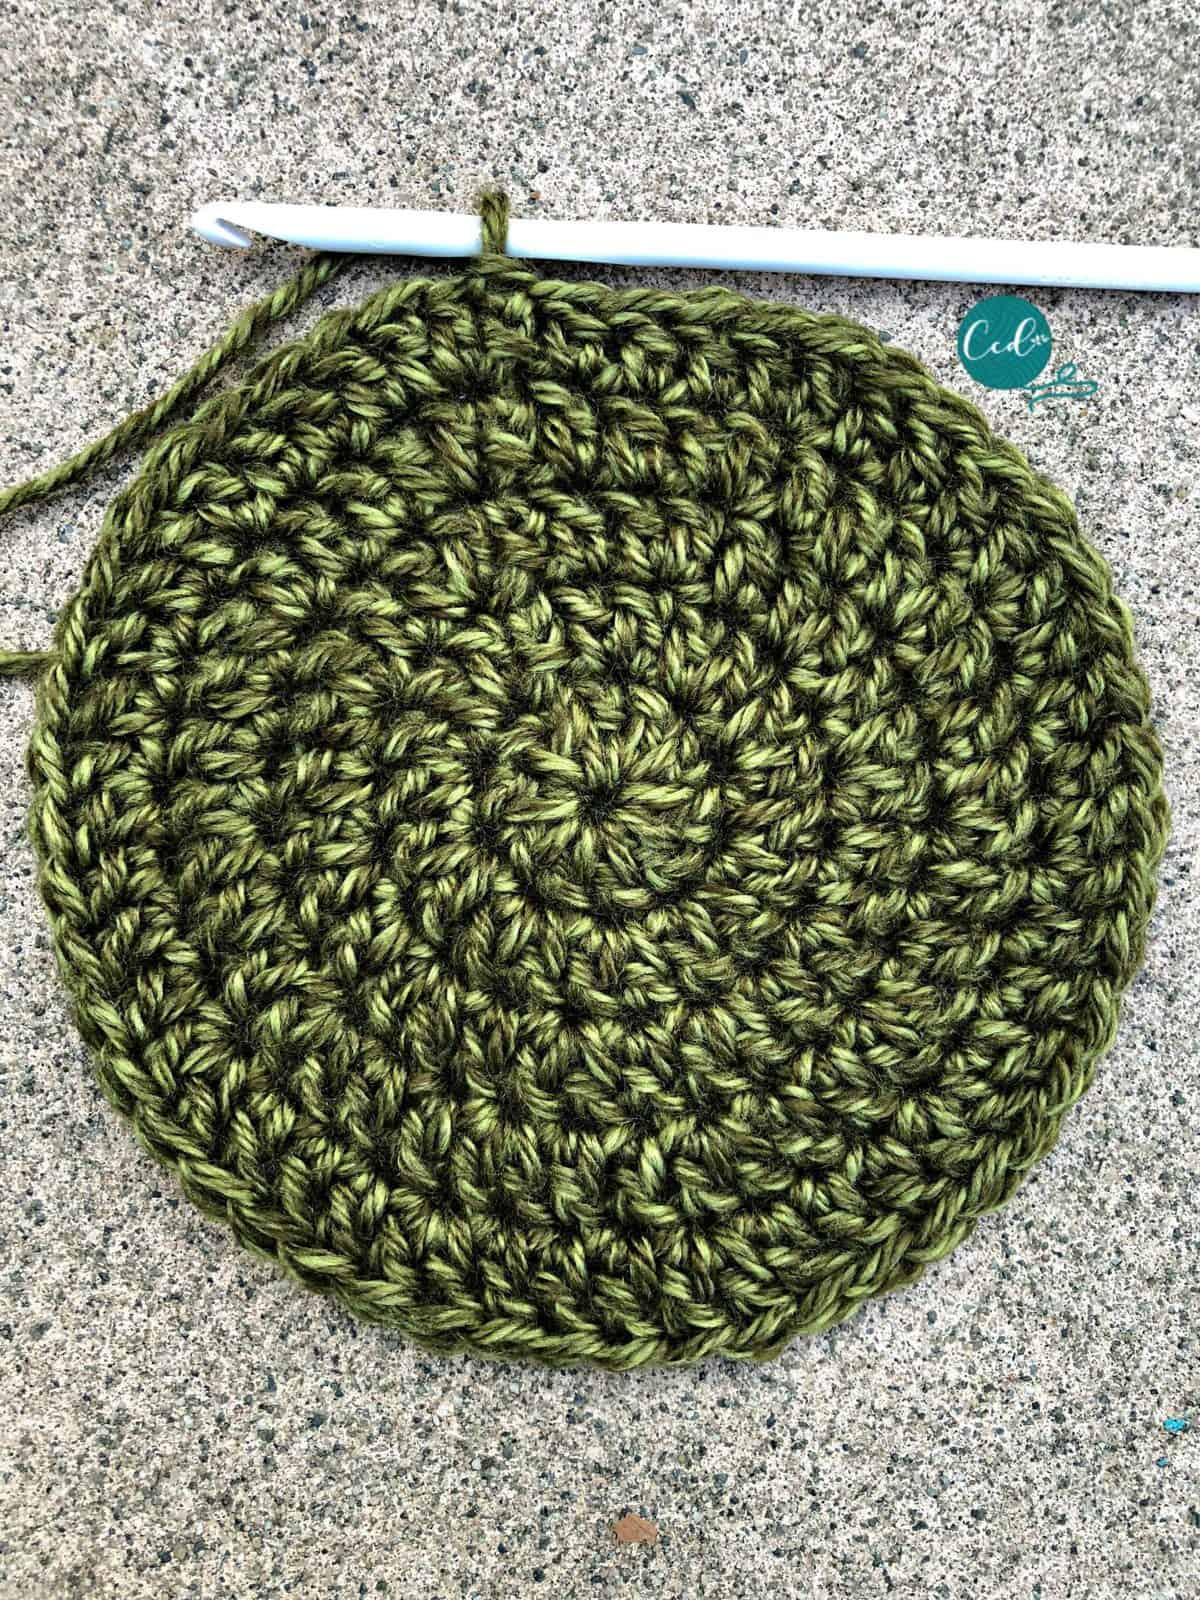
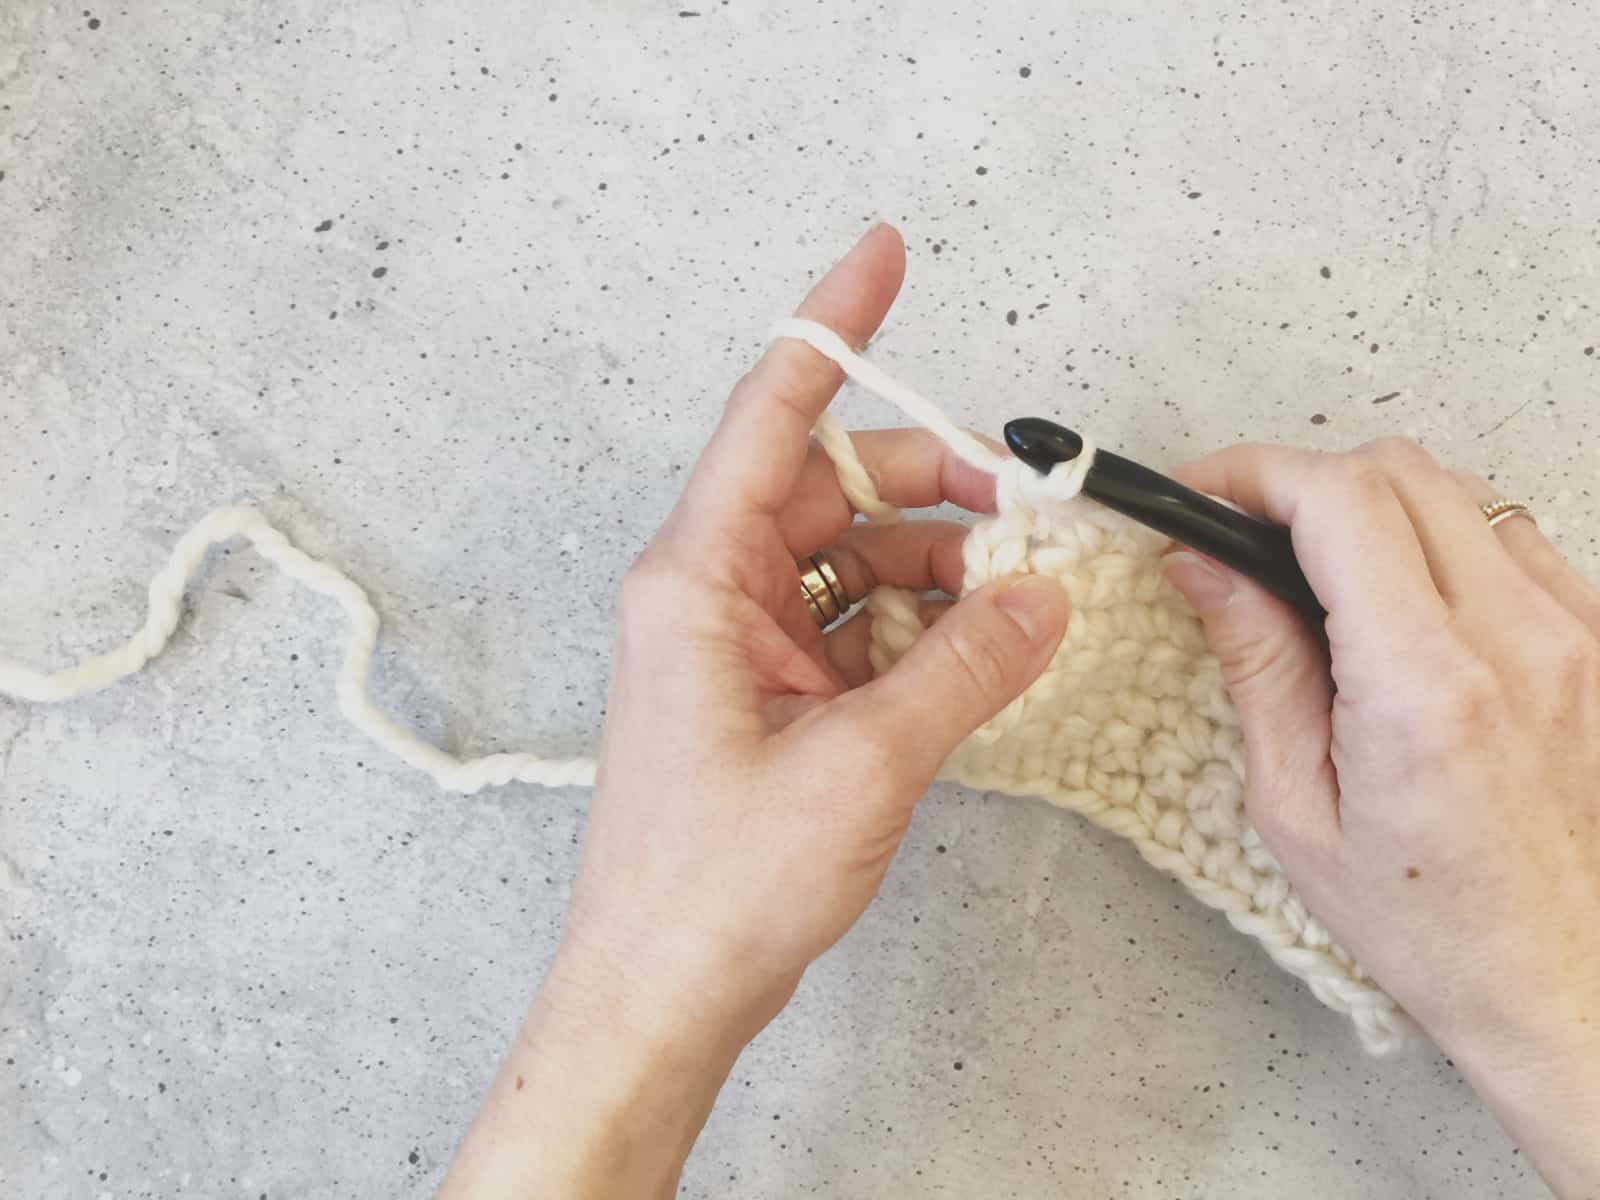
Here I include a few pictures of the start and finish of the two main rounds.
You can purchase the ad-free, well formatted PDF Pattern in one of my shops. Scroll down for the free pattern!
Scroll down for the free textured beanie pattern!
Men's Textured Beanie Crochet Pattern
The Textured Beanie is a great unisex hat for everyone in the family. The post stitches create a beautiful fabric that compliments any color. Worked up in medium worsted weight yarn, the Textured Beanie will be your new grab and go hat.
Materials
- #4 med worsted weight yarn, pictured in Lion Brand’s Heartland* (100% acrylic, 251 yd/230 m, 5 oz/ 142 g) color: Joshua Tree, or 175-200 yds comparable yarn
Tools
- 5.5mm US Size I-9 Hook*
- yarn needle
- scissors
- measuring tape
Instructions
- SM/MD Adult
Rnd 1. Dc 12 into a mc, sl st to first to join. - Rnd 2. Ch 3, dc in the same st, 2 dc in the next st and in each st around, sl st to first to join. (24)
- Rnd 3. Ch 3, 2 dc in the next st, *{dc in the next st, 2 dc in the next st} rep from * around, sl st to first to join. (36)
- Rnd 4. Ch 3, dc in the next, 2 dc in the next, *{dc in each of the next 2 st, 2 dc in the next st} rep from * around, sl st to first to join. (48)

- Rnd 5. Ch 3, dc in each of the next 2 st, 2 dc in the next, *{dc in each of the next 3 st, 2 dc in the next st} rep from * around, sl st to first to join. (60) 7” circle
- Rnd 6. Ch 3, *{fpdc in the next st, dc in the next st} rep from * around, sl st to first to join. (60)

- Rnd 7. Ch 3, dc in the next, *{fpdc in the next st, dc in the next st} rep from * around, sl st to first to join.
- Rnd 8-18. Rep Rnds 6 & 7.
- Rnd 19. Ch 1, sc in the same and in each st around, sl st to join.
Cut yarn & weave in. 8.5” tall - LG Adult
Rnd 1. Dc 12 into a mc, sl st to first to join. - Rnd 2. Ch 3, dc in the same st, 2 dc in the next st and in each st around, sl st to first to join. (24)
- Rnd 3. Ch 3, 2 dc in the next st, *{dc in the next st, 2 dc in the next st} rep from * around, sl st to first to join. (36
- )Rnd 4. Ch 3, dc in the next, 2 dc in the next, *{dc in each of the next 2 st, 2 dc in the next st} rep from * around, sl st to first to join. (48)
- Rnd 5. Ch 3, dc in each of the next 2 st, 2 dc in the next, *{dc in each of the next 3 st, 2 dc in the next st} rep from * around, sl st to first to join. (60)

- Rnd 6. Ch 3, dc in each of the next 3 st, 2 dc in the next, *{dc in each of the next 4 st, 2 dc in the next st} rep from * around, sl st to first to join. (72)
- Rnd 7. Ch 3, *{fpdc in the next st, dc in the next st} rep from * around, sl st to first to join. (72)
- Rnd 8. Ch 3, dc in the next, *{fpdc in the next st, dc in the next st} rep from * around, sl st to first to join.
- Rnds 9-18. Rep Rnds 7 & 8.
- Rnd 19. Ch 1, sc in the same and in each st around, sl st to join.
- Cut yarn & weave in. 9” tall
 I added this funny little leather label I found at Joann's. I couldn't find a link on line for you, but they were in the yarn section by the hooks. He thought it was pretty funny!
Recommended Products
As an Amazon Associate and member of other affiliate programs, I earn from qualifying purchases.

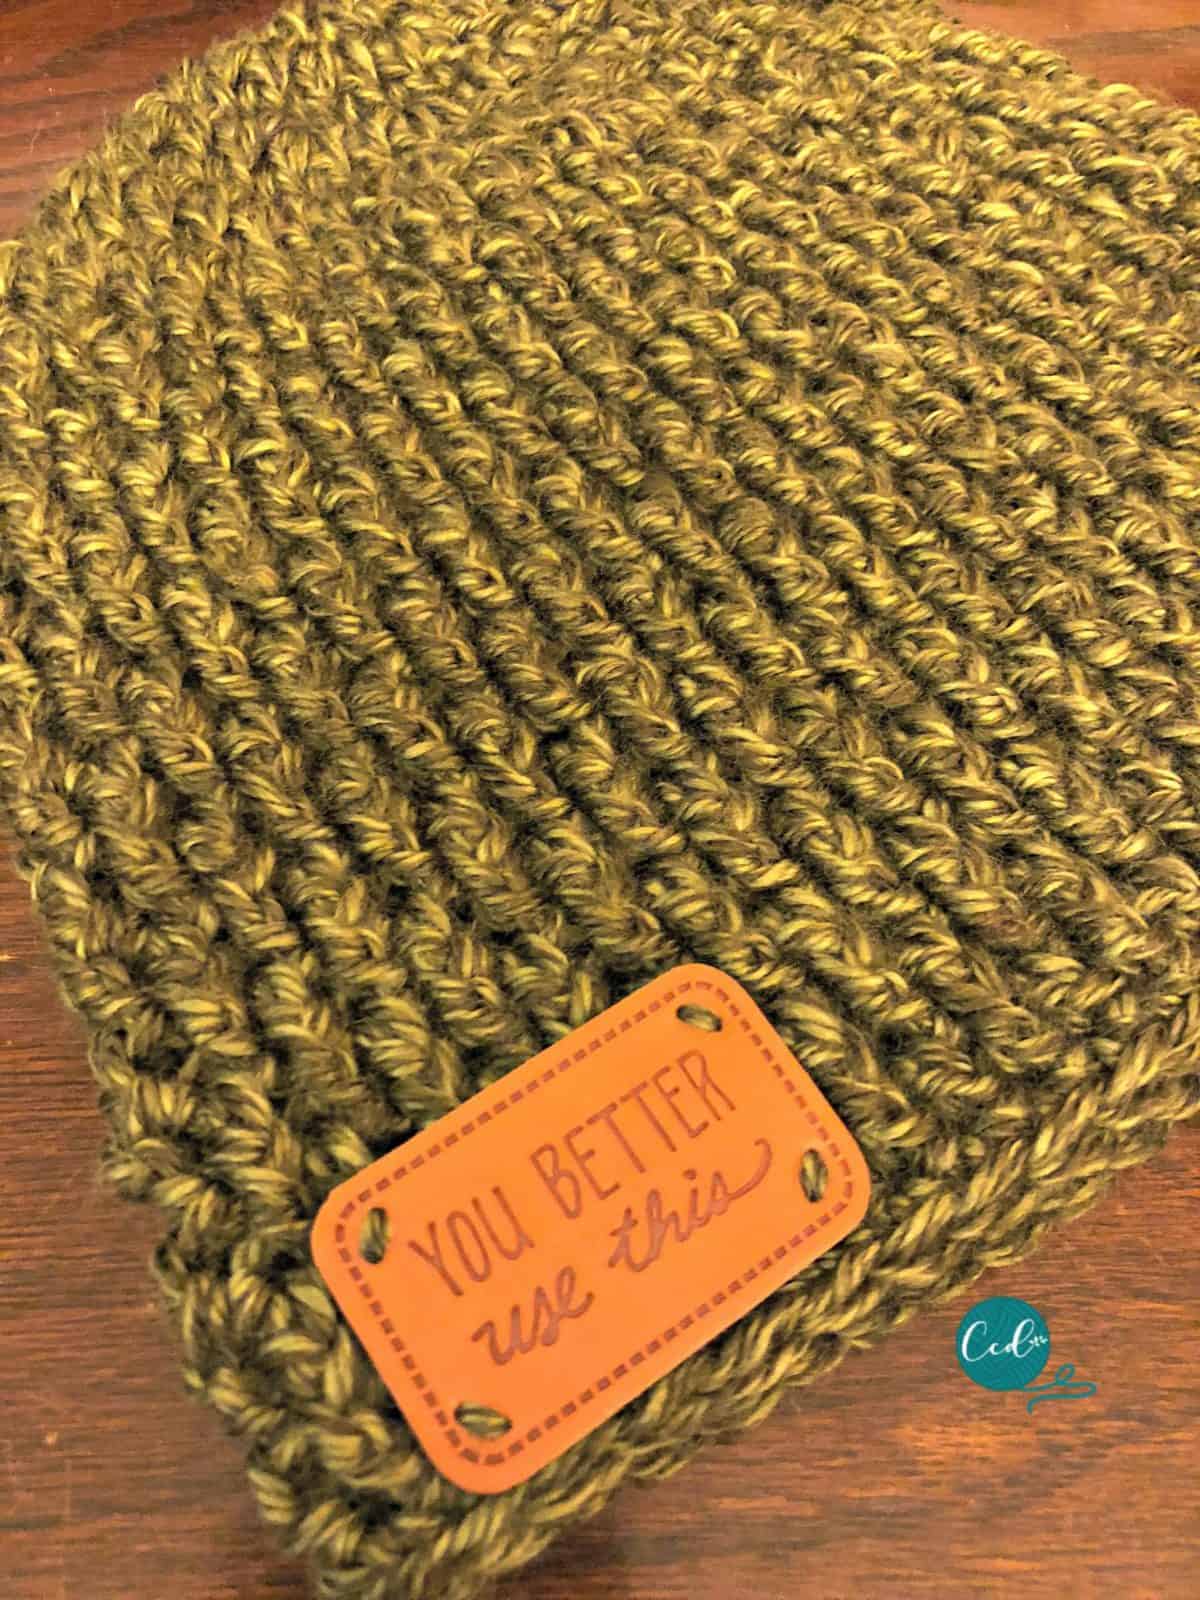 I added this funny little leather label I found at Joann's. I couldn't find a link on line for you, but they were in the yarn section by the hooks. He thought it was pretty funny!
Love Love Love ❤️
Thank you!
My beanie is all wavy while working it. I’m not sure I’m doing it correctly. Do you have a step by step tutorial on this?
Hi Nikki!
Thanks for asking, what part of the pattern are you on now?
Usually when crochet is wavy it’s related to tension. If you’re on the flat circle to start the beanie, then that’s likely the culprit. Try going up or down a hook size, double check your stitch count.
If you’re on the post stitches, I added some photos of how to start rounds 5 & 6. Here’s a link to my fpdc tutorial front post double crochet
I hope those help.
Thank you for replying so quickly Crystal! I am on the 7th row so my rounds are completed. It didn’t start waving until I started the fpdc rotations.
I would just double check your stitch count and stick with it a few more rounds. It may just be the switch to the different stitches since the post stitches create a much stretchier fabric than plain stitches. Once you get further along in the hat, it takes on a better shape. Let me know how it goes!
there is something wrong with this pattern .rows 8-20 are repeats of rows 5-6 but row 5 is a dc increase row.should it read repeat rows 6-7 for rows 8-20? i have 10 rows and it’s still flat with around 80sts!
re my above comment – i was referring to the man’s size where the error is- should be rep rows 6-7. i have just read the women’s size where that is rep rows 5-6 .
You are right Maria, it should be repeat rows 6 & 7. So sorry, thank you for letting me know!
This year it’s hats for homeless men and your pattern is a God send. I think theses will do nicly.
What a blessing you are! I hope you enjoy the pattern. I know the recipients will be so grateful to you.
Just wondering how you can jump from 50 stitches in the second to last row, to 40 stitches in the last row without doing two together.
Hi Sarah, you are right, that is a typo. It should still read 50 stitches on the last row for the men’s size. Thank you for letting me know!
Love the photo tutorial!
Thank you!