Matteo Slouchy Textured Hat Crochet Pattern
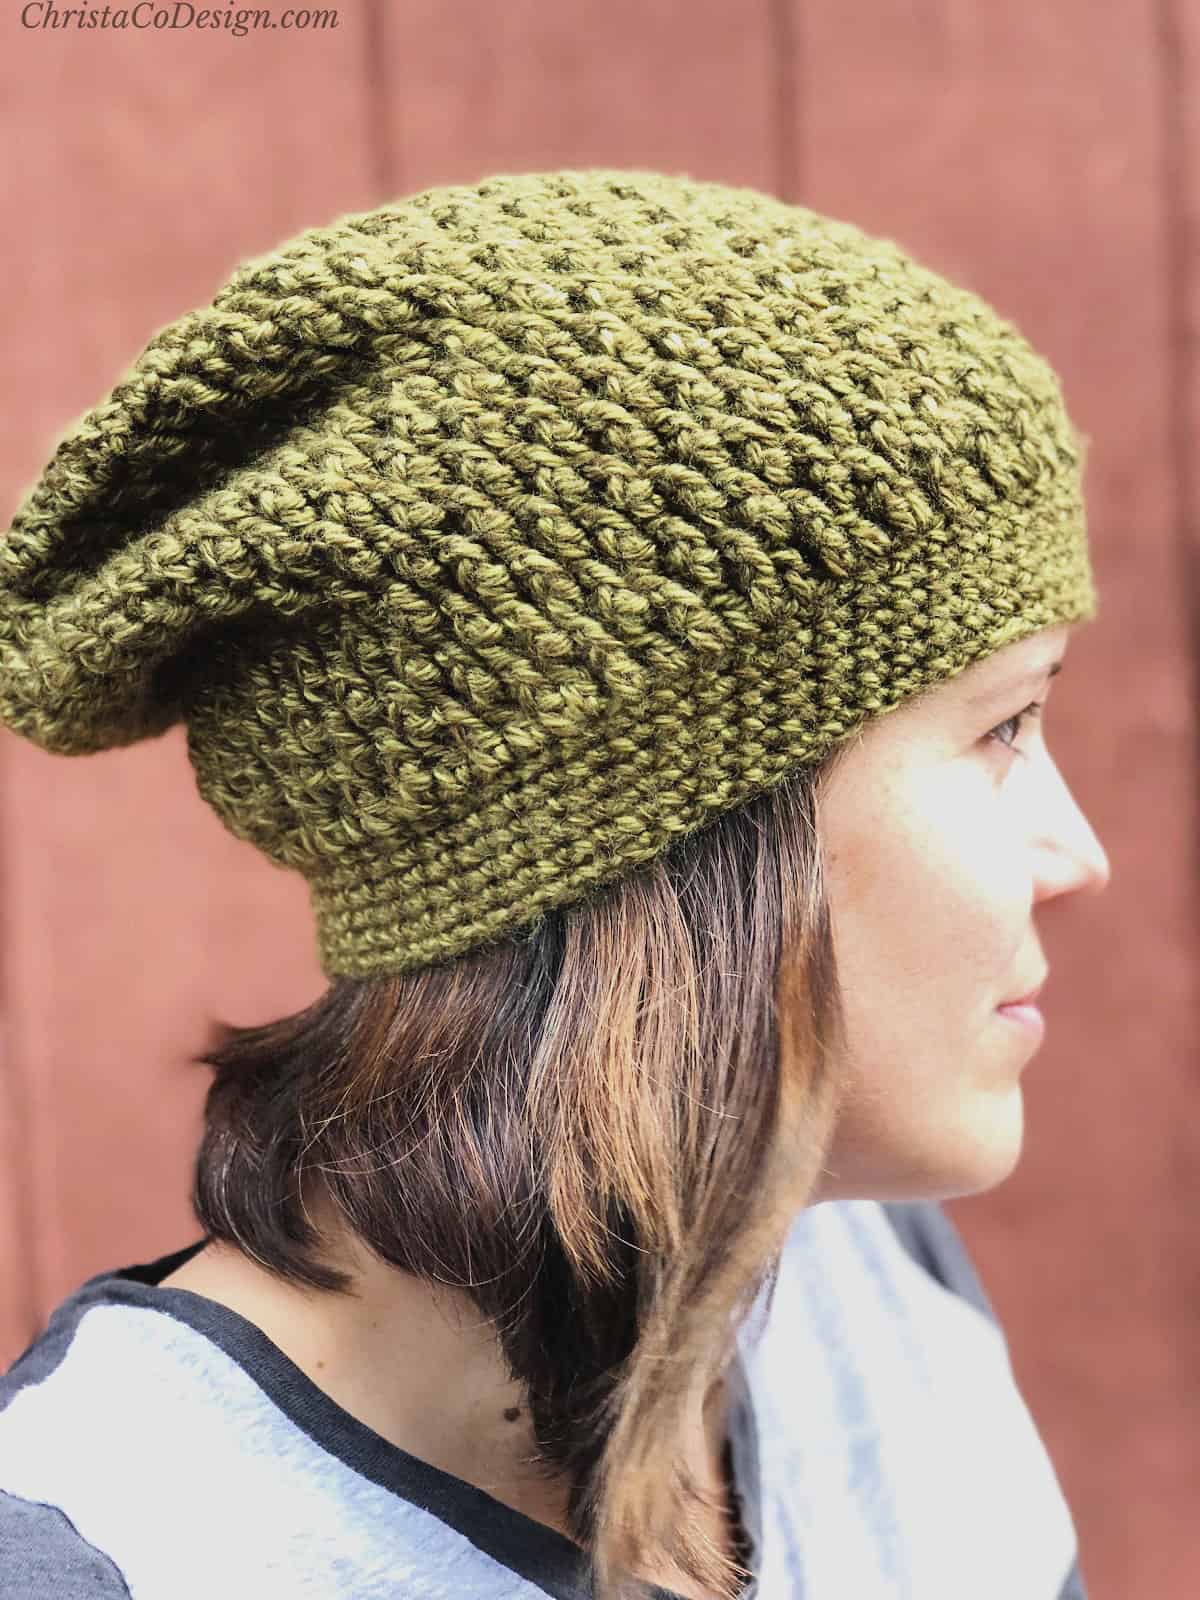
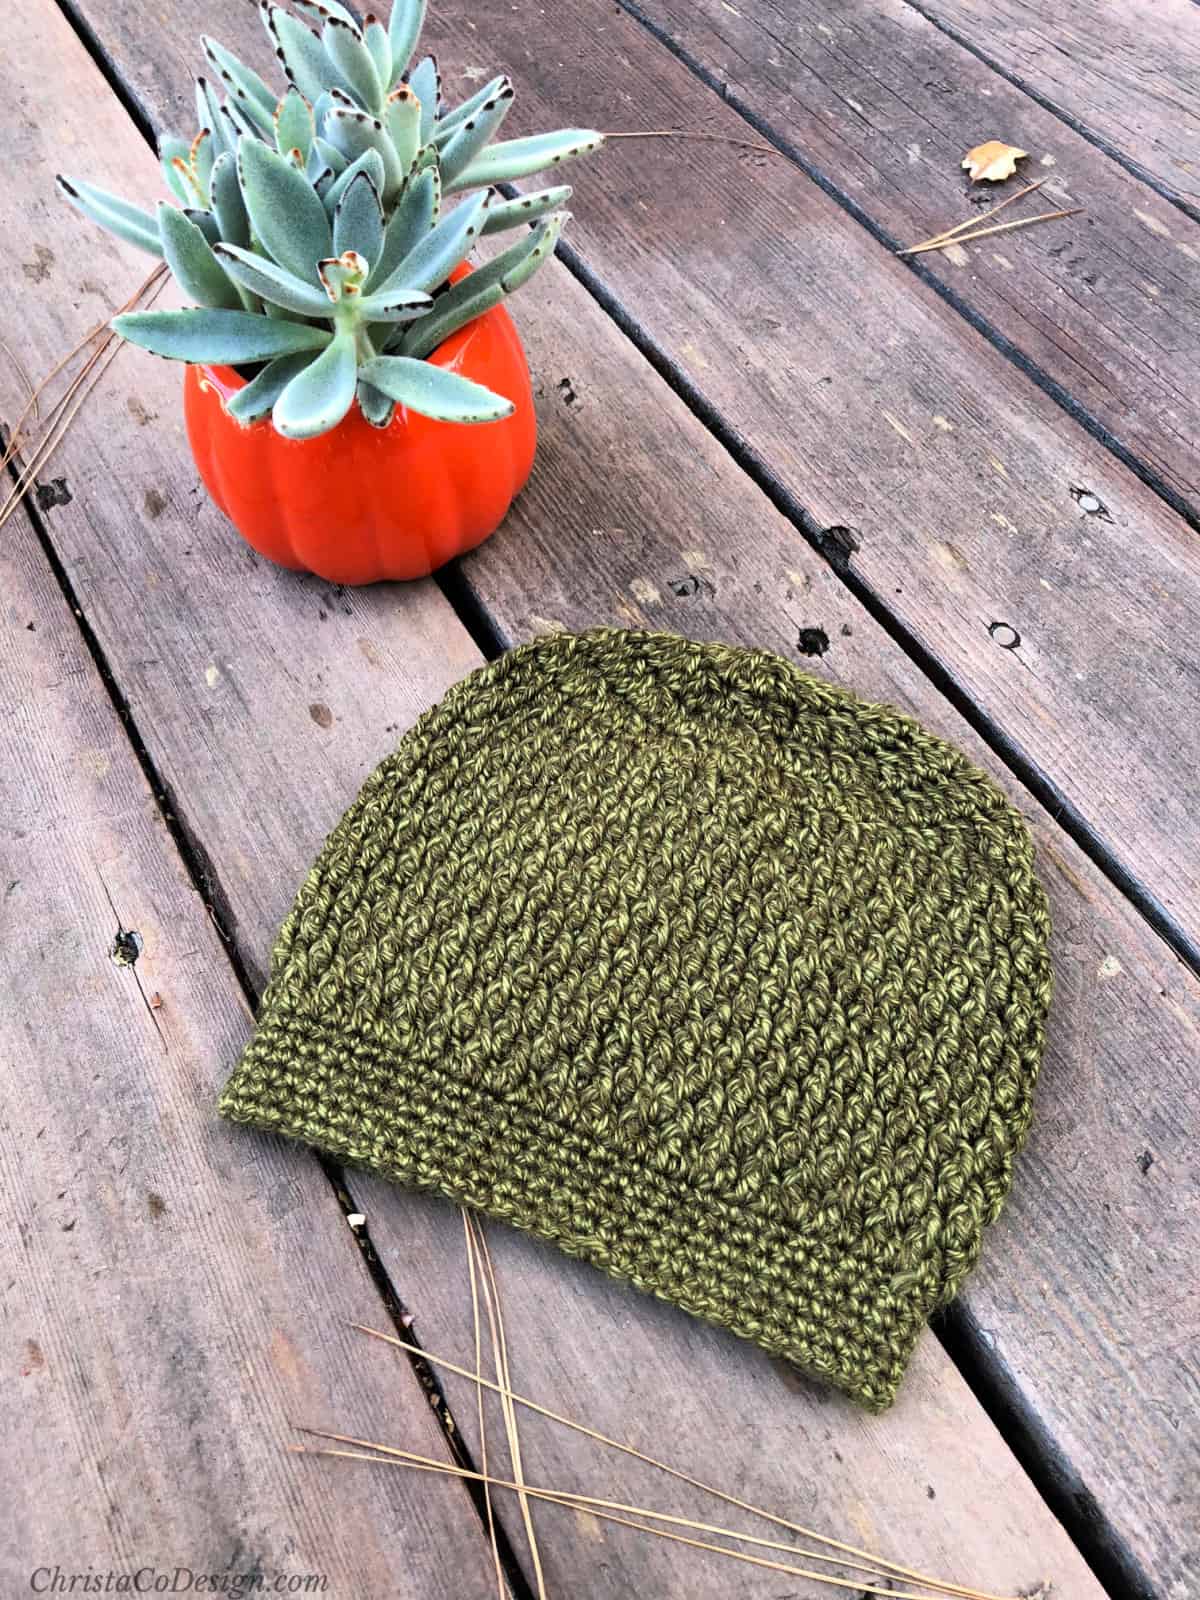
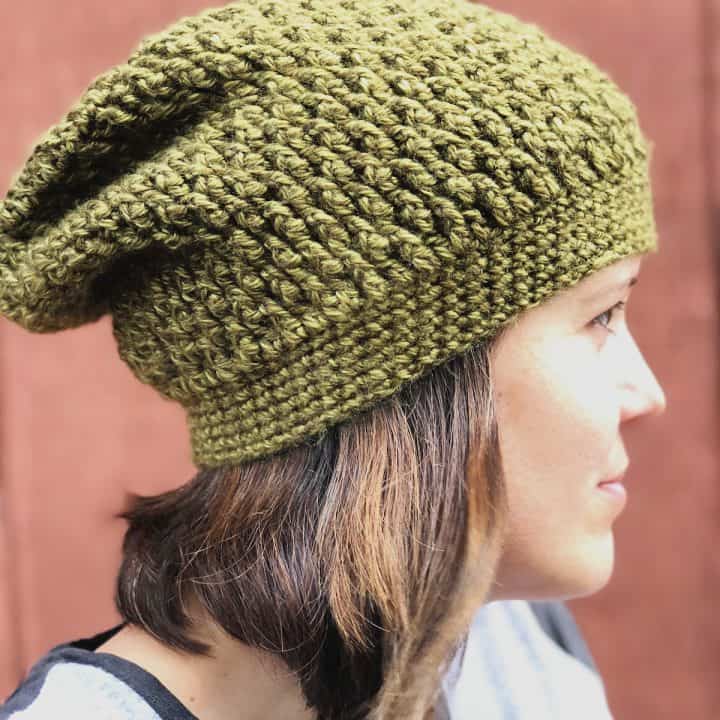
The Matteo Slouchy is a textured hat with a slouch fit. This bottom up hat crochets up beautifully in worsted weight yarn.
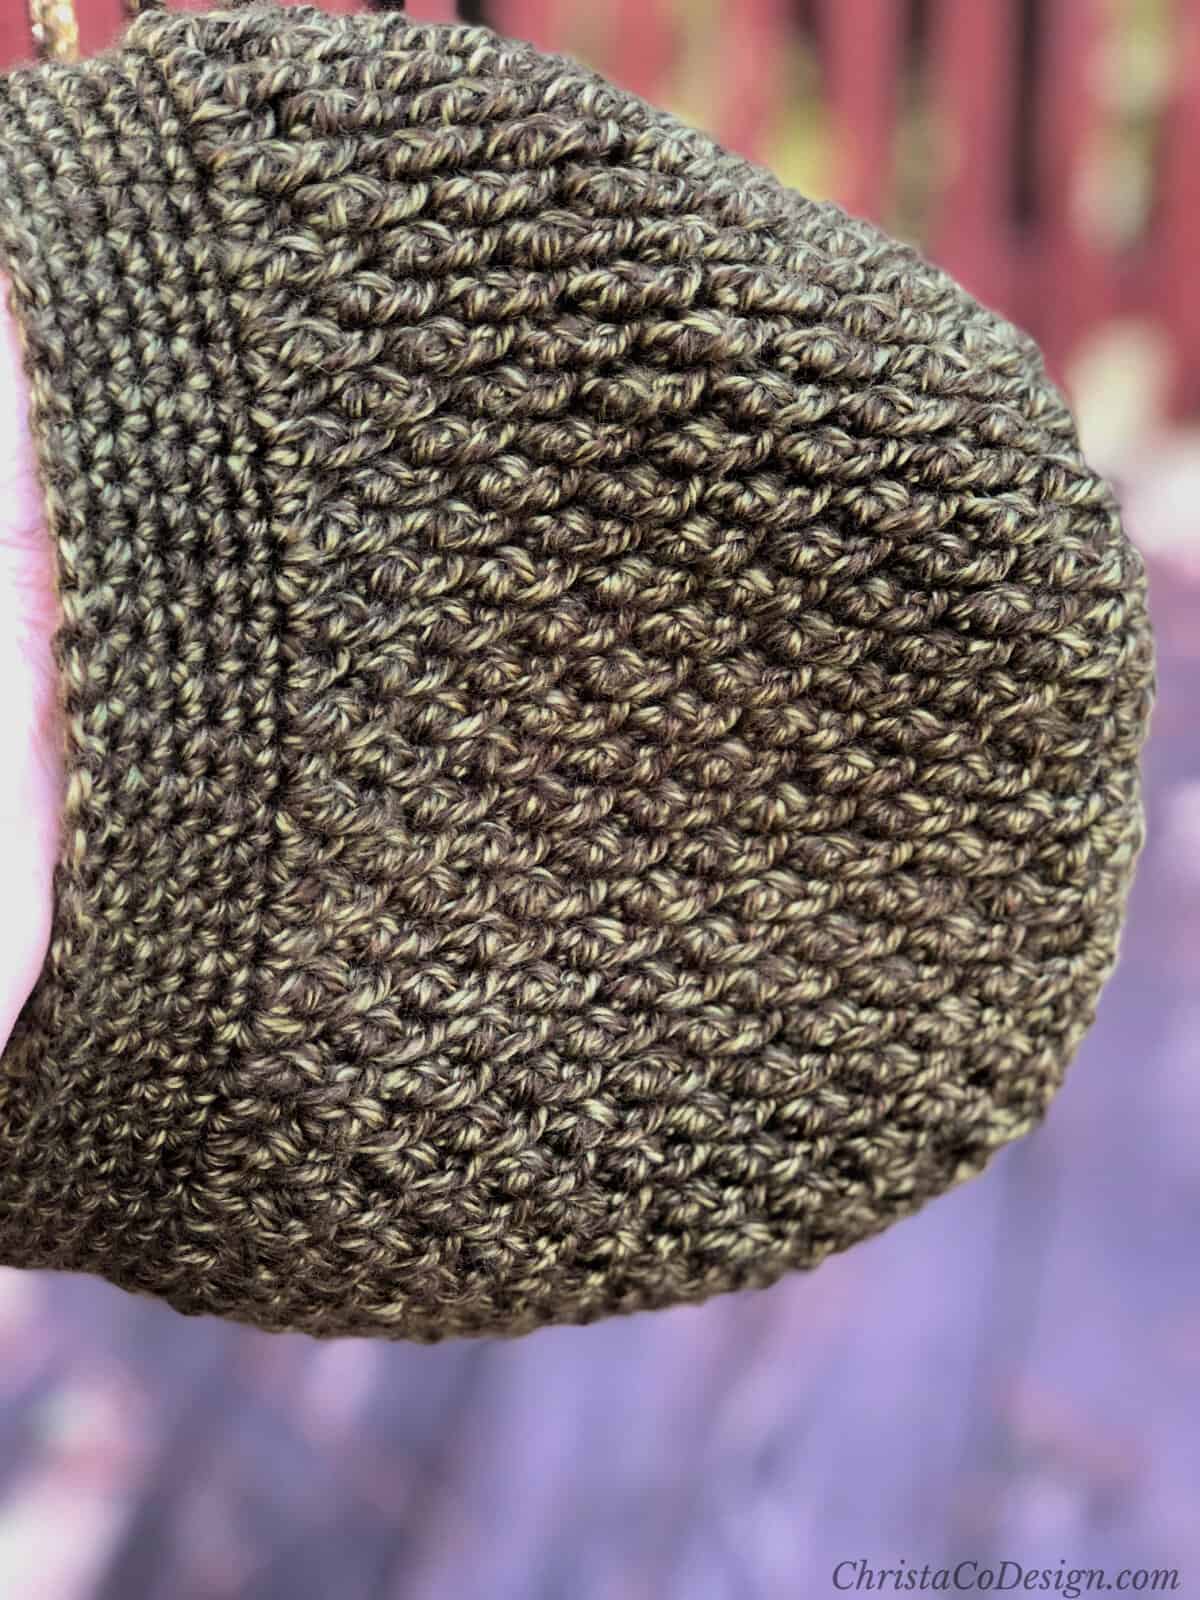
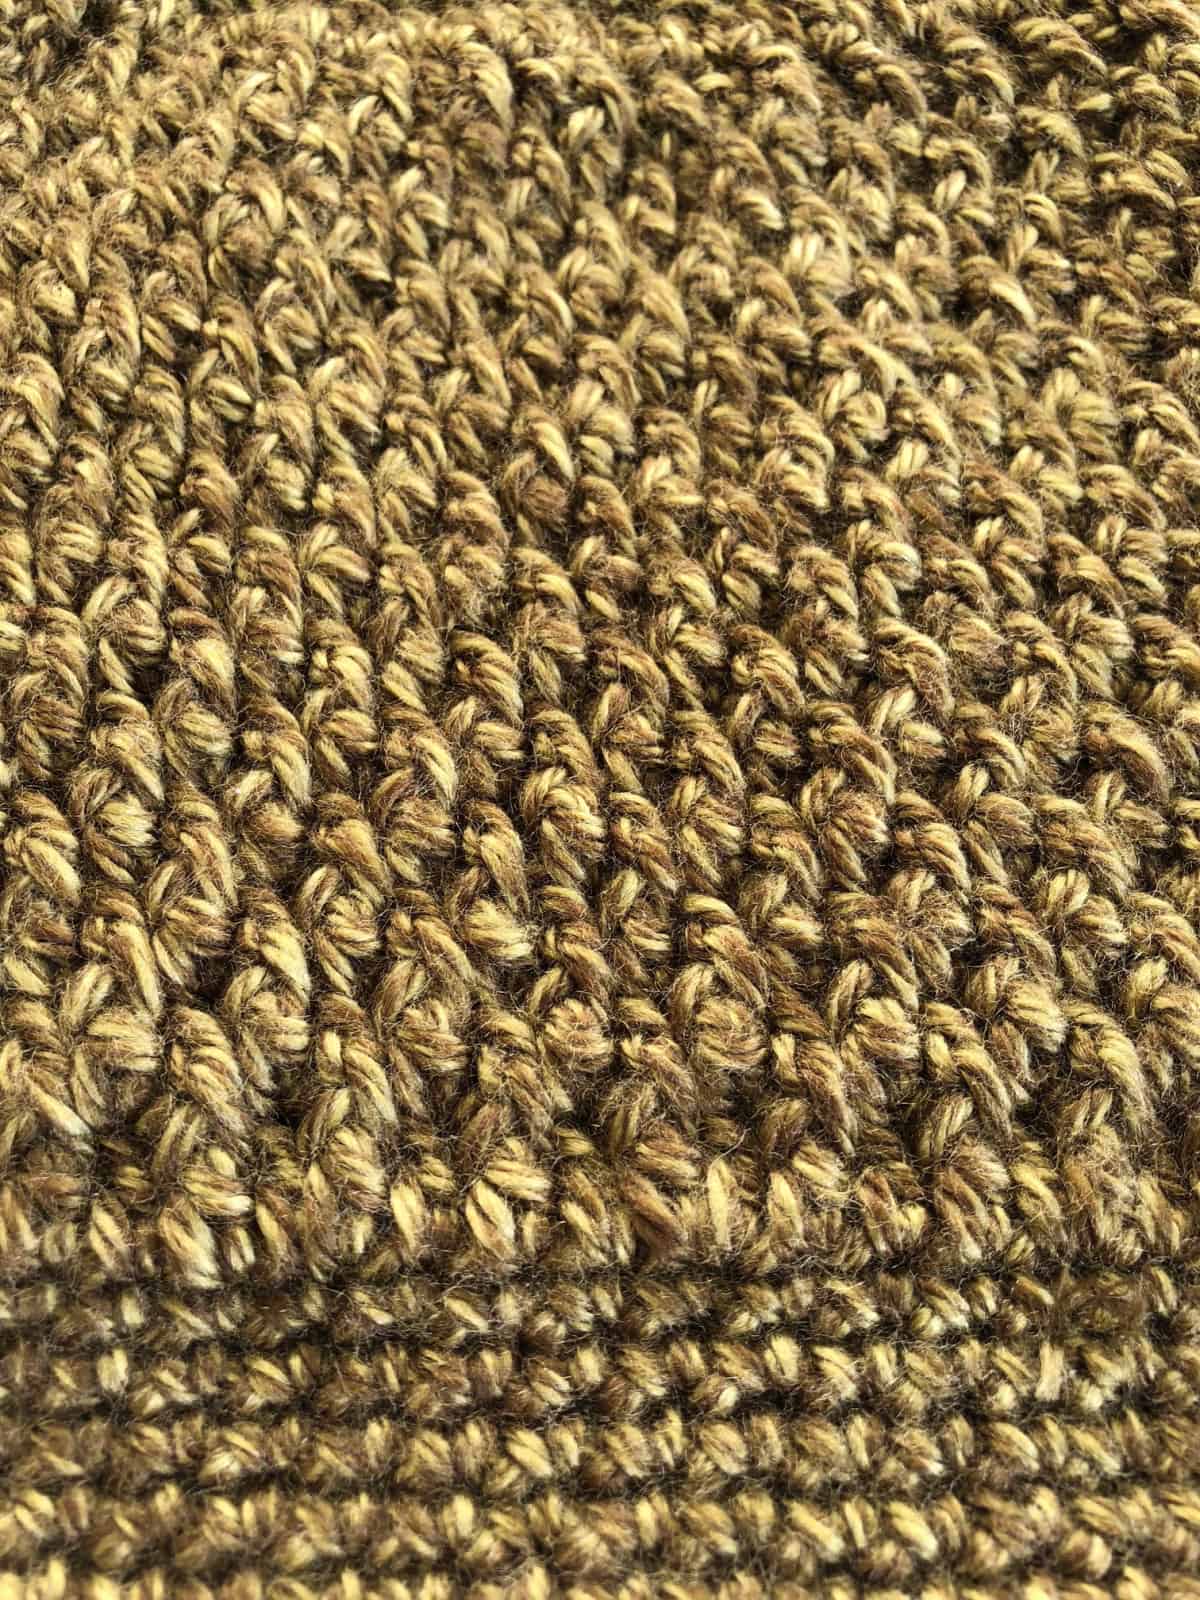
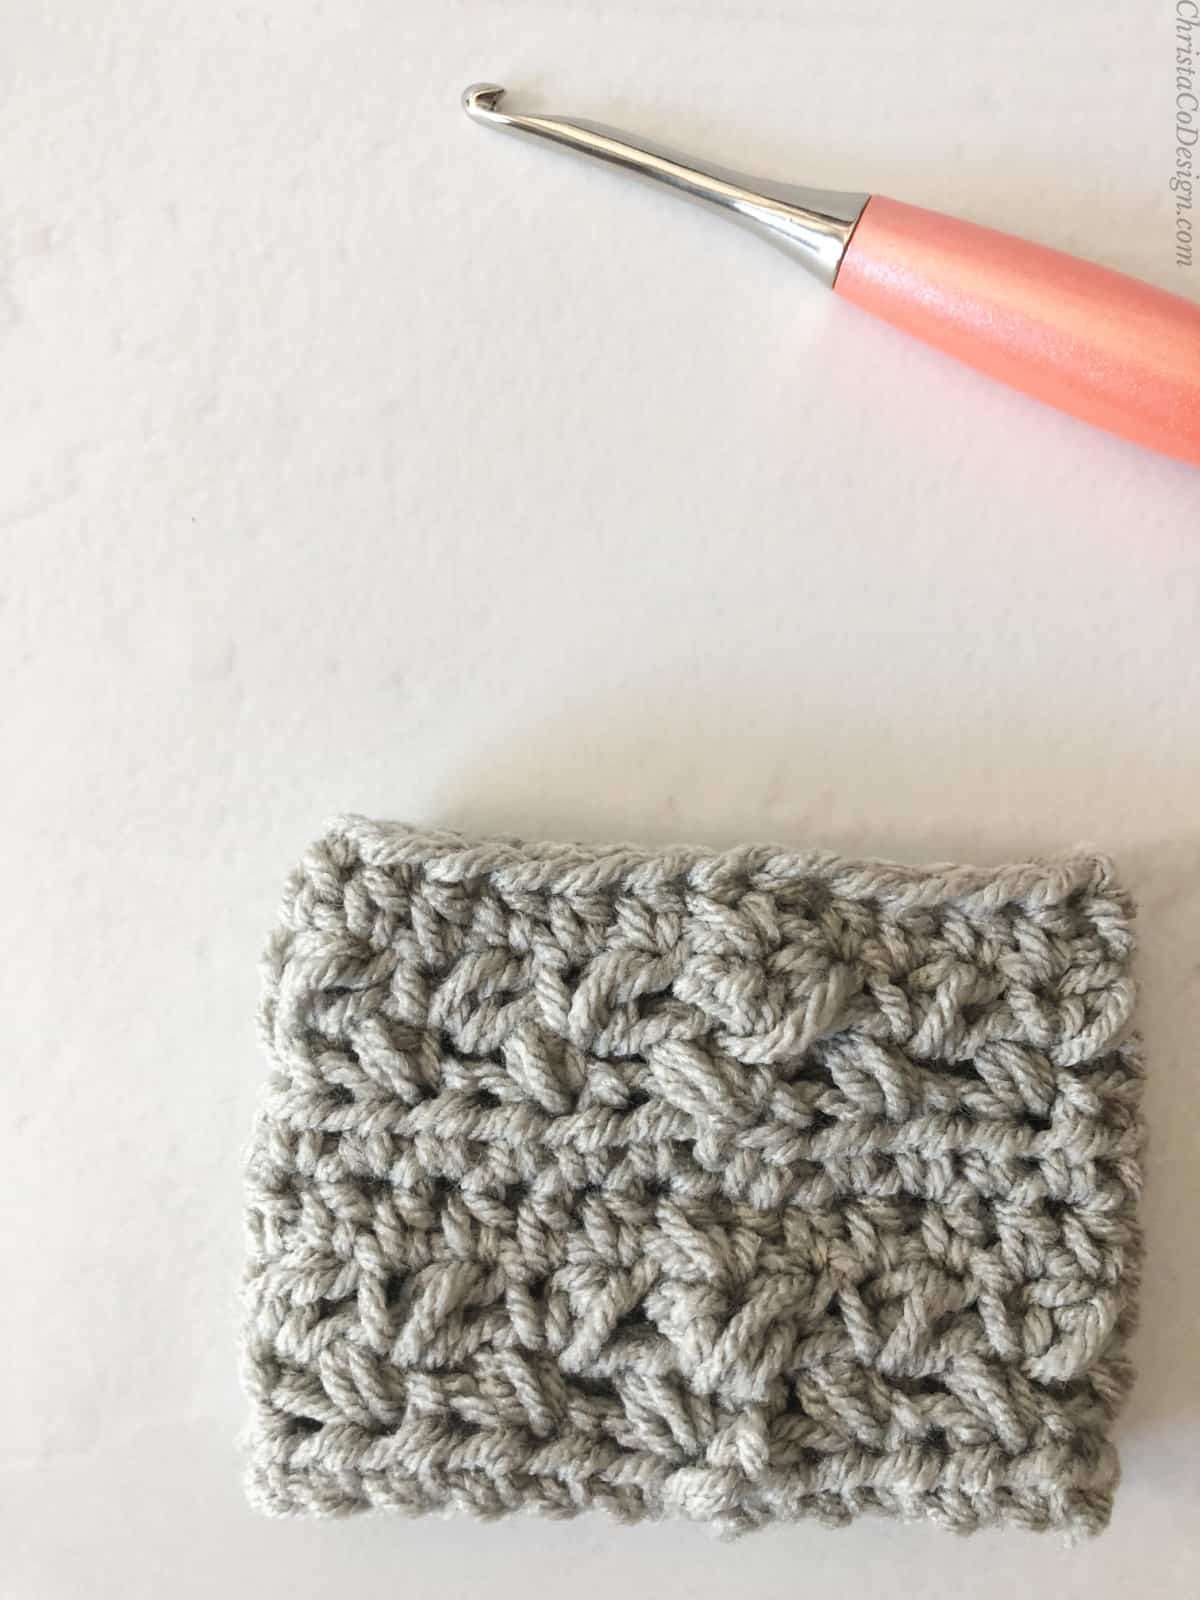
I love how this textured slouchy crochet hat worked up. The amazing texture is achieved with the front post double crochet stitches.
This textured slouchy hat pattern is in sizes teen/adult. The hat has a single crochet band. The tube or body of the hat has double crochet and front post double crochets.
This post contains affiliate links, I may earn a fee. Read more disclosure policy.
You can purchase the ad-free, well formatted PDF Pattern in one of my shops. Scroll down for the free pattern!
Or if you prefer, you can buy the pdf from my Etsy or Ravelry shops!
01
Get our most popular patterns
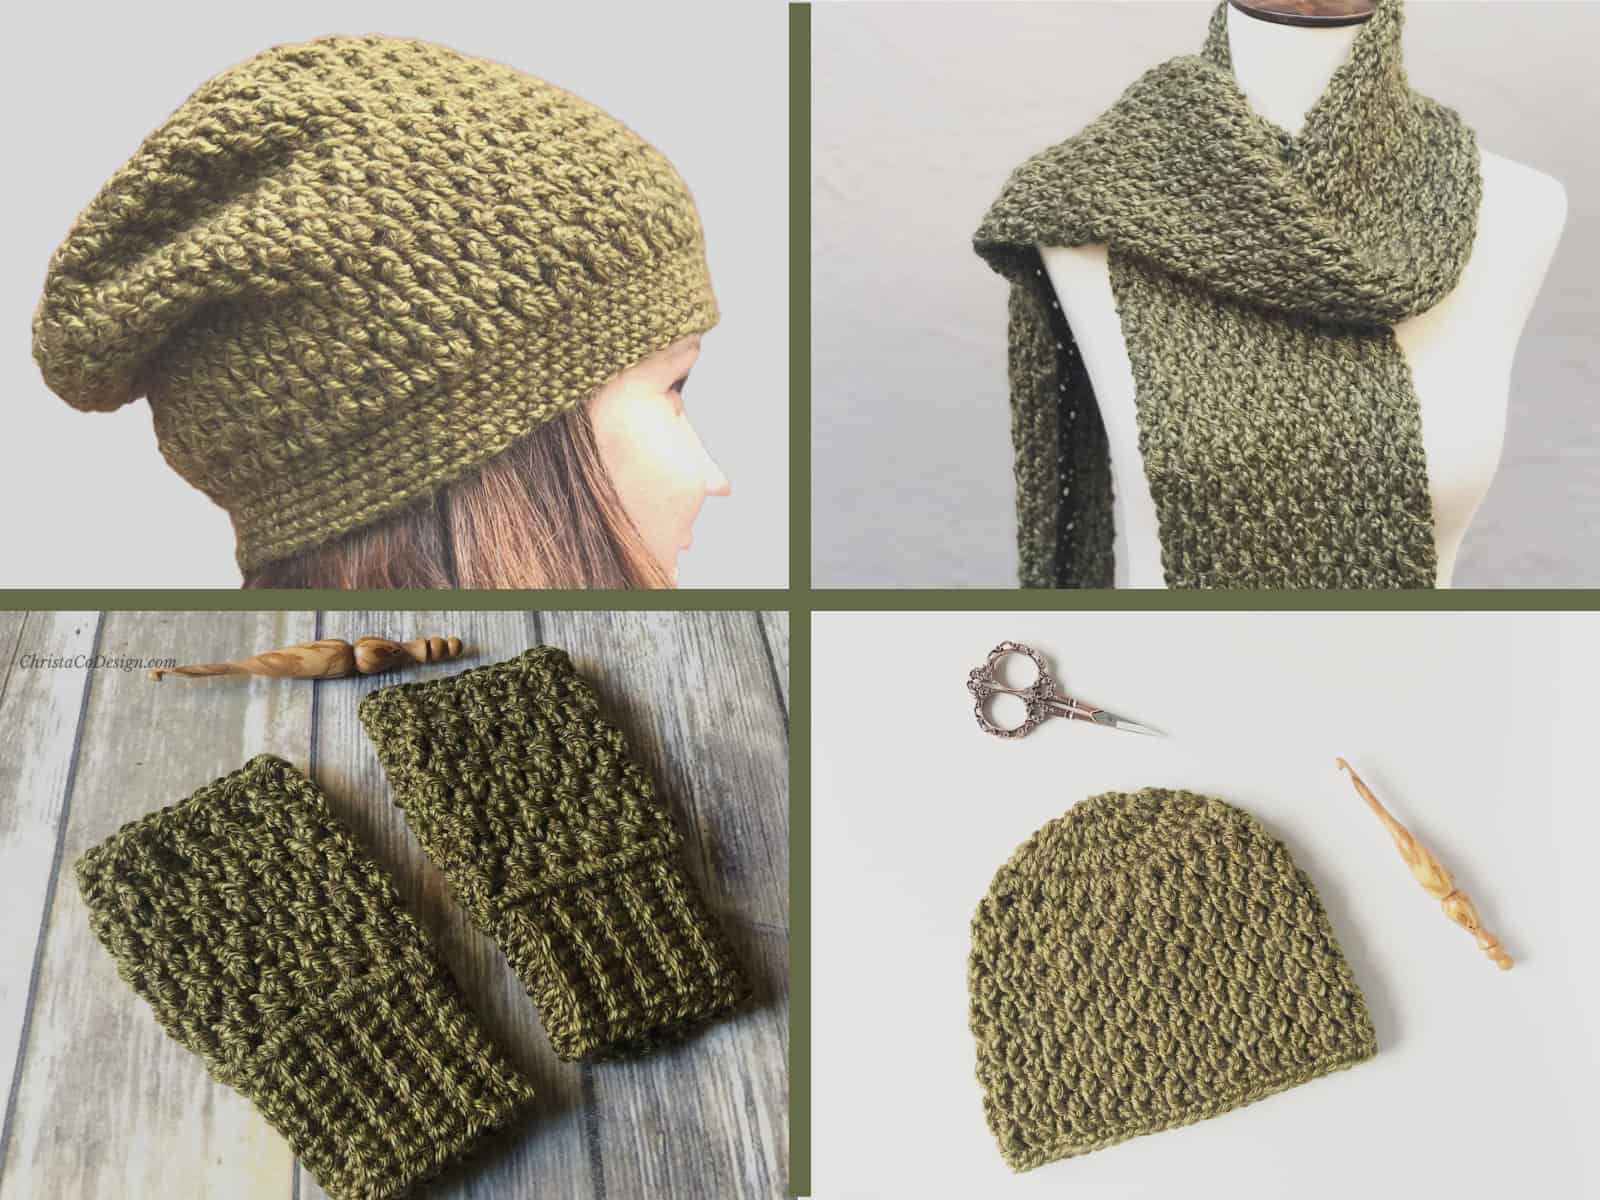
Matteo Set
This ebook includes our top reader favorite crochet patterns that you are sure to enjoy as well! Download our beautiful, easy to read, matching crochet pattern ebook!
The Yarn
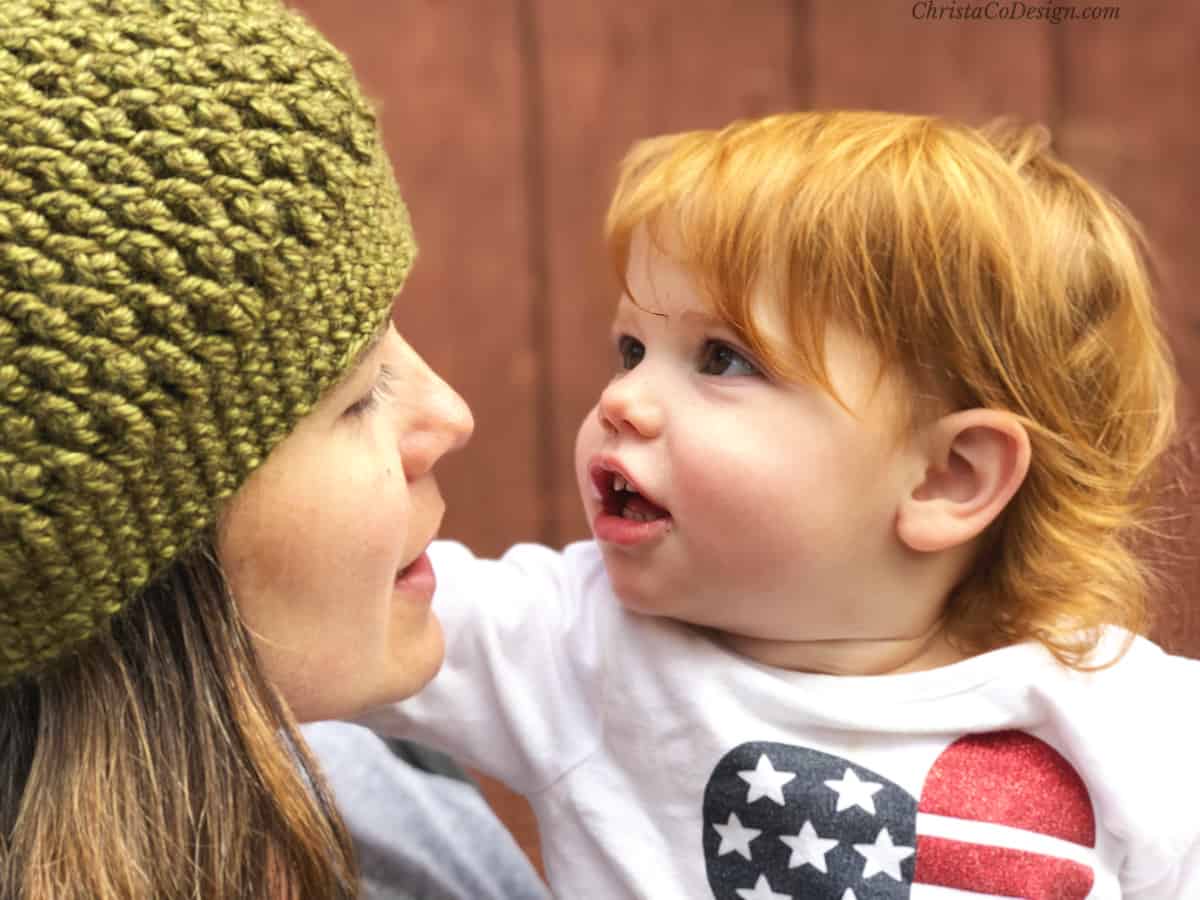
My daughter was quite intrigued with this hat in particular. She just wanted to reach up and grab it. This yarn is so grab-able too!
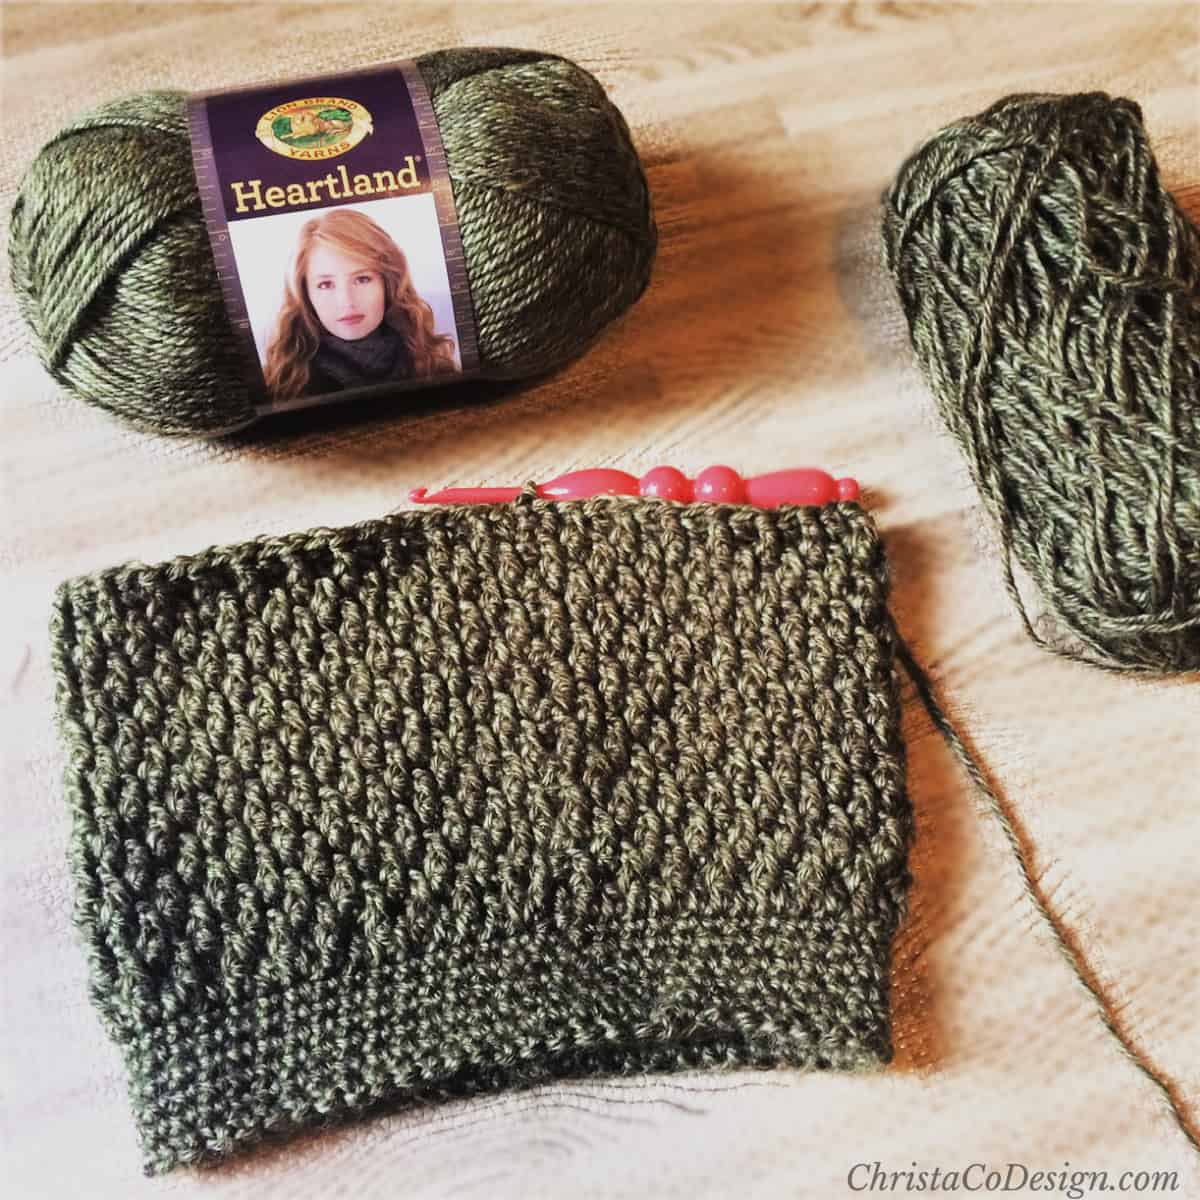
I love the subtle color variations in Lion Brand’s Heartland. It’s one of my favorite worsted weight yarn.
I love how soft this yarn feels when I’m crocheting with it. Combine that with the sheen and all the gorgeous colors to choose from and I’m hooked! Pun intended.
Materials
- 1 ball of Lion Brand Heartland Yarn* a #4 medium weight yarn (100% Acrylic, 5 oz. / 142 g, 251 yd. / 230 m) color: Joshua Tree.
- Hook size (H-8) 5mm* or crochet hook size to meet gauge.
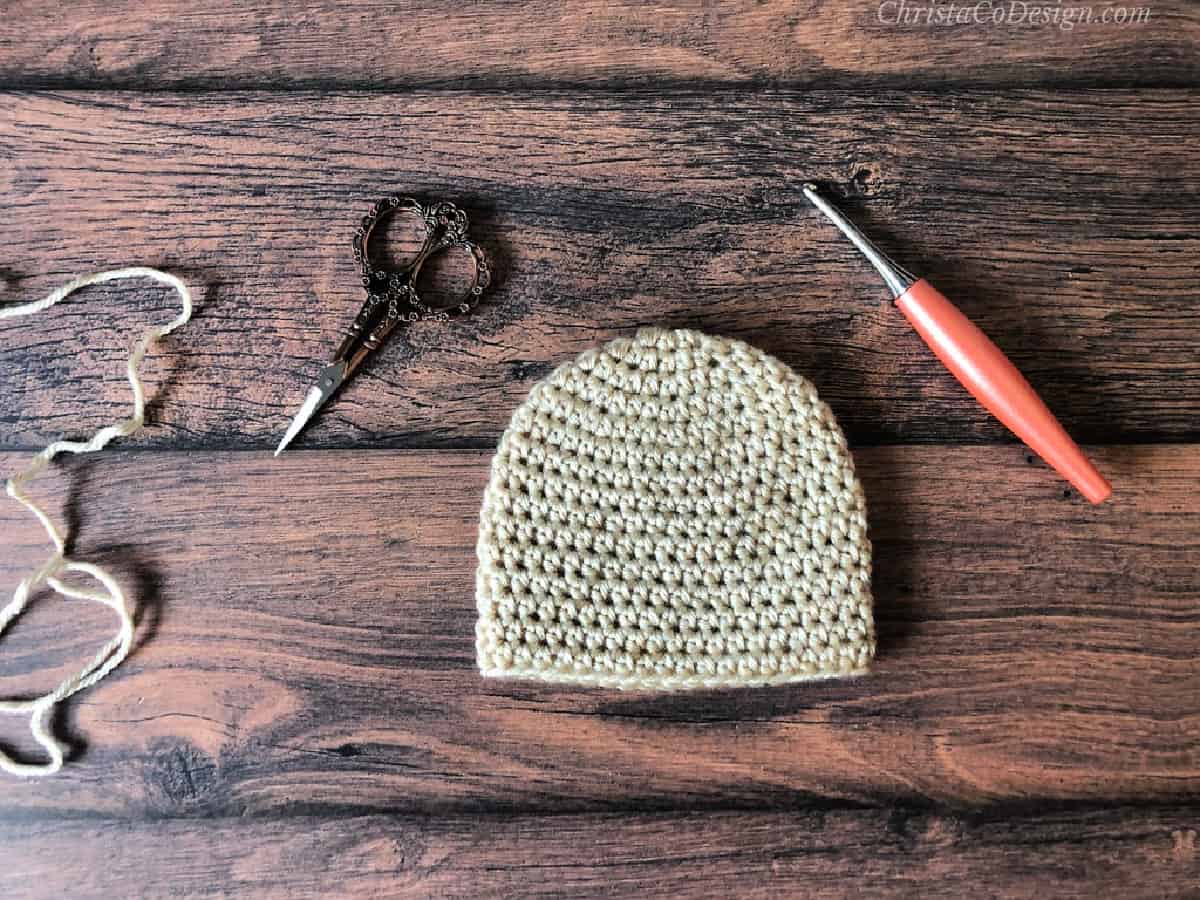
- yarn needle
- scissors
- measuring tape
Pattern Notes
- Fits Teen to Adults with head circumference of 21″
- This hat is worked from the bottom up.
- Ch 2 does not count as a stitch.
- Front post double crochet stitches will always be crocheted around double crochet stitches, so each round you will alternate starting with a FPDC or a DC stitch.
- To adjust this hat pattern for a different size, use an odd stitch count.
Gauge
1″ / 2.5 cm x 1″ / 2.5 cm = 3.5 sc x 4 rows of sc
Add this pattern to your Ravelry queue!
Stitches / Abbreviations (US Terms)
ch – chain
dc – double crochet
dc2tog – double crochet two together
FPdc – front post double crochet
sc – single crochet
sl st – slip stitch
Download the Hat Sizing Chart
Get this handy dandy chart so you can crochet perfectly fitting hats!
You can purchase the ad-free, well formatted PDF Pattern in one of my shops. Scroll down for the free pattern!
Or if you prefer, you can buy the pdf from my Etsy or Ravelry shops!
Scroll down for the free textured slouchy hat pattern!
Textured Slouchy Hat Free Crochet Pattern
The Matteo Sloucy hat features post stitches for a textured look with a stylish slouch fit.
Materials
- 1 ball Lion Brand’s Heartland in Joshua Tree
Tools
- Hook size (H) 5mm, or hook needed to meet gauge.
- yarn needle
- scissors
- measuring tape
Instructions
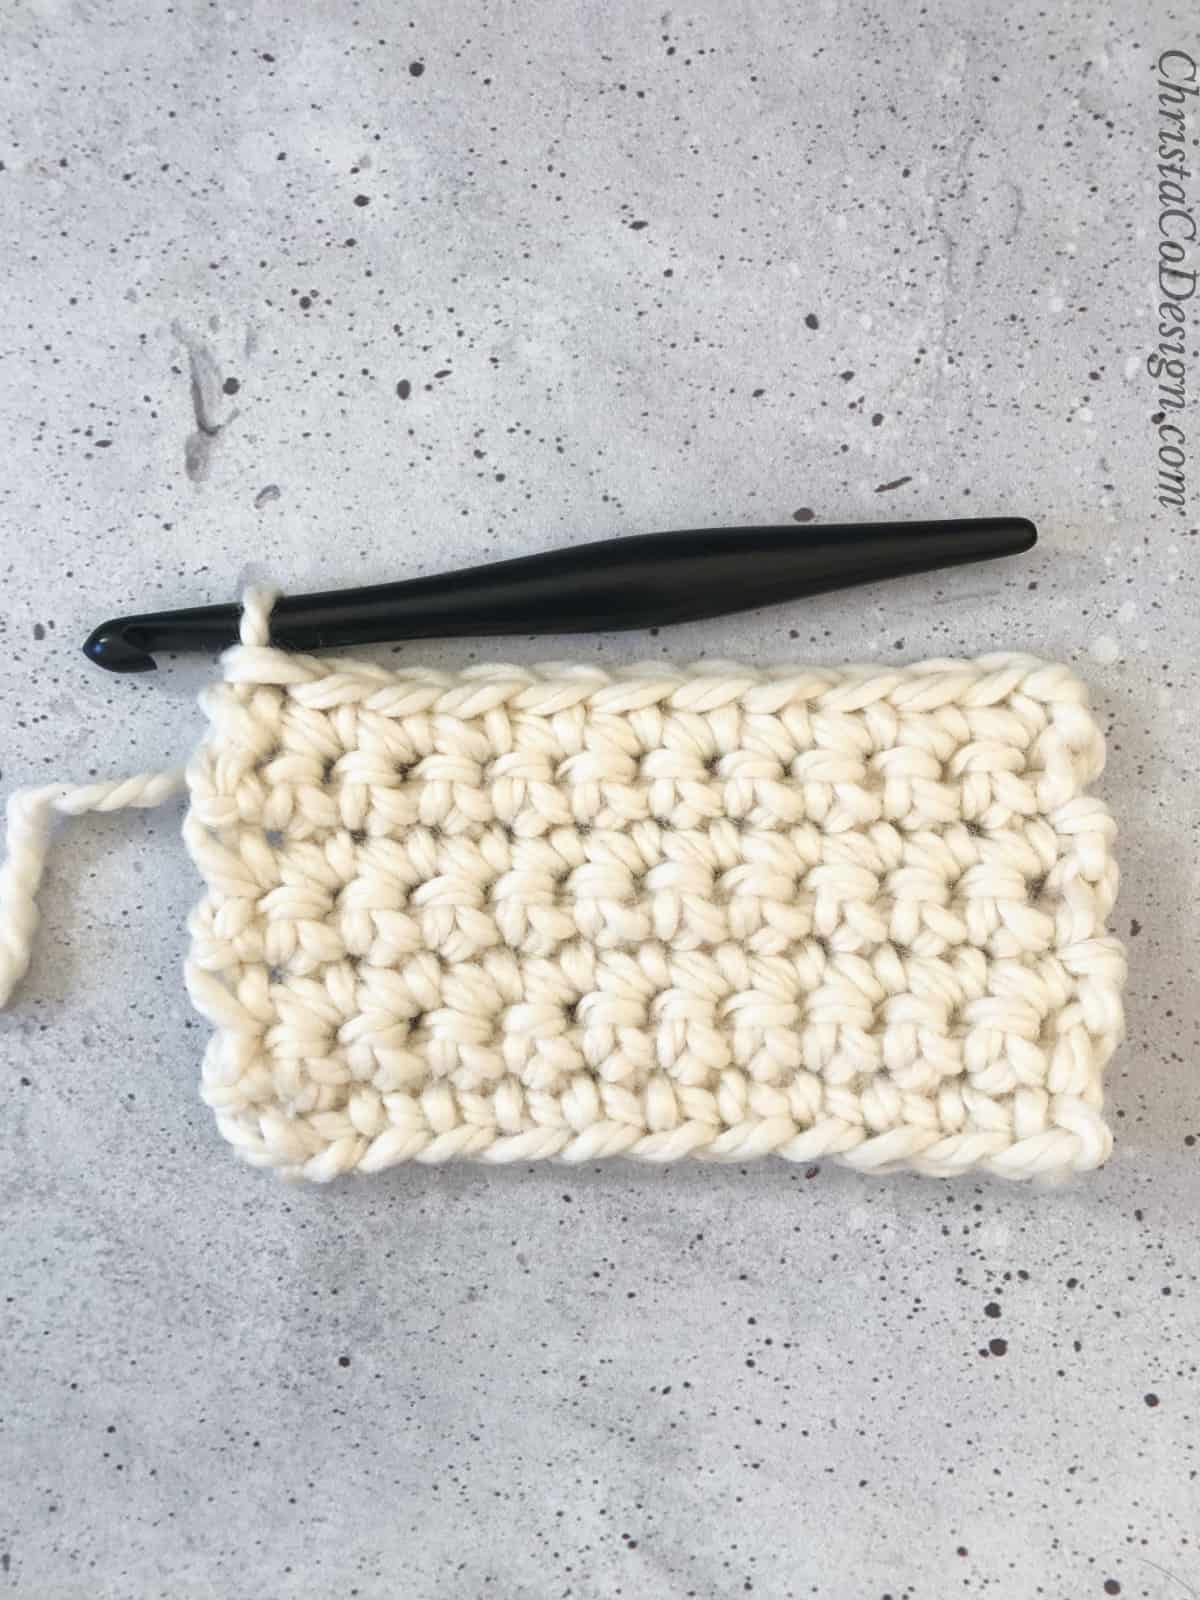
- Ch 1, sc into each ch around, sl st to 1st sc. (57 sts)
- Rounds 2-6: Ch 1, sc around, sl st to join. (57 sts)
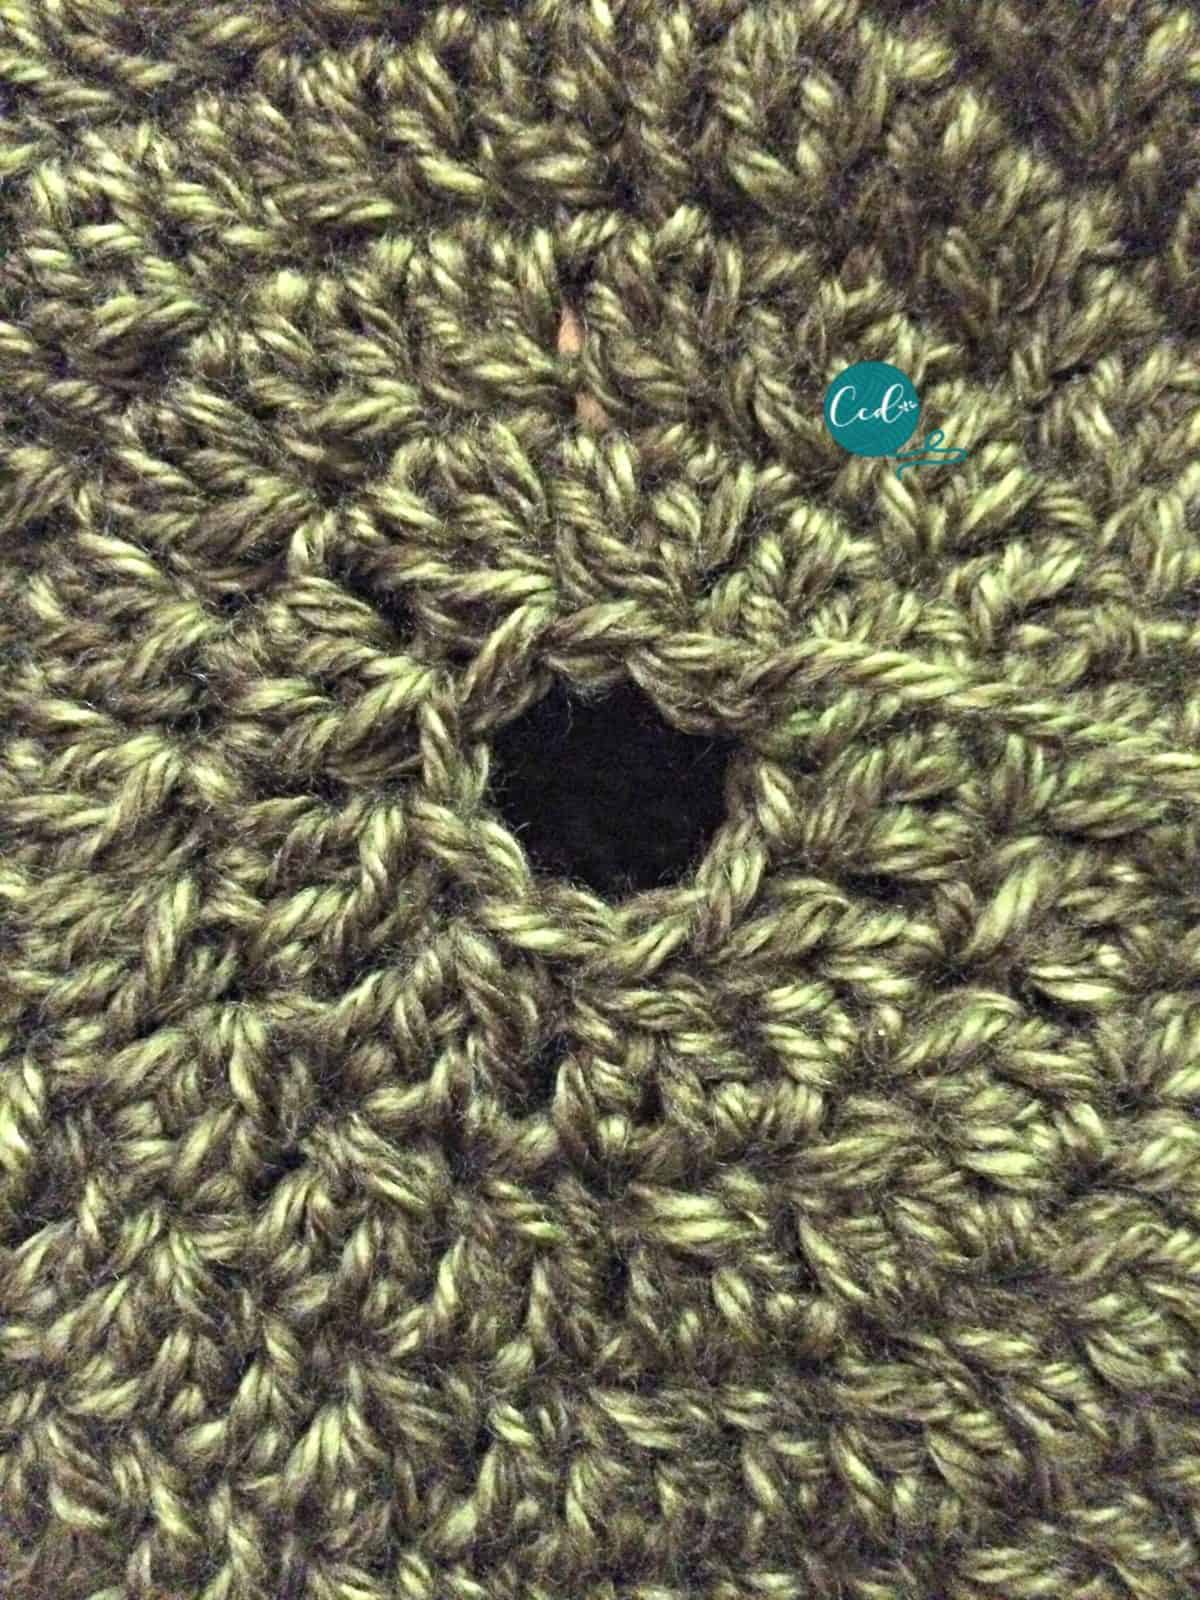
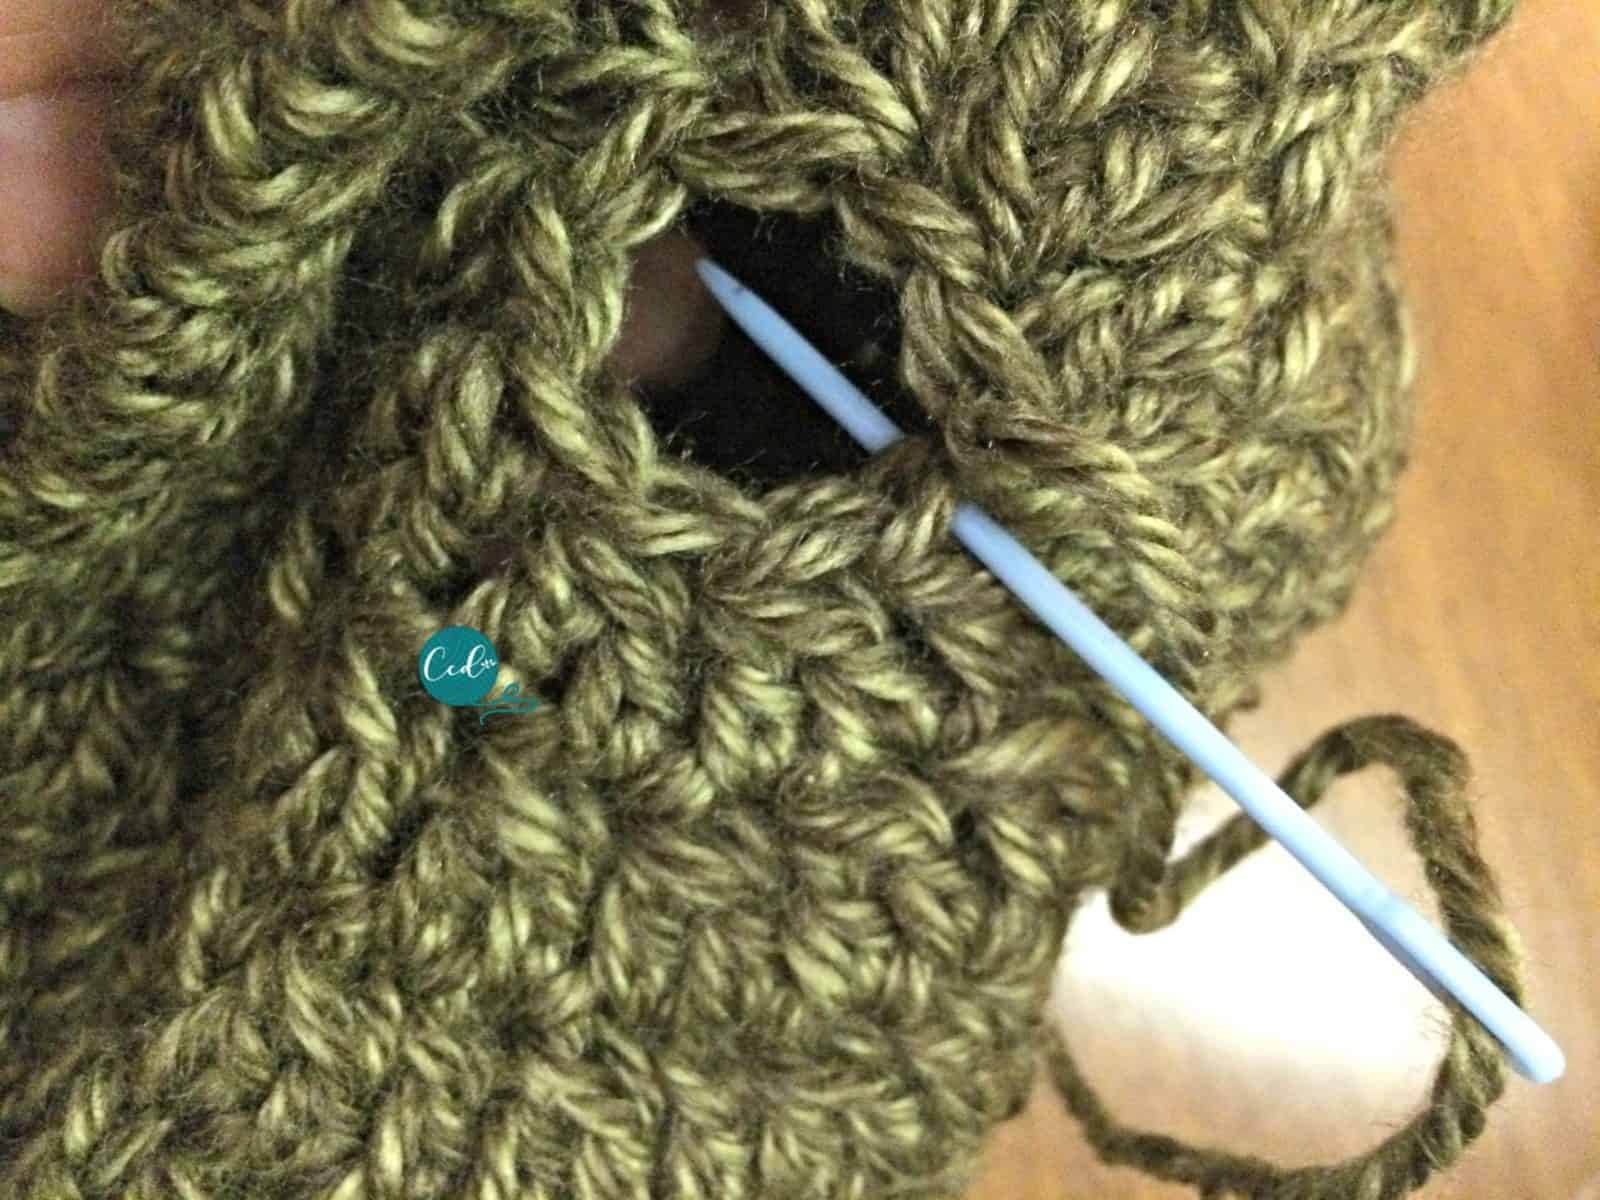
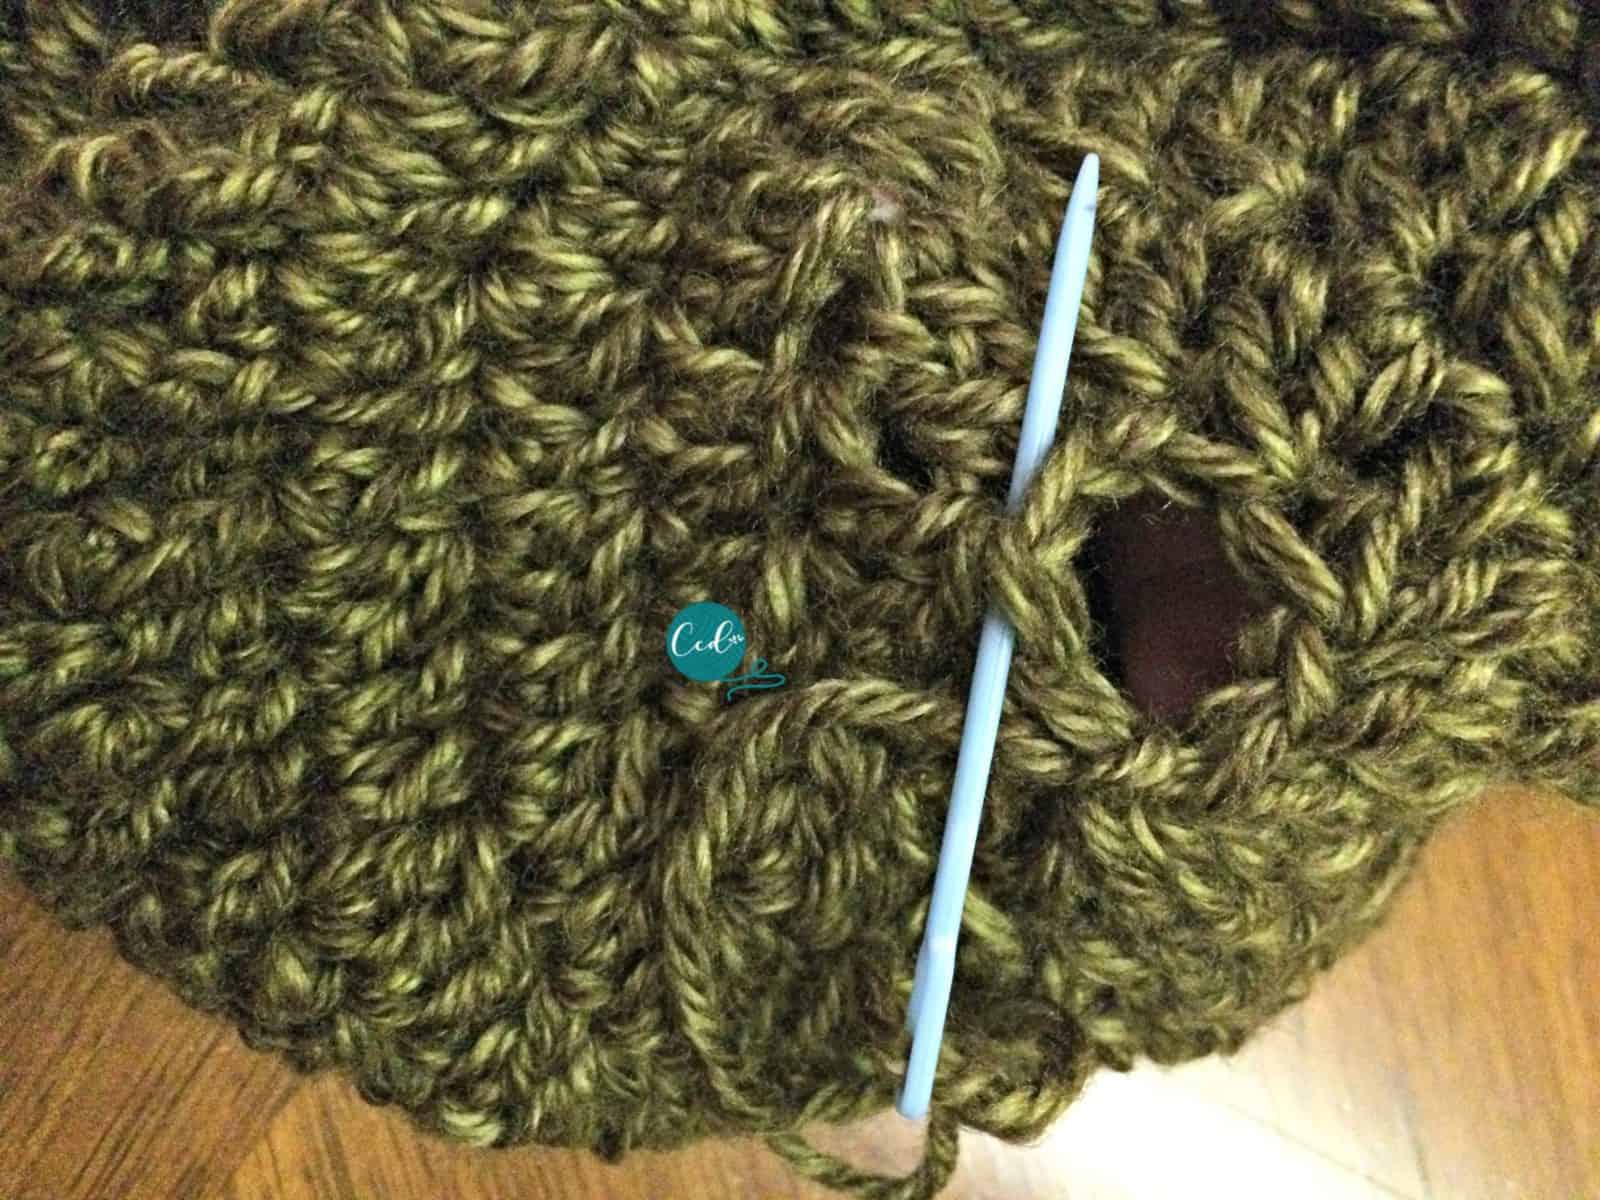
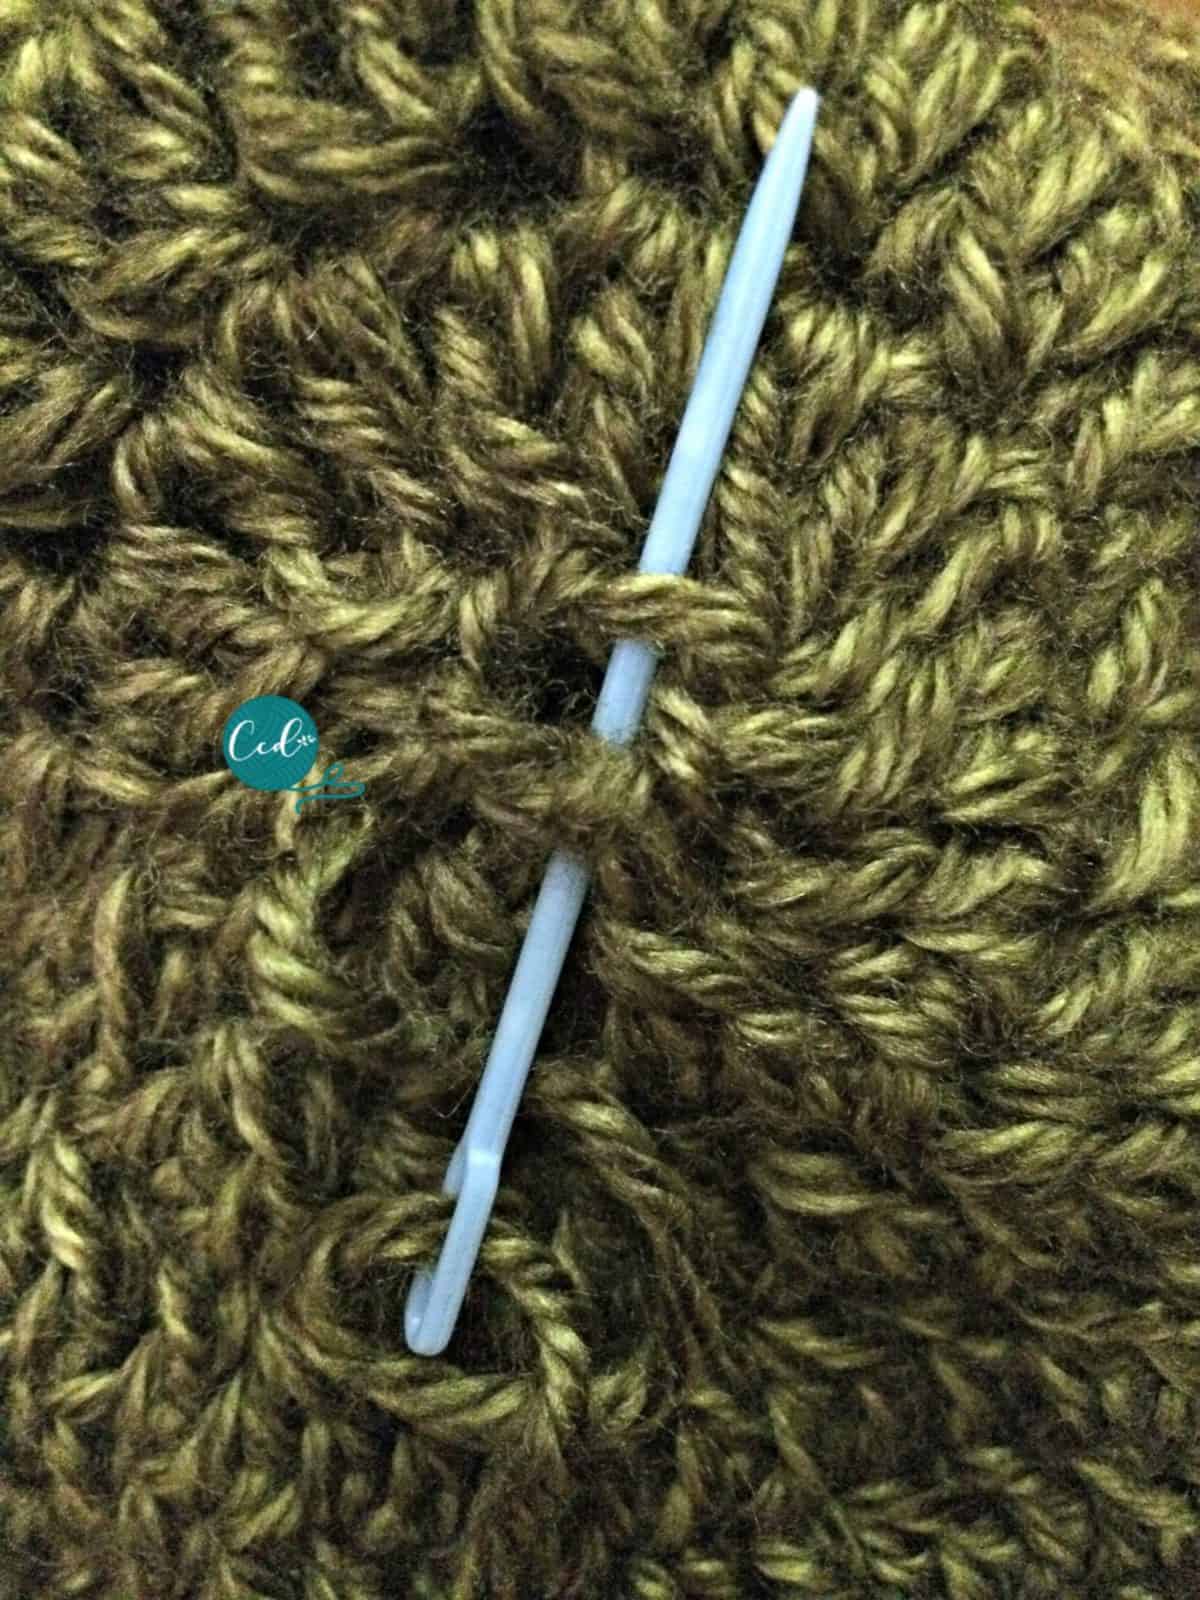
- Use your yarn needle and long tail to sew closed.

- Insert needle into the top of the stitches.

- Move needle to next stitch, and then the next stitch, and so on.

- Pull closed as you sew two stitches together.

- Finish off by sewing in ends.
The Band:
Ch 58, sl st to 1st to create a circle. You can adjust this to fit as necessary. To start Round 7 you will need an odd number of stitches.
The Hat Pattern:
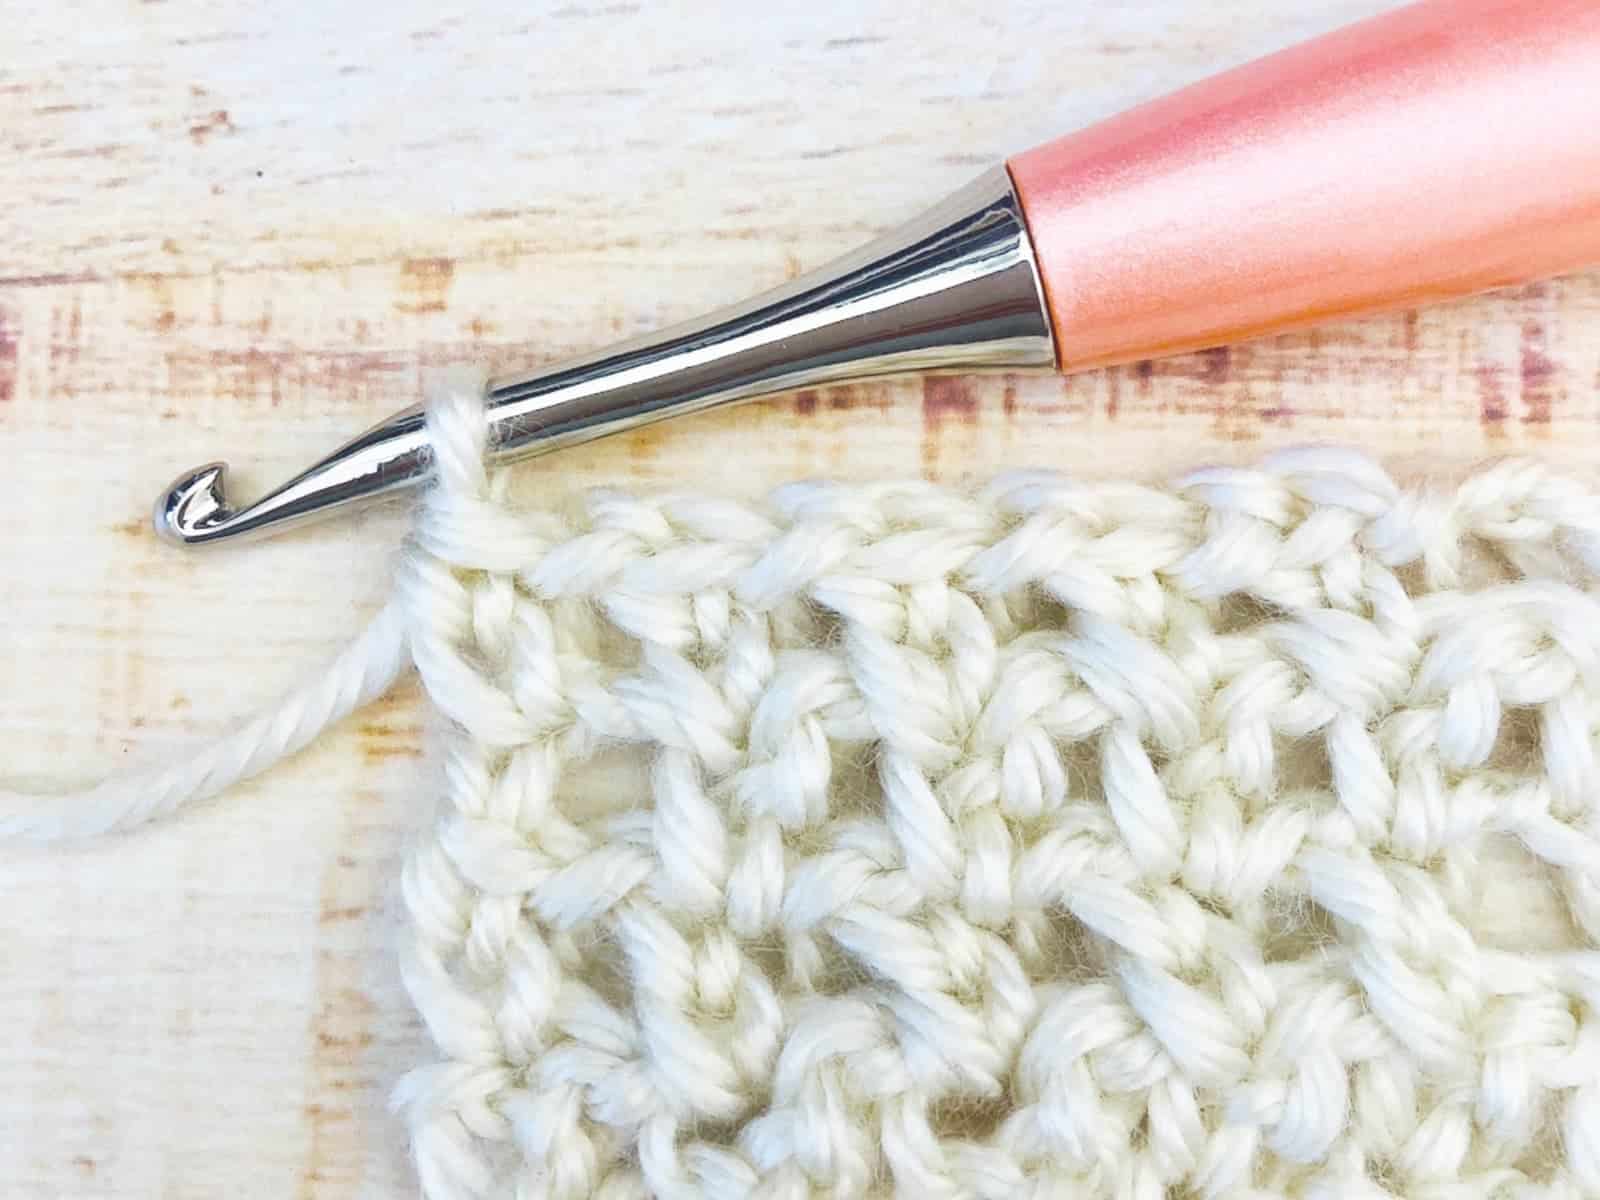
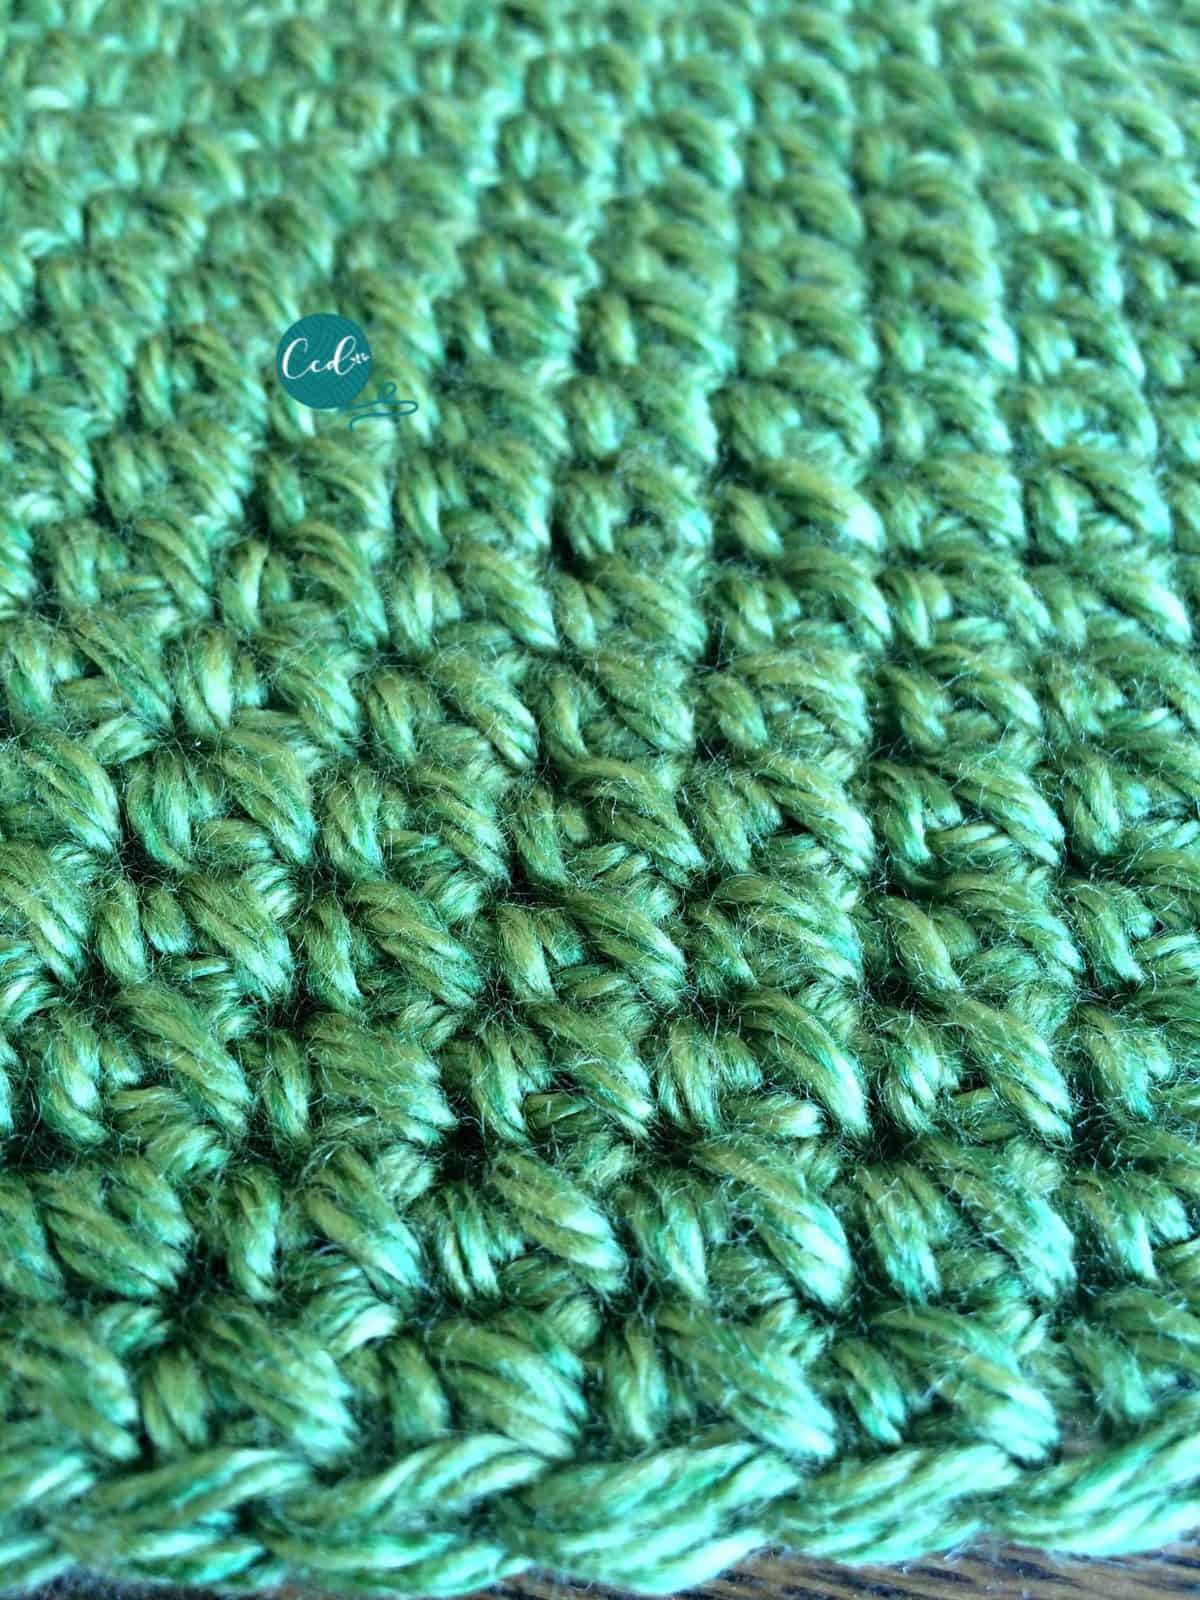
*the photos below are taken in later rounds of the repeat
7. Ch 2, *{2 DC in next, 1 DC in each of the next 3 stitches} repeat from * around, sl st to join. (71 sts)
8. Ch 2, 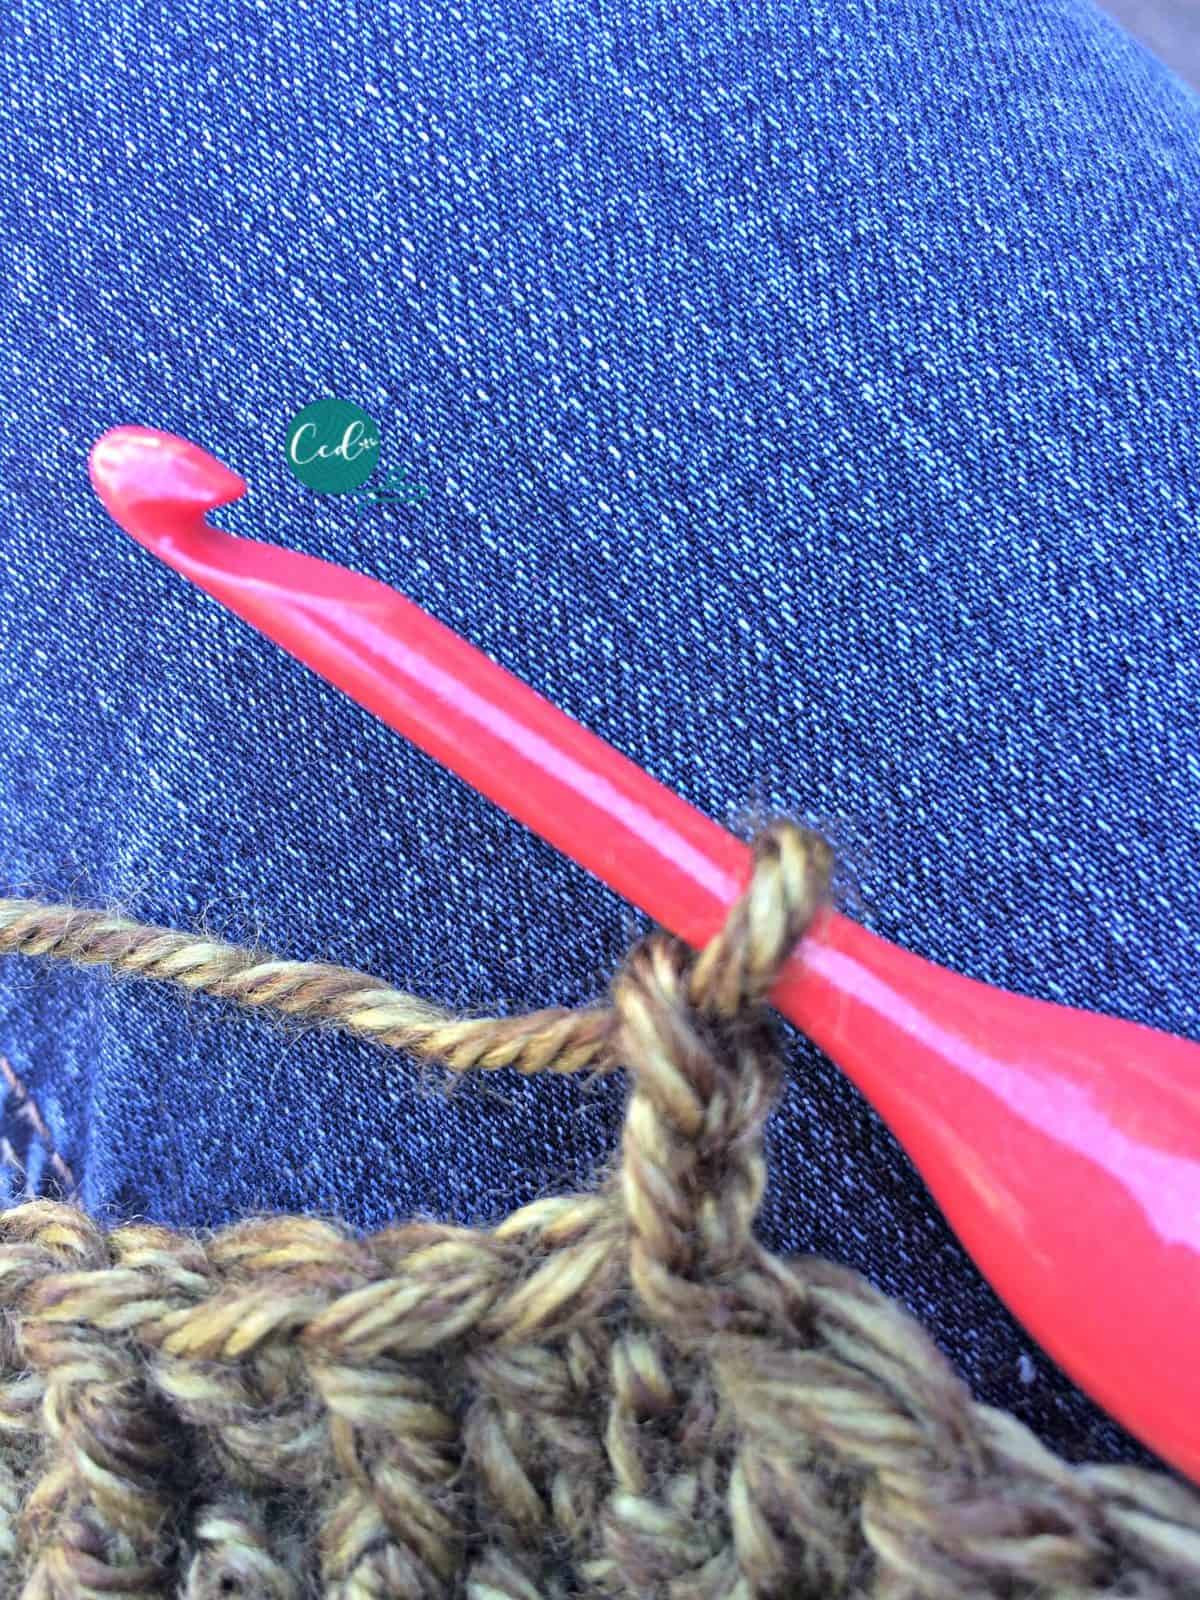 *{FPdc in next,
 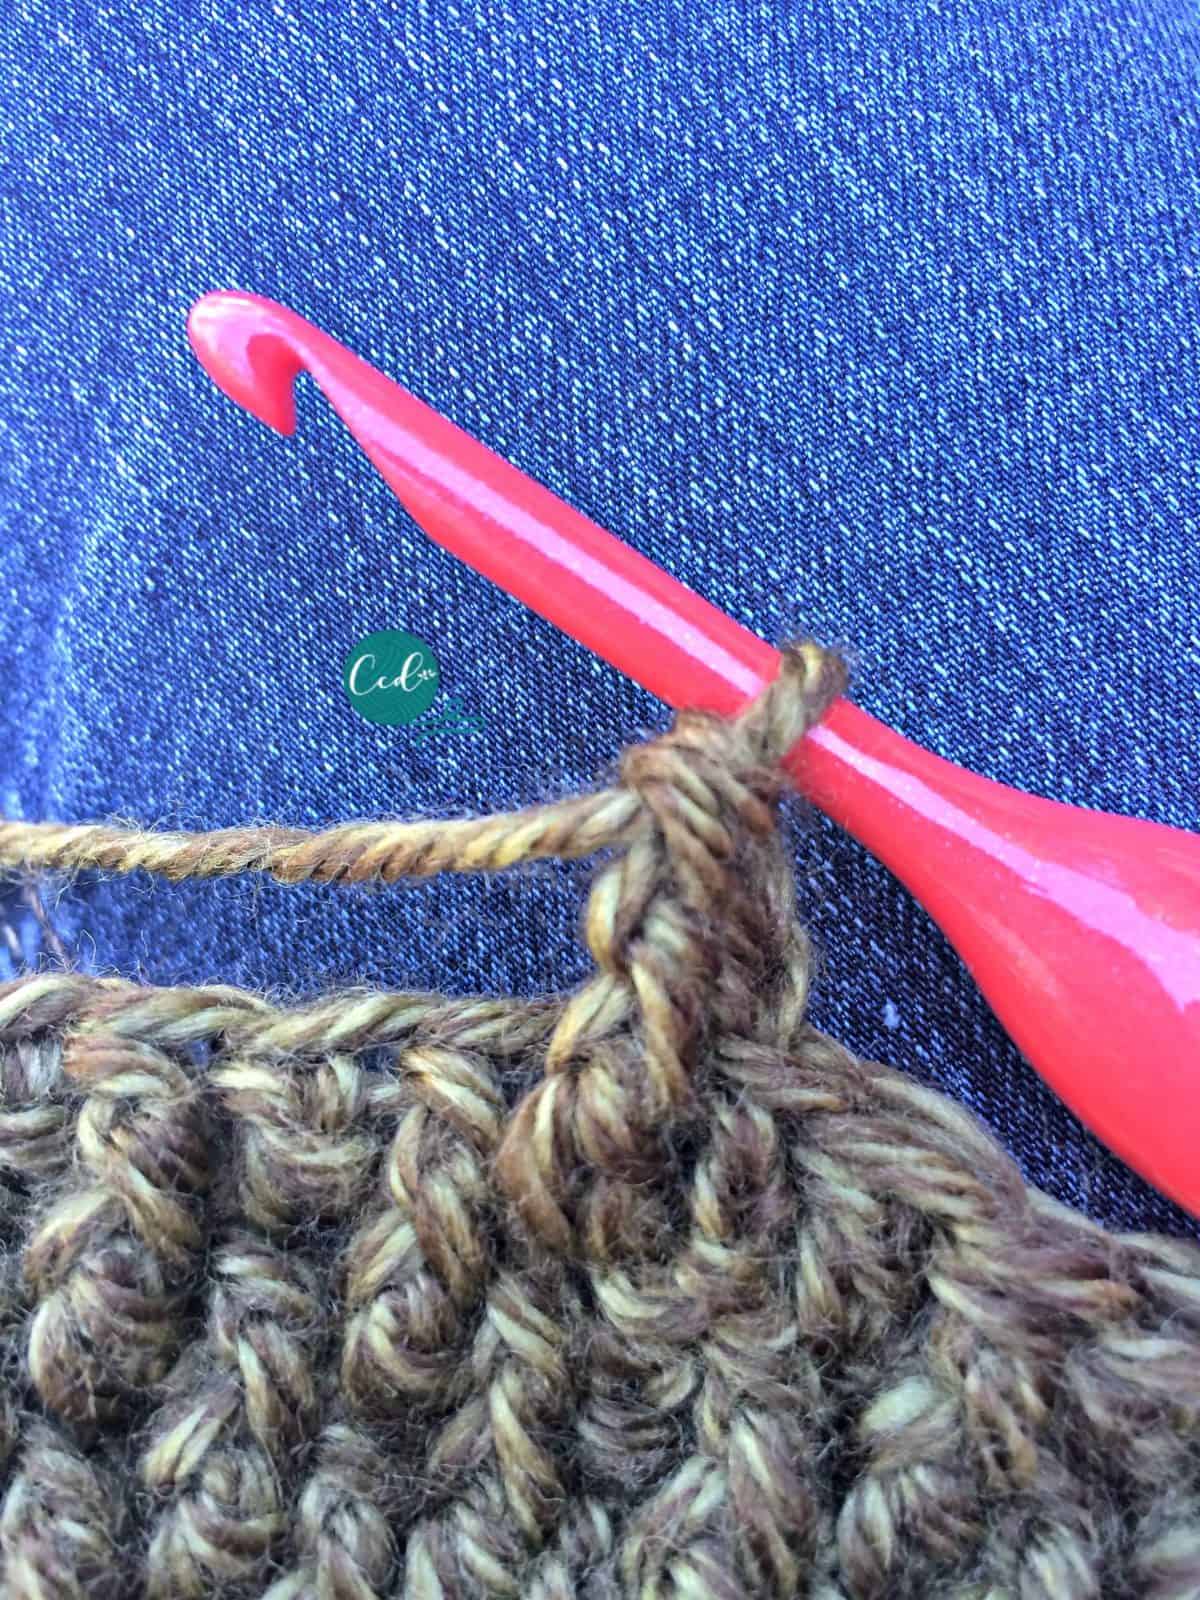 DC } repeat from * around,
 sl st to join.
 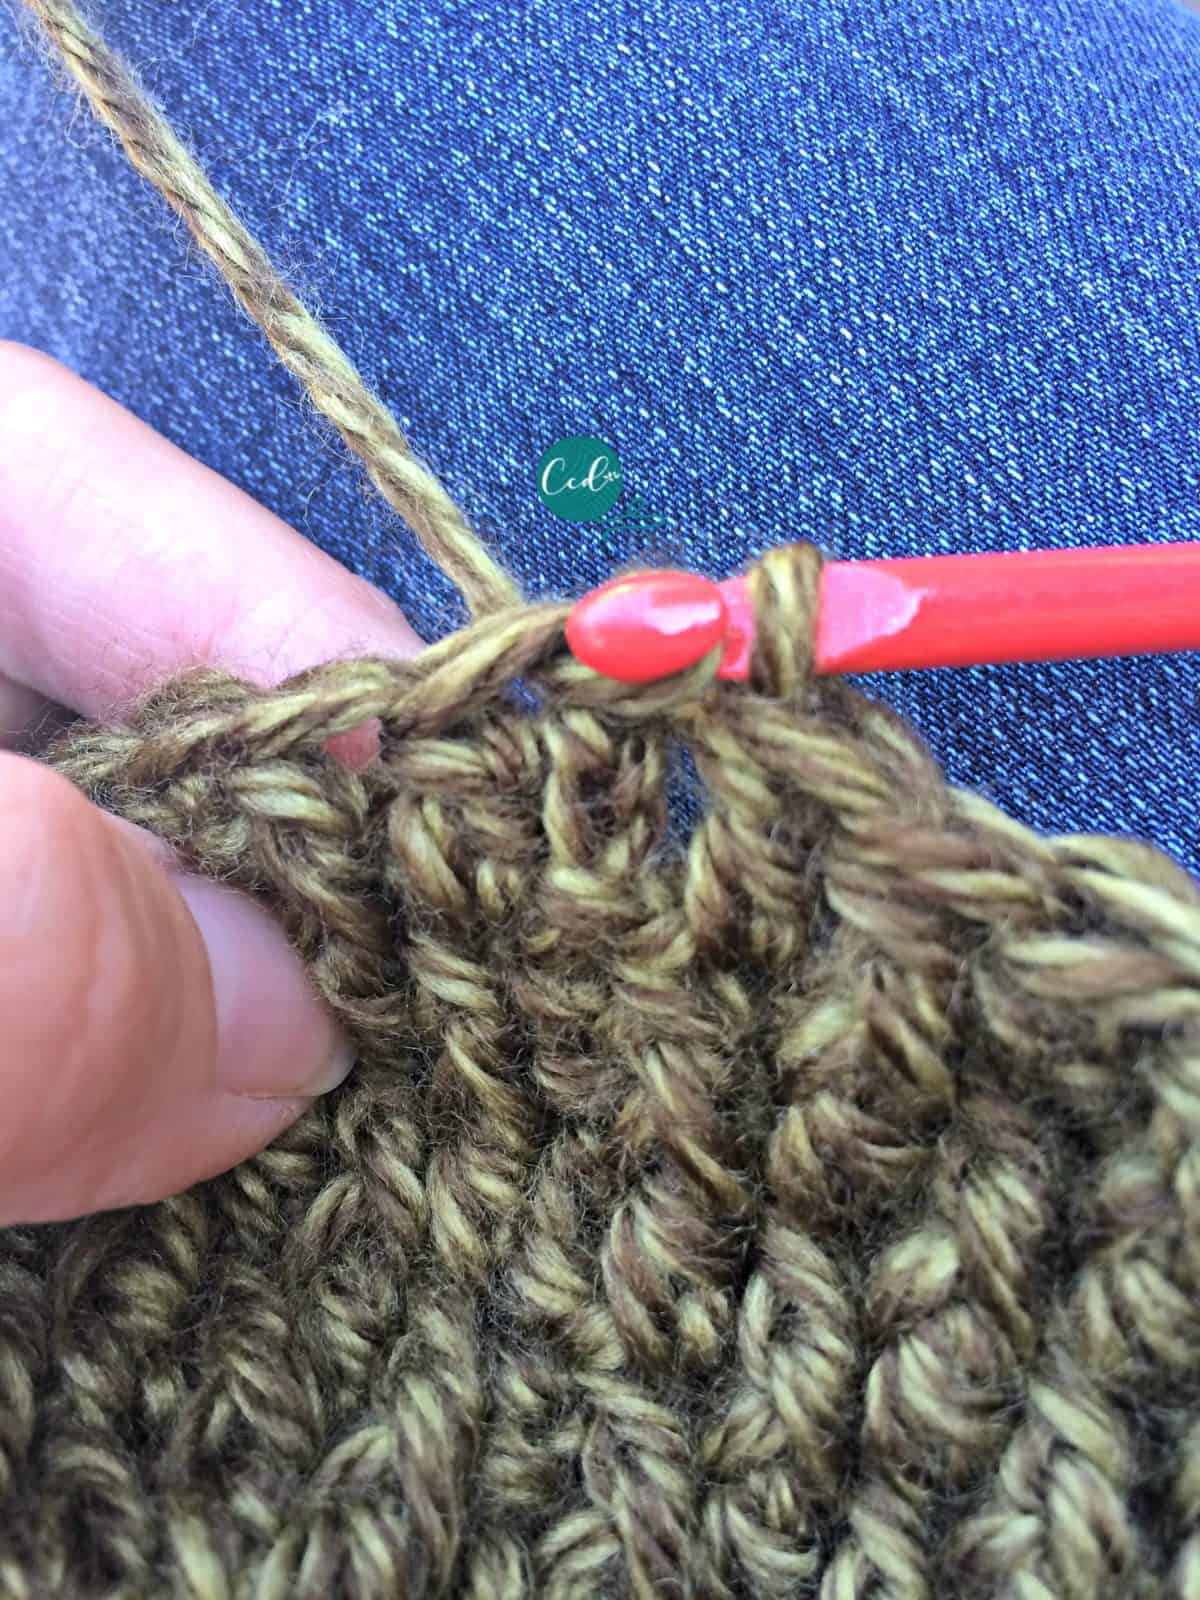 (71 sts)
9. Ch 2, *{DC, 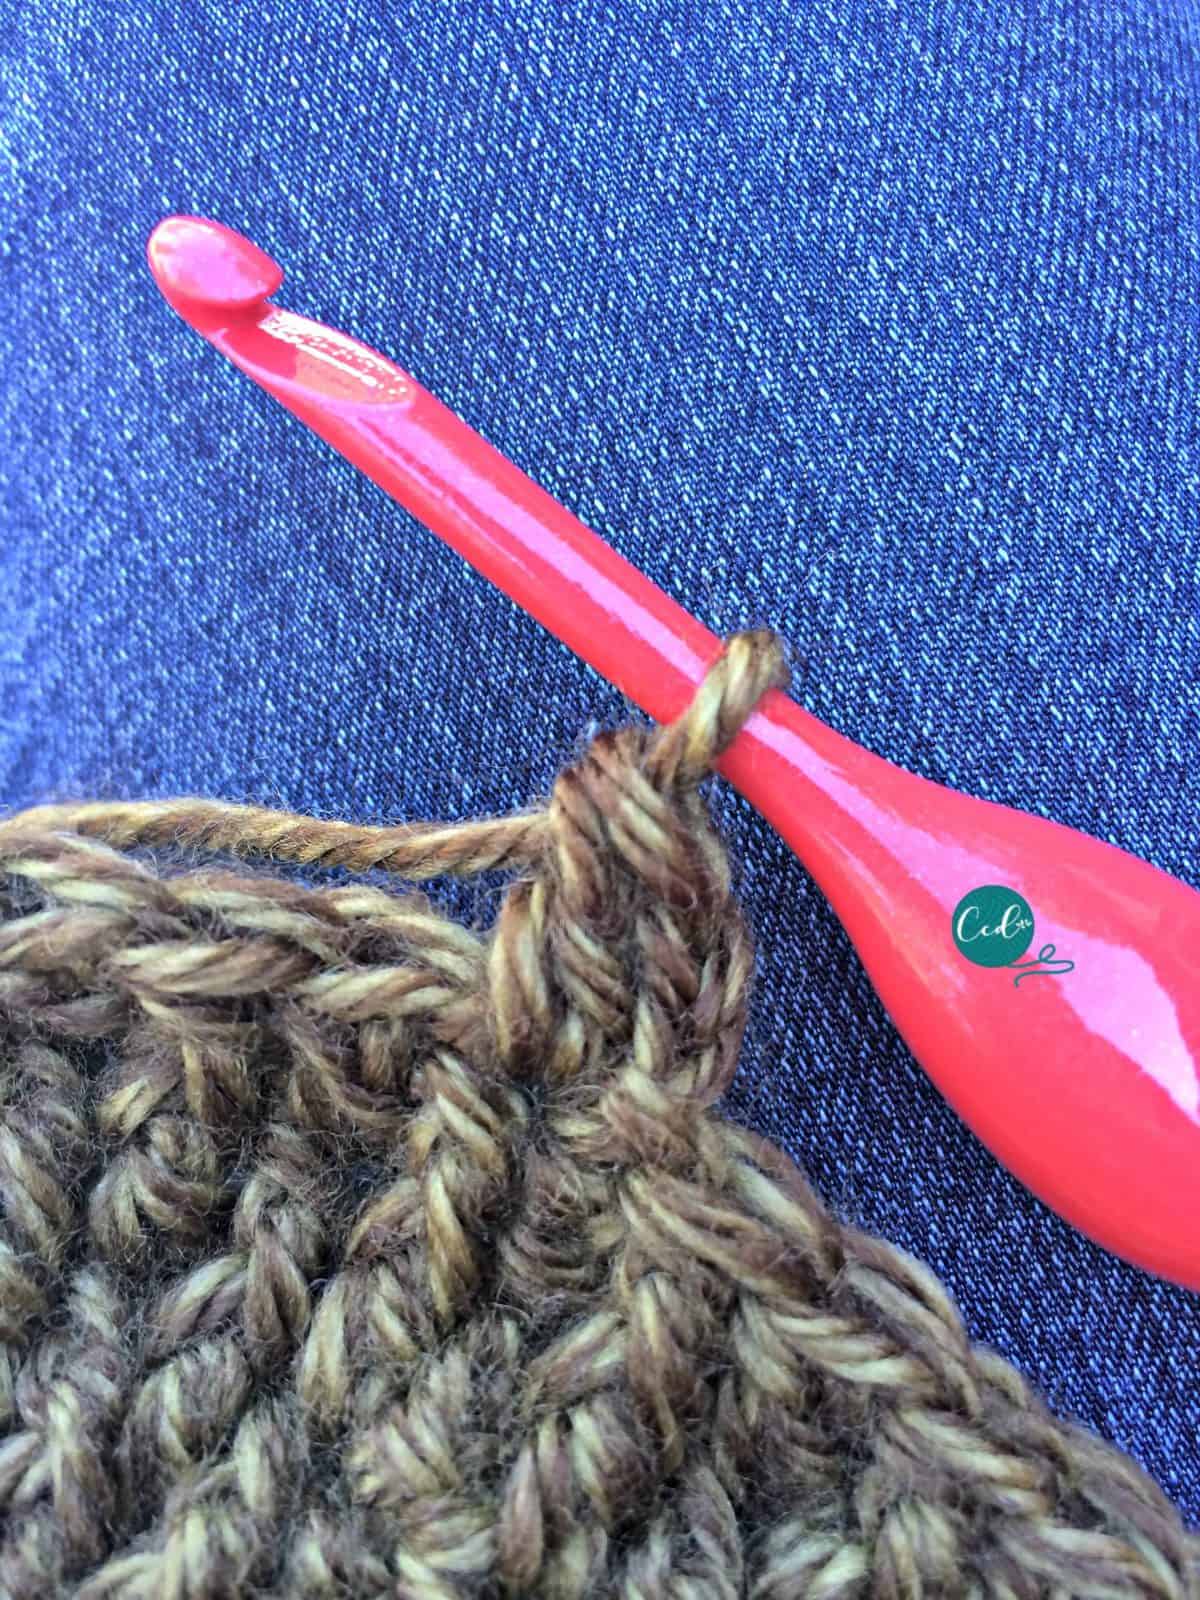 FPdc} repeat from * around, sl st to join. (71)
Rounds 10-22: Repeat rounds 8 & 9.
23. Ch 2, starting in same stitch DC2tog, *{DC2tog, DC 2} repeat from * around, sl st to top of 1st DC2tog to join.
24. Ch 2, DC in same, *{DC2tog, DC} repeat from * around until last 4 stitches, DC2tog 2X in last 4 stitches, sl st to top of 1st to join.
25. Ch 2, in same DC2tog, DC2tog around until the last stitch, DC in last, sl st to 1st to join.
26. Ch 2, in same Dc2tog, DC2tog around, sl st to 1st to join.
Leave a long tail to sew hole closed.
Sewing the Hole Closed:
Recommended Products
As an Amazon Associate and member of other affiliate programs, I earn from qualifying purchases.



Just what i was looking for but have lost your at this point to early {2 DC in next, DC 3} what exactly does that mean – 2 dc in next stitch and then 1 in the next 3?
Yes, 2dc in the next stitch and then 1 dc each in the next 3 stitches. Hope that helps!
Thank you Christa, and your super fast reply – I can get going now – have a super say and I’ll let you know how it goes 🙂
Great! I’d love to see it when you’re done! And let me know if you have any more questions!
Hi Christa, so far so good, I’m at the point where I now need to start decreasing. At this point to it almost seems as if the hat could be reversible, the pattern that the {FPDC in next, DC} makes looks good too if you turn the hat inside out.
What I was wondering is there anyway to decrease and still maintain that same pattern – what I find now is that the change from fpdc dc to dc only is make such a huge difference and for me that is not looking so good, I’ve tried to still incorporate the fpdc in the row when decreasing it seems to be working, but just thought you may have a better idea
Hi, I have a couple of ideas, if you want to try them. I’m thinking maybe you could skip stitches instead of dc2tog? So You could do a few row of (fpdc, skip, dc, skip) and repeat that. Or you could try doing a few more rows of the pattern and then just sewing it together, pulling it into a circle with a running stitch? Then it would be the same texture right up to the top. The top will be bunchier I think. I hope those help & let me know what you try!
I am so lost I have tried to do this pattern twice now and each time i try it starts curling really funky, almost as if I am adding too many stitches once I reach row 8. I chained 2, then I FPDC’ed around the first DC of the previous row. Am I supposed to skip the next stitch and then DC in the next available place or what should I do to avoid adding extra stitches?
Hi Summer, thanks for asking! I’m sorry it’s giving you trouble. Have you tried counting your stitches? You should just be alternating between fpdc & dc. It’s a loose hat since it’s a slouchy. Would you like to send me a pic and I can look more closely? Either here or [email protected] and I’ll try to see what I can do to help you.
I love the look of this slouchy hat, a;most makes me miss the cold weather up North (almost).. I love how helpful you are to people having problems.
Haha! Yep, we’re ready to move on the warm weather crochet now! Thank you!