How to Make a Slip Knot for Knitting Photo Tutorial + Video
The first step in your new knitting adventure is to get the yarn on the needle! To start knitting you will need to start with a slip knot.

This post contains affiliate links, I may earn a fee. Read more disclosure policy.
Join the ChristaCoDesign Newsletter
Never miss a pattern!
A slip knot is a knot that can be tightened by pulling one of the strands. Knitting patterns will assume you know to start with a slip knot and usually don’t explicitly state it.
When you’re working with yarn, we often use phrases that become second nature to knitters. You will often hear about the tail of the yarn, or the yarn tail.
The yarn tail is the yarn end, or where the length of yarn ends. The working yarn is attached to the ball of yarn.
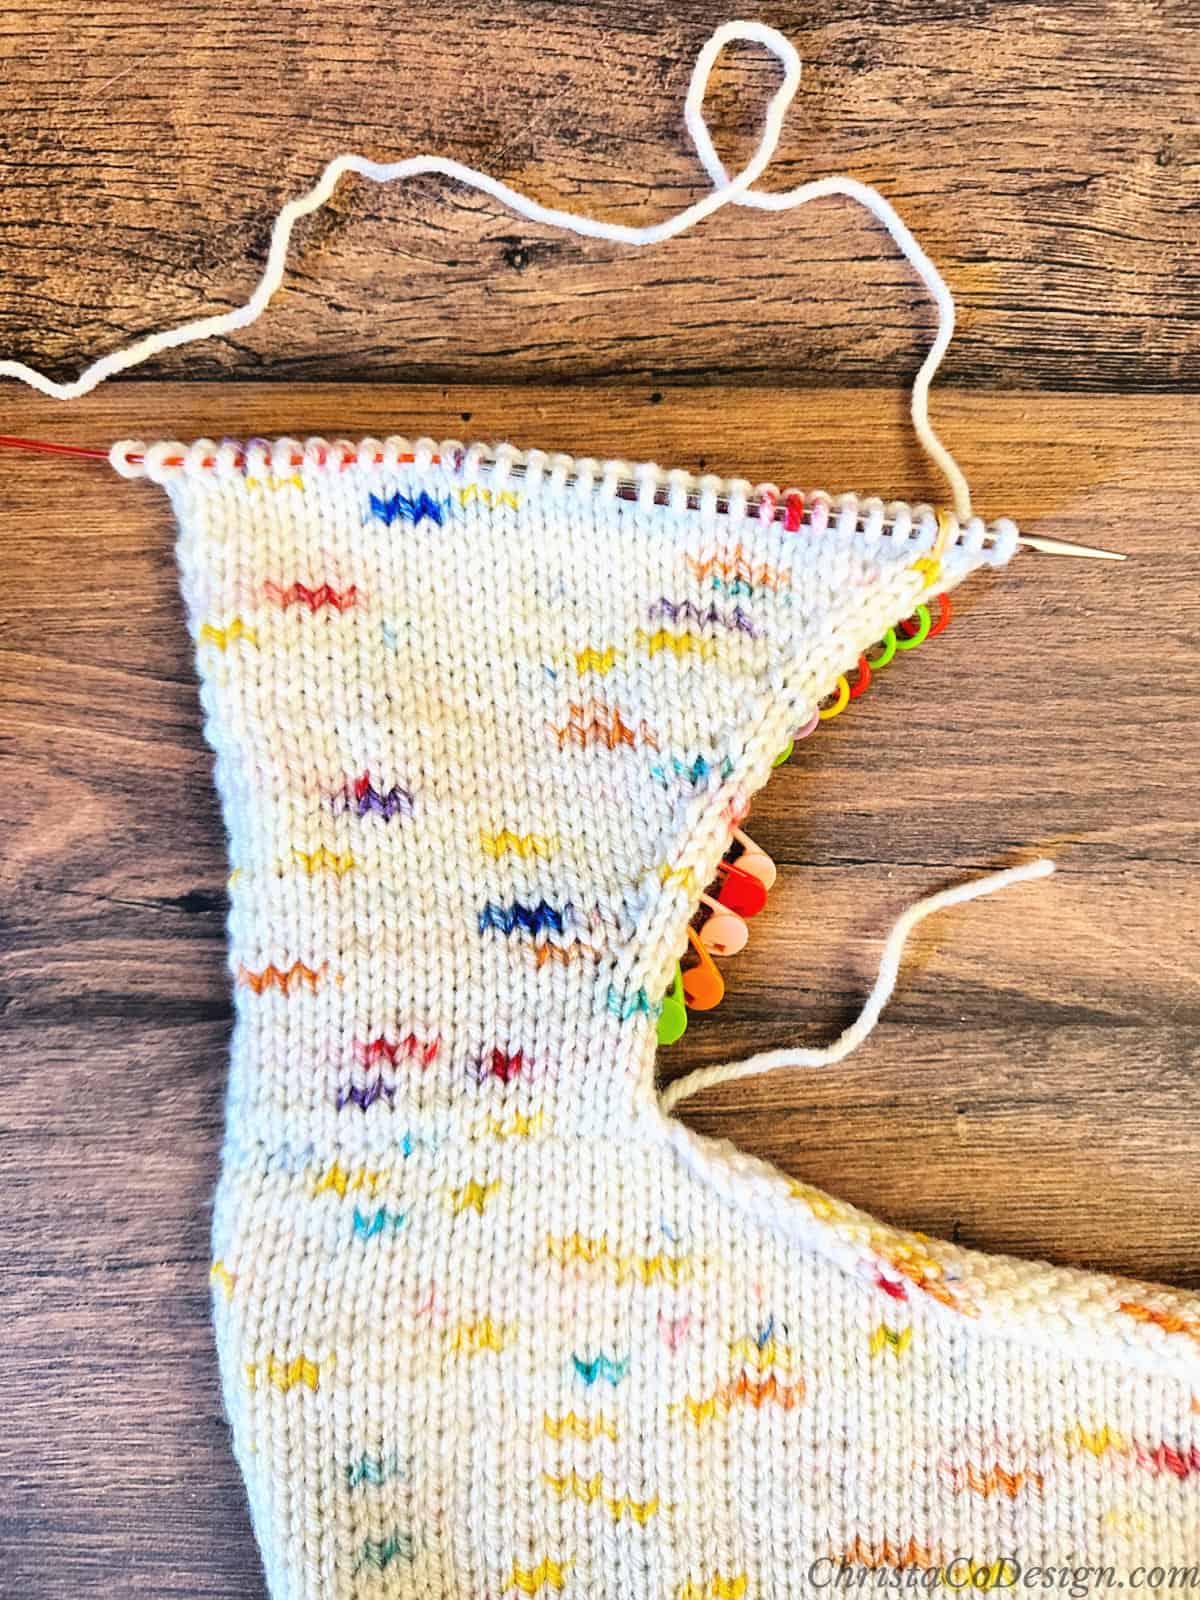
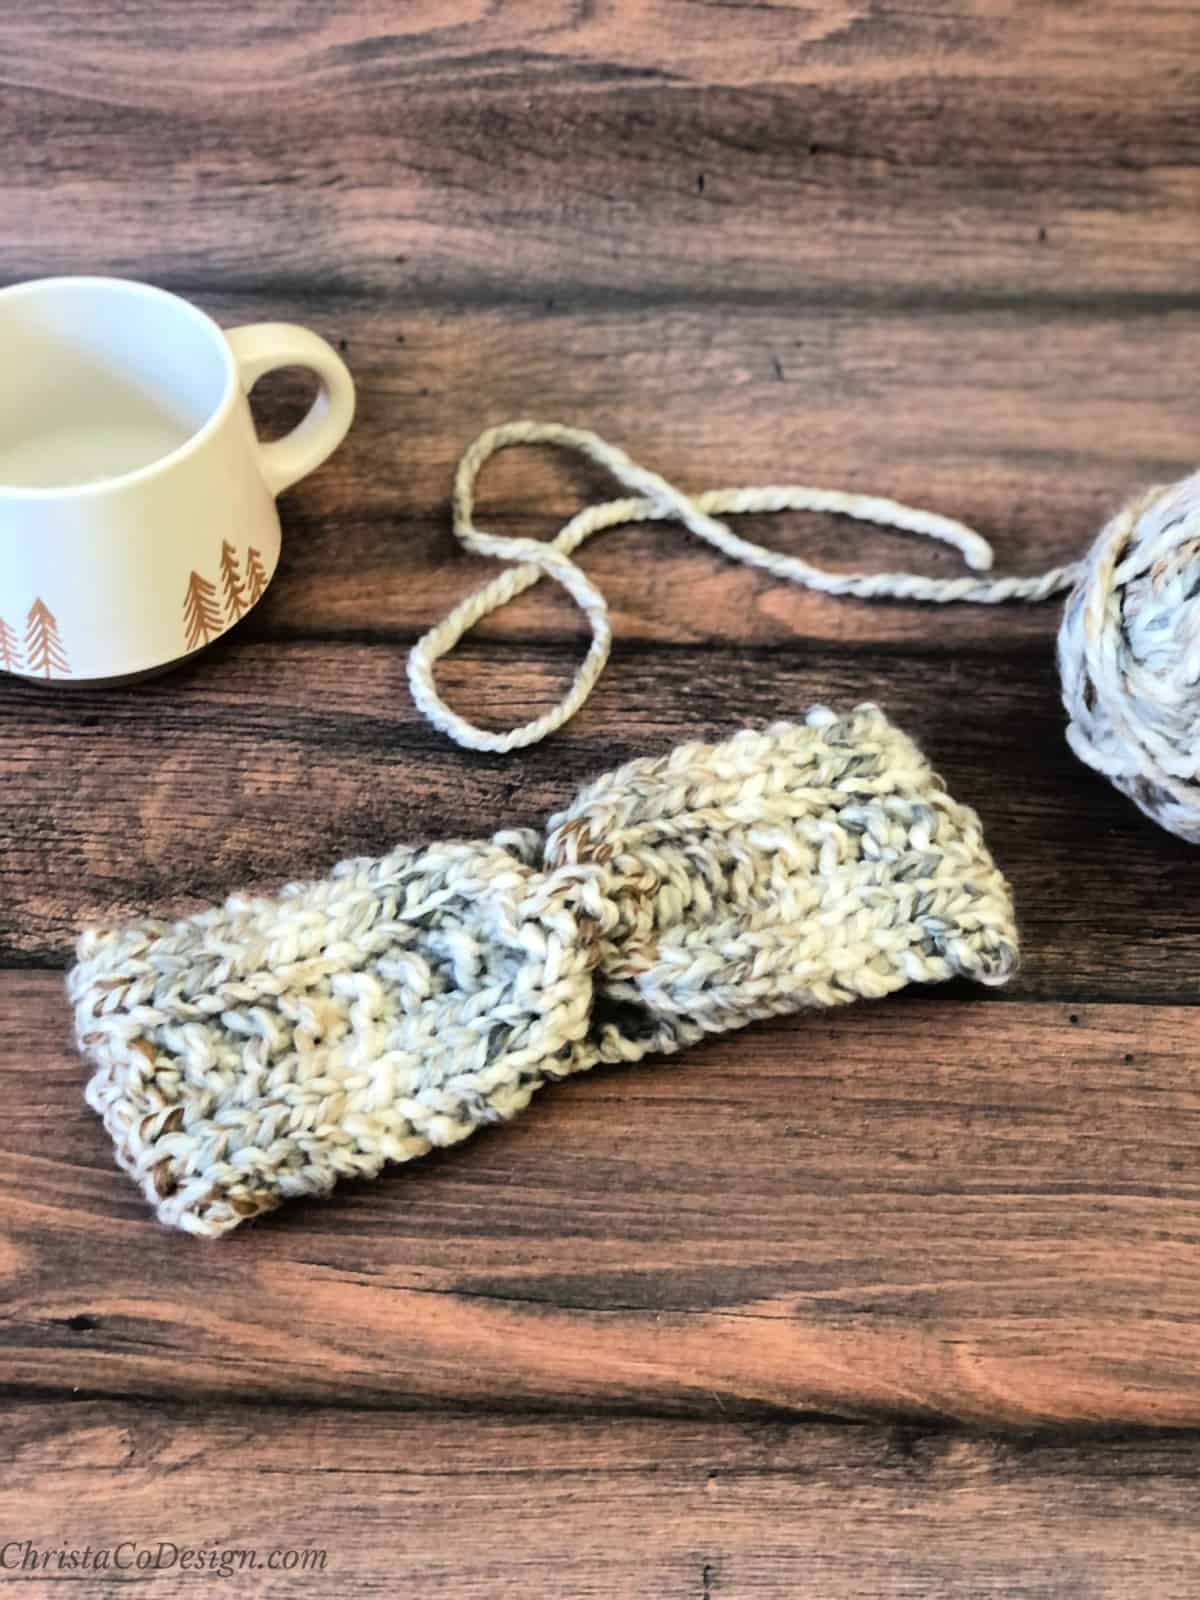
Check out an easy beginner knitting project next!
Casting On
When you start with a slip knot you’ll need to decide to leave a short tail (6″ is short) or a long tail (12″ +). These tail ends will relate to how you cast on. Either one of these cast ons are a great starting point for beginning knitters.
A favorite cast on of mine is with a crochet hook. Essentially you’re making a slip stitch on to the needle with a hook.
The downside here is that you need a crochet hook and not all knitters are also crocheters! If you crochet, or want to learn I have many beginner friendly crochet projects to choose from too.
There are different methods to casting in on, so find one that works for you to get started. You can add more to your knitting skills as you learn.
Video Tutorial
You can watch the full, step by step video tutorial on how to make a slip knot for knitting right here or on YouTube channel.
Scroll down for the step by step slip knot knitting tutorial!
How to Make a Slip Knot for Knitting
Learn how to make a slip knot and begin your knitting journey! The easy steps below guide you through this tutorial.
Materials
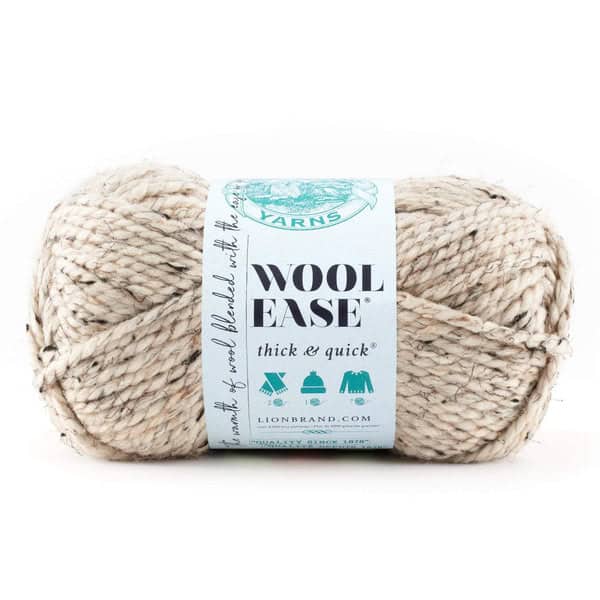
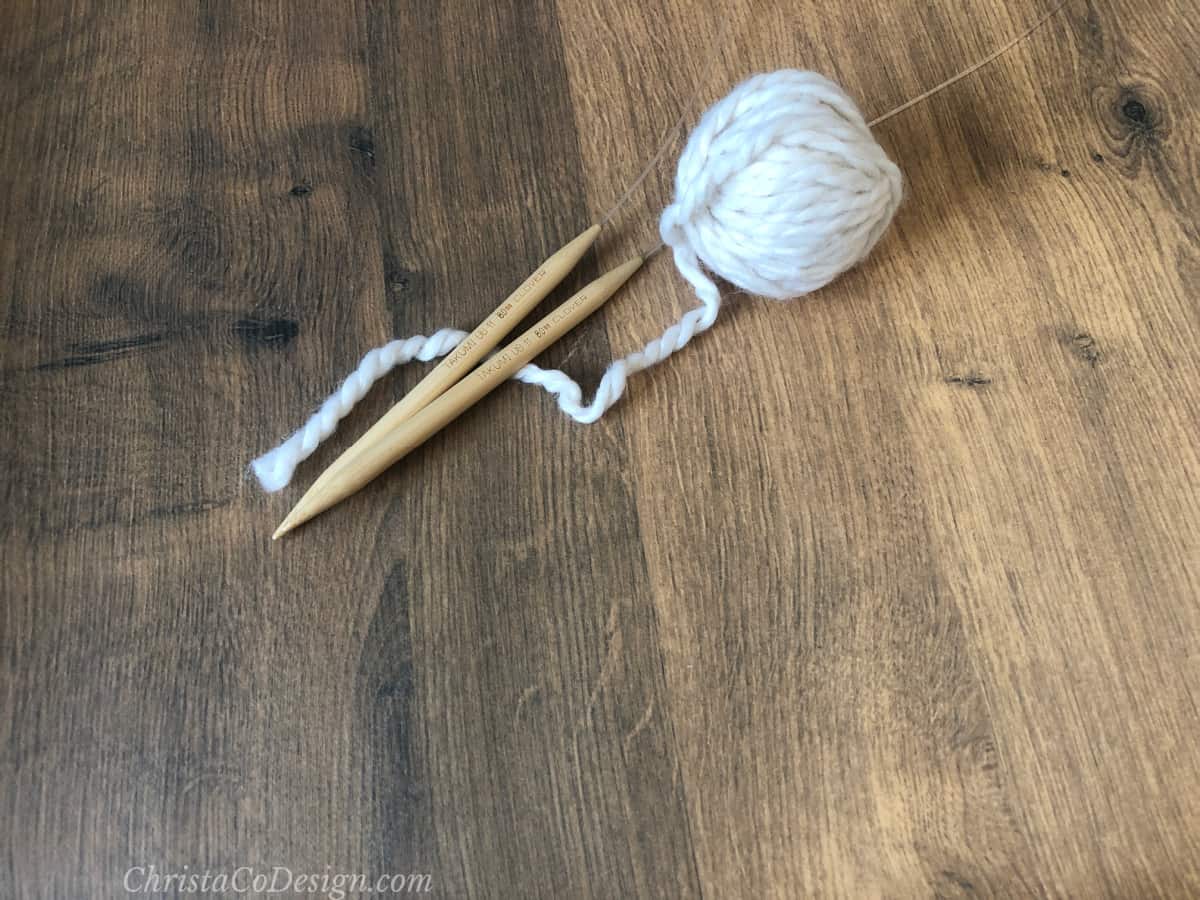
- Yarn. You can use any weight yarn. I'm using Lion Brand Wool Ease Thick and Quick in the color fisherman for this tutorial. This is a #6 superbulky yarn that's great for beginners.
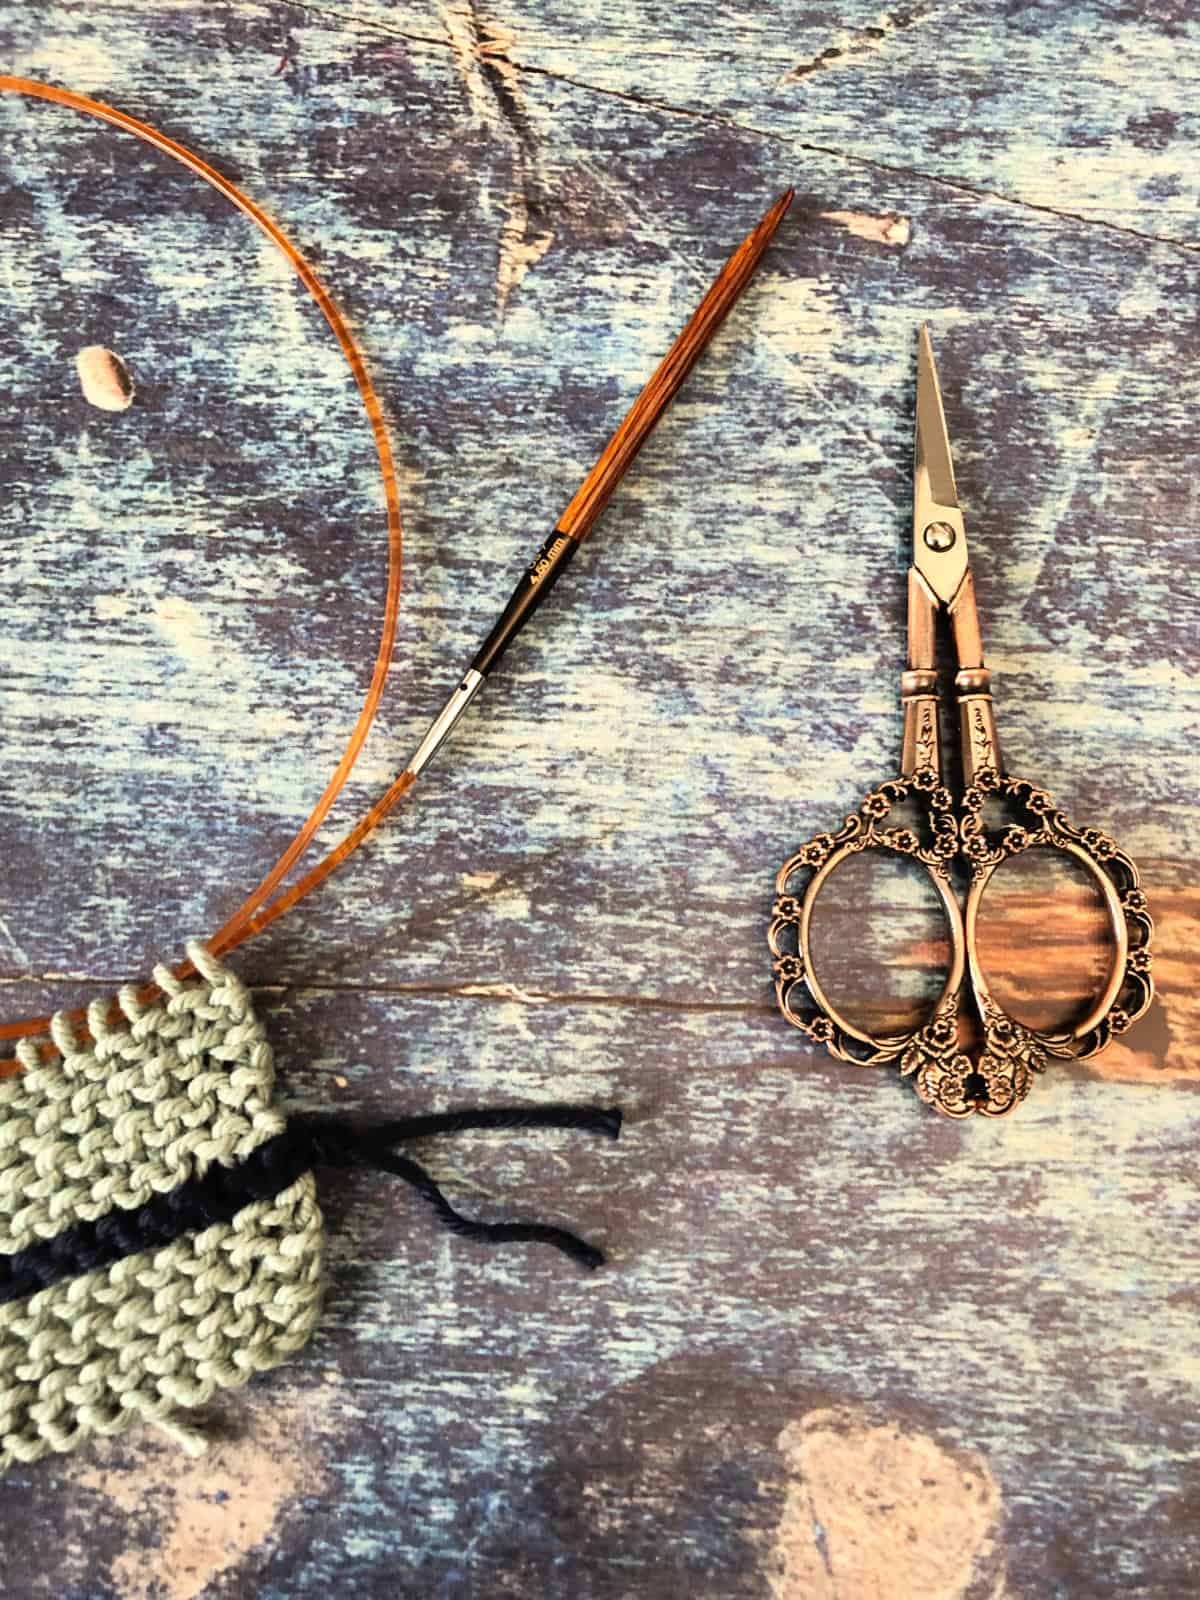
Tools
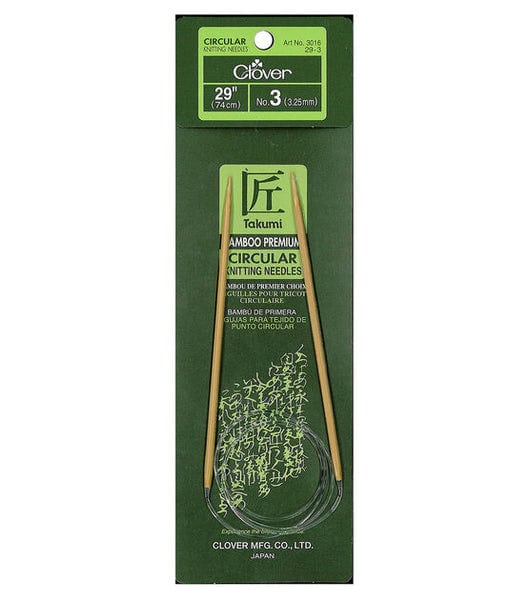
- Needles. Your needles will need to match your yarn. I'm using 8mm US Size 11 needles for my #6 weight yarn. These clover Takumis are excellent needles for beginning knitters.
Instructions
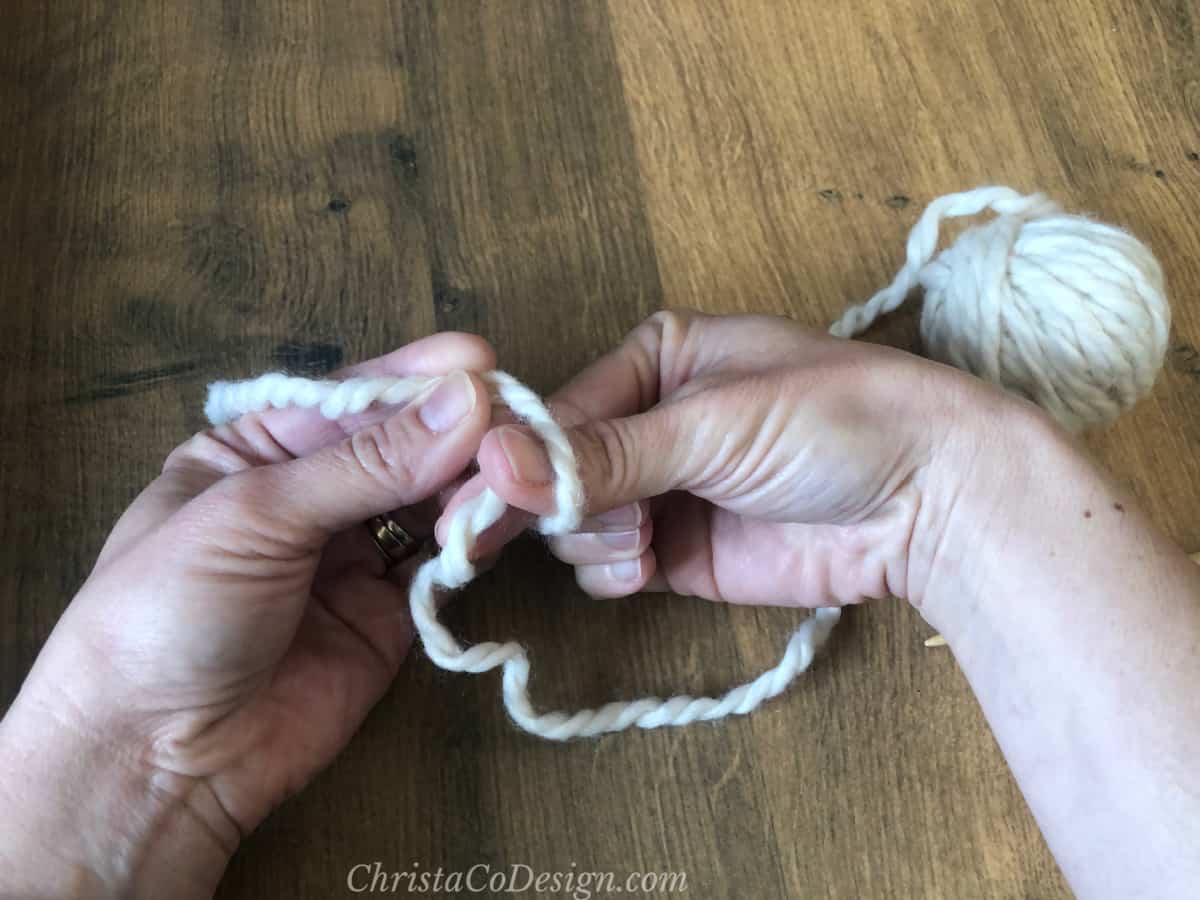
- Pull a length of yarn from your ball.
- On your left hand, wrap the yarn clockwise around your middle and index finger, making a loop.
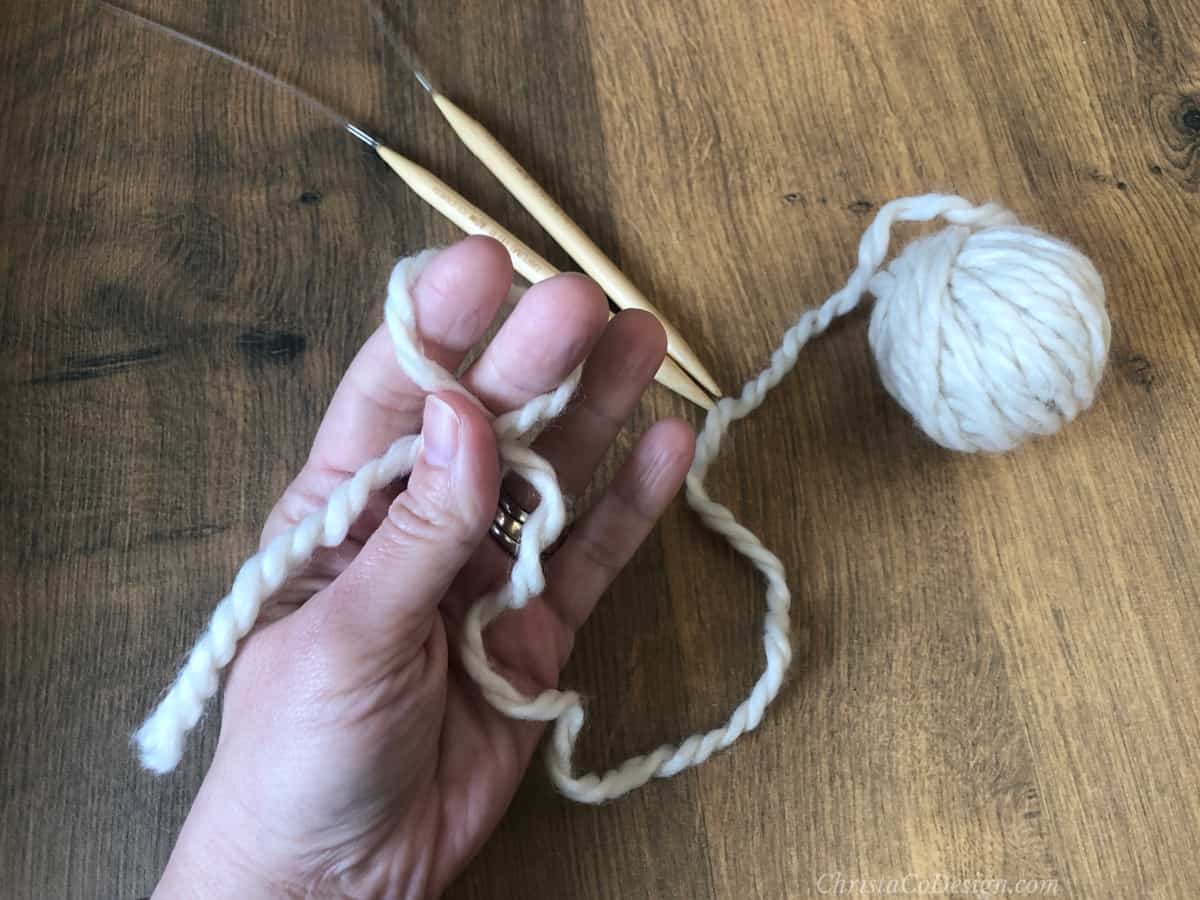
- For the next step keep the yarn secure at the point where it crosses by pinching it to your fingers with your thumb.
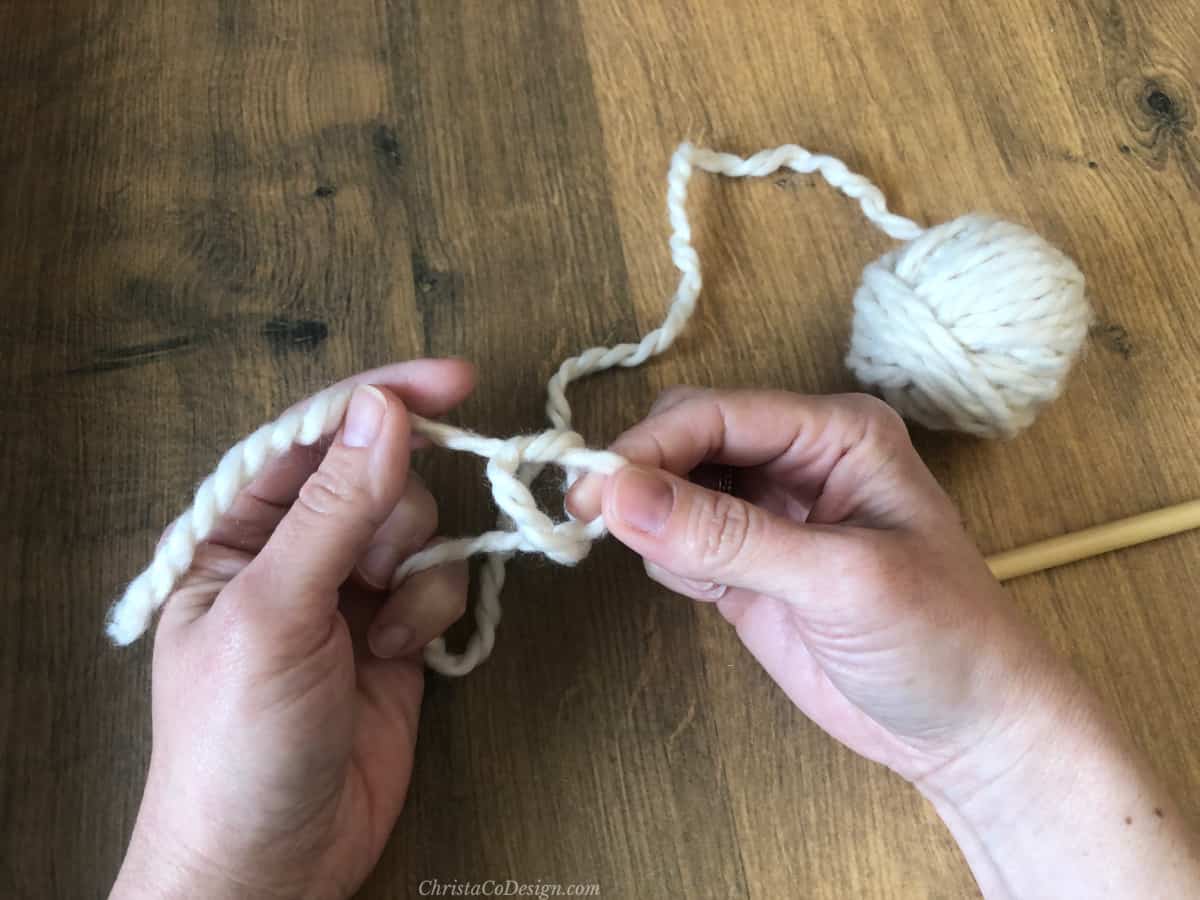
- Pinch the join together and slide the loop off your fingers.
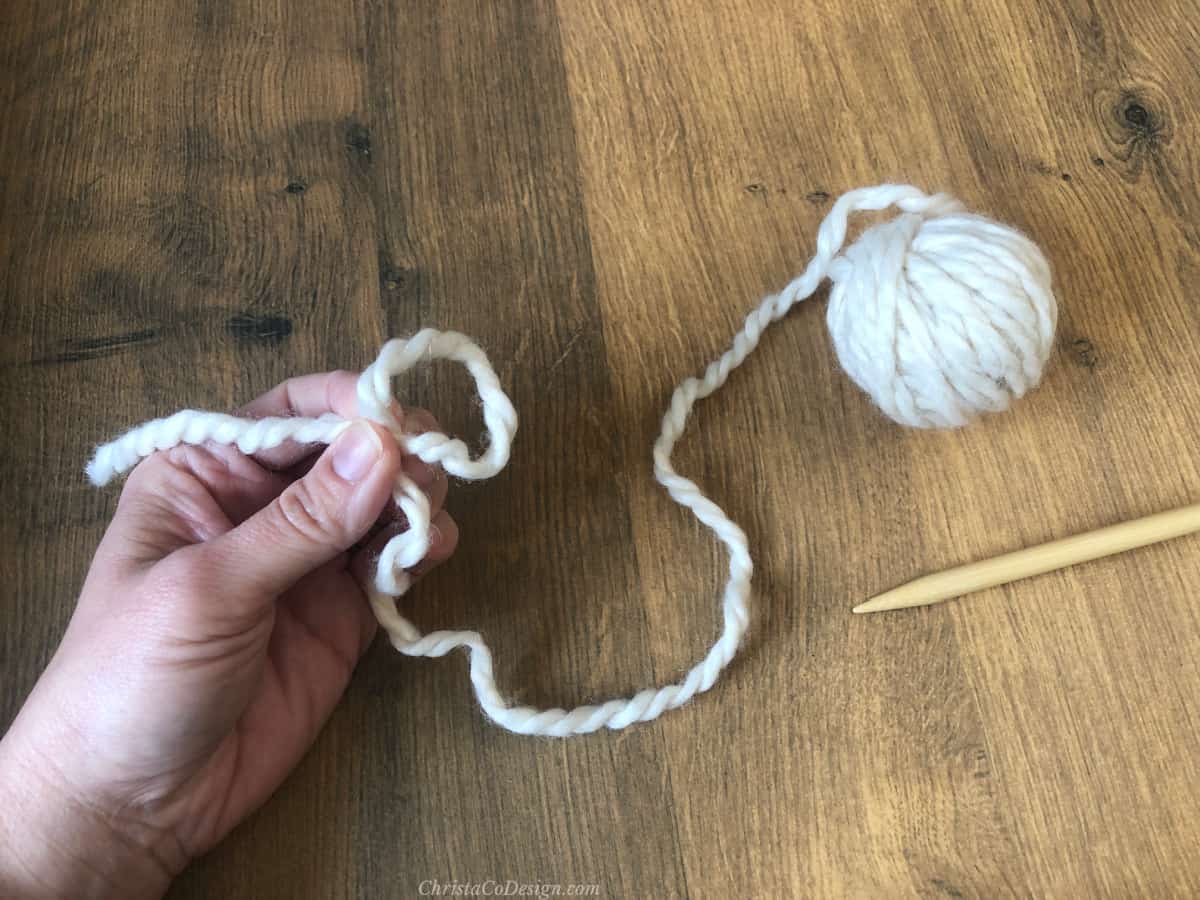
- Insert two fingers (or your right needle) from the back to the front through the loop.
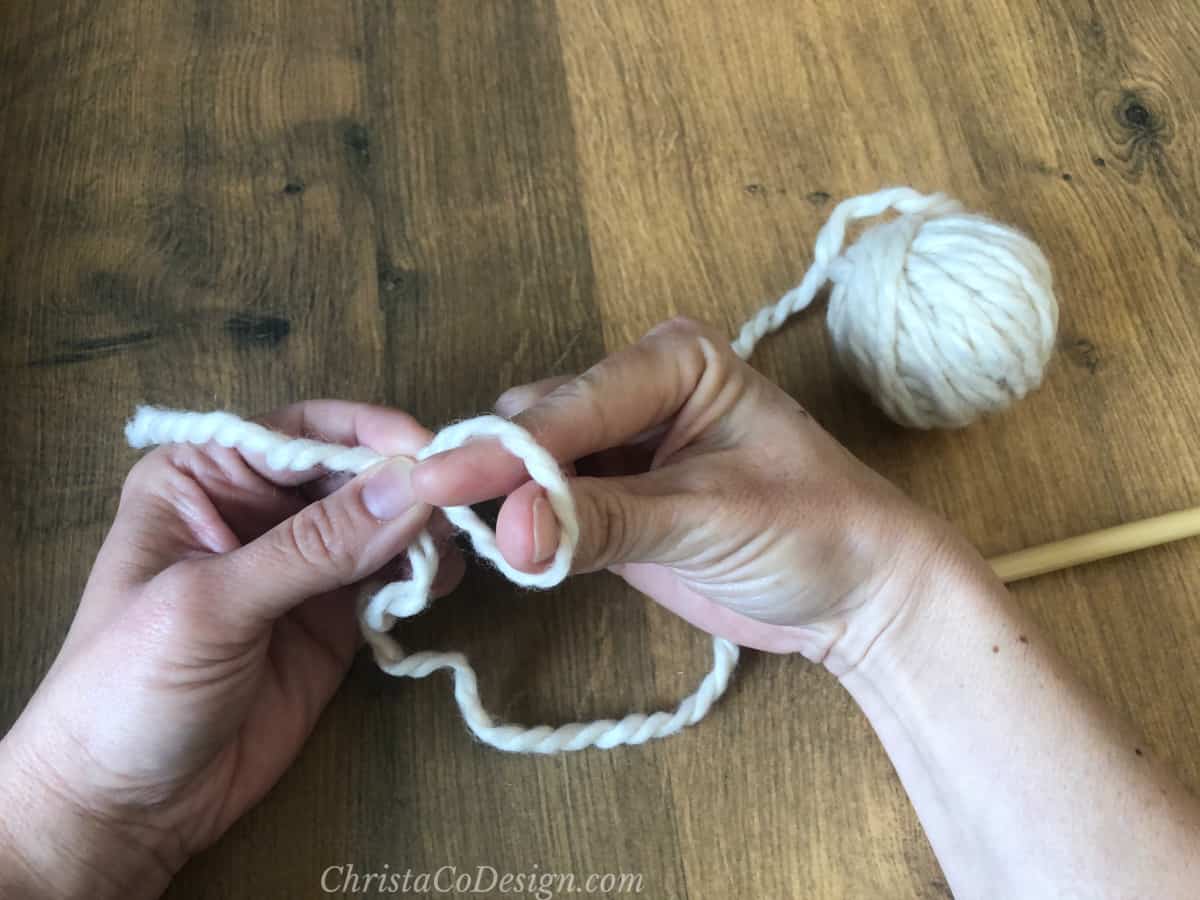
- Grab the working yarn with your fingers
 (or scoop the yarn with the needle). Tip-use a crochet hook to grab the yarn easily.
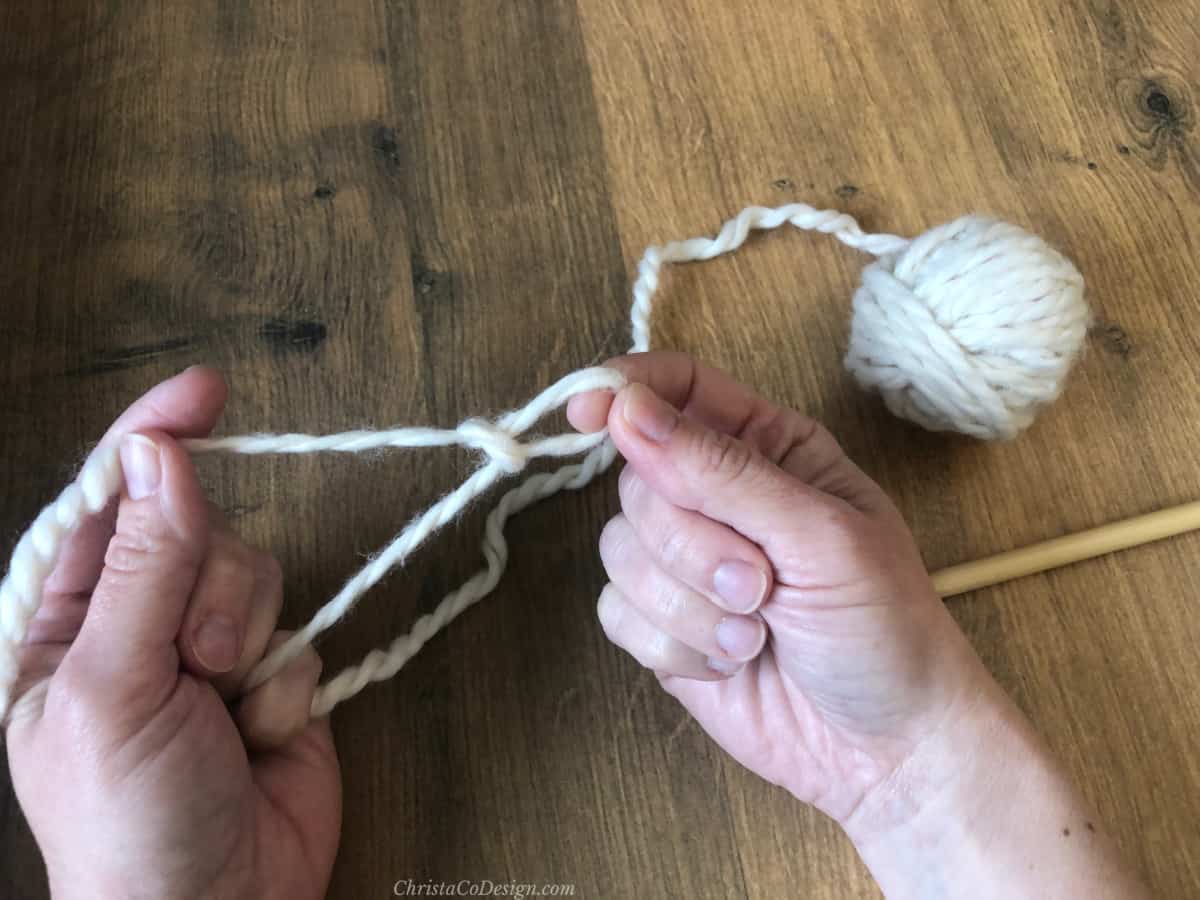
 - Pull the yarn back through the loop.
- Pulling the loose end of the yarn tightens the loop.
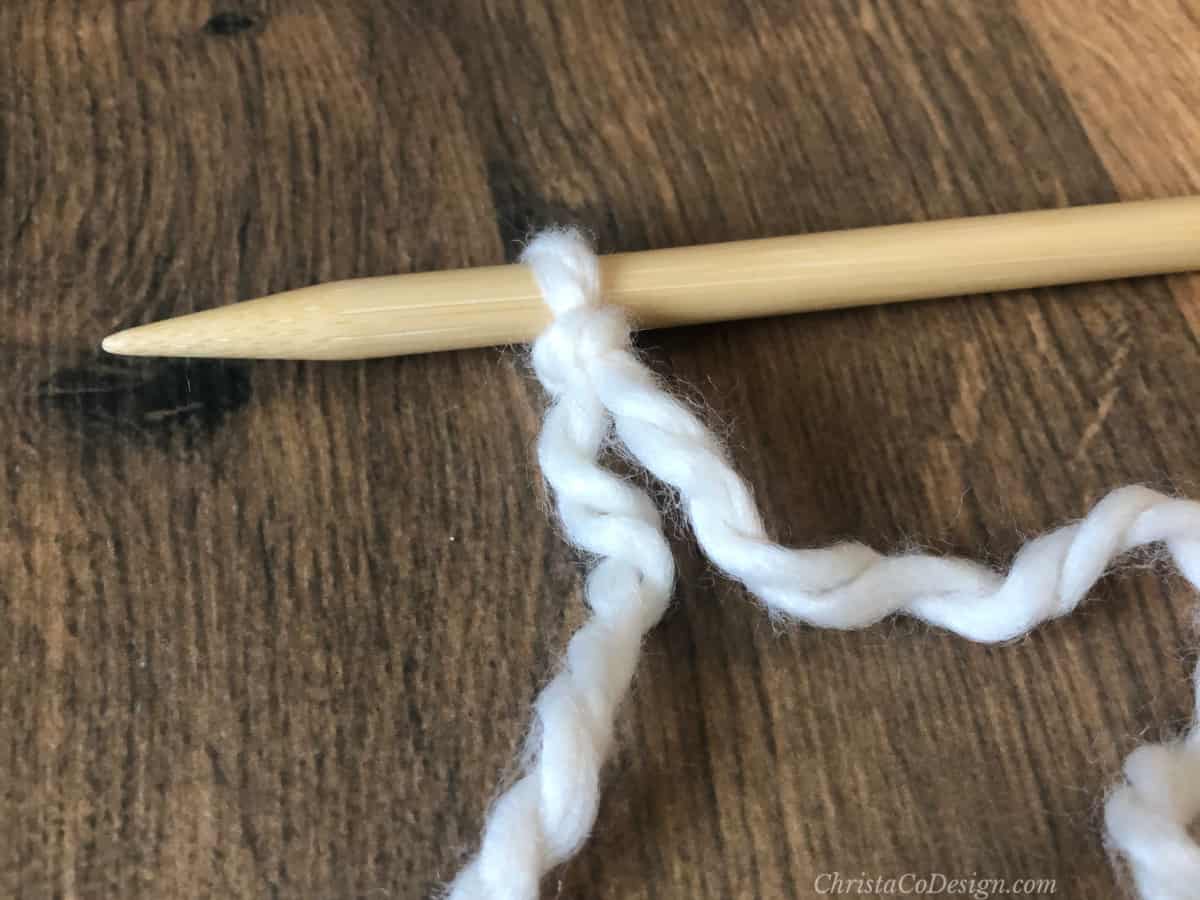
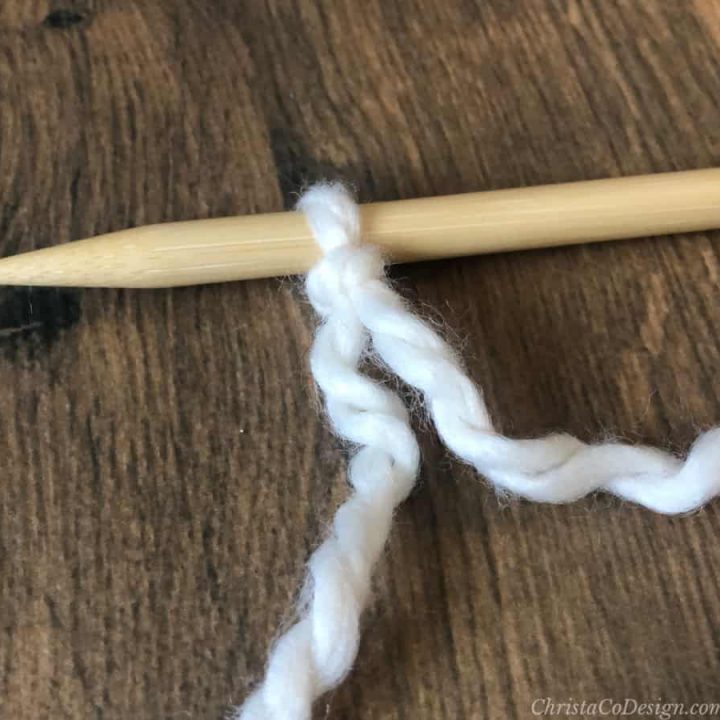
- Slip the knot on your needle.
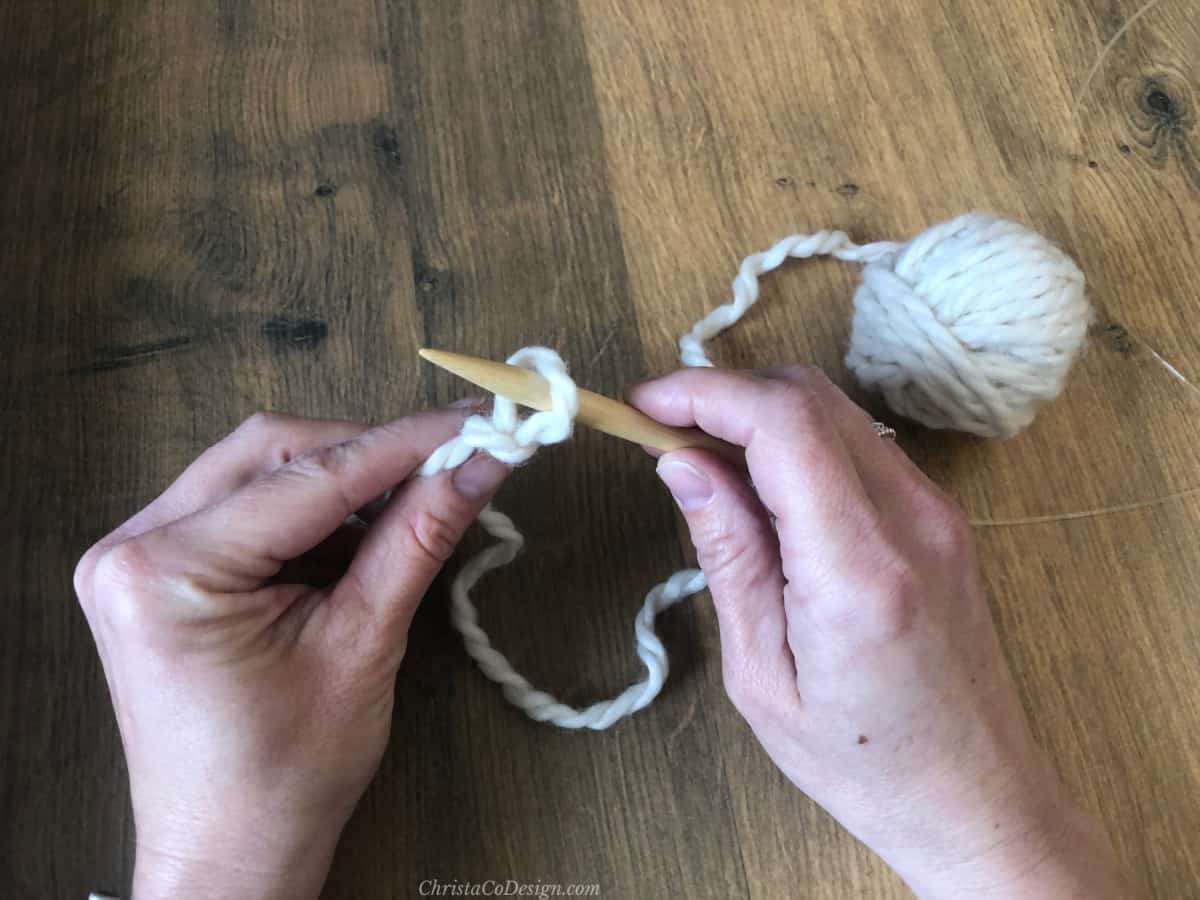
- Hold the ends of the yarn, and pull working yarn to secure slip knot on to your needle.
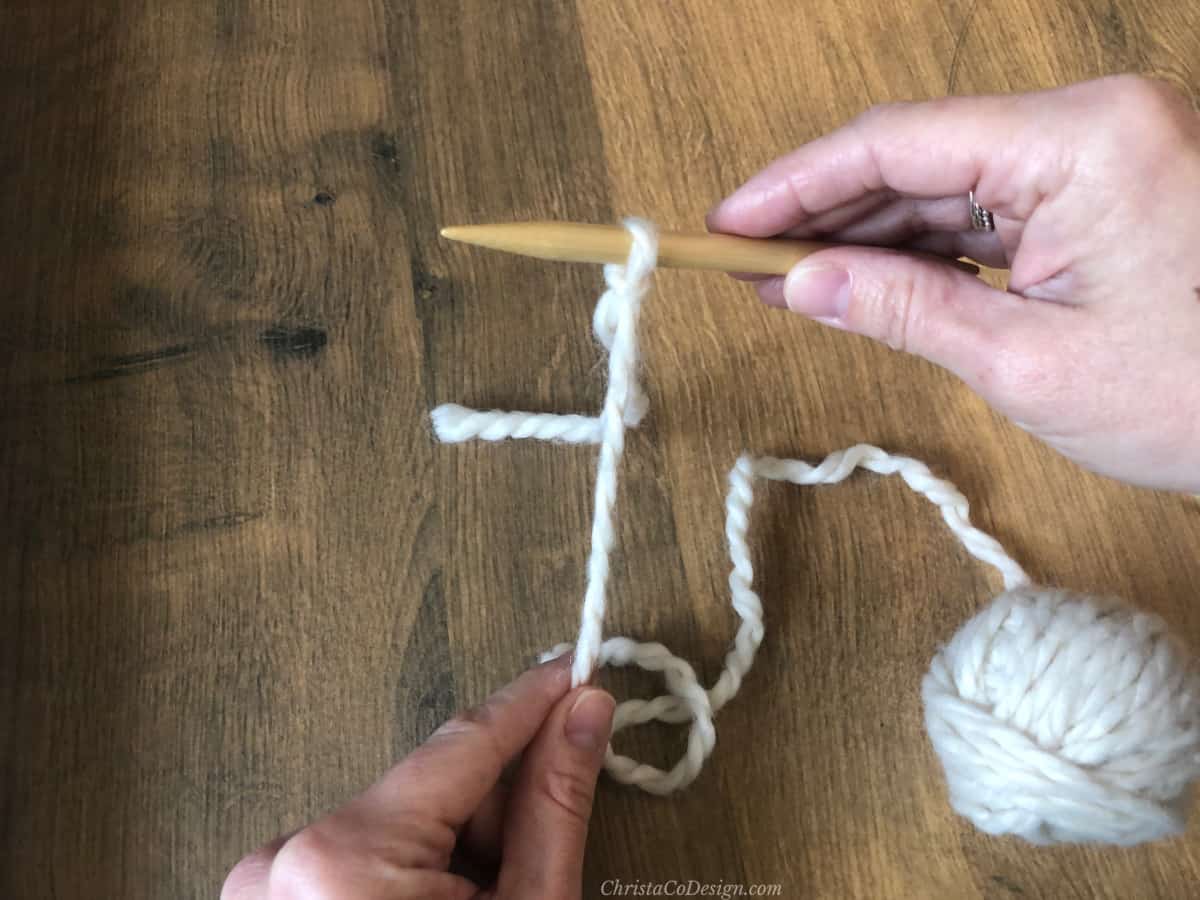
- Now you're ready to cast on!
Recommended Products
As an Amazon Associate and member of other affiliate programs, I earn from qualifying purchases.