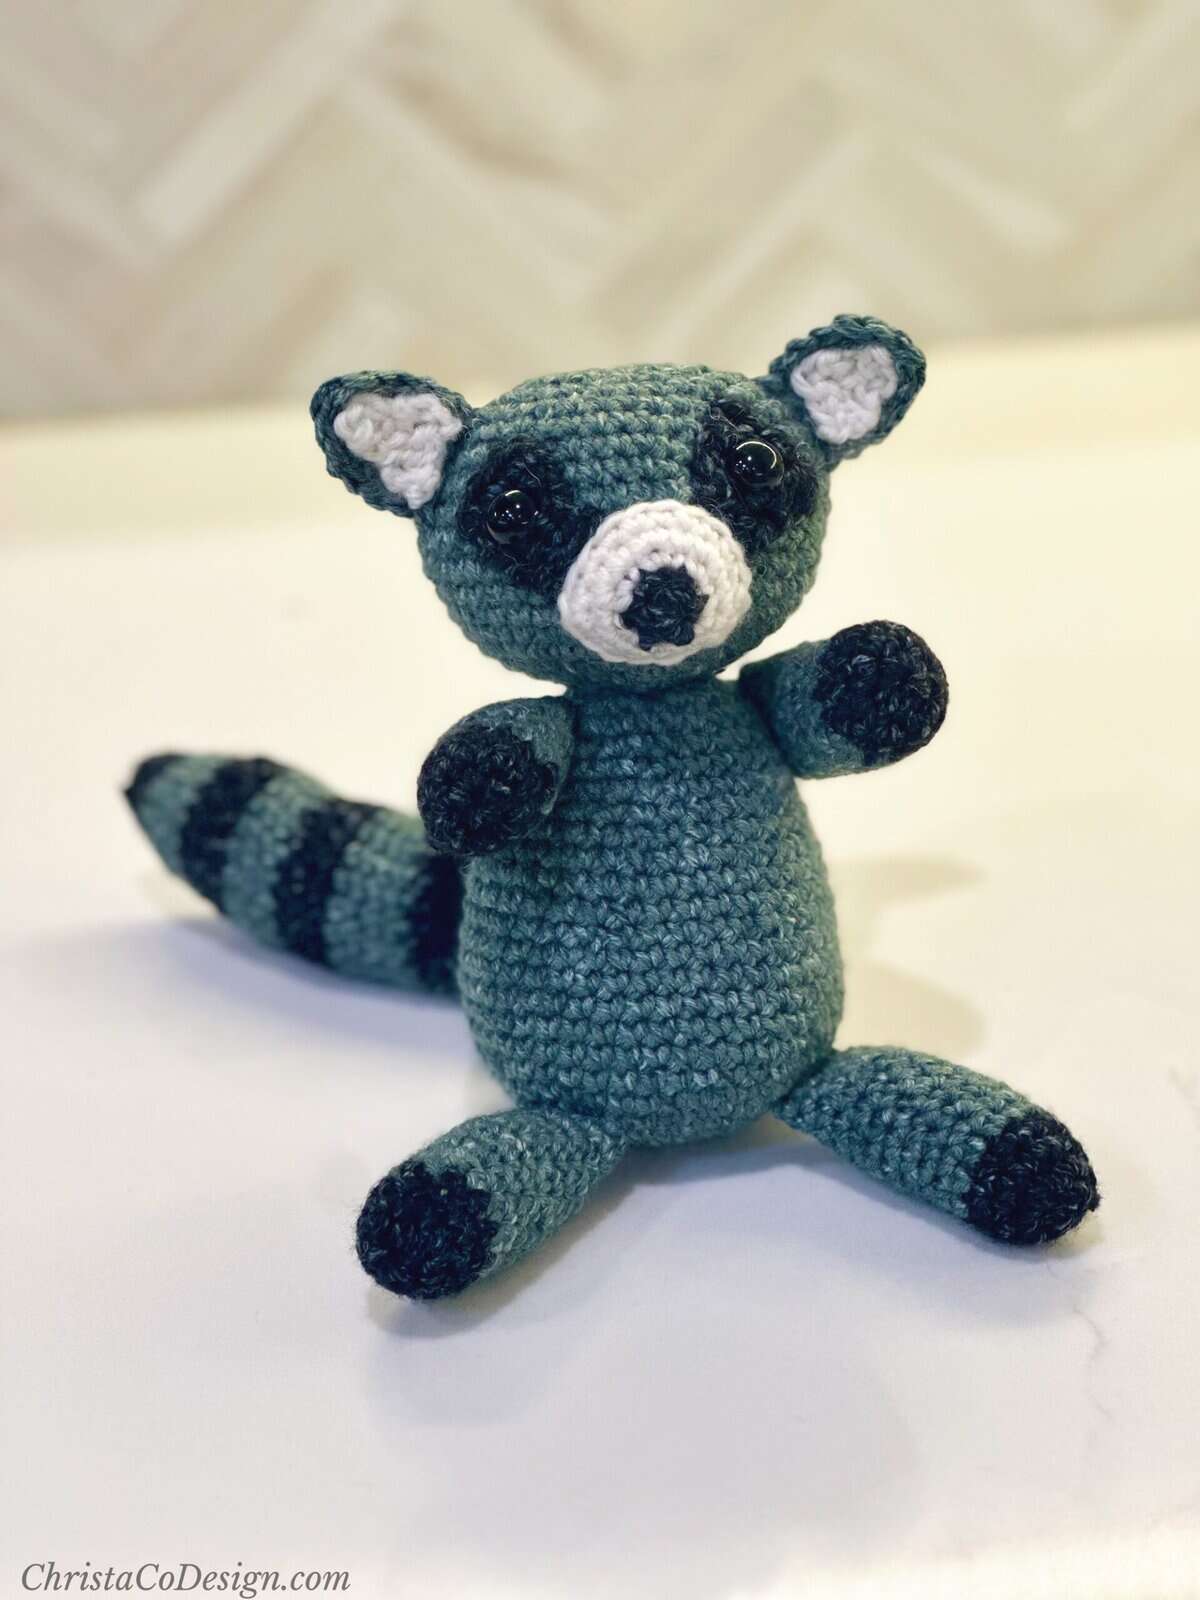
Easy Woodland Raccoon Amigurumi Crochet Pattern
When I heard there was a woodland creature theme for the CAL Central crochet along I knew I wanted to try my hand at a raccoon! My youngest son is obsessed with raccoons, they’ve always been his favorite.

This post contains affiliate links, I may earn a fee. Read more disclosure policy.
Join the ChristaCoDesign Newsletter
Never miss a pattern!
I kept the techniques simple and beginner friendly with this one. You can work the body and head together as a whole so that’s one less seam.
The arms and legs are simple tubes. Even the tail is just a tube with those classic raccoon stripes! The snout is worked in the round and seamed onto to his little face. And the eye masks and ears are worked in flat rows and seamed on.
So there are several pieces and some sewing involved but I think he turned out adorable! And one of my lovely testers even found a graduation cap pattern to add to hers.
Purchase the ad-free, well formatted printable PDF Pattern from my shop. Scroll down for the free pattern!

Pattern Snapshot
LEVEL: Beginner to Easy
YARN: #4 medium weight yarn
HOOK: 3.5 mm crochet hook
WOULD I MAKE THIS AGAIN? Absolutely.
This little raccoon is the last pattern in the Toy Box Crochet Along with CAL Central. You can find all the pattern links there on the Underground Crafter. This CAL has been happening since March, and there are 4 themes.
- Garden Friends
- Farm Friends
- Beach and Ocean
- Woodland Creatures
Materials
- #4 medium worsted weight yarn in shades: grey [100 yd] color A, black [40 yd] color B, white [25 yd] color C.
- 3.5 mm US Size E hook,* or size needed to meet gauge.
- Polyfill for stuffing.
- 10 mm safety eyes (optional), yarn needle, measuring tape, scissors, stitch marker(s).
Notes
- Please read through all notes and pattern before you begin.
- Pattern is worked continuously in the round. Do not join.
- Use a stitch marker to mark the first stitch of each round, moving it up as you work.
- Eye masks and ears are worked flat.
- All pieces are crocheted separately and then sewn together.
- For the best color change results I recommend joining the round with a slip stitch, cutting the yarn and joining the new yarn with a a slip stitch.
Gauge
Rnds 1 – 5 = 2“ across, measured in sc.
Sizing
6” tall
Skill Level
Easy
Stitches
US Terms
ch(s) – chain(s)
inc – 2 sc in same st
inv dec – invisible decrease
mc – magic circle
rep – repeat
sc – single crochet
sl st – slip stitch
st(s) – stitch(es)
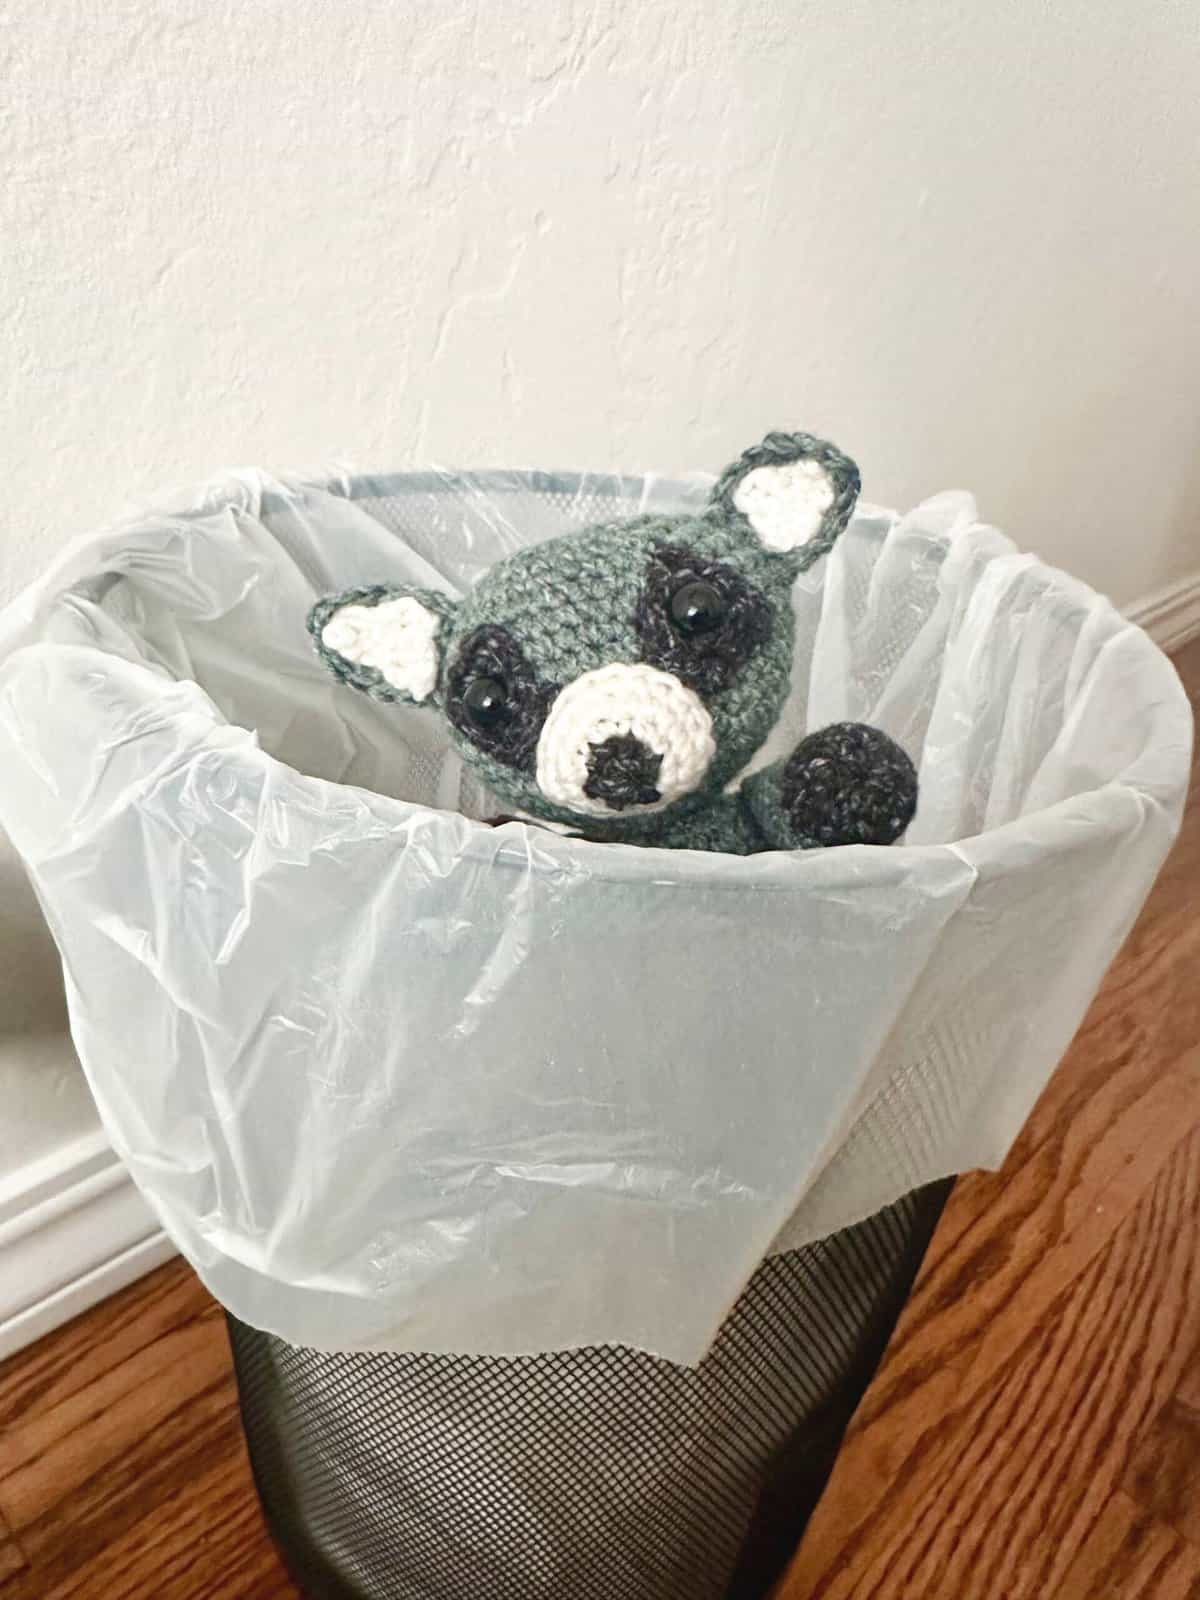
How did these guys get the trash panda moniker?!
Pattern Instructions

Crochet Raccoon
Free woodland raccoon crochet pattern with easy stitches and techniques.
Materials
- #4 medium worsted weight yarn in shades: grey [110 yd] color A, black [40 yd] color B, white [25 yd] color C.
Tools
- 3.5 mm US Size E hook,* or size needed to meet gauge.
- Polyfill for stuffing.
- 10 mm safety eyes (optional), yarn needle, measuring tape, scissors, stitch marker(s).
Instructions
Body
In color A, start with a mc.
Rnd 1. Place 6 sc in mc. Don’t join, place sm in first st, and move it up to the first st of each rnd. [6 sts]
Rnd 2. Inc in each st around. [12 sts]
Rnd 3. *Sc in next st, inc; rep from * around. [18 sts]
Rnd 4. *Sc in next 2 sts, inc; rep from * around. [24 sts]
Rnd 5. *Sc in next 3 sts, inc; rep from * around. [30 sts]
Rnd 6. *Sc in next 4 sts, inc; rep from * around. [36 sts]
Rnd 7. *Sc in next 5 sts, inc; rep from * around. [42 sts]
Rnds 8 – 14. Sc in each st around.
Rnd 15. *Sc in next 5 sts, inv dec; rep from * around. [36 sts]
Rnds 16 – 17. Sc in each st around.
Rnd 18. *Sc in next 4 sts, inv dec; rep from * around. [30 sts]
Rnds 19 – 20. Sc in each st around.
Rnd 21. *Sc in next 3 sts, inv dec; rep from * around. [24 sts]
Rnds 22 – 23. *Sc in each st around. Stuff as you go.
Rnd 24. *Sc in next 2 sts, inv dec; rep from * around. [18 sts]
Rnd 25. *Sc in next st, inv dec; rep from * around. [12 sts]
Rnd 26. Inv dec around. [6 sts]
Do not finish off, now you will continue for the head. Rnd count starts over.
Head
In color A, start with a mc.
Rnd 1. Sc in each st around. [6 sts]
Rnd 2. 2 sc in each st around. [12 sts]
Rnd 3. *Sc in next st, inc; rep from * around. [18 sts]
Rnd 4. *Sc in next 2 sts, inc; rep from * around. [24 sts]
Rnd 5. *Sc in next 3 sts, inc; rep from * around. [30 sts]
Rnd 6. *Sc in next 4 sts, inc; rep from * around. [36 sts]
Rnd 7. *Sc in next 5 sts, inc; rep from * around. [42 sts]
Rnds 8 – 9. Sc in each st around.
Rnd 10. Sc in next 10 sts, inc, sc in next 20 sts, inc, sc in last 10 sts. [44 sts]
Rnd 11. Sc in next 10 sts, inc, inc, sc in next 20 sts, inc, inc, sc in last 10 sts. [48 sts] You may want to mark the increases on these two rnds, as these are the sides of the head.
Rnds 12 – 14. Sc in each st around.
Rnd 15. *Sc in next 6 sts, inv dec; rep from * around. [42 sts]
Rnd 16. *Sc in next 5 sts, inv dec; rep from * around. [36 sts]
Rnd 17. *Sc in next 4 sts, inv dec; rep from * around. [30 sts] Stuff as you go.
Rnd 18. *Sc in next 3 sts, inv dec; rep from * around. [24 sts]
Rnd 19. *Sc in next 2 sts, inv dec; rep from * around. [18 sts]
Rnd 20. *Sc in next st, inv dec; rep from * around. [12 sts]
Rnd 21. Inv dec around. [6 sts] Cut yarn.
Ears
In color A, worked flat, make 2.
Row 1. Fsc 4, or ch 5 and sc in the 2nd ch from your hook and in each ch, turn. [4 sts]
Row 2. Ch 1 (doesn’t count here & throughout), sc in each st across, turn.
Row 3. Ch 1, sc in first st, inv dec, sc in last st, turn. [3 sts]
Row 4. Ch 1, sc in each st across, turn.
Row 5. Ch 1, sc in first st, inv dec, turn. [2 sts]
Continue around edge of ear place sc sts evenly all the way around. Don’t inc in corners this allows it to curve in. Sl st to first st. Cut yarn.
Inner ears
In color C, worked flat, make 2.
Row 1. Fsc 3, or ch 4 and sc in the 2nd ch from your hook and in each ch, turn. [3 sts]
Row 2. Ch 1, sc in first st, inv dec, turn. [2 sts]
Row 3. Ch 1, inv dec, turn. [1 st]
Cut yarn leaving long tail for sewing onto ears.
Eye masks
In color B, worked flat.
Row 1. Fsc 3, or ch 4 and sc in the 2nd ch from your hook and in each ch, turn. [3 sts]
Row 2. Ch 1, inc, sc in next 2 sts, turn. [4 sts]
Row 3. Ch 1, sc in each st across, turn.
Row 4. Ch 1, inc, sc in next 2 sts, 2 sc in last st, turn. [6 sts]
Cut yarn & leave a long tail for sewing on.
Snout
In color B, worked in the round, start with a mc.
Rnd 1. Place 6 sc in mc.
Rnd 2. Sc in each st around. [6 sts]
Change to color C.
Rnd 3. 2 sc in each st around. [12 sts]
Rnd 4. *Sc in next st, inc; rep from * around. [18 sts]
Rnd 5. Sc in each st around.
Cut yarn & leave a long tail for sewing on. Stuff as you go.
Arms
In color B, start with a mc, make 2.
Rnd 1. Place 6 sc in mc. [6 sts]
Rnd 2. 2 sc in each st around. [12 sts]
Rnds 3 – 4. Sc in each st around.
Change to color A.
Rnds 5 – 12. Sc in each st around. Stuff as you go.
Cut yarn & leave a long tail for sewing onto body.
Legs
In color B, start with a mc, make 2.
Rnd 1. Place 6 sc in mc. [6 sts]
Rnd 2. 2 sc in each st around. [12 sts]
Rnds 3 – 4. Sc in each st around.
Change to color A.
Rnds 5 – 16. Sc in each st around. Stuff as you go.
Cut yarn & leave a long tail for sewing onto body.
Tail
In color B, start with a mc.
Rnd 1. Place 6 sc in mc. [6 sts]
Rnd 2. 2 sc in each st around. [12 sts]
Rnd 3. Sc in each st around. [12 sts]
Change to color A.
Rnd 4. Rep rnd 3.
Rnd 5. *Sc in next st, inc; rep from * around. [18 sts]
Rnd 6. Rep rnd 3. Stuff as you go.
Change to color B.
Rnd 7. Rep rnd 3.
Rnd 8. *Sc in next 2 sts, inc; rep from * around. [24 sts]
Rnd 9. Rep rnd 3.
Change to color A.
Rnds 10 – 12. Rep rnd 3.
Change to color B.
Rnds 13 – 15. Rep rnd 3.
Change to color A.
Rnds 16 – 18. Rep rnd 3.
Change to color B.
Rnds 19 – 21. Rep rnd 3.
Change to color A.
Rnds 22 – 24. Rep rnd 3. Cut yarn & leave a long tail for sewing onto body.
Assembly
Use the photo as a reference. Using matching yarn and needle to sew on all parts. First sew legs, arms, and tail to body. Then assemble the face before sewing it on the body.
Legs
I chose to position the legs so that the raccoon can sit. To do so, sew them on either side of the bottom of the body, at about rnd 7, angled open 6 sts apart.
Arms
Sew on to top half of body, about 5 rnds down from the top.
Tail
Sew to bottom lower on back of body across rnds 9 – 14.
Face
It helps to pin everything in place to be sure you have it how you like it before sewing piece on.
Position snout on center lower half of face and sew on, stuffing as you go. Remember the head is not quite round so position the increases from rnds 10–11 to the left and right.
If using safety eyes, attach them to the eye masks first. Then position eye masks to either side of snout with the narrower end touching the snout and fanning out. My eye masks are about 4 sts apart from each other at the snout.
Ears
Finally sew inner ear to outer ear using white yarn tail. To keep yarn from showing on back, do not go through the outer ear, only pick up the top loops of yarn while sewing. Sew ears to head 6 rows behind eyes and with inside edge of ear lined up with center of eye, about .5” from the edge and about 8 sts apart from each other.
Weave in all ends.
Recommended Products
As an Amazon Associate and member of other affiliate programs, I earn from qualifying purchases.